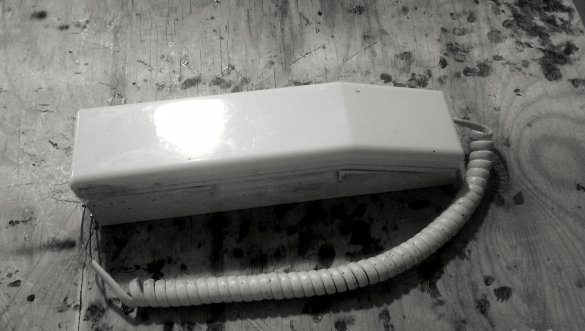
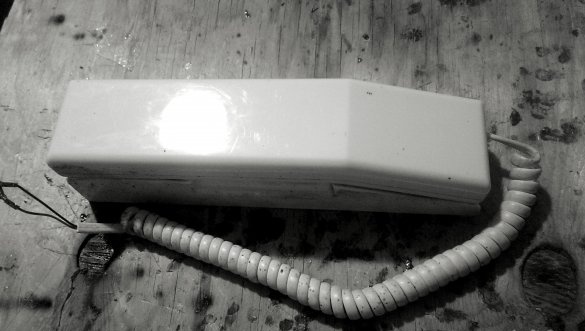
Dear readers, in this article I will talk about the device of the UKP-8SM intercom, and at the same time about its small repair.
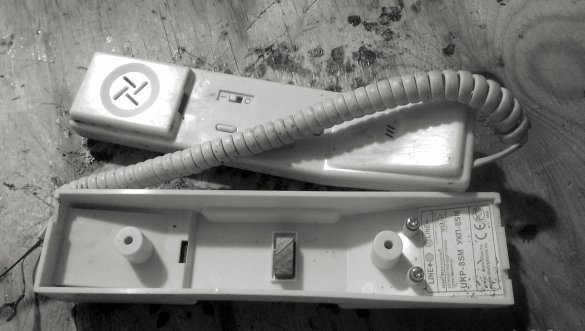
We remove the intercom handset from the base, and we see that a magnet is glued into it from the inside. Well, since the magnet is in the base, it means that there is either a reed switch or a Hall sensor in the handset. We will sort it out later - we'll see.
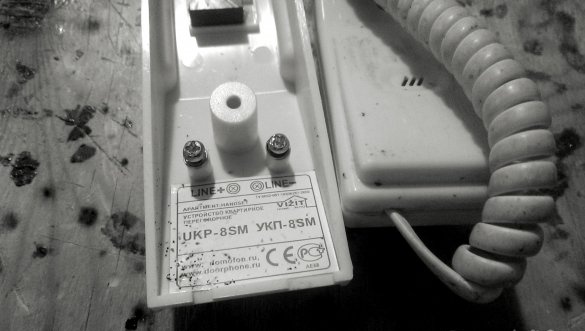
But before disassembling, let's look closely at the nameplate:
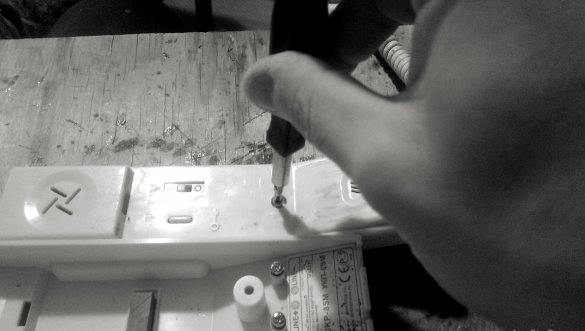
Now let’s take a look. To do this, just turn out one screw. To prevent it from getting lost, magnetize it to the magnet on the holder.
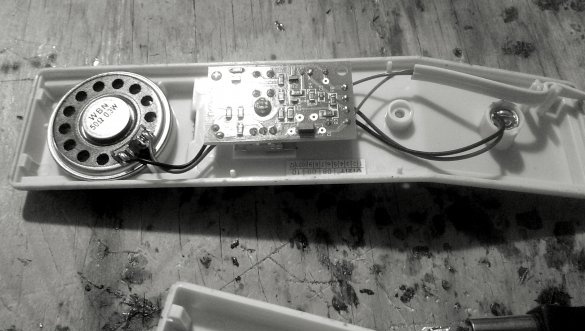
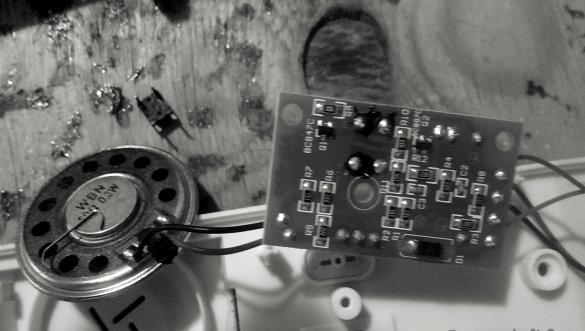
The tube is disassembled. The board is visible, from this side there are only SMD components, and all are discrete:
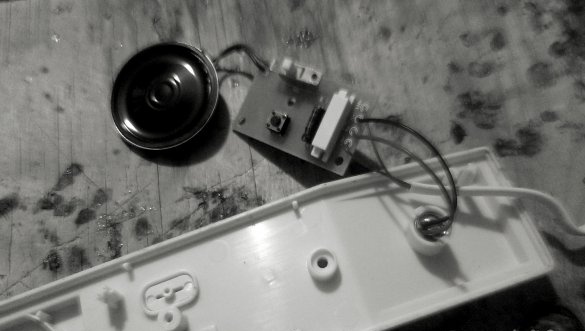
To remove the board, you need to unscrew another screw:
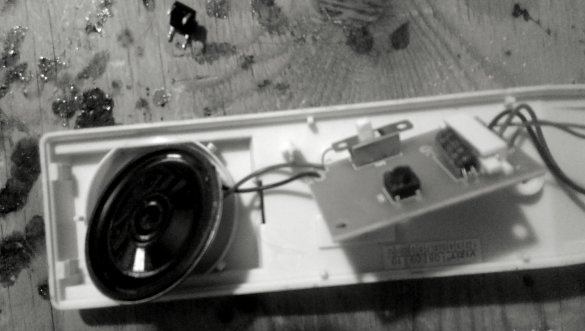
On the reverse side of the board there is a button, a switch and a certain part under a plastic cover. This is the reed switch. But we are interested in the button. It was because of her that I had to disassemble the intercom. She stopped locking when pressed. Even if you reap very hard. You can talk, but you won’t unlock the door.
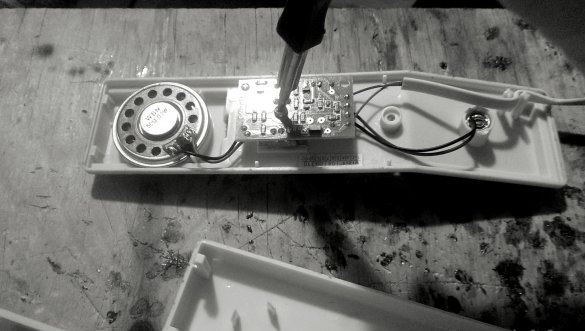
The button is soldered. And next to it lies a new bag.
Here it is soldered:
It is necessary to solder such buttons quickly, avoiding overheating, from which plastic parts melt inside. A damaged button may also stop closing when pressed. Everything went well - the button “rings” when pressed. But taking pictures and calling at the same time is inconvenient.
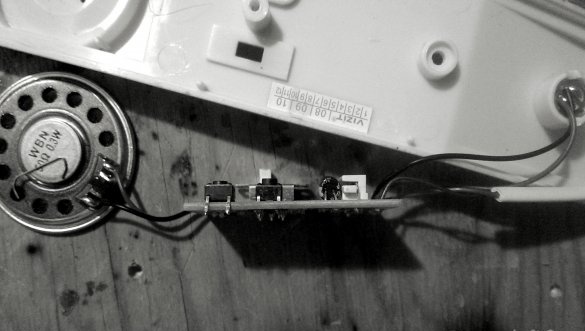
Turn the board over and see the soldered button:
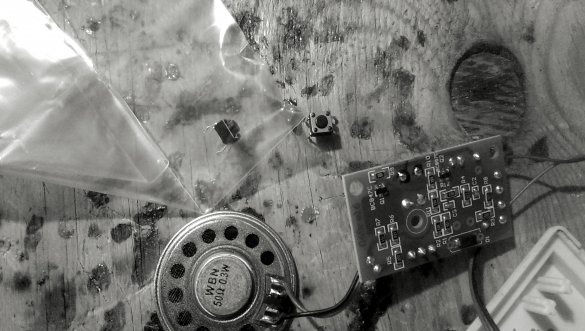
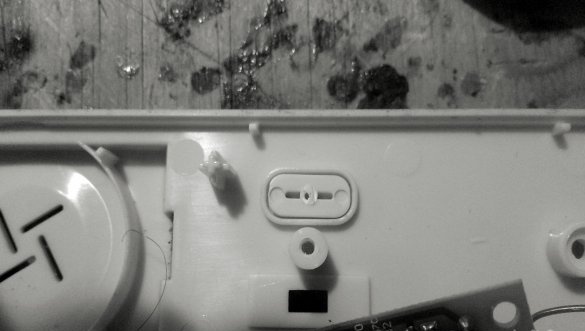
It seems you can collect. But what is it? It is necessary to screw the board into place, and the button is pressed continuously. The reason is shown in the following photo. I attached an old button to the board to show how much the new has a longer stock. You can’t bite him - he can pull himself out.
Easier to bite off the rod at the pusher:
The intercom is assembled, the button is pressed normally. Now it will work properly.
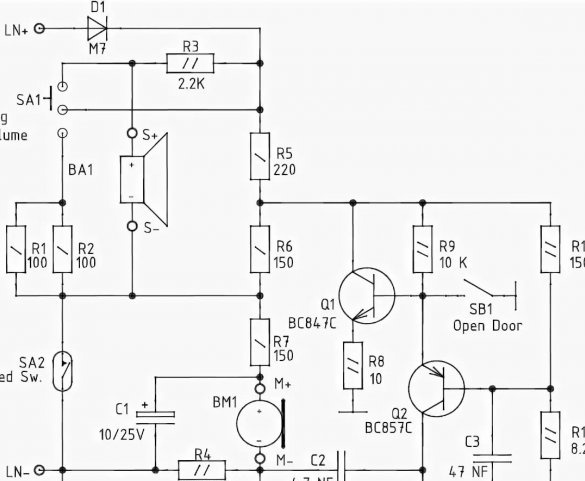
Let's look at his scheme (taken from here):
Consider the purpose of the individual elements of the circuit. Let's start with the diode - it protects the device from polarity reversal. Connect the intercom to the line should be in a certain polarity, but if you mix it up, it does not fail, it just won’t work.Then it is enough to reverse the pole - and you can use it. The switch allows you to stepwise adjust the ringer volume, reducing it, for example, at night. Thanks to two load resistors, the resistance applied to the line remains almost unchanged. Reed switch shorts the power circuit electronic microphone when the handset is on a stand. When the handset is off, the supply voltage passes through a 150 ohm resistor to the smoothing filter capacitor. The microphone load is a 6.2 kΩ resistor. From the point of connection of this resistor with a microphone, the signal enters the amplifier. Finally, when the button is pressed, the resistance applied to the line decreases stepwise, which the base unit perceives as a command to unlock the door.

