
The master already made an infinity mirror, now he decided to go further and make a mirror infinity clock.
Tools and materials:
-Rule;
-Knife;
-Marker;
-Hand saw
-Clips;
-Grinding unit;
-Soldering iron;
-Nippers;
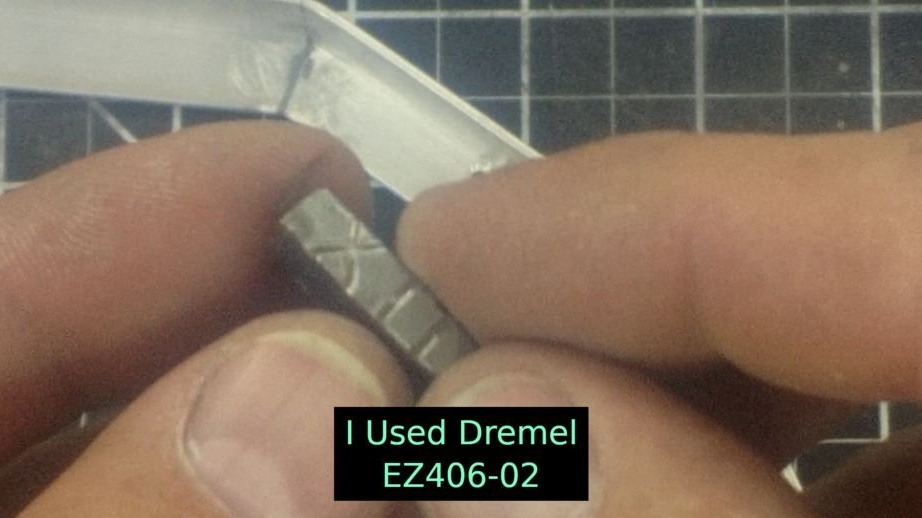
-Dremel;
-Drill;
-Gon;
-Scissors for metal;
-Pliers;
-Nadfil;
-Screwdriver;
-Grinder;
-Polishing paste;
- Polishing microfiber fabric;
-Nylon cutting board;
-Rail;
-Aluminum corner;
-Fasteners;
-Board;
-Address LEDs;
-The wire;
-LED controller (IR remote);
-LED controller (Bluetooth);
-Power Supply;
- Orgsteklo;
- Aluminum sheet metal;
-Tinting film;
-Arduino Nano;
-Capacitive touch sensor;
- Painting tape;
- Joiner's glue;
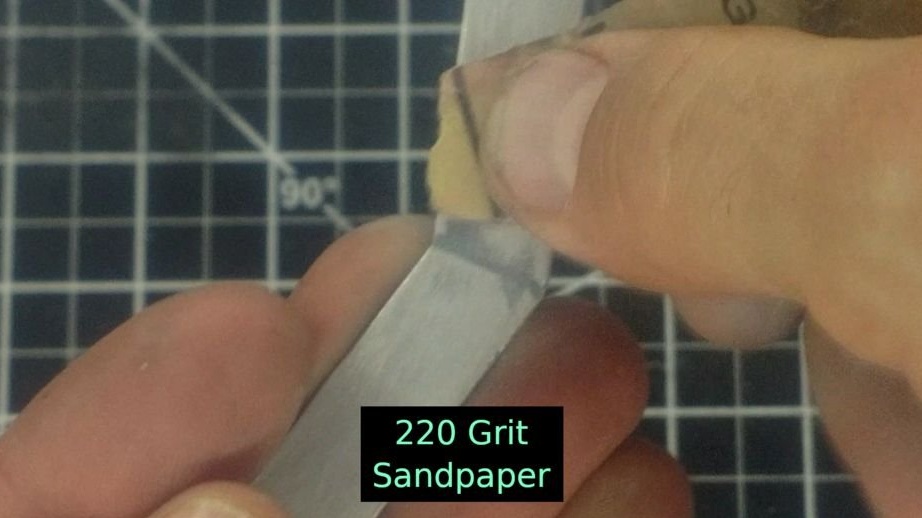
-Sandpaper;
-Cold welding;
-WD40;
-Black adhesive tape;
- Chrome paint;
Step One: LED Frame
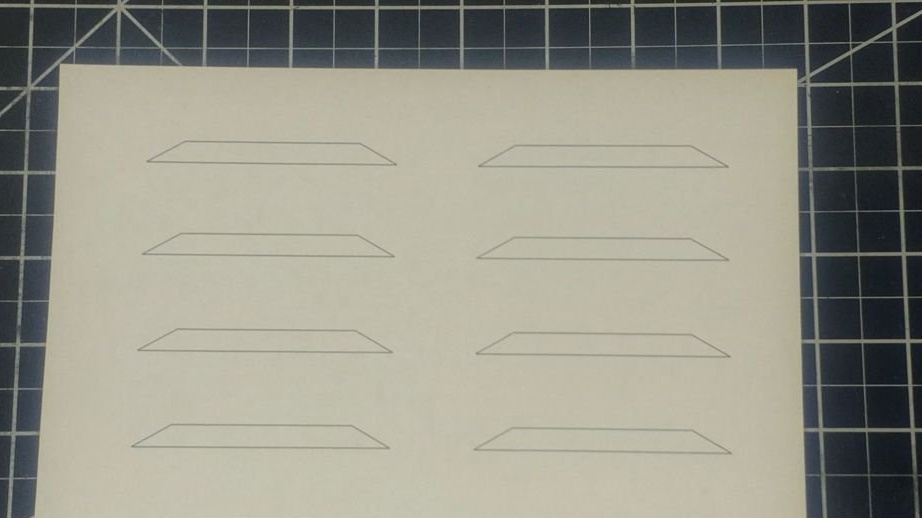
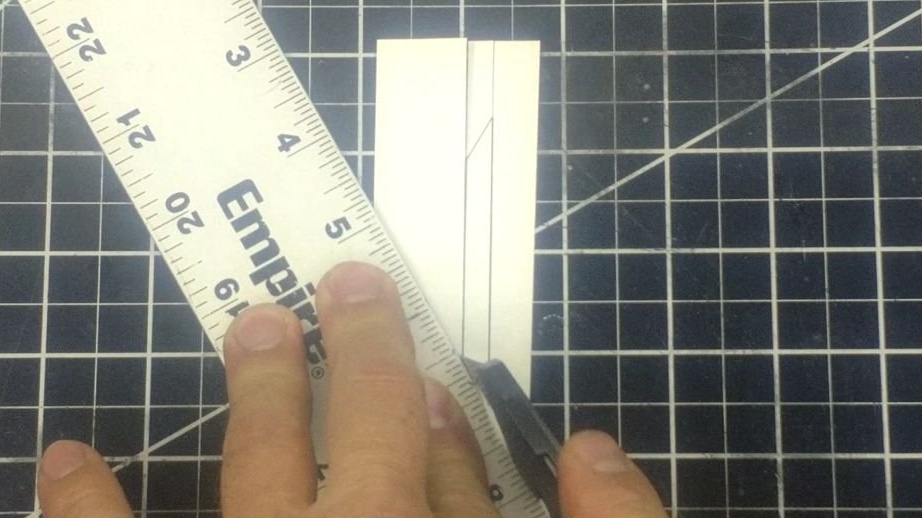
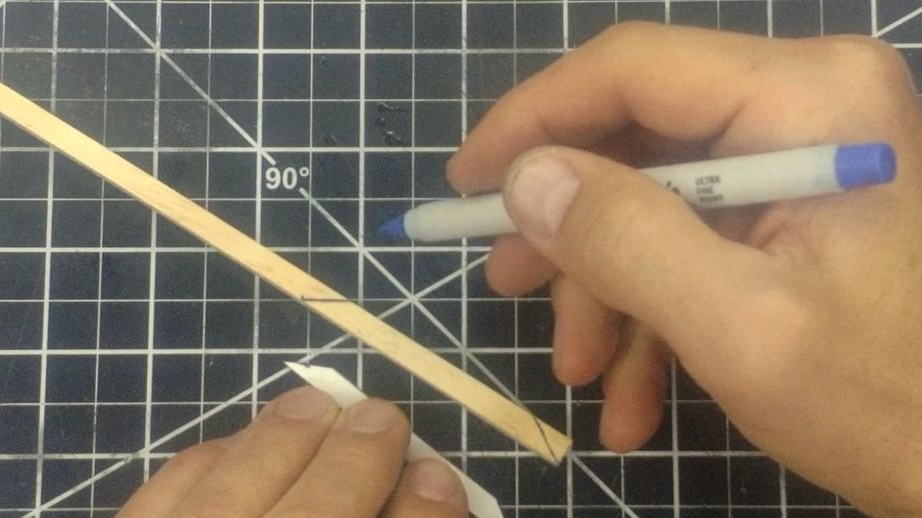
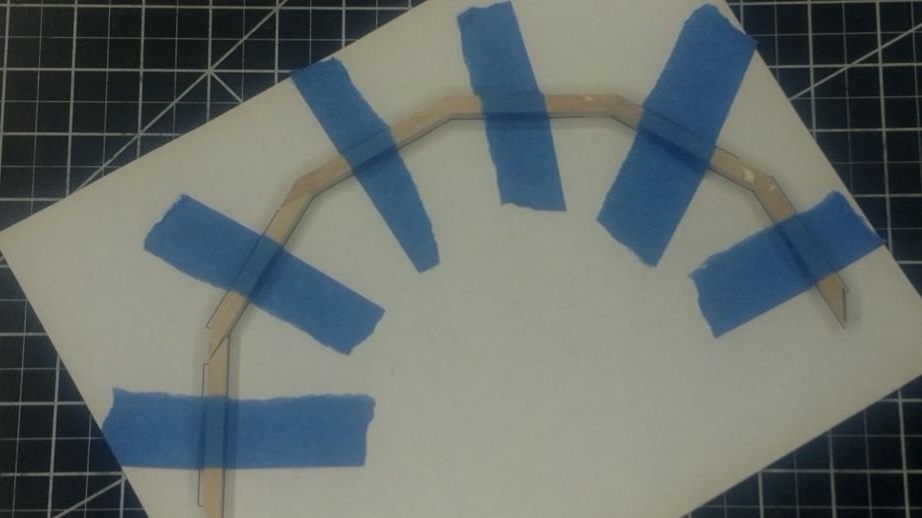
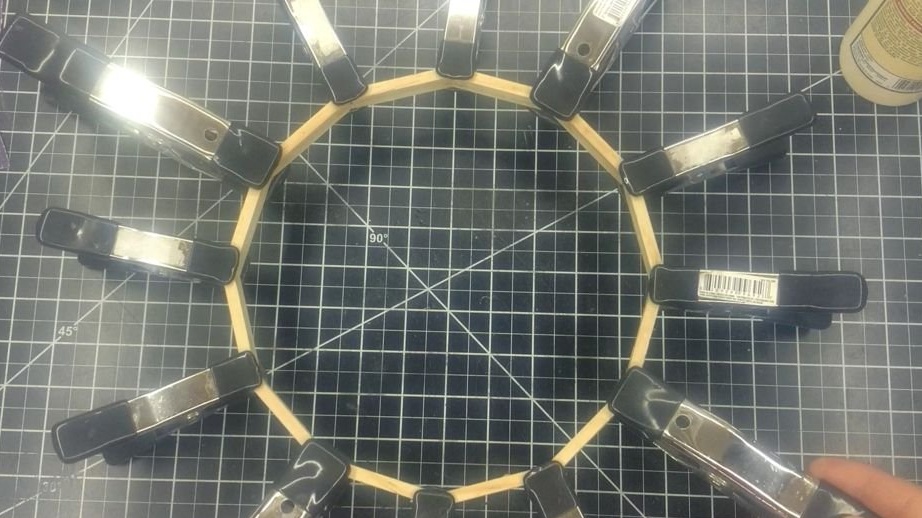
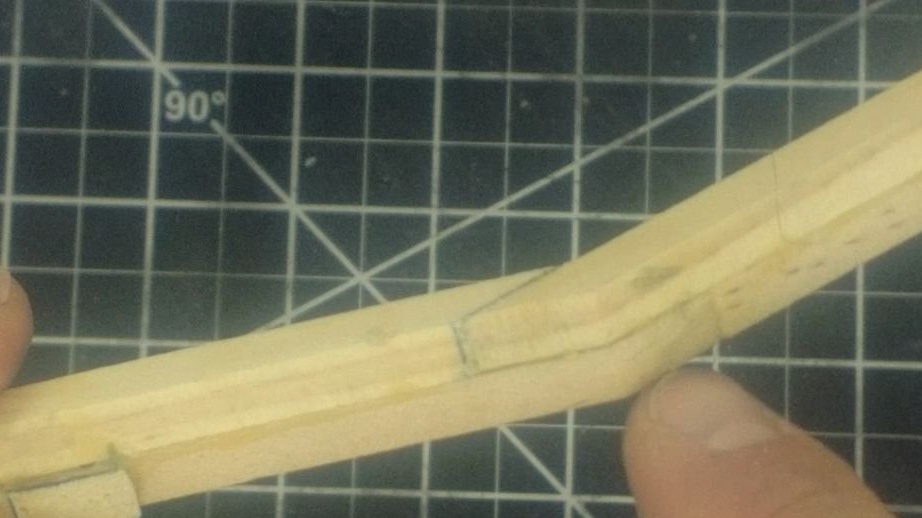
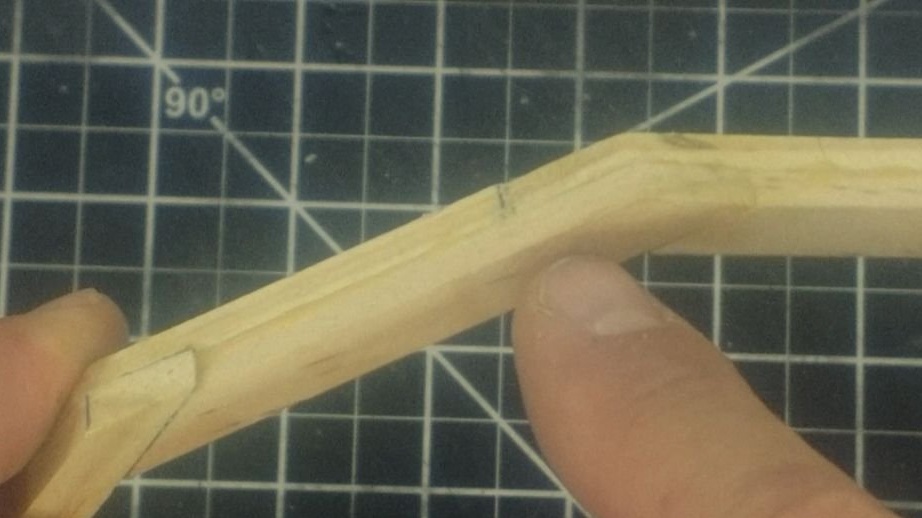
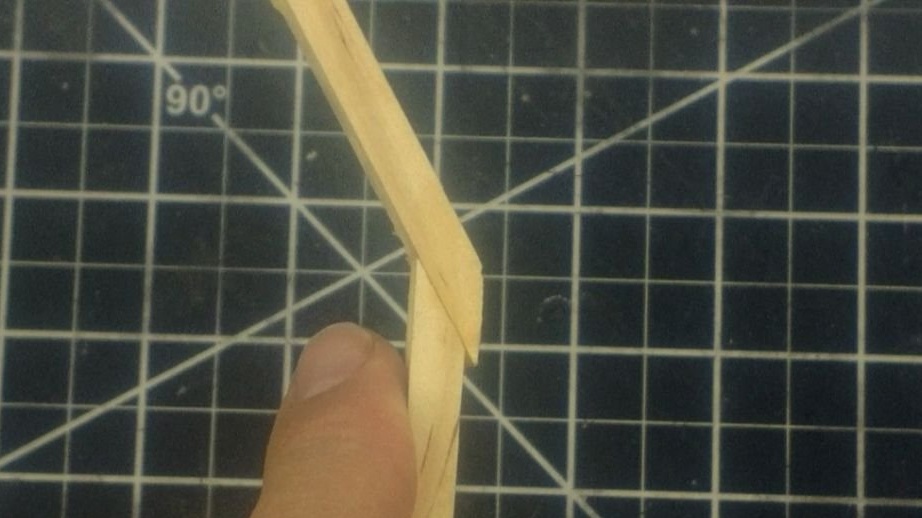
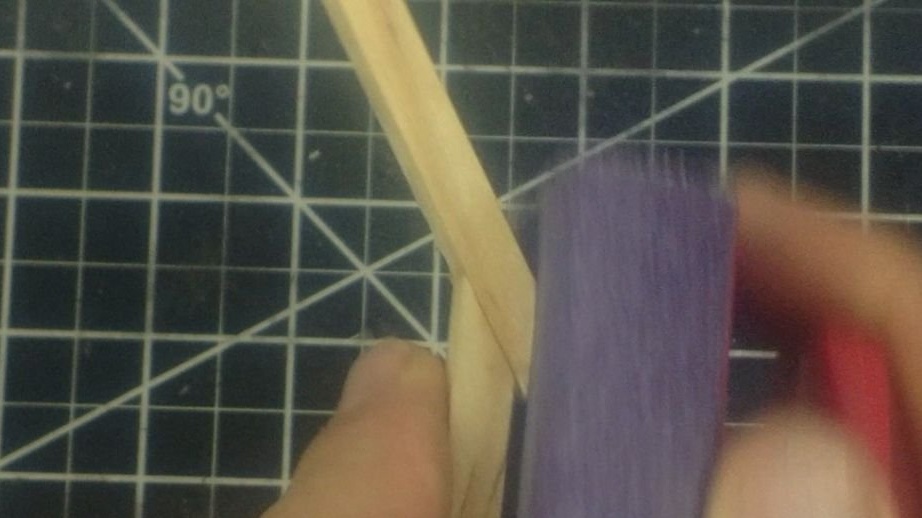
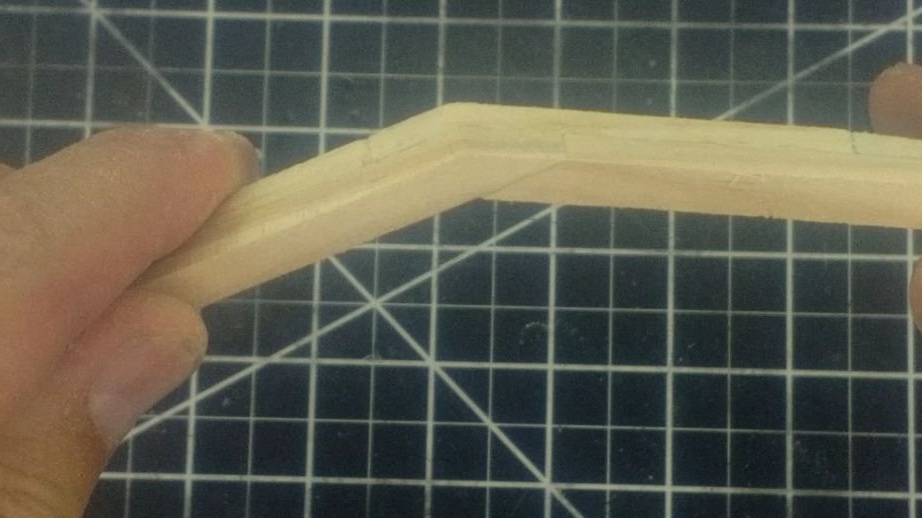
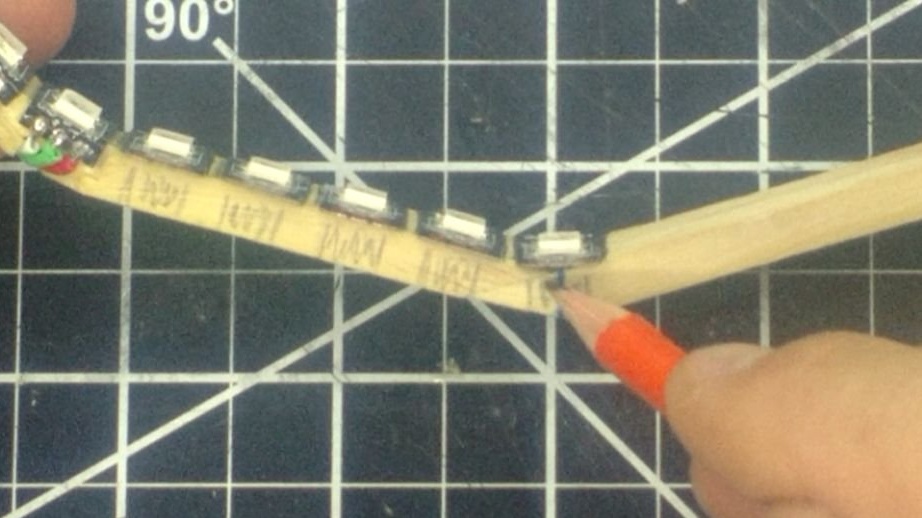
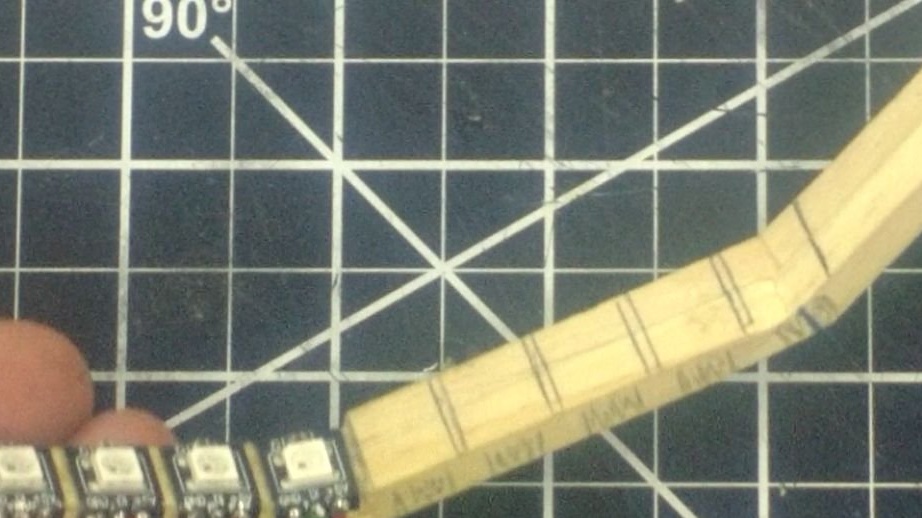
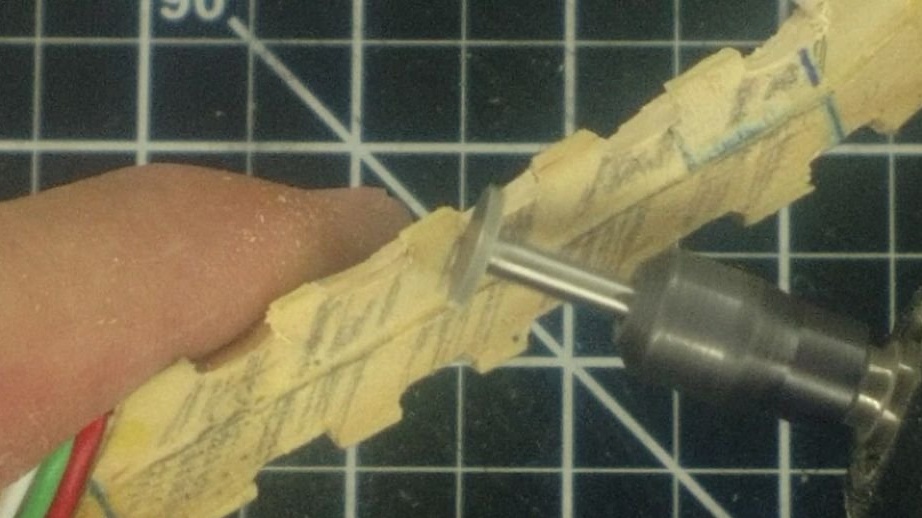
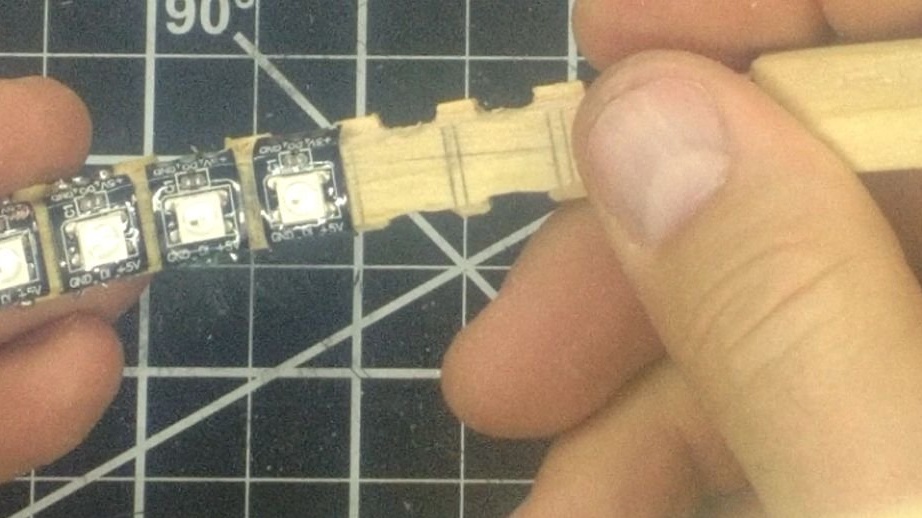
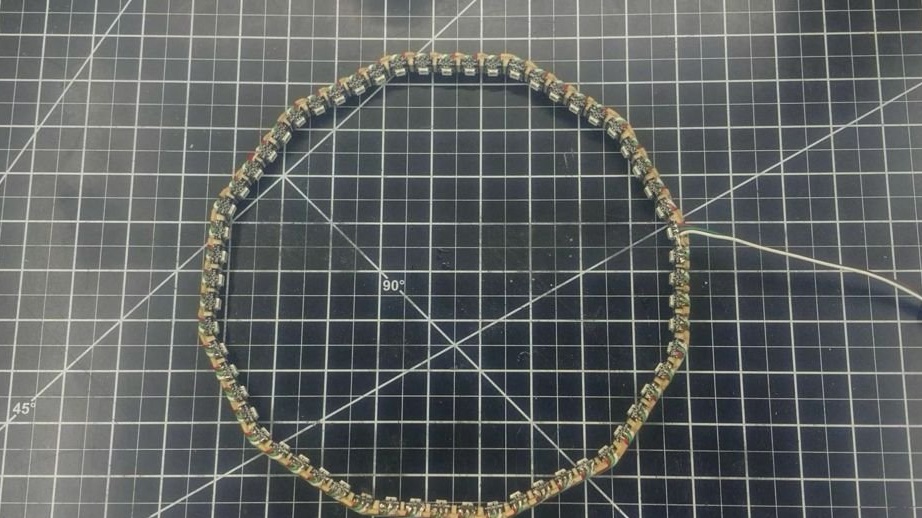
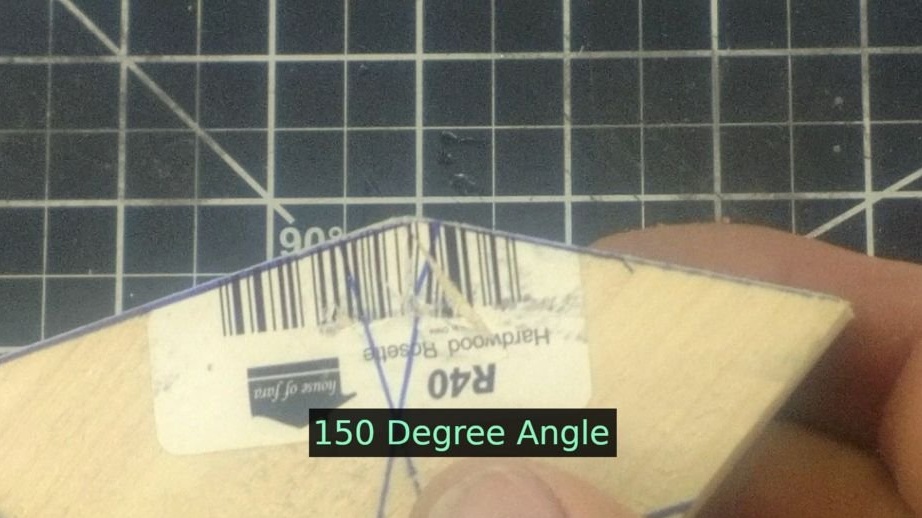
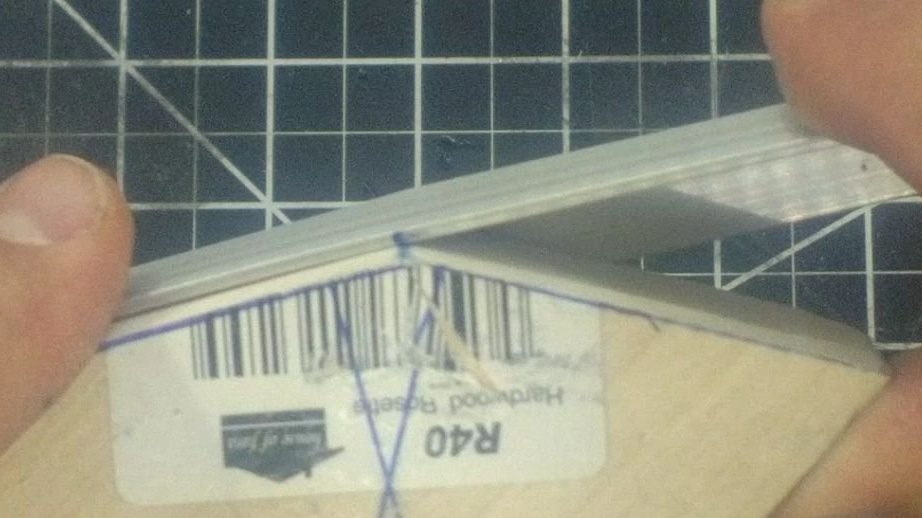
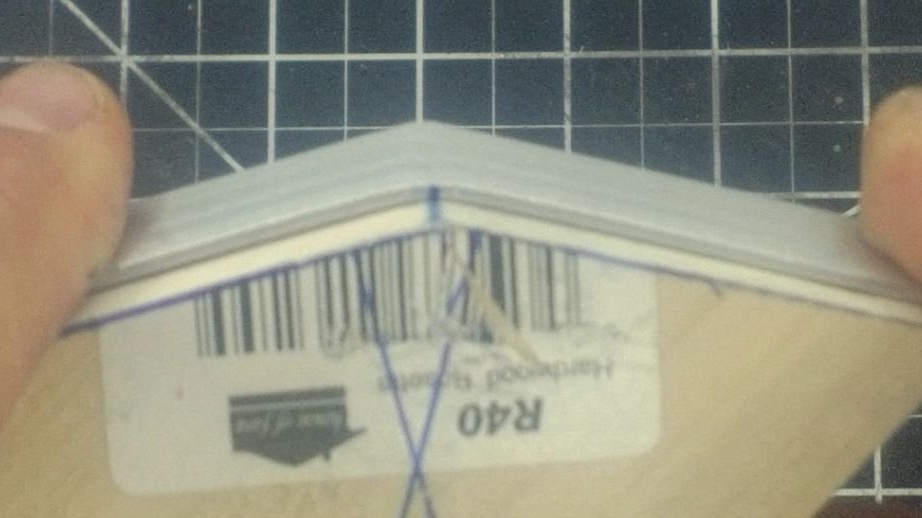
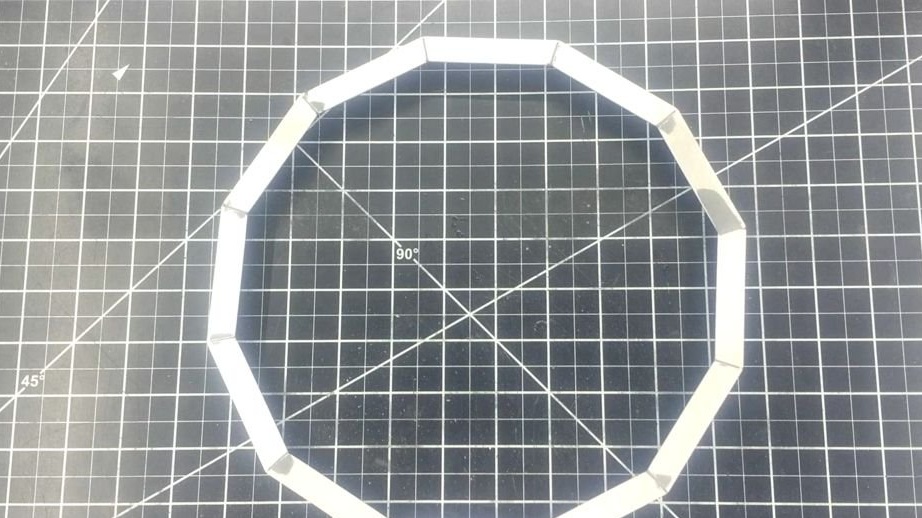
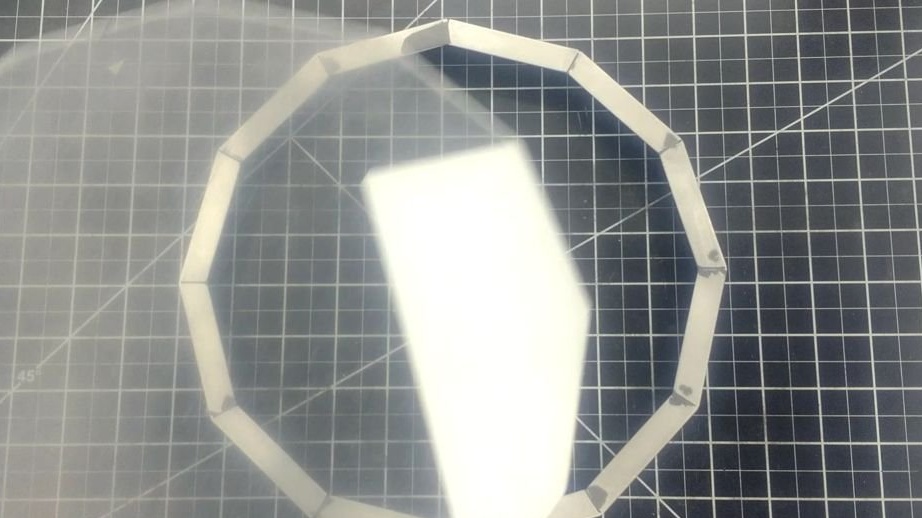
The frame for the LEDs will be made of wooden sticks cut at an angle of 30 degrees. First, the master drew a template. Then he cut out 24 sticks, 12 for each tier. The length of one stick is 73 mm. Then they stick together the first tier as a whole.

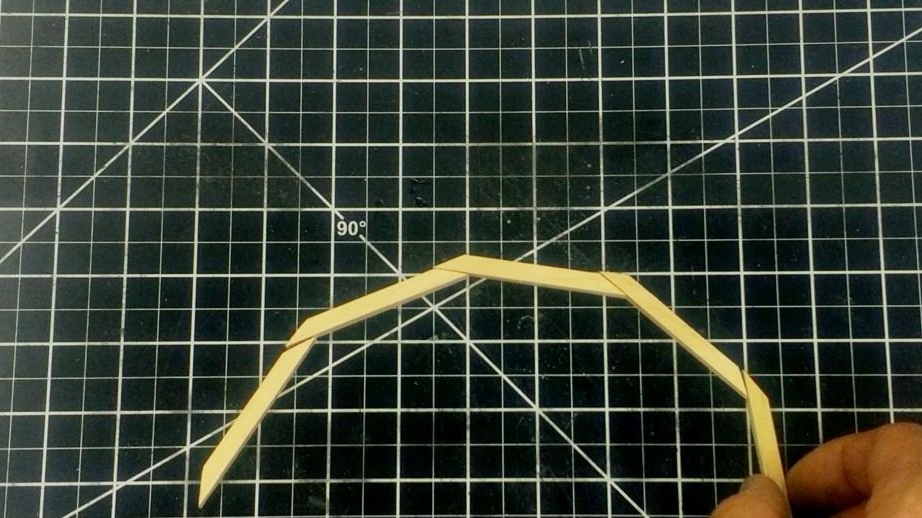
On the first tier sticks sticks of the second tier. After drying, the joints are polished.

Step Two: LEDs
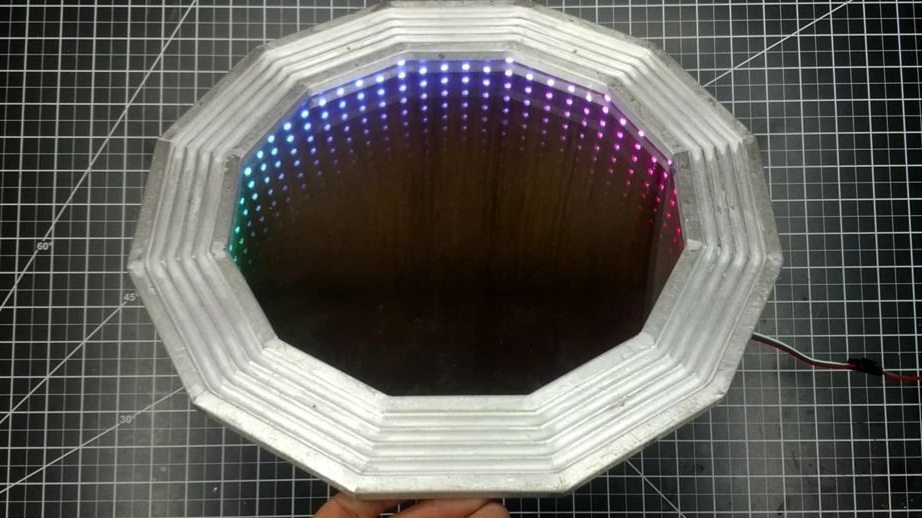
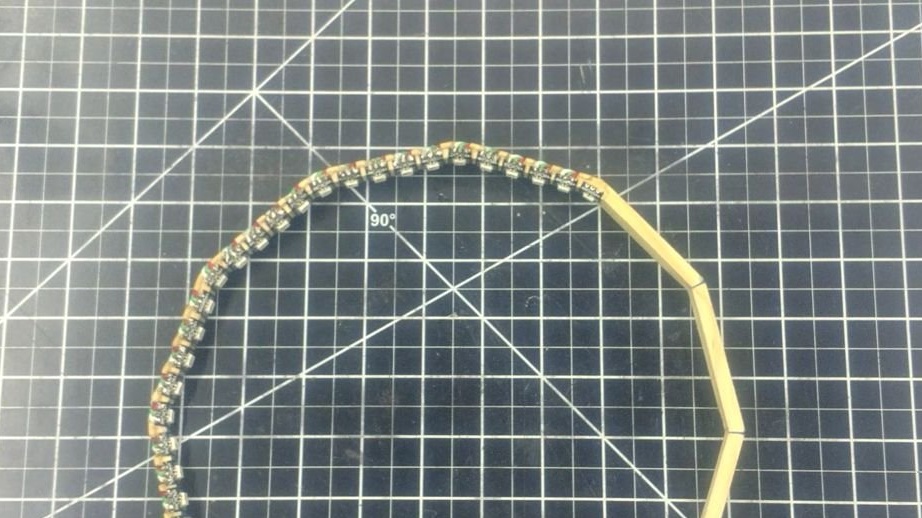
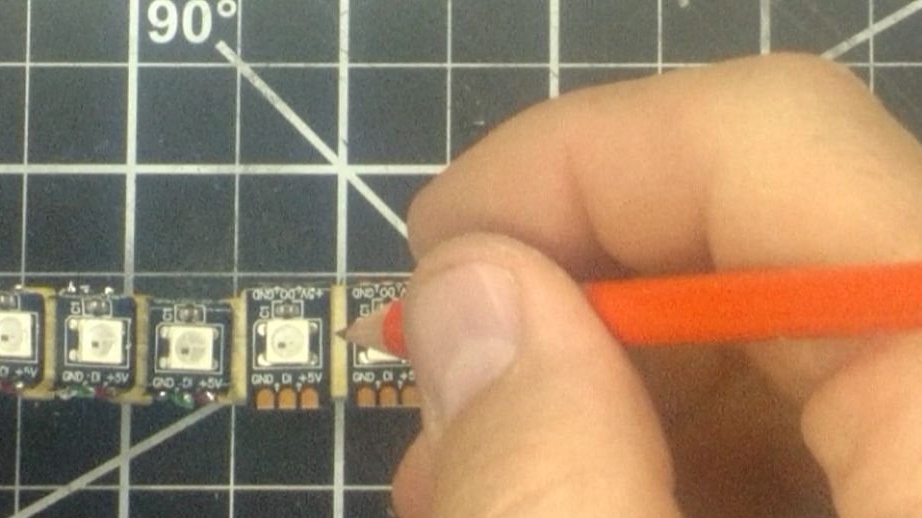
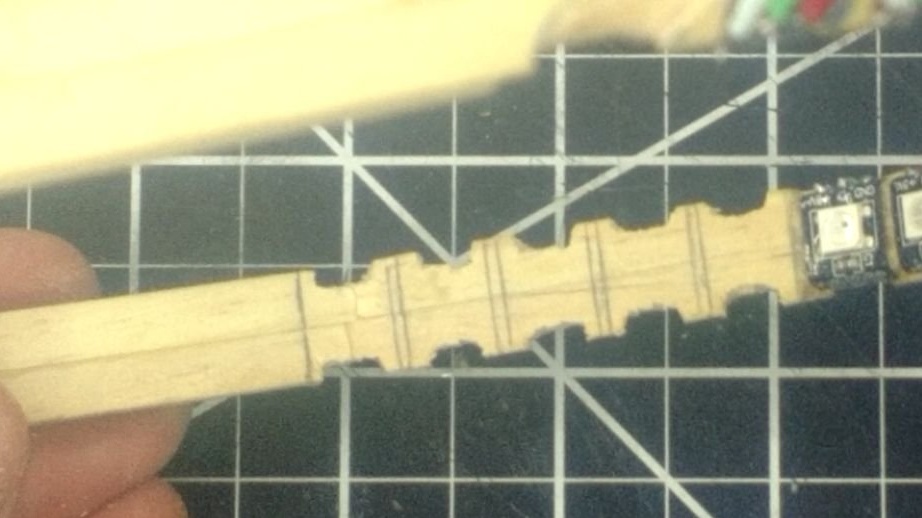
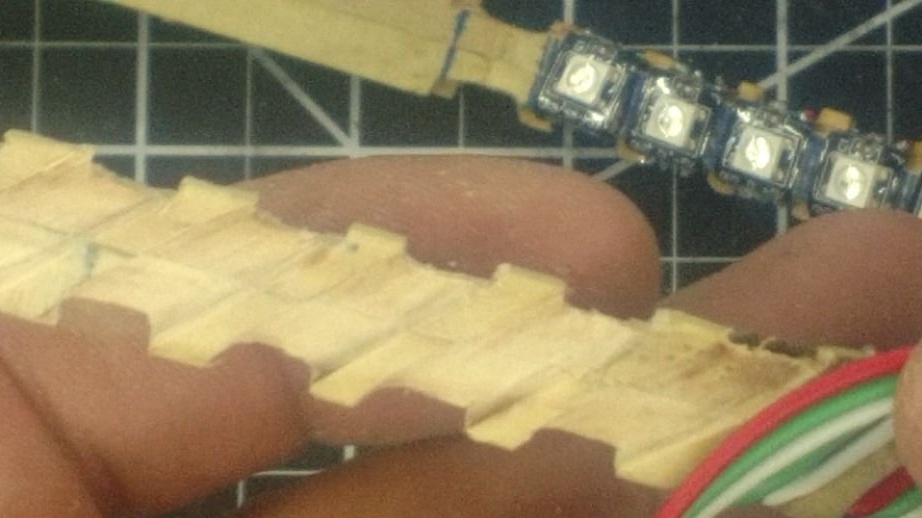
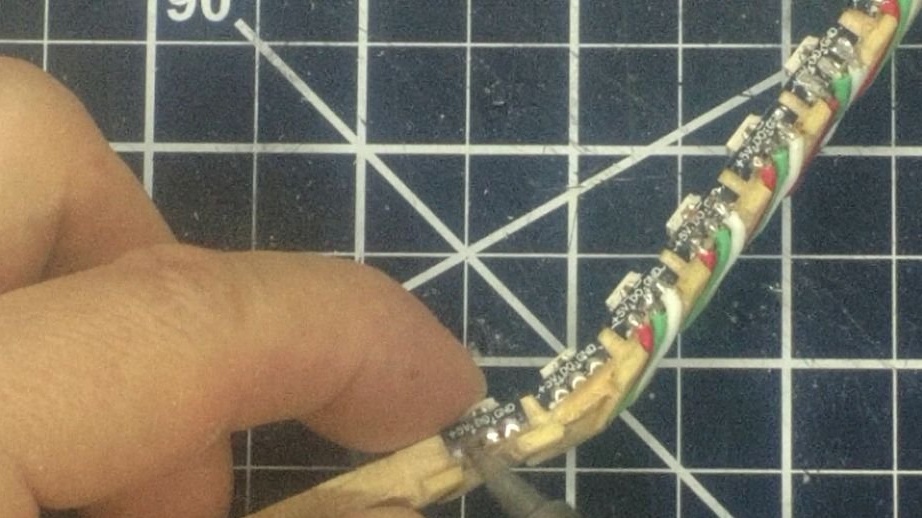
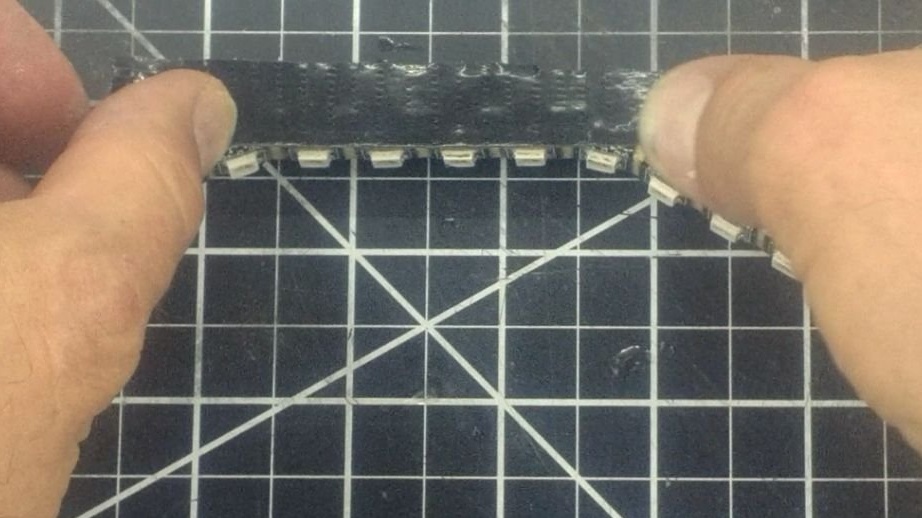
The LEDs used in the project are addressable. They were located on the tape, but the distance between them was too large and the master cut the tape into separate LEDs. As we already know, the frame consists of 12 segments. Each segment has four LEDs + one in the corners. Thus, 60 LEDs are obtained, just by the number of seconds in a minute or minutes in an hour.
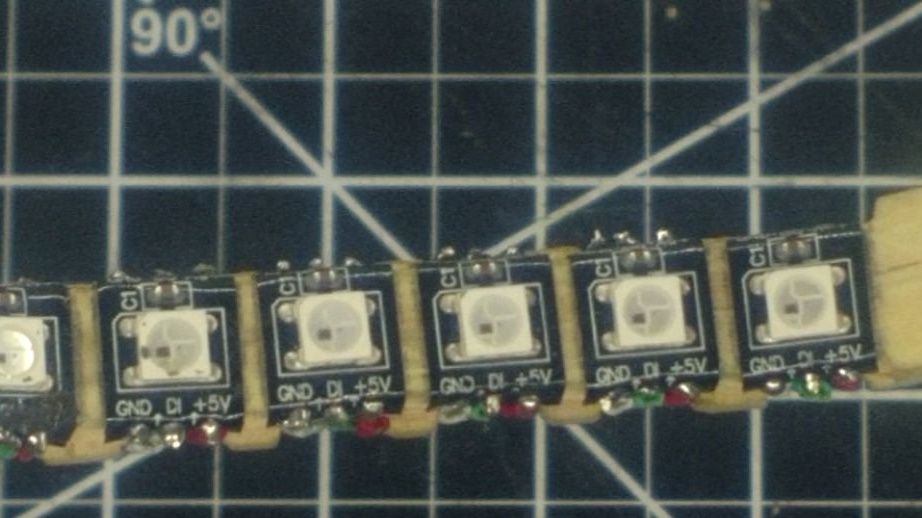
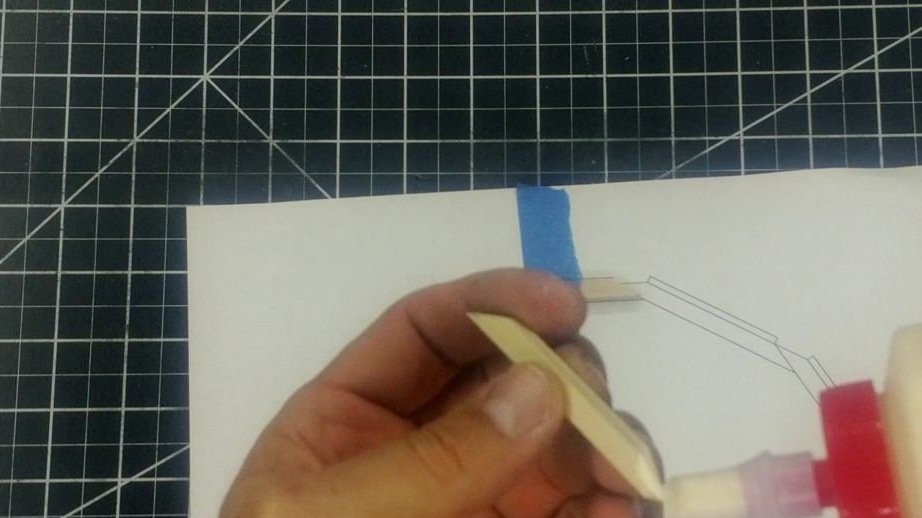
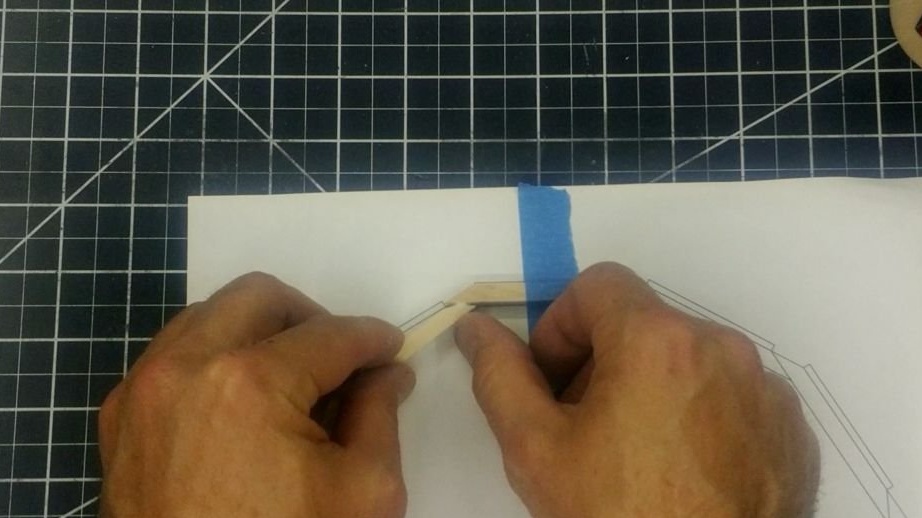
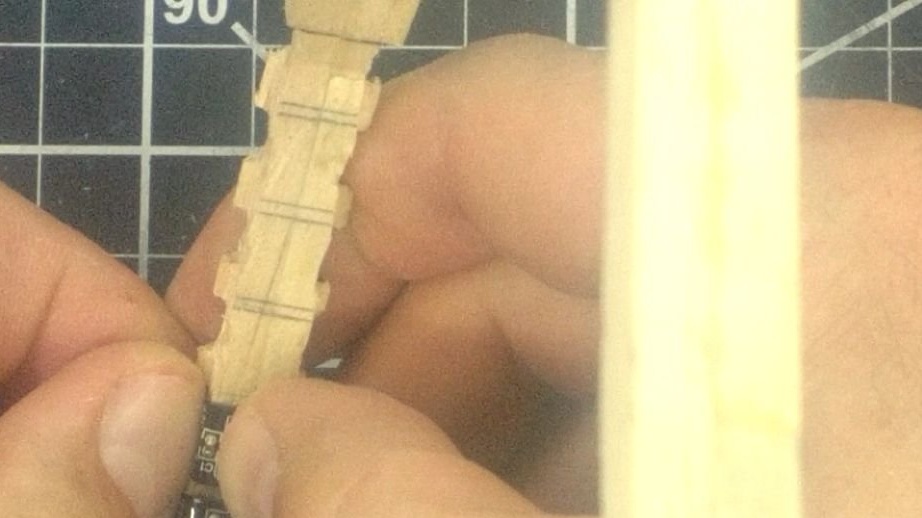
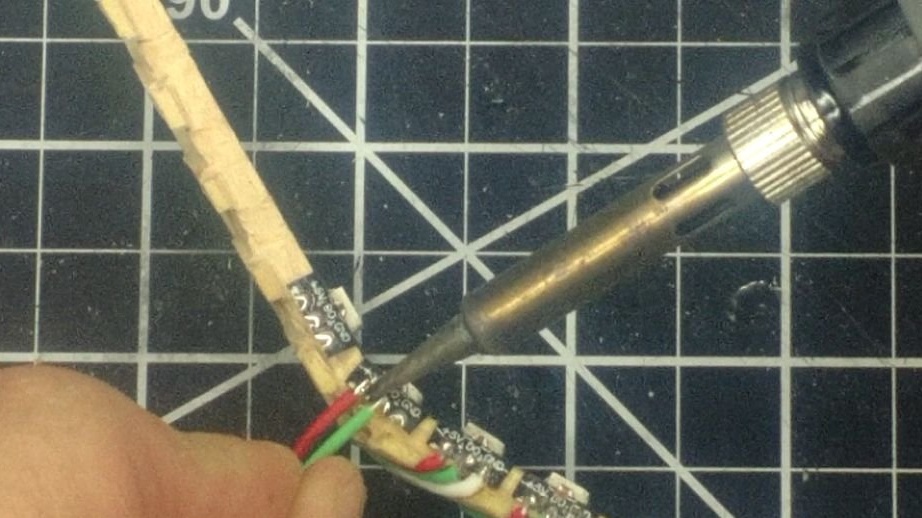
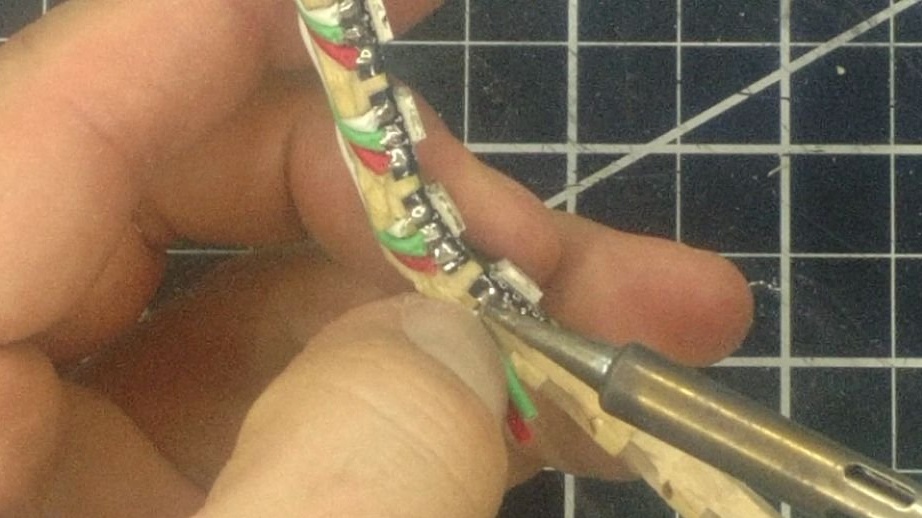
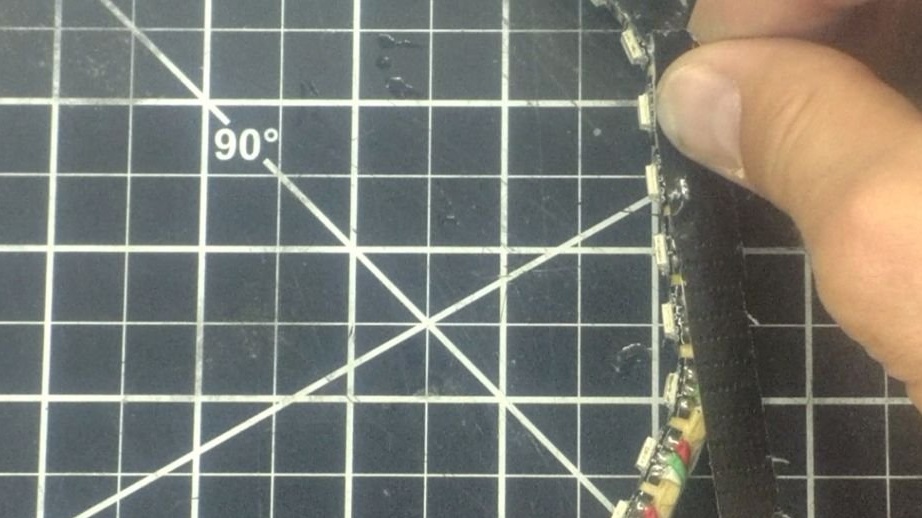
The wires will need to be soldered to the LED contacts. So that they do not protrude, the master marks and makes cutouts in a wooden frame.

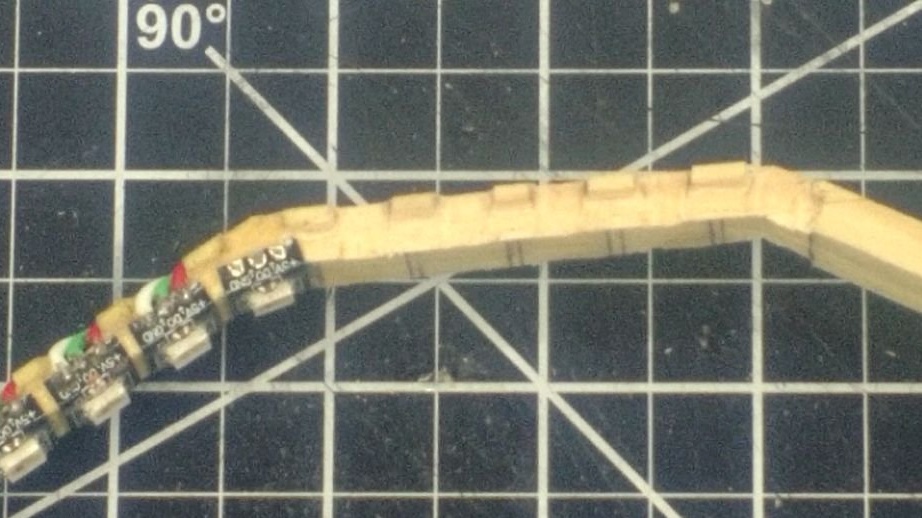
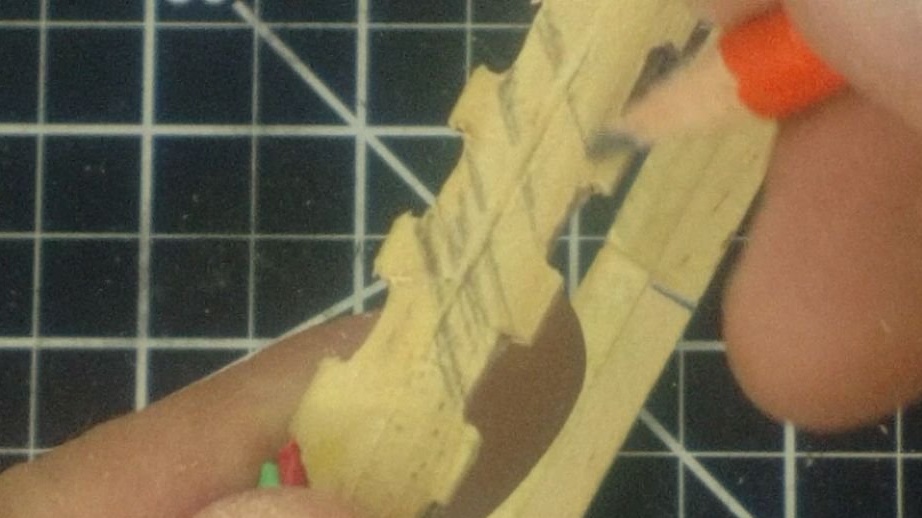
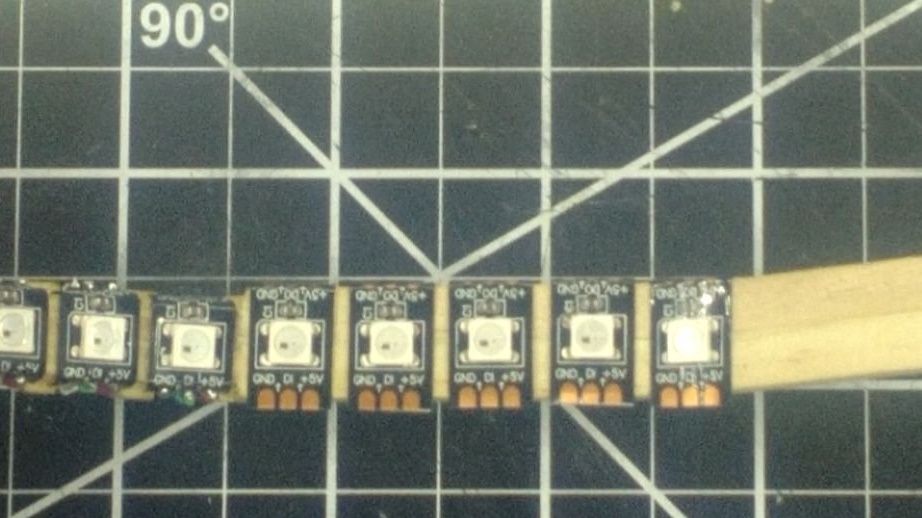
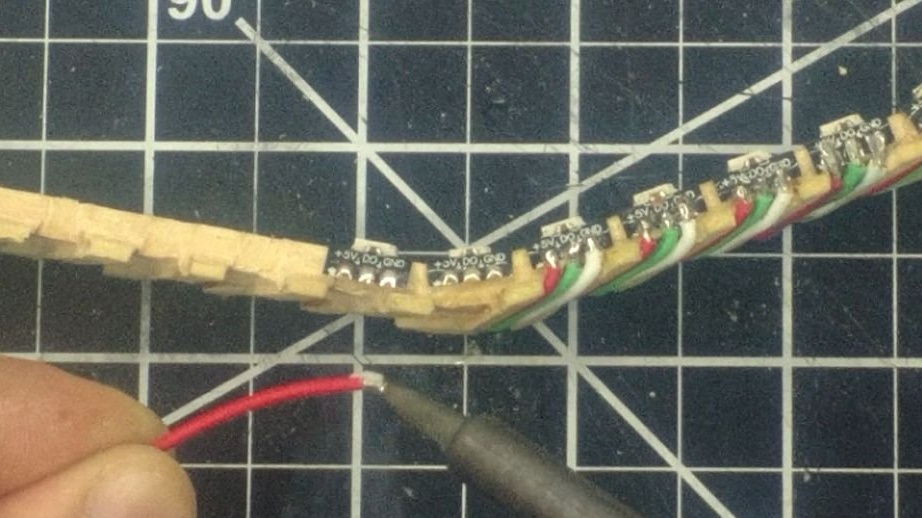
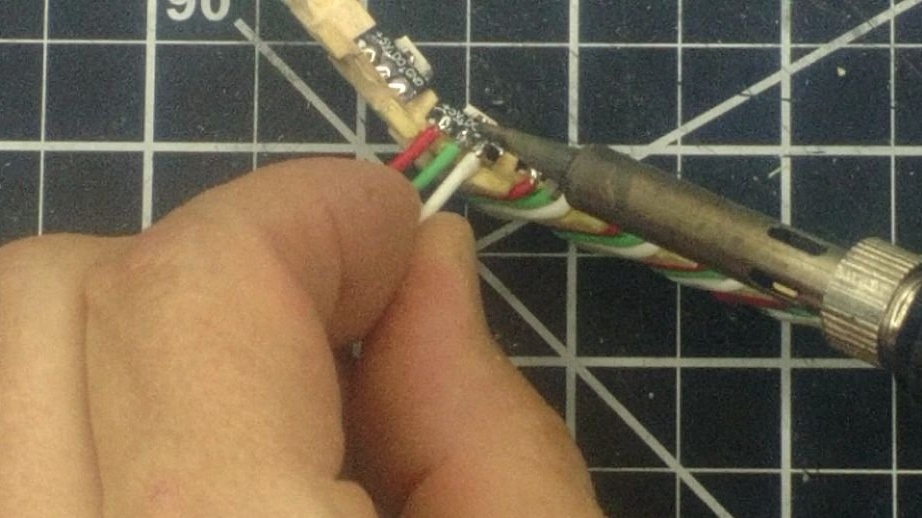
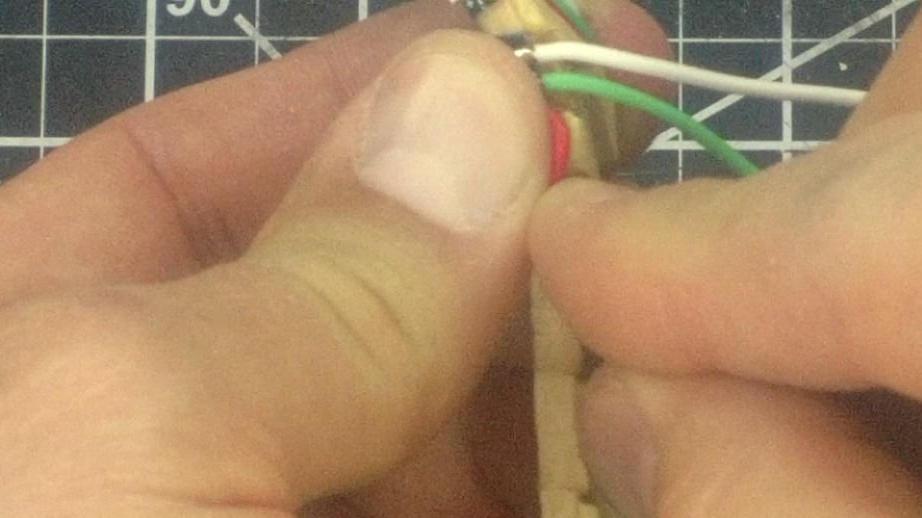
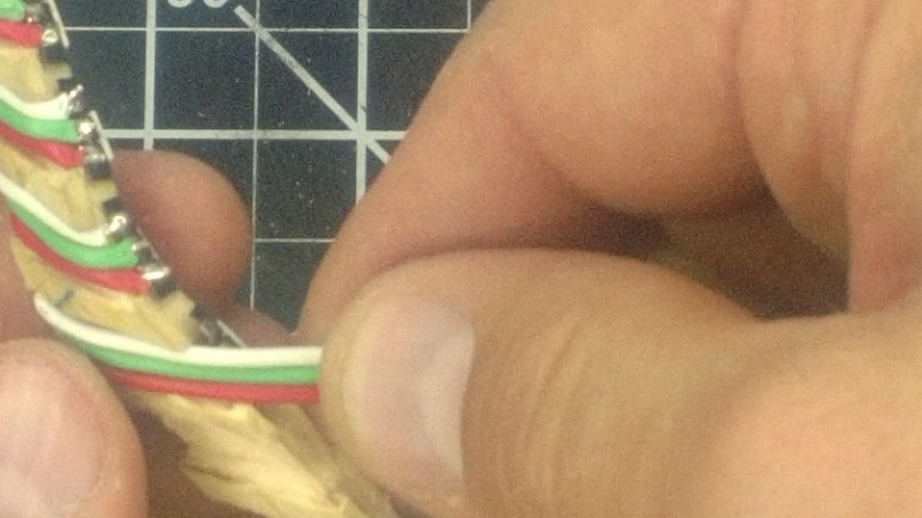
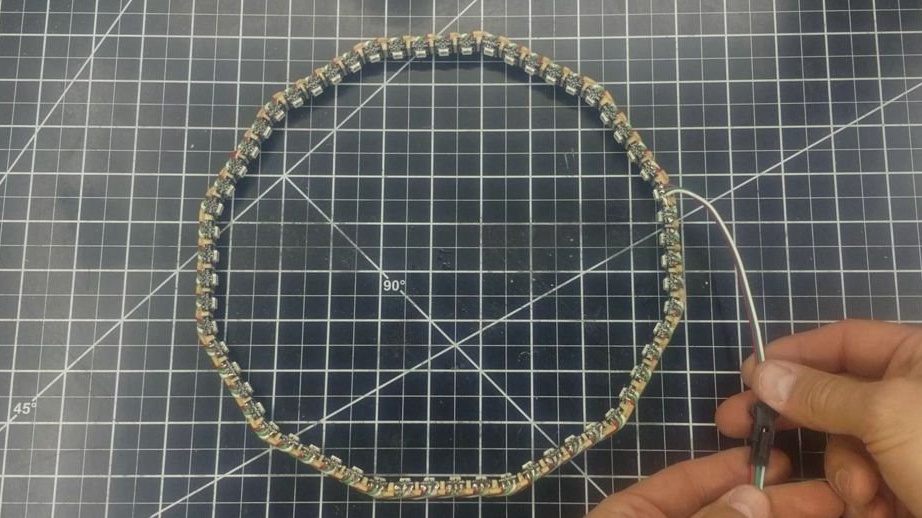
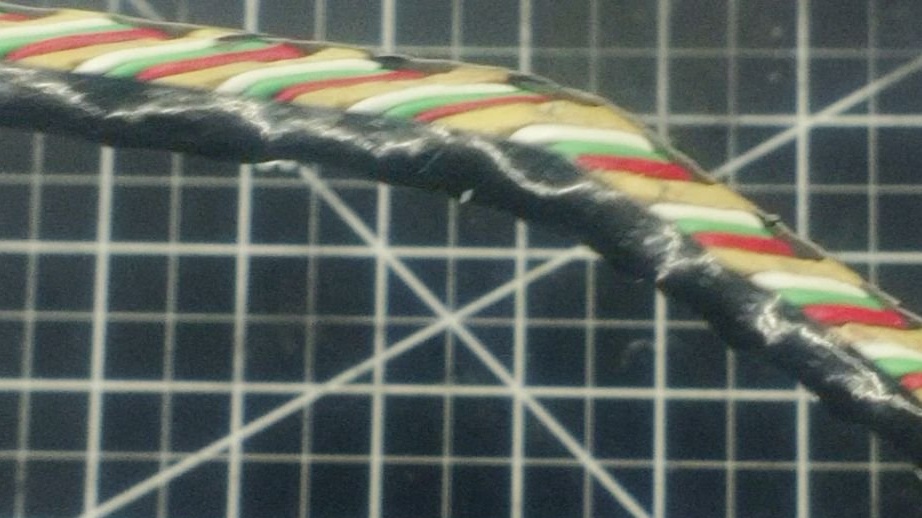
Each LED is installed in its place and its copper contacts (at the ends) are crimped around a wooden frame. Then the wires are sequentially soldered to the LEDs. Red to 5+, green to data, white to minus. At the end, the last and first LEDs are connected 5+ and minus.The green wire is installed in the connector. Also, red and white wires from the first LED are installed in the connector.
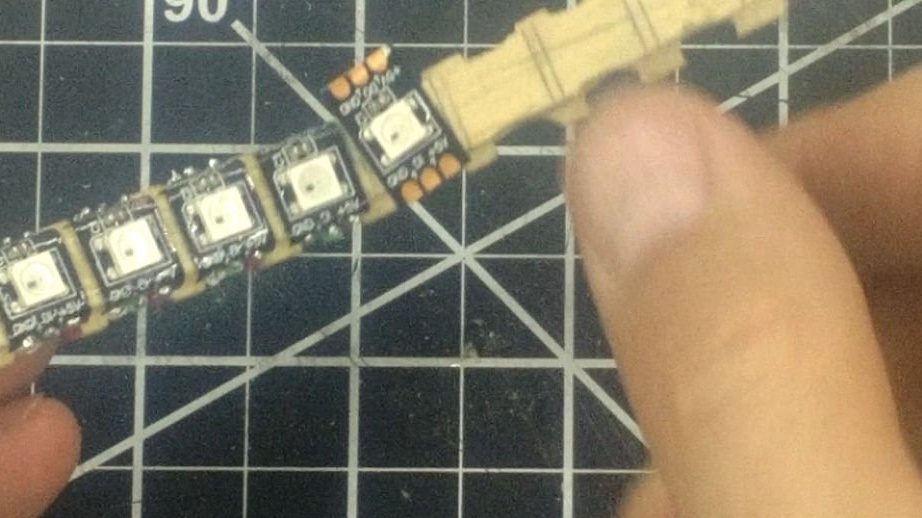
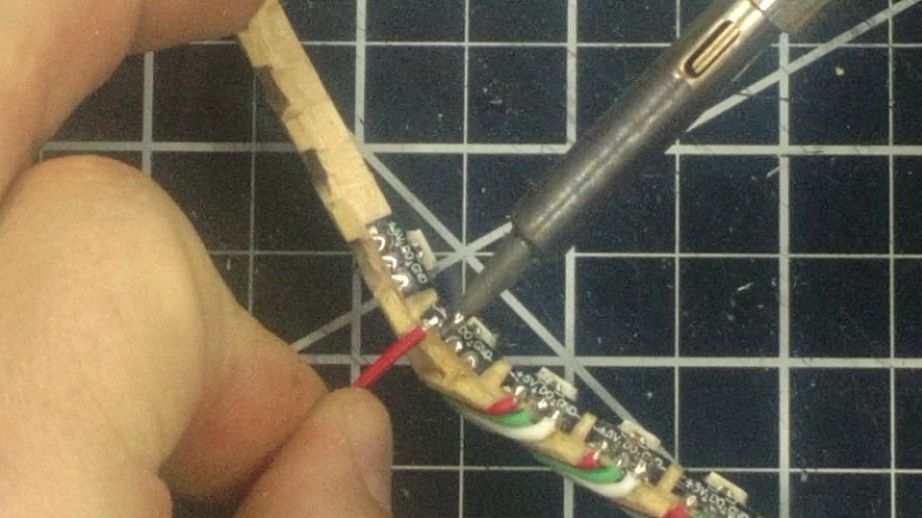
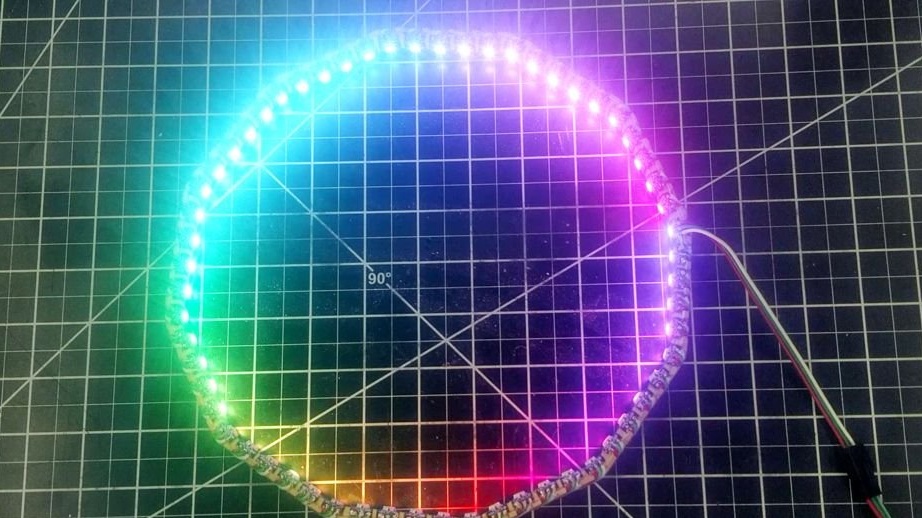
Connects a controller to the connector and checks the operation of the LEDs. A few pieces had to be replaced.


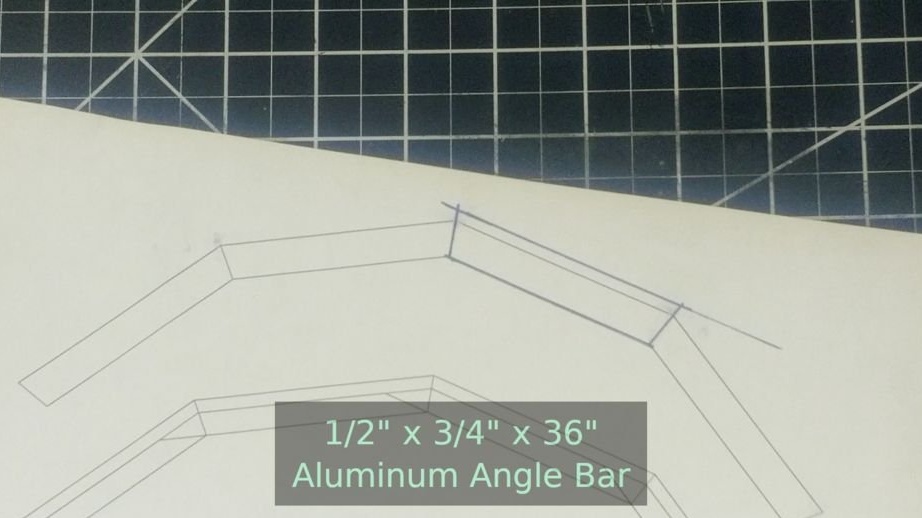
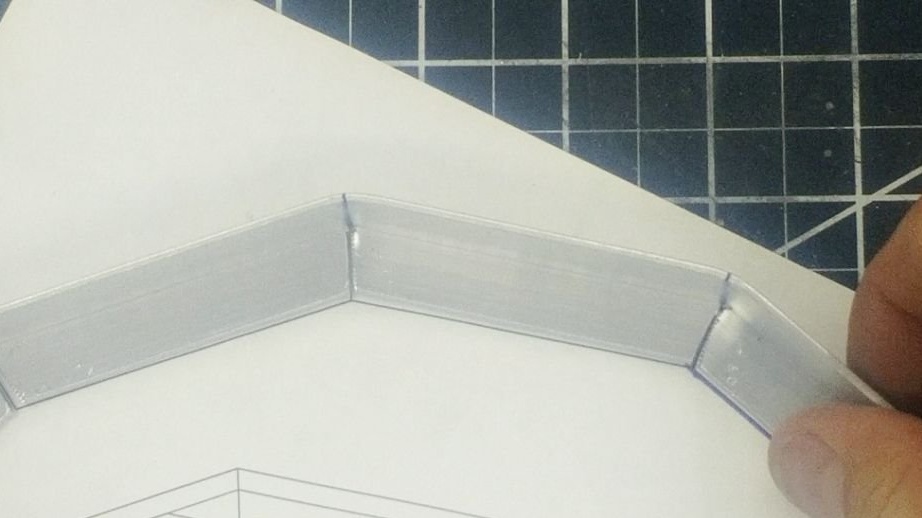
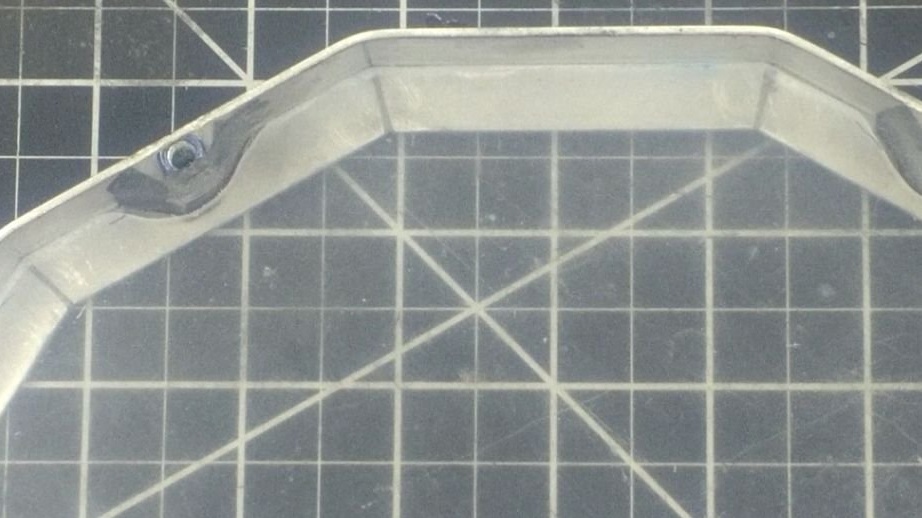
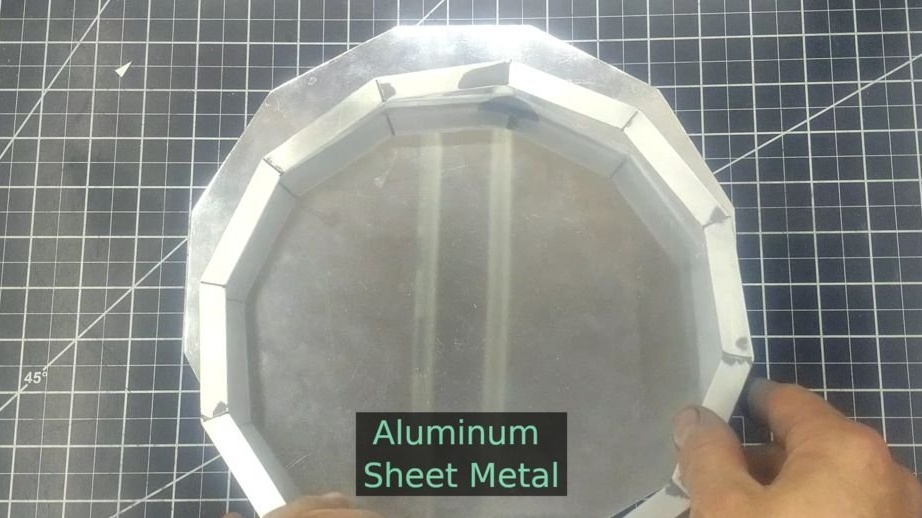
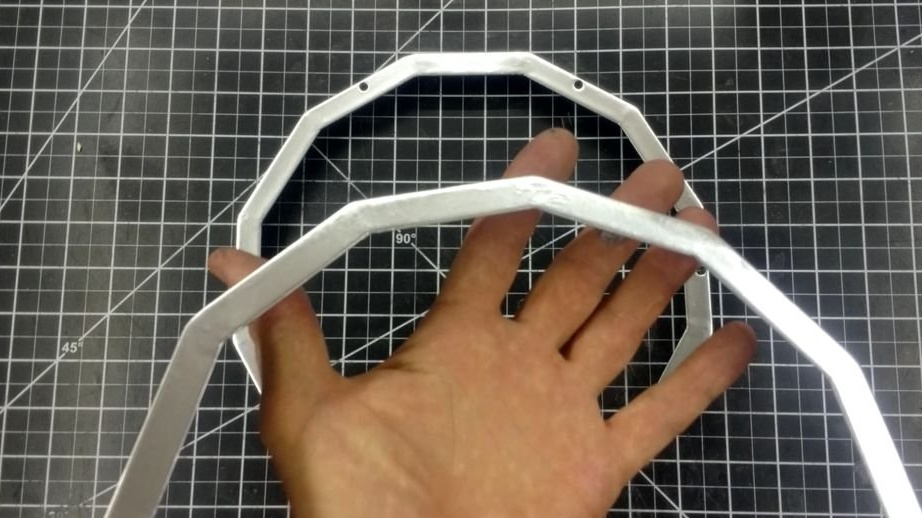
Step Three: Aluminum Case
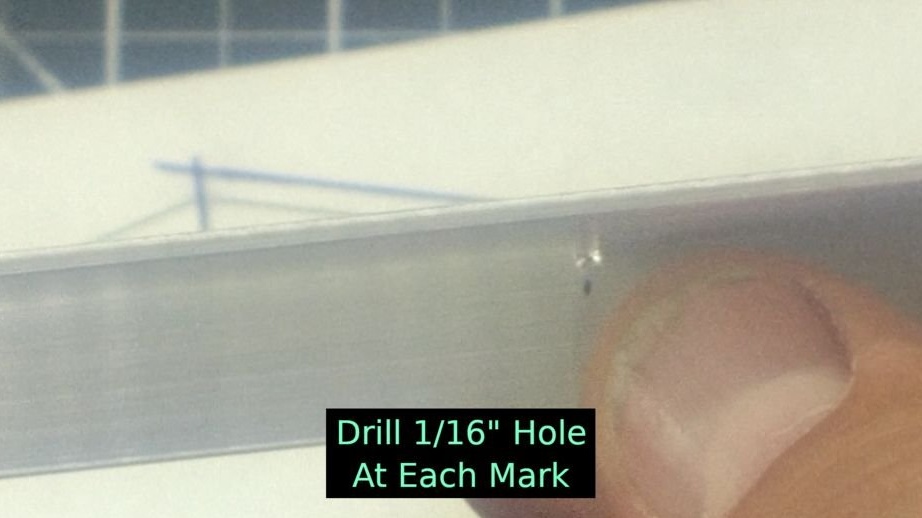
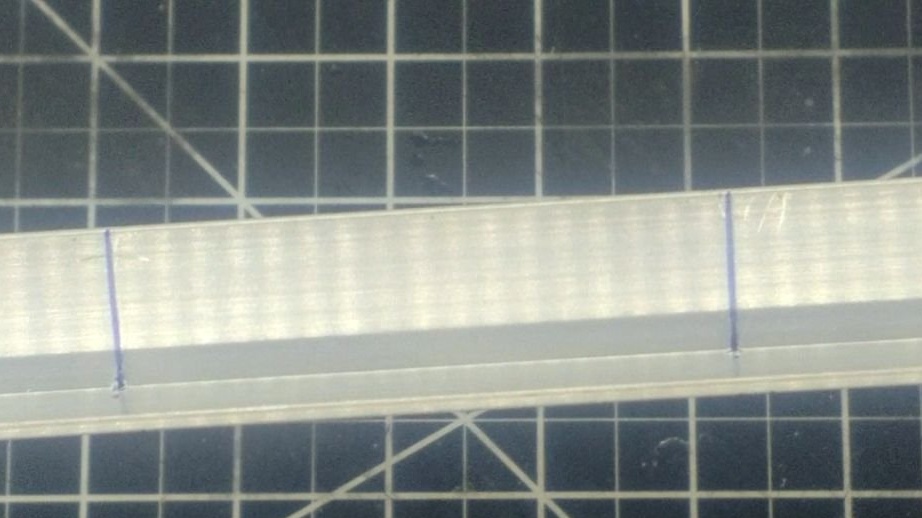
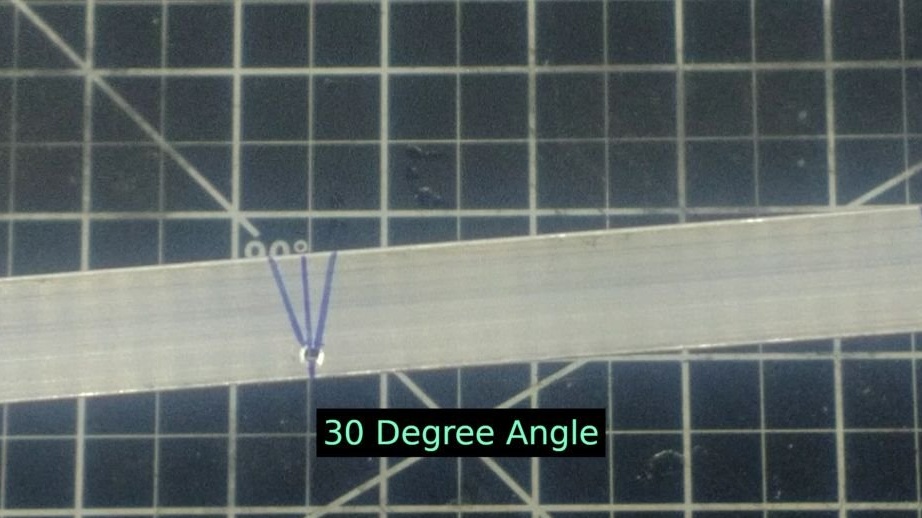
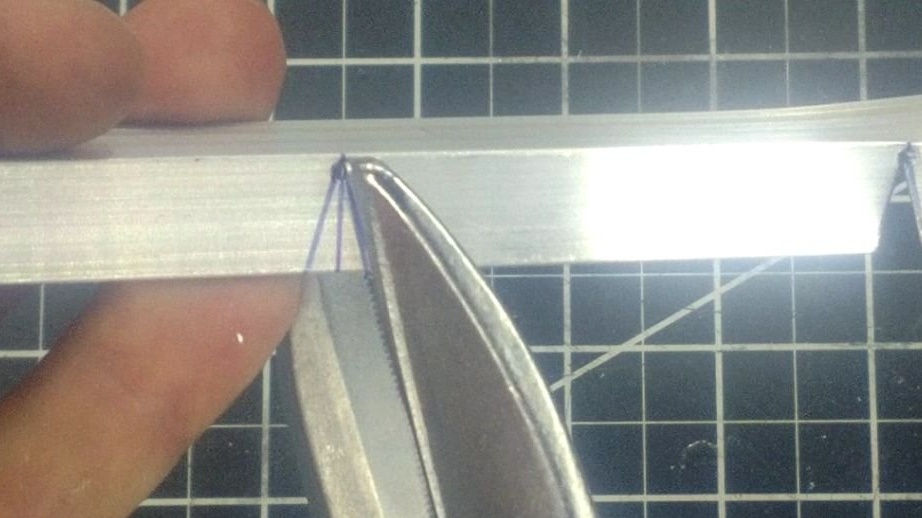
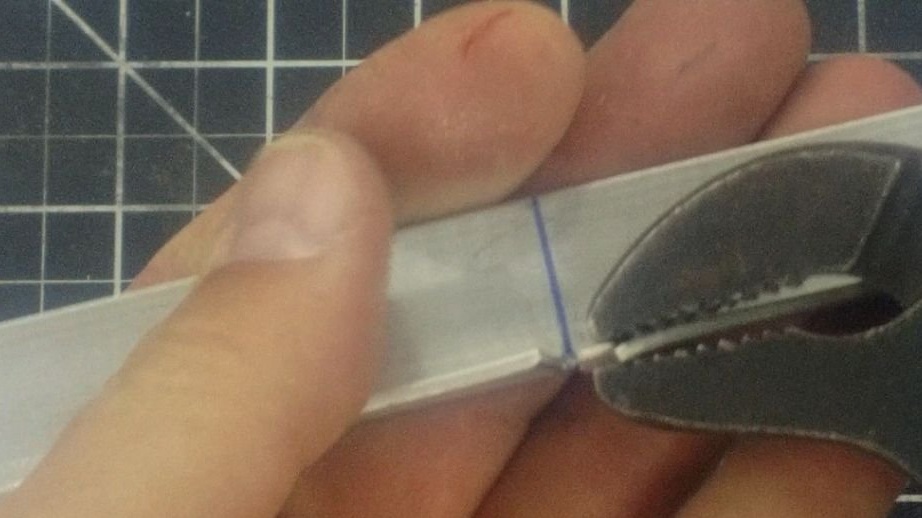
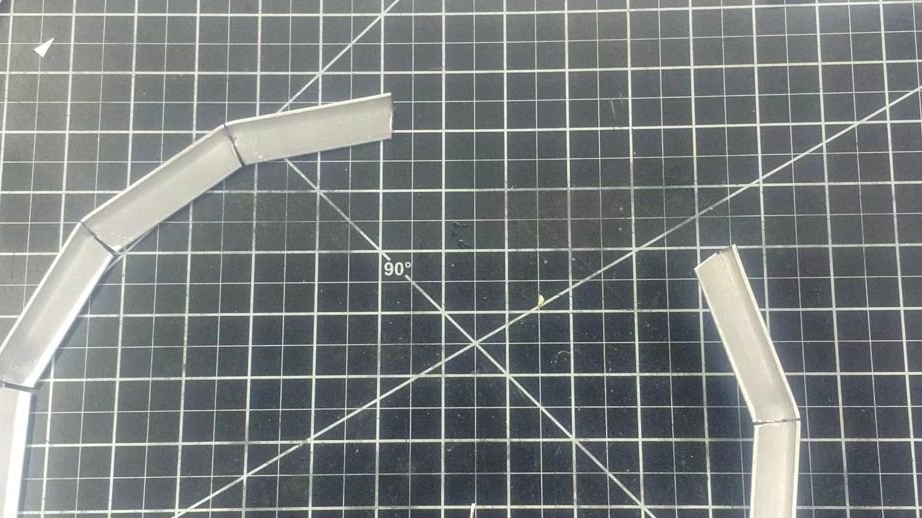
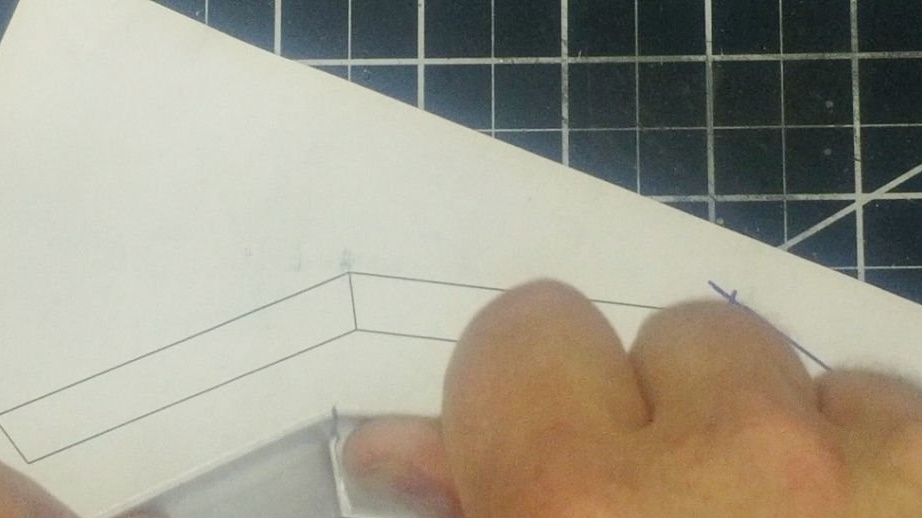
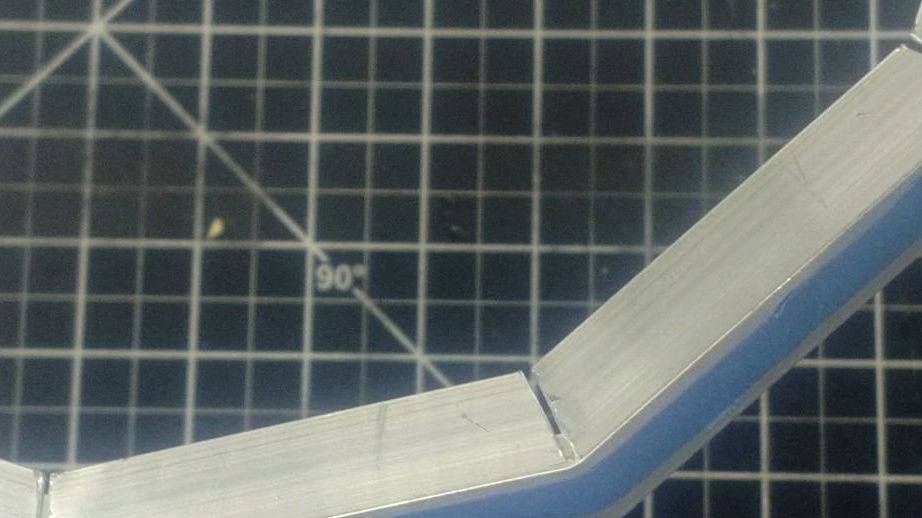
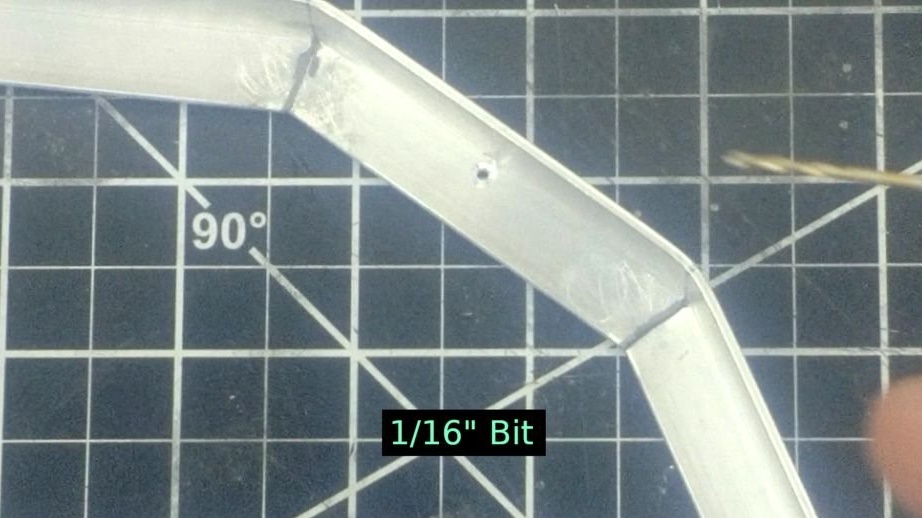
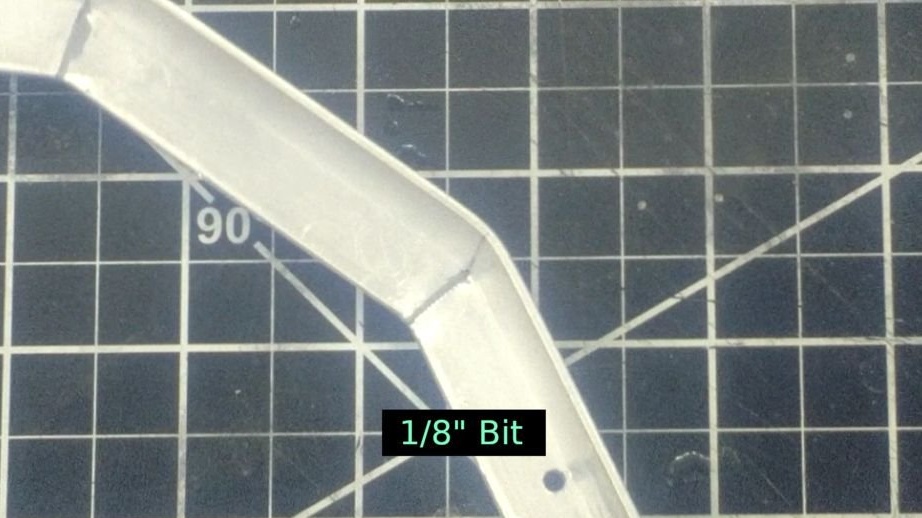
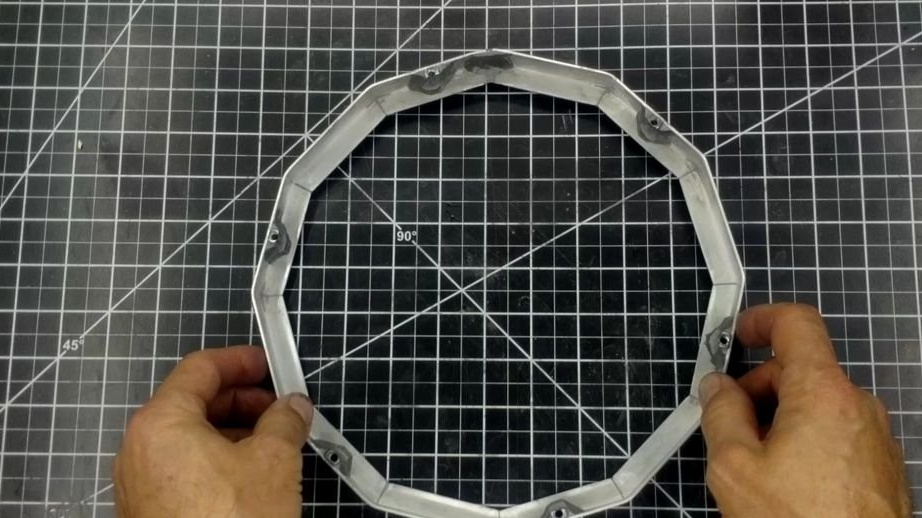
Now you need to make the case. His master will make from an aluminum corner. The master draws a template and marks twelve segments using the template. Then you need to drill a hole and cut the metal at an angle. Then the corner bends into one. It is necessary to prepare two such blanks.

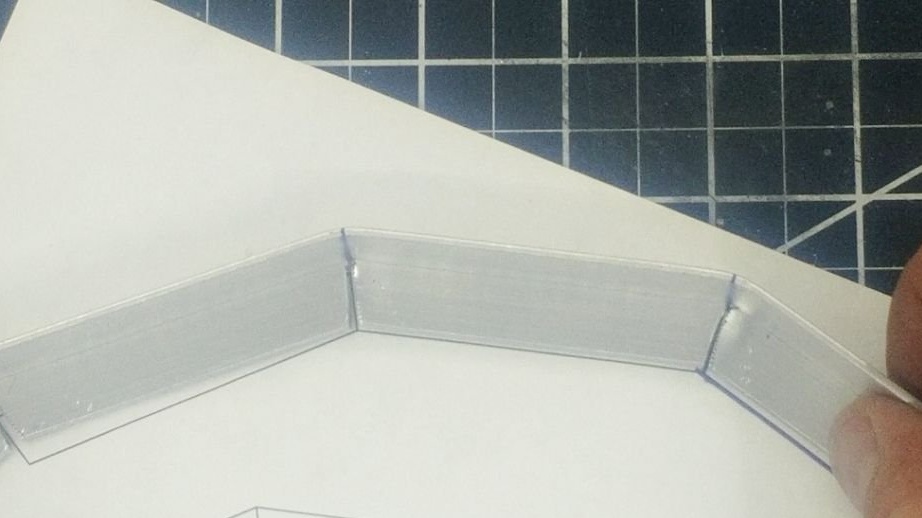
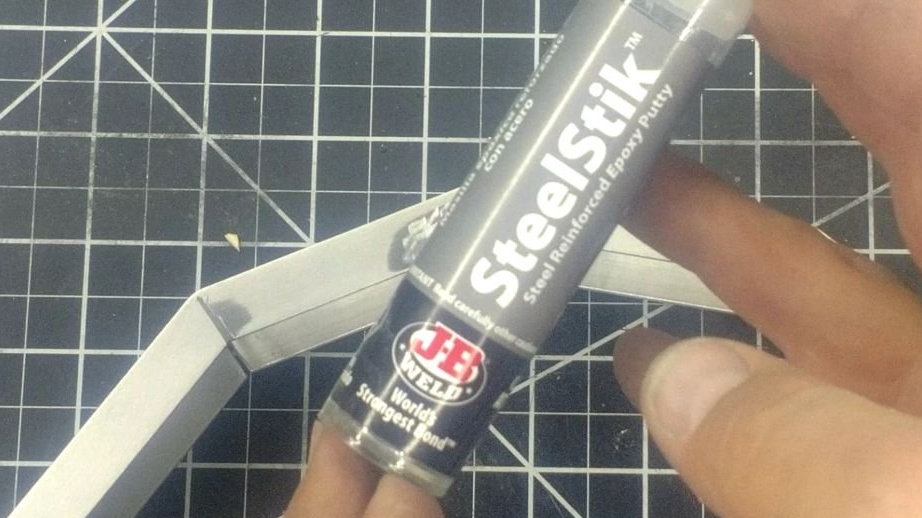
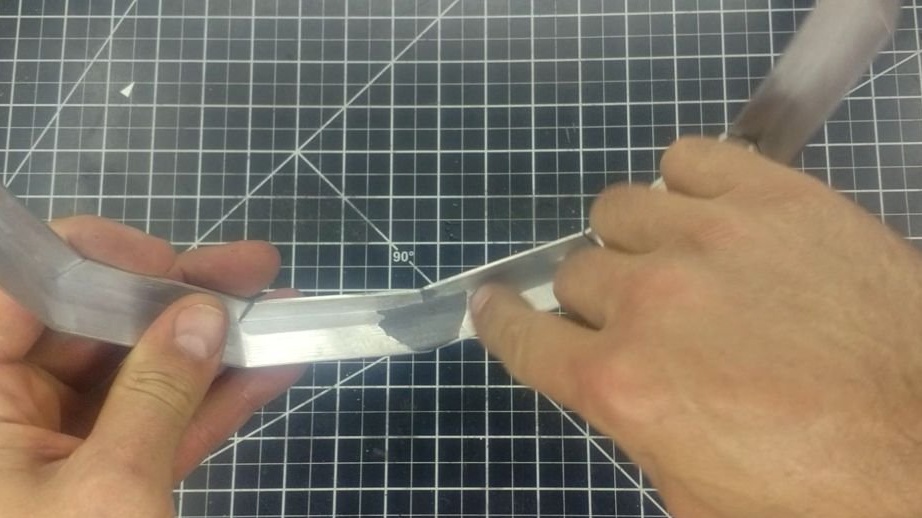
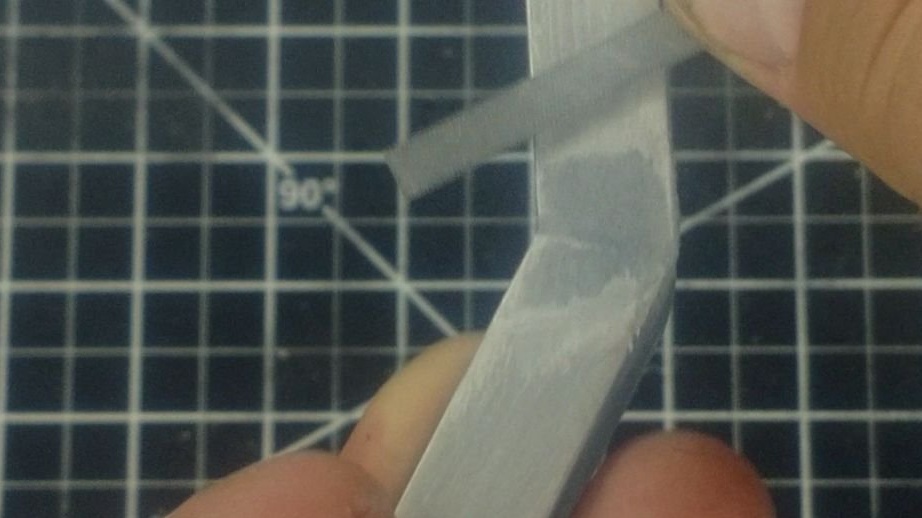
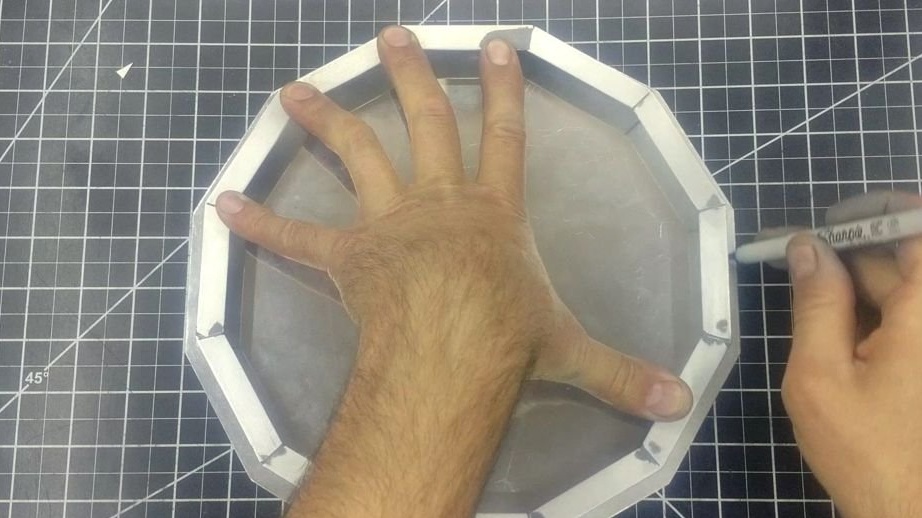
Fixes two blanks together with masking tape. The seams, on both workpieces, are filled by cold welding. On those joints where the planes are conjugated tightly applies epoxy glue. After hardening, epoxy polishes cold welding.
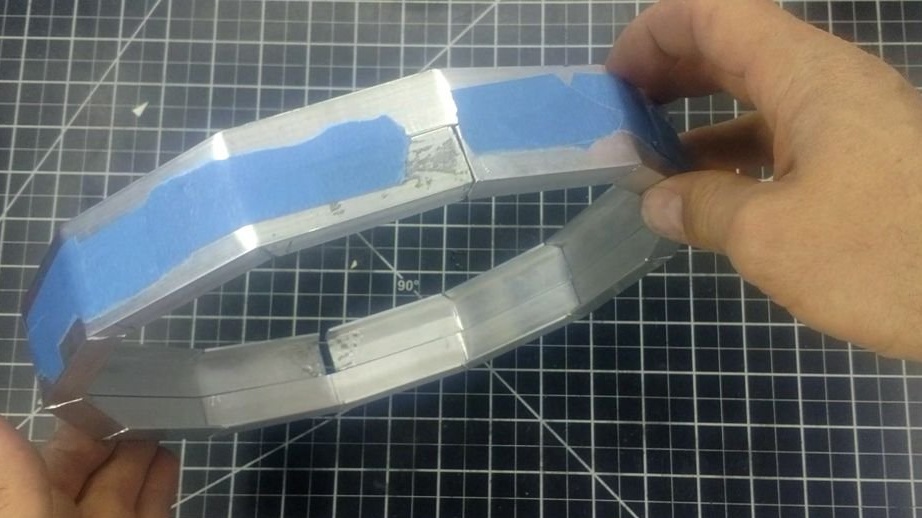
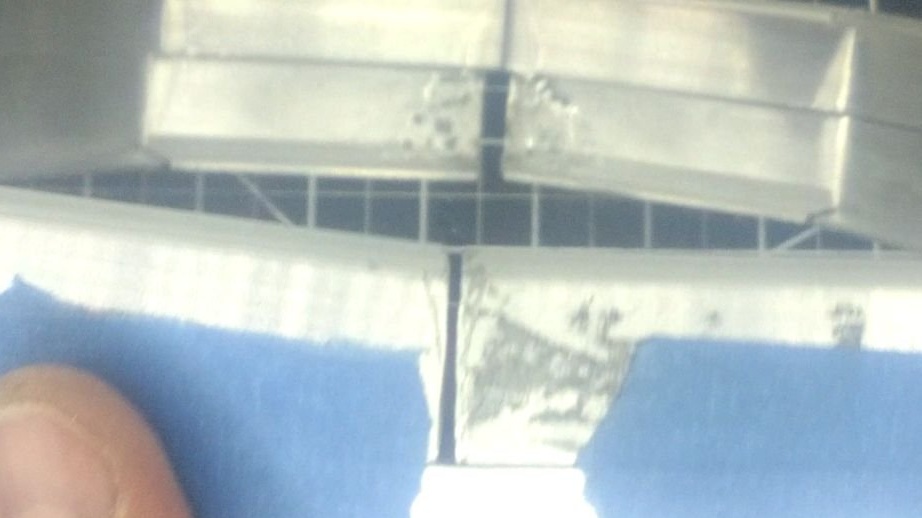
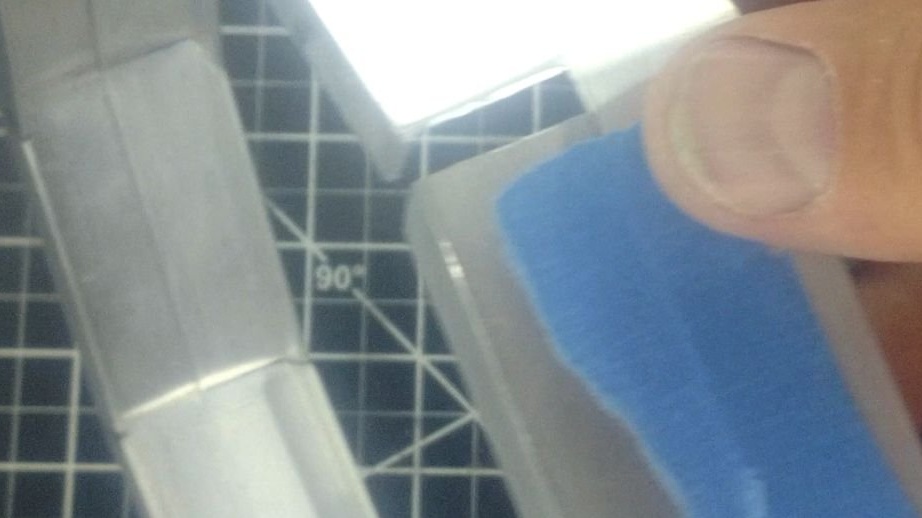

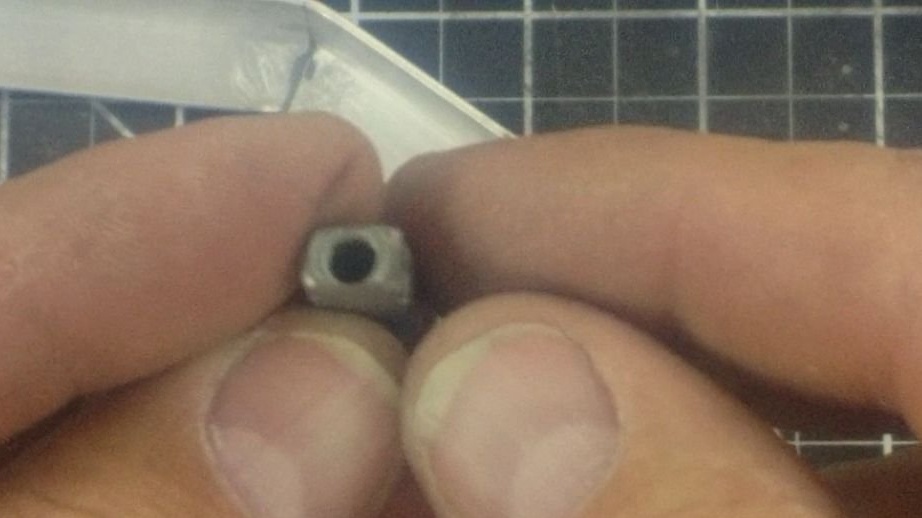
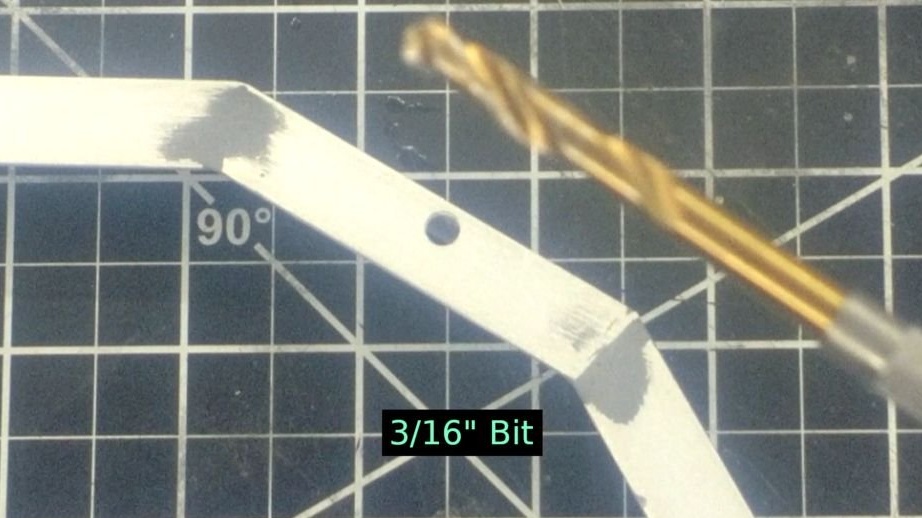
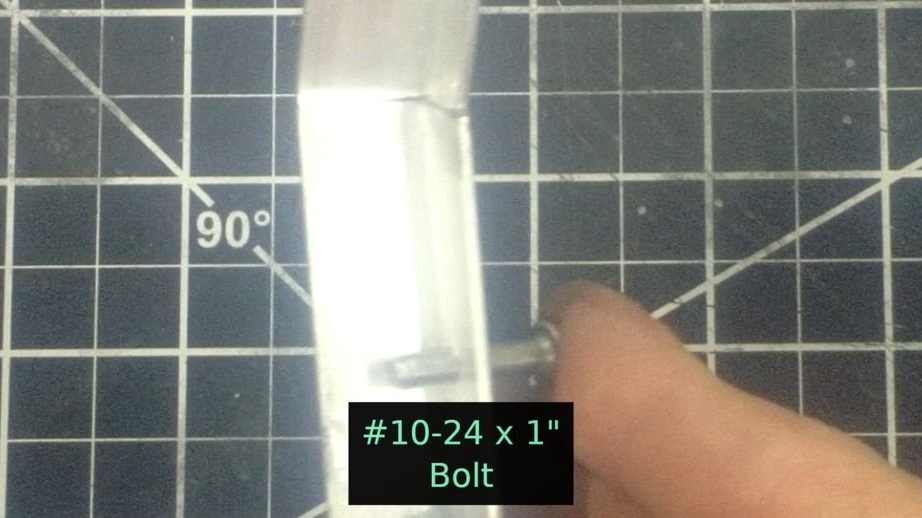
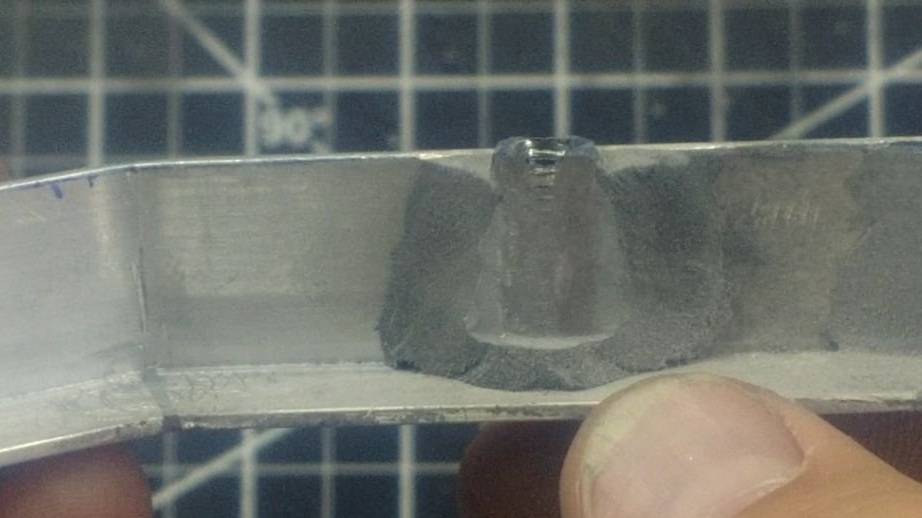
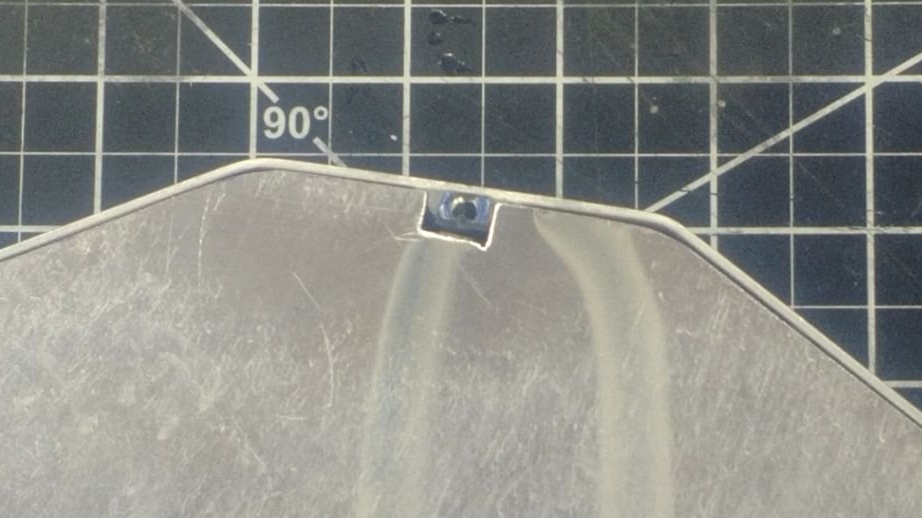
Now you need to firmly fasten the two workpieces. The master drills six holes. Inside the frame fastens with cold welding nuts. Now you can separate the two corners. The corner on which the nuts are fixed will be the front.

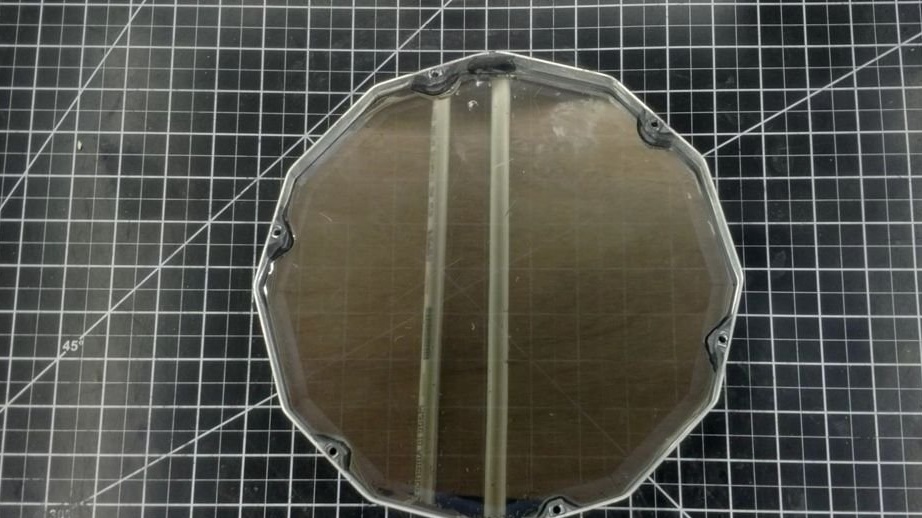
Step Four: The Inside
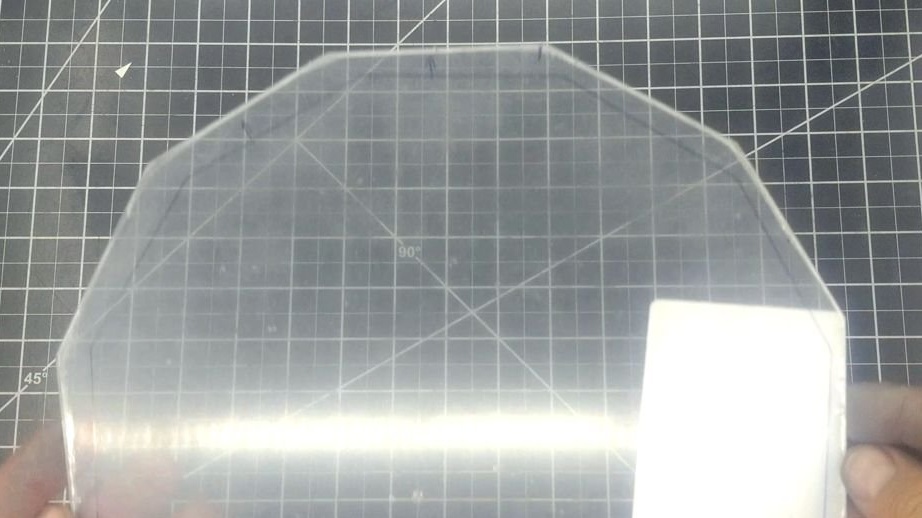
Inside the front corner you need to install acrylic. The master cuts it to the size of the inner diameter. Makes cuts in places where nuts are installed.
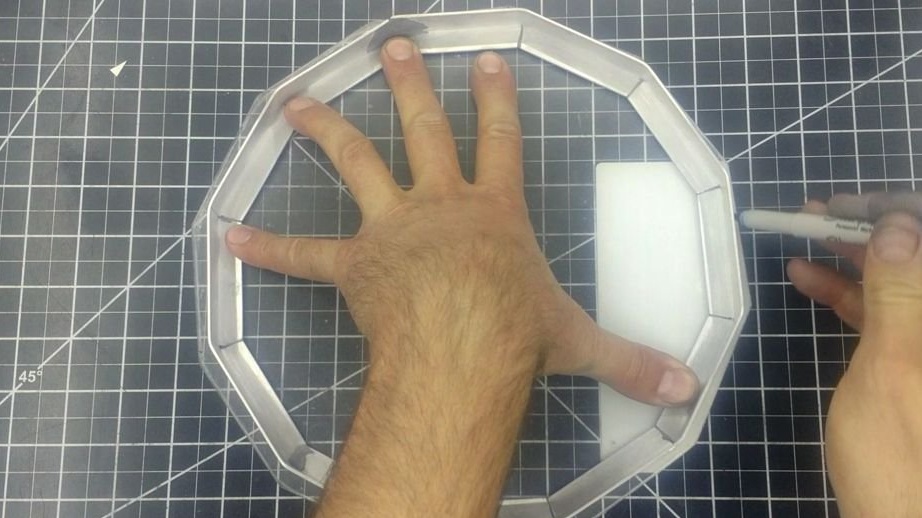
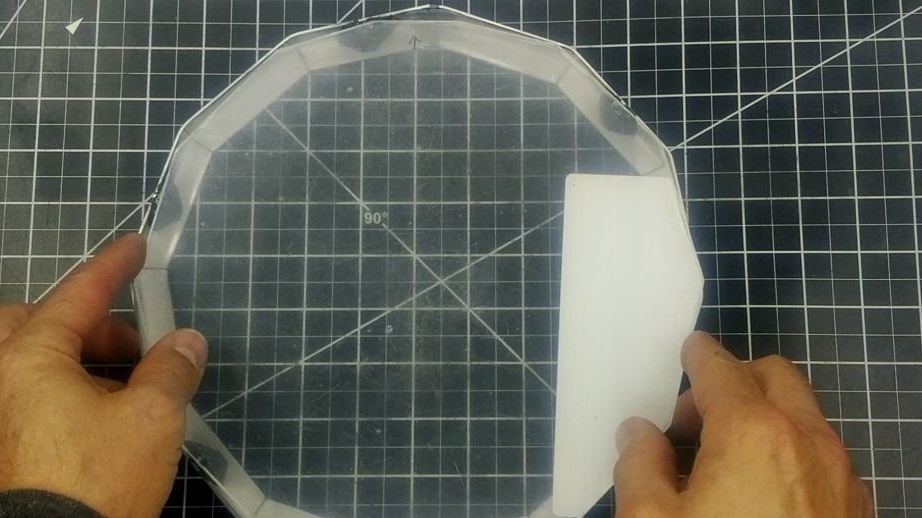
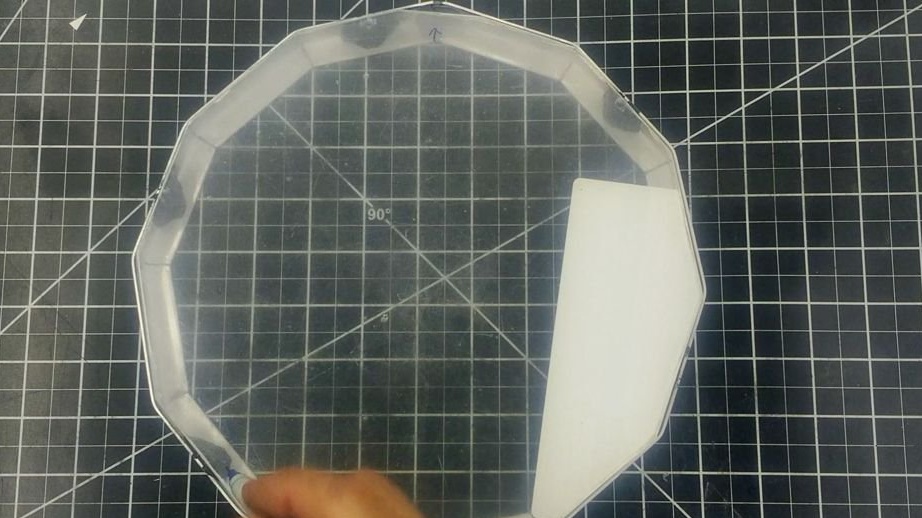
Sticks a tint film on acrylic.

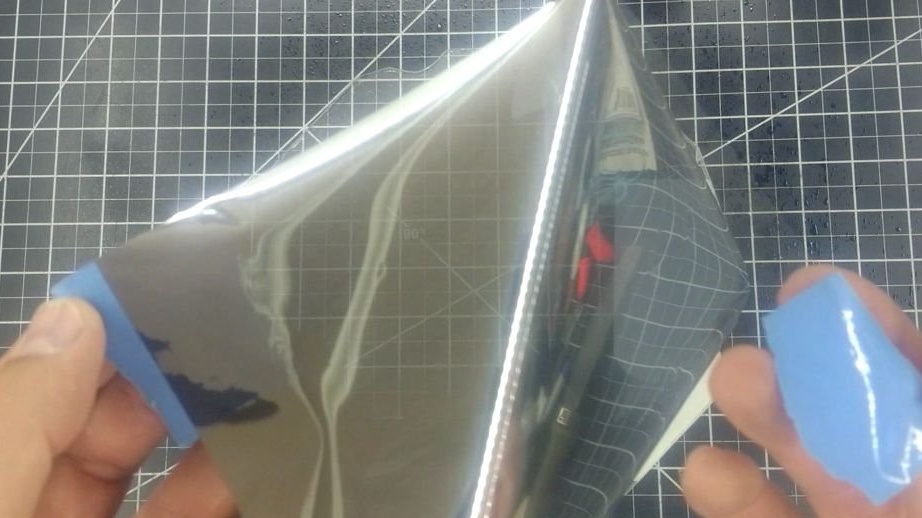
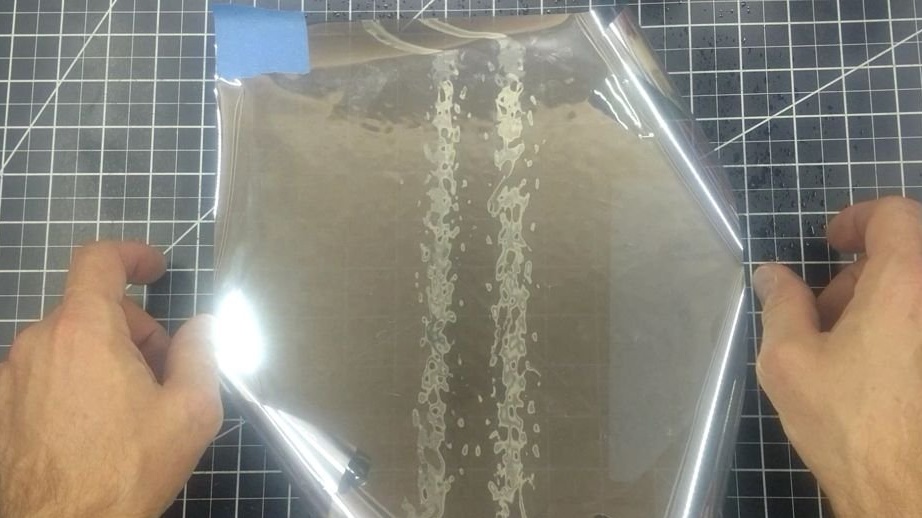

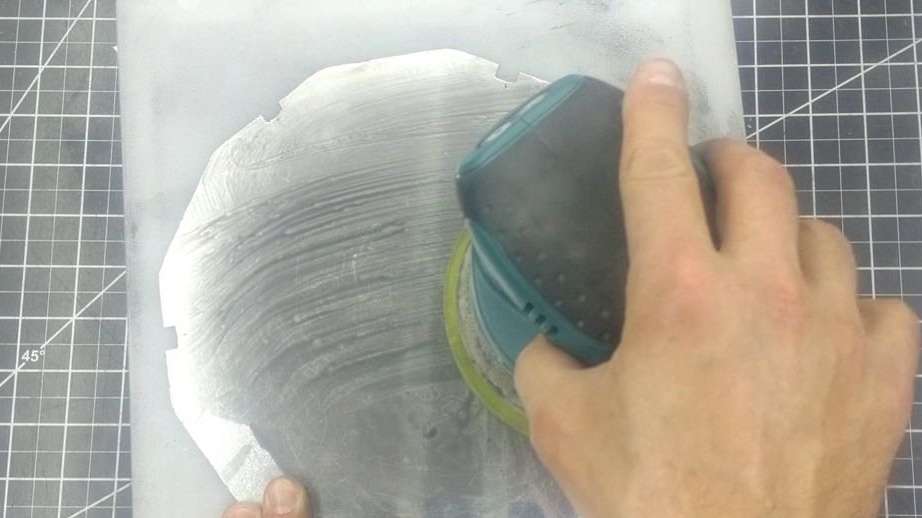
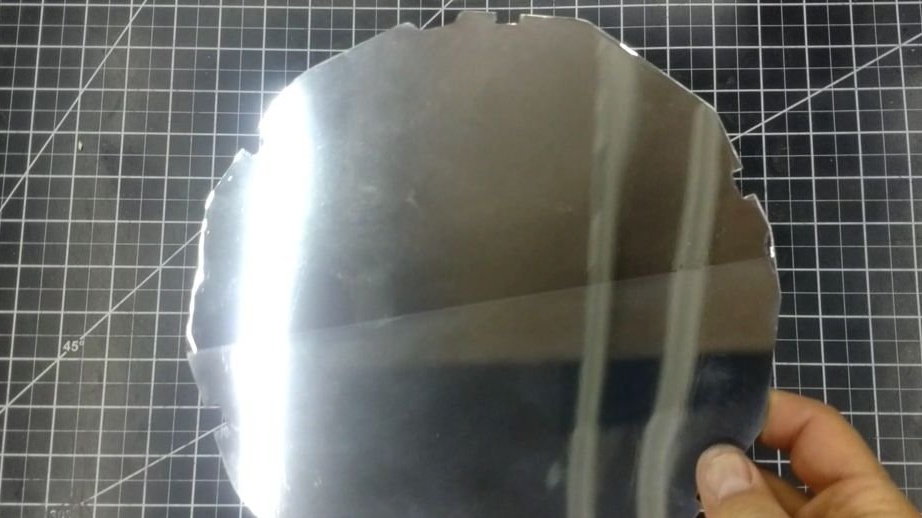
Step Five: Aluminum Sheet
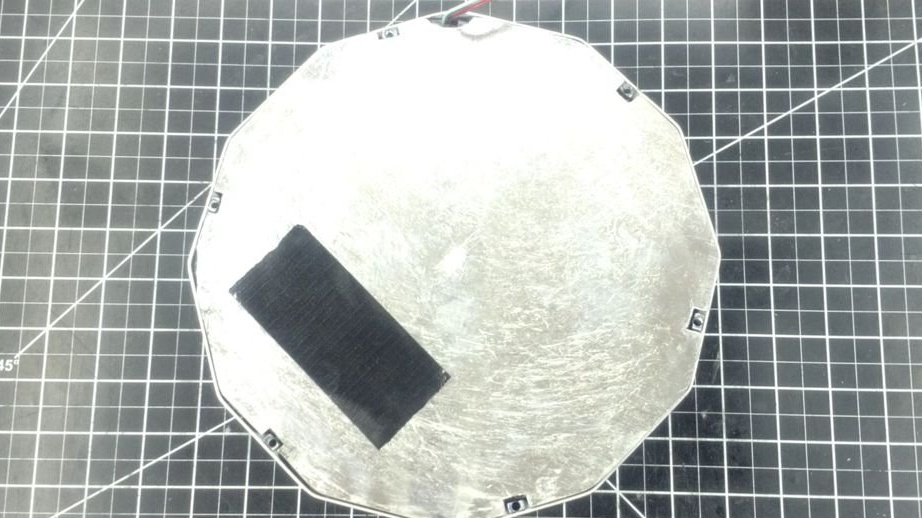
Now you need to cut the aluminum sheet. The sheet will interfere between the corners. The sheet makes cuts for bolts.

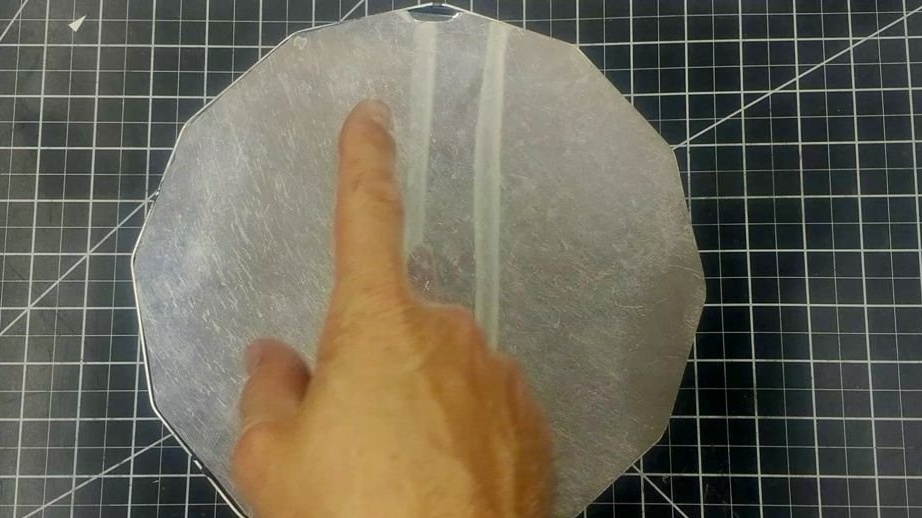
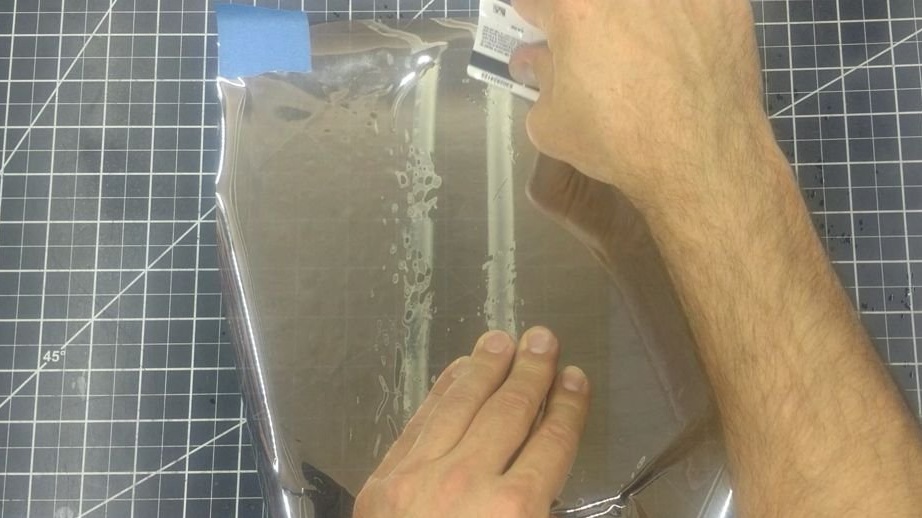
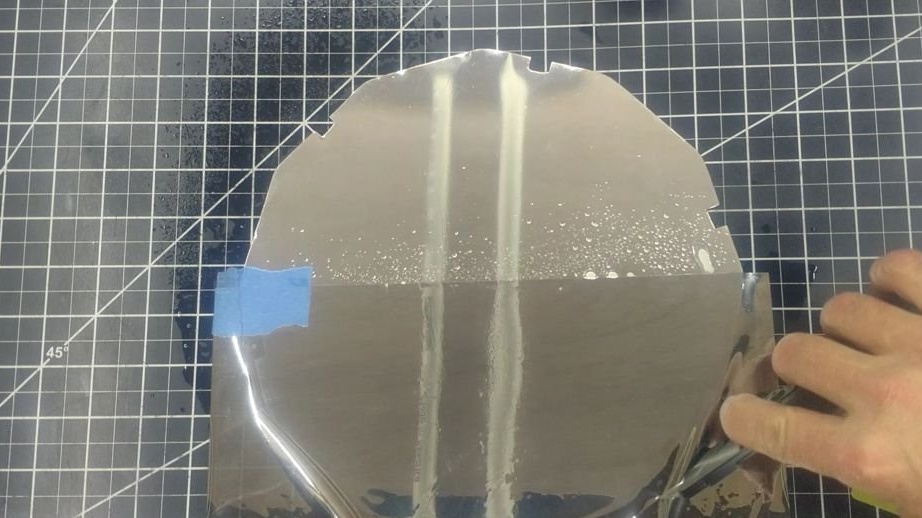
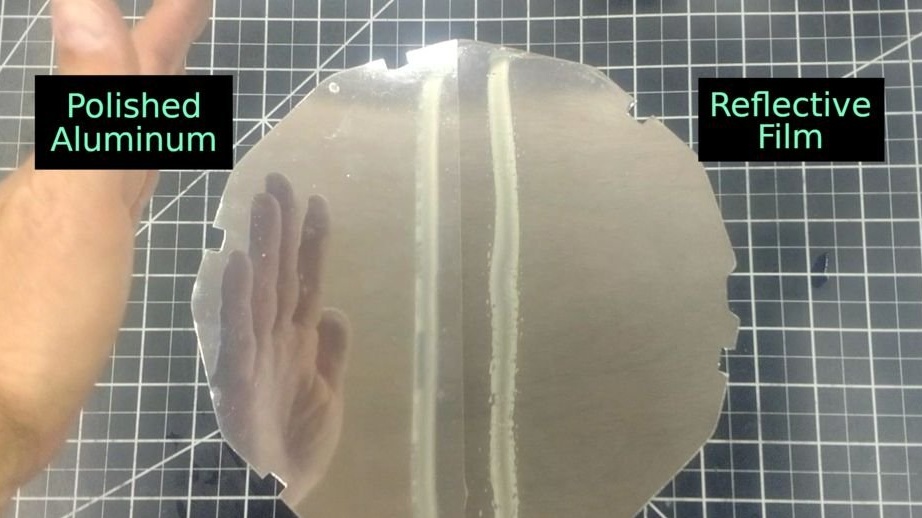
Then the master polishes the sheet.
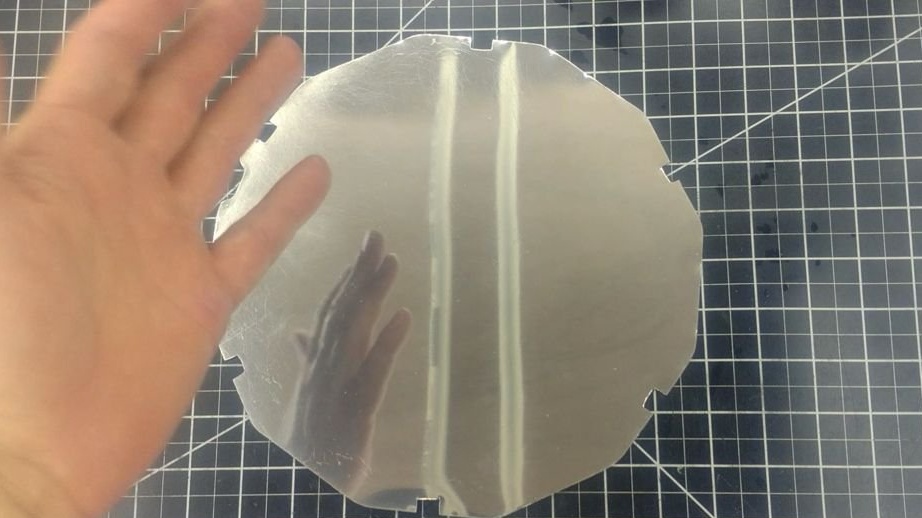
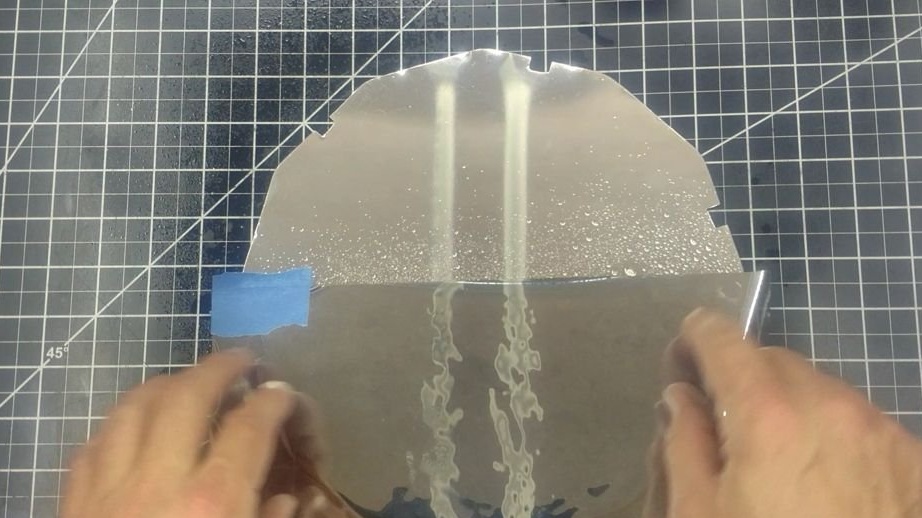
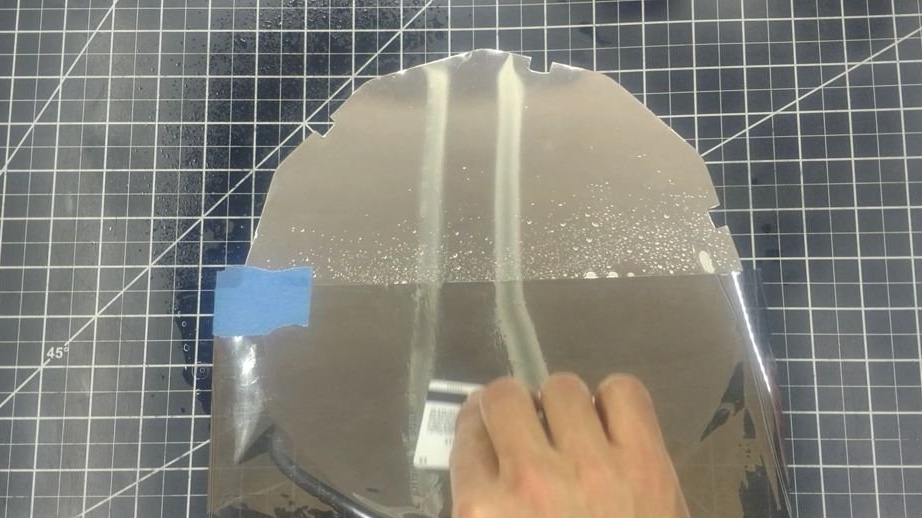
For the sake of the experiment, it glues a mirror film on one half of the sheet. Thus, he tries to find out in which material the mirror effect is better manifested, in polished aluminum or in a mirror film. On the finished product, the film is placed in the upper part.
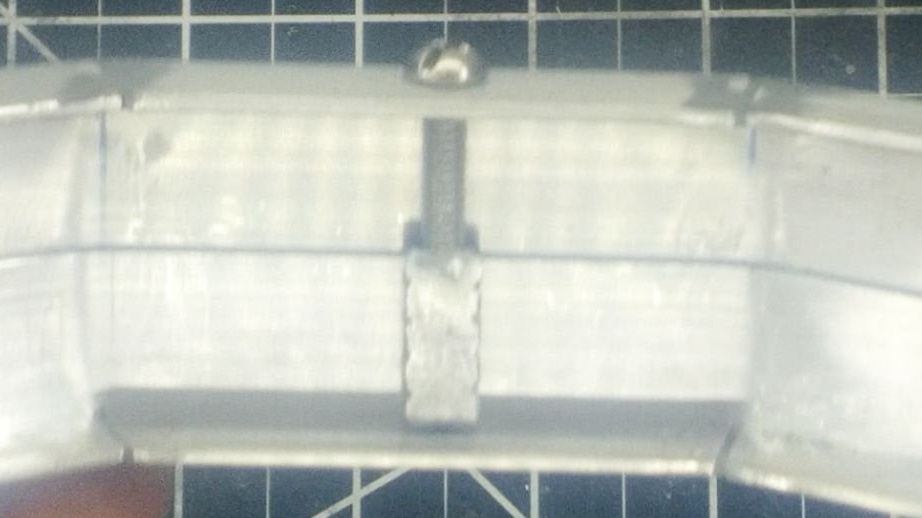
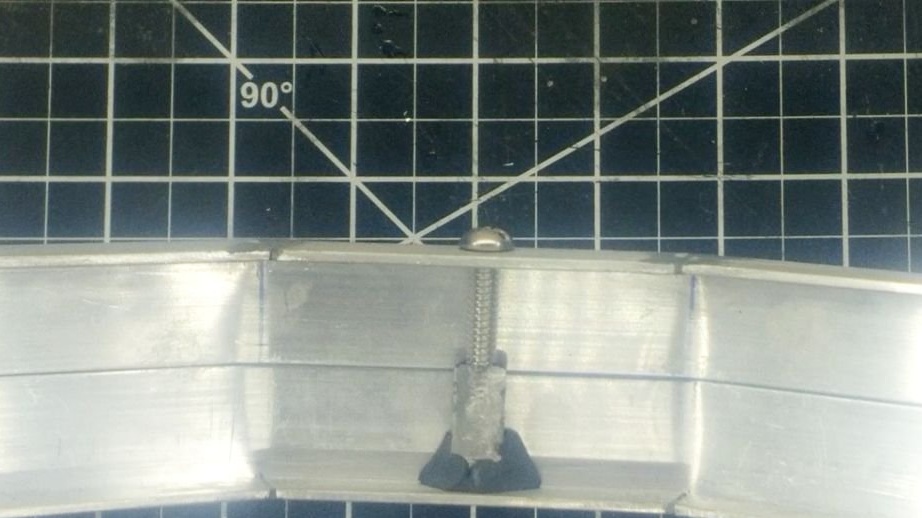
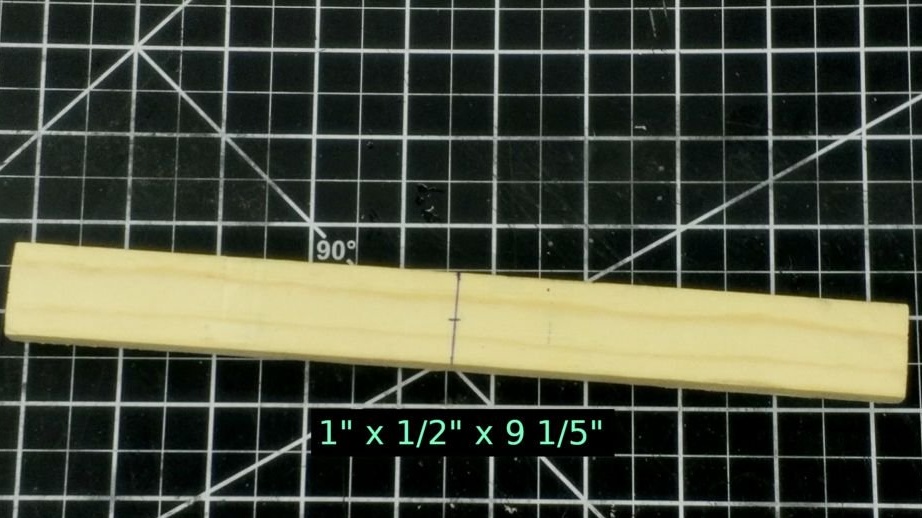
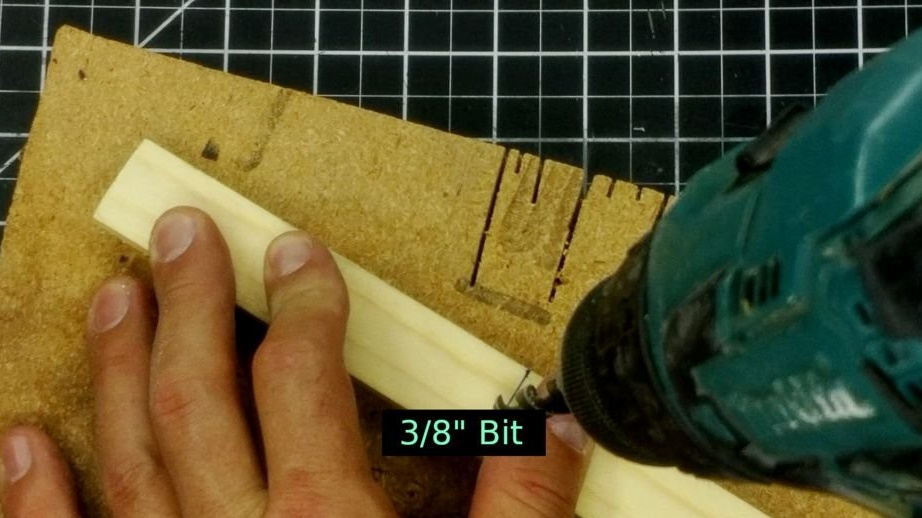
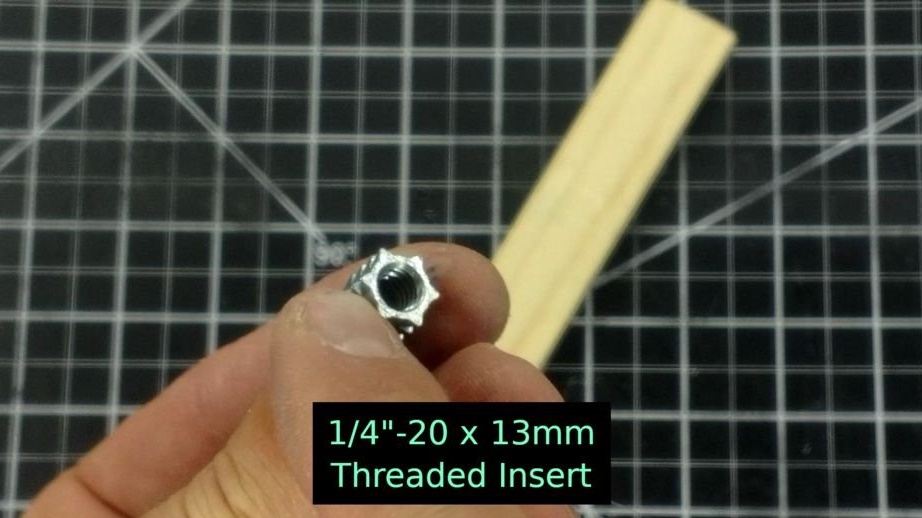
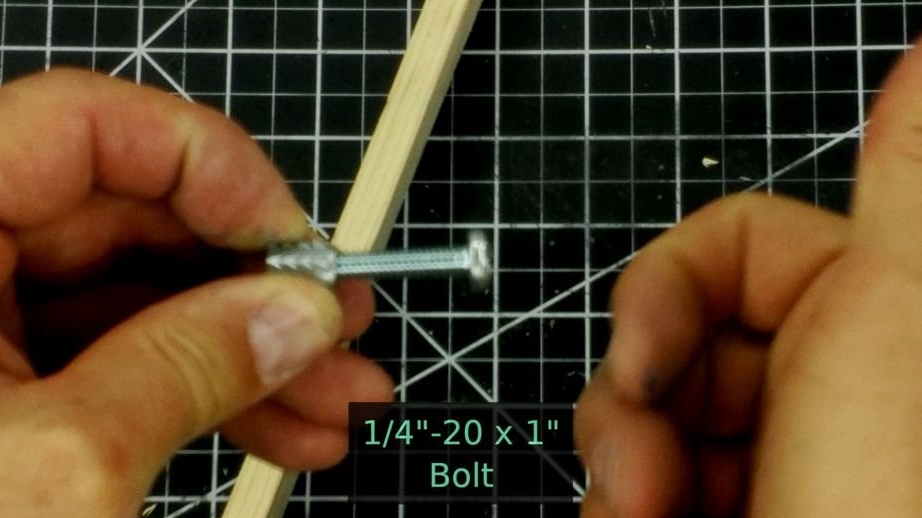
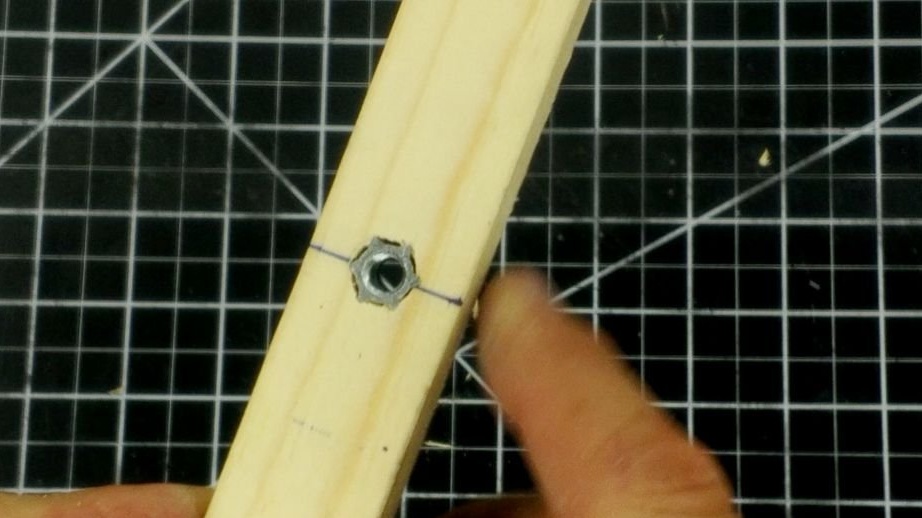
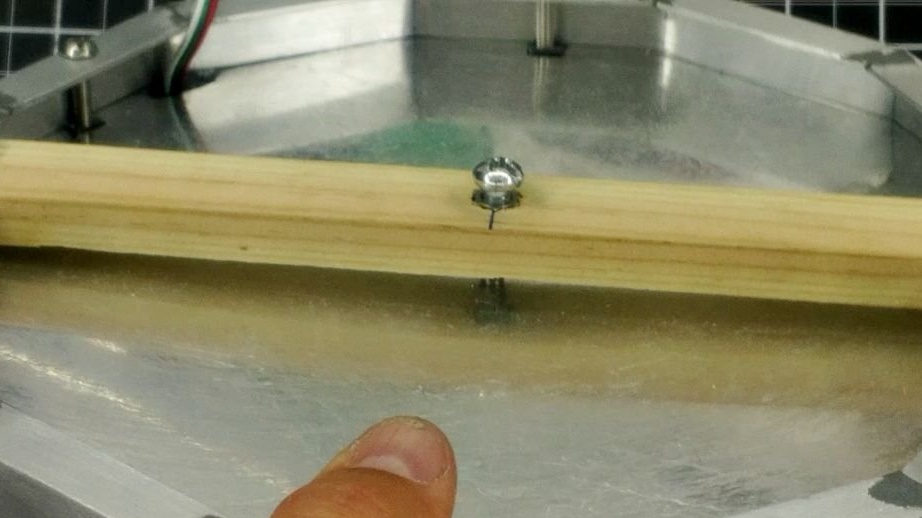
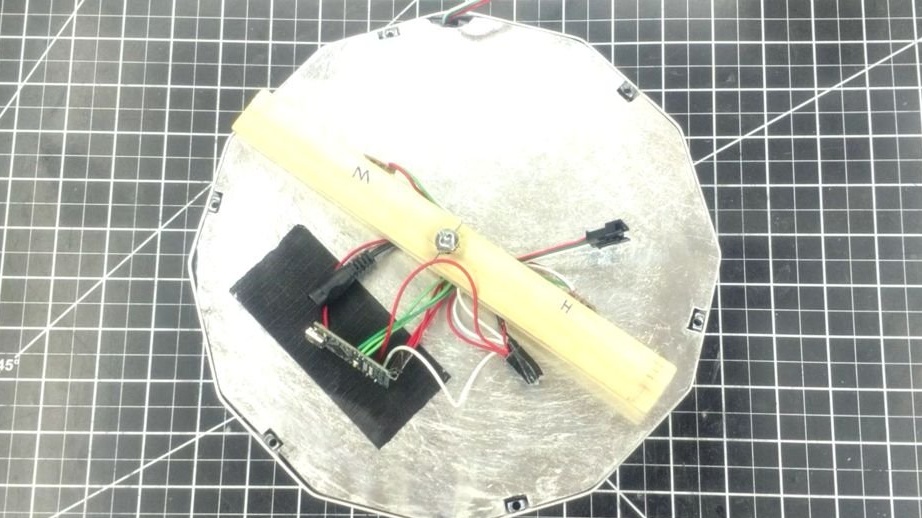
Step Six: The Bar
All details will be placed as follows: front corner - acrylic - frame with LEDs - aluminum sheet - back corner. To give the effect of a "concave mirror" the master drills a hole in a wooden rail and fixes the nut in it. The rail will be placed inside the rear corner, and by screwing the screw into the nut, you can change the curvature of the aluminum sheet.
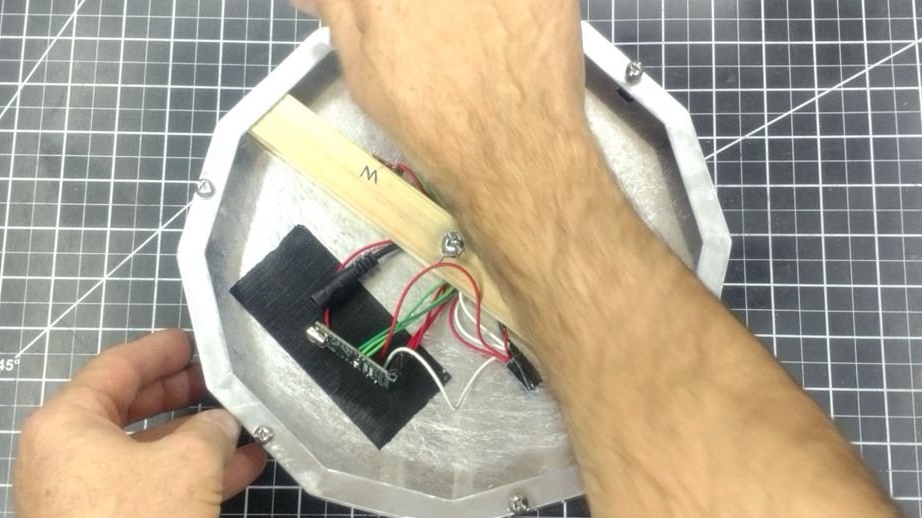
Seventh step: assembly
Before final assembly, the master paints the case in the color of an aluminum corner.

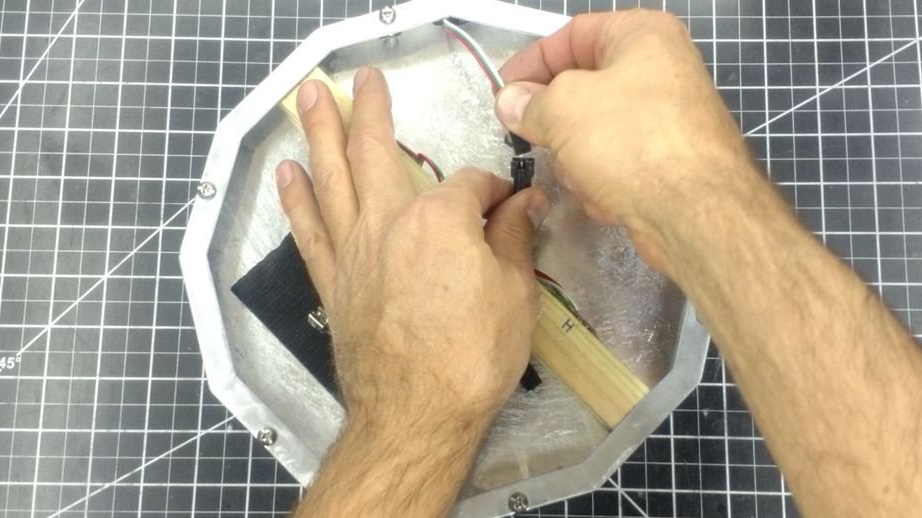
Paste over the black insulating tape of the soldering place.
In the corner sets acrylic. Sets the frame with LEDs. It makes and sticks several supports for aluminum sheet from acrylic.
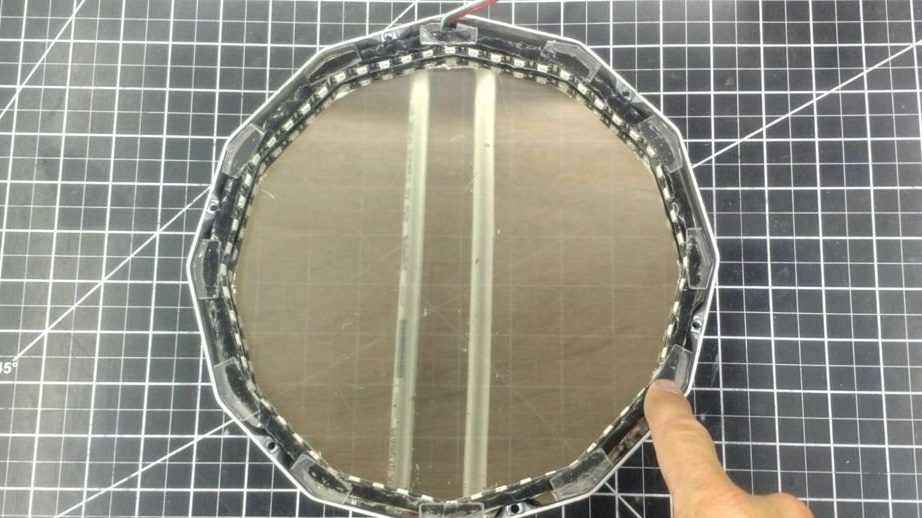
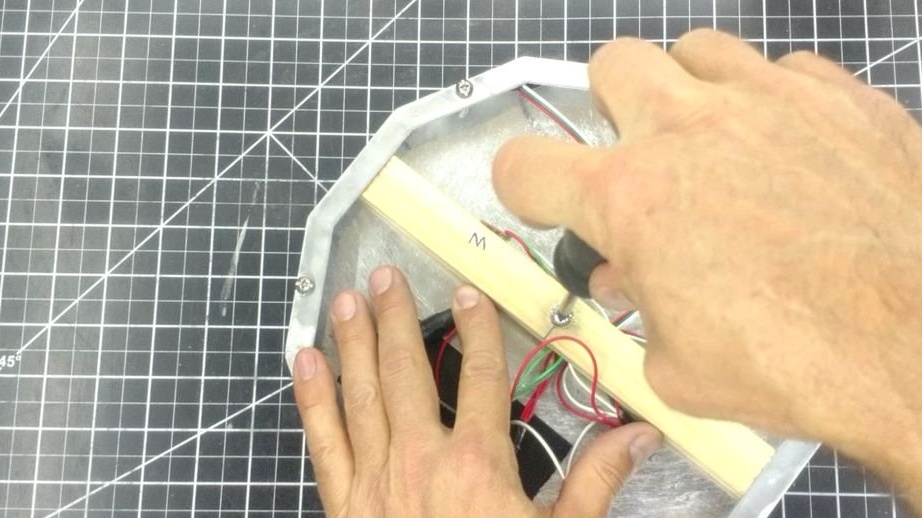
Sets the sheet and rail, the top frame from the corner. Tightens the screws.

Connects the power supply.
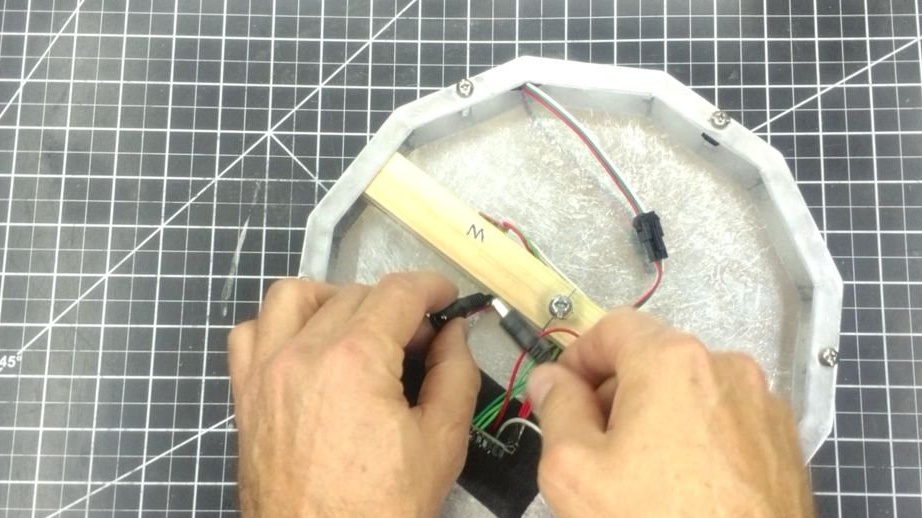
Checks operation, adjusts the degree of curvature of the aluminum sheet.
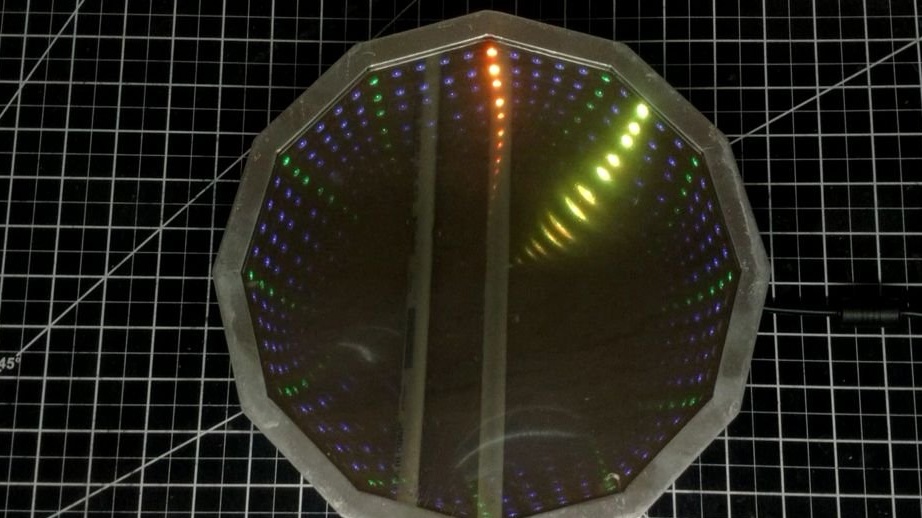
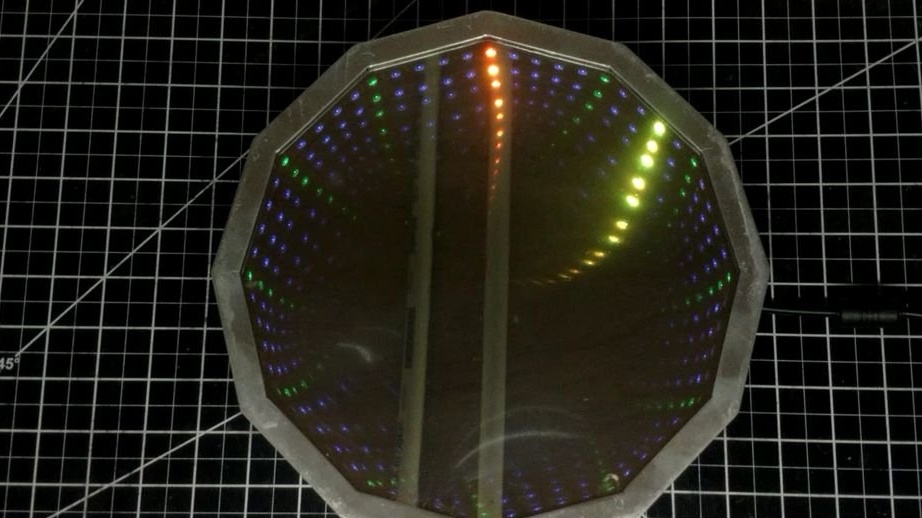
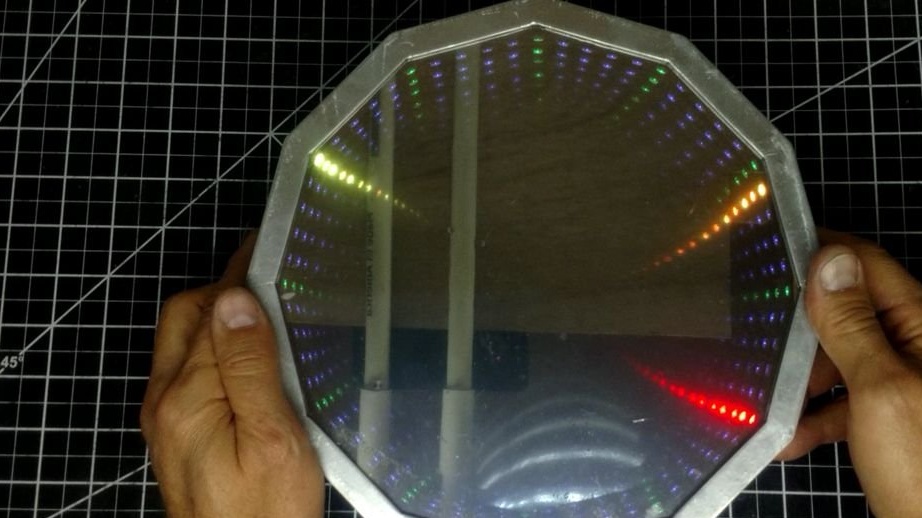
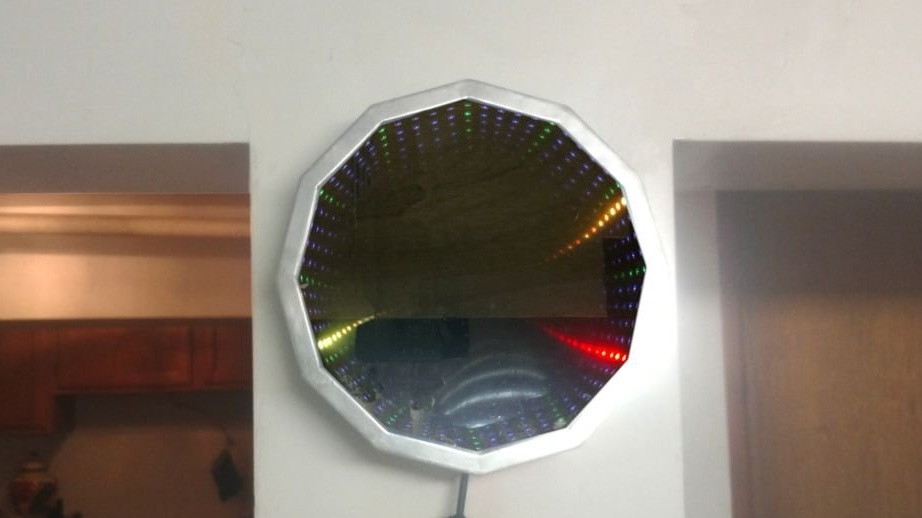
The assembly of the infinity mirror is complete. The clock, previously, the wizard also launched (you can see the video), but some details require debugging. The wizard promises to immediately place the code and the connection diagram, as everything will be debugged.