

Hello dear readers!
In this article I want to tell you and describe in stages the entire process of manufacturing shelves for a variety of tools.
It all started with the fact that I decided to equip a workshop for myself. In the building that I use as a warehouse for storing wood and all kinds of rubbish, which lies there on the principle - it is not necessary, but it is a pity to throw out, I released a couple of small rooms. Here in them I am engaged in the arrangement of the workshop. Since these rooms are small and not very tall, the process of organizing the workspace is in the most important place. Therefore, you have to use any available free surface to place the tool so that it does not lie anywhere, does not take up a lot of work space and is always at hand if necessary. Therefore, it was decided to make as many different storage places as possible, that is, shelves and other necessary devices in this matter. I decided to start with the presented design.
So, for work you will need such tools and materials:
jigsaw
- circular saw (SUV). You can replace it with a hacksaw for wood, but the speed of work will drop several times,
- a grinding machine or angle grinder with a flap disc, or a flat nozzle for grinding,
-sandpaper,
- a screwdriver or drill with several types of drills,
- building hair dryer or iron,
- Euroscrews and the key to them,
-roulette,
corner
-usual wood screws.
Materials that were needed for manufacturing:
-DSP as the main component of the shelf,
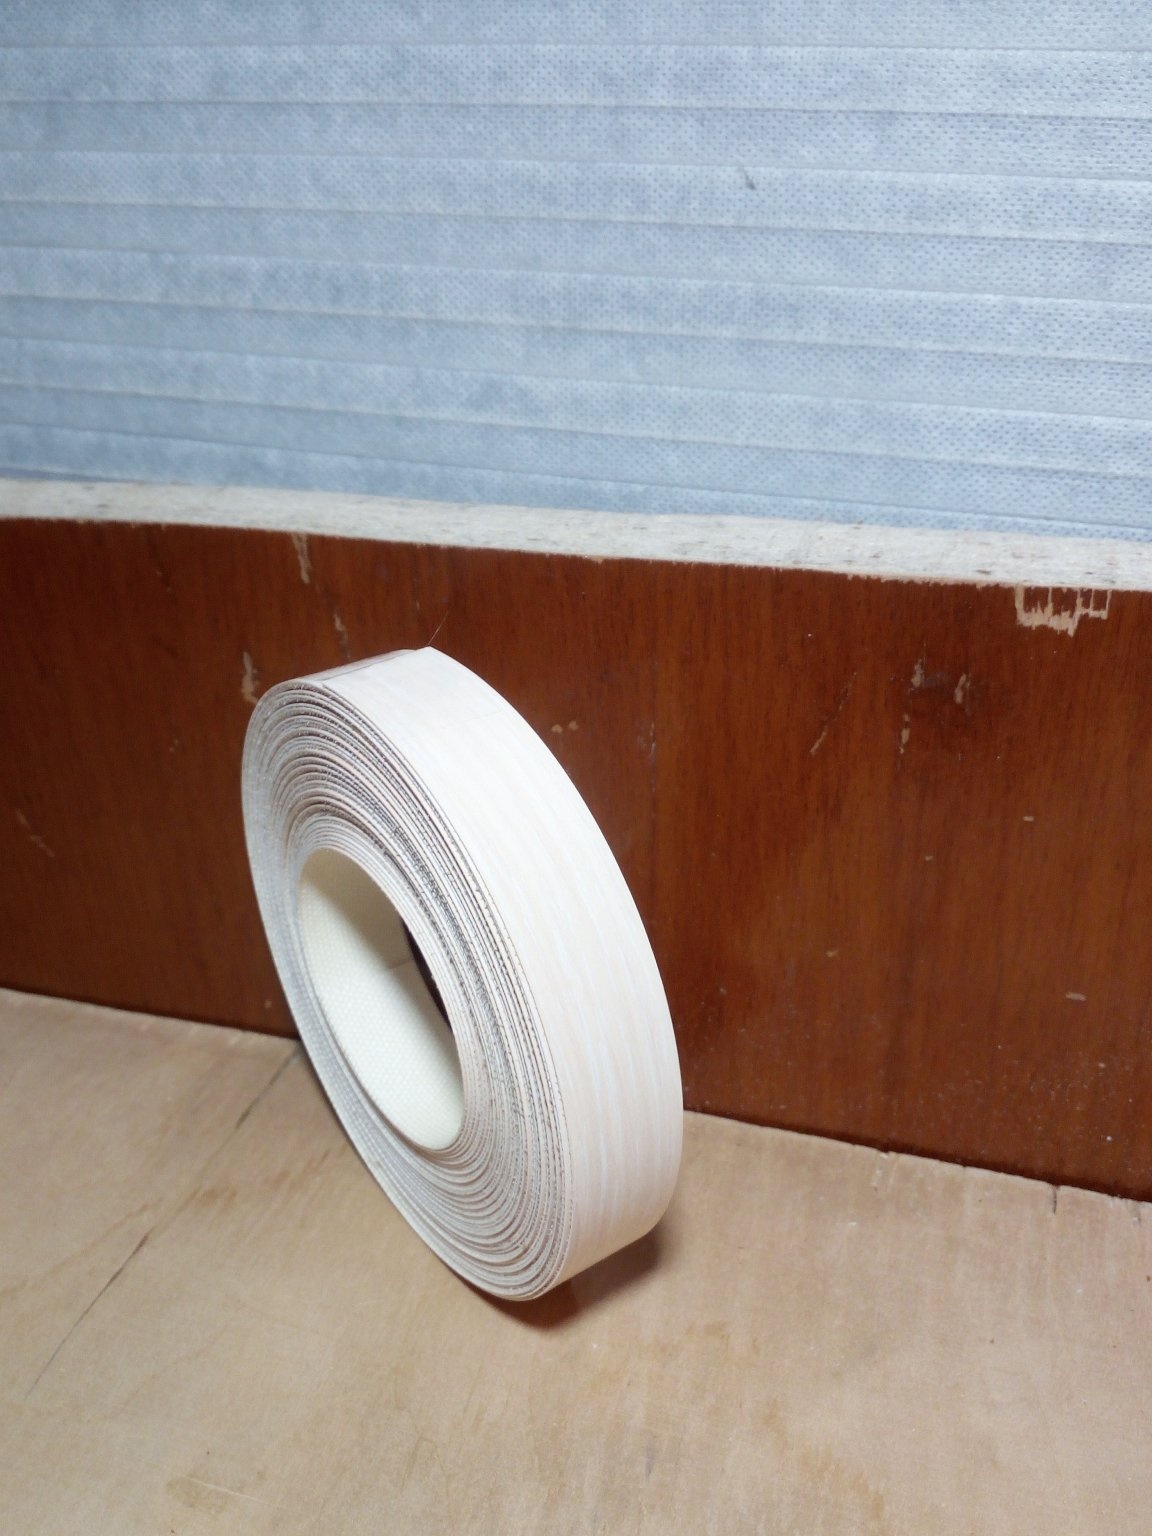
Edge tape
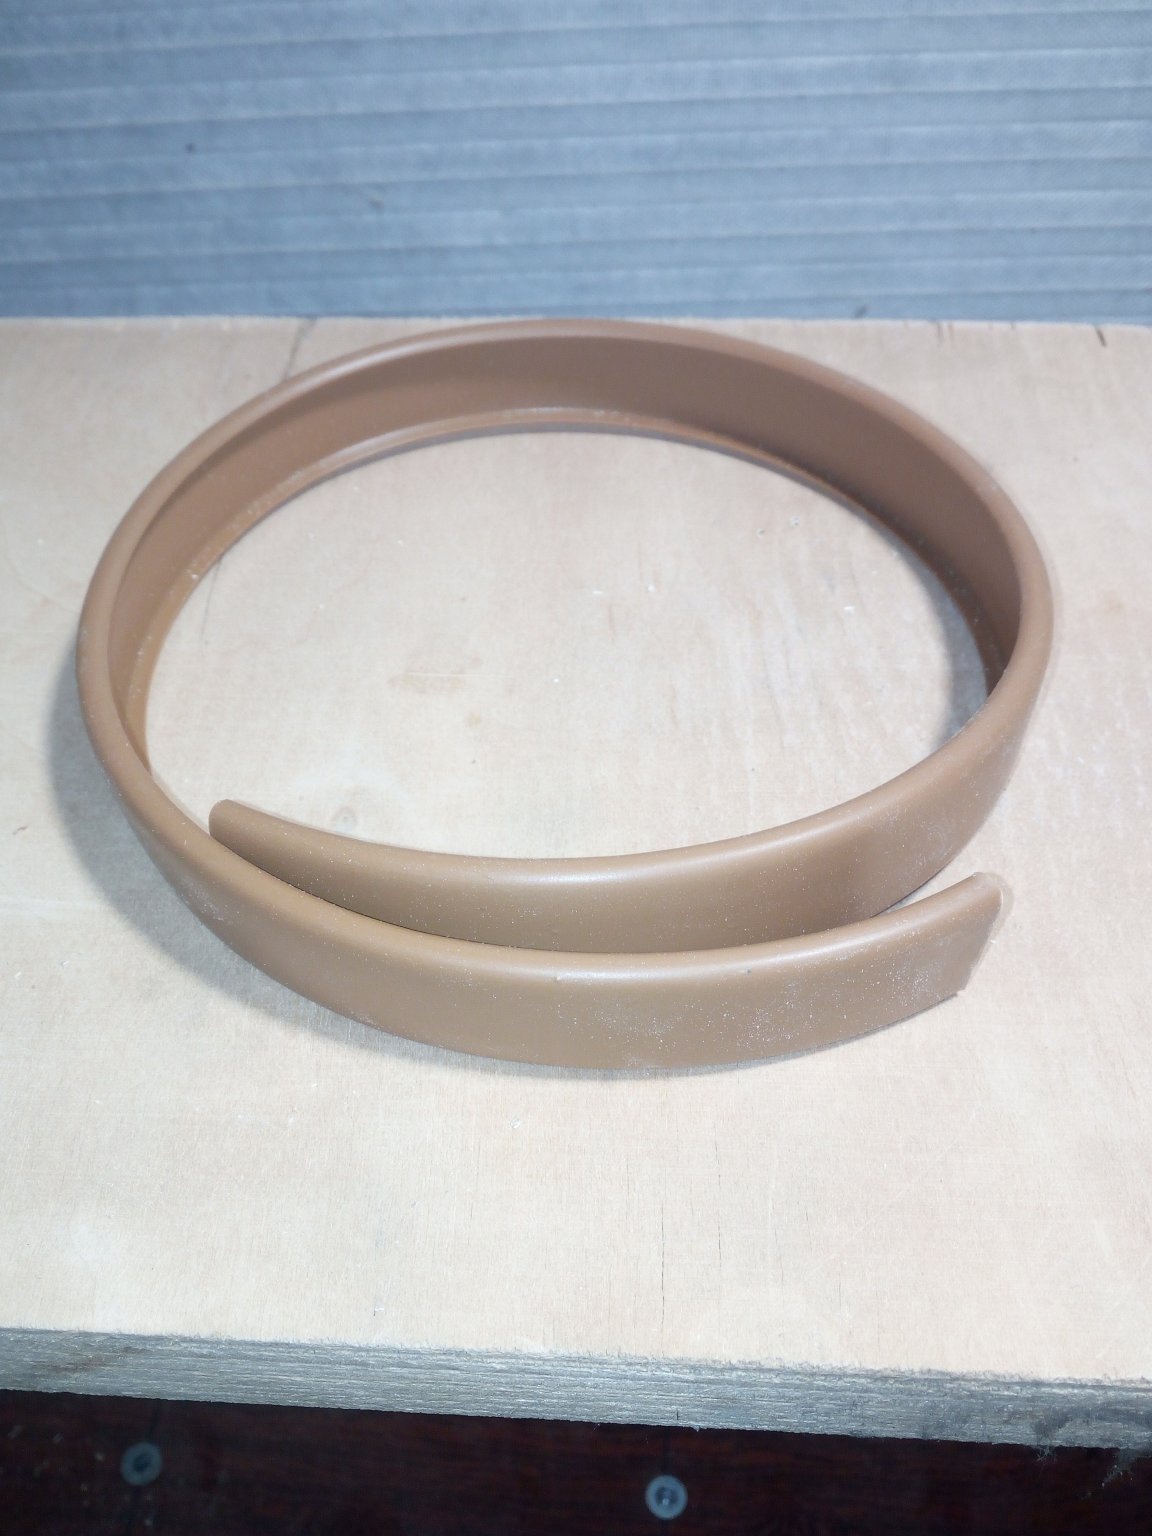
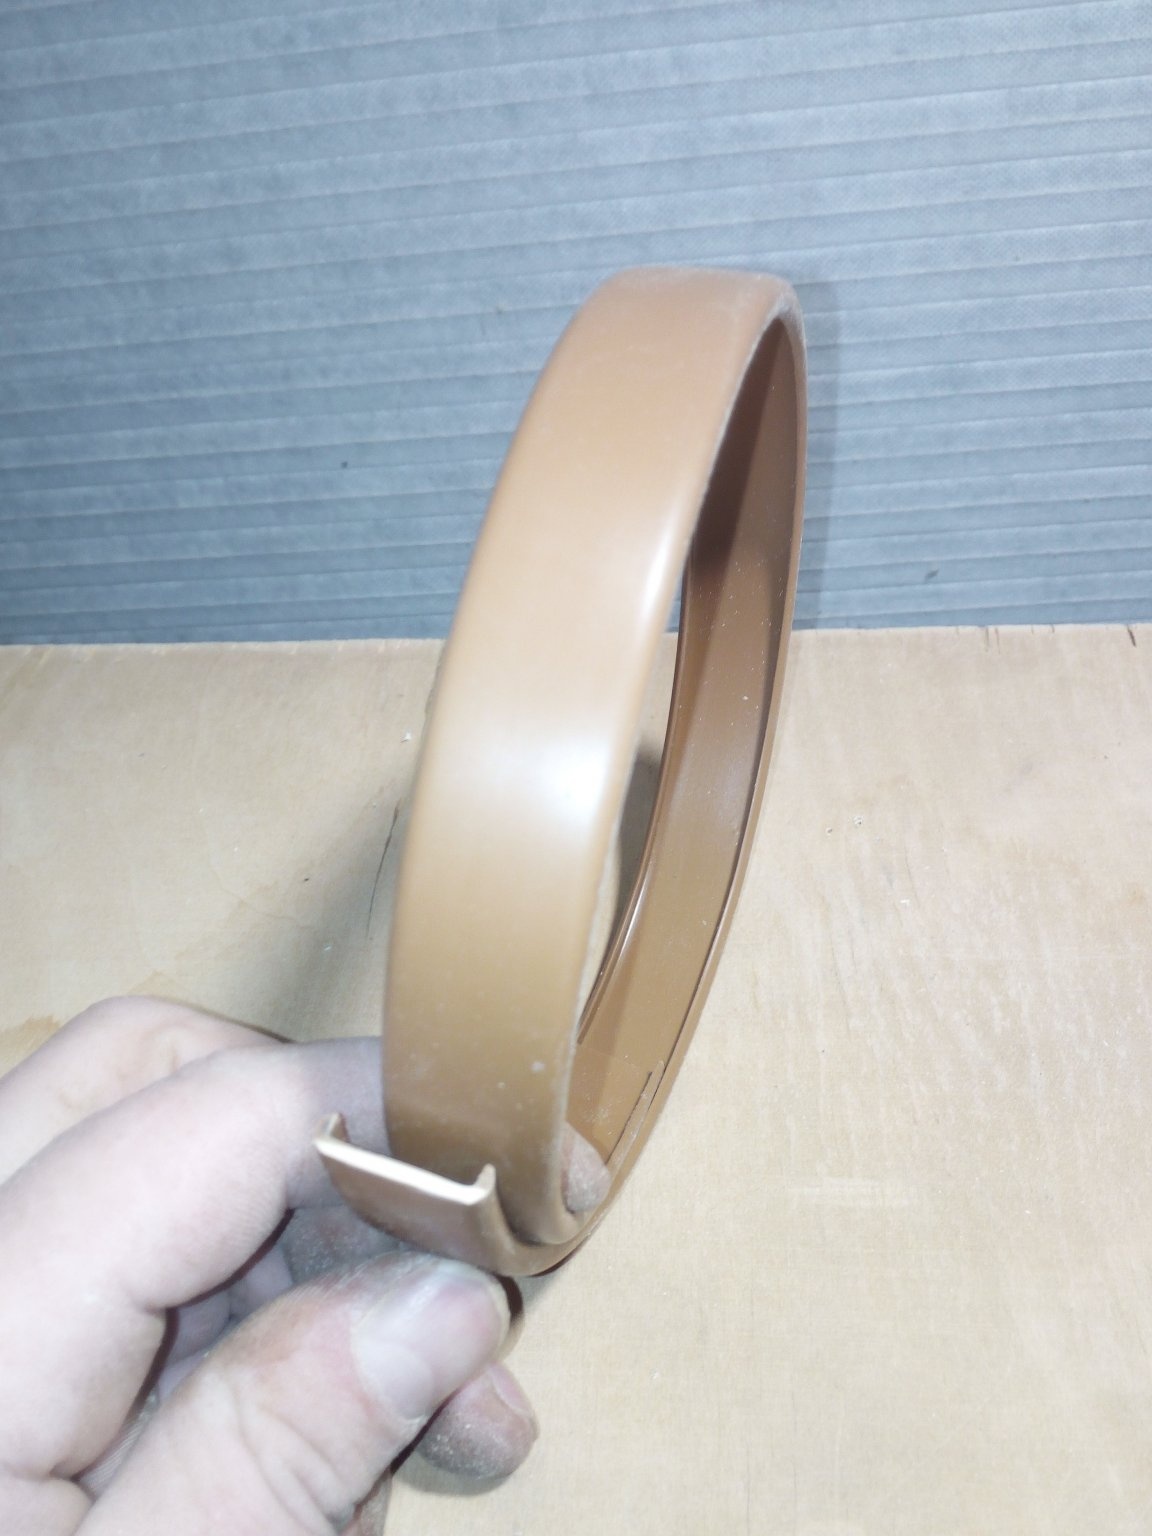
- flexible U-shaped edging,
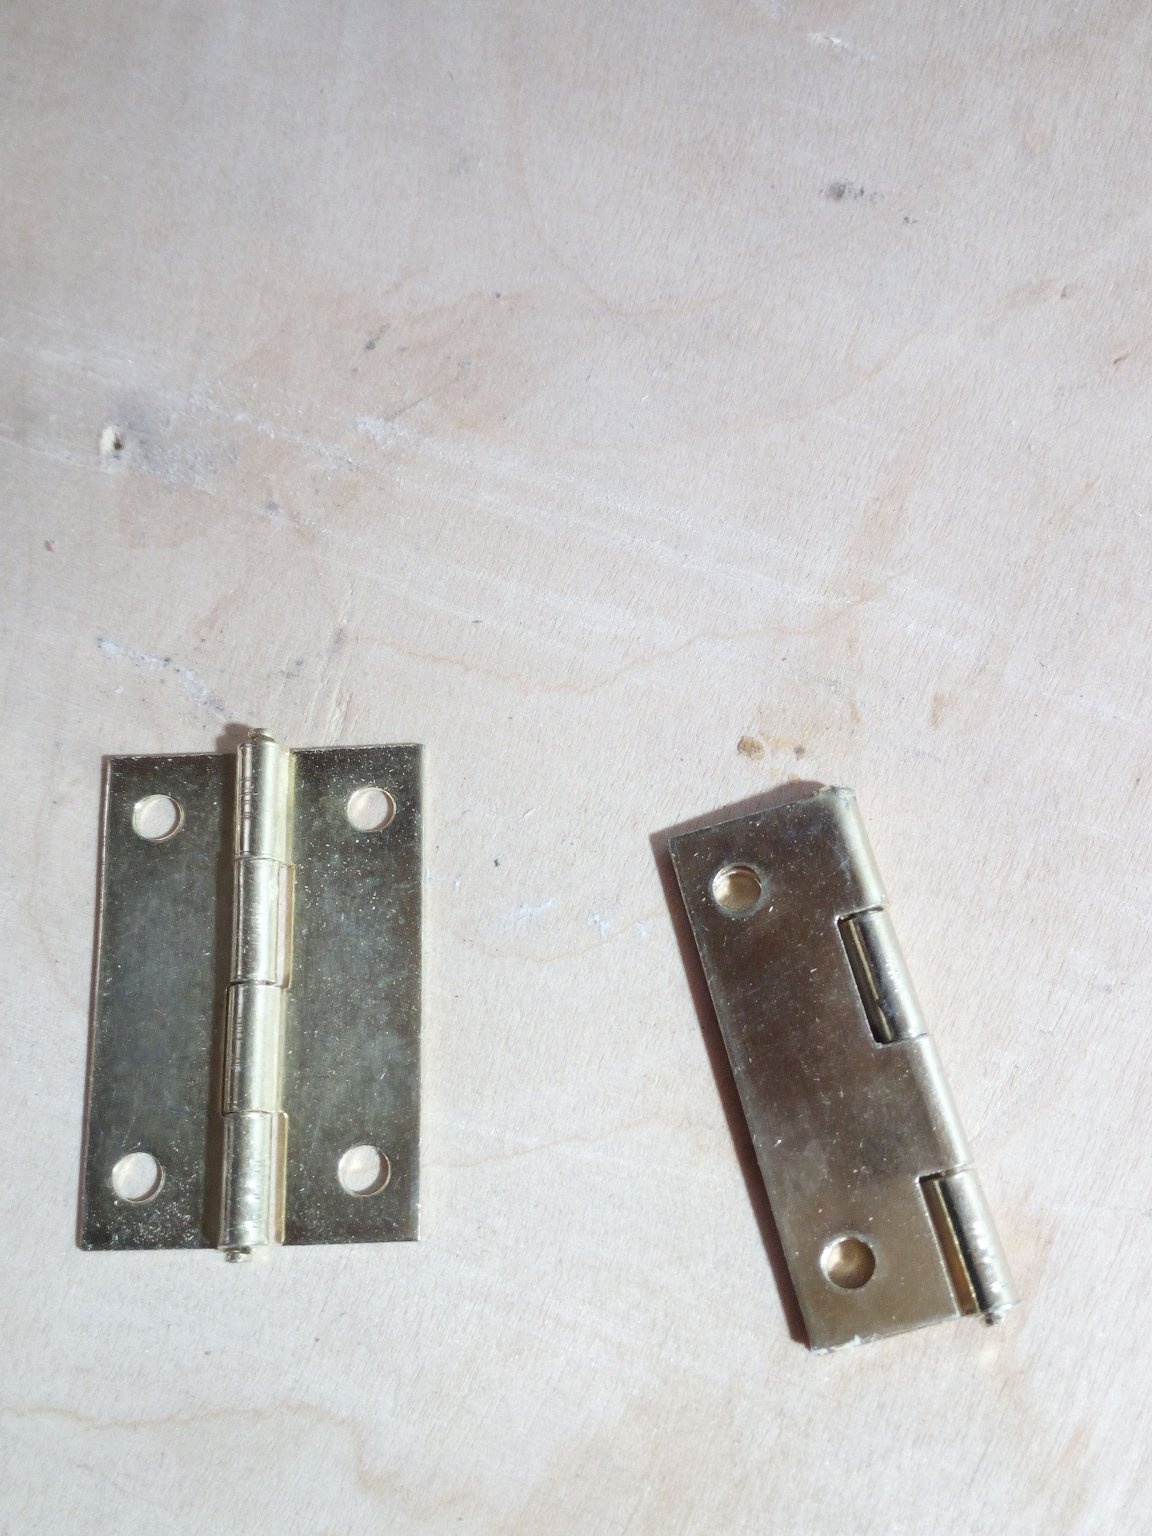
- hinged loops,
- corners,
furniture magnet
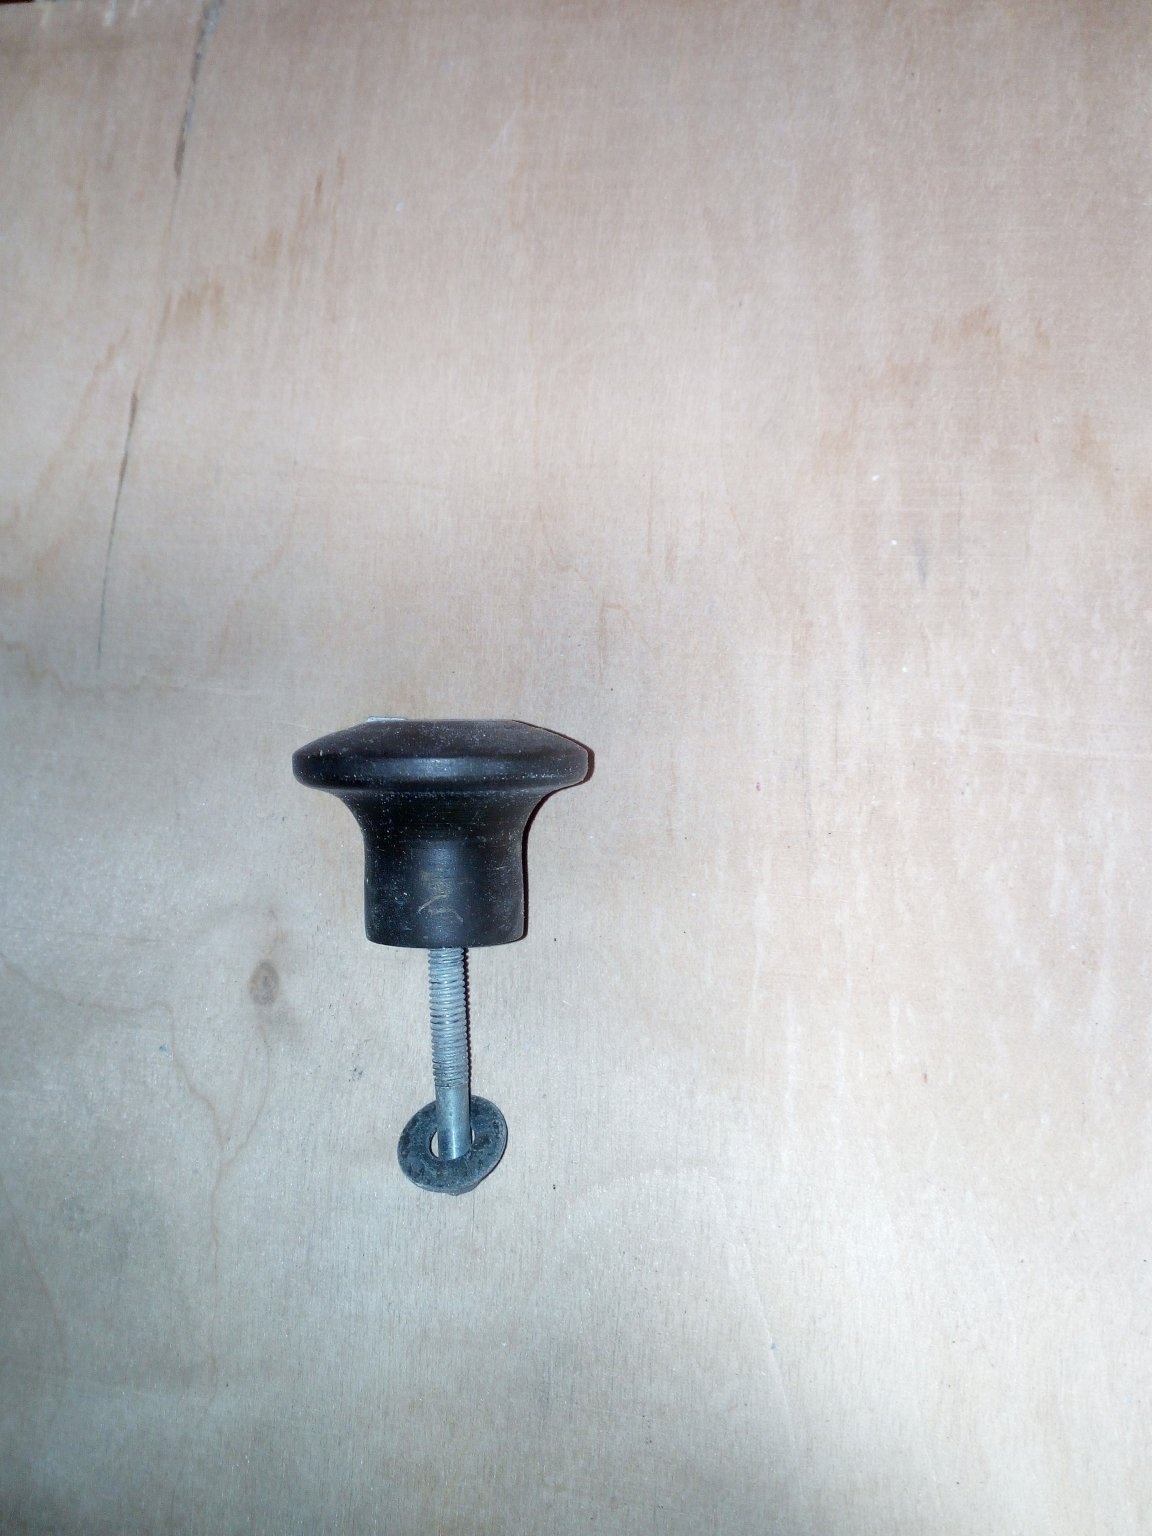
-handle for the door.
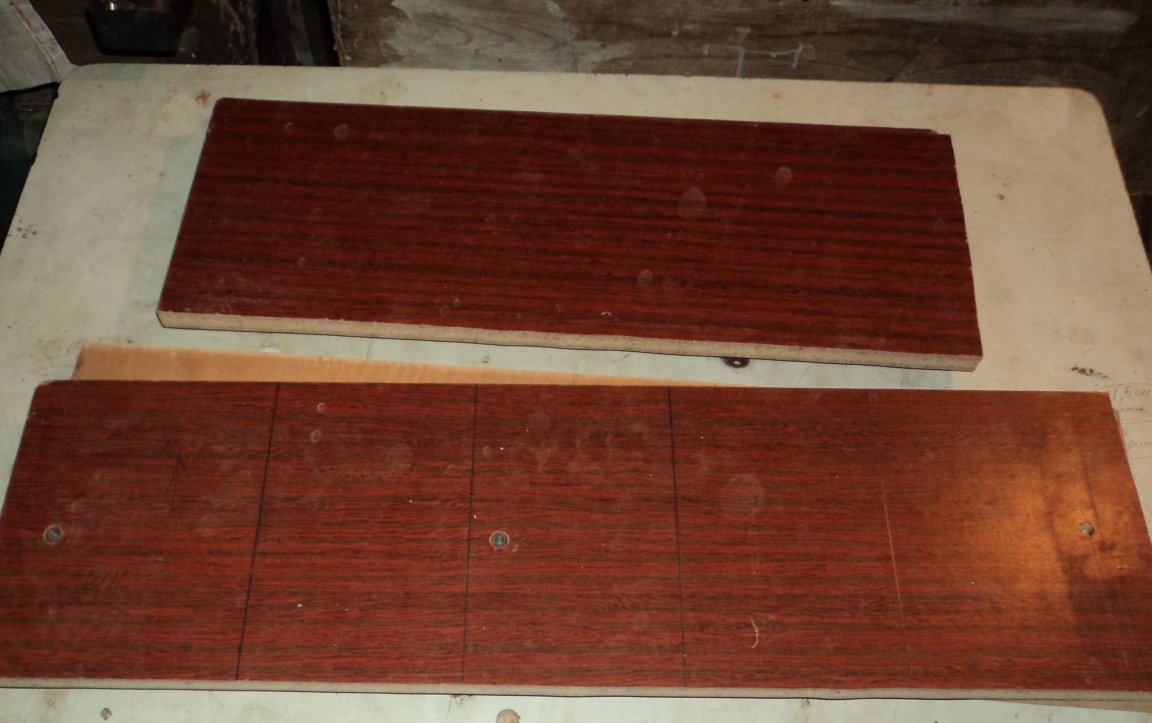
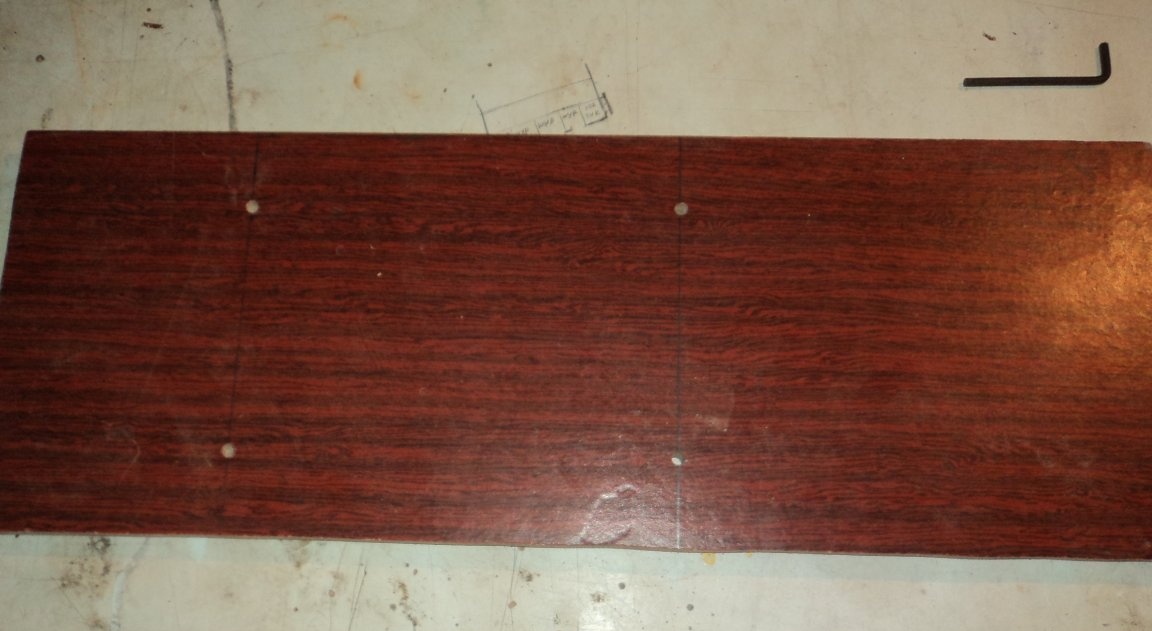
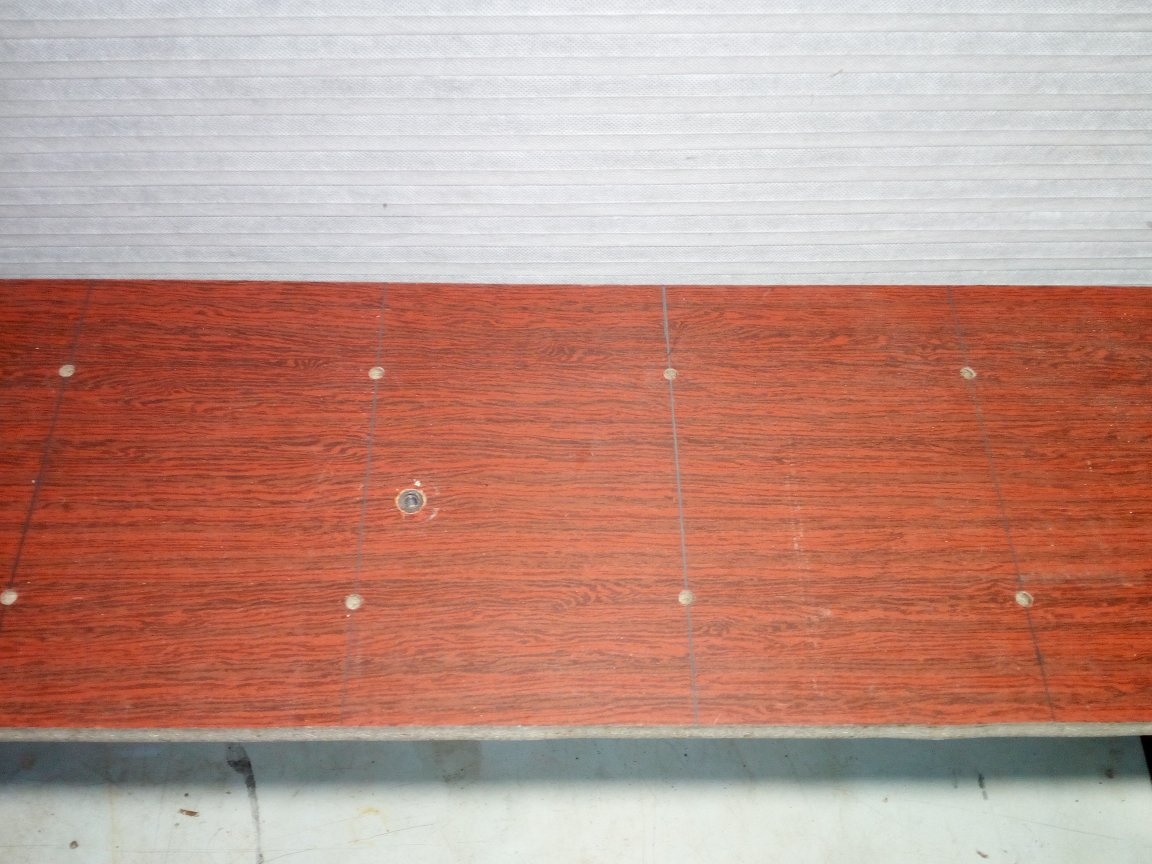
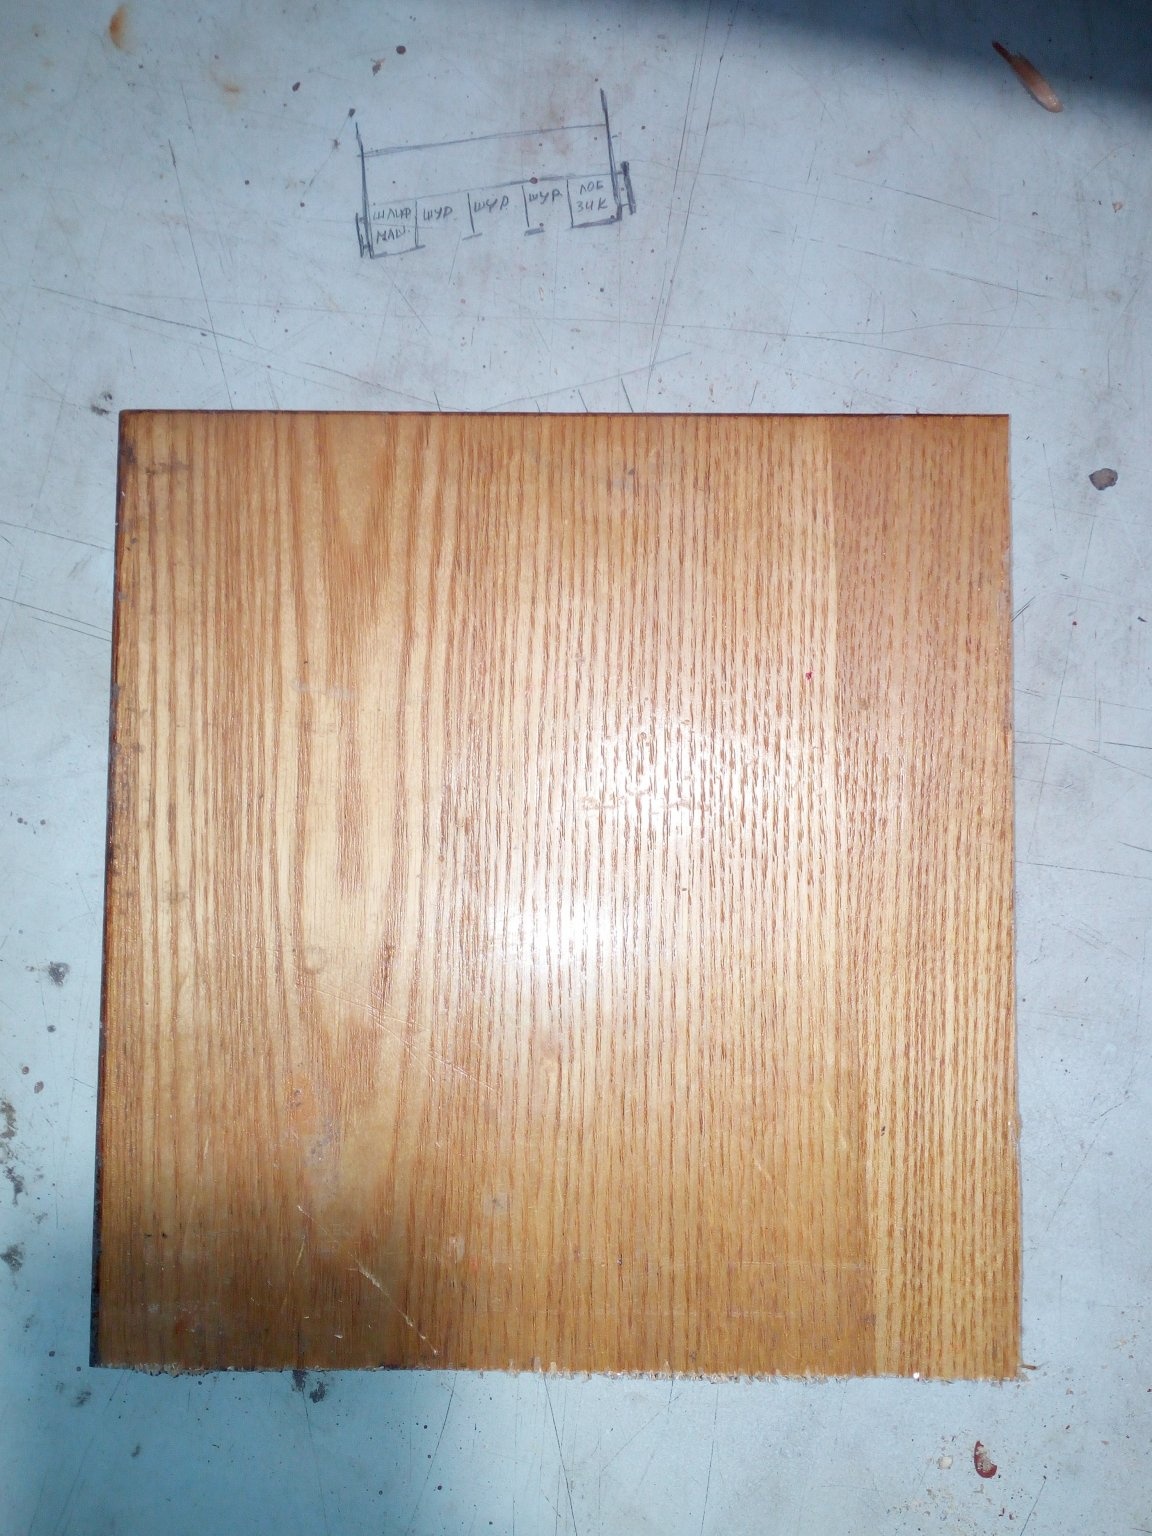
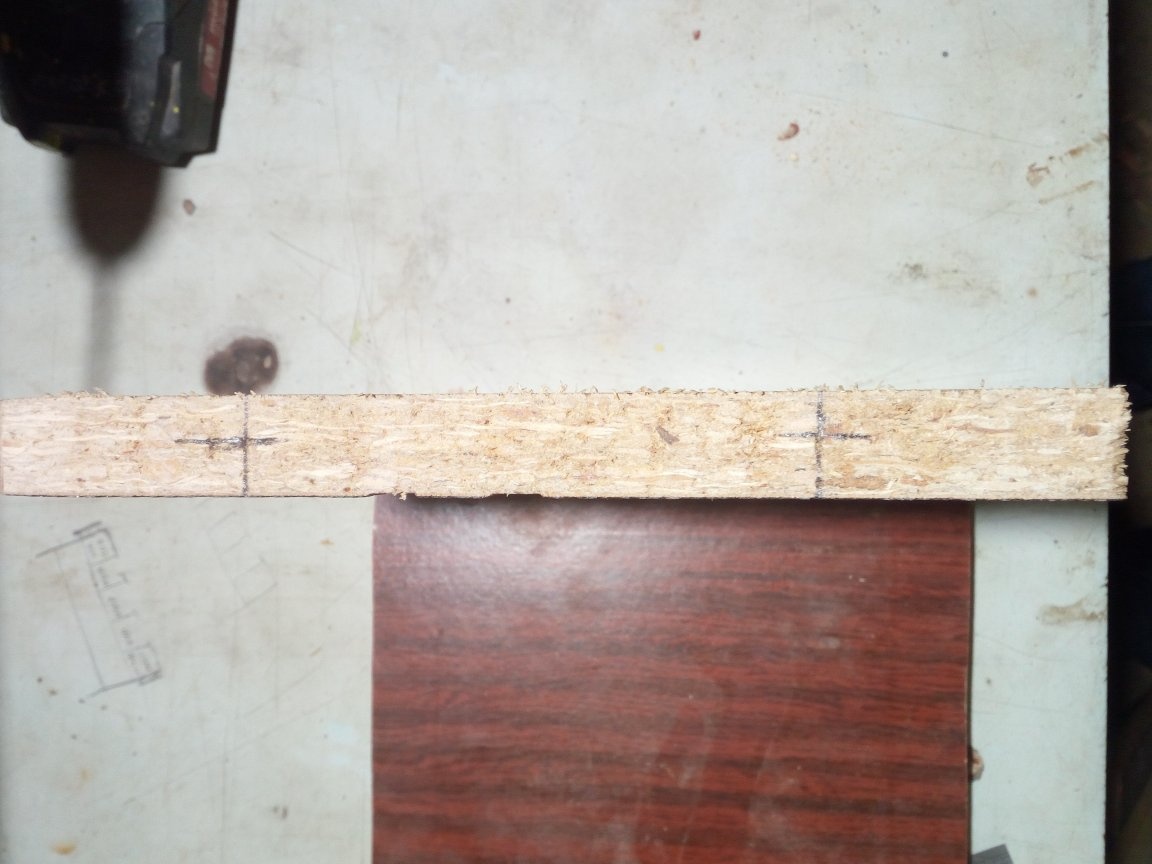
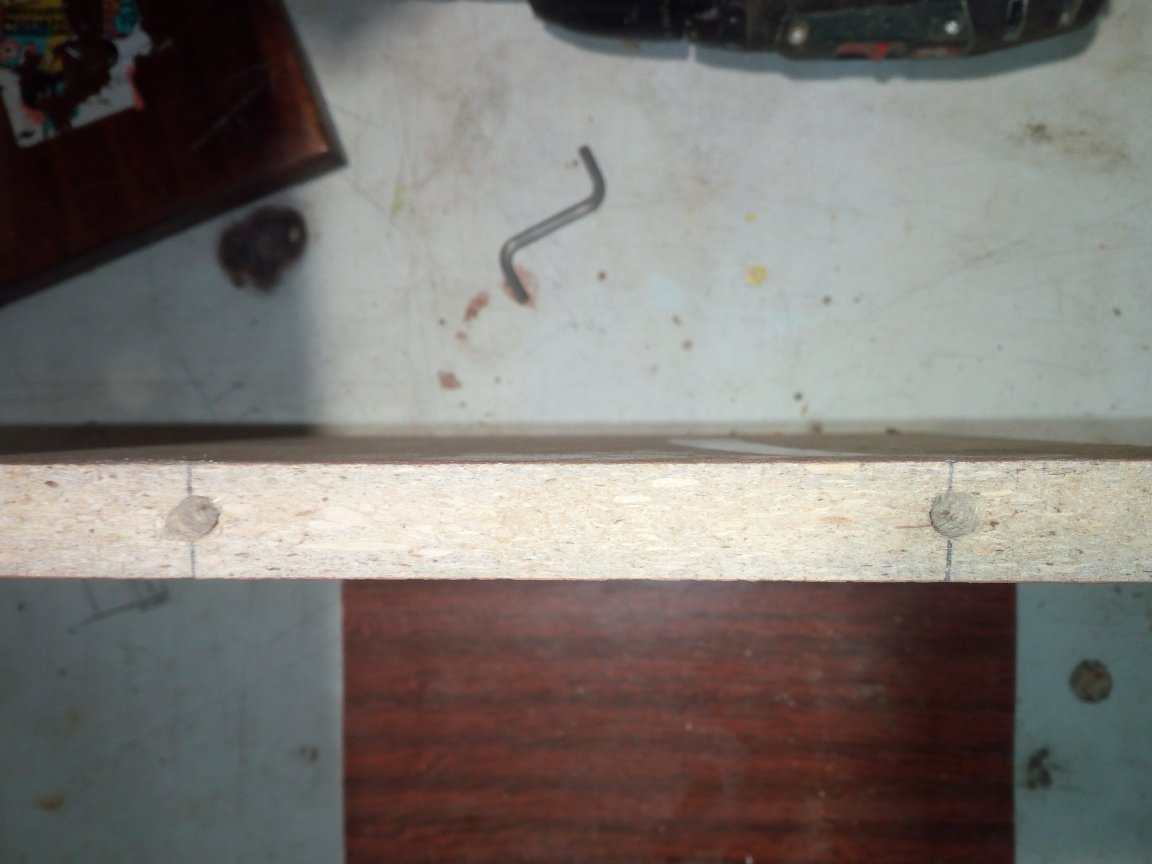
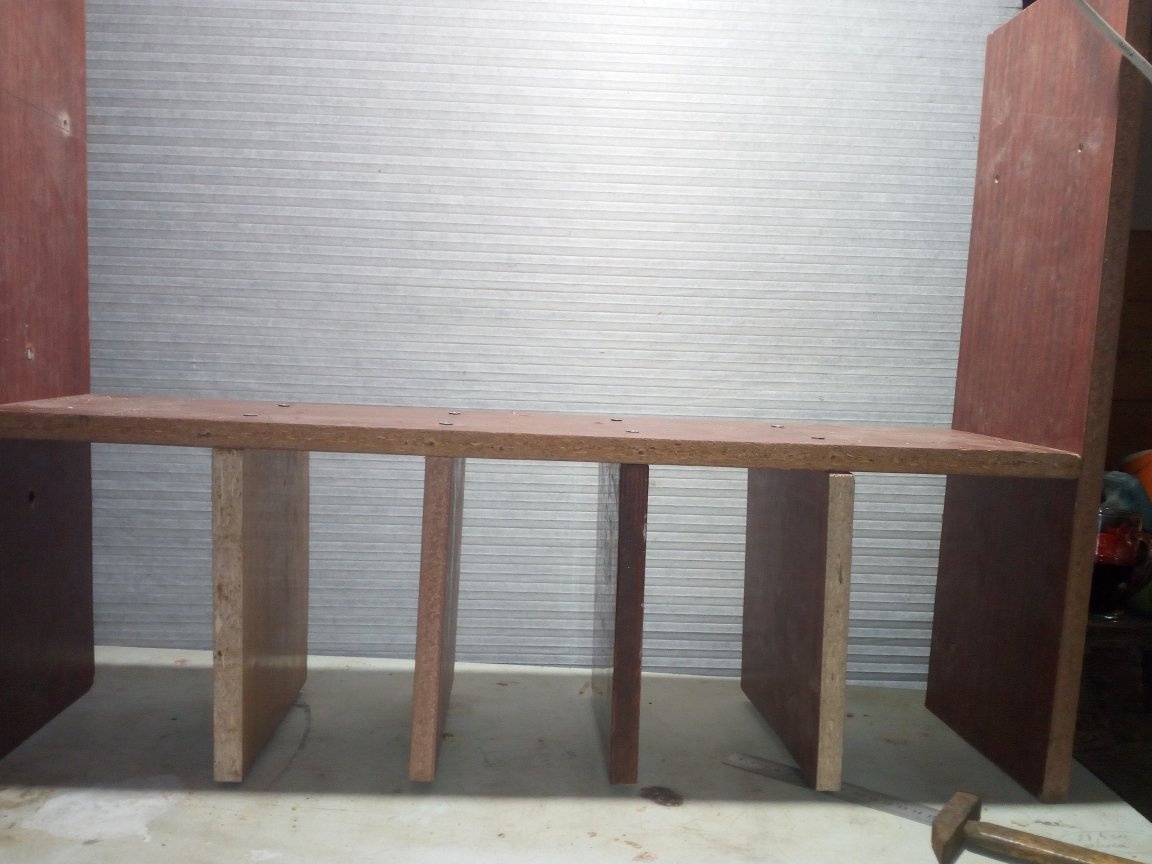
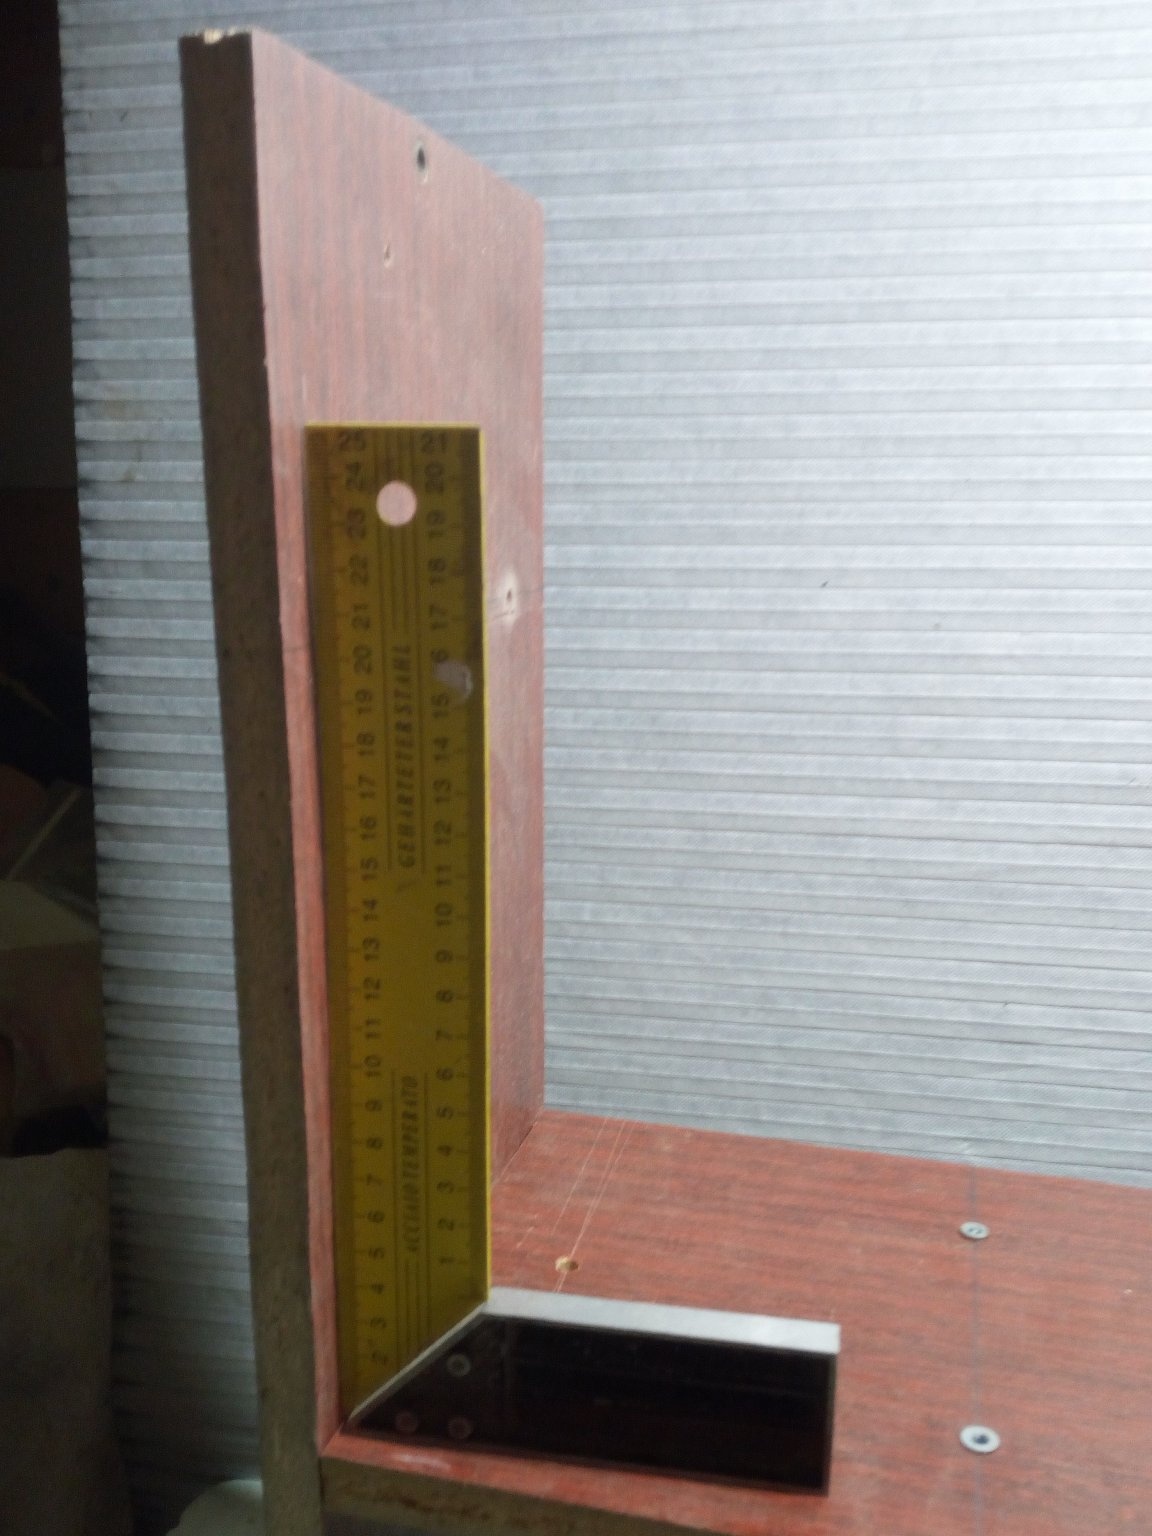
The material for the manufacture of this tool organizer, if this concept is applicable to the shelf, was chipboard slabs from the old Soviet wall, which I had been lying for quite some time. I then put them into action. Having made the marking of the dimensions of the parts I need on the stove, I sawed them off. I got 4 blanks. 2 lateral parts and 2 transverse. Since I previously drew what I want to get in the end, I immediately started drilling the mounting holes for the Euro self-tapping screw. To do this, I needed a screwdriver and a drill with a diameter of 5 mm.I made holes at a distance of 5 cm from the edges of the part on the plane of the transverse workpiece, on which the tools will later lie on the sides of the walls. I am starting to assemble the available parts.

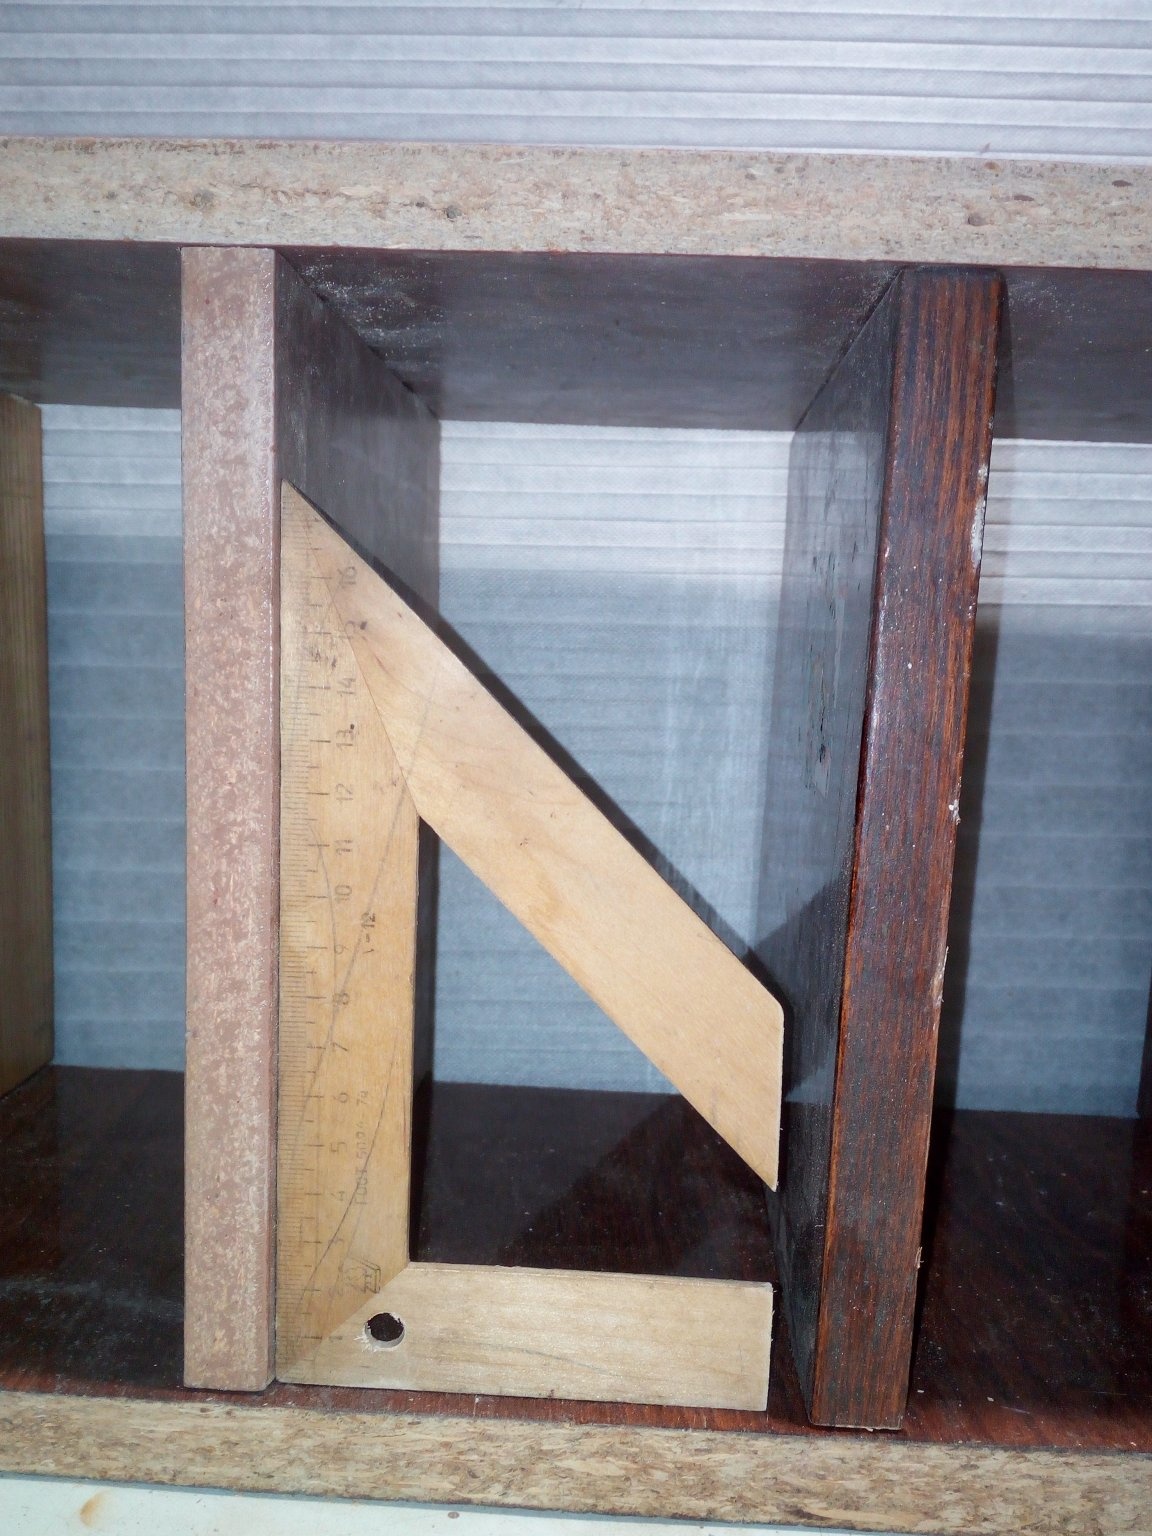
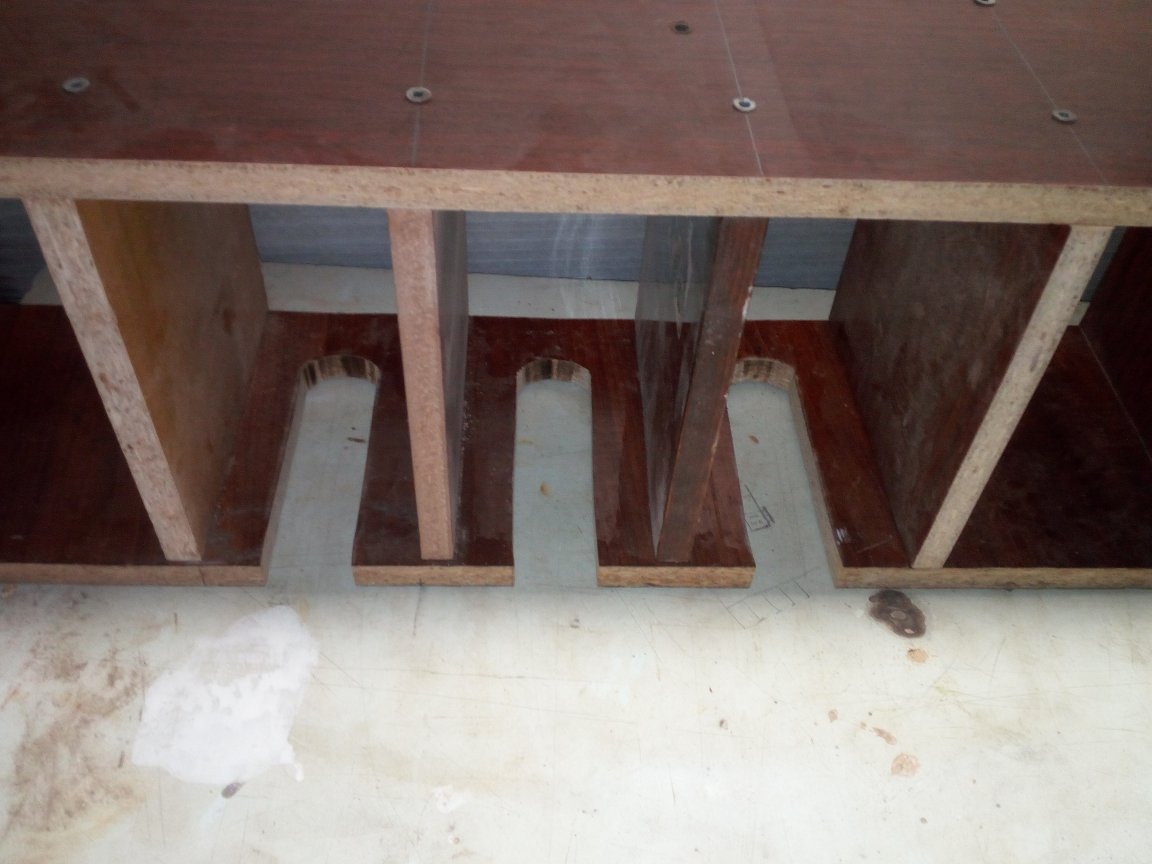
Next, I cut 4 workpieces, which play the role of the side dividing parts between the tool seats. In their end parts I also make holes for self-tapping screws, with which they will be attached to the bottom of the transverse plane of the shelf. I am tightening all these details with self-tapping screws. And here a completely predictable, but still rather unpleasant surprise awaited me - all the transverse parts attached to the shelf stood at random. This is due to several factors. Firstly, I was too lazy to use a circular saw, thinking that for such small parts it would be quite enough to saw them off with a jigsaw. But no matter how hard I tried to cut strictly according to the marking, the file still went somewhere in the sides, so the cut accordingly turned out to be not quite even. Secondly, and I am inclined to consider this the most determining factor in this “jamb”, it is that I drilled holes without the use of any conductors or a drilling machine. I simply do not have them. Holes were made manually "by eye". Therefore, in the end, everything led to such a deplorable result. When making this, do not repeat my mistakes.
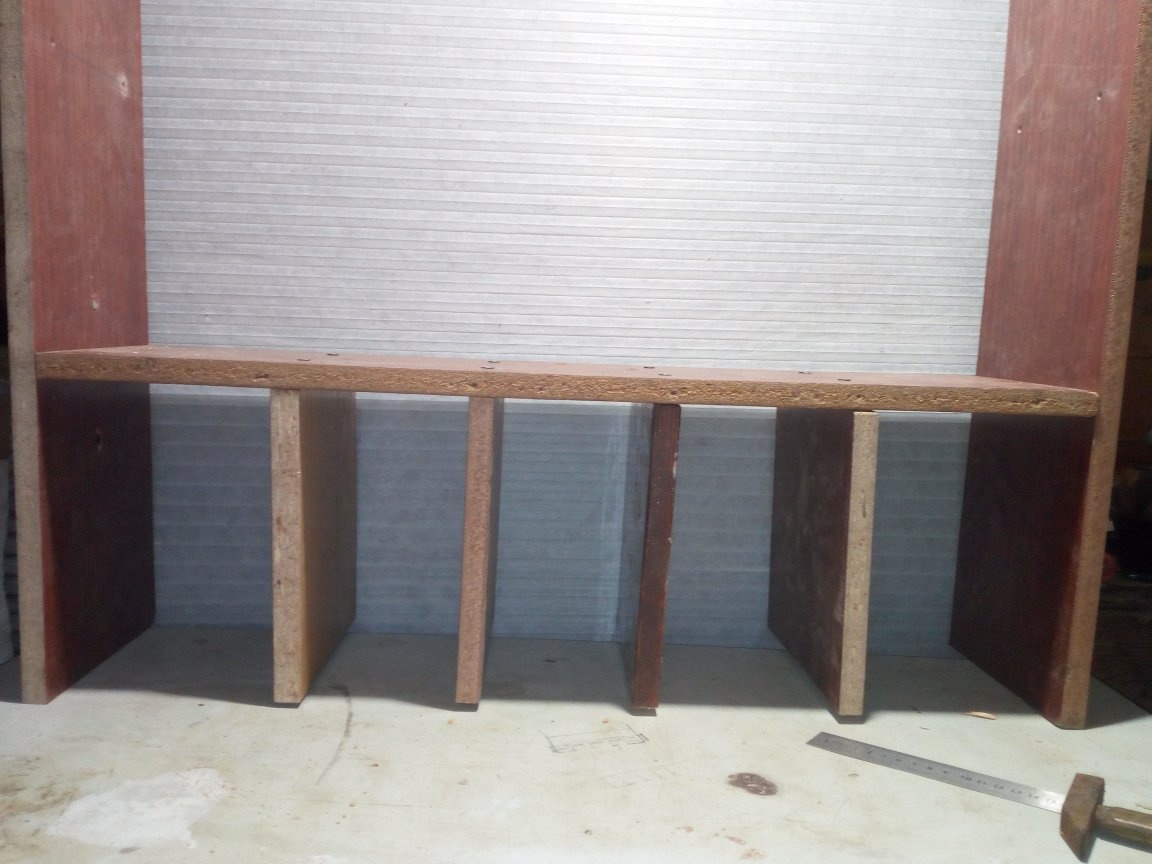
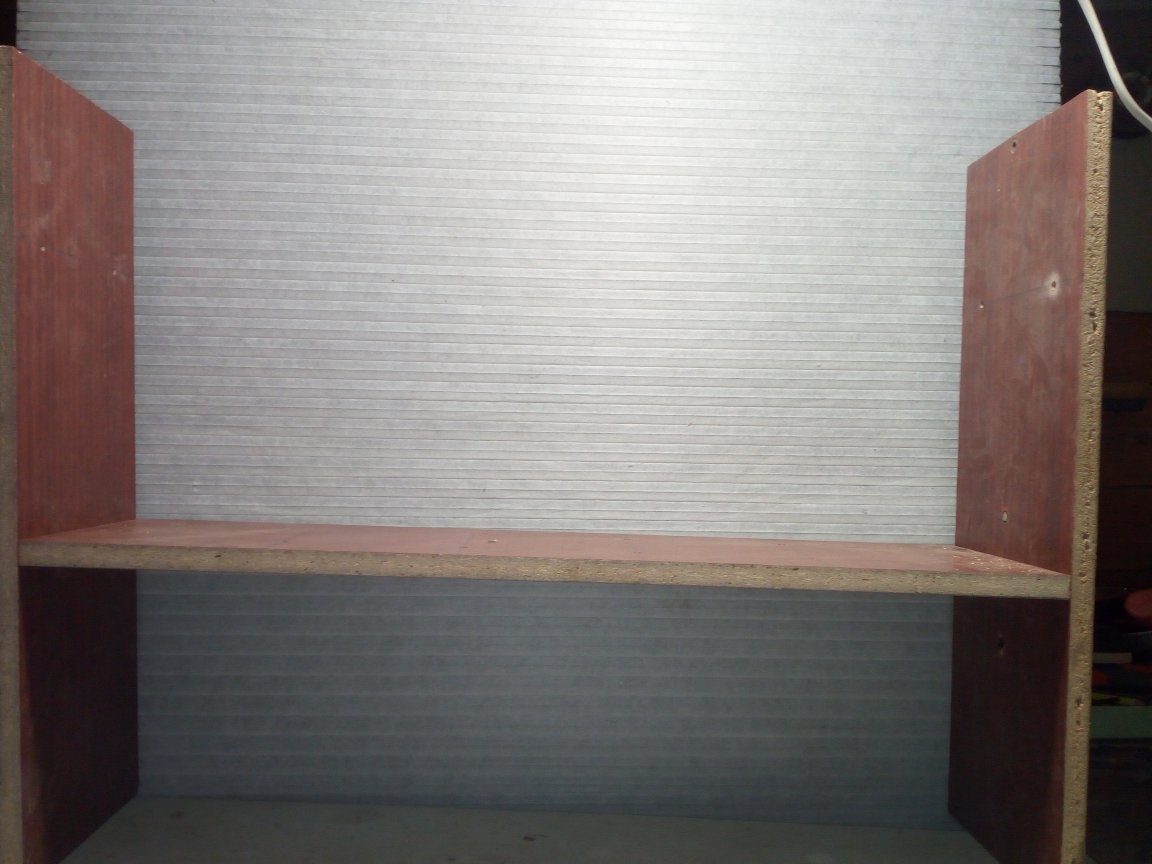
I had to do another workpiece already for these parts. By loosening the fasteners at the perpendicular parts of the shelf and screwing the workpiece to the lower parts, I still managed to ensure that all the parts began to stand upright, without distortions. I fixed the bottom of the shelf to these parts with wood screws.
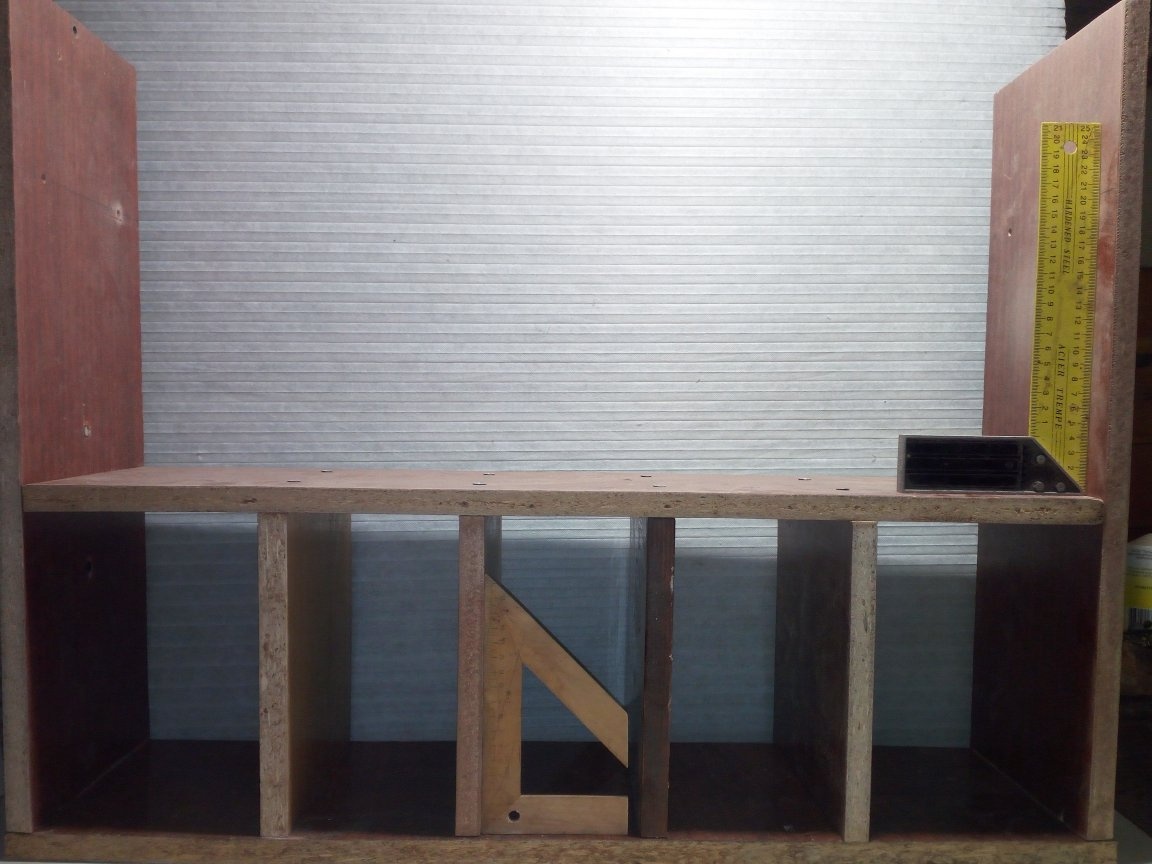
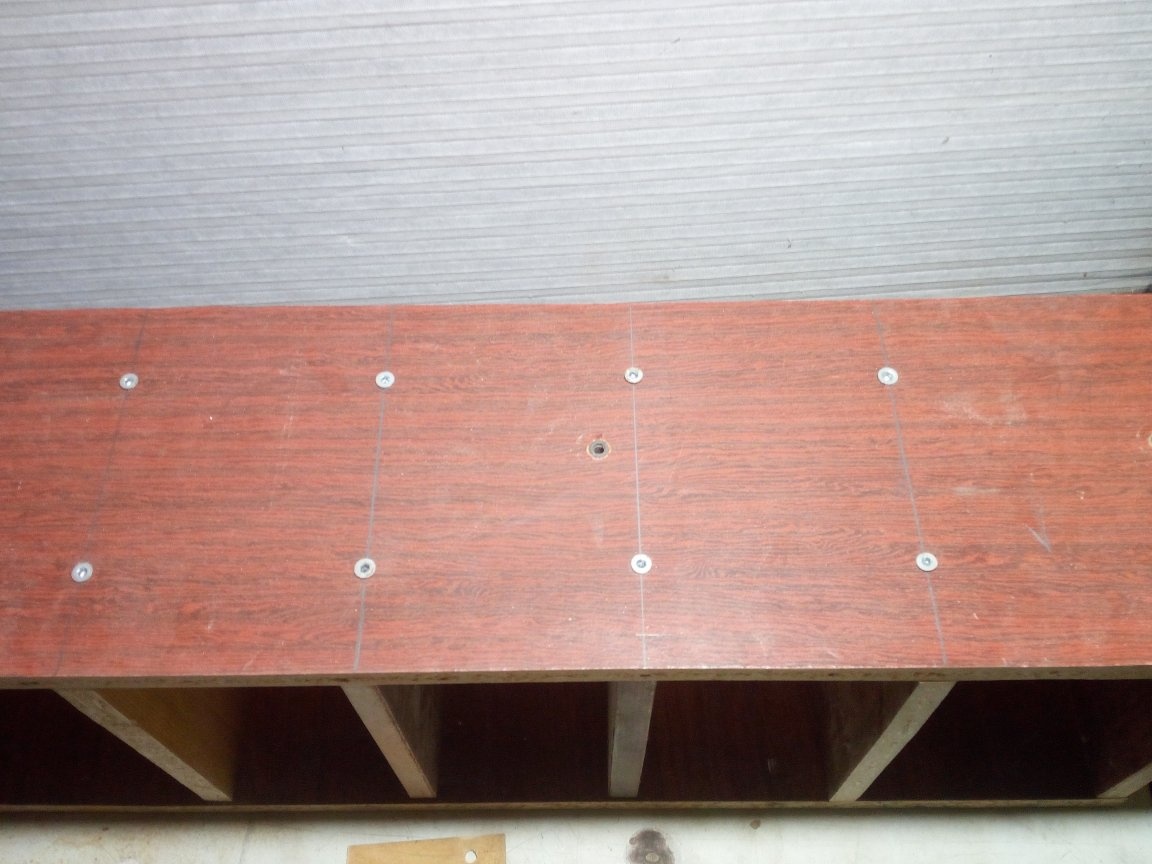
Since I had to use one of the previously cut blanks to make the bottom, which was not planned at all, I had to do another one. I fasten it to the sides of the shelf. Here's what happened after all the steps taken. In principle, one could dwell on this option, but I wanted something more than just a set of parts fastened together in an uncomplicated design. Therefore, I continue further.
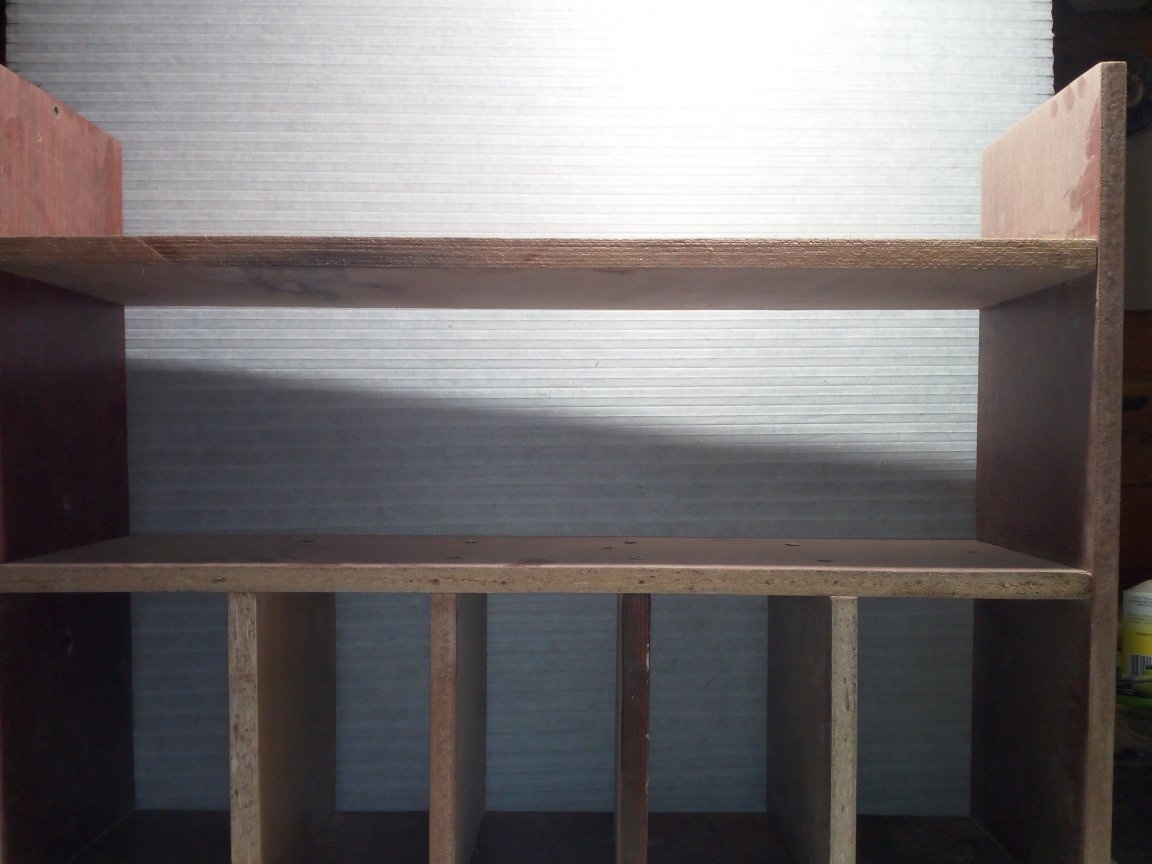
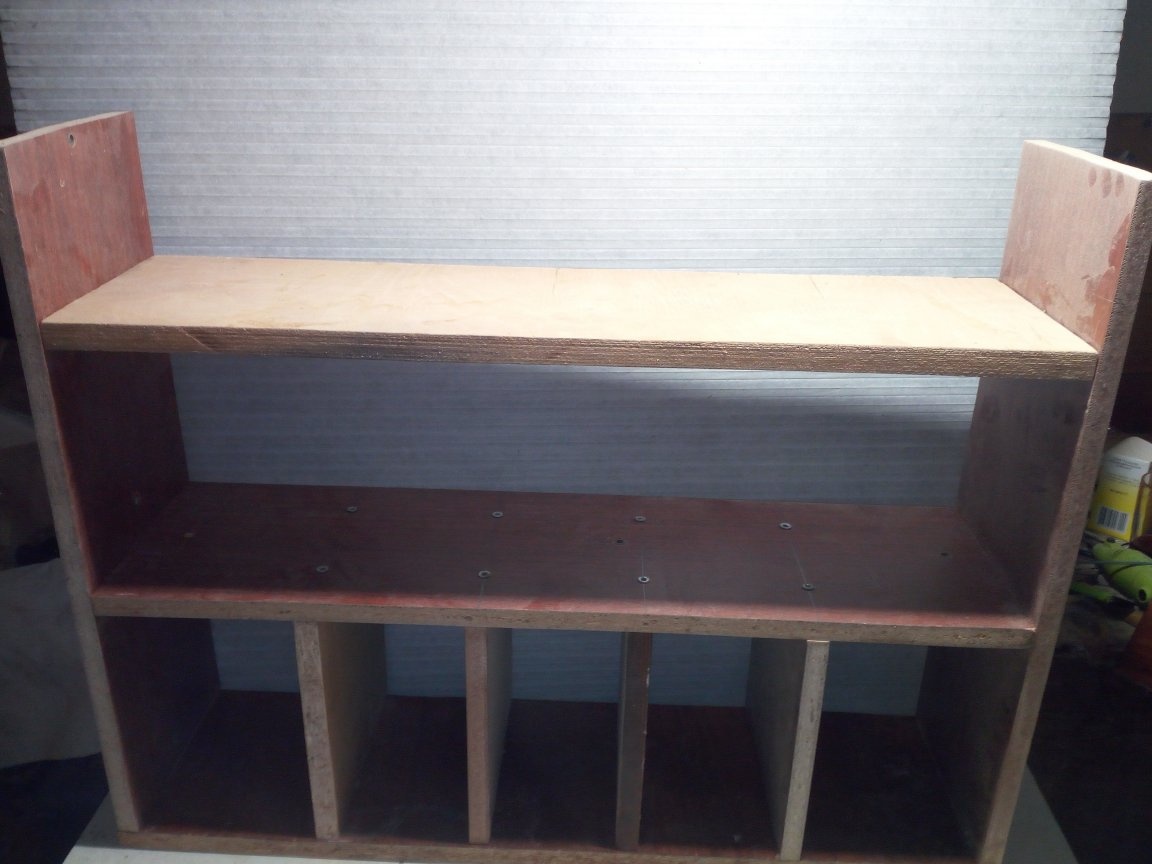
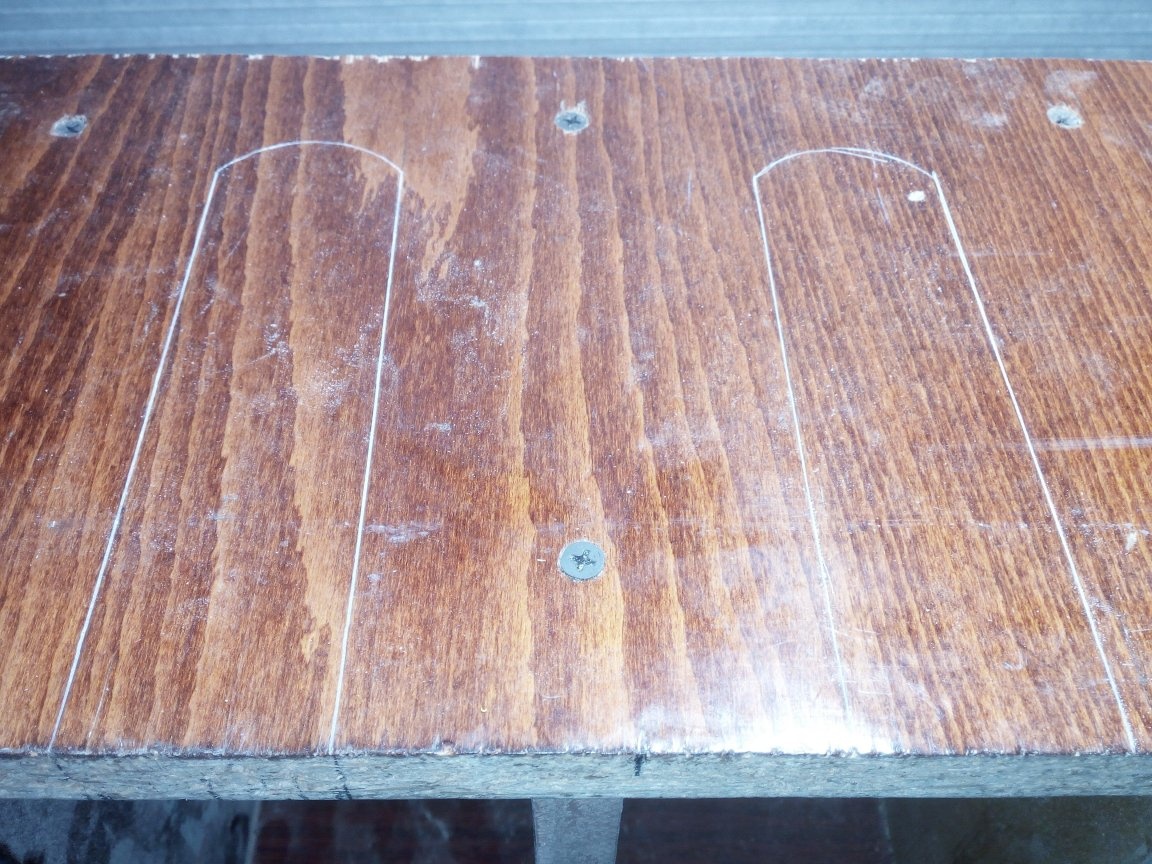
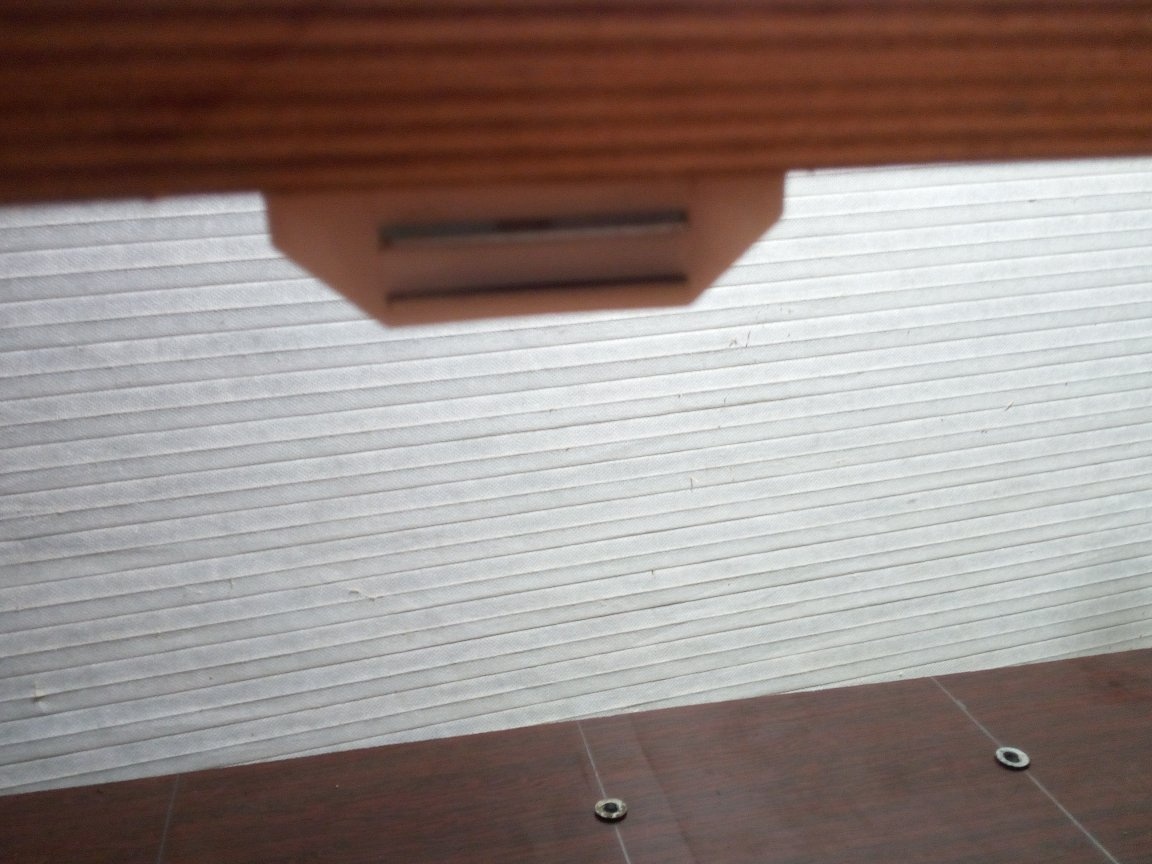
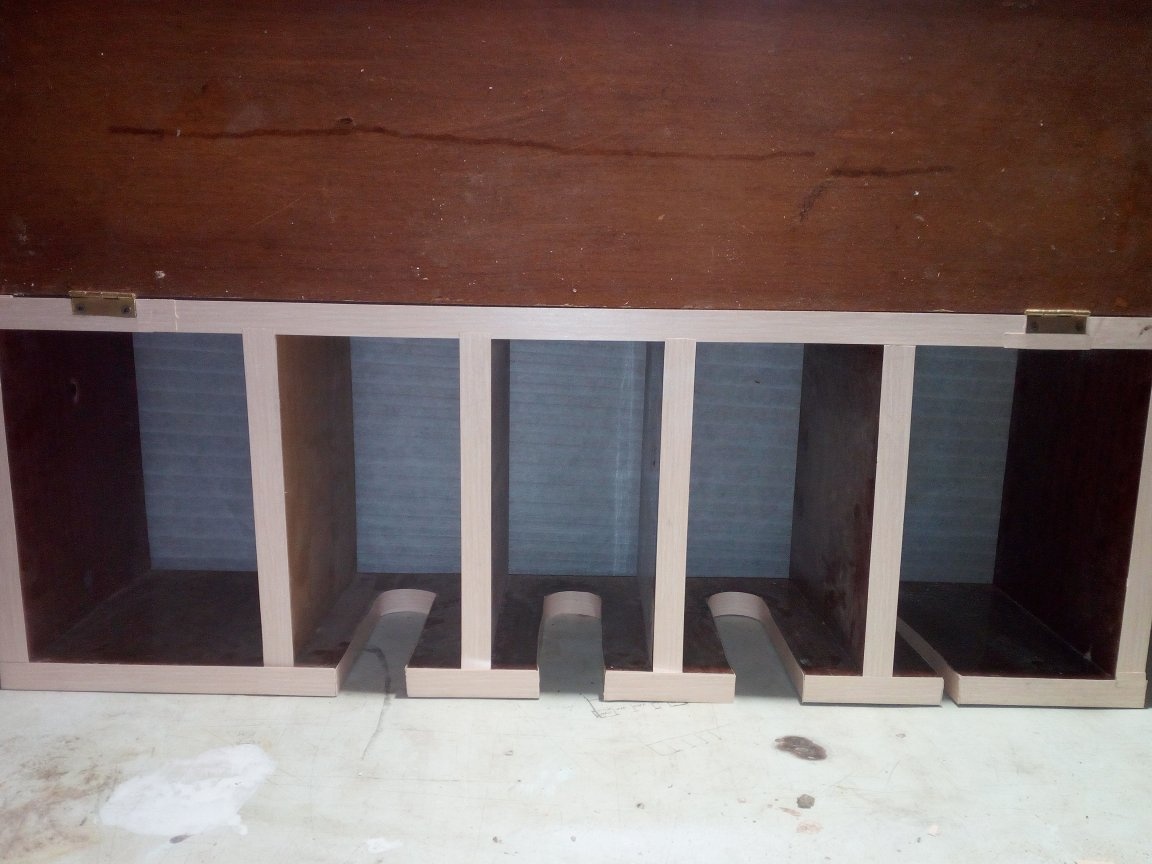
As mentioned above, the bottom of this structure was not planned at all. There I planned to make upside down T-shaped shelves. But since everything turned out wrong, I had to do a little differently. But in the end, the result pleased me. Turning the structure upside down, I made a marking and sawed oval recesses along it. They are needed in order to insert screwdrivers into them.
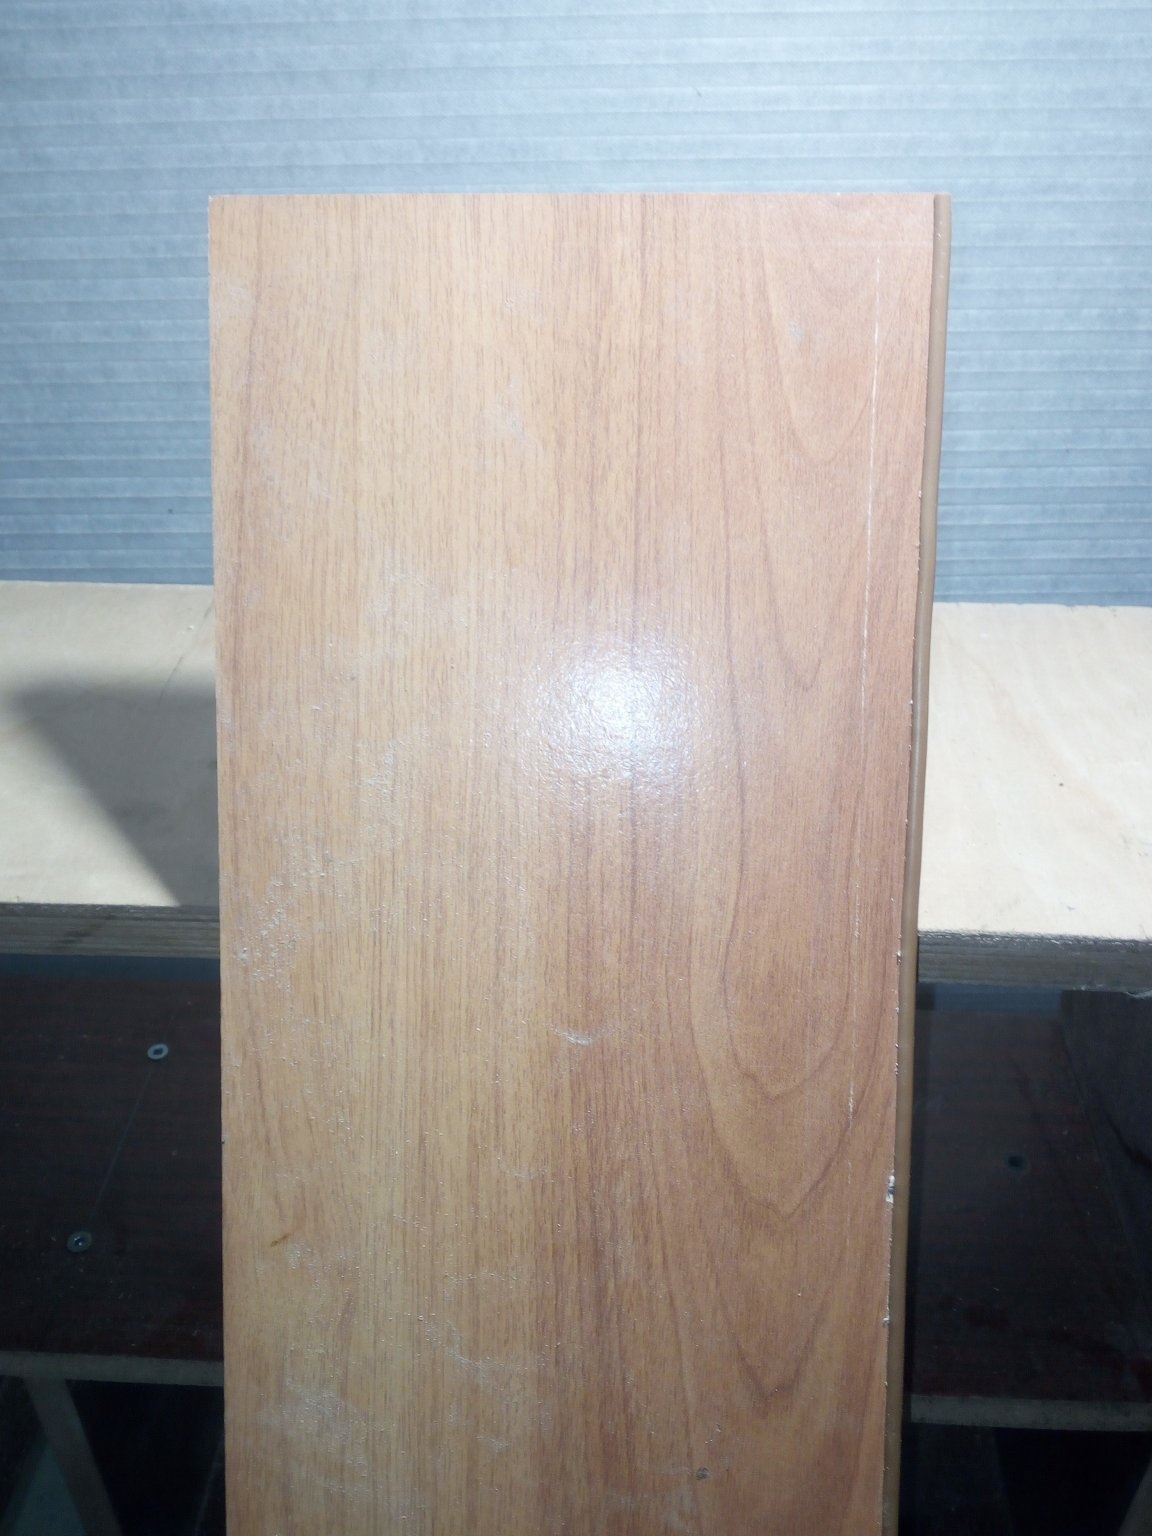
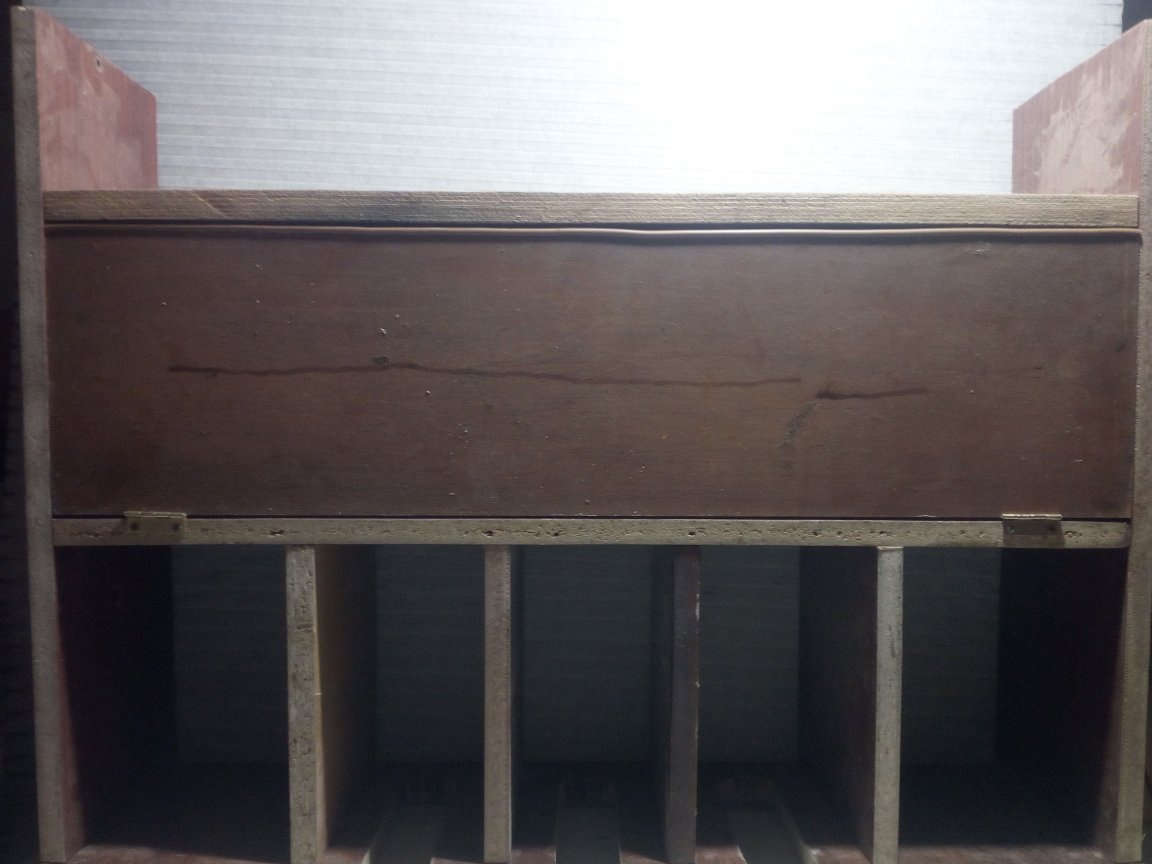
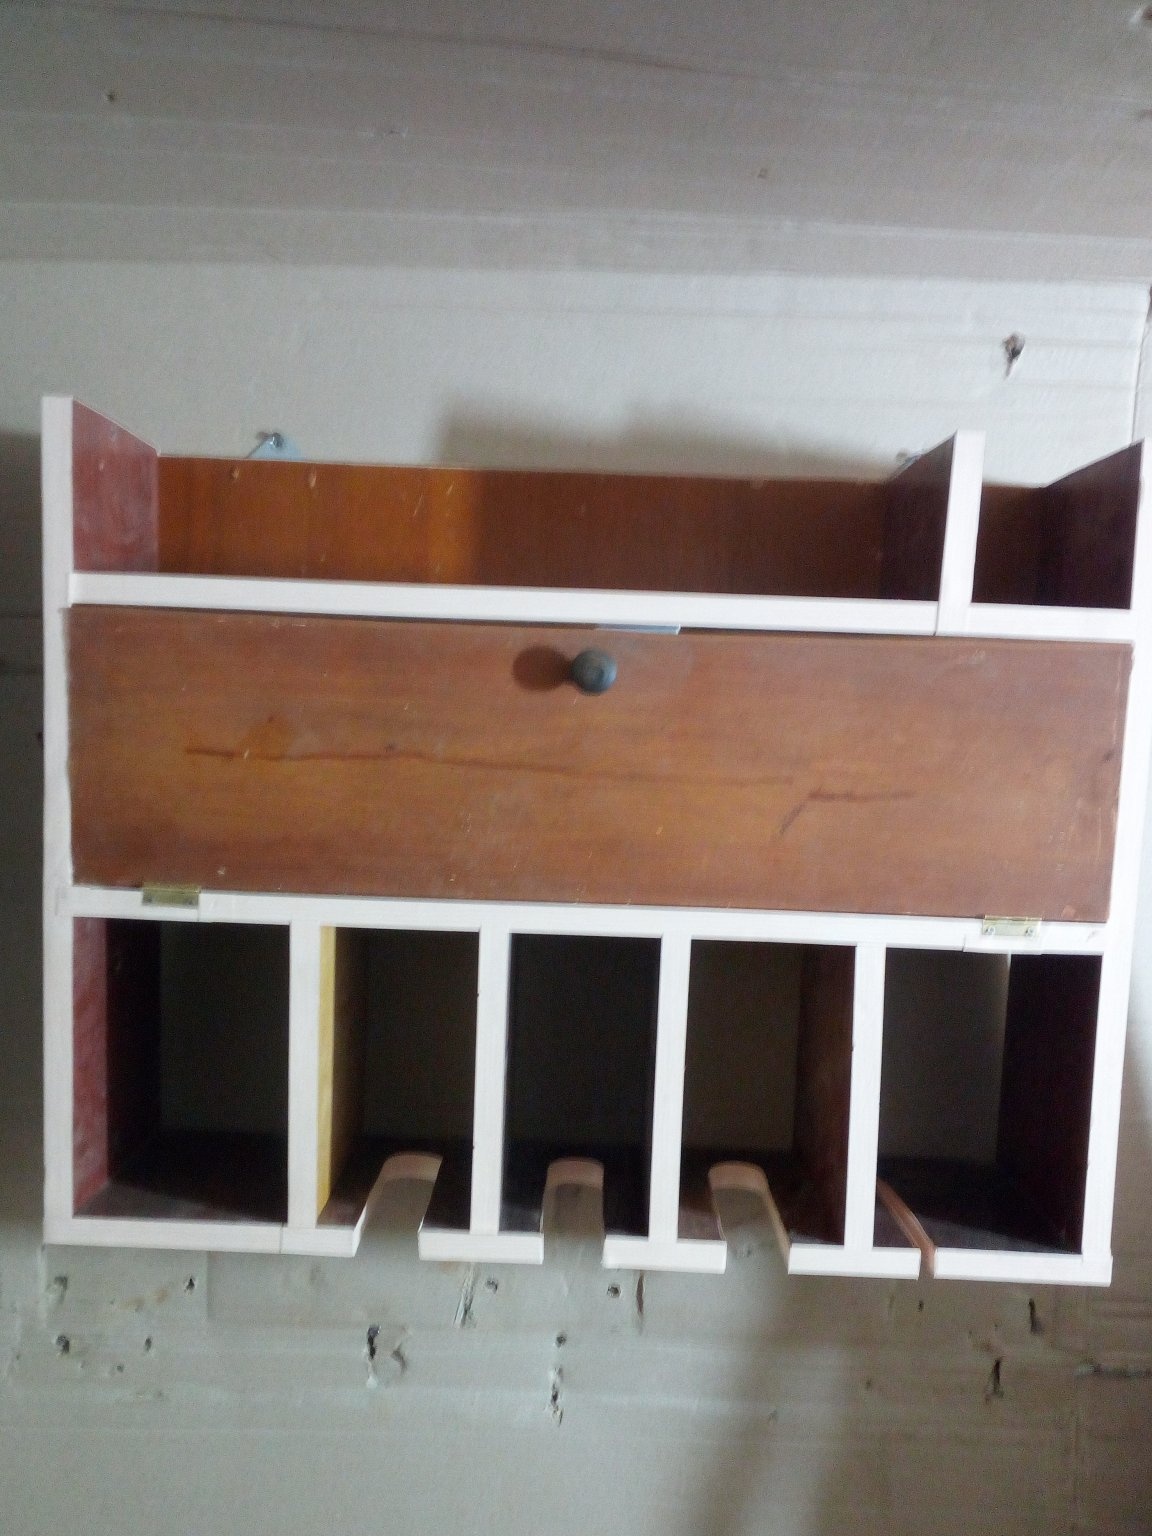
The next step is the manufacture and installation of the door on the shelf. For her, I used the same material as for the entire structure. After sawing all the parts, I had a piece of chipboard of sufficient length, but a little narrower than what I needed. Since the tightness of the internal space of the shelf was completely useless to me, he went into business. Do not cut the same new plate, useful for other things.
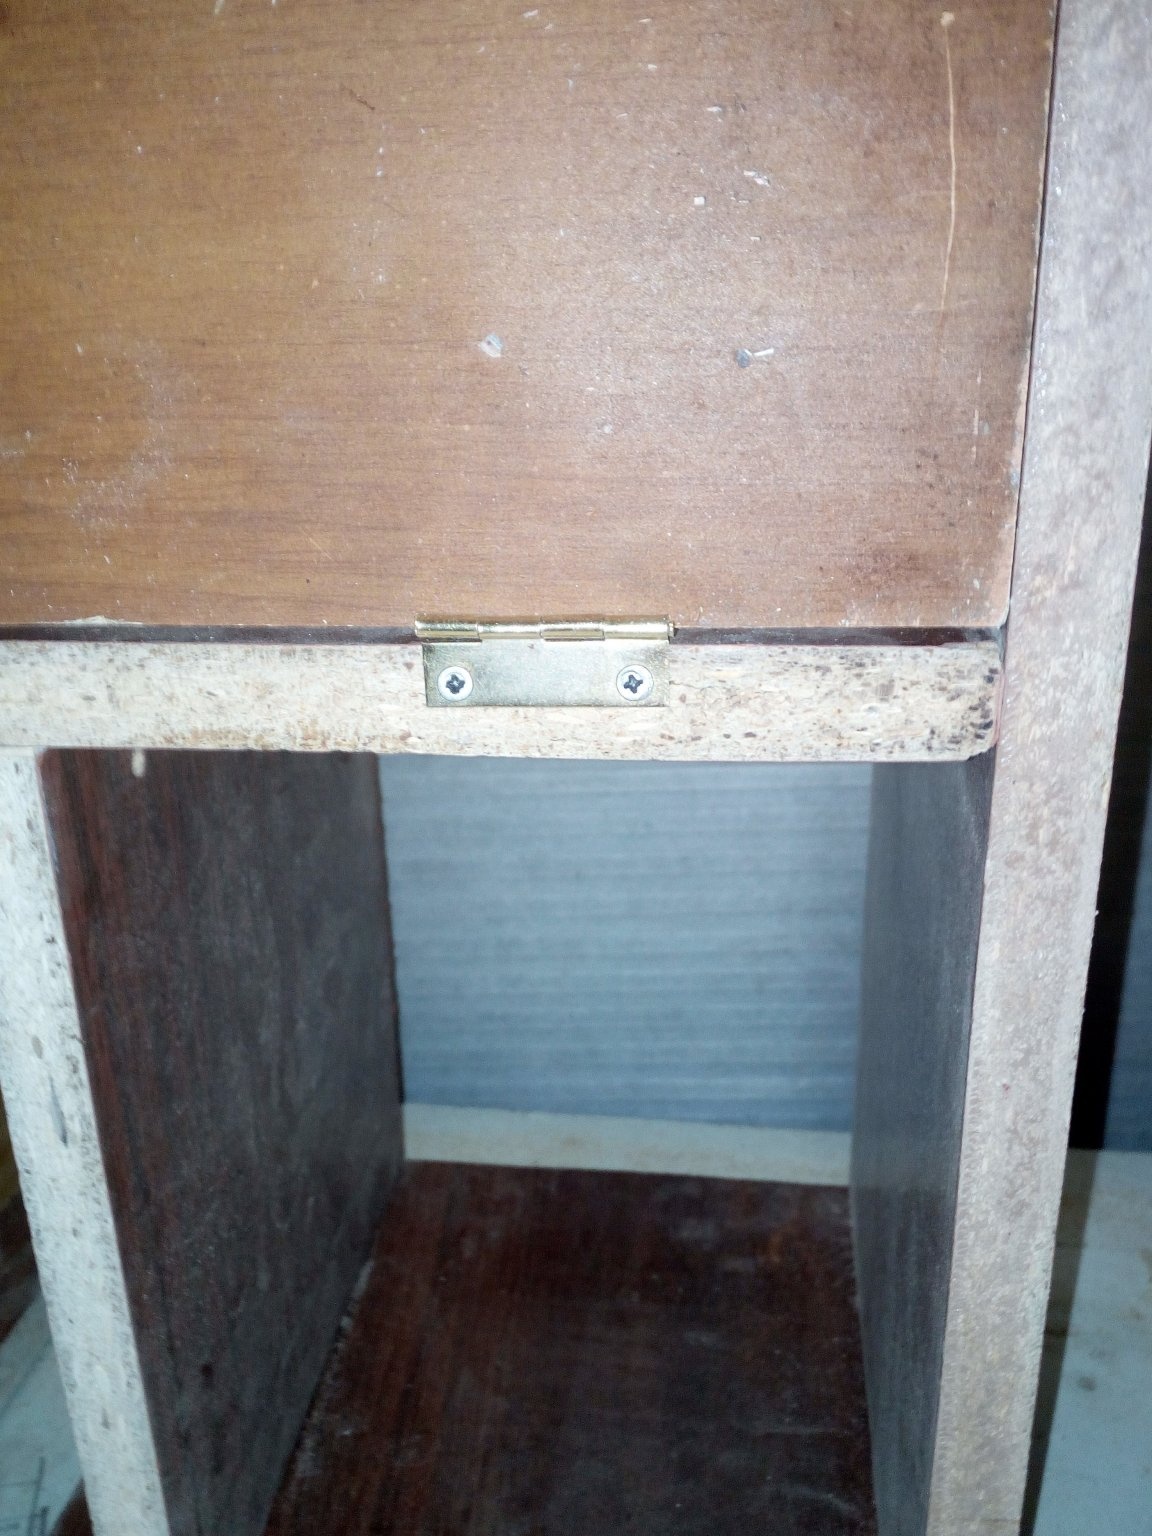
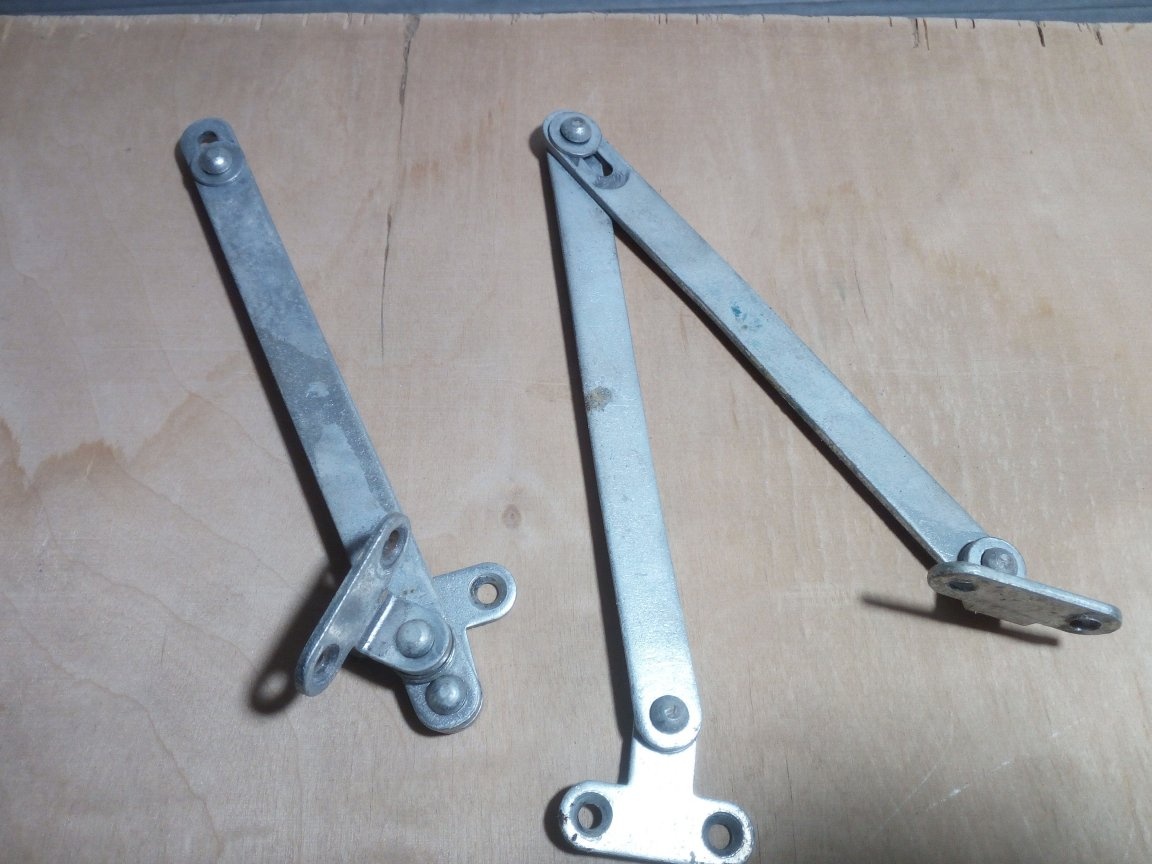
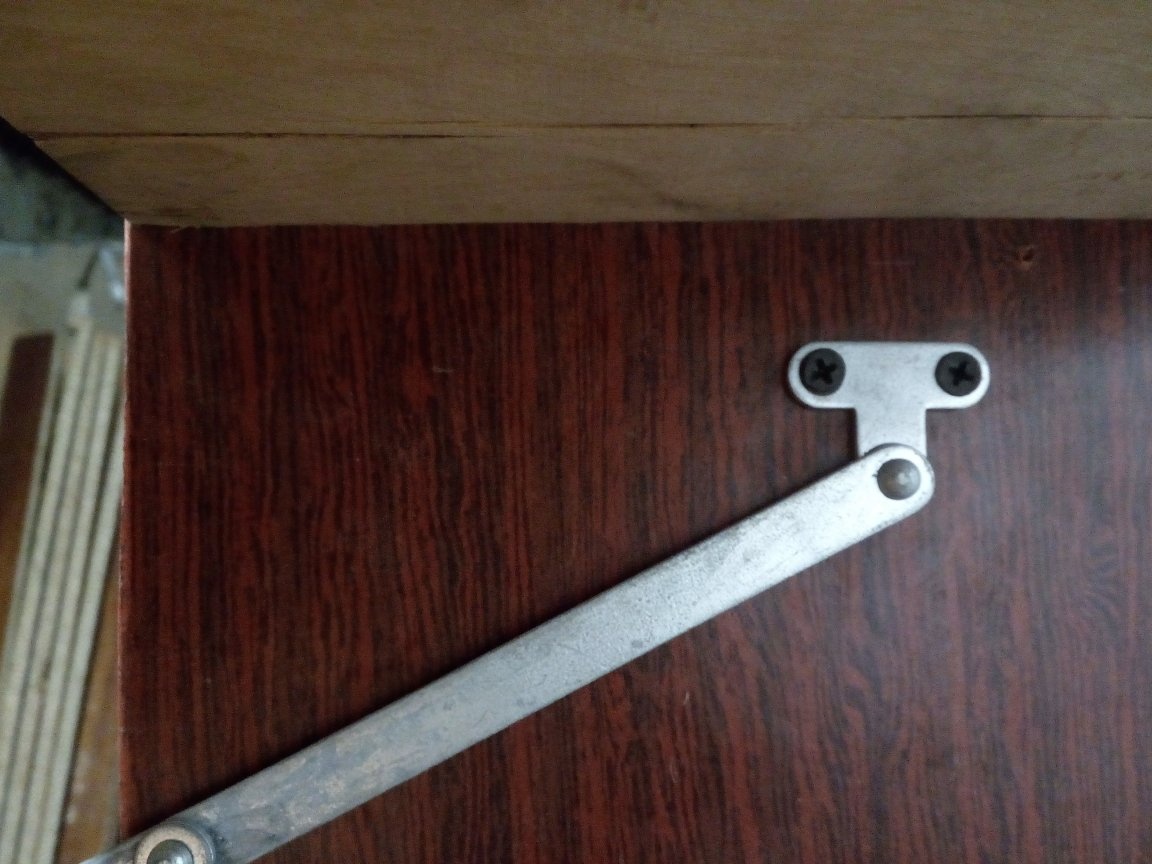
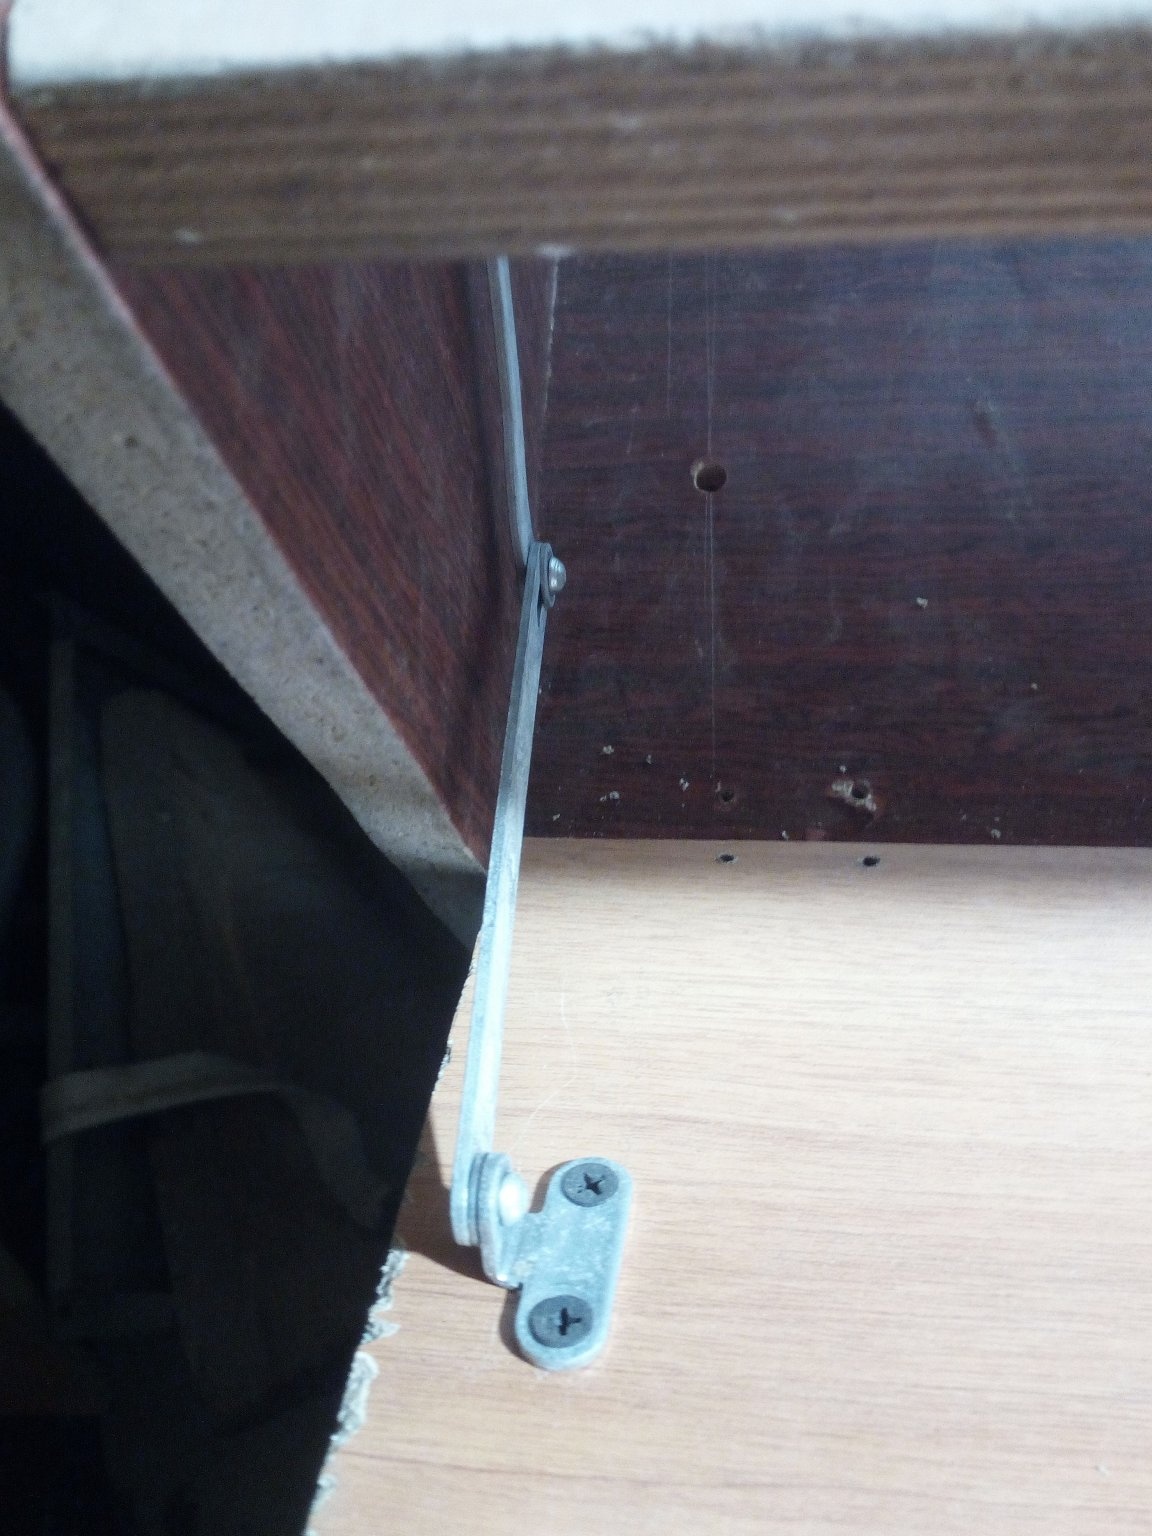
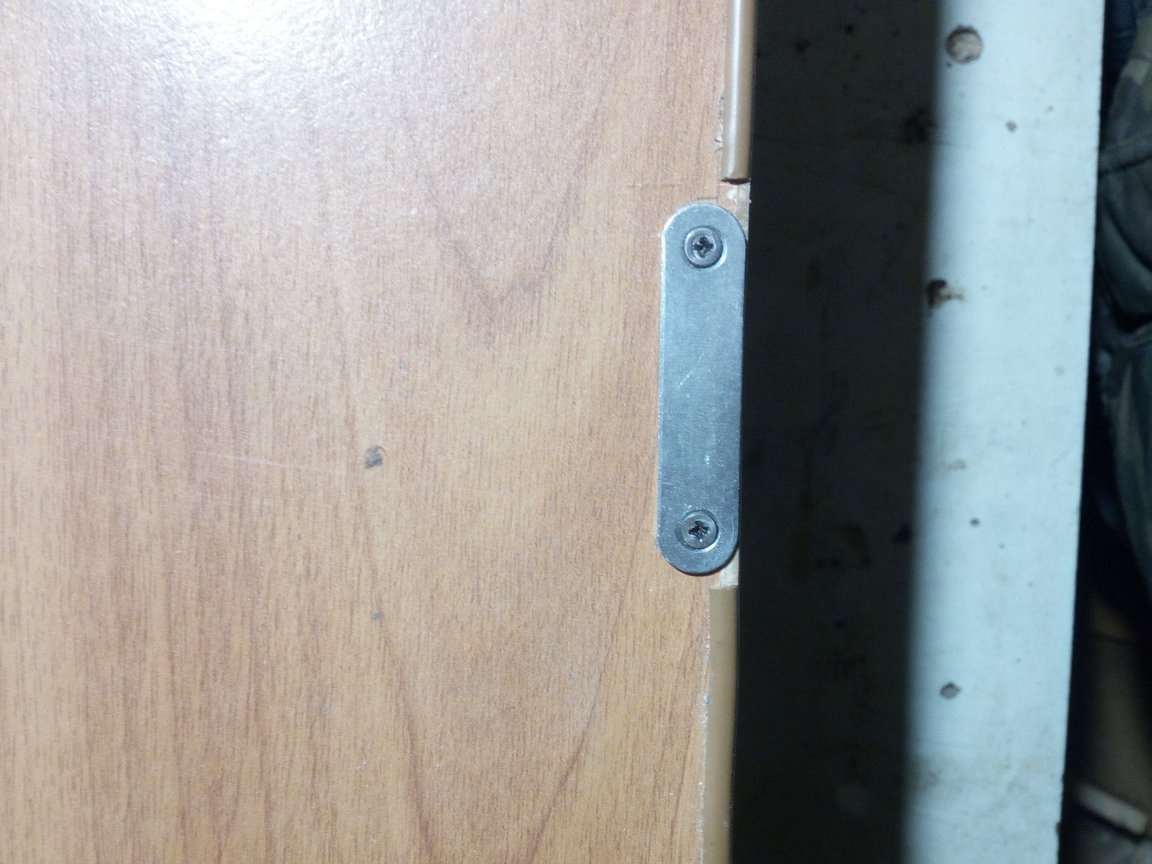
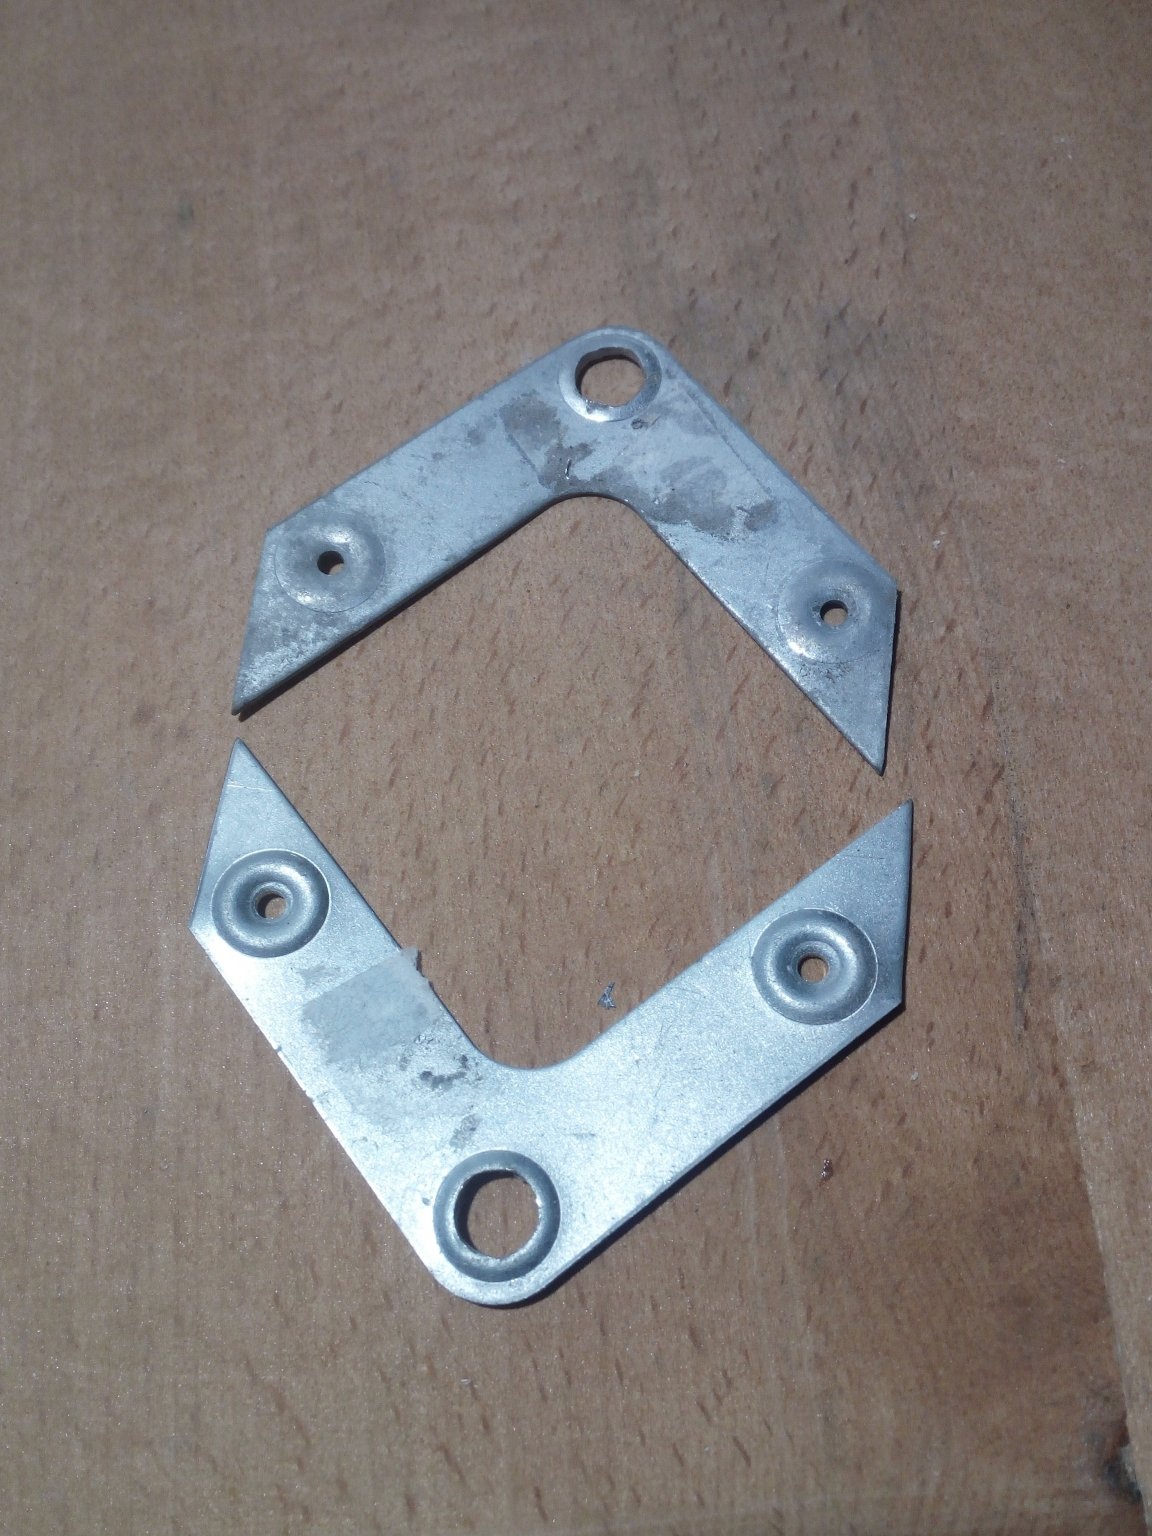
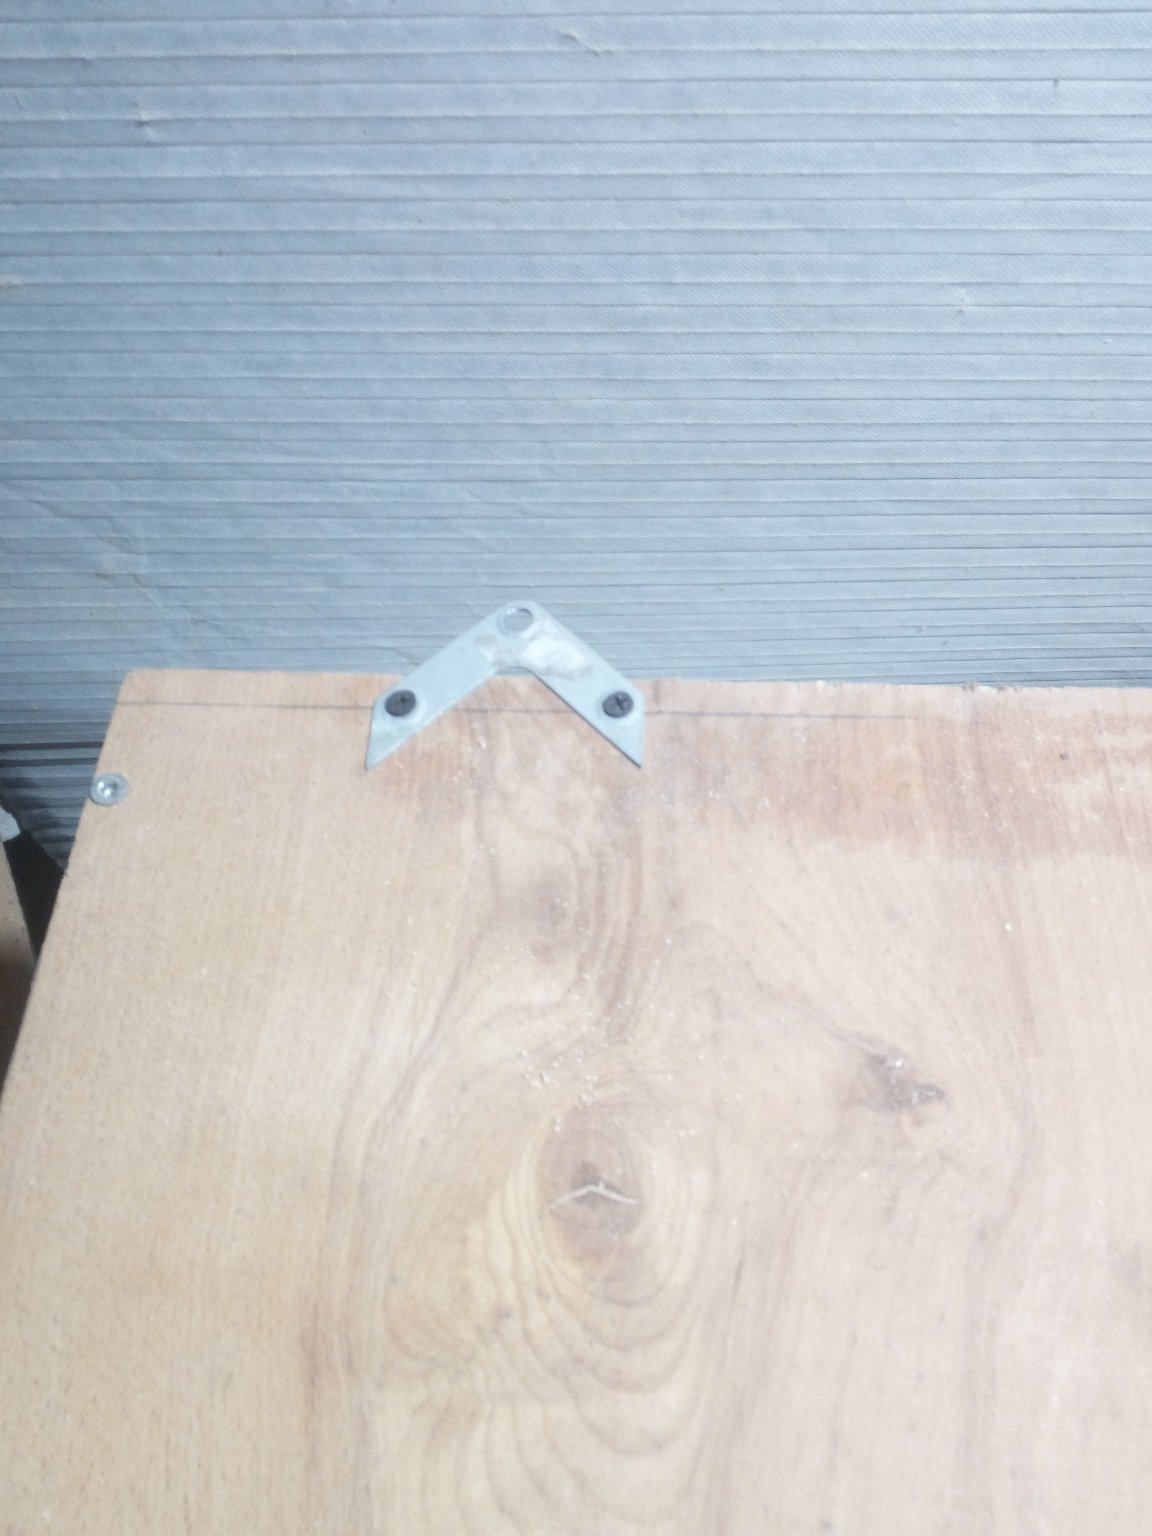
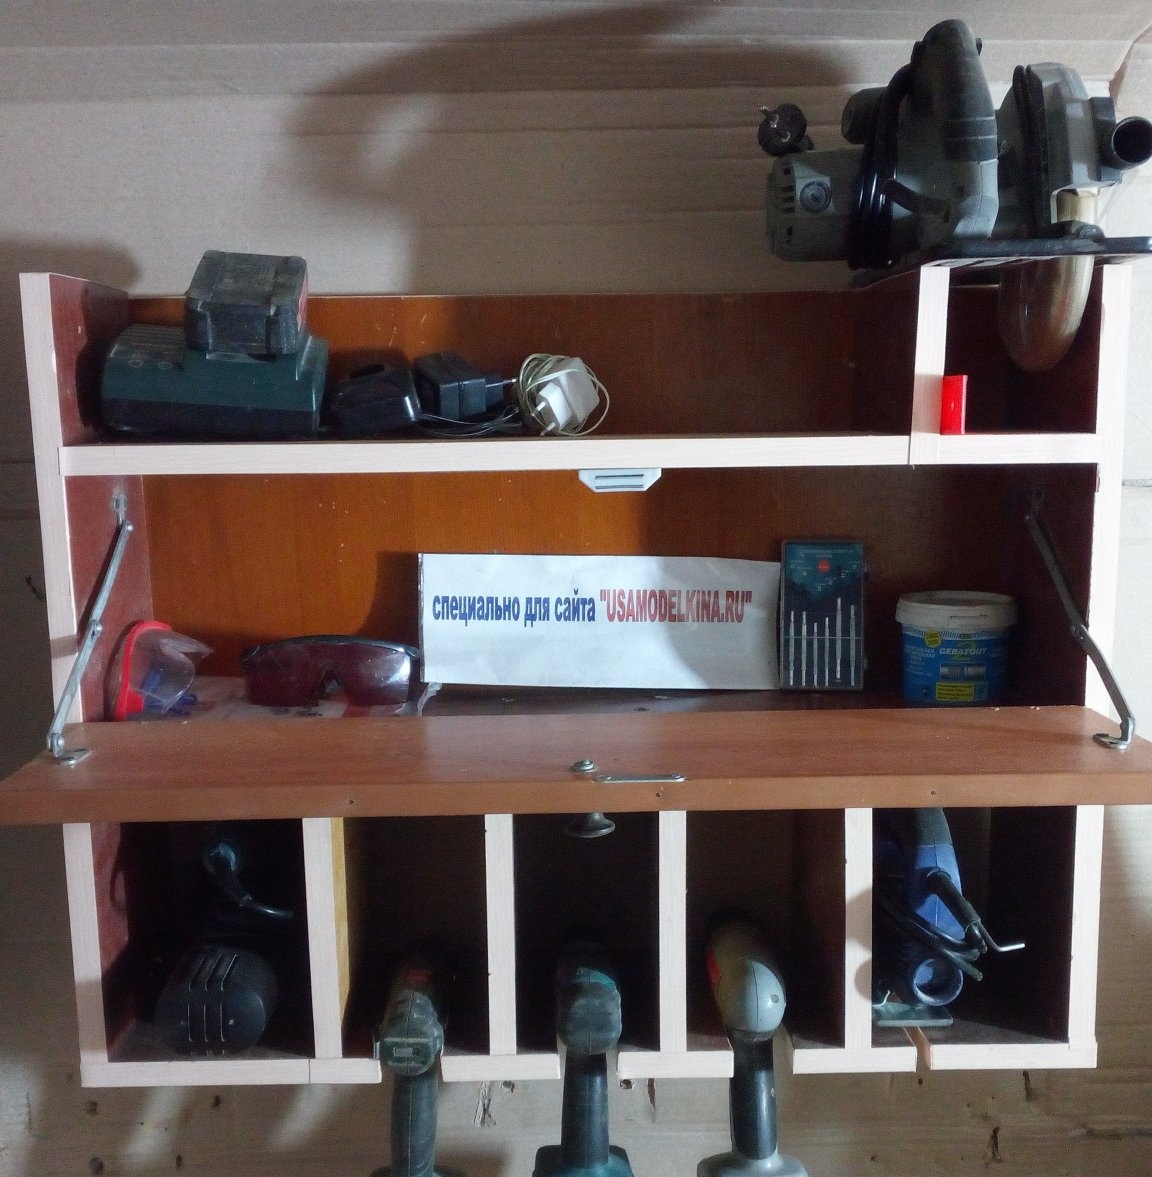
The hinges I used were small hinged ones, which I had acquired in a furniture hardware store, like everything else used in the manufacture of this shelf organizer. On the top of the door I applied a little Moment and put on it a flexible p-shaped edging with a girth of the sidewalls. After a short period of time sufficient for the glue to set, he installed hinges on the door and hung it on a shelf. Screwed on with small screws. When opening, the door fully reclined and lay on the lower floor, blocking access to tools. Therefore, in order to prevent the door from completely tilting, I installed travel stops. I removed them from the old sideboard, which, too, in a disassembled form lies in my barn. Next, I put a magnet and a metal bar so that the door closes more tightly and cannot open on its own. I use corners to fasten the shelf to the wall.They are strong enough and can withstand both the weight of the structure itself and the weight when fully loaded.

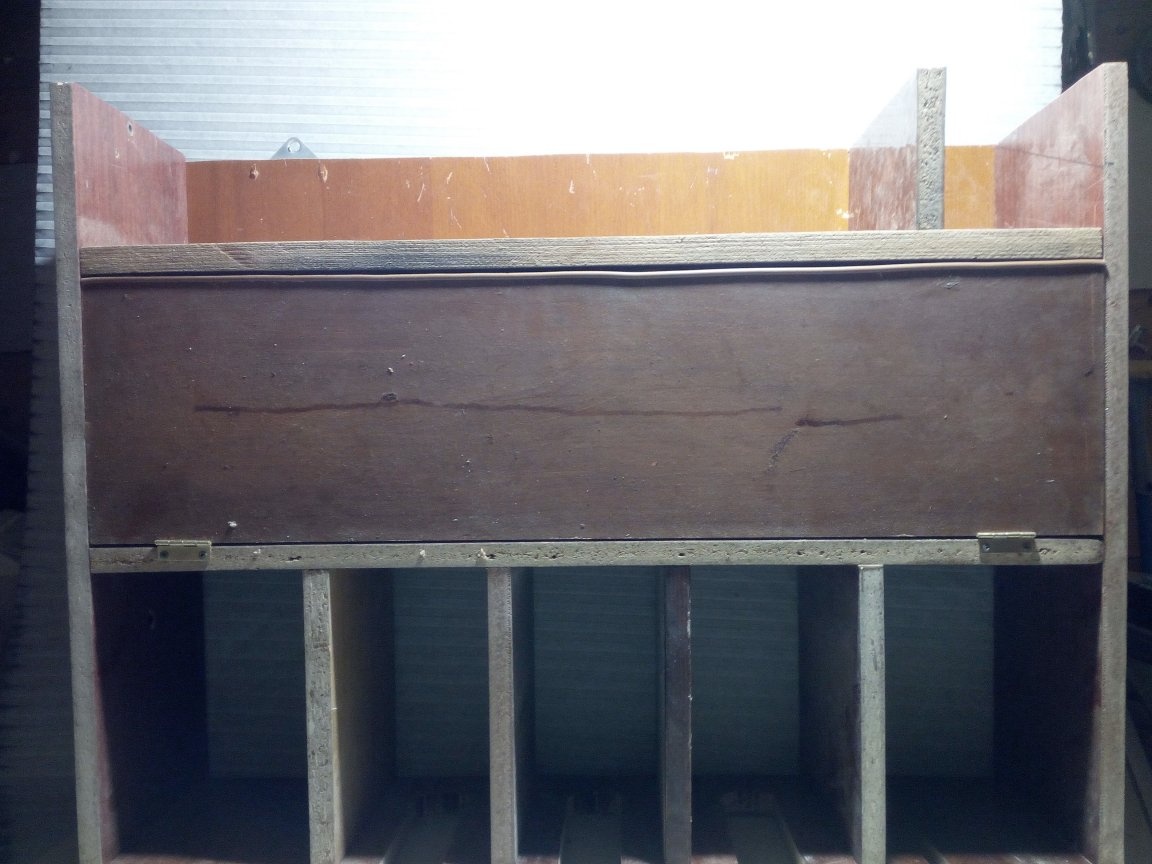
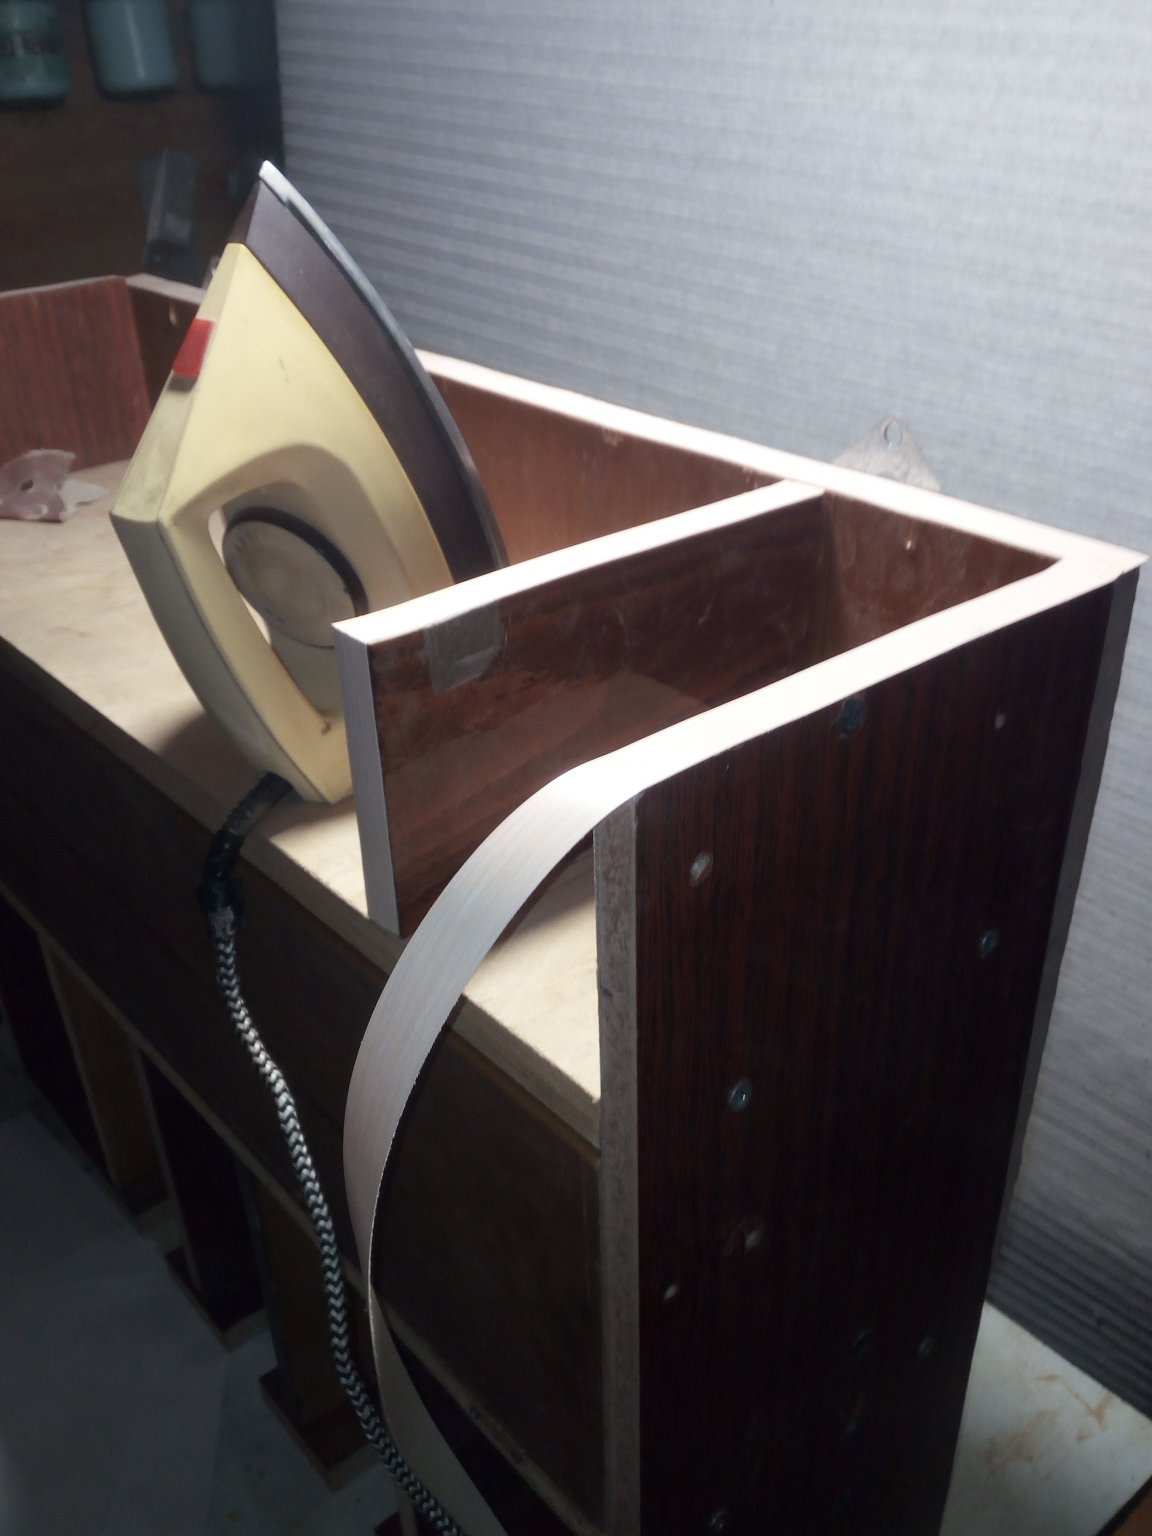
The shelf is almost ready. But in order to make it look more presentable and interesting, I decided to decorate the front part, where saw cuts are visible, with an edge tape with an adhesive compound applied to its wrong side. To do this, I took an old, but working iron, waited until it warms up properly and got to work. Having measured the required length of the tape, I applied it to the edge of the shelf and ironed it through an A4 paper sheet. When heated, the glue melted and tightly glued the tape to the shelf. I used the sheet because touching the varnish applied to the chipboard, the hot iron melted it. Yes, and dirty himself. And so in those places where it was possible not to be afraid to hook the varnish over the sole of the iron, I heated the tape without it. It’s even more convenient. The tape did not deteriorate or melt. I had to tinker a lot when sizing grooves for screwdrivers, especially their rounded parts. And I don’t want to talk about the slot under the jigsaw file. But still, everything was pasted over. A handle is installed on the door, and the shelf itself was hung on the wall!
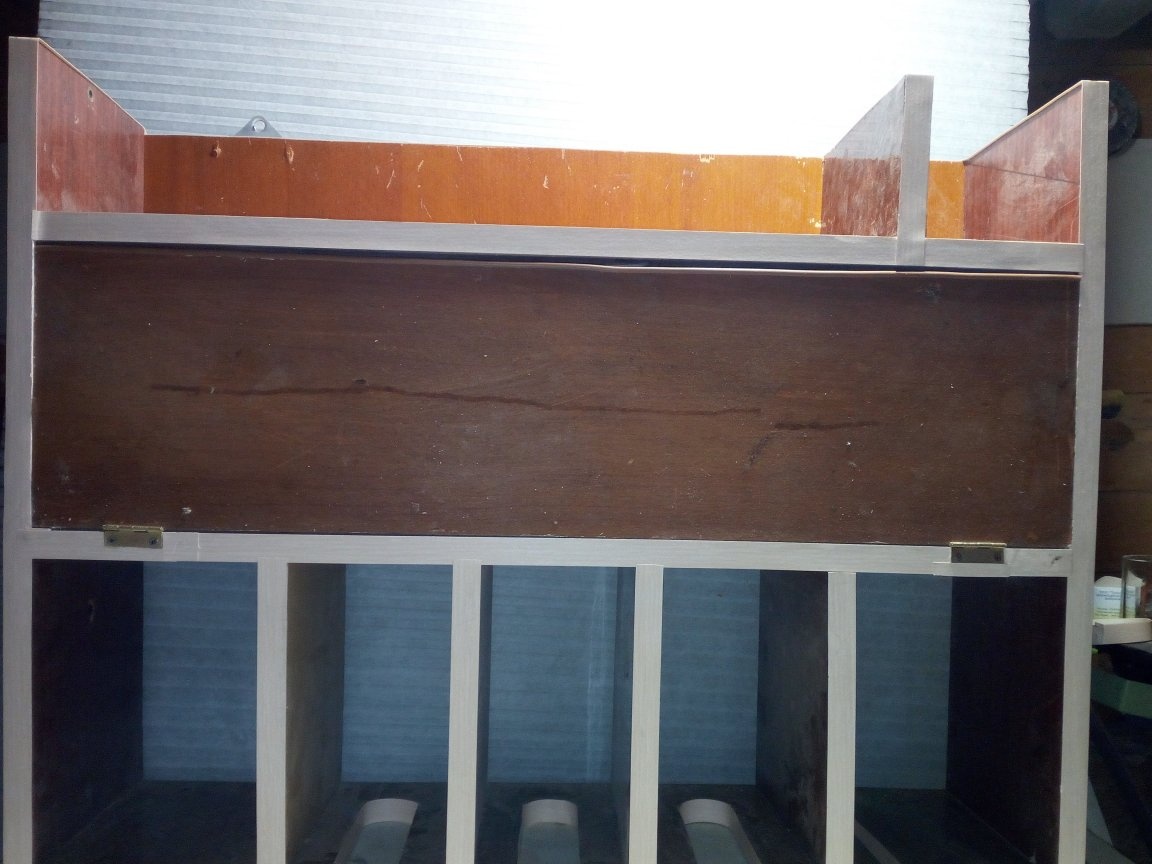
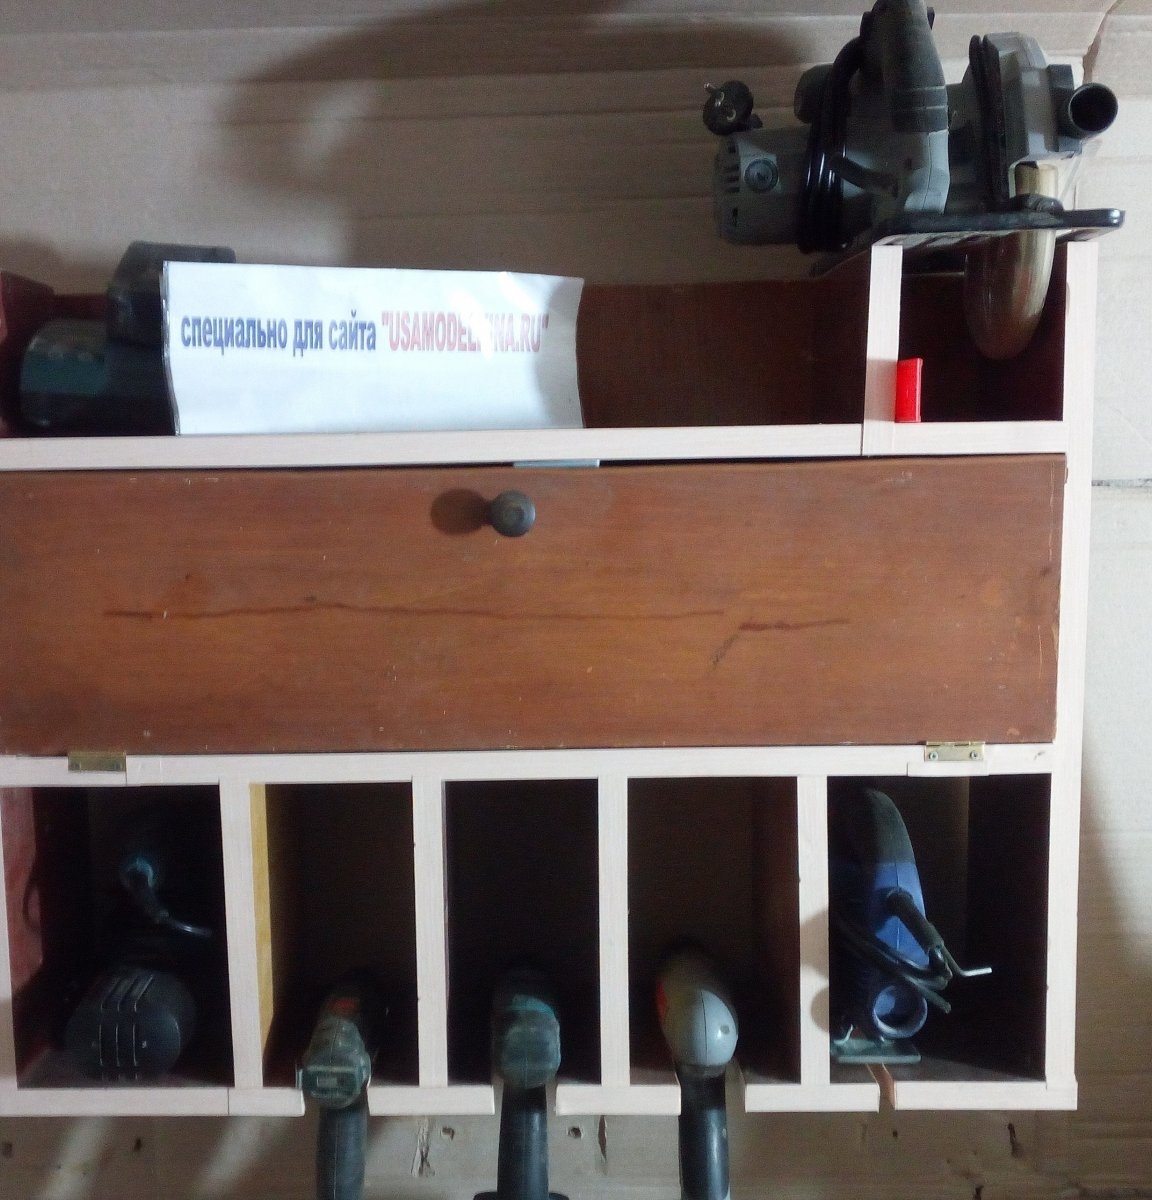
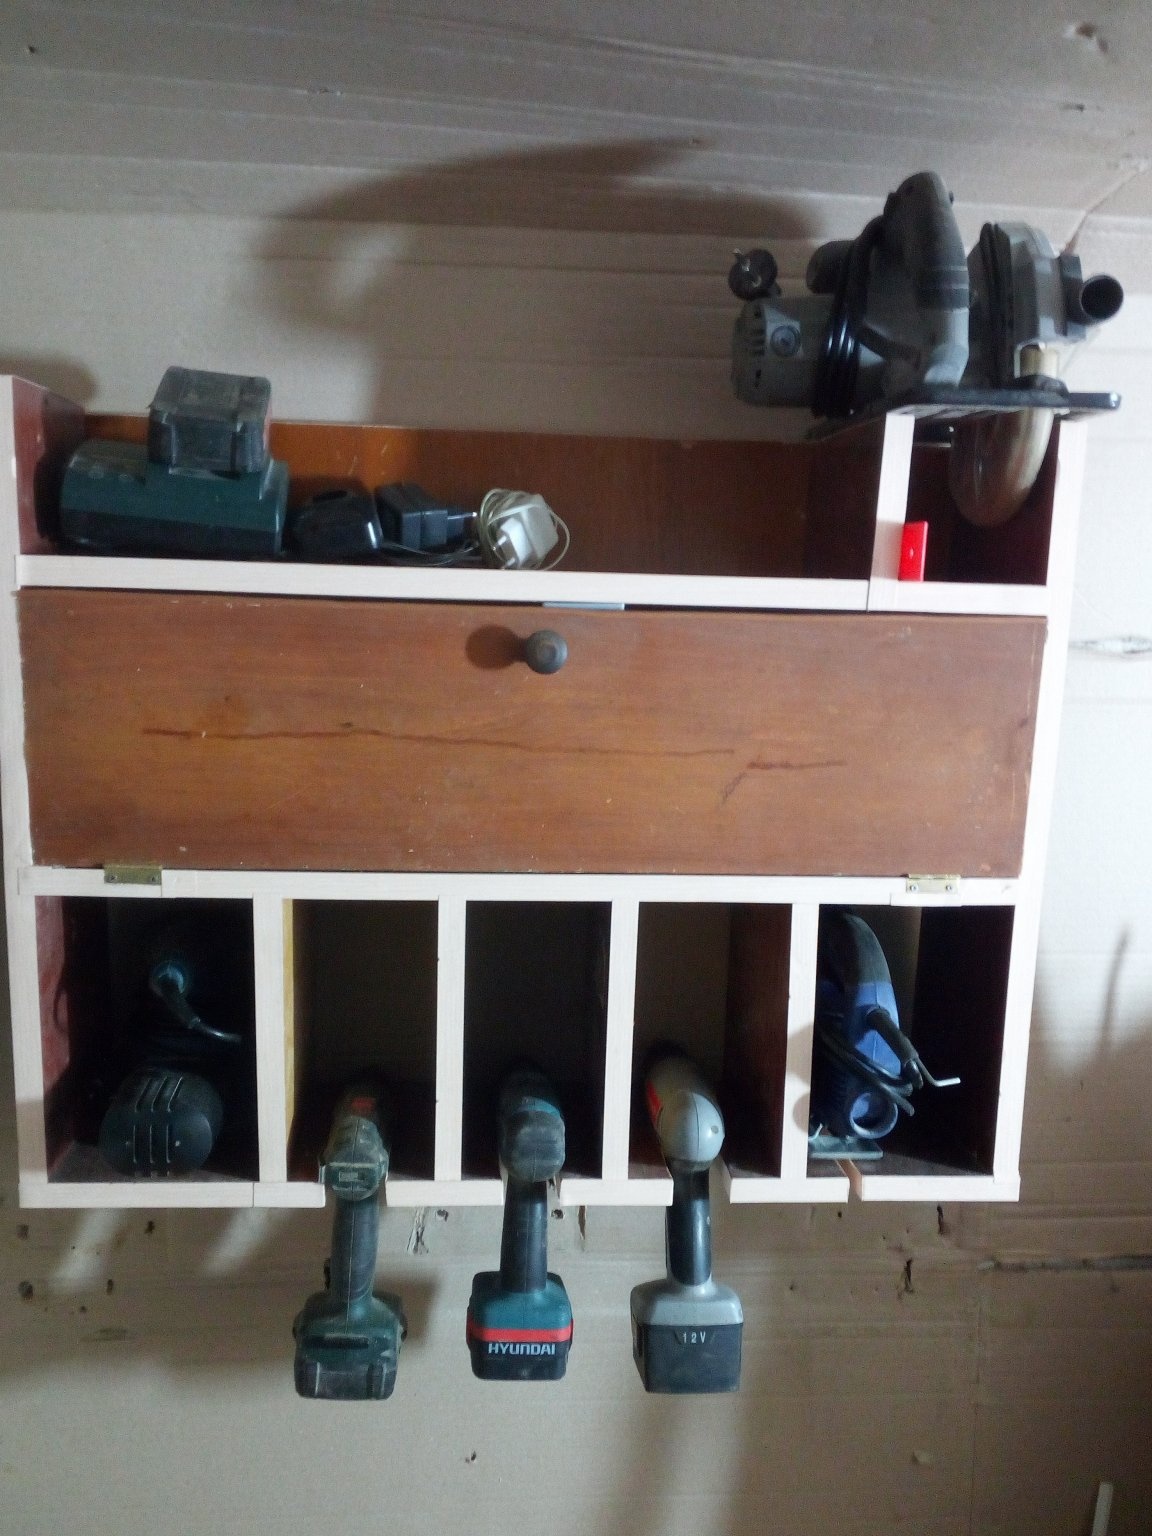
That's what happened in the end, of course. 2 spent evenings and a tool shelf is ready. Screwdrivers, a jigsaw are conveniently placed on it, there is a compartment for another small tool, in this case an orbital grinder, a stand and a place for a mini circular saw and, of course, a compartment with a door where I will put various small things. I am satisfied with the result. With the minimum size of the rooms in the workshop, using this method I will put in place all the necessary tools.
Thank you for reading the article. I wish you all creative success and realization of your ideas. With respect, Nicholai.