
In this article, we will analyze the process of making a simple homemade product from Chinese electronic modules. The result is an inexpensive, but very useful thing in the household contraption, indispensable in some aspects.
The author of this homemade product is AlexGyver (YouTube channel "AlexGyver). From an ordinary outlet, he suggests making an outlet with a remote control and a remote control, which is very convenient in some cases.
For example, SSonoff modules.
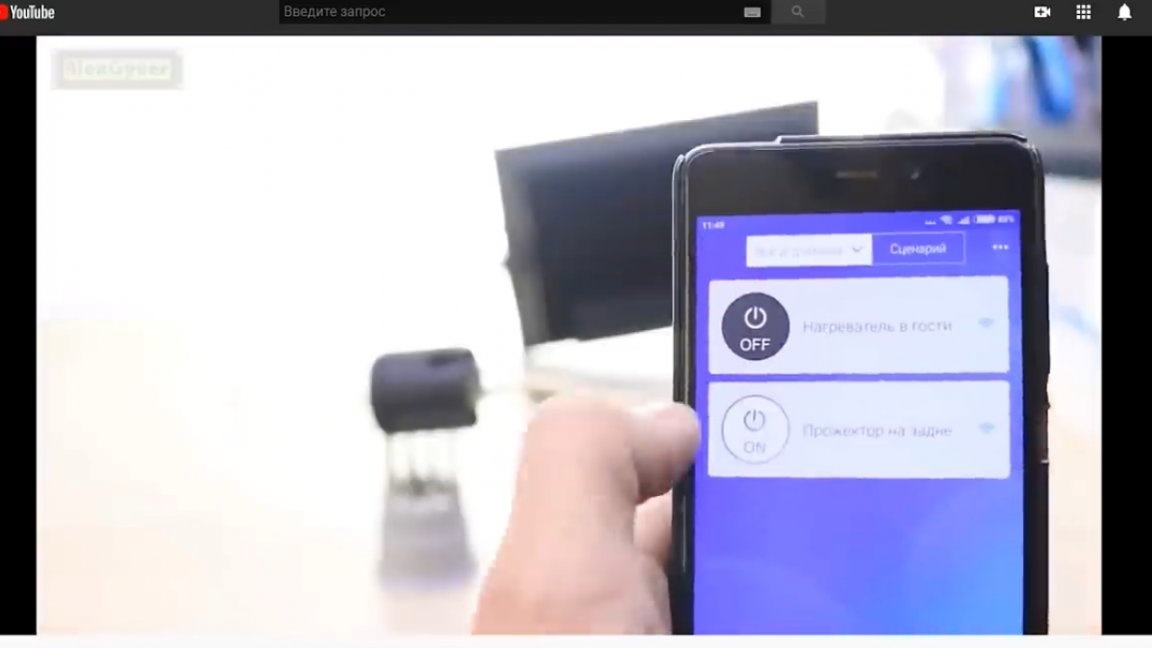
Management is carried out from a smartphone, but it is very inconvenient if the task is, for example, to control the light in the studio. In this case, it is still more convenient to use the remote control.
And still not everywhere there is Wi-Fi, for example, in the village. And, you can secretly turn on a star on a Christmas tree and surprise a child or a humanitarian! New Year is already on the nose after all.


To repeat today's project you will need:
1) Relay modules with Aliexpress, sold with remotes. there is large relay versionwhich, probably, will take out up to 2 kilowatts of power:
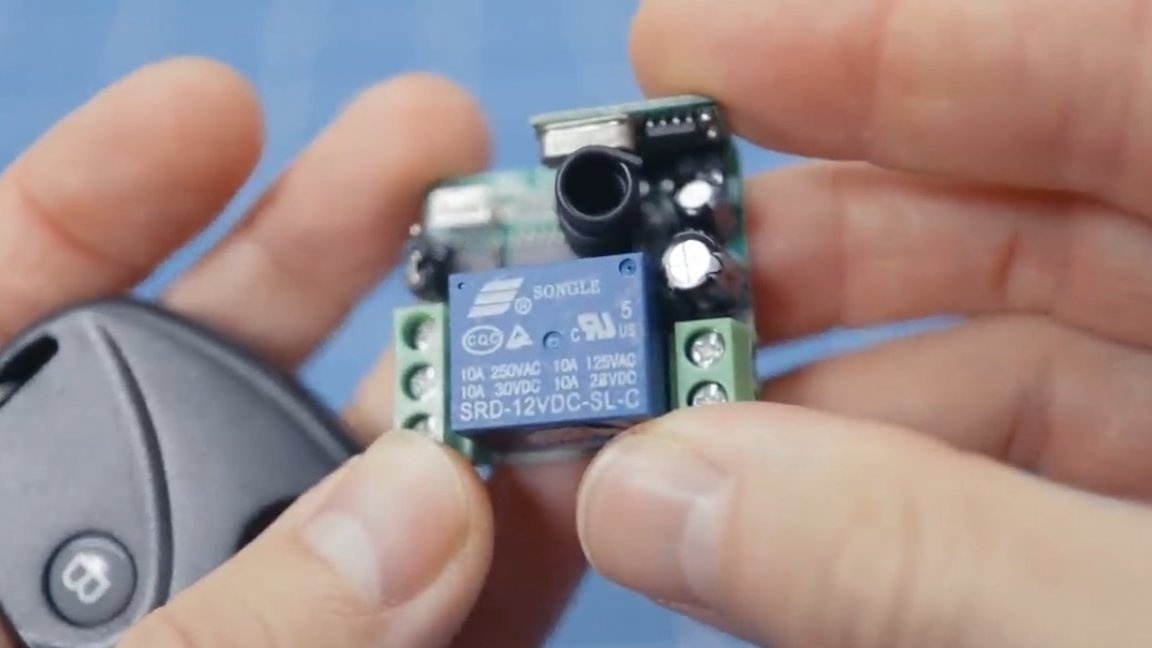
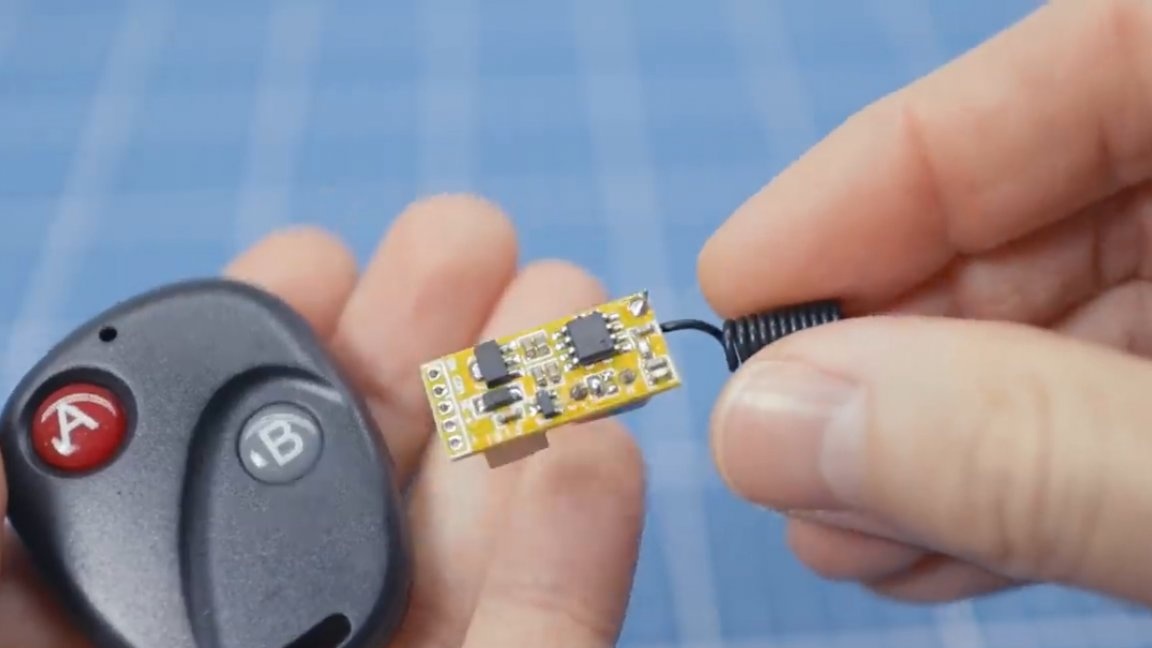
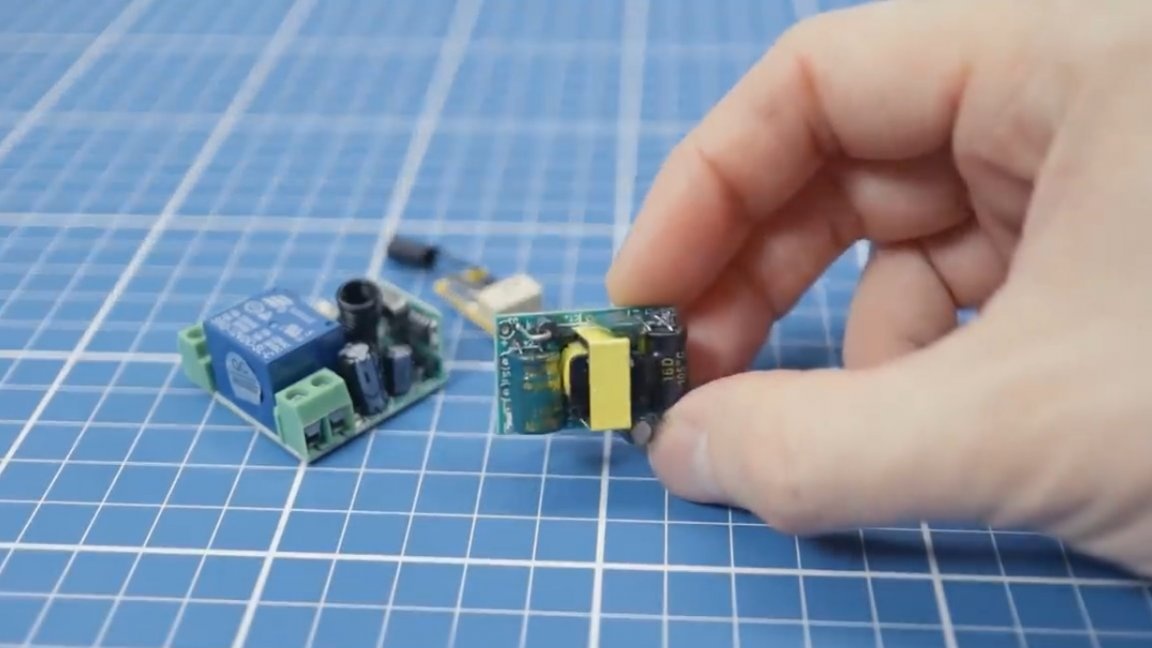
Is there here's a "whistle", which in itself can only control a DC load of up to 24V and 700 mA, for example, a piece of LED strip.
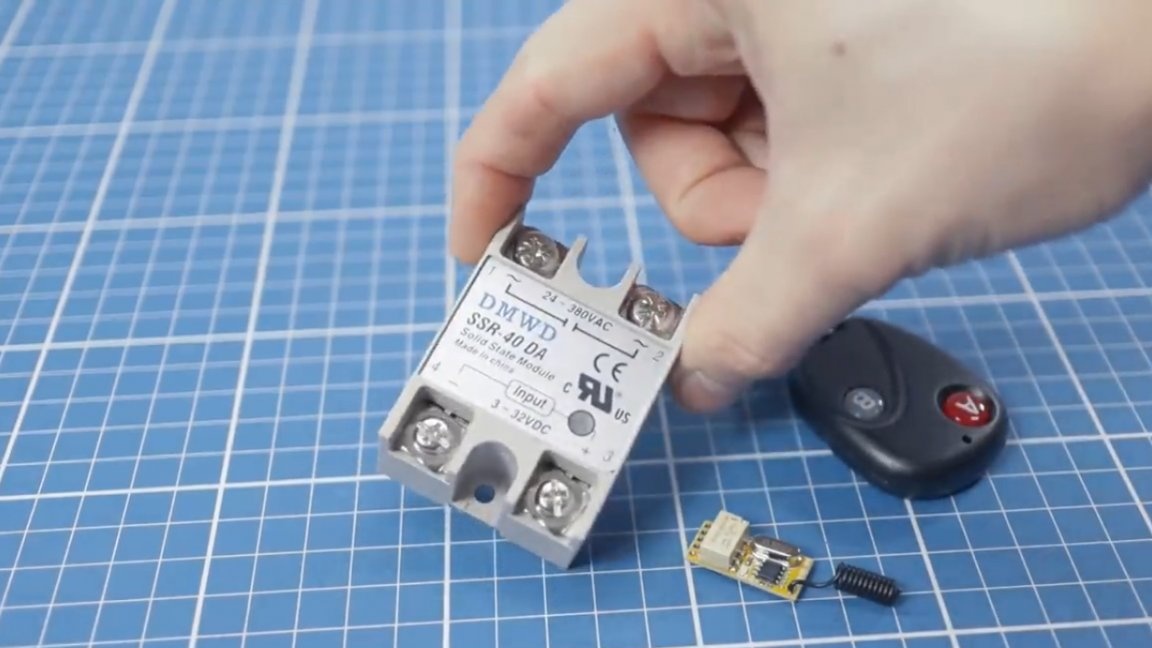
But you can add to it, for example, such a solid-state relay (see image below) and switch things more interesting. Today we’ll definitely try it.
These modules are powered by DC 12V, while smaller modules can also be powered by 5V.
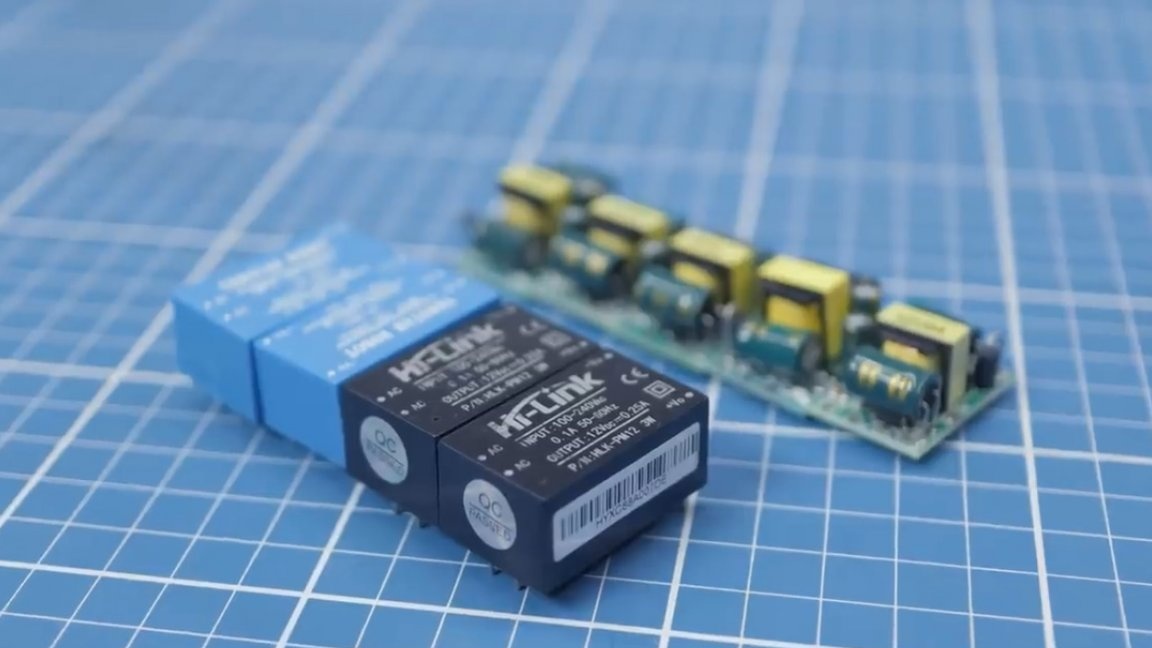
2) Accordingly, you will also need power supplies. You can use, for example like these ones, miniature.
It’s hard to find less, agree. Is there some more here is such an optionThe PSU data is sealed and more secure.
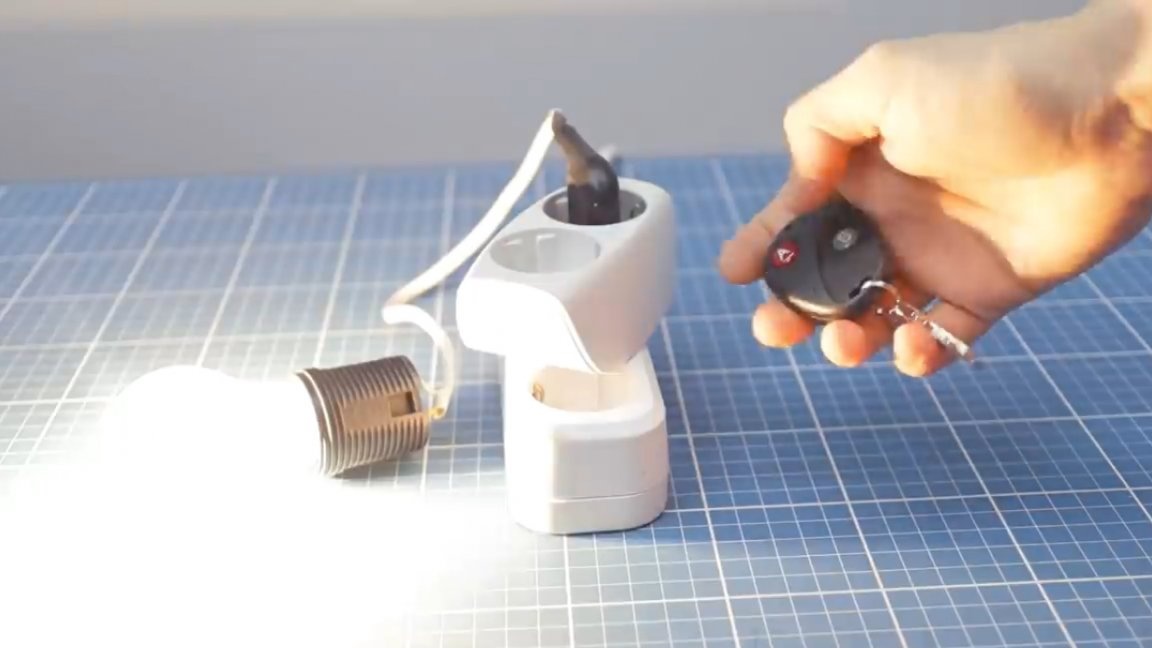
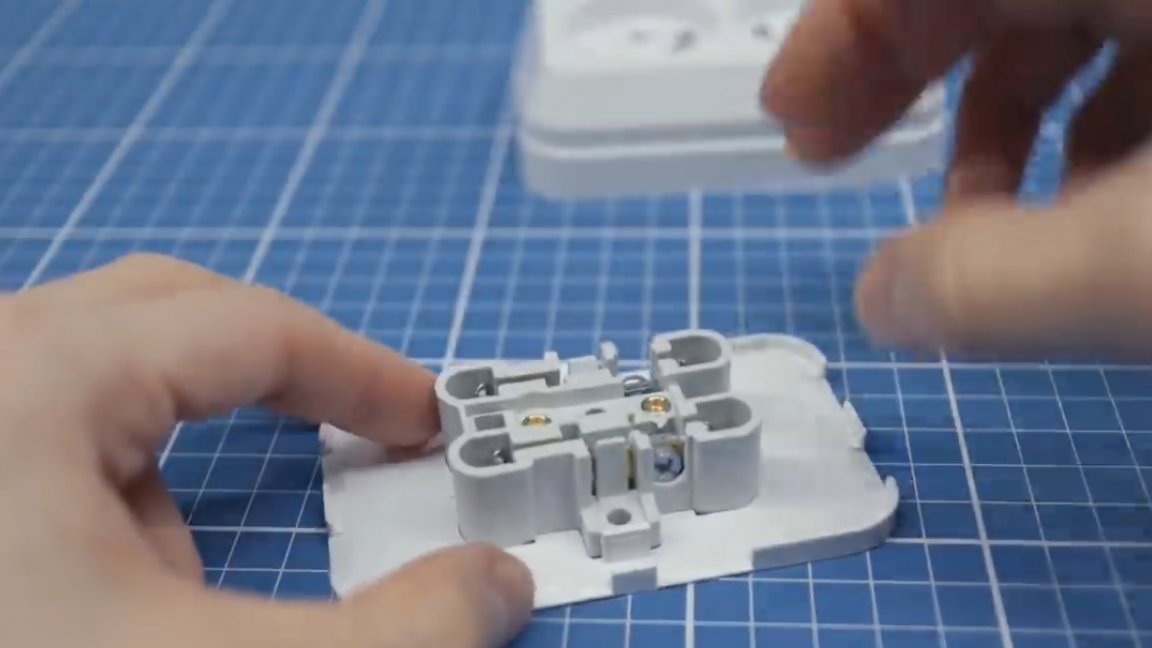
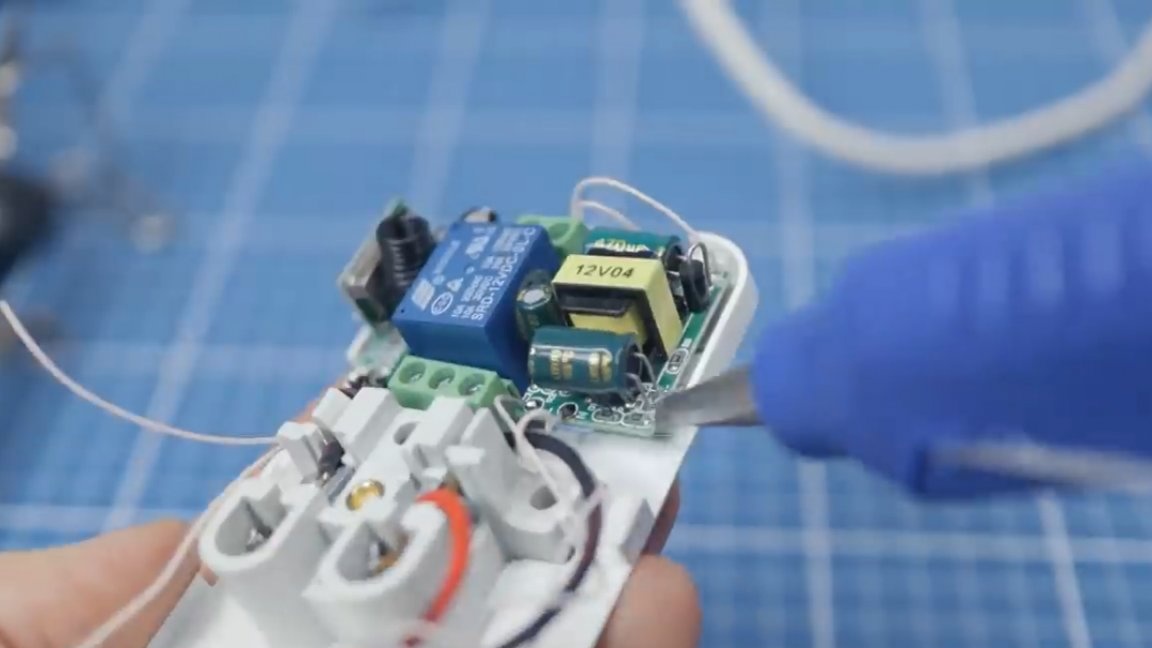
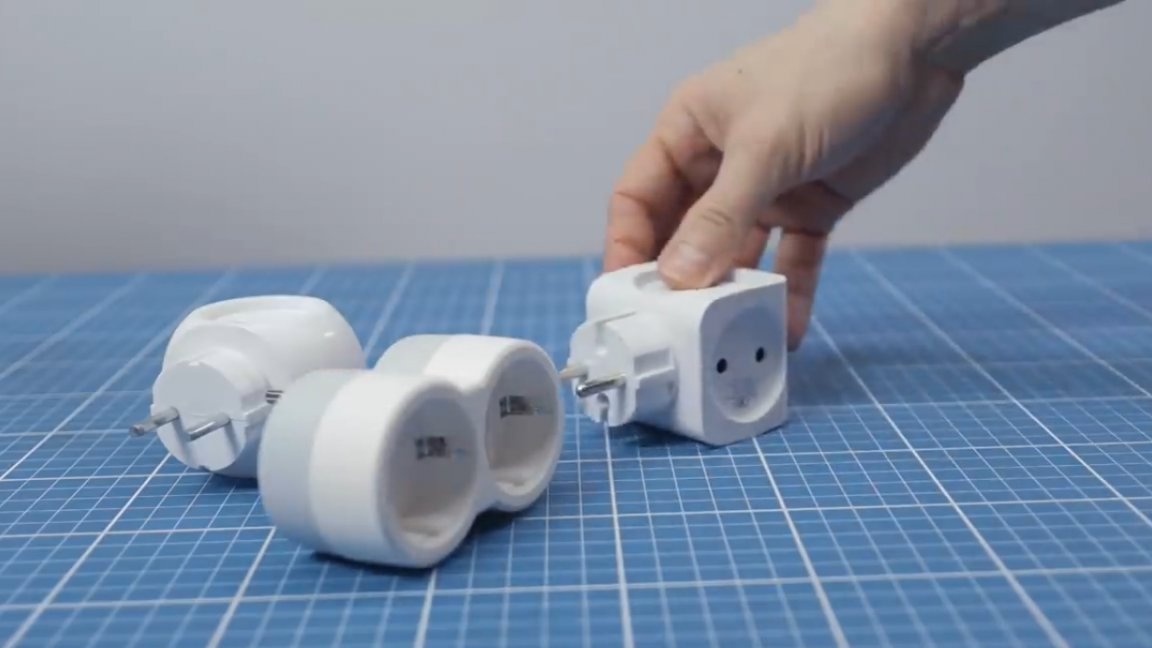
Let's start with a simple one, we’ll make a radio outlet from the modules. First of all, you need to choose a socket that can accommodate the components selected for this project.
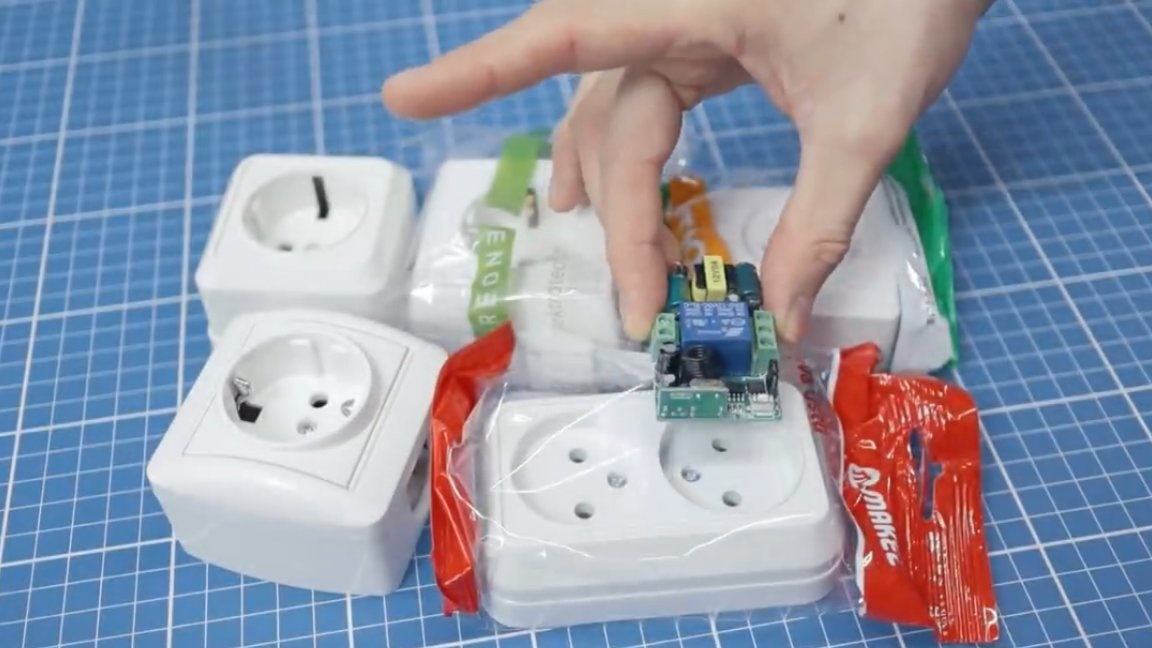
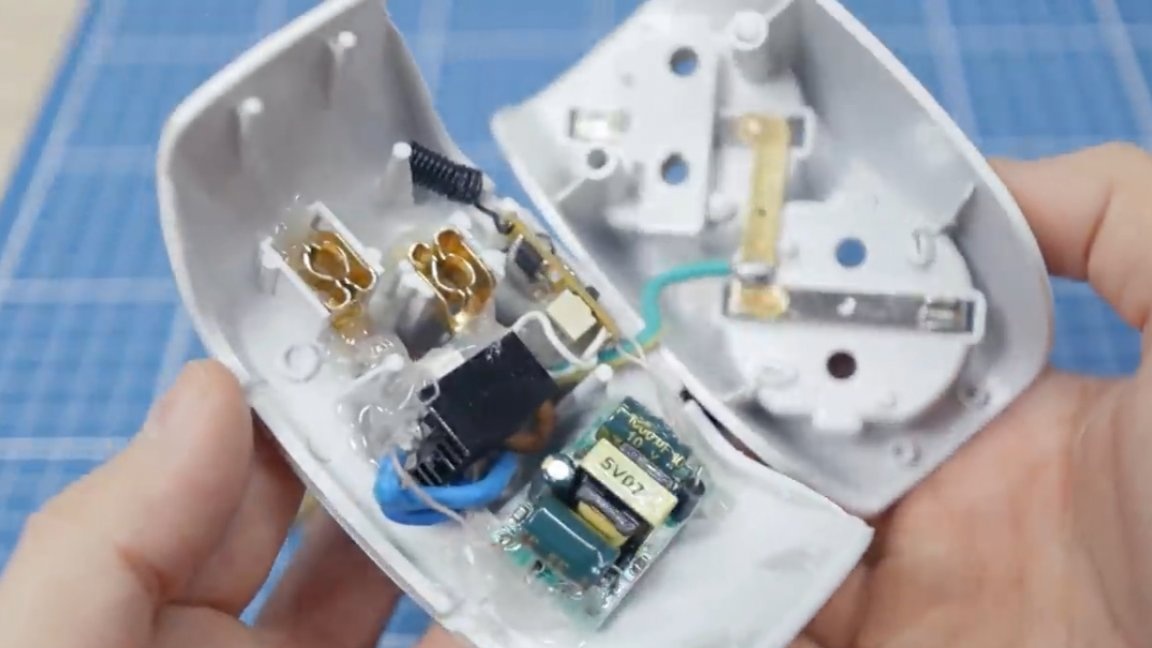
The large module, along with the power supply, will fit only into a double outlet, and instead of one of the outlets.
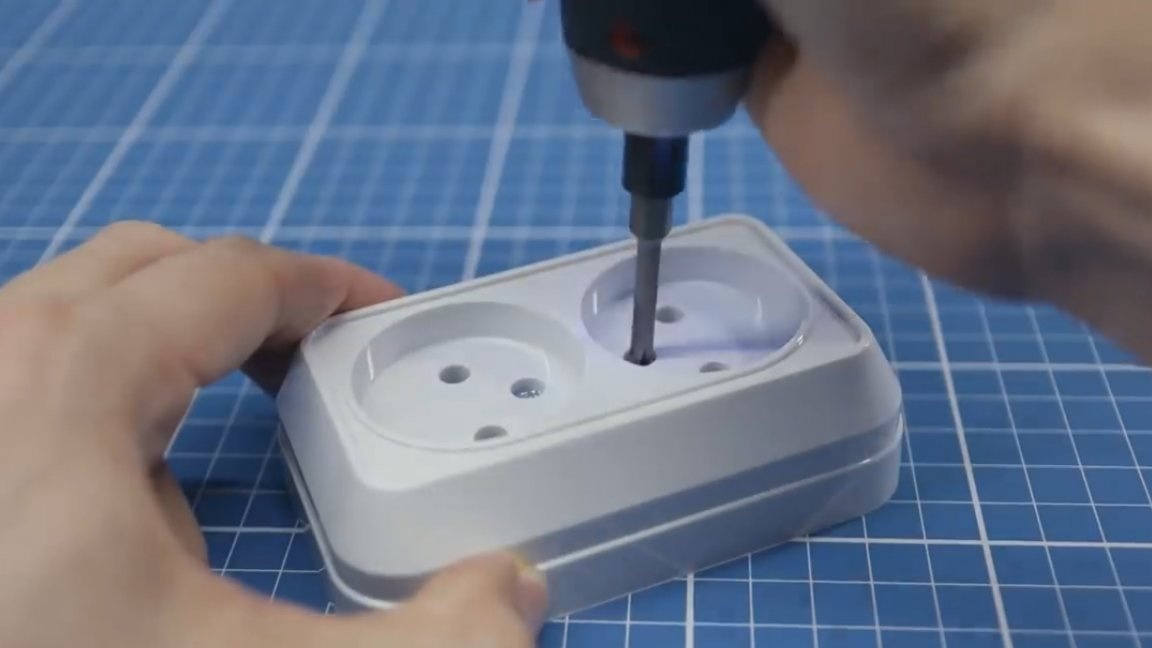
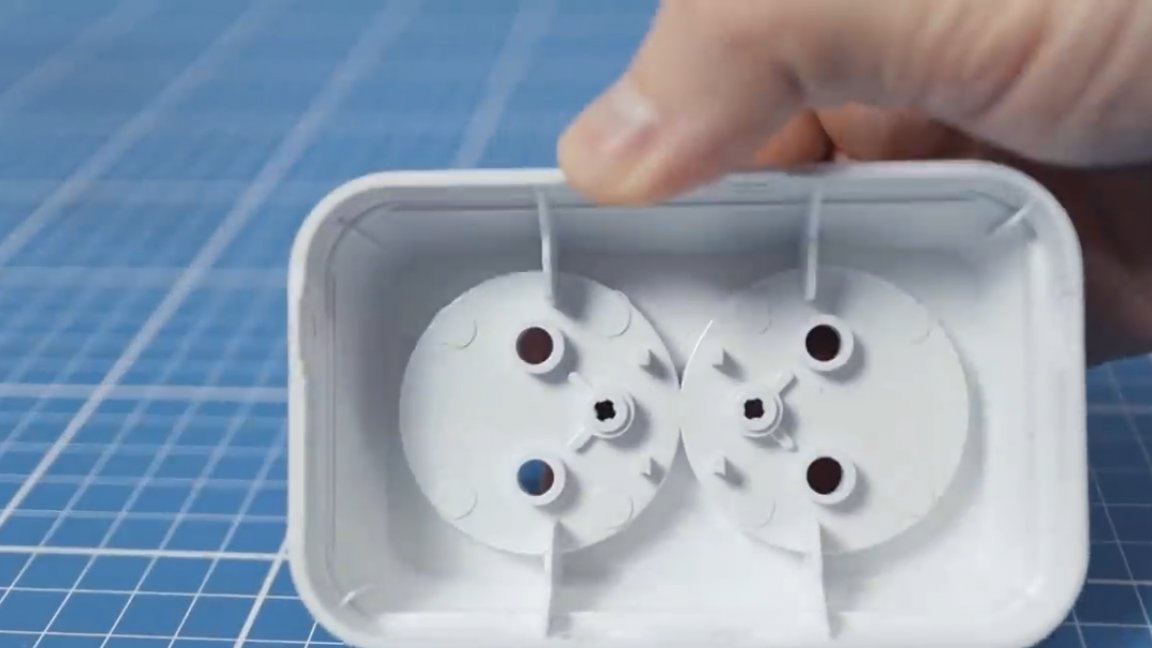
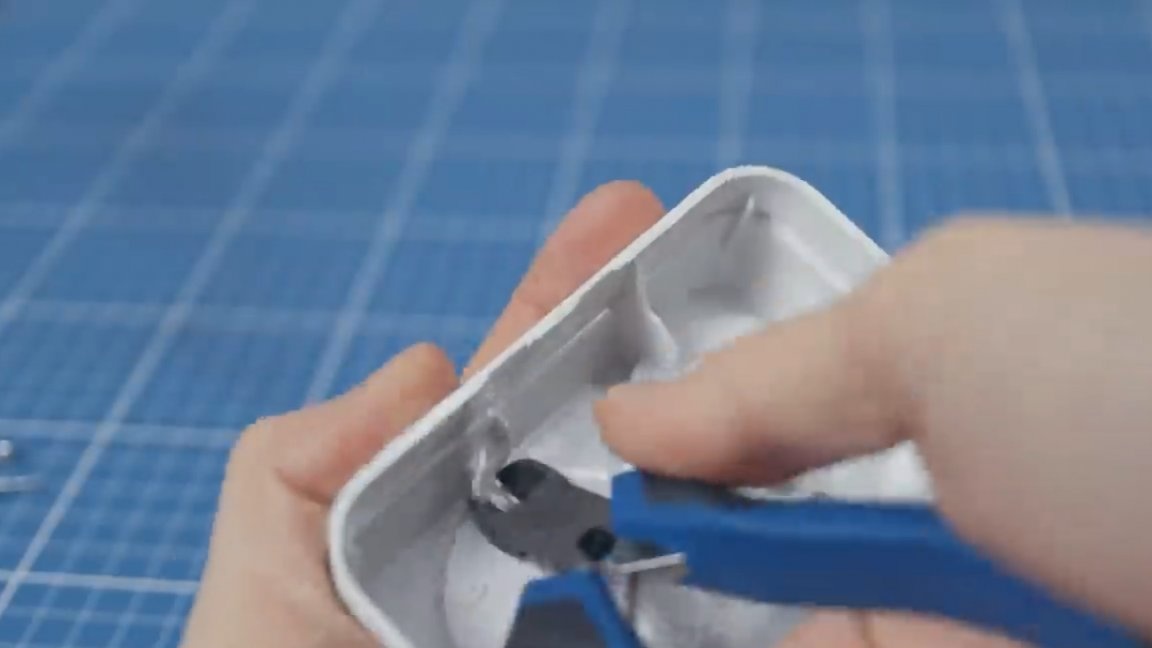
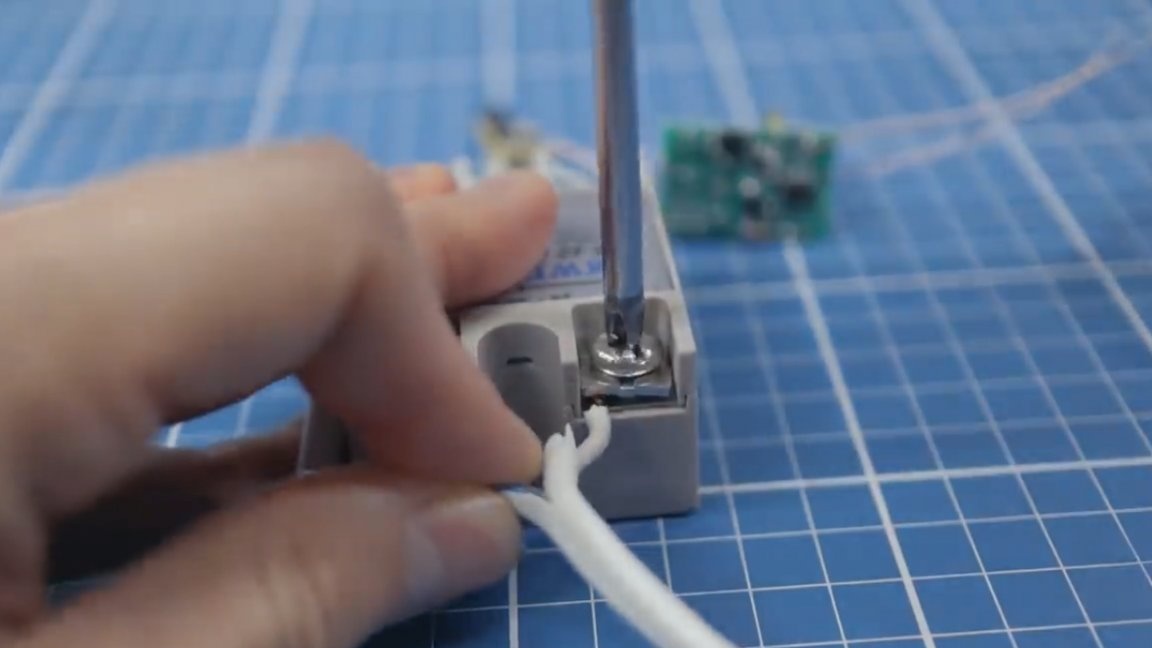
Now the socket must be disassembled and make room for the electronics. You can do this in any way that is convenient in your opinion, the author decided to do it like this:
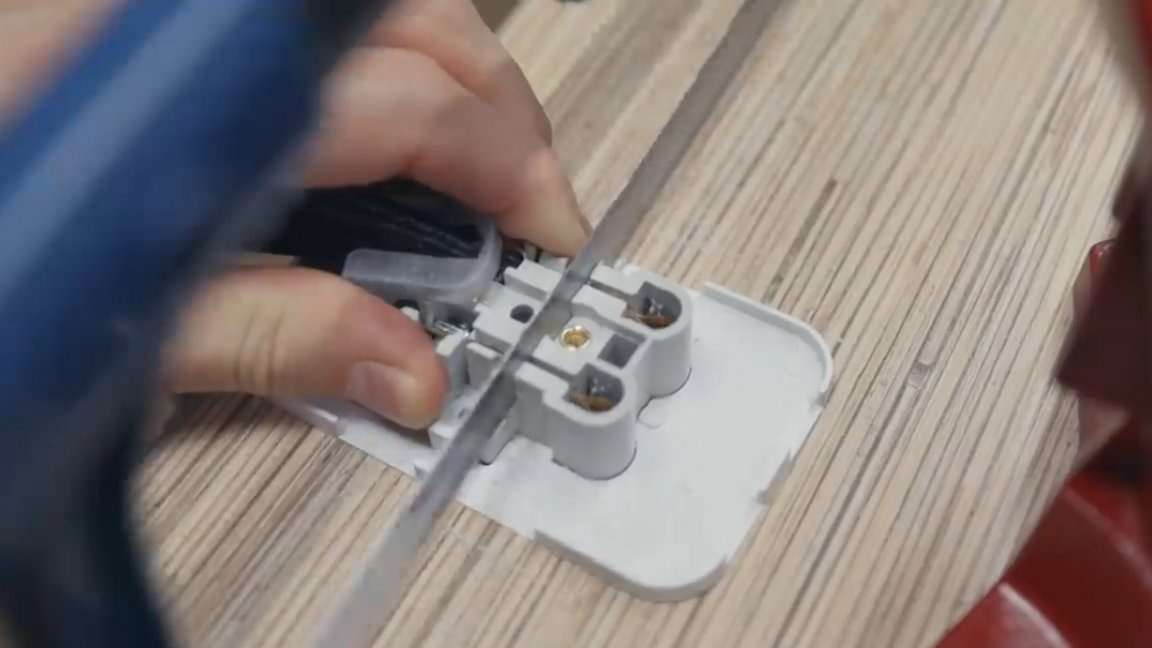

As a result, we almost managed to fit everything.


In order for the lid to close, it is necessary to get rid of the protruding plastic in the remaining part of the outlet. We remove it.


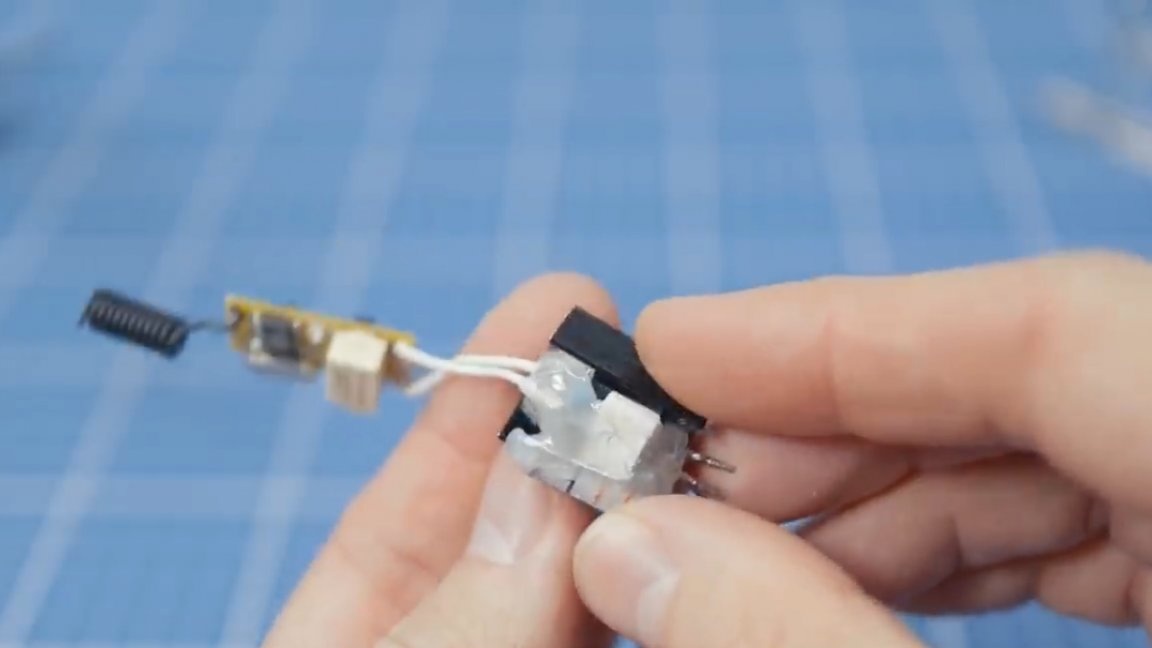
Now everything is fine. You can start assembling the circuit.

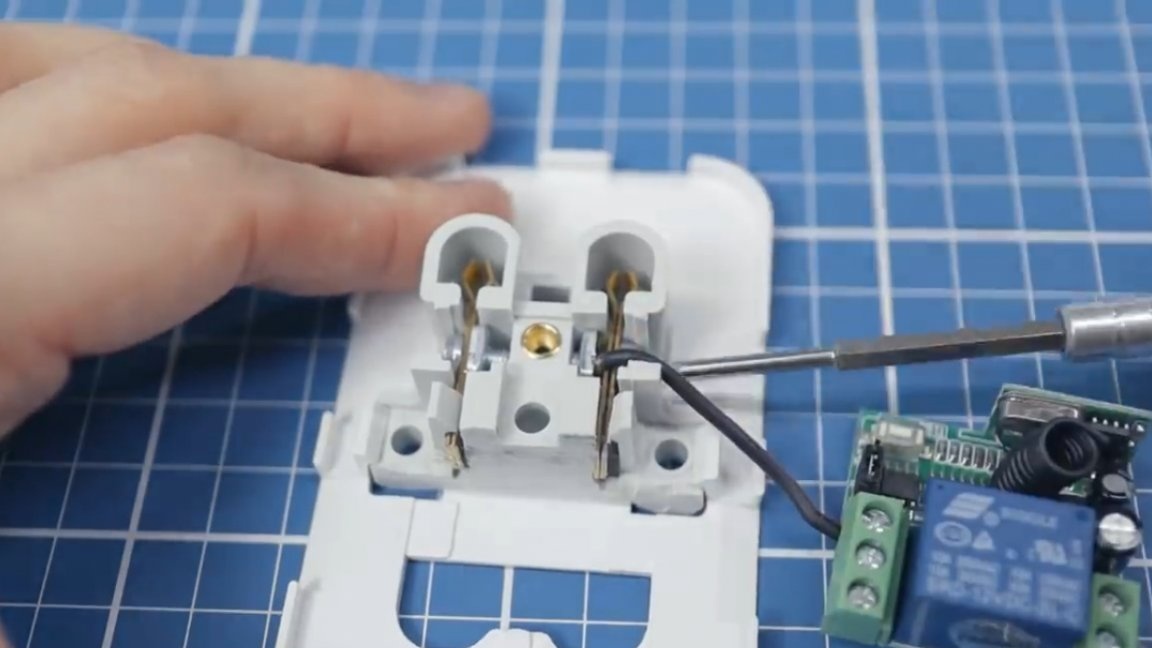
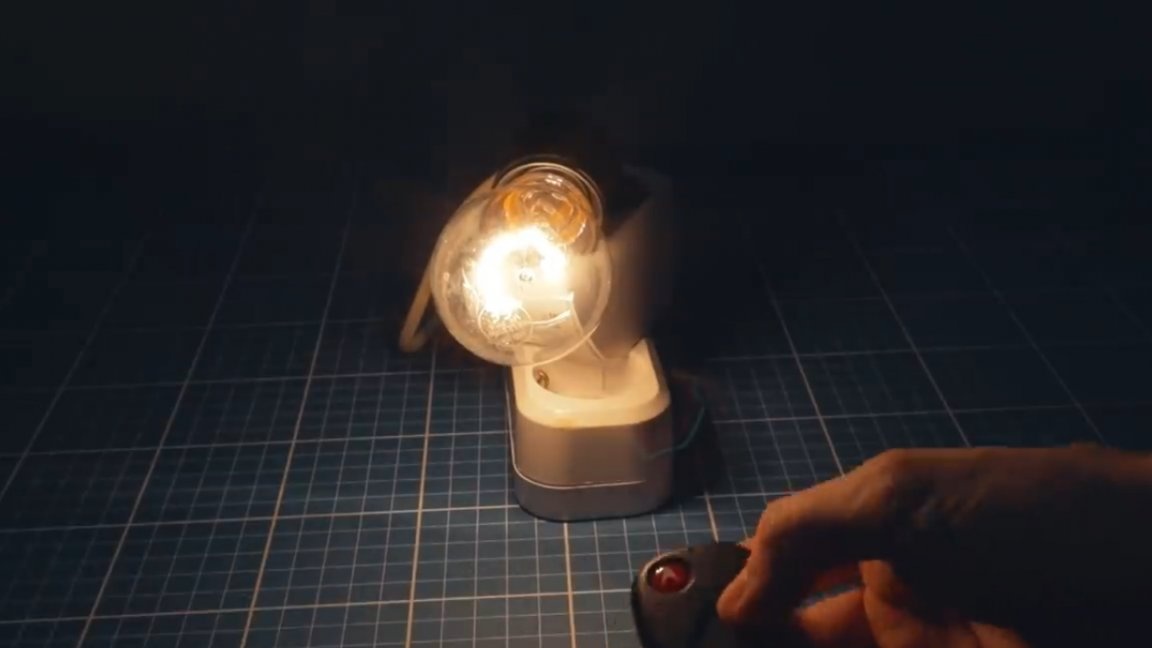
From the relay power leads (there will be 12V), it is necessary to output a pair of wires for the indicator LED. The LED is connected in series with a 1 kΩ resistor.
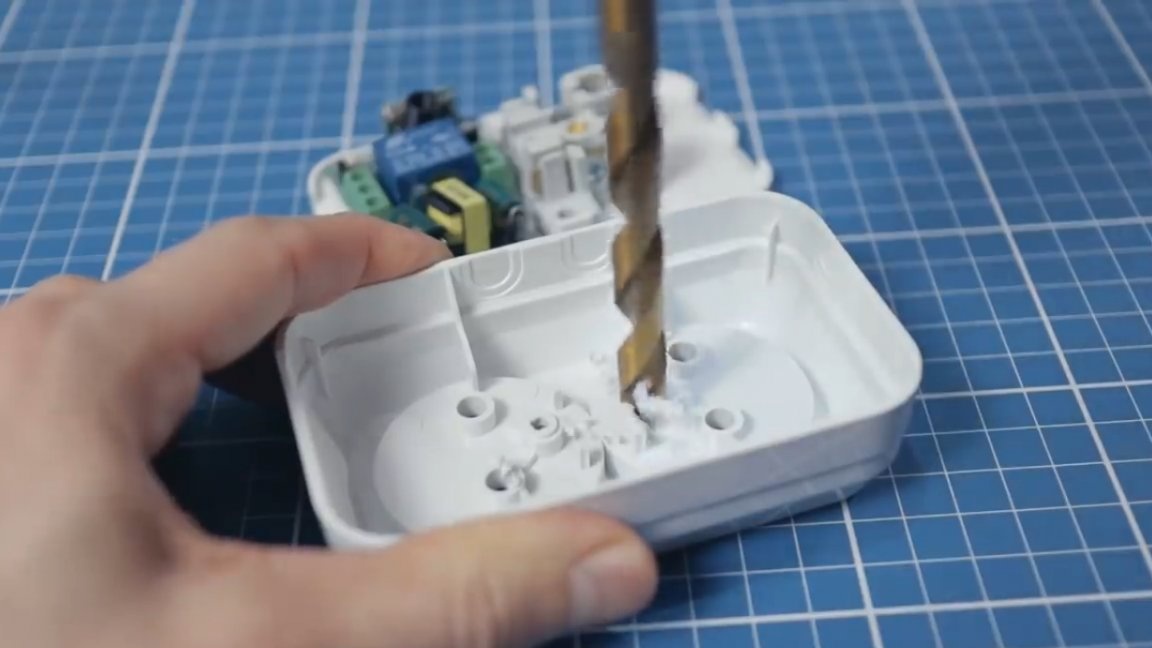
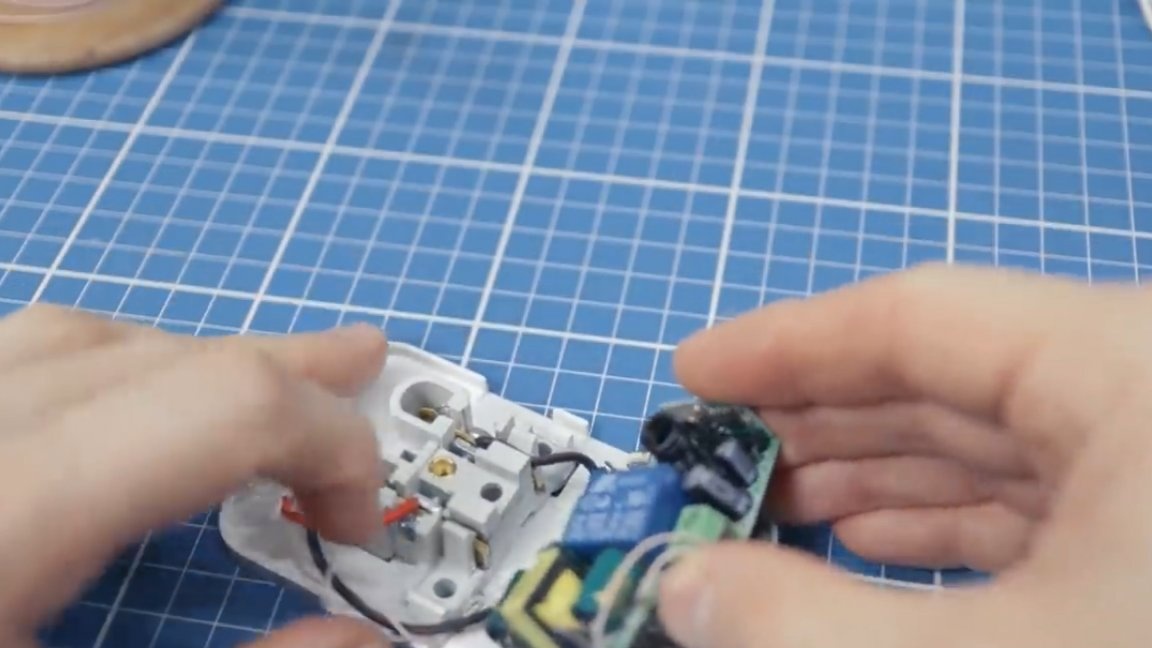
After that, you can already completely fill everything with hot glue.
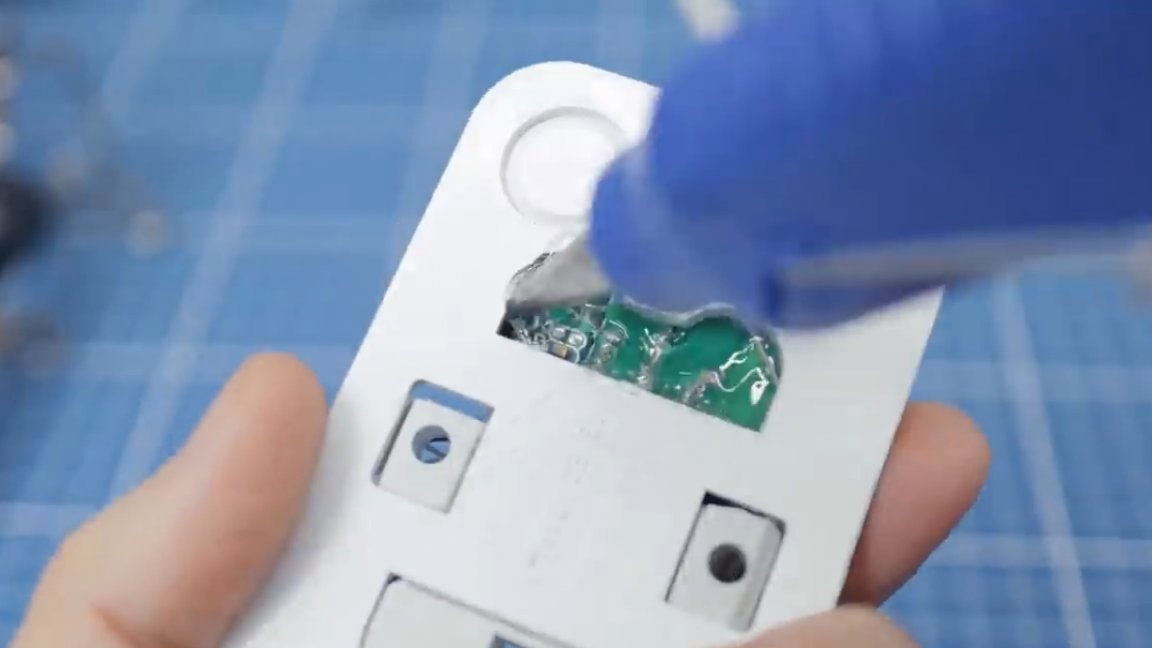
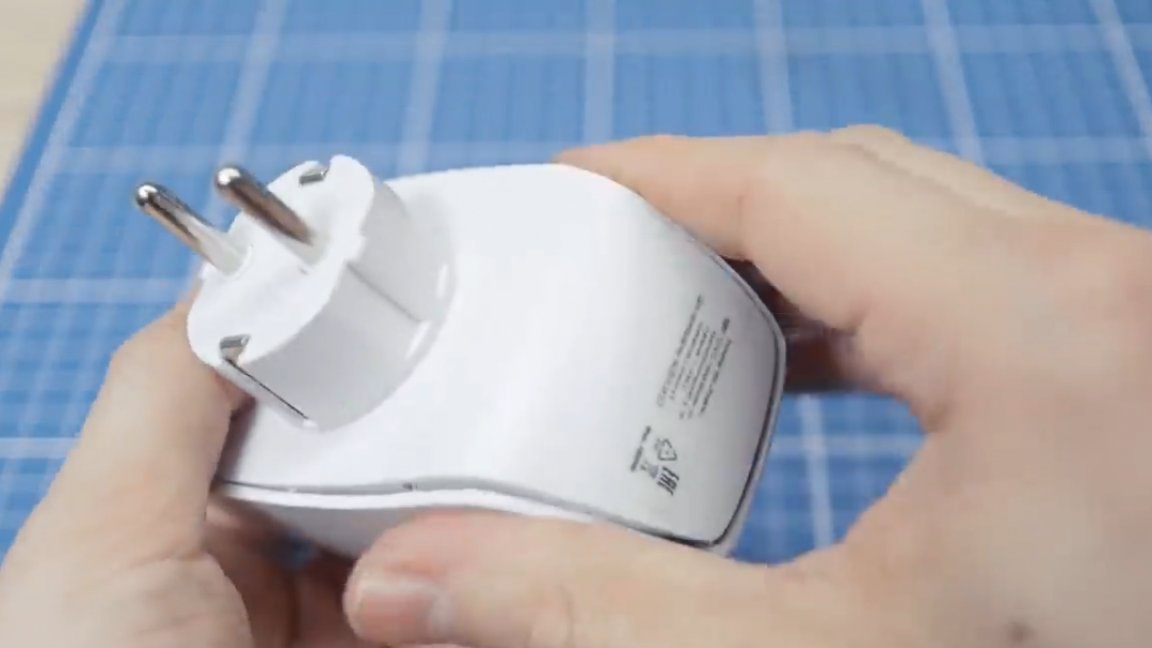
We check and assemble the housing in the reverse order.
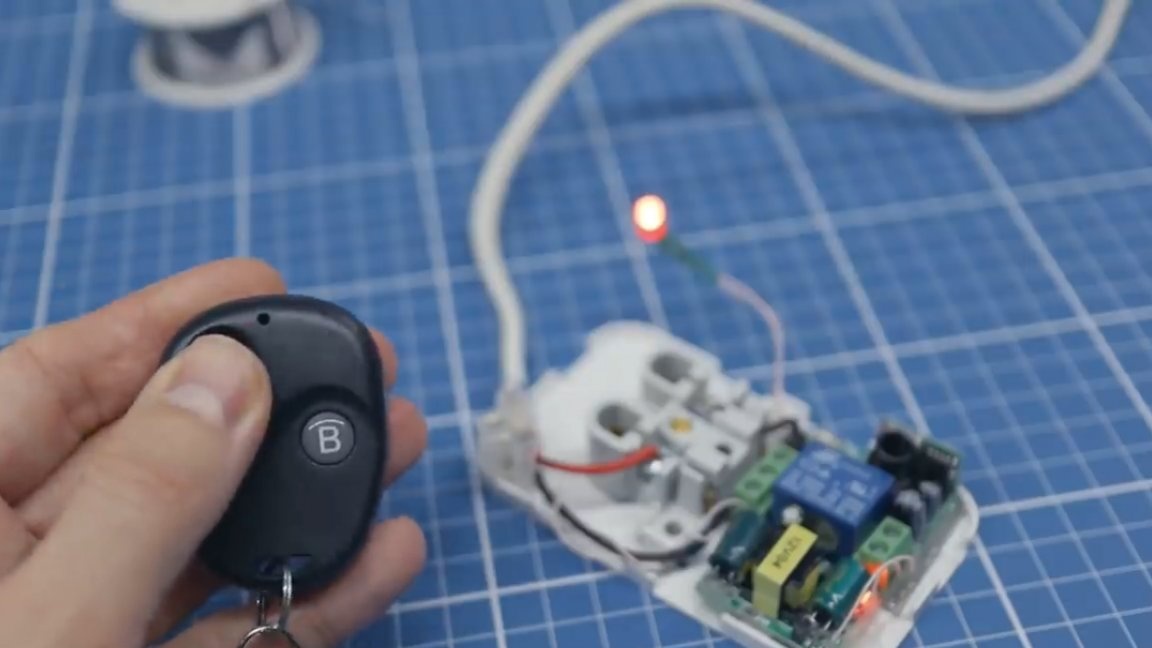

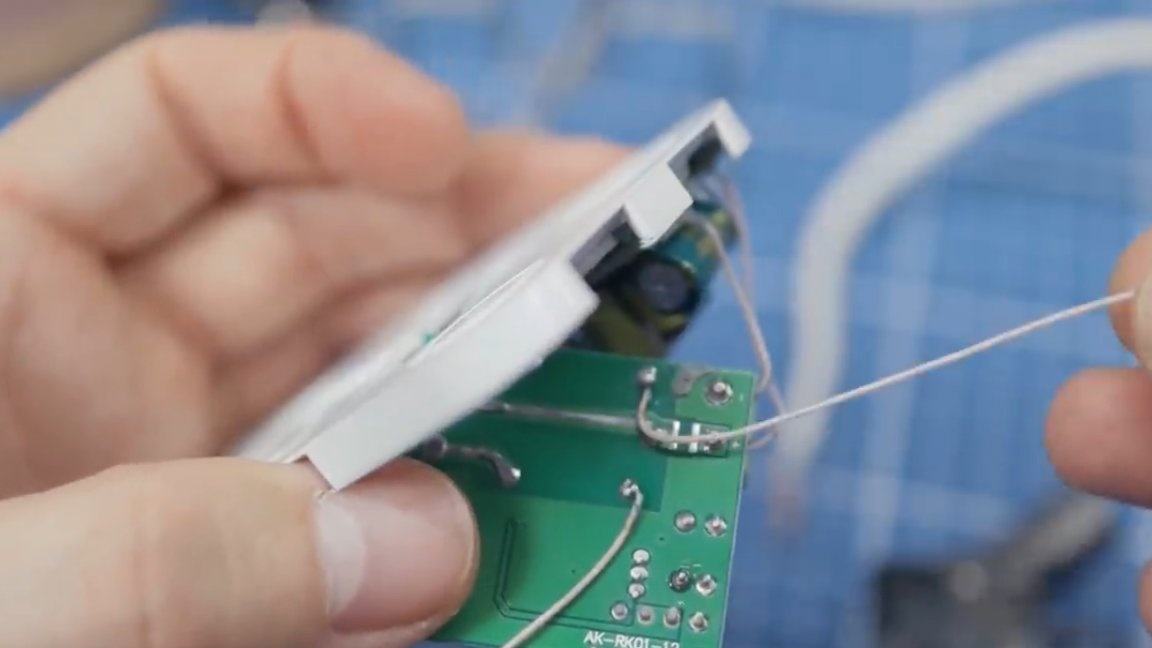
Everything, the radio socket is ready!
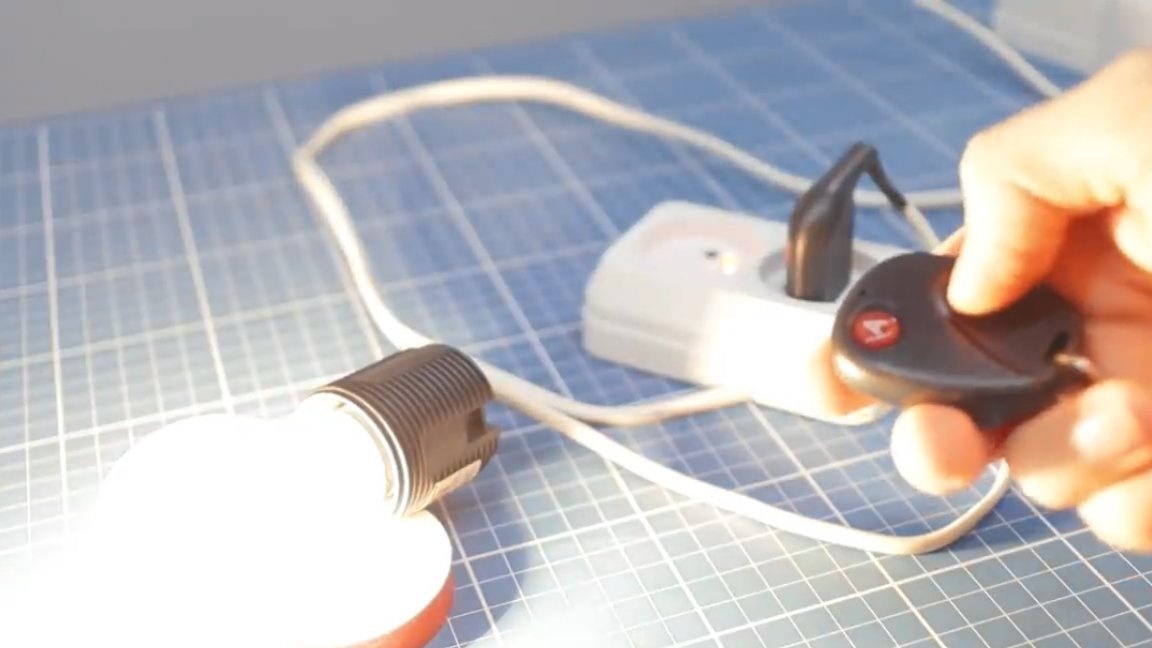
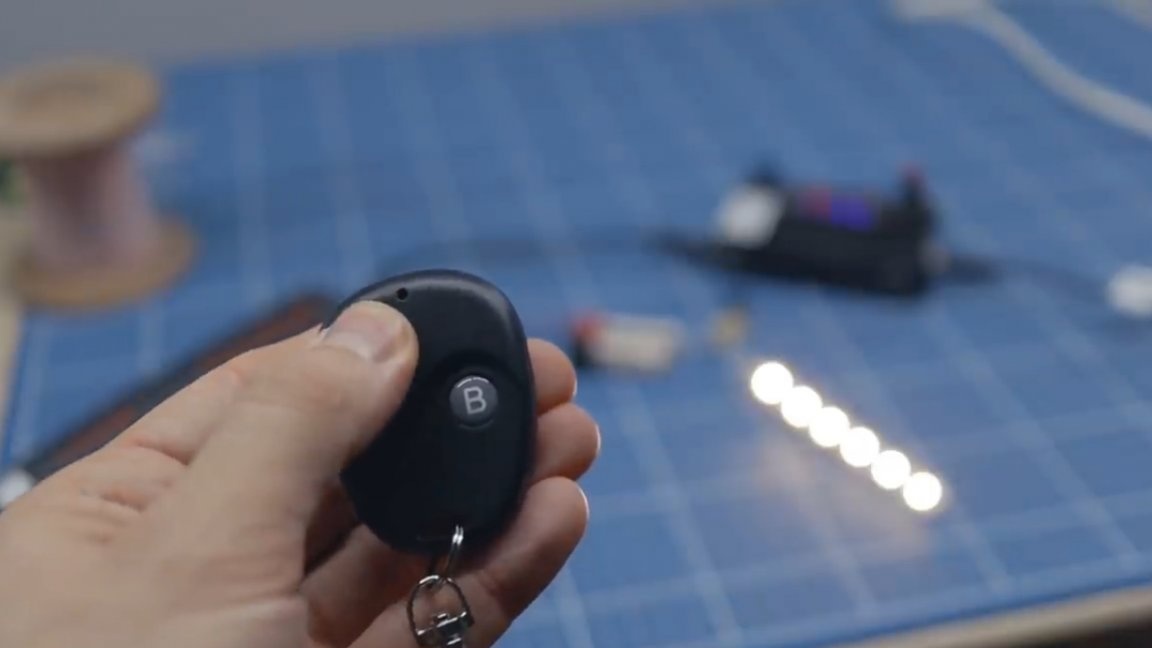
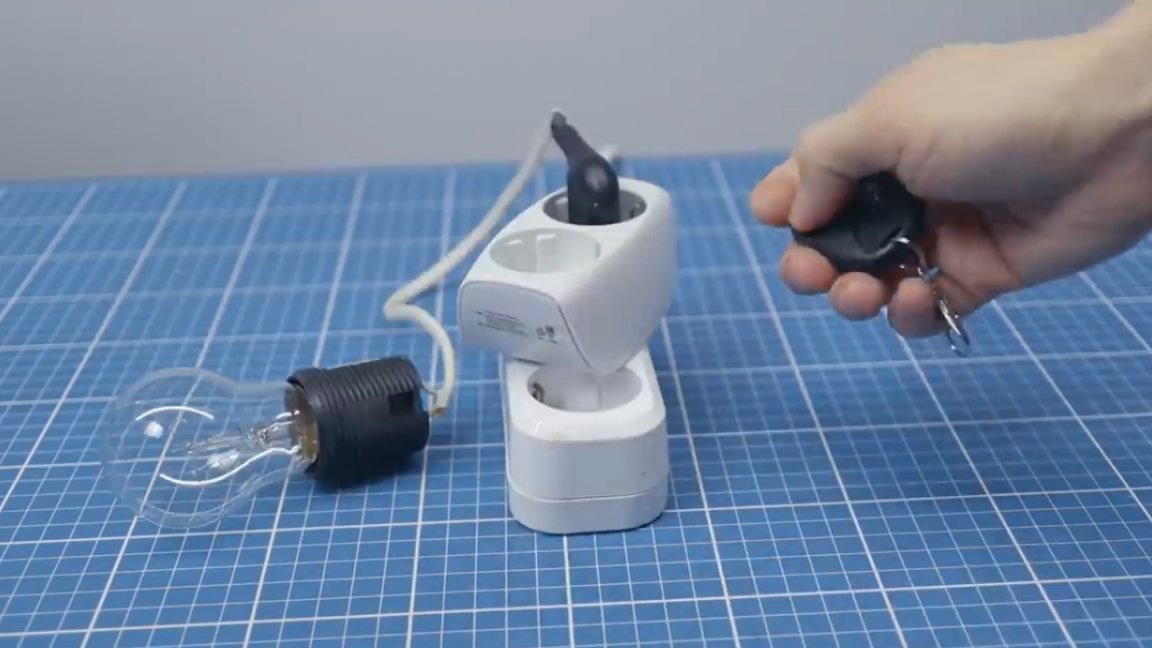
The module, to be honest, is not the most successful, you need to hold the button for a while for the relay to work. Actually, this is how you can mount a couple of Chinese modules into a power outlet and make it radio-controlled. And now it's time to move on to the next module, it is much smaller, it has a weak relay, not even designed for mains voltage.
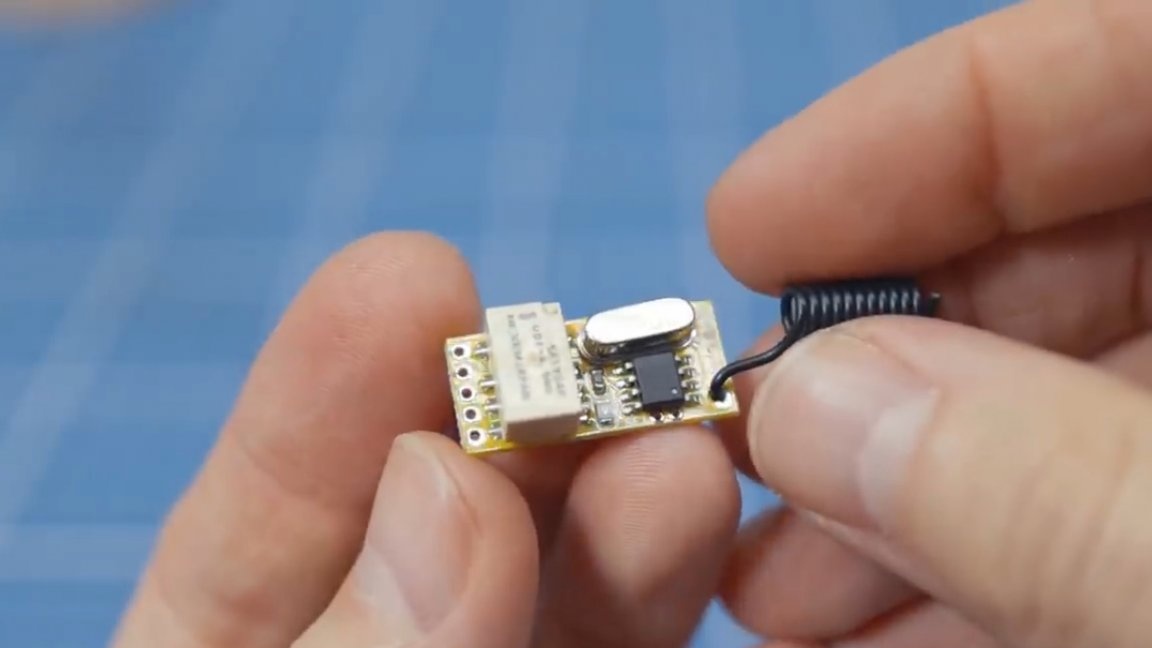
The module itself is quite simple, but a couple of jokes with this module can be cranked up.
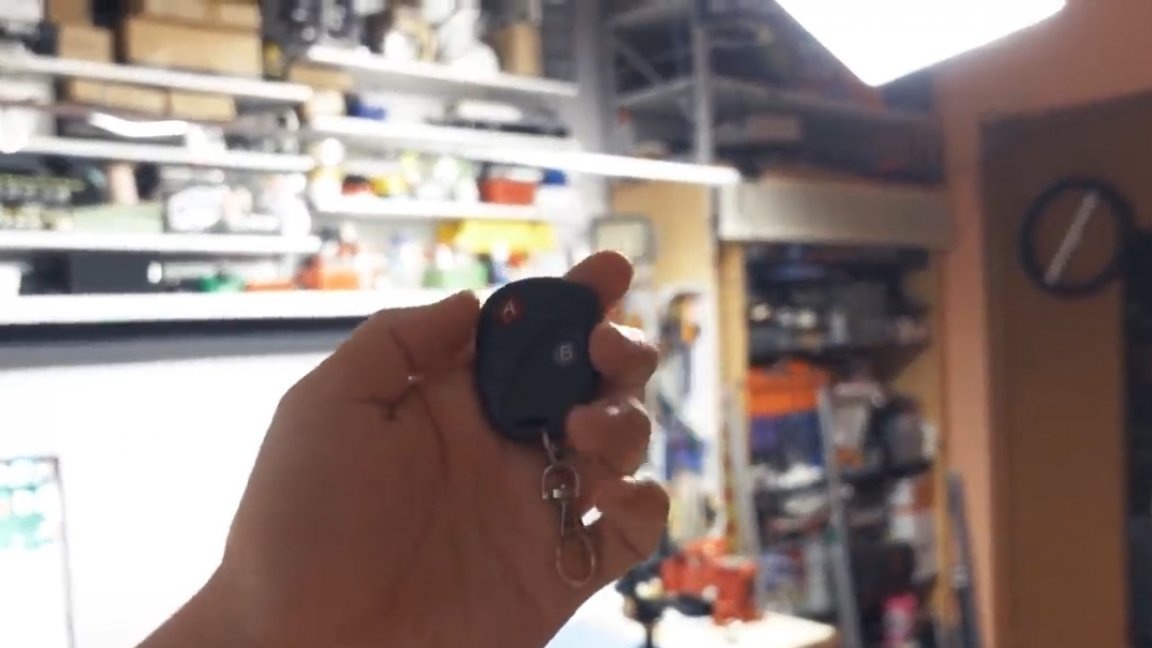
By the way, he has 3 modes of operation, they are set by these sealed jumpers.
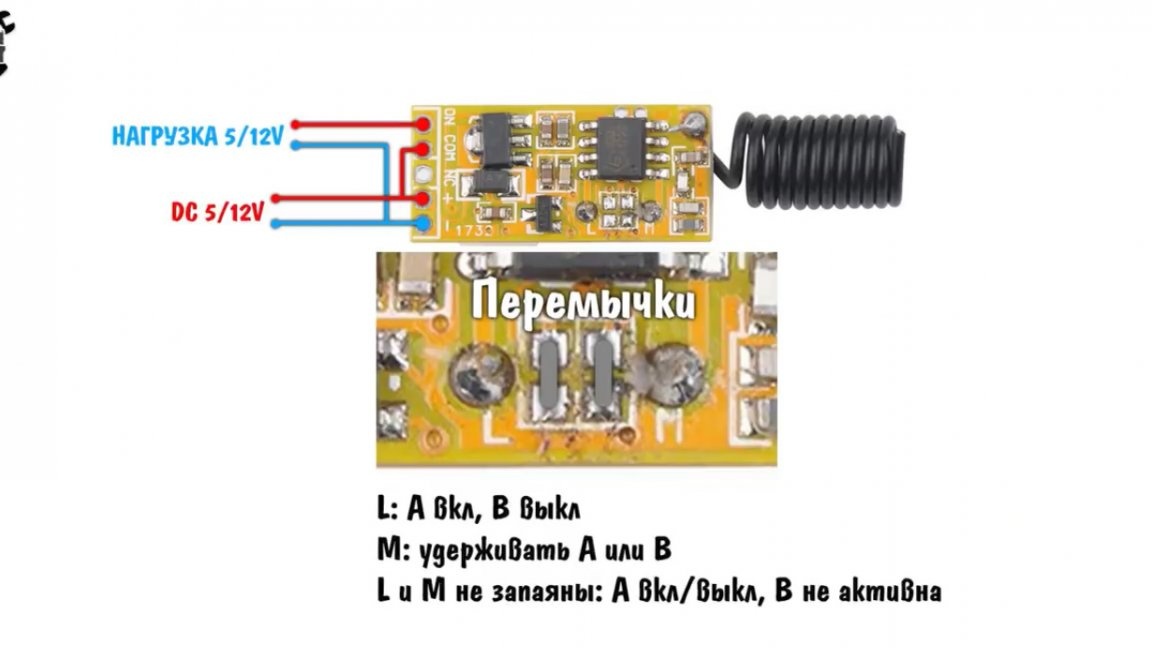
In the first mode, we have one button “on”, the second “off”, in the second mode you need to hold the button so that the relay is in the switched state. And finally, the third mode - one button switches the state of the relay, the second is not used.
According to the author, this module is perfect as a props for tricks or practical jokes, because it works in a rather wide range of voltages, and due to its modest size it can go unnoticed.
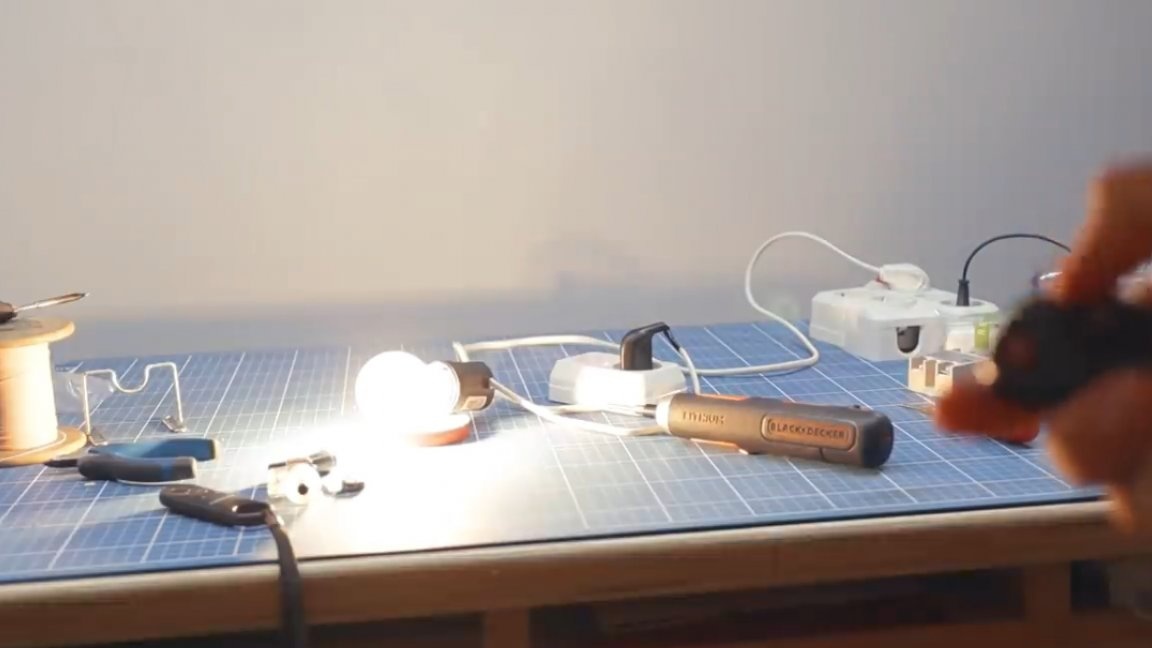
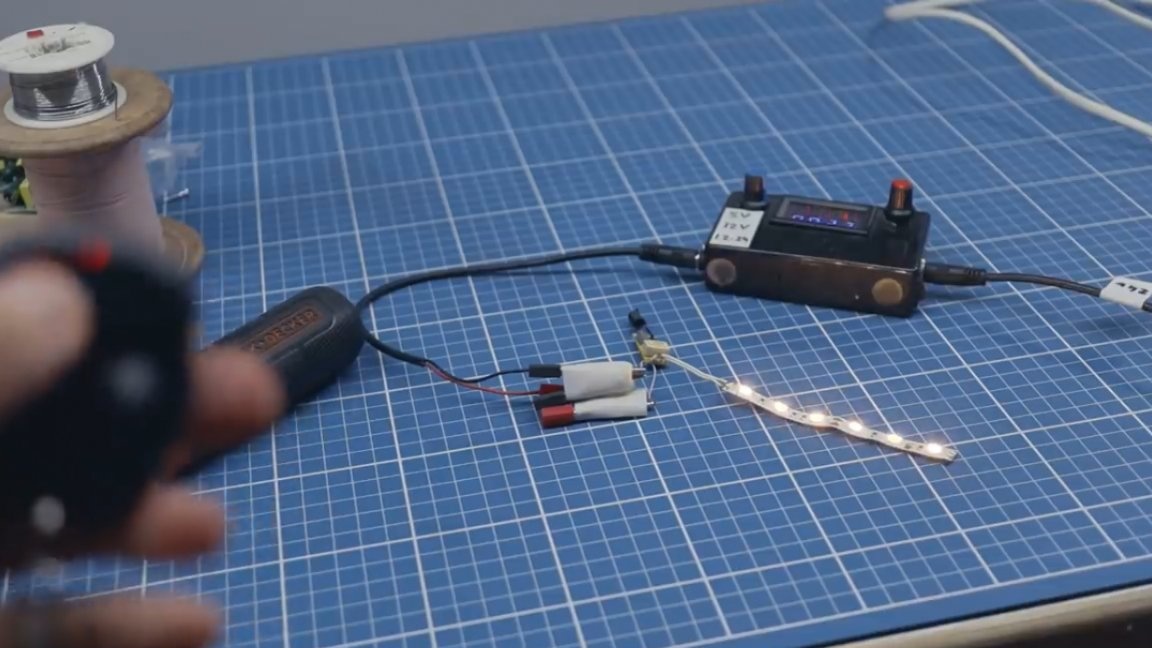
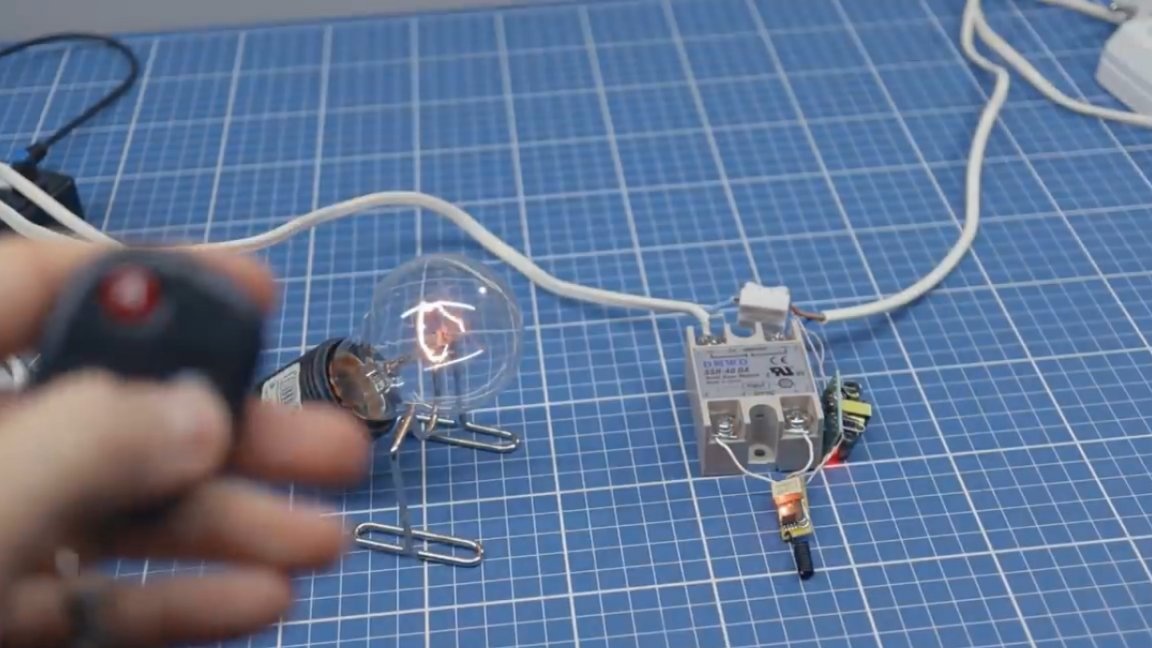
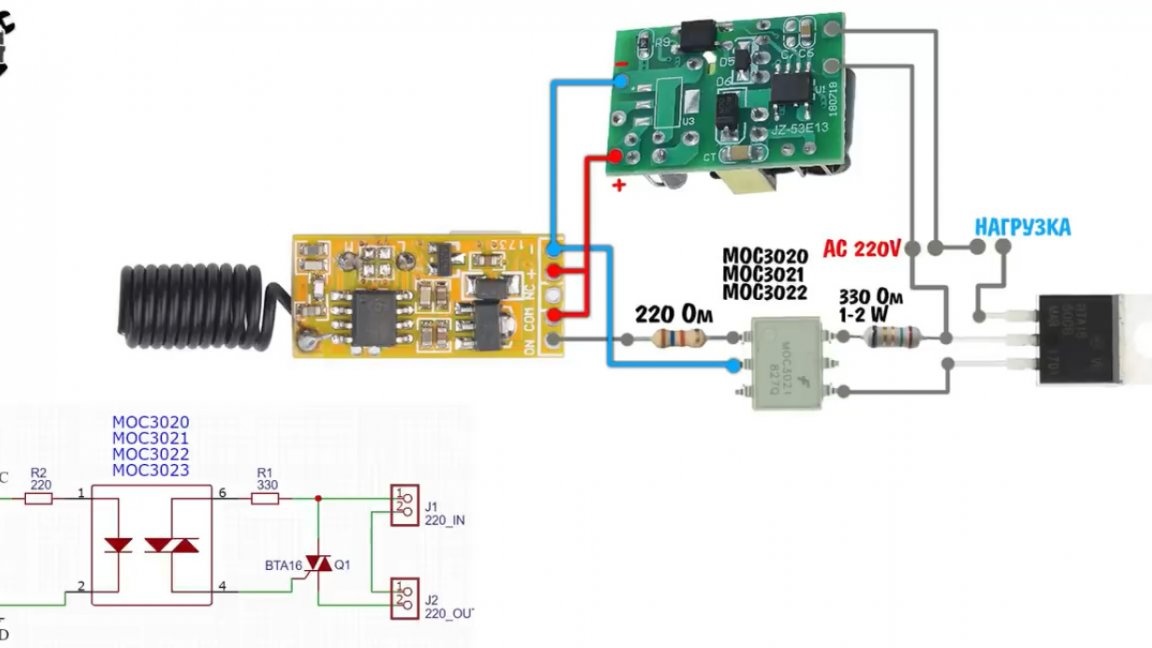
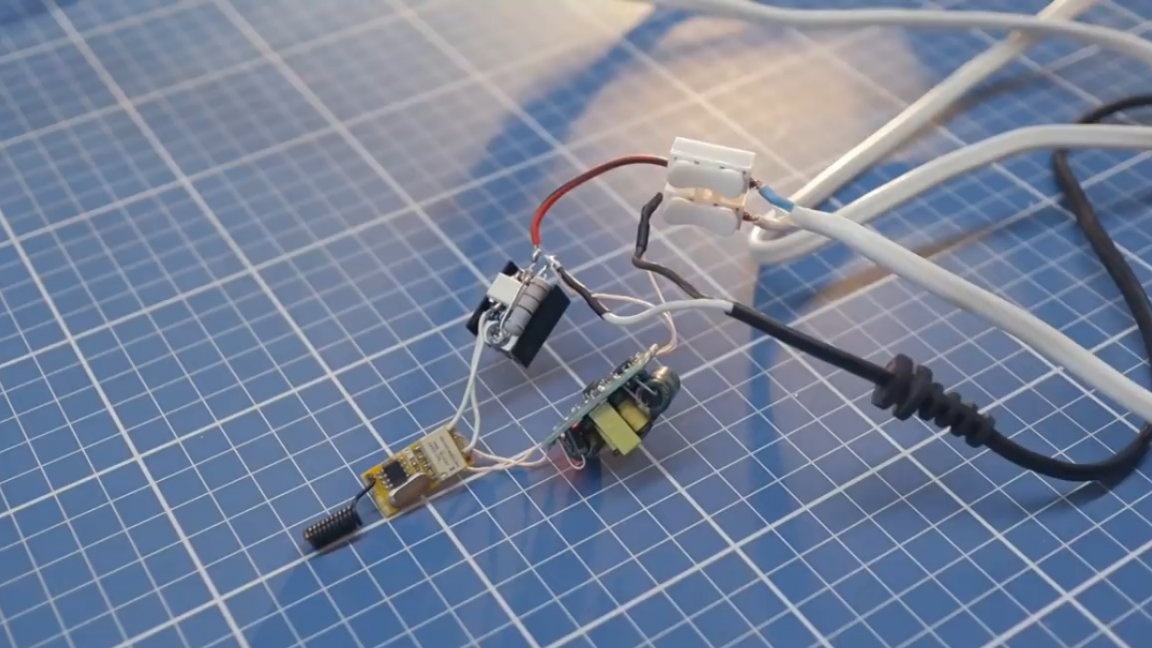
We will strengthen this module and with it we will control, for example, a powerful solid-state relay.
We connect the 12V output to the relay input and connect the output from the relay to the load wire break.
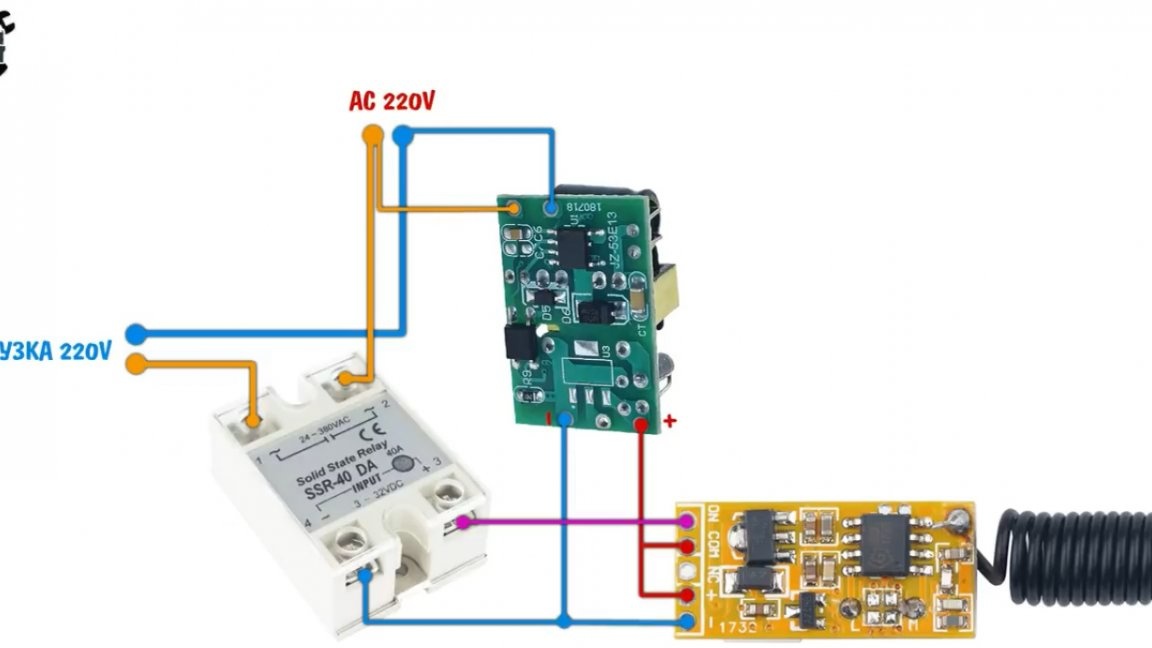
We are also powered from the load supply wires, in this way.
The resulting assembly is capable of switching quite decent power, moreover, the solid-state relay has a sensor for passing through 0 and even the inductive load will not cause interference and spark, as is the case with a conventional relay.
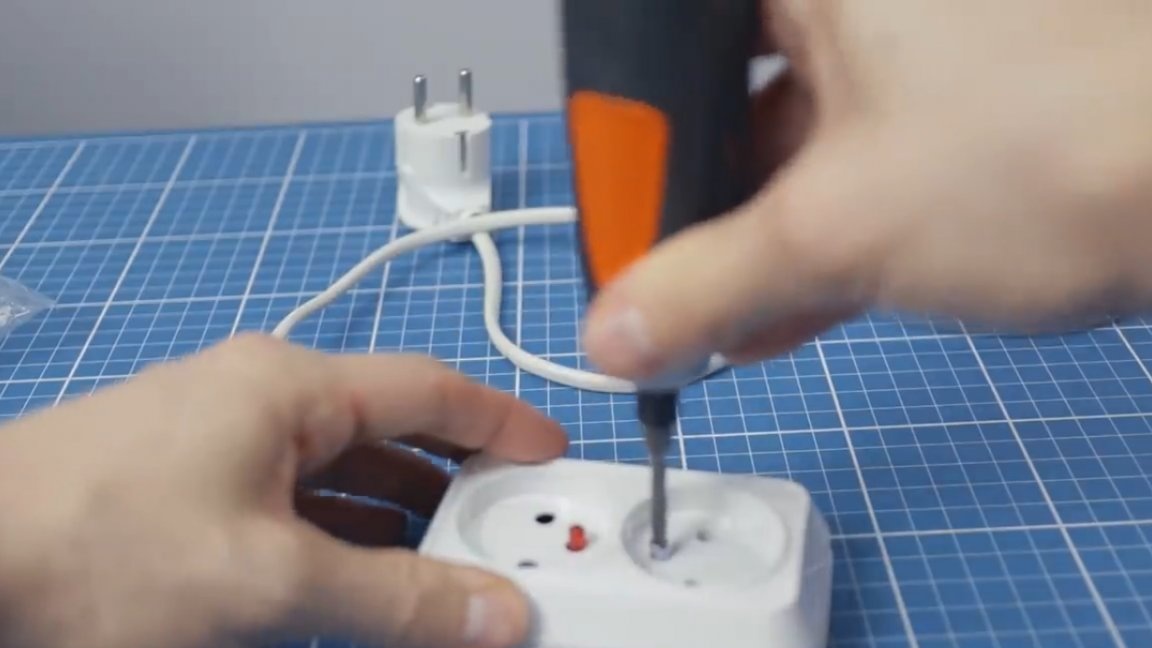
By the way, this module works better than the first, the signal is immediately received, no delay is felt. Let's try to make a controlled spacer between the socket and the plug, without interfering with the socket itself. The Chinese trade these, but they are controlled from a smartphone, and this is inconvenient in 90% of cases.
We will do something similar, but with the remote control. From various tees and other splitters, it is necessary to choose the one into which all the necessary electronics will fit.
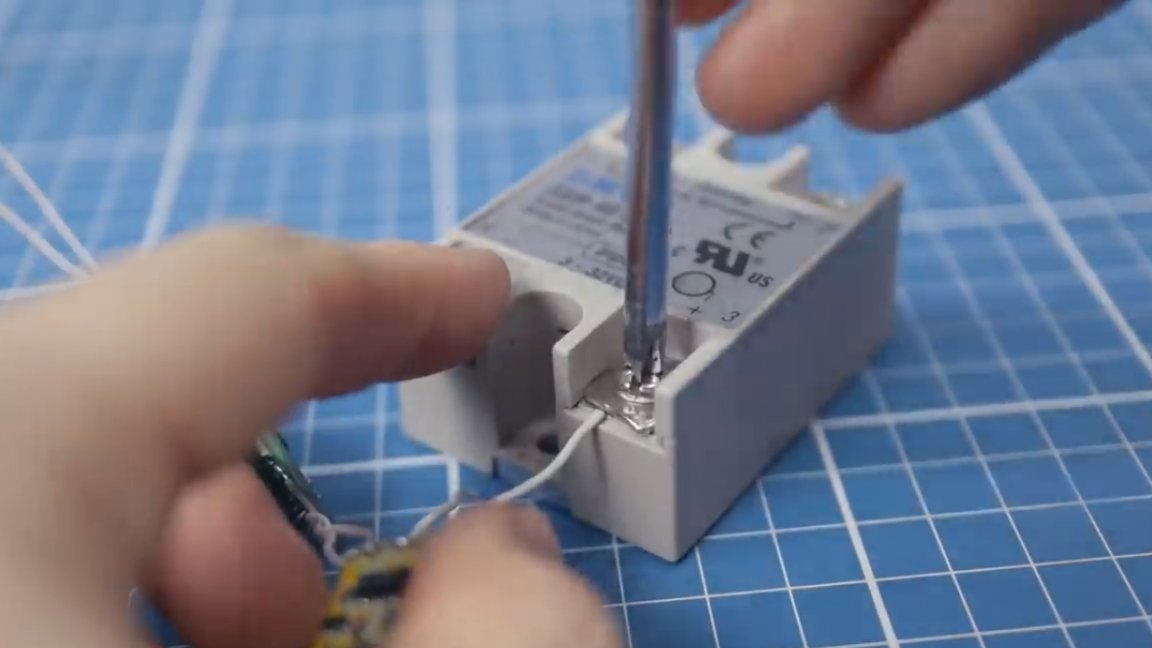
By the way, do you know what is inside a solid state relay? But actually nothing special, an optocoupler that controls a powerful triac.

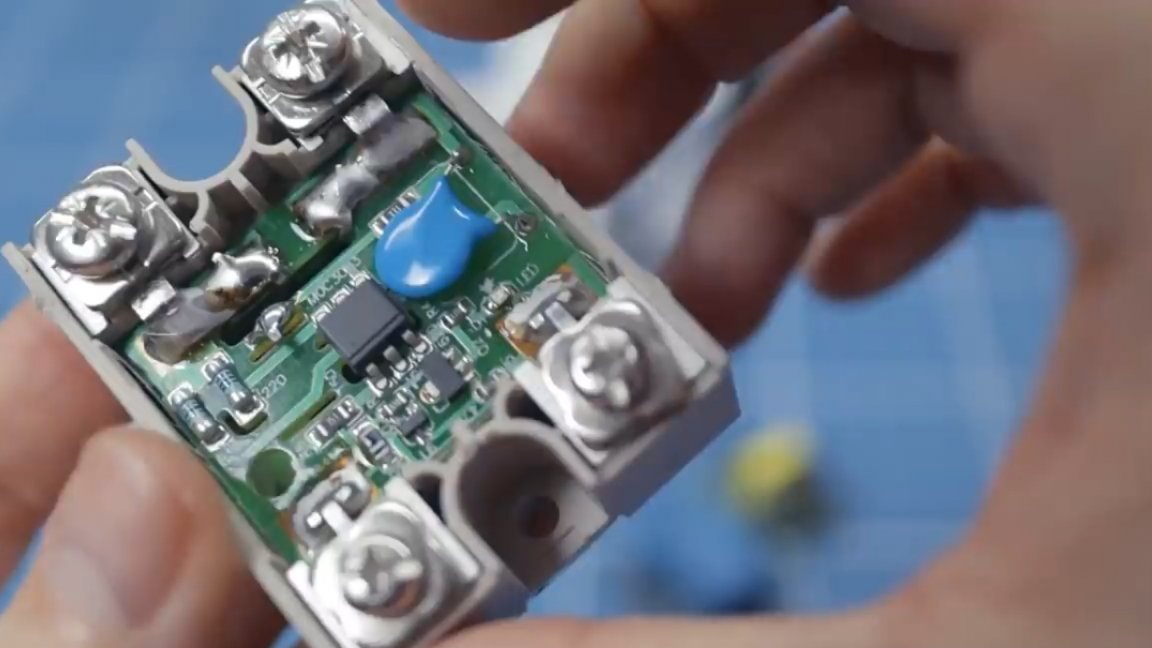
The triac itself is located under the board and is mounted on an aluminum plate, which acts as a radiator. You can build your own miniature version of a solid state relay, we will need:
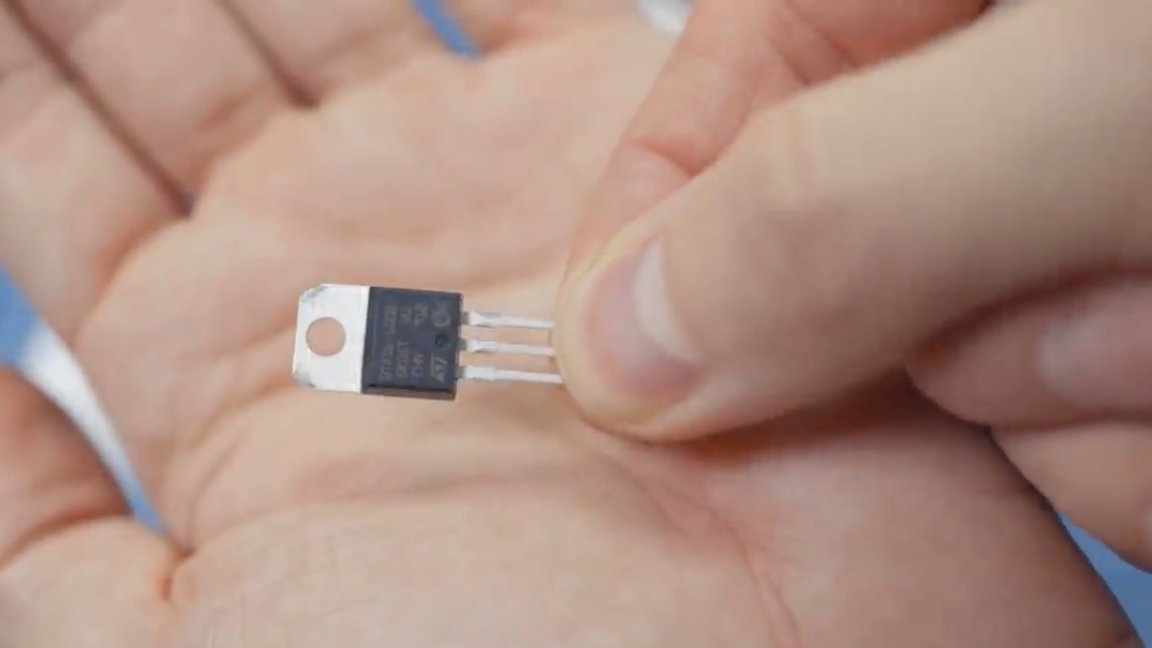
- Triac, for example, BTA16;
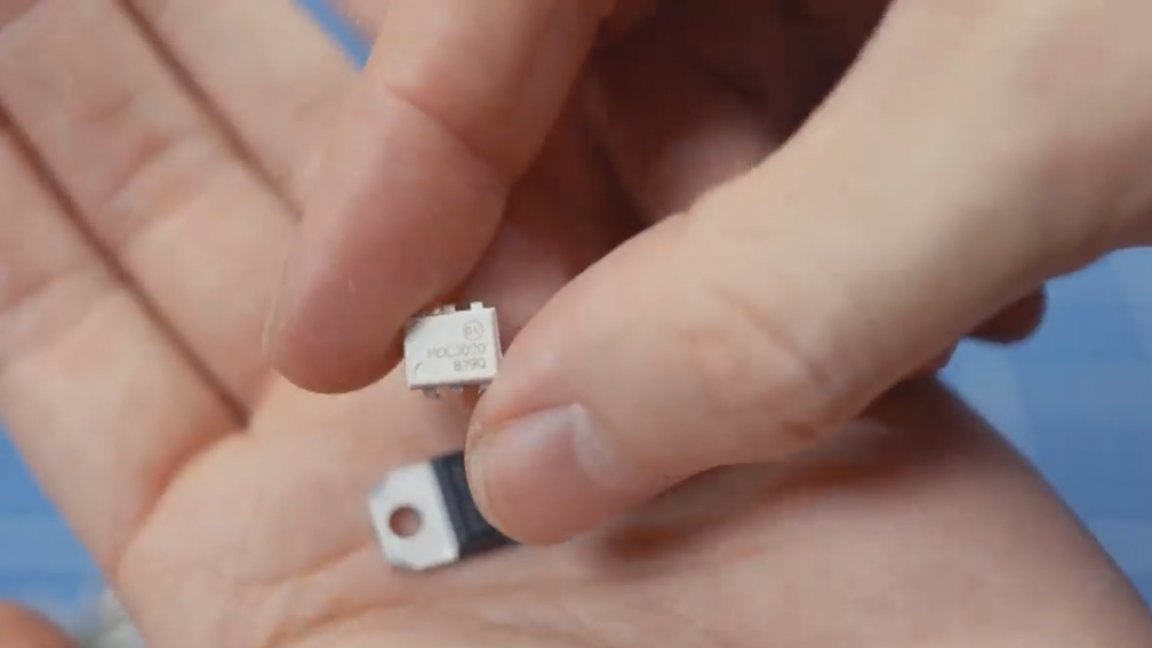
- Optocoupler, for example, MOC3020, 3021 or 3022;
- A resistor, approximately 330 ohms, preferably 1W power (the author used a 2-watt resistor, huge as a dumpling;
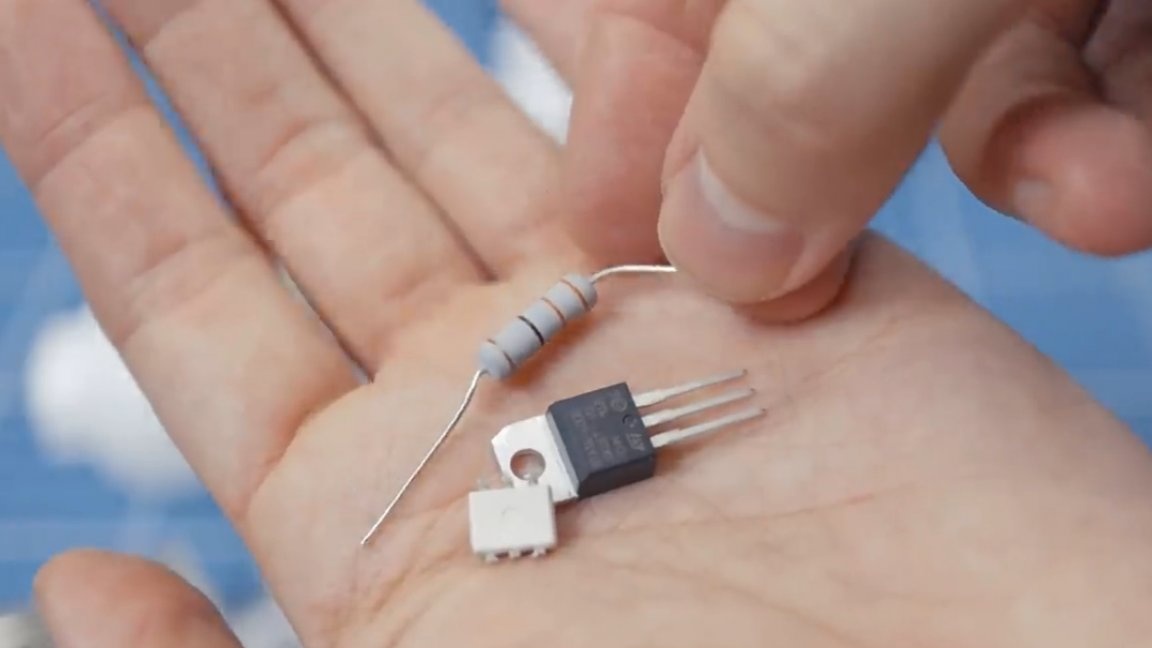
- Another 220 Ohm resistor to limit the current to the optocoupler's LED;
- And of course the radiator:
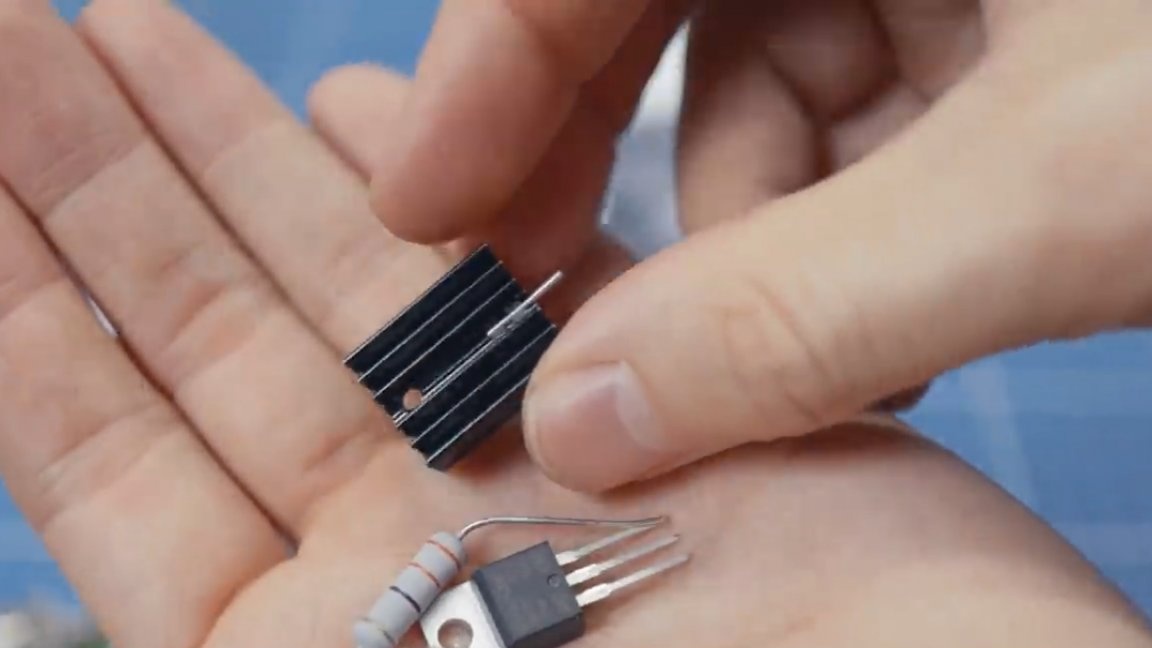
Everything is connected here according to this scheme:
We solder everything with a hinged installation, it turns out here is such a sandwich:
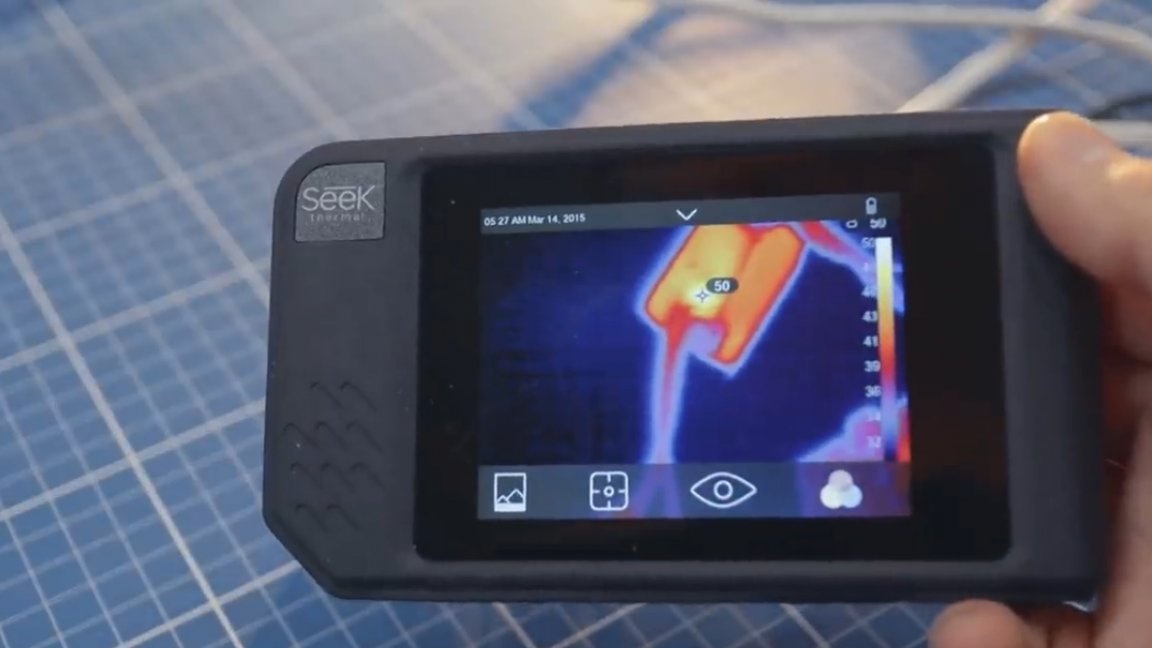
The main thing is that it works! Under a load of 100W, after 10 minutes, the screw on the radiator turned out to be the hottest point, although it is brilliant and most likely this is a measurement error.
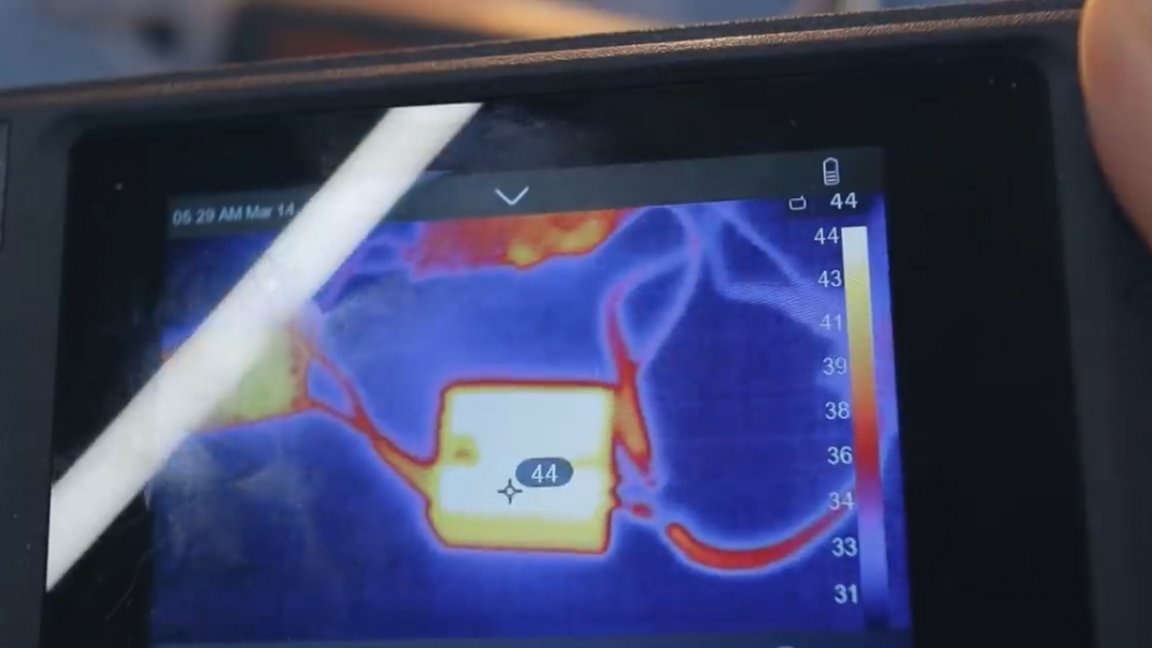
The radiator itself has warmed up to 44 degrees, well, it can be said that it practically does not heat up. To power the lamps and illuminators is just right.
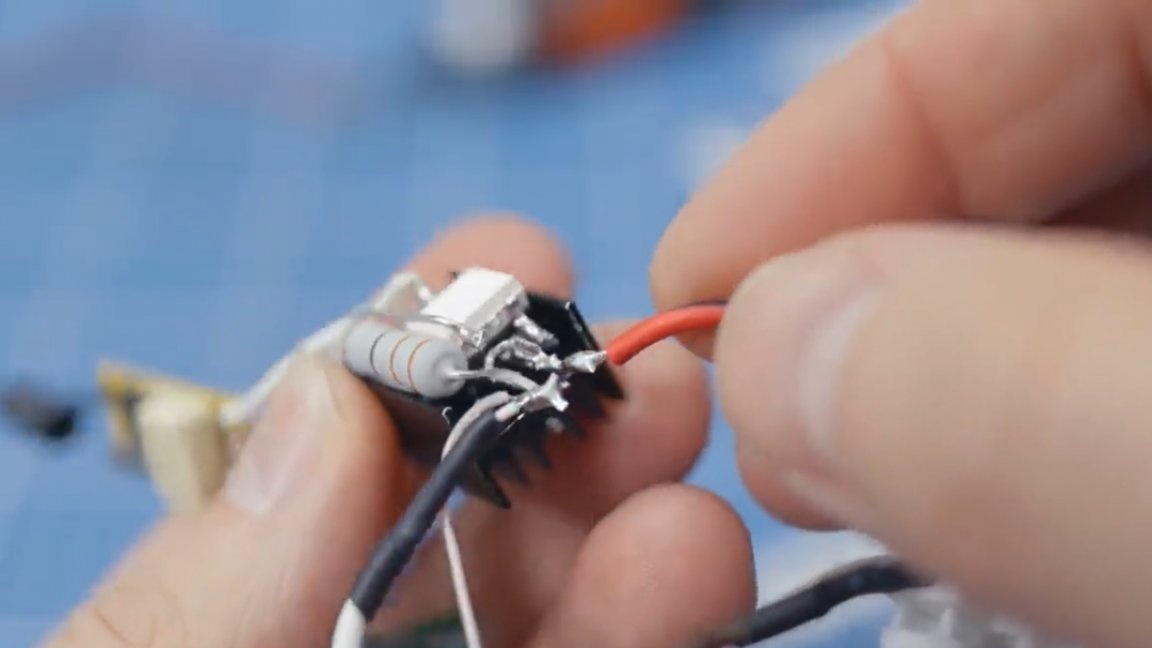
The naturally hazardous high-voltage part must be insulated, for example, using hot-melt adhesive, the temperature at 100 and even 200 watts will not be so high as to melt it, although heat shrink will still be the best solution.
We solder to the terminals and collect everything in the case.
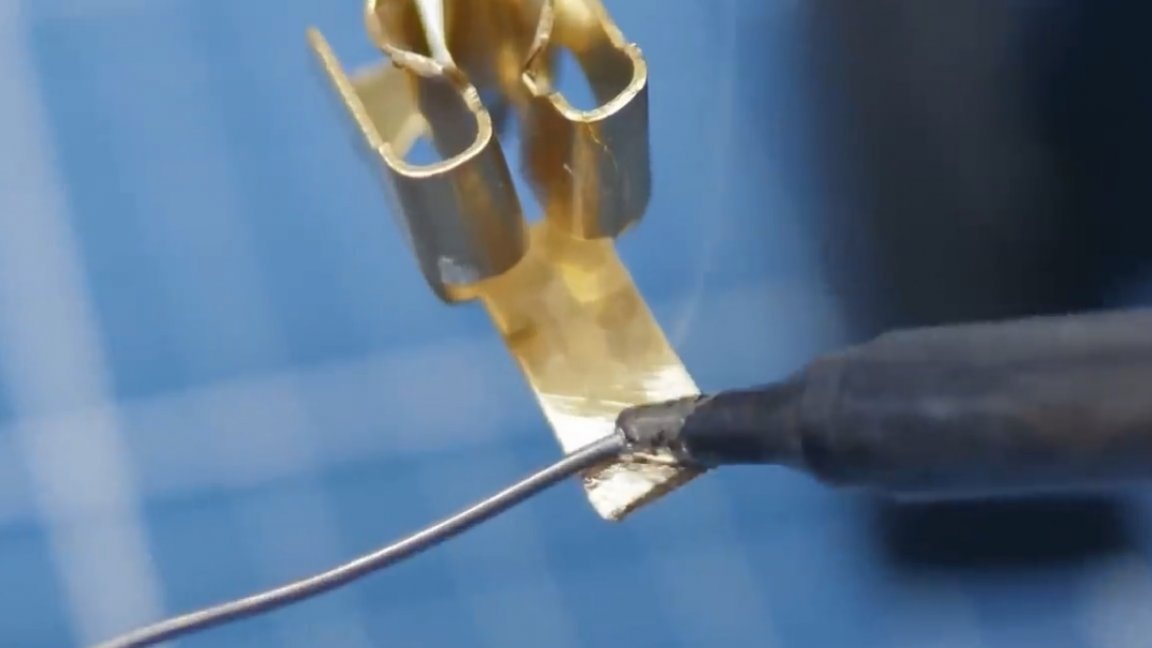
I had to remove a little excess plastic, but in the end everything went well, you can close it.
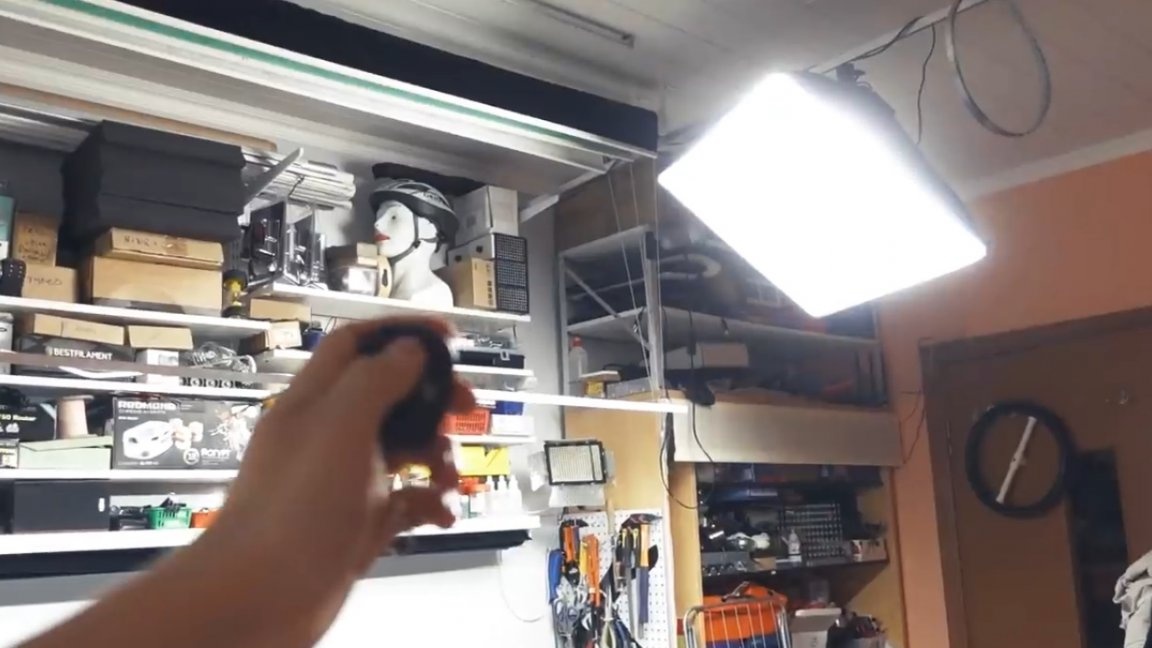
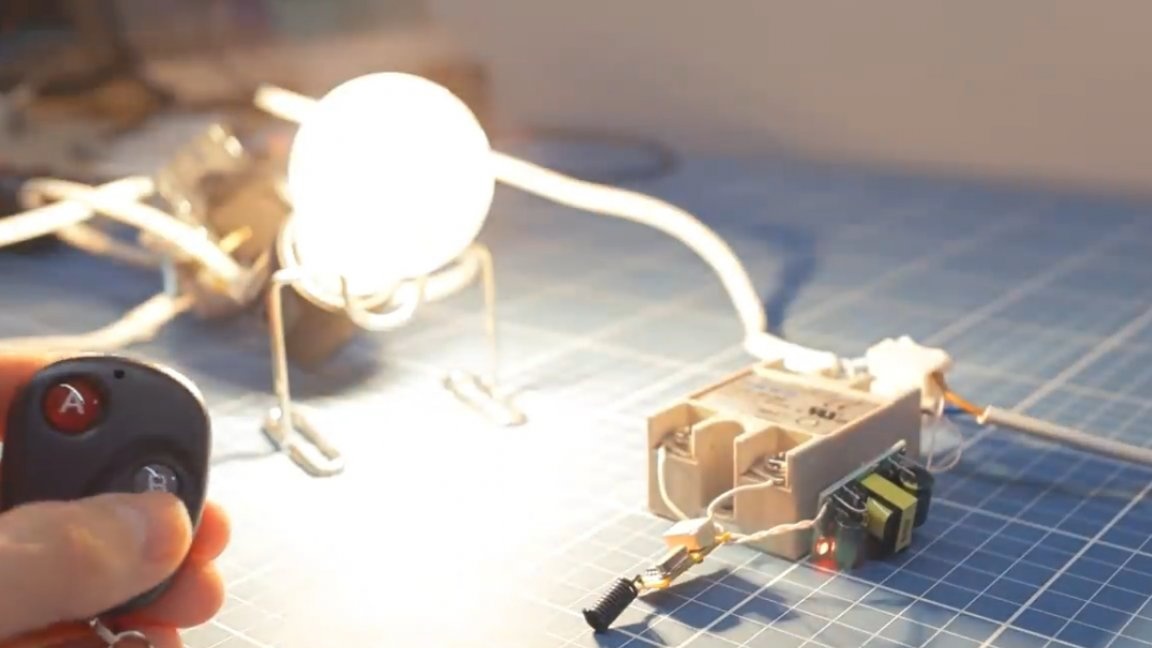
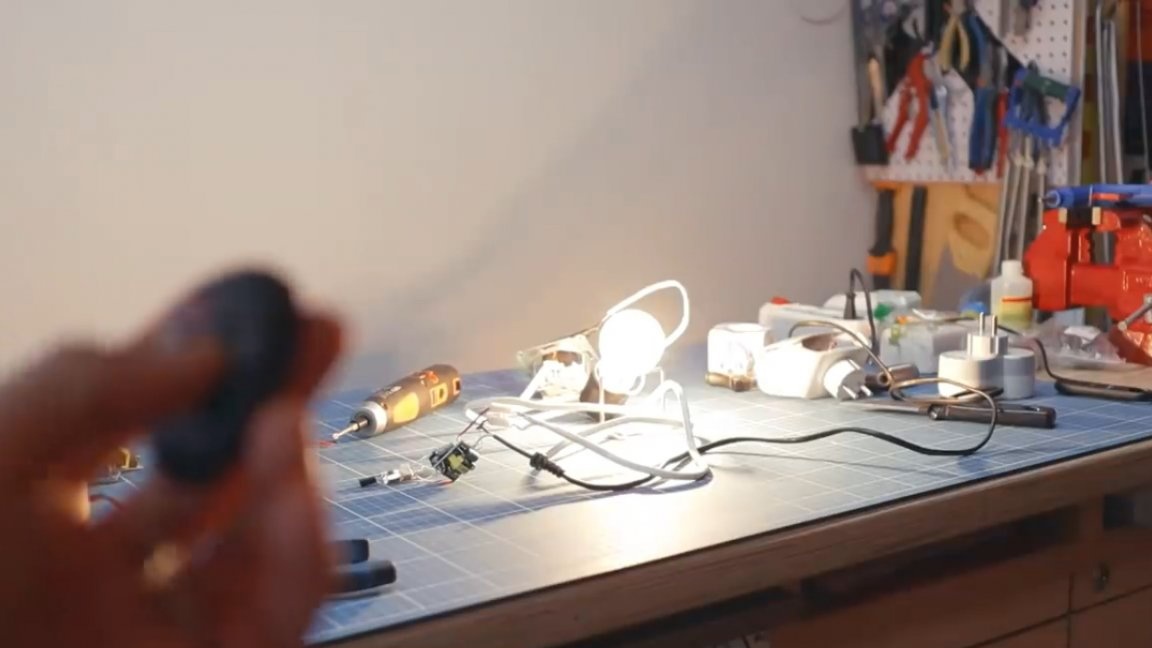
The result is a radio-controlled nozzle on the outlet, a little more universal thing than the first option from this article.And as an example, the author connected a little more than one light bulb - a whole softbox.
Here is such a simple to manufacture, but very convenient thing turned out. That's all. Thank you for attention. See you soon!
Author's video: