

The following summer I began decorating the second floor room the garage. I set myself the task - to insulate the room as much as possible. To do this, it is necessary to insulate the ceiling, panel board and floor.
Read previous construction reports foundation, walls and roofs; and about exterior decoration.
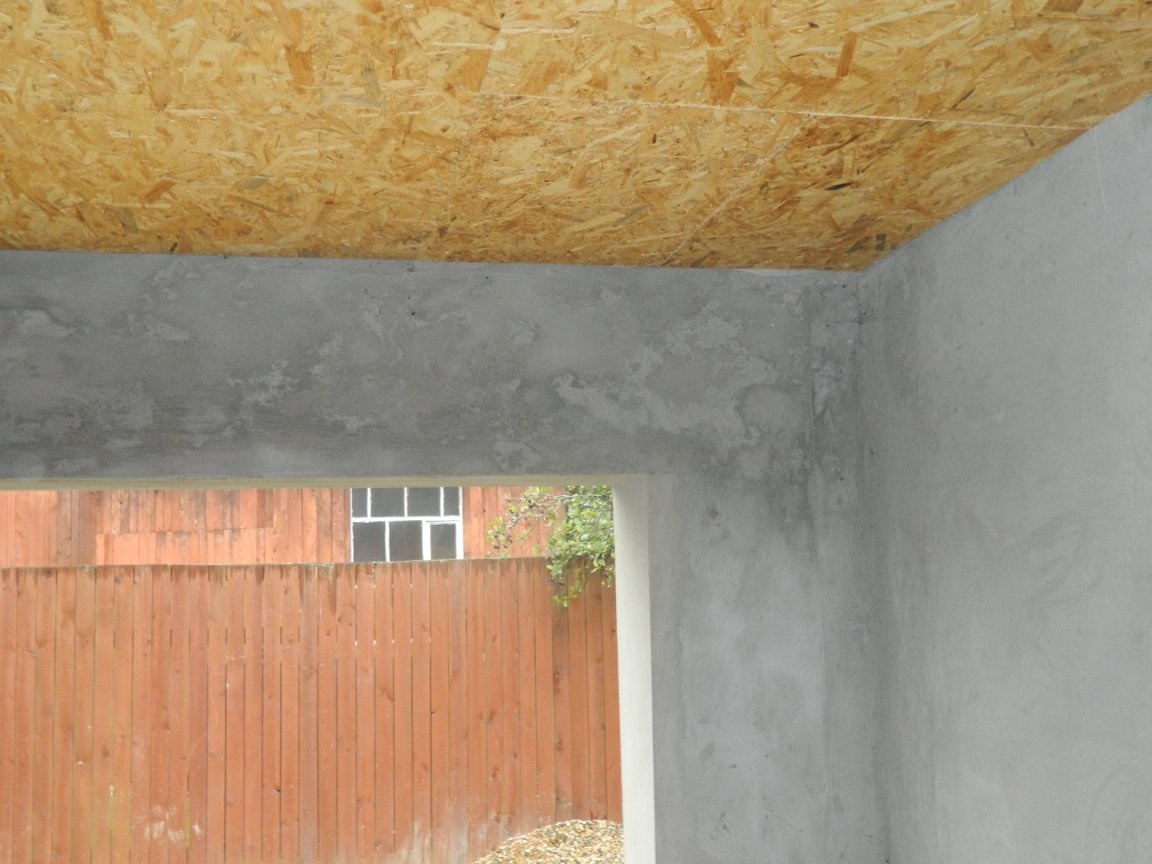
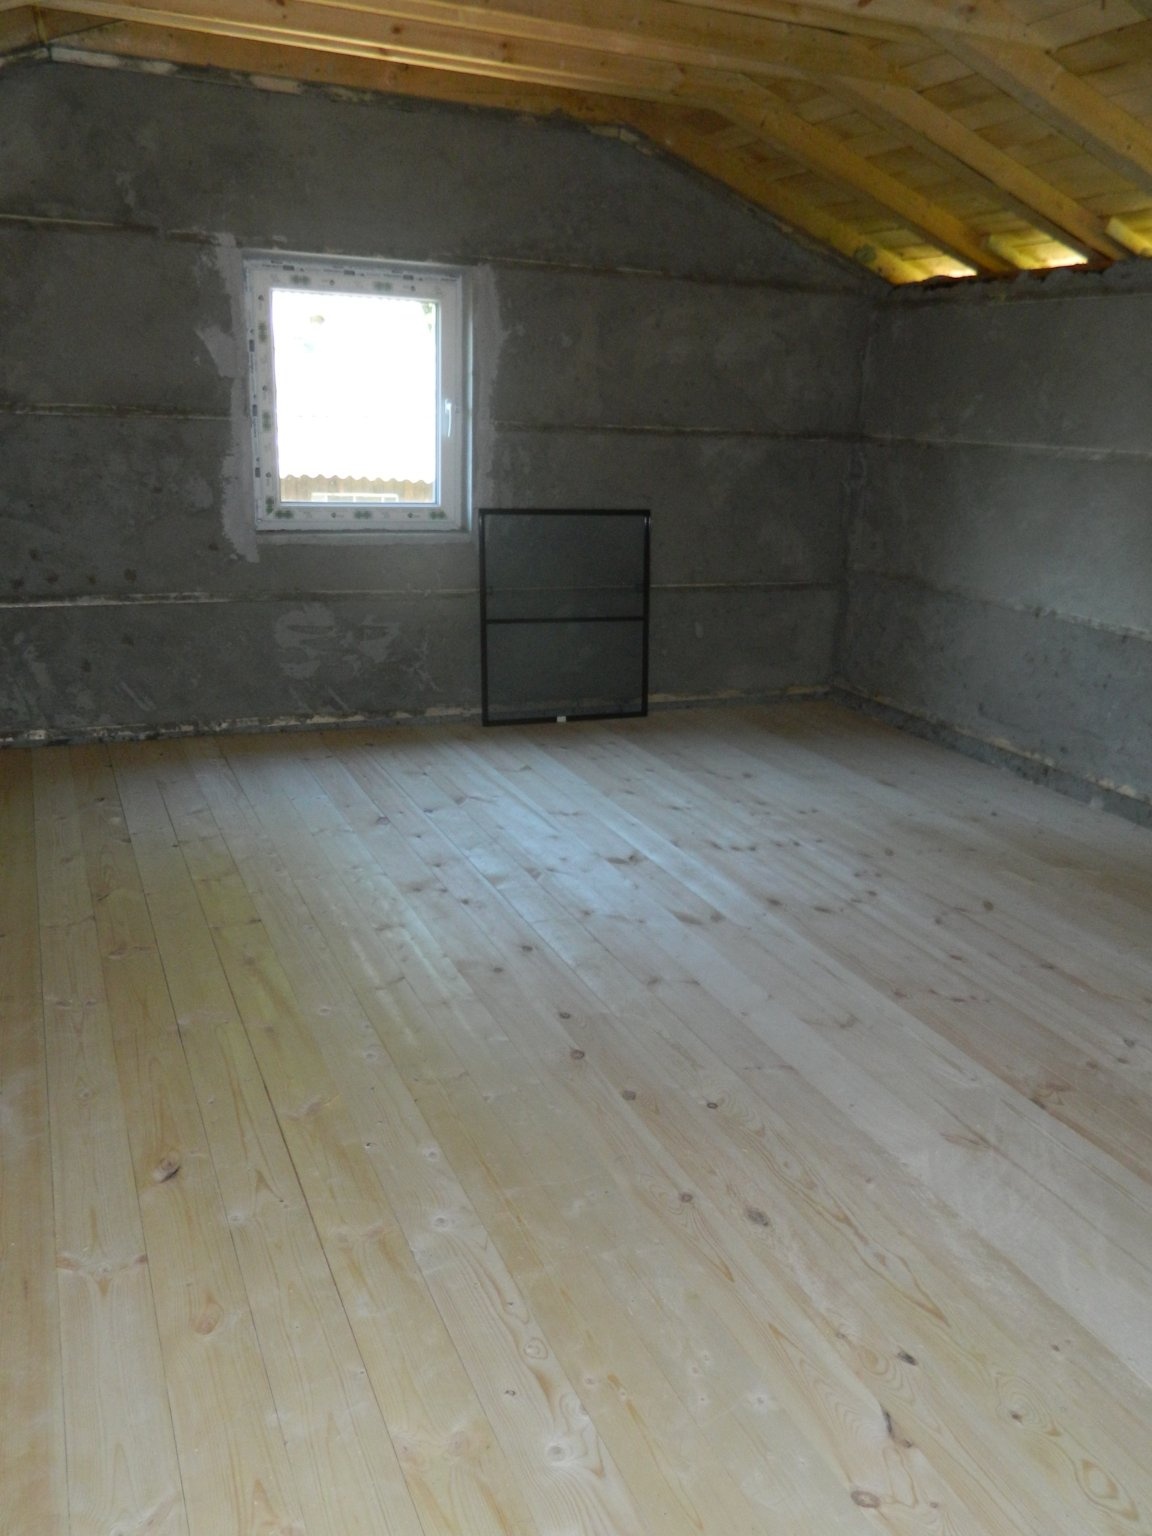
The walls did not require insulation, as they are made of foam concrete with a thermal conductivity of 0.13-014 Kcal / m² * deg. When performing plastering work, horizontal bars were built into the walls, to which, in fact, the lining was to be sewn.
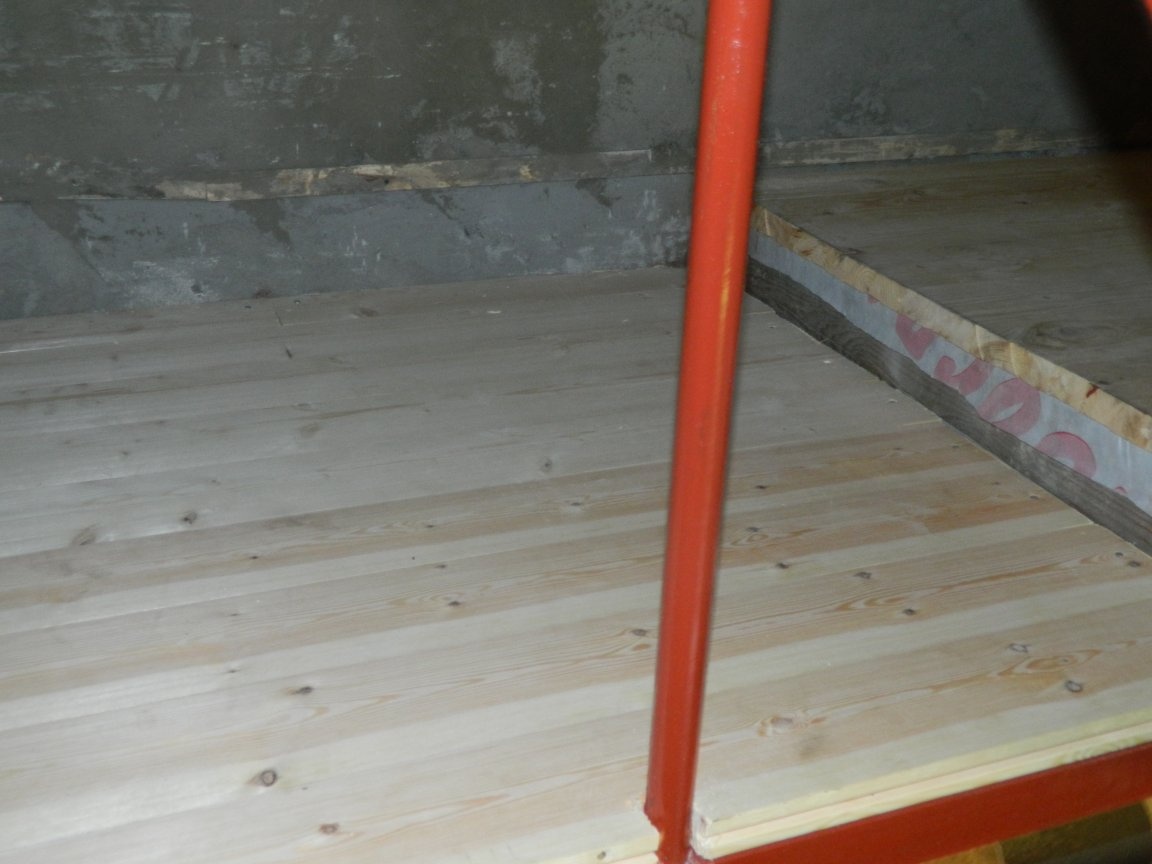
For the floor, 6th floorboards with a section of 135x36 mm were purchased. From below, the lag was already covered with isospan during the manufacture of the subfloor, which at the same time was the ceiling of the first floor of the garage.
The lag height was 200 mm, so it was necessary to use a heater 100 mm thick in two layers with overlapping joints. In terms of price / quality ratio, I chose TechnoNikol stone wool. After warming the floor, an isospan was also laid, which was shot, and then boards were laid. The end fastening of the boards allows you to make the floor without visible nails. I did not use kleimers, since the floor would have been flimsy.
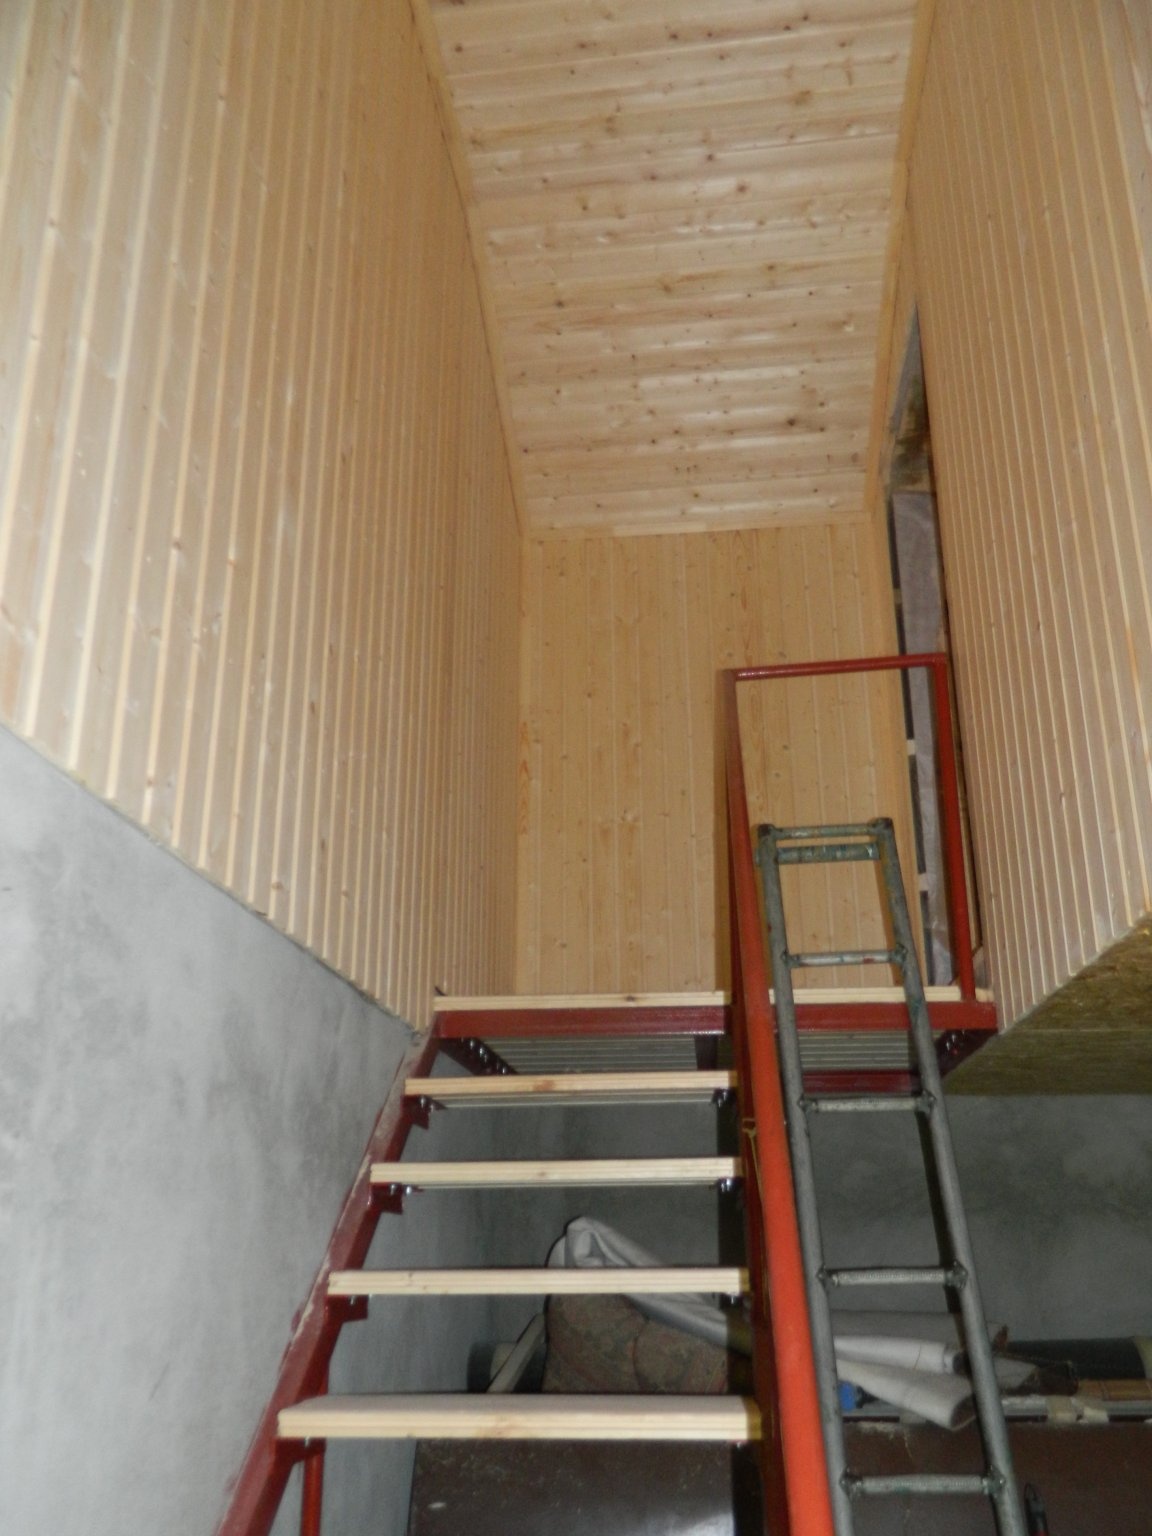
Then it was necessary to make a staircase to the second floor. As a bowstring, I bought two 80-channels, for supports - a 1½ ″ water pipe.
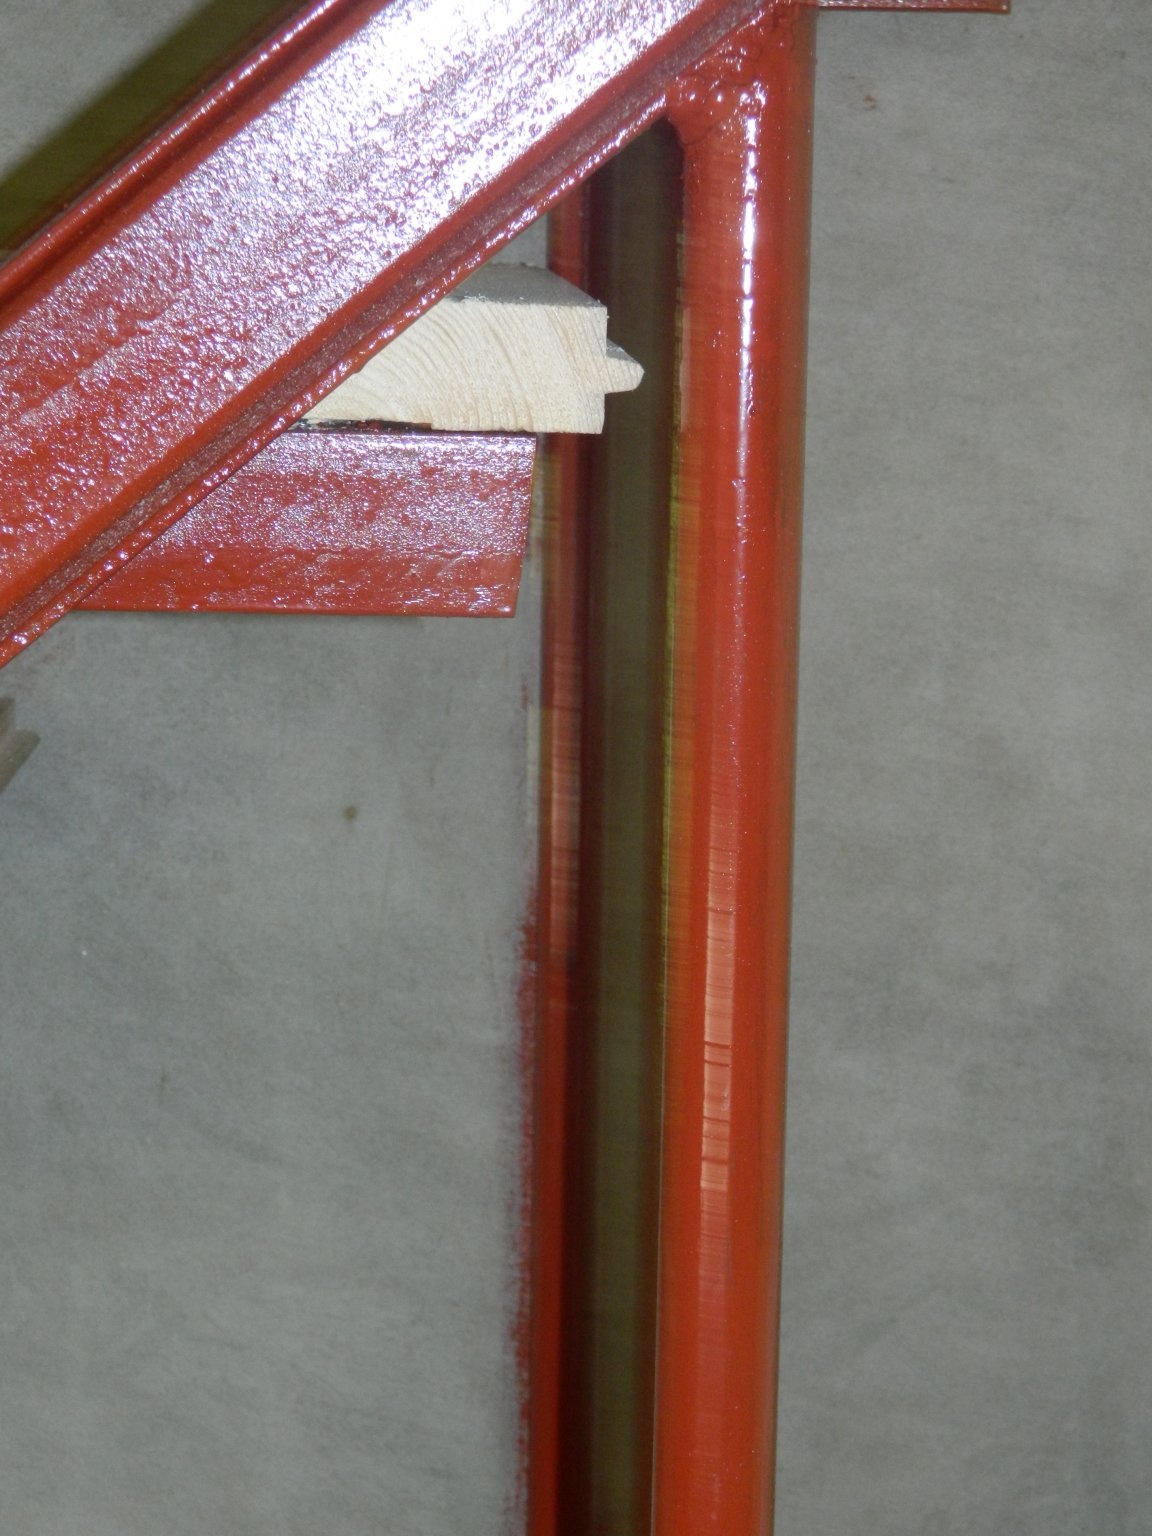
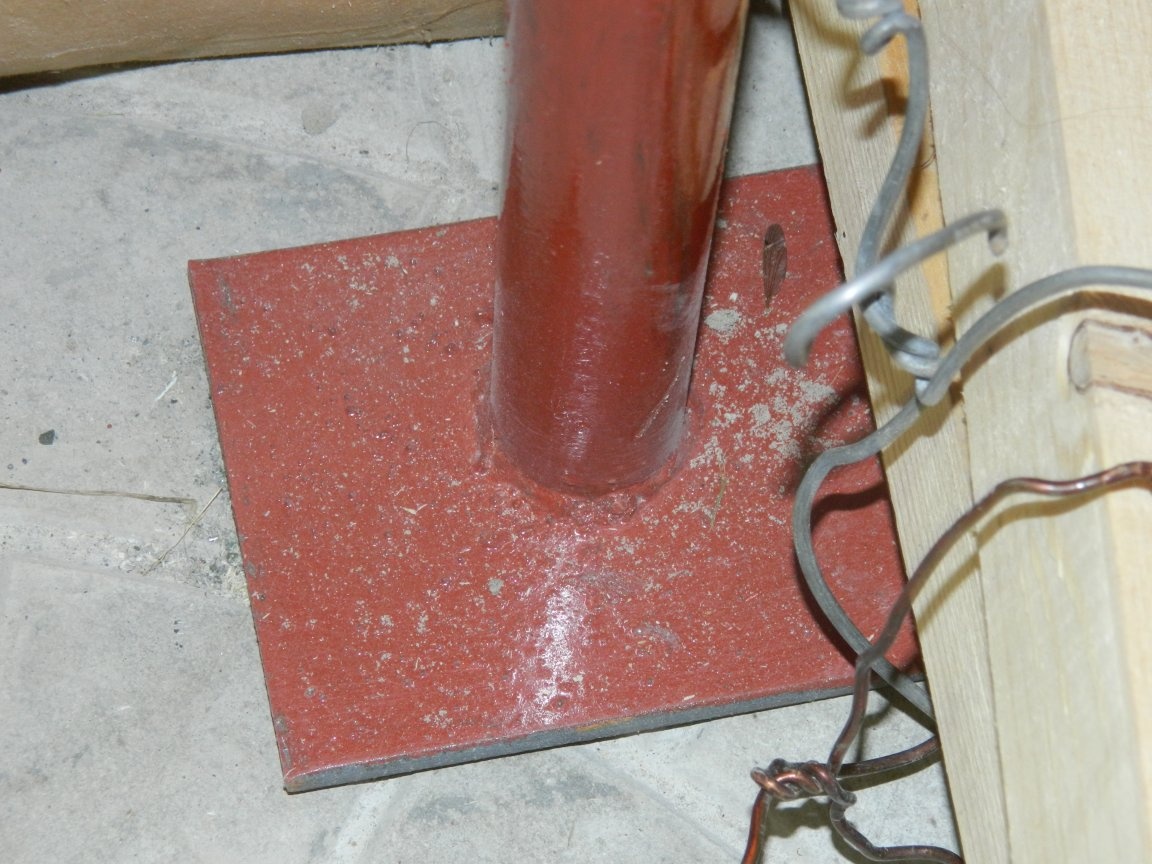
The supports rested on thrust bearings made of 5 mm steel.
Two floorboards, cut to a length of 700 mm (such was the width of the stairs), set the width of the step - 270 mm. Having calculated the tread (about 200 mm, which is comfortable for climbing), I bought the 50th corner and trim the corners corresponding to the width of the step, welded to the channel along the entire length of the stairs at a distance of the tread size. Boards for steps fixed with M6 bolts.
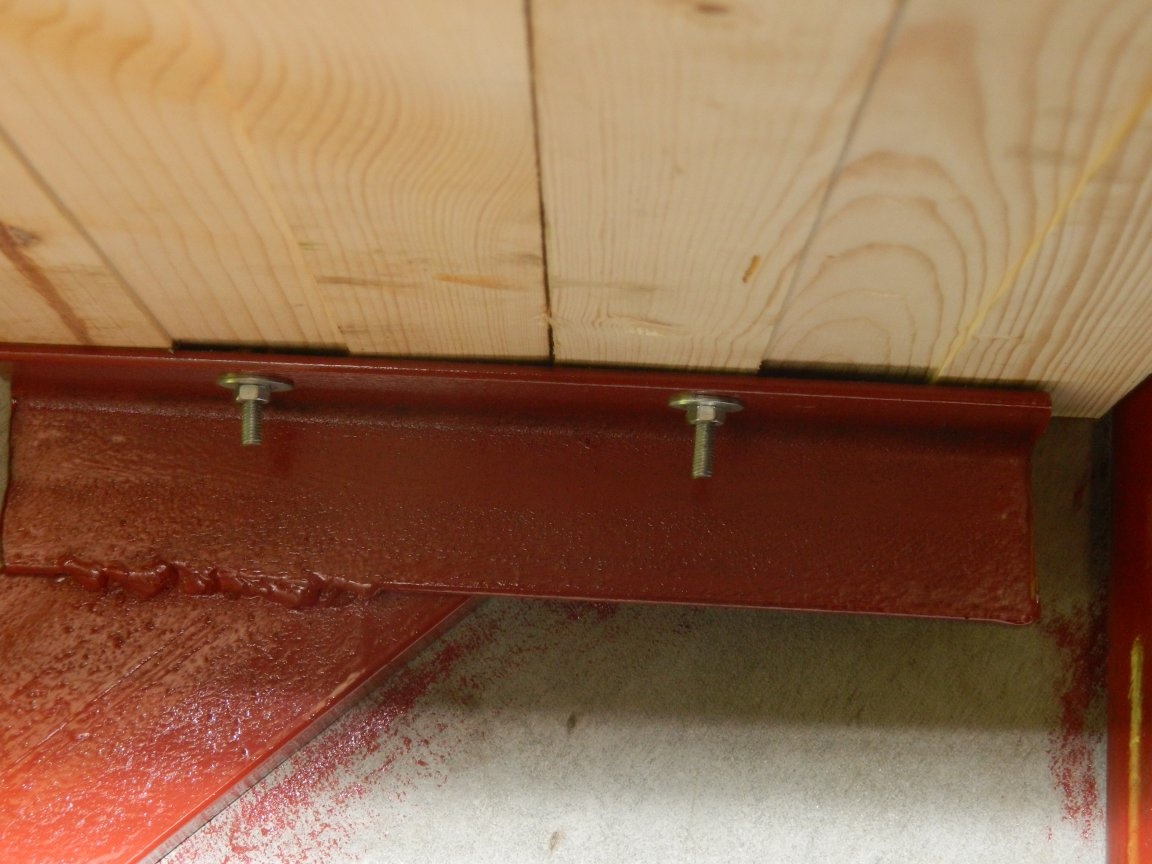
At the top, a platform was welded from the 65th corner, which was fastened to the walls with M10 studs through and through to the end beam with anchors.
Outside, through a steel platform made of 5 mm steel, the studs were secured with nuts.

Floorboards were also attached to the site.
The railing was made of 1½ ″ pipe. Comfortable, and most importantly, durable, the staircase turned out.
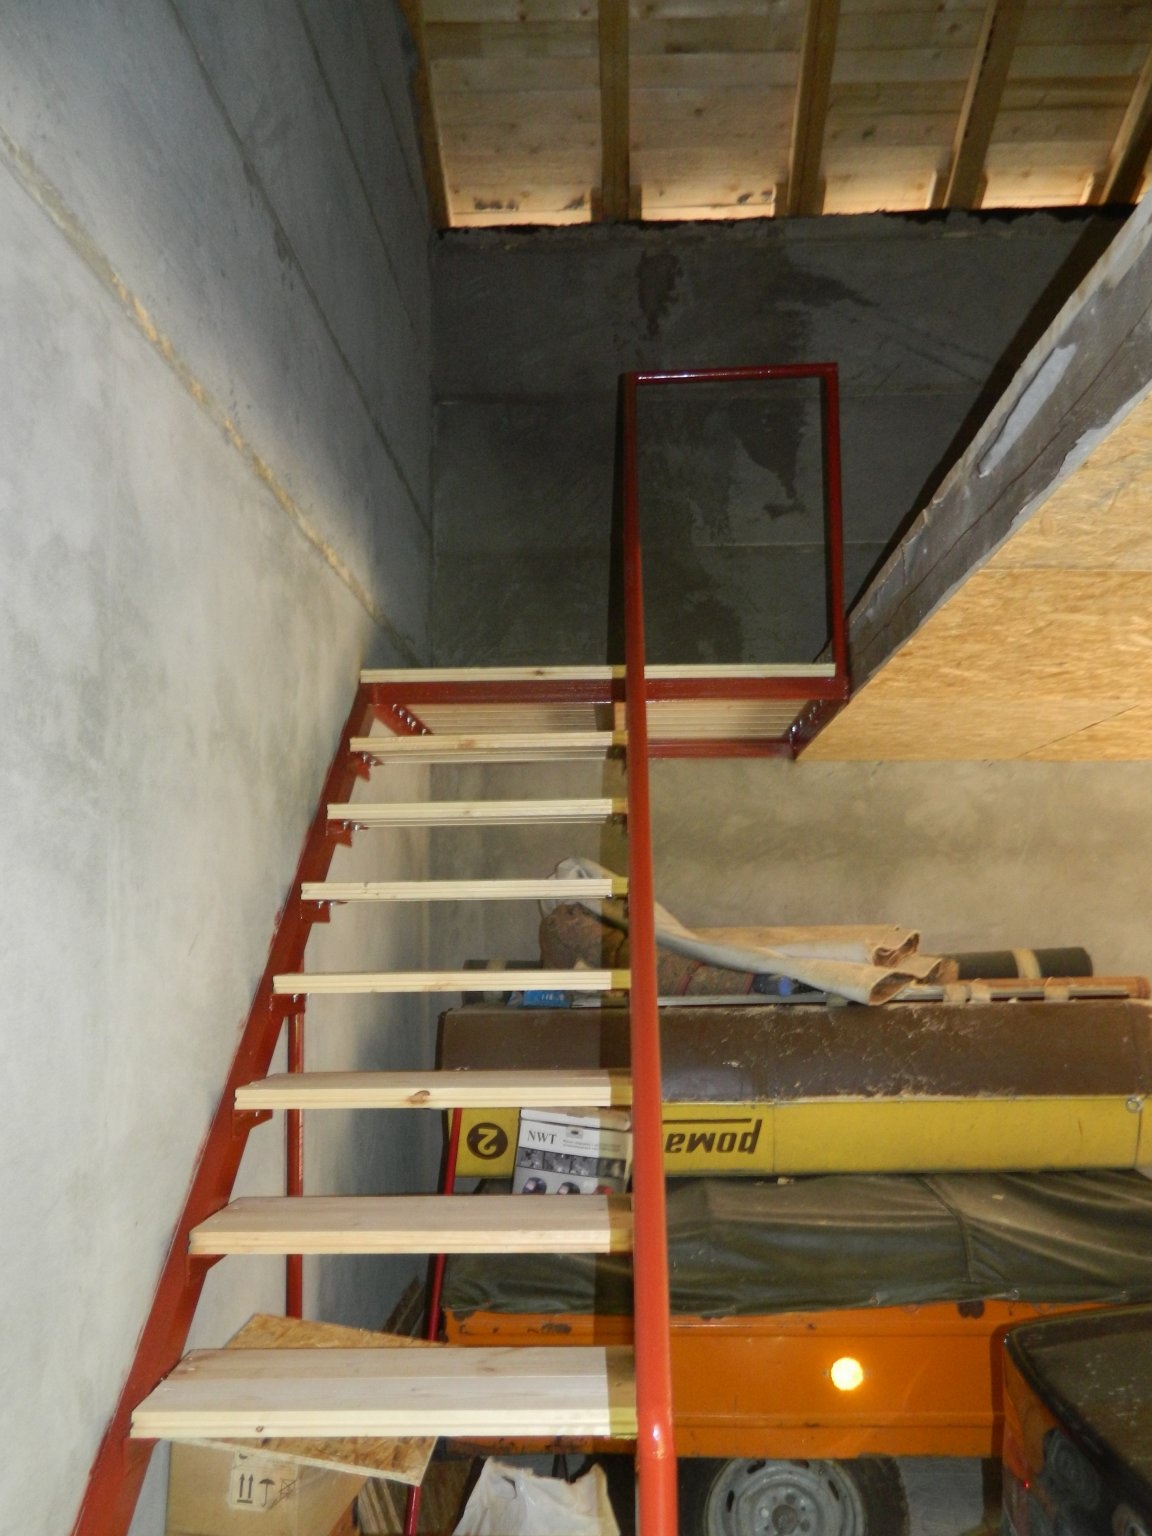
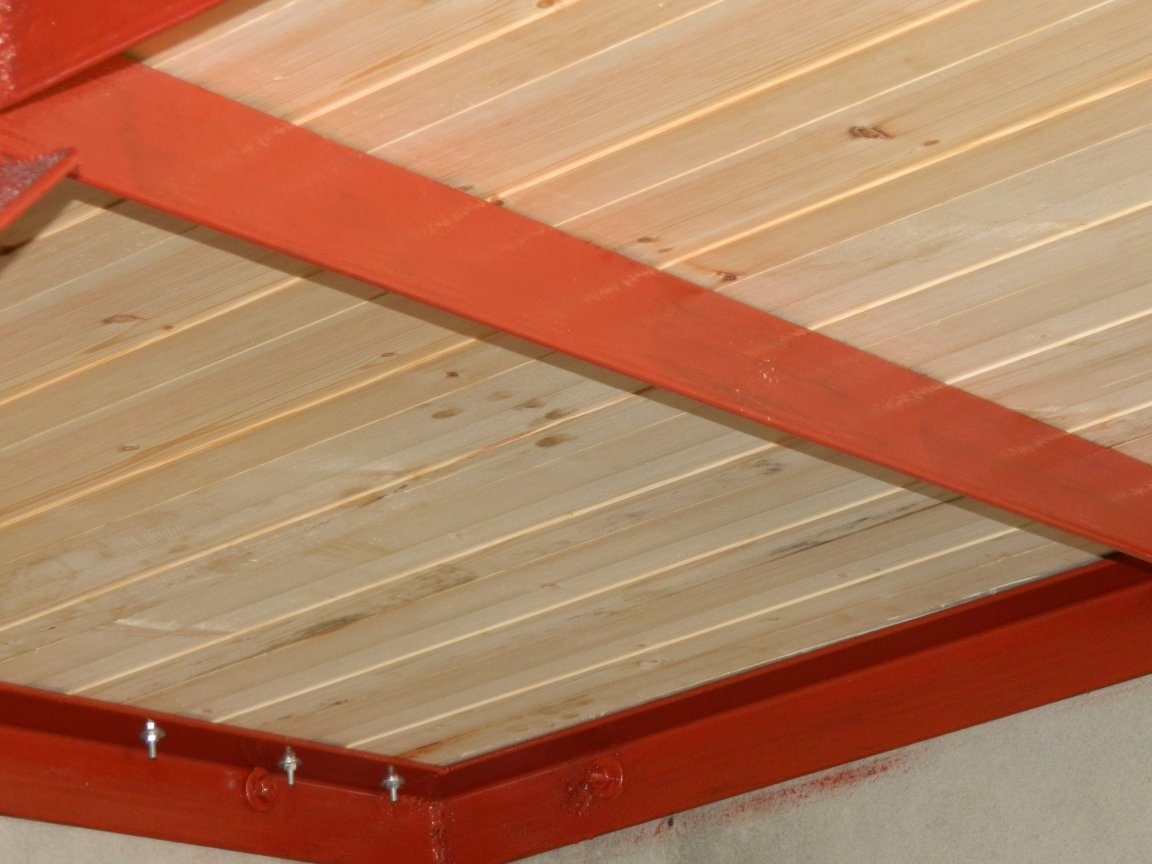
The channel adjacent to the wall was also fixed with several studs. (When I bought the Bradenberg fireplace weighing 126 kg, three workers dragged him upstairs - she calmly withstood both the weight of the fireplace and the weight of the workers!)
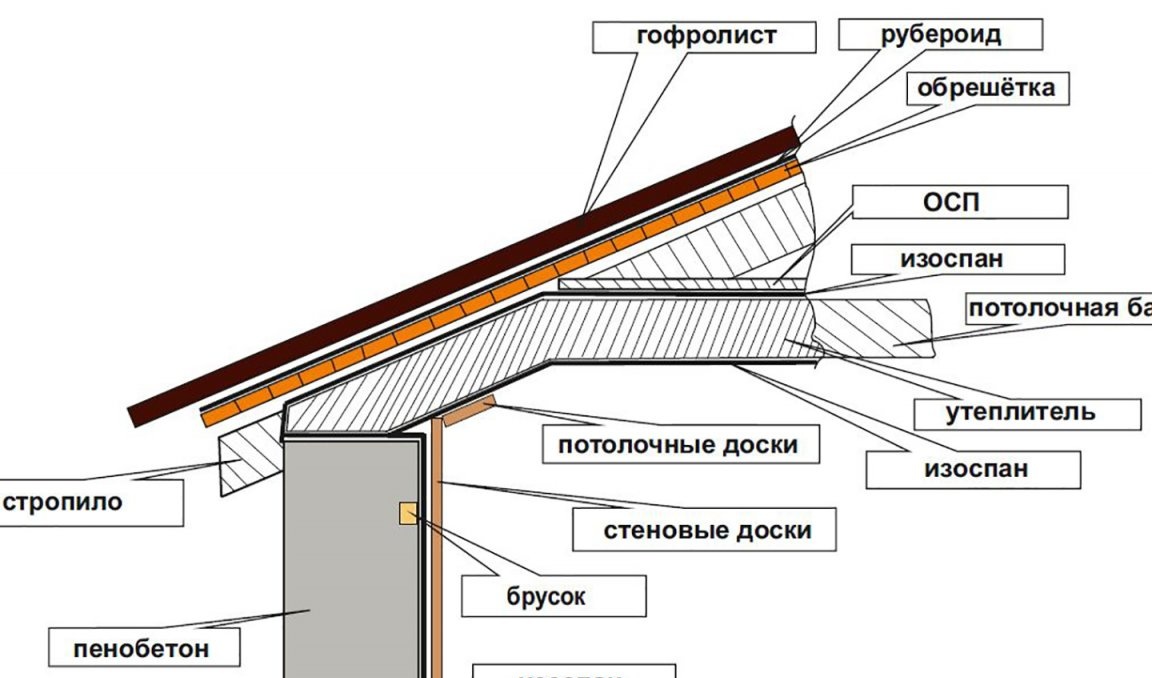
Then he took up the living room, or rather, its decoration. For the draft ceiling, a 12 mm OSB was used. Then it was covered with isospan, as a vapor barrier.
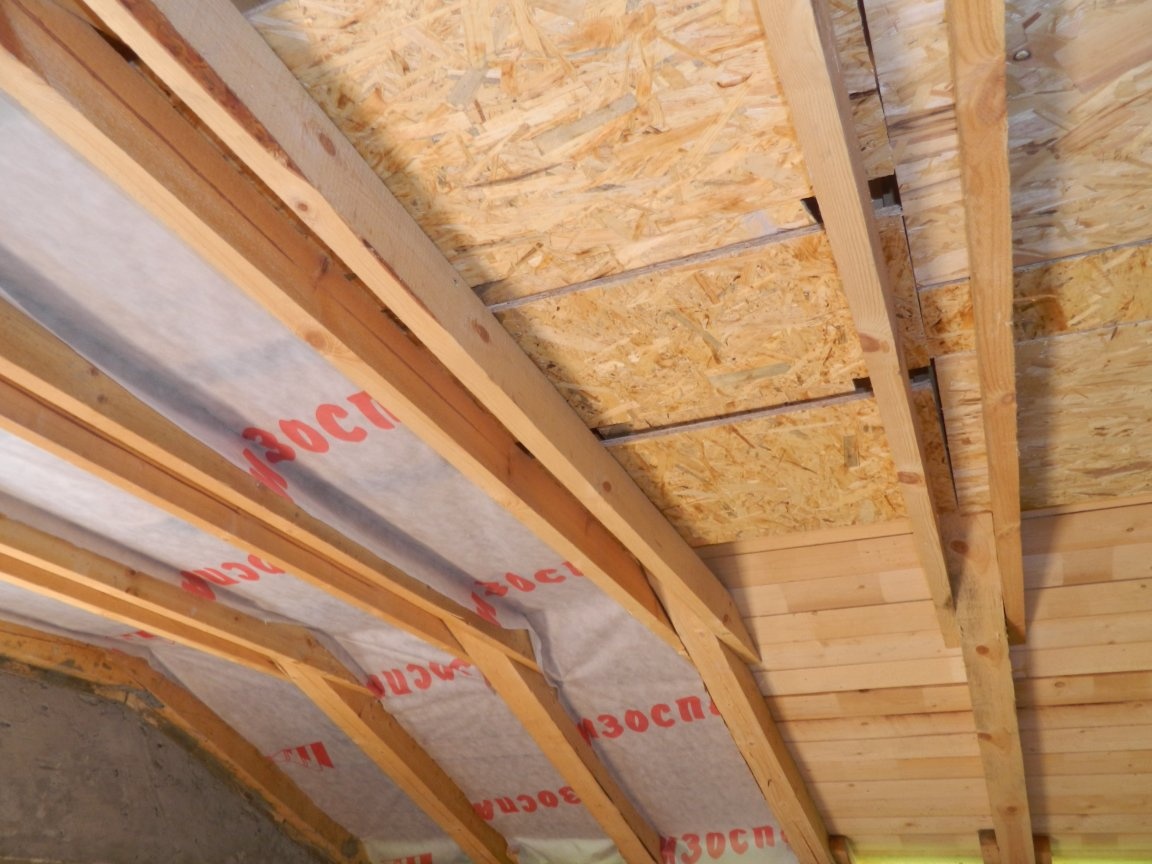
With a rafter thickness of 100 mm, in order to overlap the layers, it was necessary to use a heater with a thickness of 50 mm.
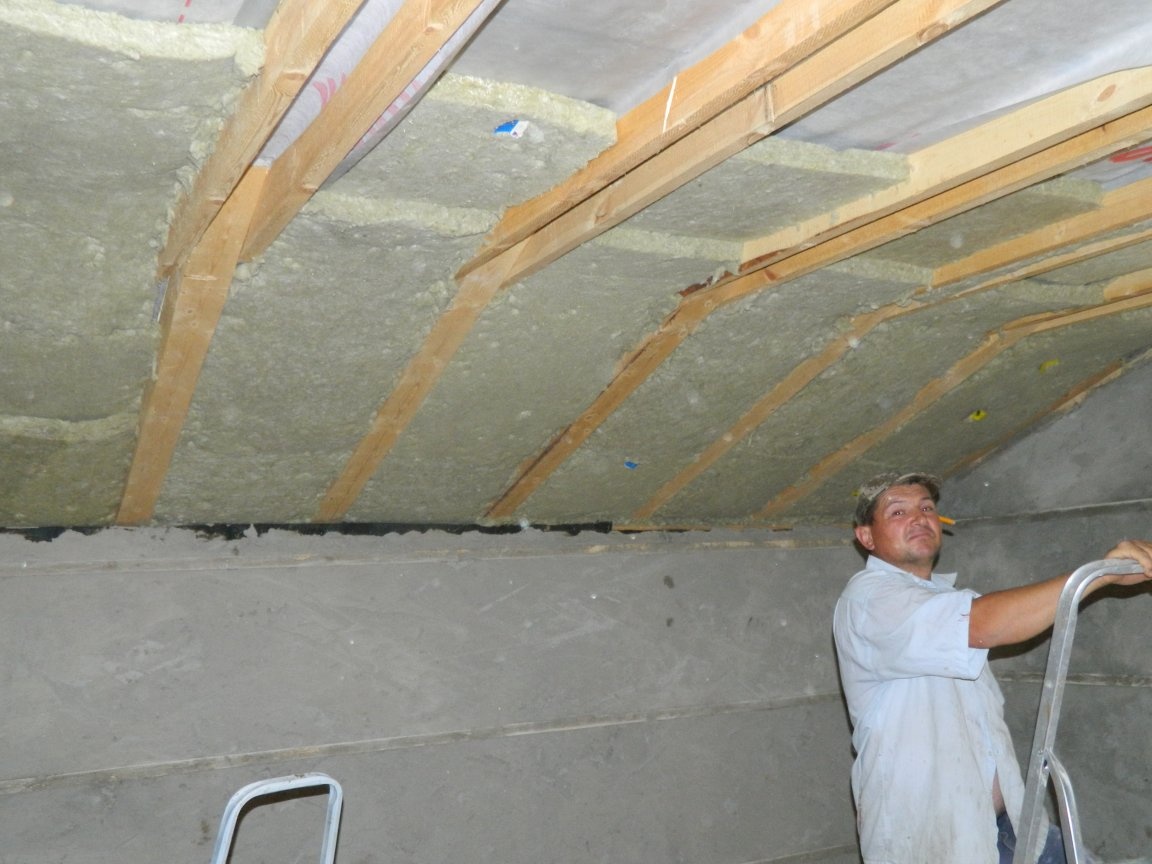
Also, the cracks formed when the rafters were supported on the Mauerlat were clogged with insulation from inside and outside.
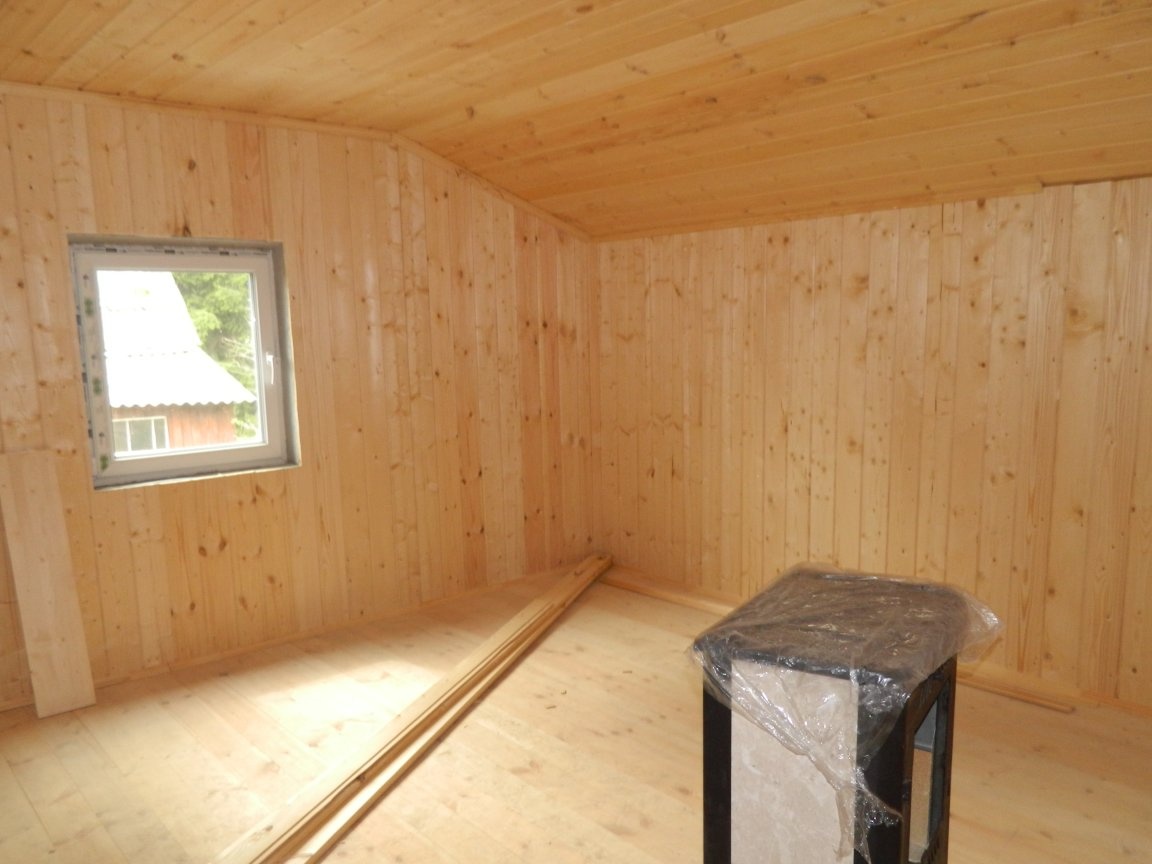
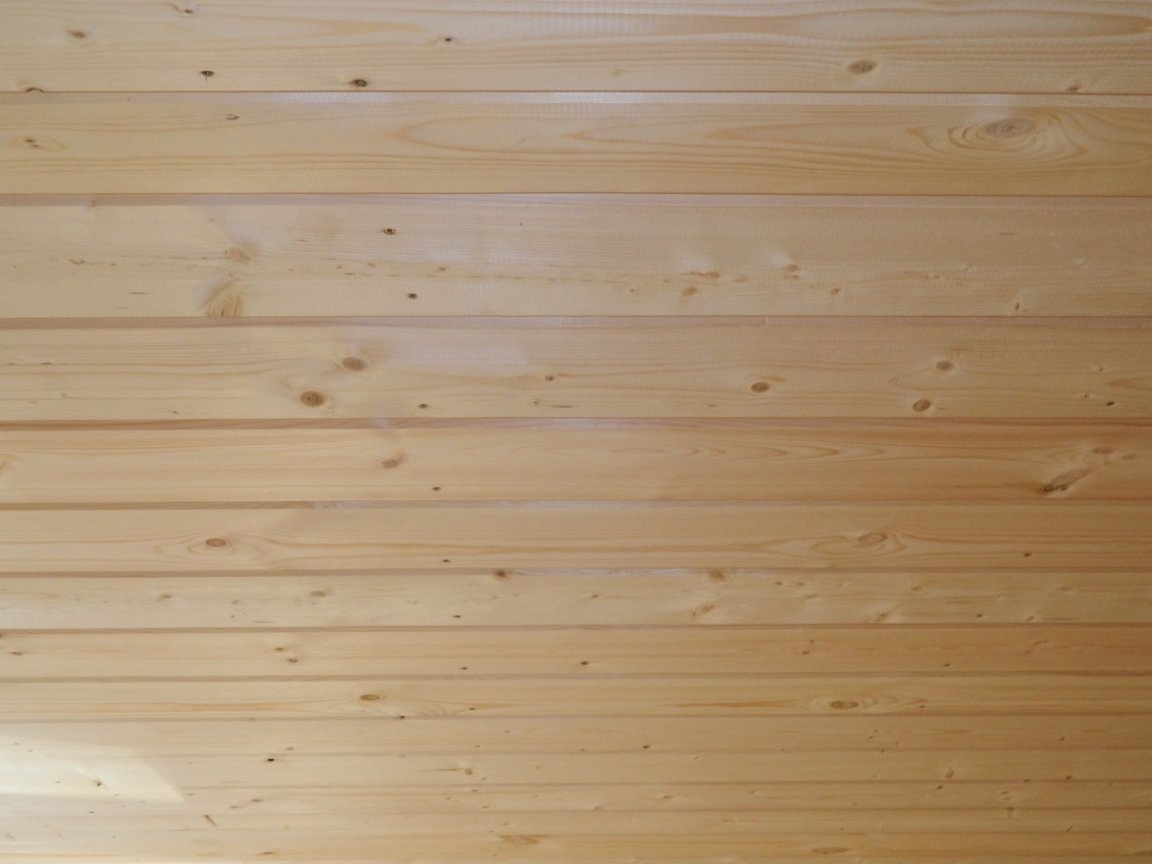
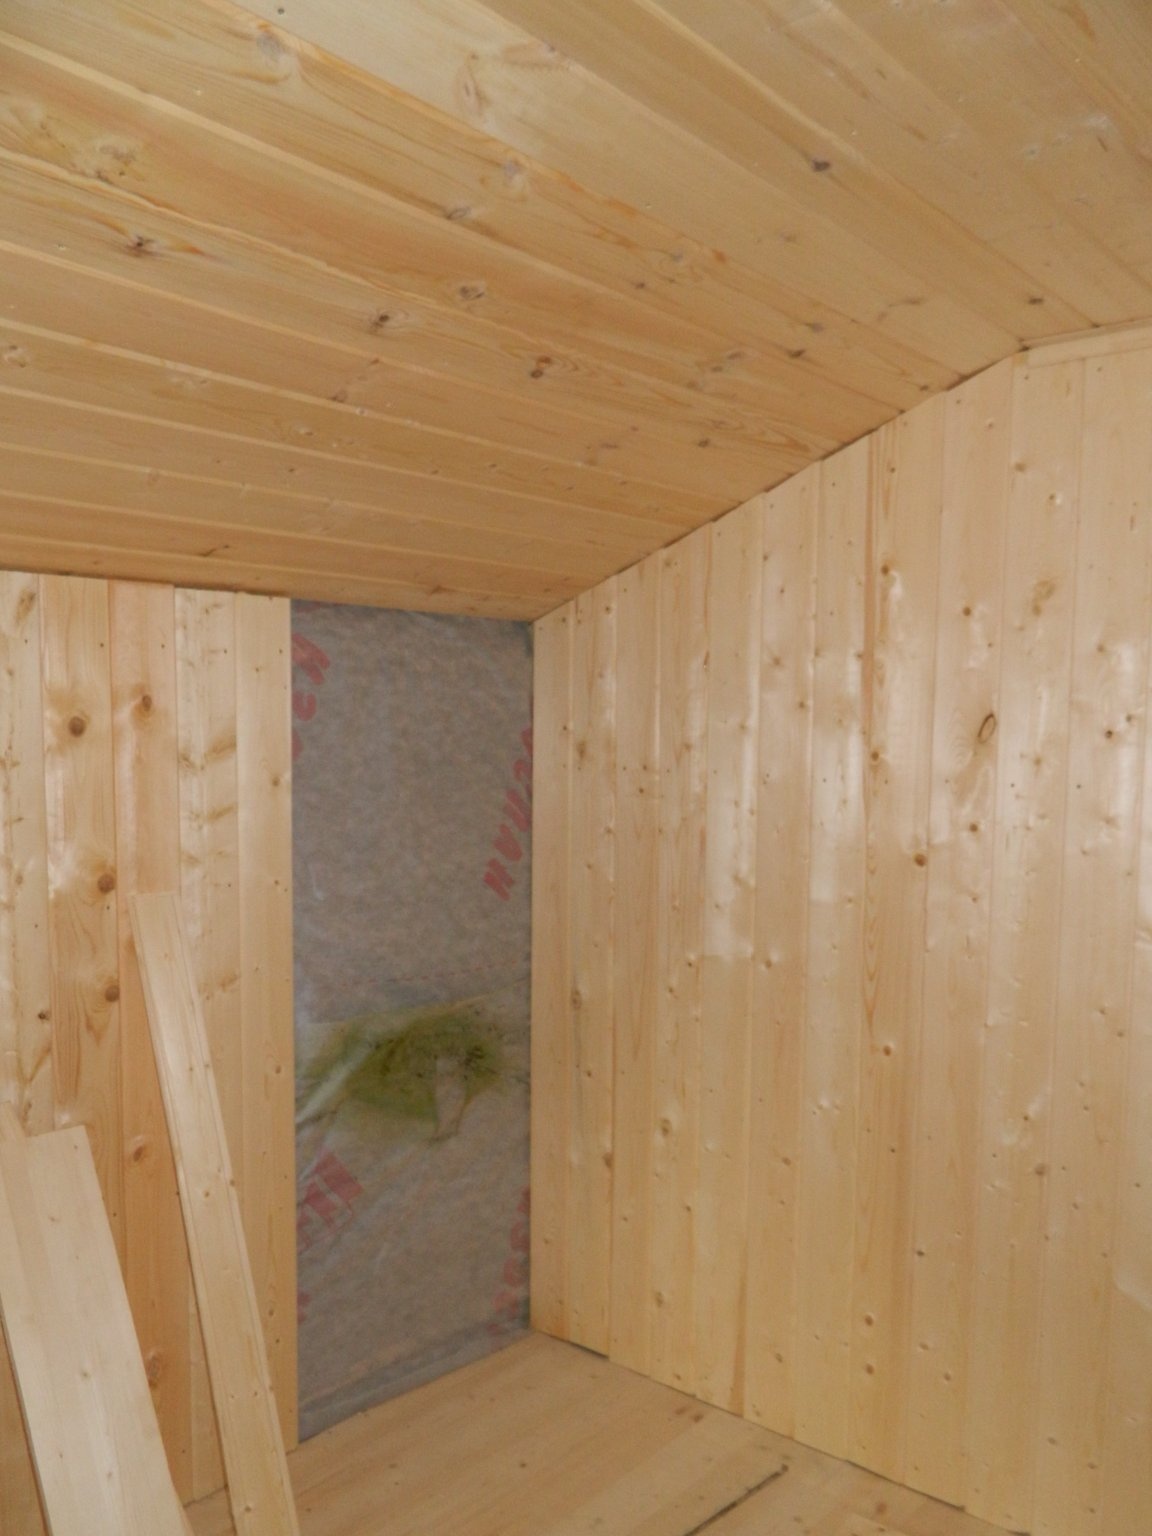
Lining Calm with a working section of 140x16 mm I really liked its strength, and I used it to cover the ceiling,
and then for the walls and partitions from the inside of the room. No insulation was placed on the walls, only isospan was laid.
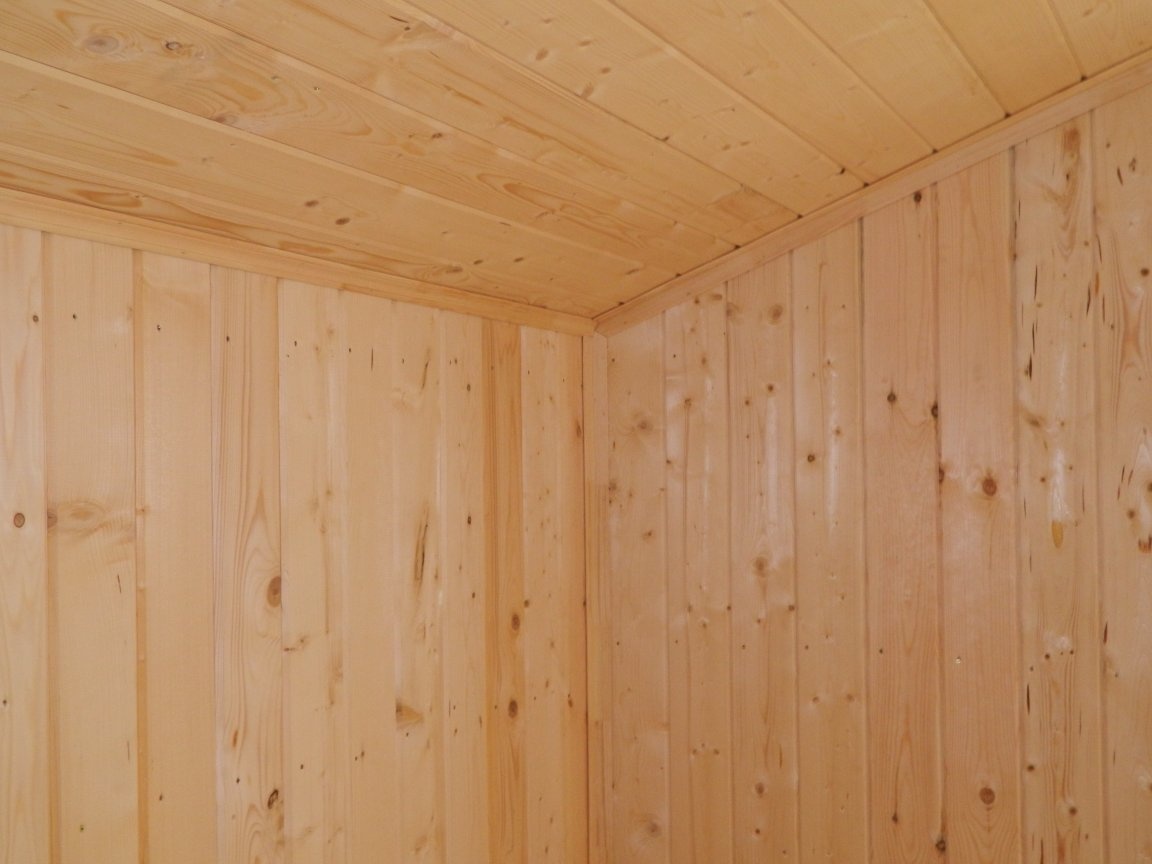
Boards were sewn with wood screws. Since the ceiling must be painted, they will not be noticeable. The joints were sewn with a corner of 40x40 mm and a skirting board of 40x40 mm.
The partition is made of vertical boards with a cross section of 150x40 mm, delivered in 600 mm increments (Technonikol insulation width) indented from the edge of the floor so that, taking into account the lathing, the lining used lies on the lower beam. Then the isospan was spread from the inside, a crate was made of edged boards with a cross section of 100x25 mm and the partition was sewn up with a Calm wall panel.
Since the working thickness of the partition was 150 mm, two layers of insulation 50 and 100 mm were used to create an overlap. The insulation was laid from the side of the stairs, then it was shot with an isospan stapler and a crate was made.
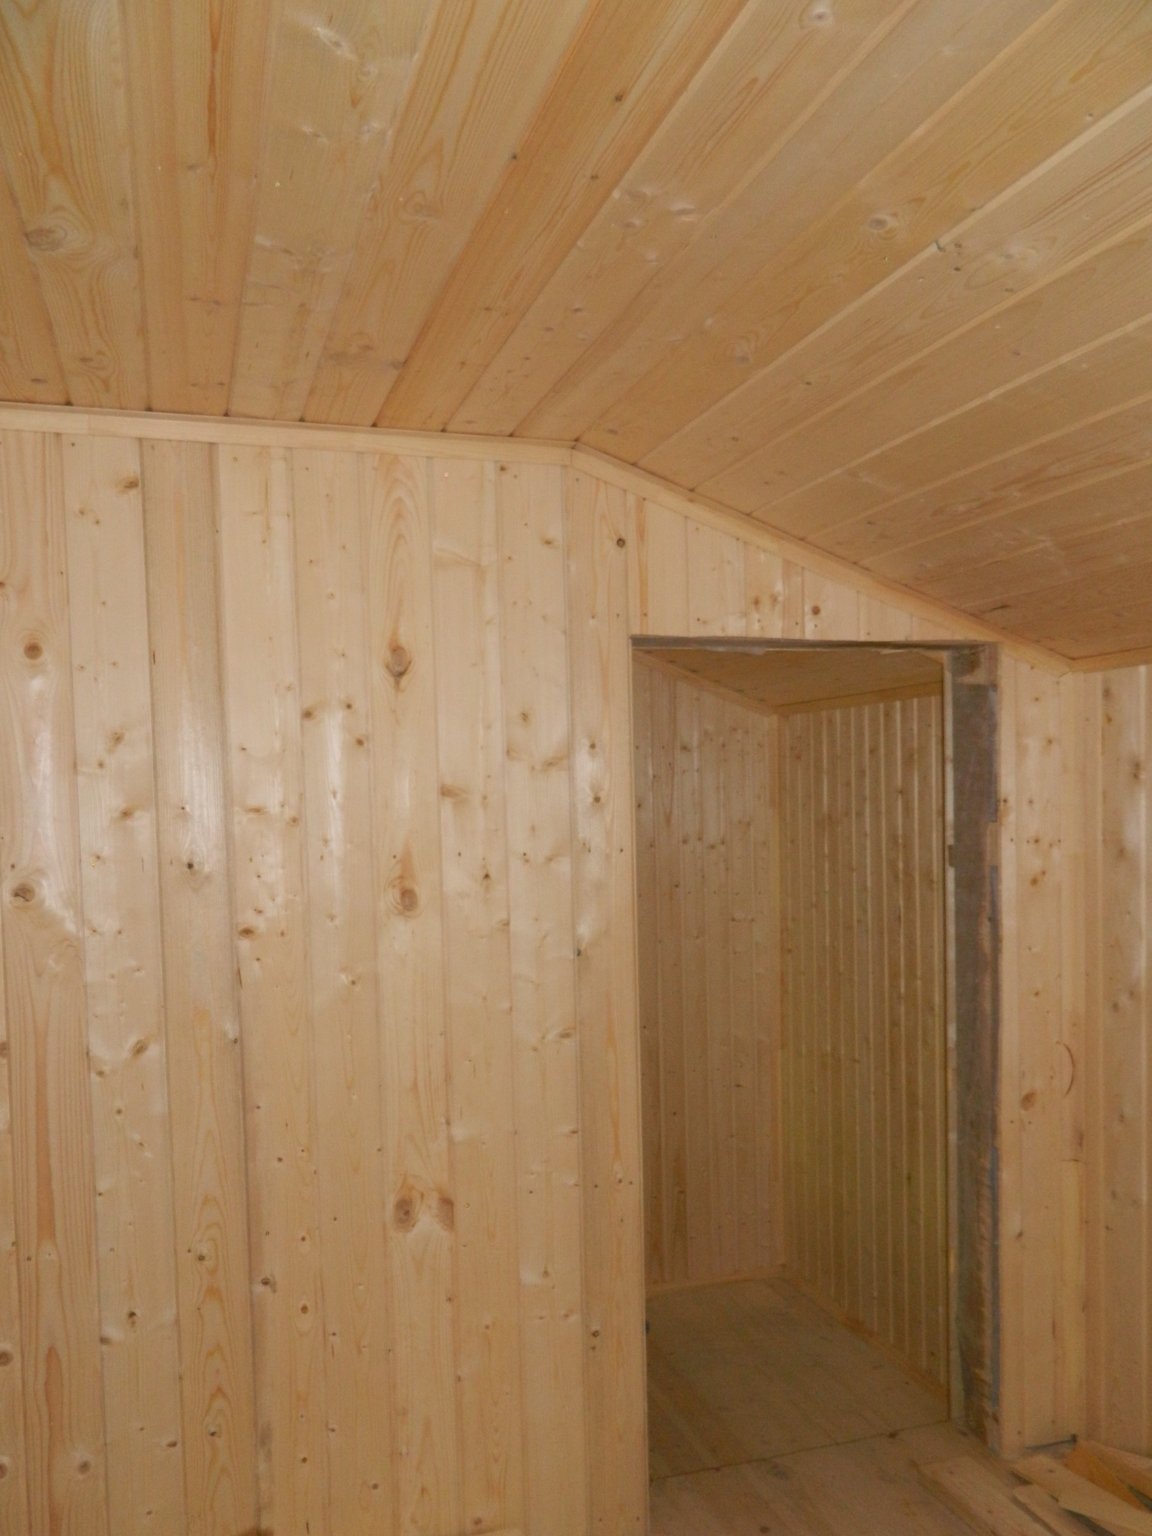
Lining (Karelia, class A) with a working cross-section of 95x12 mm made the lining of the ceiling and walls in the vicinity of the stairs.
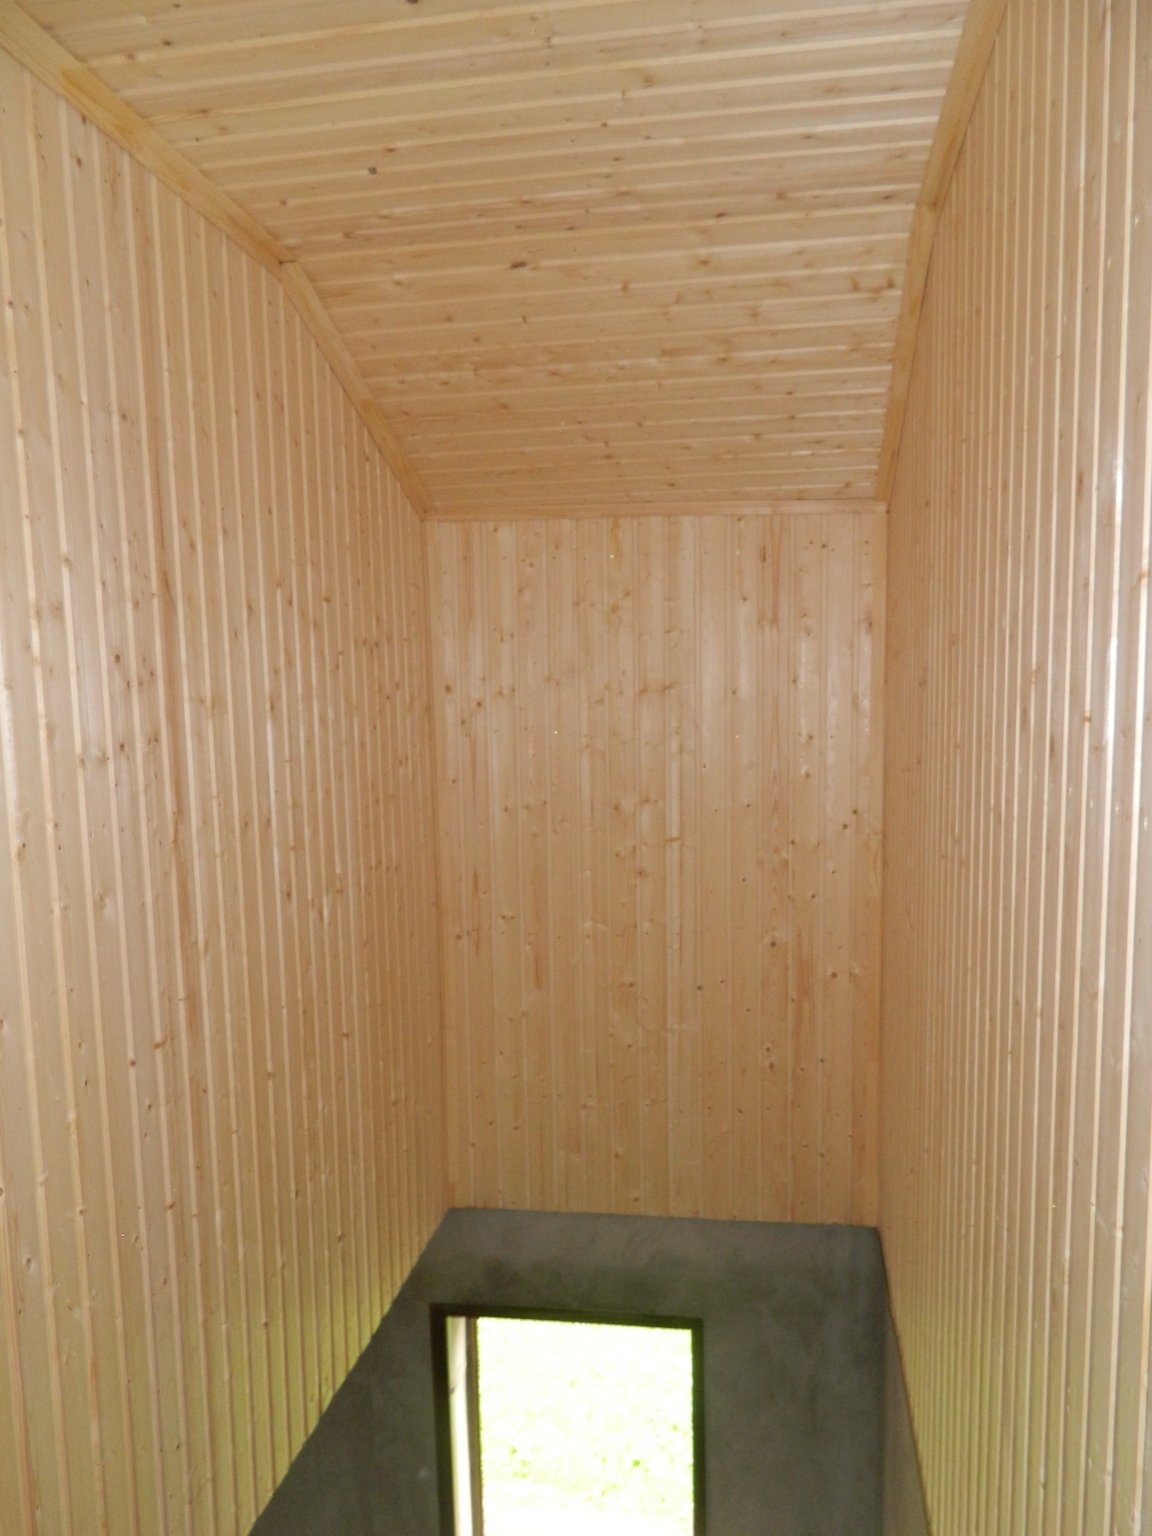
Part of the wall in the right corner of the room (when viewed from the doorway) was not sewn up with a lining,
what was done to remove the chimney and install a fireplace.
All the remnants of Calm lining went to the outer overhang lining. Used to the maximum and waste lining.

The area of the resulting room is about 25 m². The ceiling height near the wall is 1800 mm, in the middle of the room - 2450 mm. It is also necessary to install two wooden doors at the top, paint everything (walls, floor, ceiling, steps on the stairs), paint overhangs, etc. Yes, I forgot about the electrician, otherwise it hangs from the main pillar of the temporary building. In general, bring the garage to "mind." This is all next year, since the money is over - everything is terribly expensive! The material cost me about 100,000 rubles. I paid the workers about 75,000 rubles.