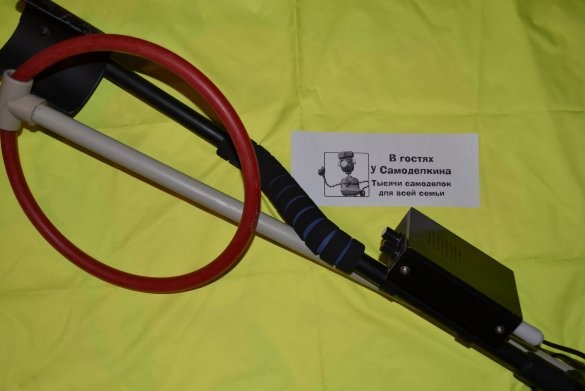
There are many articles about this metal detector in the network, but do not go far into the forest, even on this site there are at least three. However, during the assembly process, I redrawn many of them and each was useful in its own way, which gave me the opportunity to assemble the device with its own preferences and capabilities. Therefore, I think it will not be superfluous to add one more drop to this sea - it’s useful to someone.
Scheme
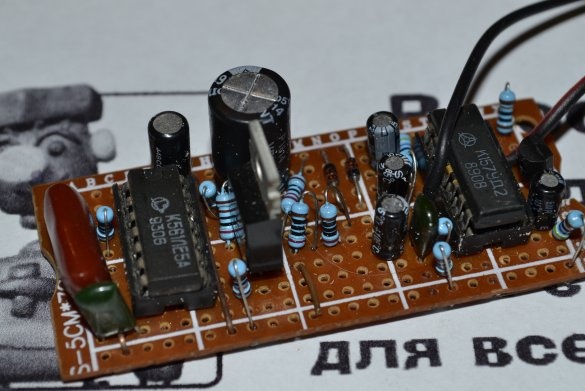
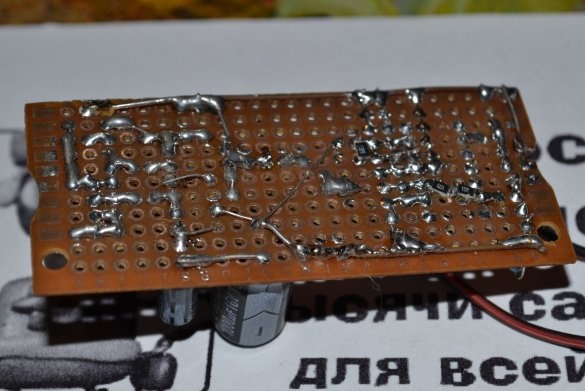
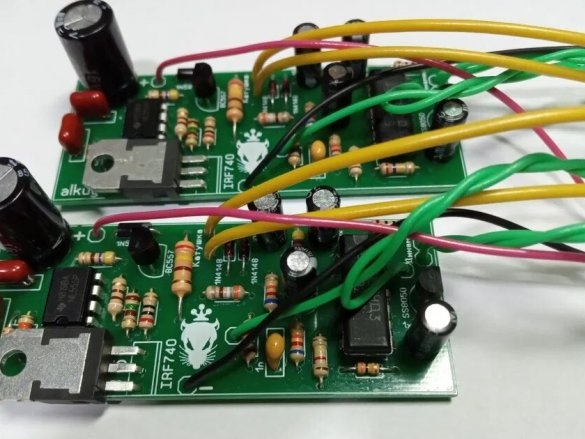
I collected the first version of the detector from what was at hand on the breadboard. The circuit is assembled on K561LE5A and K157UD2 microcircuits. It is highly advisable to use exactly K157UD2, since it was under it that a scheme was created. It is painless, without loss of sensitivity, it can be replaced by UD3 - a low-noise version of the same chip. You can get this chip in almost any Soviet tape recorder or audio equipment, I removed the menu from the old mixer. If, however, you do not at all decide to build a circuit for TL072, which is widely used on the network, I advise you to replace it with something of a higher quality, like JRC4558 or NE5532. The generator is easier to assemble on the NE555 timer, I just didn’t have it.
For the first version of the metal detector, I spent $ 4 on everything about everything. The board is assembled from what is underfoot, and an assembly box for 20 rubles was used as the case.
This is my first device, so the task was to try and evaluate whether it is interesting to me at all or not. Despite the fact that the device was assembled in one evening, the coil was wound “on the hell”, the first trip gave me a bunch of cartridges and cartridges from the time of the Second World War and it was decided to give the device a more cultural look, while thinking about a more serious device.
Note: all finds were either deactivated and turned into mass-dimensional models, or destroyed.
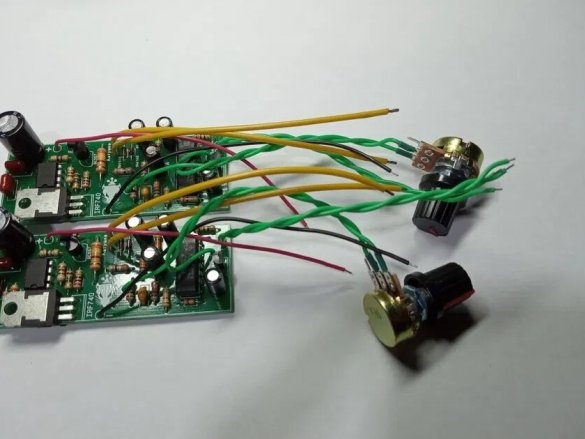
Along with the cultivation, some modifications were made to the device. I did not begin to collect a new payment, but simply bought it from a local sold for 120 UAH.
There was no sporting interest in collecting a second time, and there was no desire to spend time on a factory-quality scarf at this price.
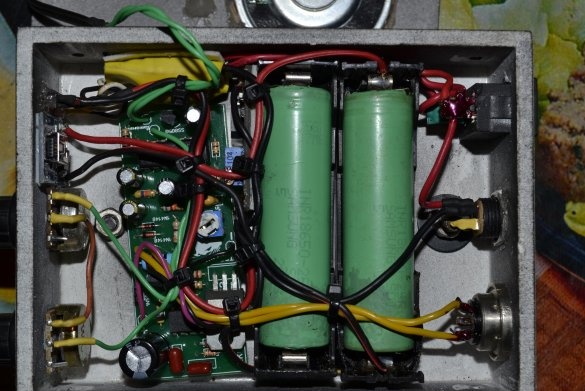
Power is supplied from the popular and cheap now lithium batteries of the form factor 18650 through a step-up DC / DC converter. The noise of the converter, as it turned out, does not affect the operation of this particular detector. Battery power is supplied to the converter via a diode. This is necessary so that when powered by external batteries, the charge does not go to internal ones.Although as a result of the operation of the device, I realized that external power is unnecessary. There are enough internal ones for several days of operation of the device. But in general, let's calculate:
Two batteries with a capacity of 2600 mAh = 5200. Pirate consumption according to the classical scheme 100-150 mA. Take the maximum. 5200/150 = 34.6. We take away the expense on the operation of the converter, 10%, 36.6-10% = 31.2. Thirty-one hours of continuous work according to the most pessimistic estimates. In fact, his consumption is in the region of 100, and provided that the detector is turned off during the cop / cleaning of products / snacking, time rises even more. In fact, for a week I went with him to the cop every day for almost the whole day, and did not discharge him even by half. So external power is really redundant.
For batteries, holders are installed in the housing.
The batteries are connected in parallel, so that you can put either one or two, depending on what is on hand when camping.
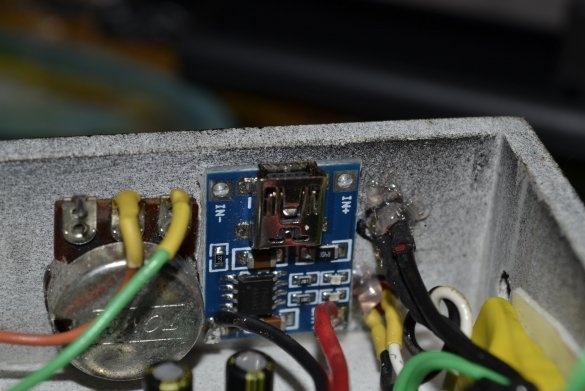
The batteries are charged through a consumer-friendly charge module. Unfortunately, there was no convenient place in the case for him, so to charge, you need to unscrew the lid to charge. Perhaps later I will fix it, for example, I will hang up charging on the external power socket.
The charge module does not have built-in protection, so a discharge indication was added to the device. It was assembled from what was at hand, in my case, on the TL431 voltage reference chip.
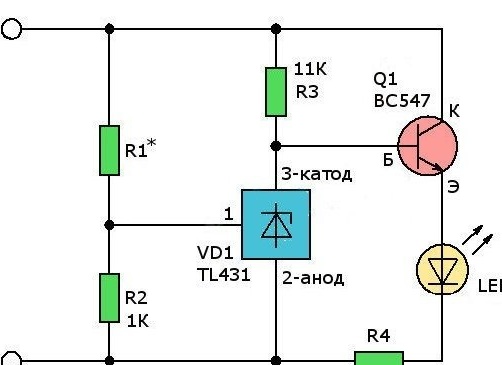
Indication is not very clear. Therefore, the circuit is configured so that at 3.2 V the LED starts to glow slightly, and at 3.0 V it lights up brightly. However, no matter how much I wandered, I never brought the device to discharge. Although during the setup process I even found it convenient, only one LED indicates that the battery is on the verge of discharging and that it is already discharged, it’s time to change it.
I packed the circuit on a small board, drove it into heat shrink and attached it in the free space of the case.
Block
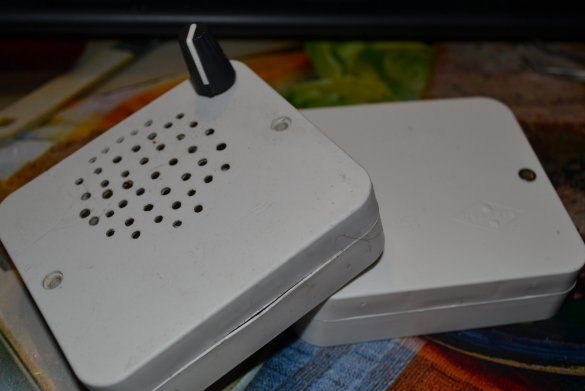
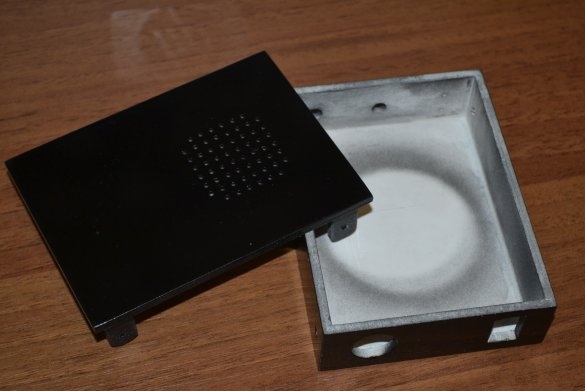
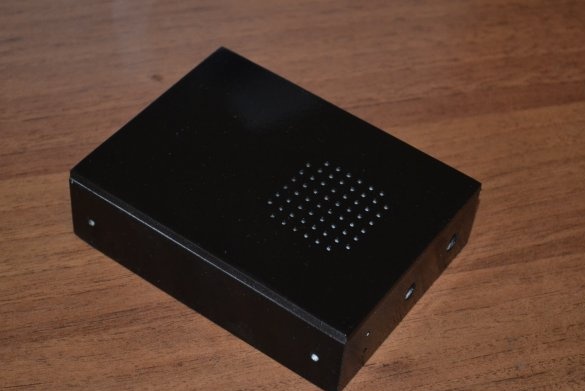
The body is made of foamed PVC. This is a chic material for the manufacture of CEA enclosureshome conditions. It is easy to process, cut with an assembly knife, easily drilled, ground, but at the same time it has good strength characteristics and is resistant to impacts. It is glued with cyanoacrylate adhesive, and it is even preferable to use such an adhesive, it penetrates into the pores of this plastic and it is impossible to tear it along the seam, the plastic will tear next to the seam. The body is painted with ordinary black acrylic enamel in cylinders.
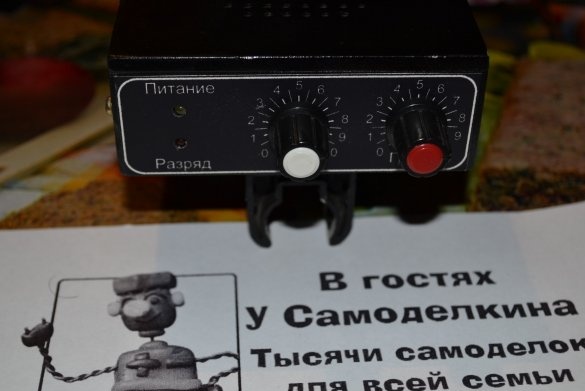
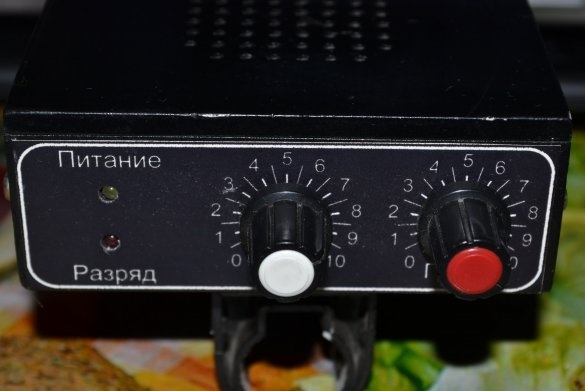
On the front side are the main controls and displays: coarse tuning, fine tuning, power indicator and discharge indicator.
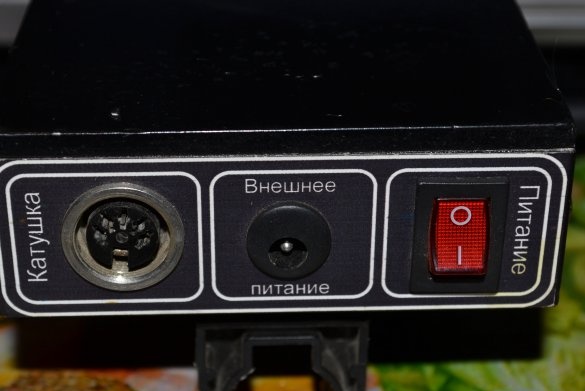
On the rear panel there is a power switch, an external power connector and a coil connector. The so-called Soviet audio connector, or rather DIN5, was used as a coil connector. But not ordinary consumer goods, but a high-quality connector of the Polish company TESLA, with a return plug from the same manufacturer.
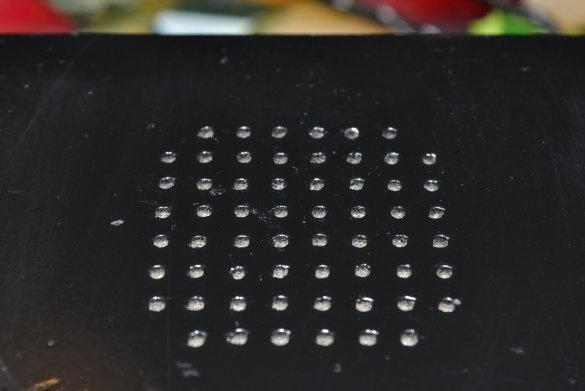
I drilled a speaker grill on the top cover. I did it very simply: I took a notebook sheet in a box, drew a radius, glued it to the blank and drilled it in the cells within the radius.
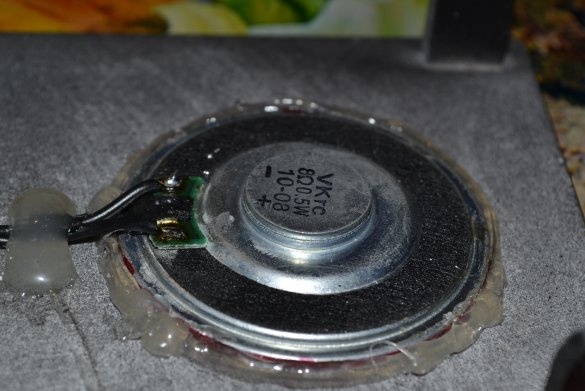
The speaker took from a home phone of foreign manufacture.
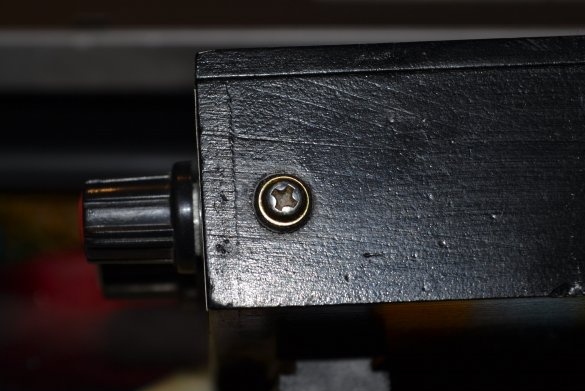
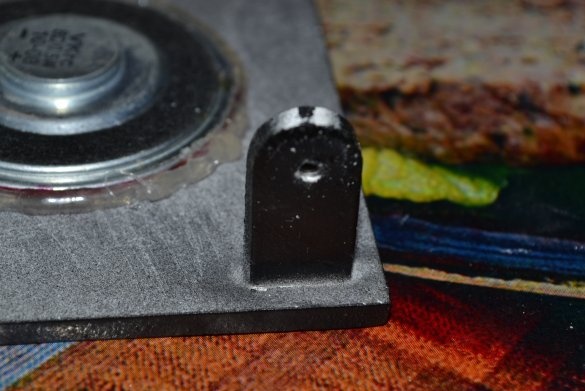
The lid is attached using special ears. Holes were drilled under them on the case, and leather washers were used for convenient use.
Nameplates were drawn in the program. Frontdesigner and printed on self-adhesive photo paper. It can be printed on ordinary photo paper and glued with double-sided tape. But no matter what you print, before gluing it is important to blow out the paper with two or three layers of transparent acrylic enamel in cylinders (varnish), this will completely protect the print from moisture. Personally, I like to blow out the matte.
Coil
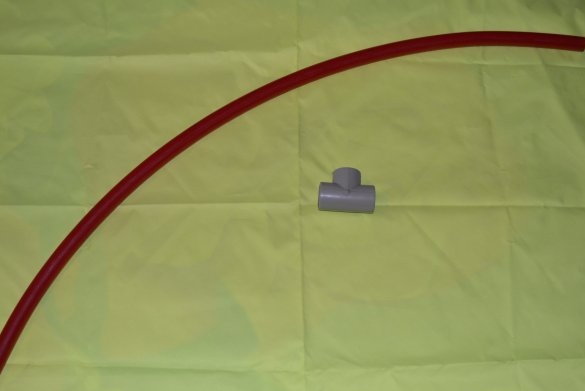
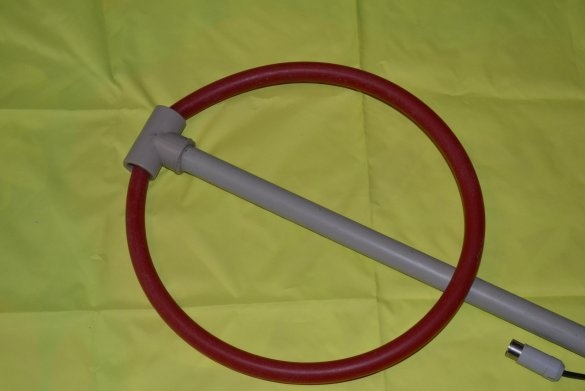
The coil is made of a pipe for underfloor heating and a solder tee under the 20th pipe. Under a coil with a diameter of 25 cm, you need to cut 80 cm of pipe.
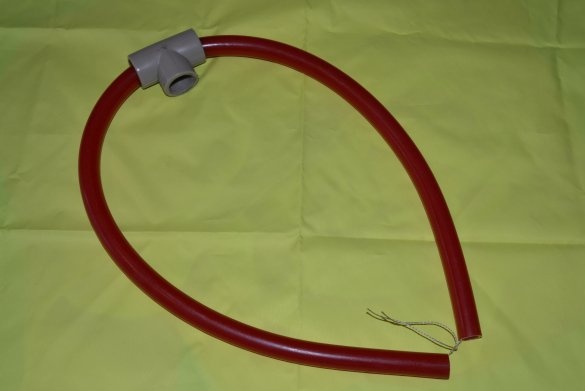
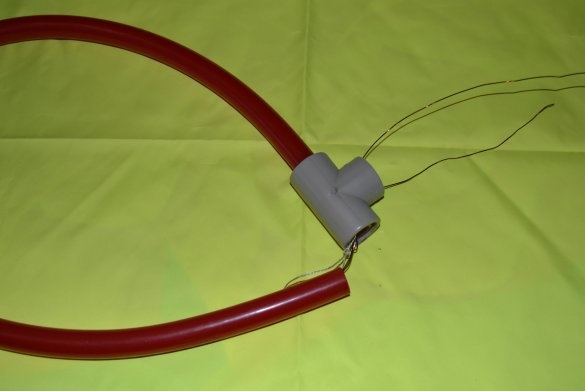
A strong static cord must be passed through the pipe and tightly knitted, this will greatly simplify the winding. Yes, do not forget to put a tee on the pipe before this.
Next, we begin to let the wire in, pulling each turn. I’ll say right away, without experience this occupation
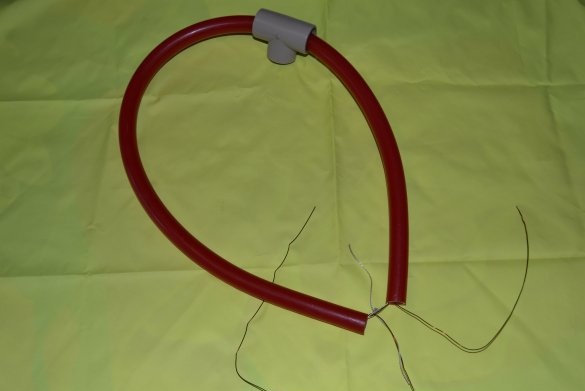
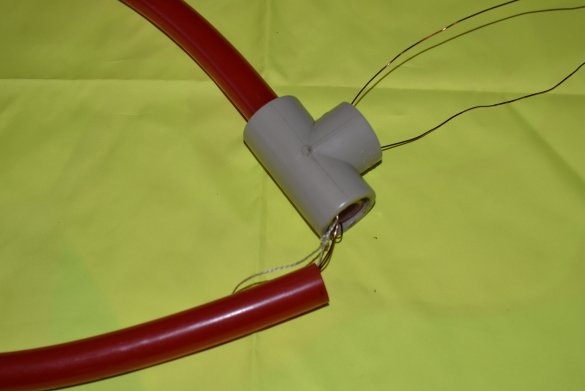
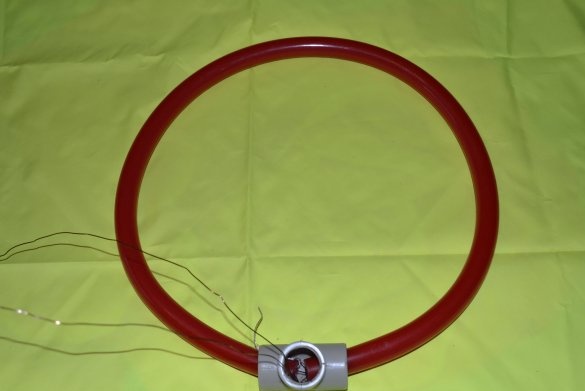
extremely hemorrhoids.I took these photos for demonstration, so I did not begin to wind the entire coil, I just made two turns.
After winding the entire coil, we bring the tee to one edge and pass the edges of the wire into it.
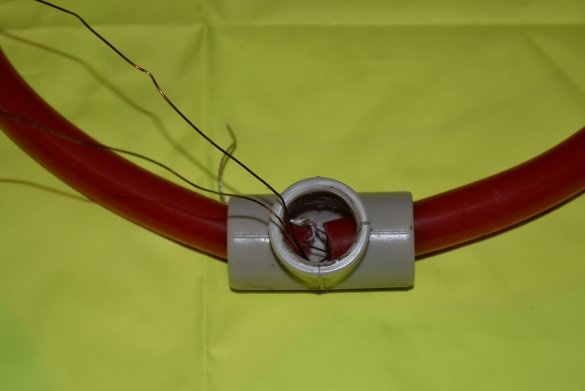
And push the tee.
If the tube has been tightened well and there is no large gap between the edges, then the tube is fixed pretty well. Nothing ever popped up on me. The diameter of the wire and the number of turns depending on the diameter of the coil can be seen in the table below.
How to fix the coil further is already a flight of your imagination. I just soldered it to the pipe.
If there is no soldering iron for pipes, you can solder simply on a gas burner. Tightness is not required here, the main thing is that it would hold tight. I did so.
Barbell
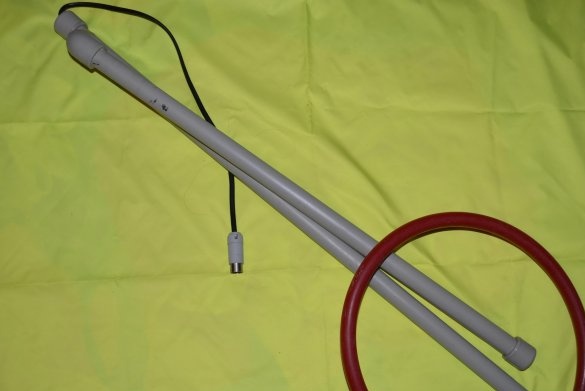
The first version of the bar looked something like this.
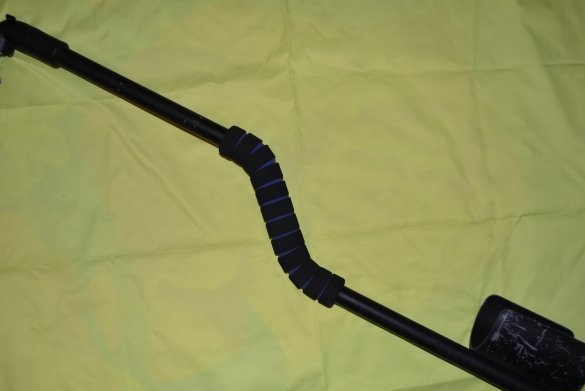
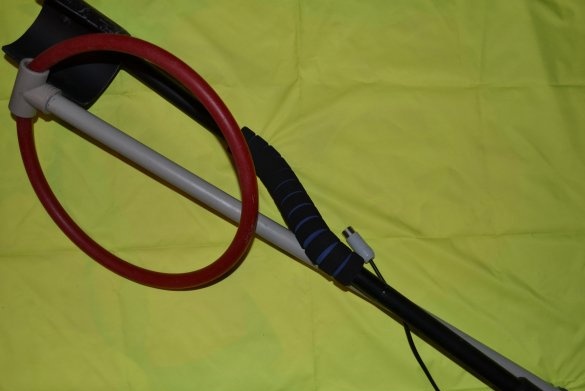
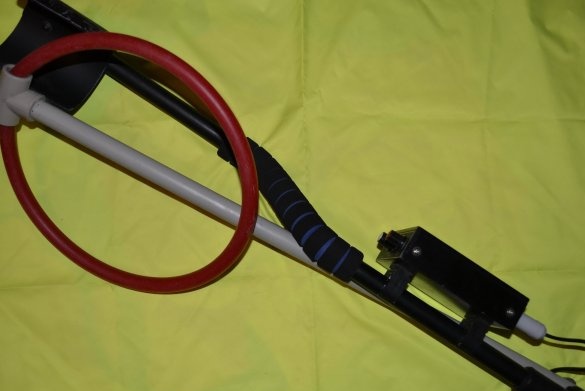
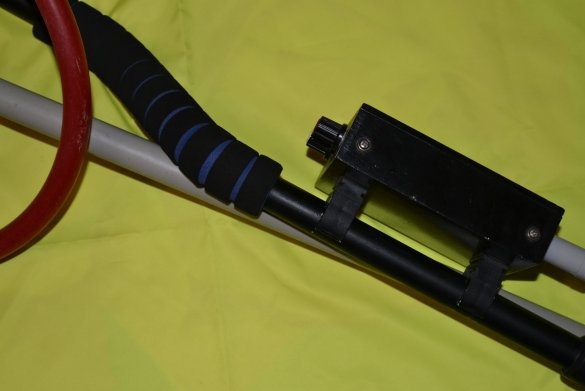
Simple, easy, hiding in a backpack without any problems. Having tested the device, I decided to make the bar more comfortable. He left the lower part as it was, redid the upper one. To do this, he took a plastic water pipe, poured salt inside as densely as possible, heated it over comfort and bent it to the desired angle. He painted, put a foam rubber bicycle handle on the grip, two bucks for a pack of four.
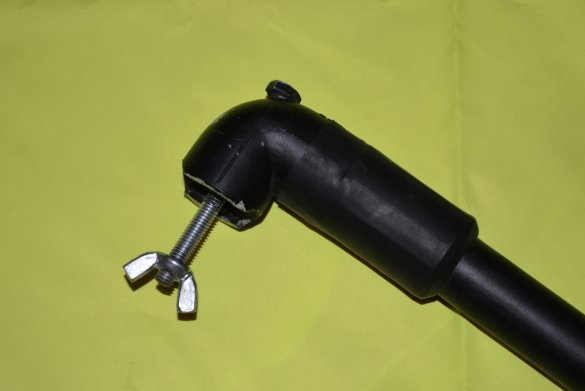
I soldered the knee 90 degrees to the edge. By the way, I do not have a soldering iron for pipes, it was soldered with a gas torch. Tightness is not needed here, the main thing that would hold.
Future plans
In the future I plan to redo the lower bar mount on the collet clamp. Make the reel more sympathetic and make the lower bar from a textolite tube when it turns up. However, I’ll say that it makes no sense to invest heavily in this detector, why - read below.
Rating
pros. I tested the metal detector in completely different conditions, except underwater. For a couple of days, the detector was tested in a coniferous forest with sandy soil, where it proved to be the best with the best stability. Another day on a plowed field, where I found nothing but rusty nails and cans all day, I didn’t wander about it anymore. The third condition is the coastal sea zone, covered with pebbles and shells. On the shore I had to reduce the sensitivity, because the detector constantly caught false signals. The detector sees both ferrous and non-ferrous metals.
Minuses. The detector catches everything, it is up to you to consider it a minus or a plus. Despite the statements made by the authors of the scheme, I couldn’t find anything deeper than a half bayonet of the rival shoulder blade, although it’s not a fact that I simply didn’t come across anything so large. The detector sees the sleeve at a depth of half the bayonet of the sapper blade, the menus of the sleeve are the bayonet. The deepest thing that came across was a three-liter paint can at a depth of one and a half bayonet.
In general, the detector works, for the money for which you can collect it, it’s worth trying interest for the sake of it. Of course, there is no way to count on something serious. Do I regret that I collected - no. Having this experience, would I begin to collect it again, or be confused with something more serious on the microcontroller - I would be confused. Here is such an assessment, to decide whether or not to collect it yourself.
Video demonstration of work. I didn’t put any rulers, all this is nonsense, on the ground it will still show itself differently than in the air. Visual reference - coil diameter 250 mm.
That's all, good luck to everyone in your work!


