
I welcome all fans to craft, I propose to consider instructions for the manufacture of a simple electric furnace do it yourself. In such a furnace, aluminum and other low-melting metals can be melted. Also in such a furnace, steel can be heated for annealing or further hardening. The furnace can heat up to a temperature of 1050 degrees Celsius, it takes 50 minutes to warm up. The furnace is assembled from heat-resistant light brick, which the author simply glued with a special furnace sealant. The furnace is controlled by an electronic controller with a high-temperature sensor, and the heating source is a spiral of cantala. If the project interests you, I propose to study it in more detail!
Materials and tools used by the author:
Material List:
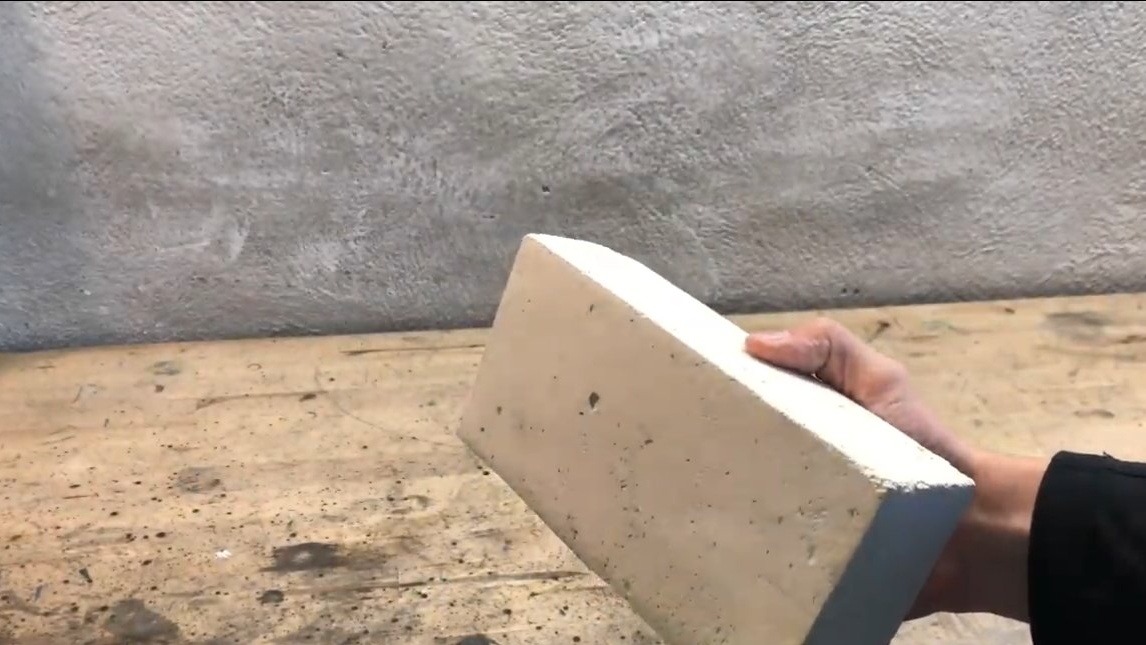
- heat-resistant brick K23;
- heat-resistant oven sealant (1200 ° C);
- power relay to turn on the spiral;
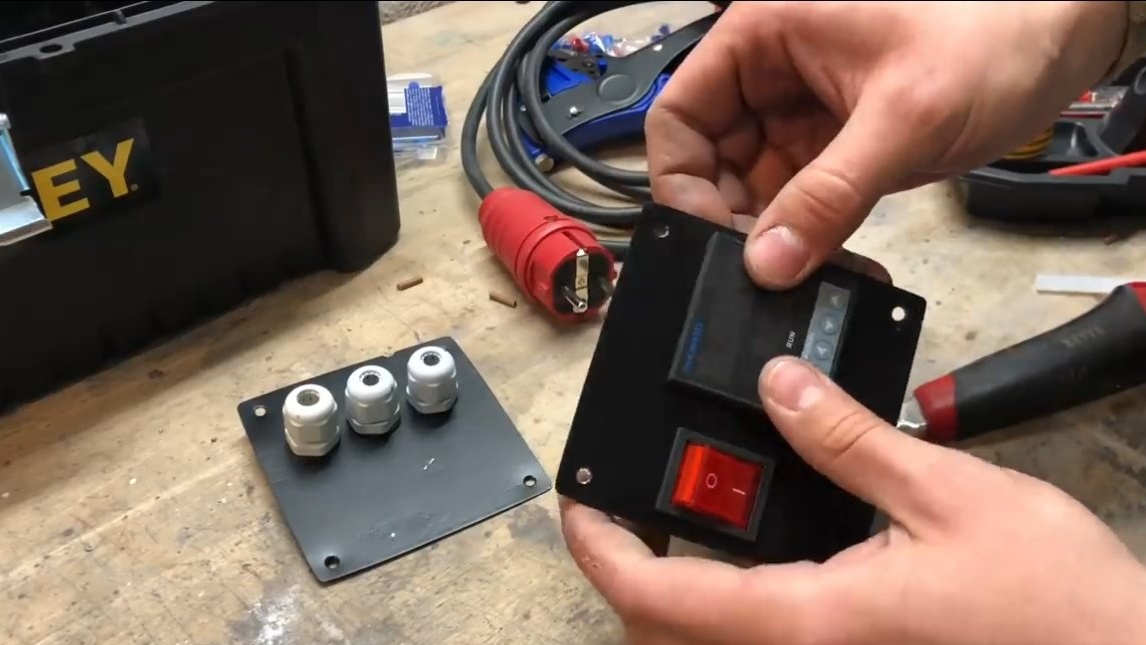
- digital temperature controller;
- high temperature furnace sensor;
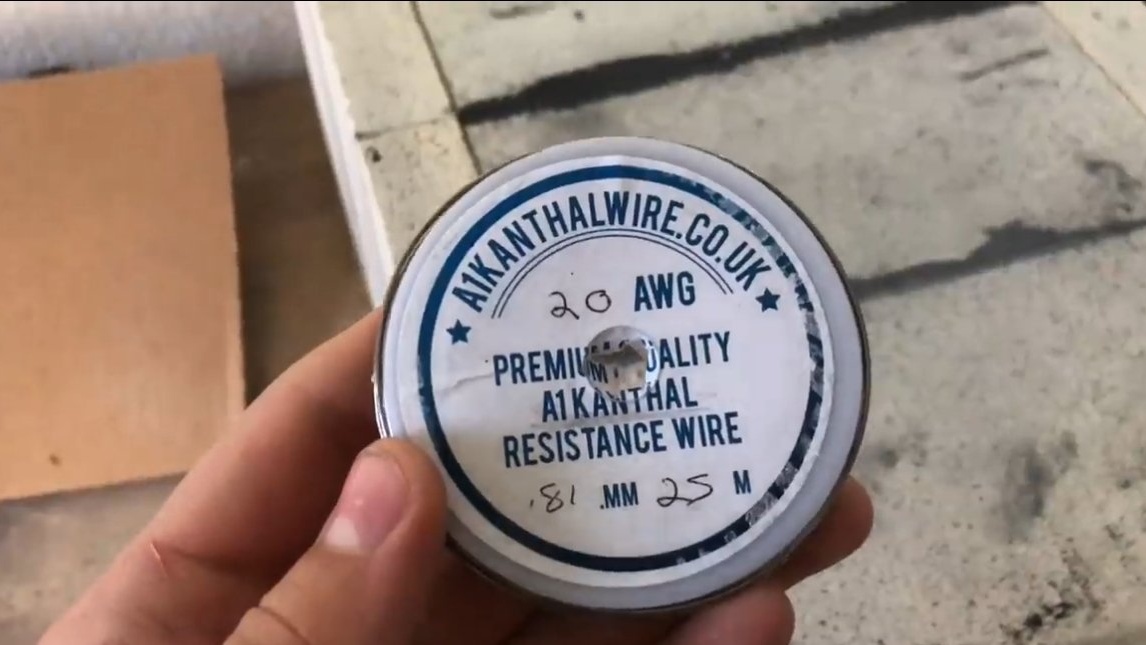
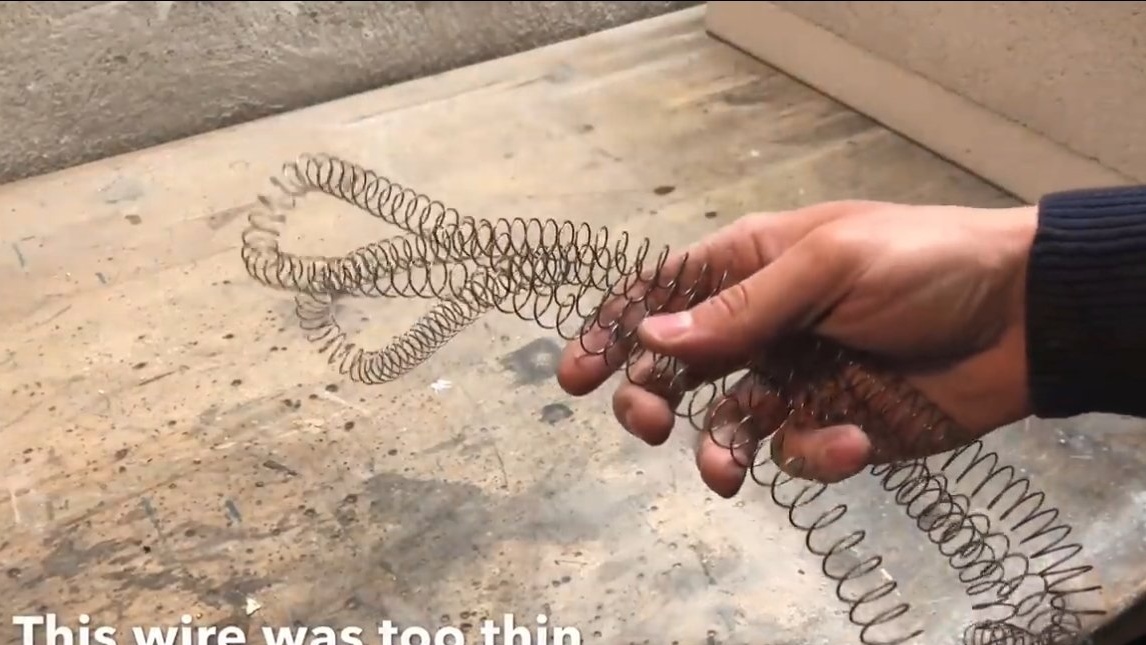
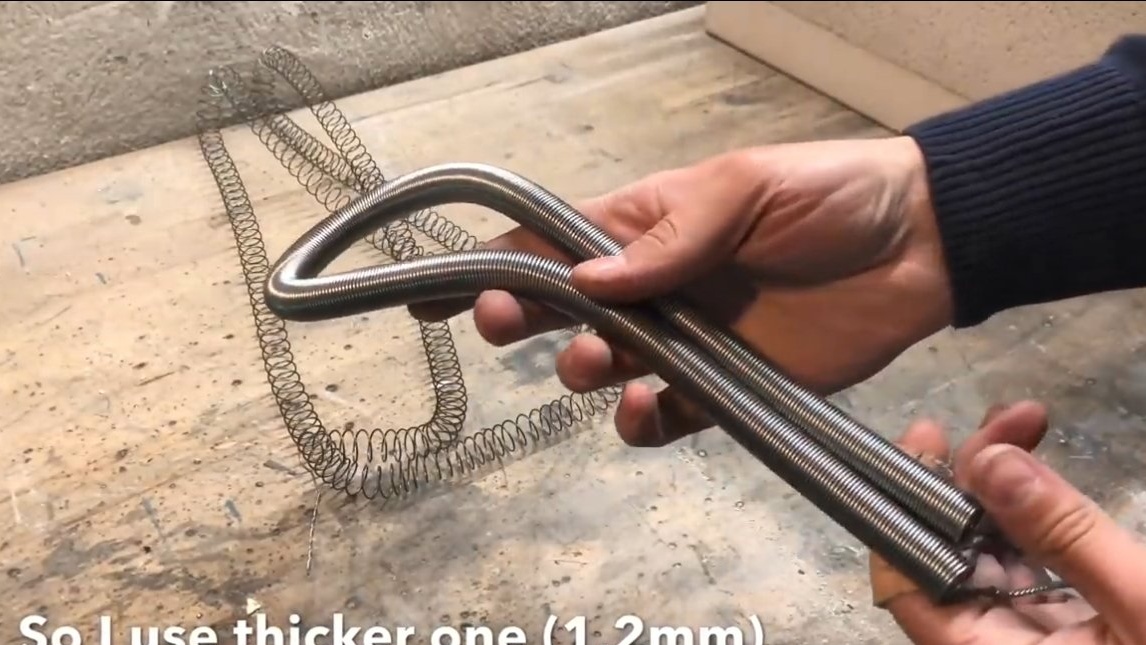
- cantal wire 1.2 mm;
- limit switch;
- profile pipes;
- sheet metal;
- door hinges;
- corner;
- heat-resistant mesh or other material for decoration;
- heat resistant paint.
Tool List:
- grinder;
- welding machine;
- roulette;
- reciprocating saw;
- multimeter;
- vise;
- drill and more.
Manufacturing process homemade:
Step one. Preparation of plates for the assembly of the furnace
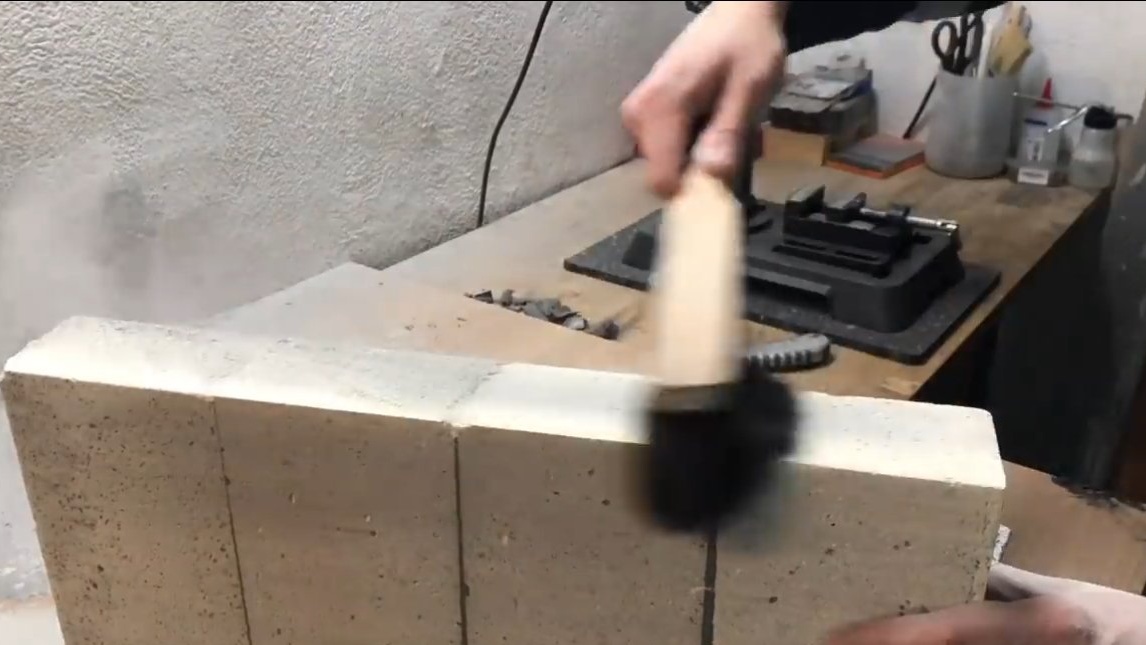
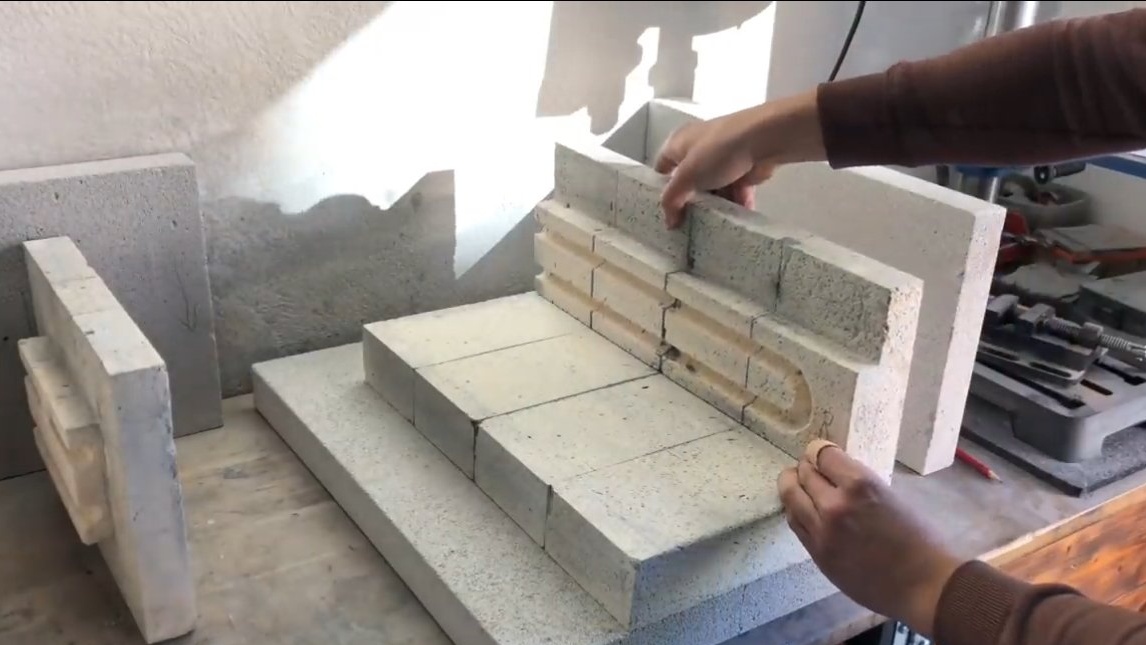
First of all, we need to assemble the plates from the brick, and already from these plates the furnace will be assembled. K23 brick is lightweight, easy to cut and grind, and it also withstands high temperatures. The author easily glues bricks with a special heat-resistant adhesive that can withstand temperatures of 1200 ° C.
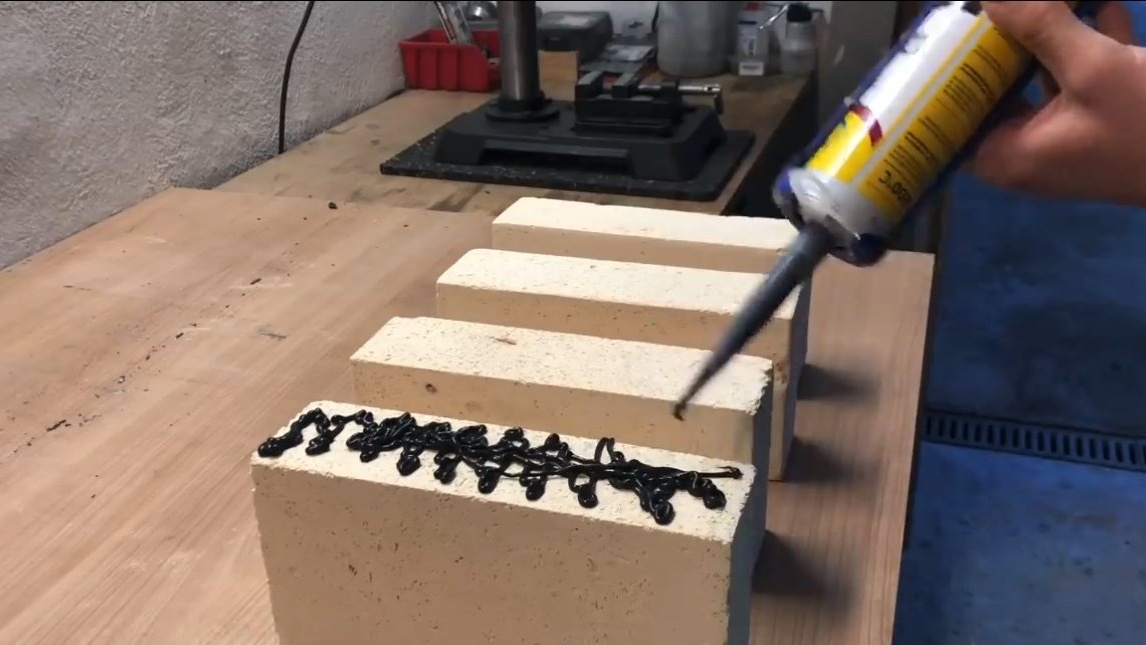
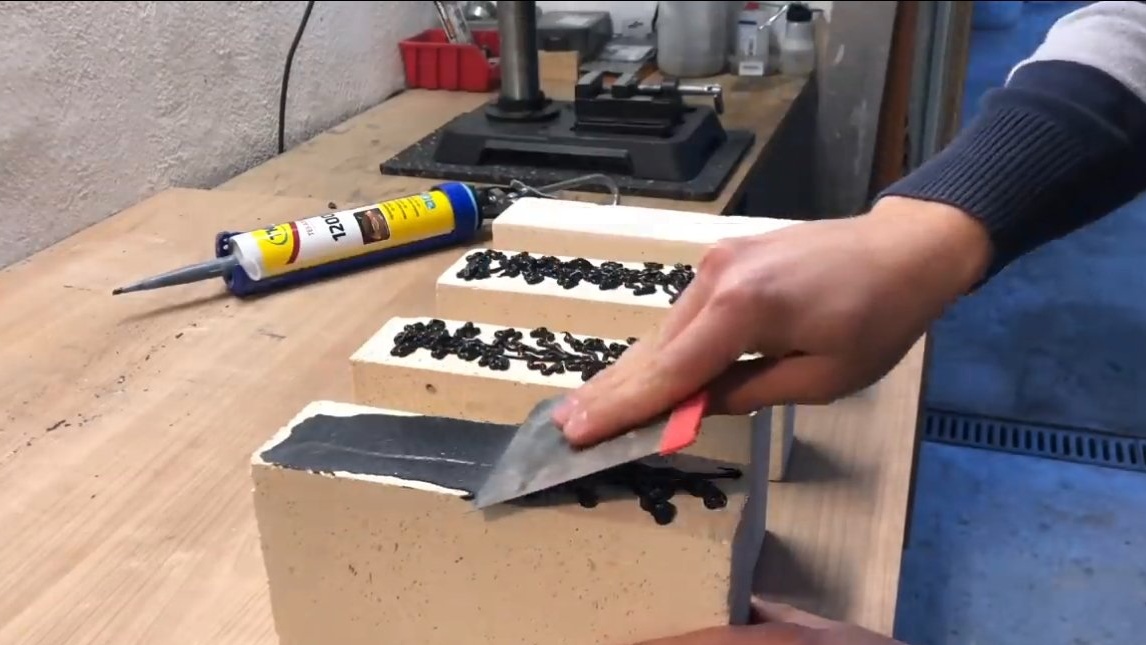
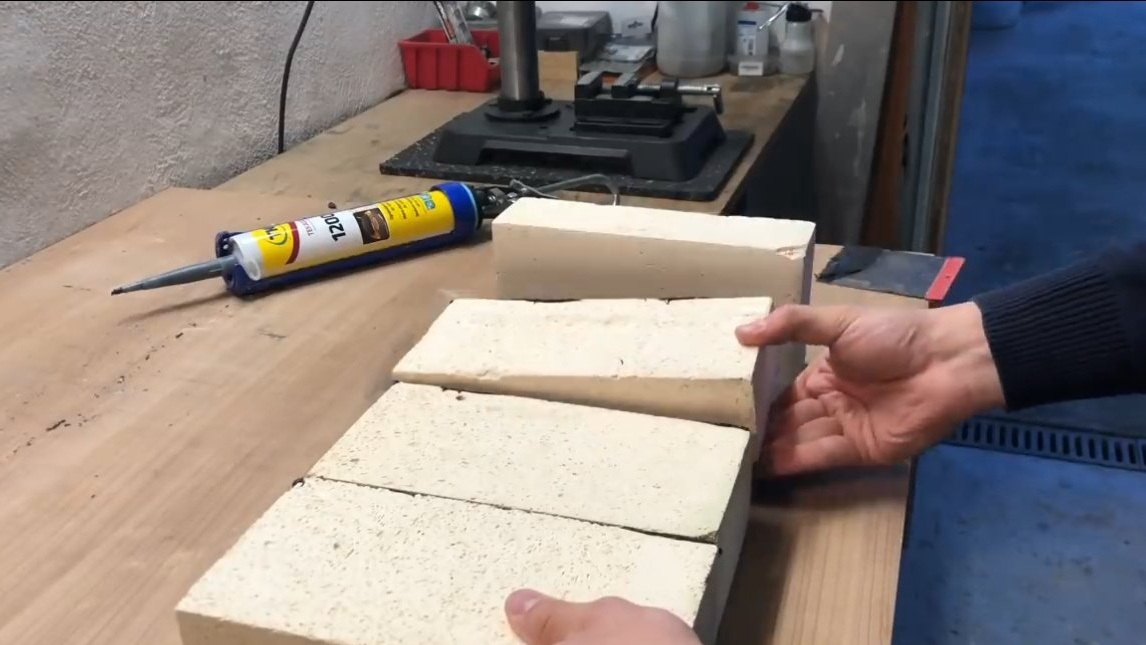
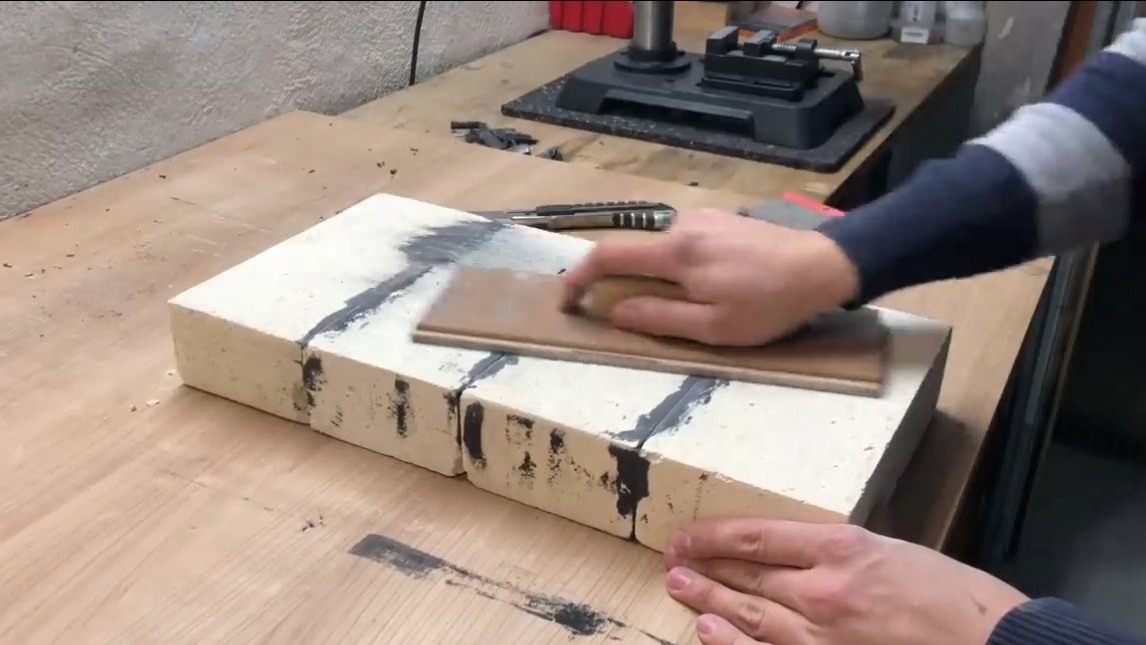
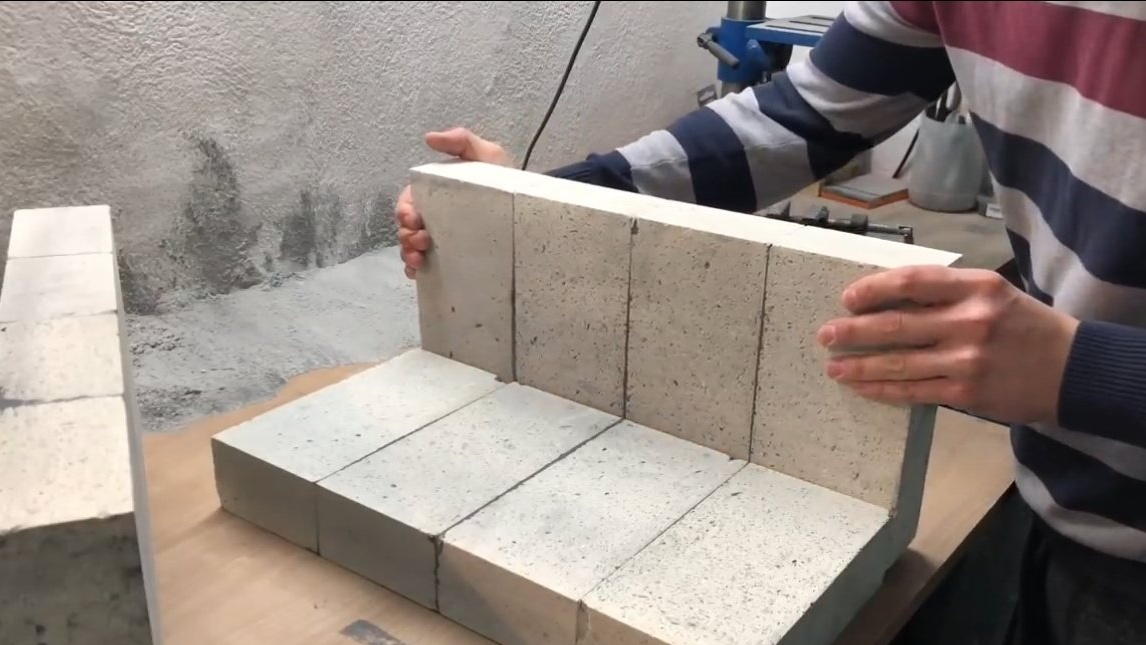
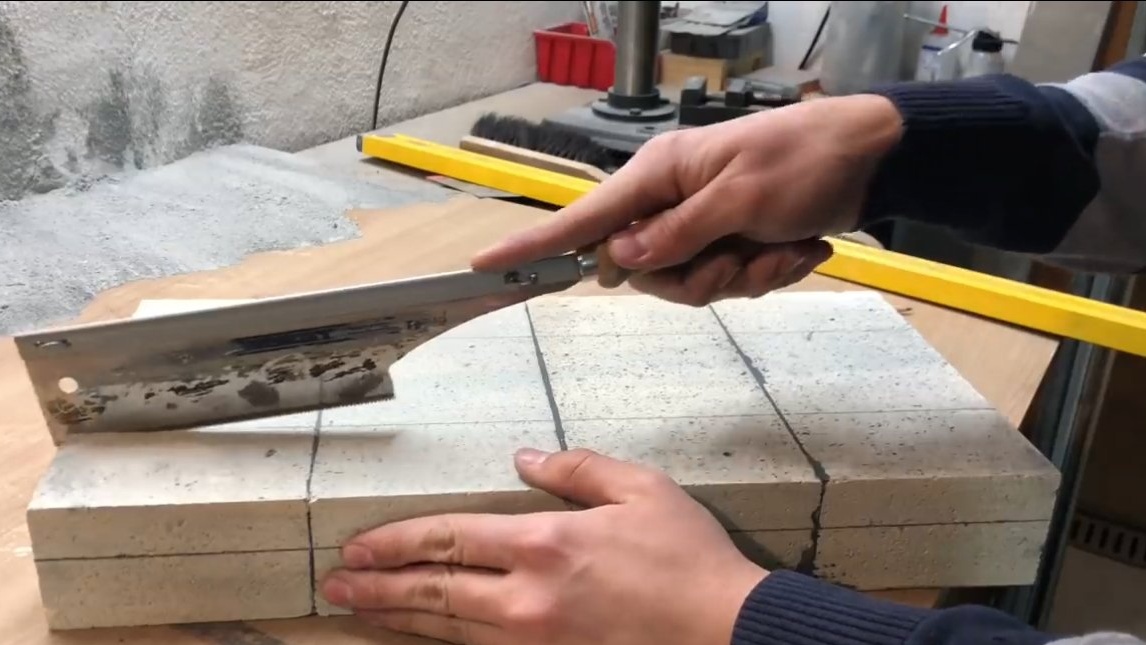
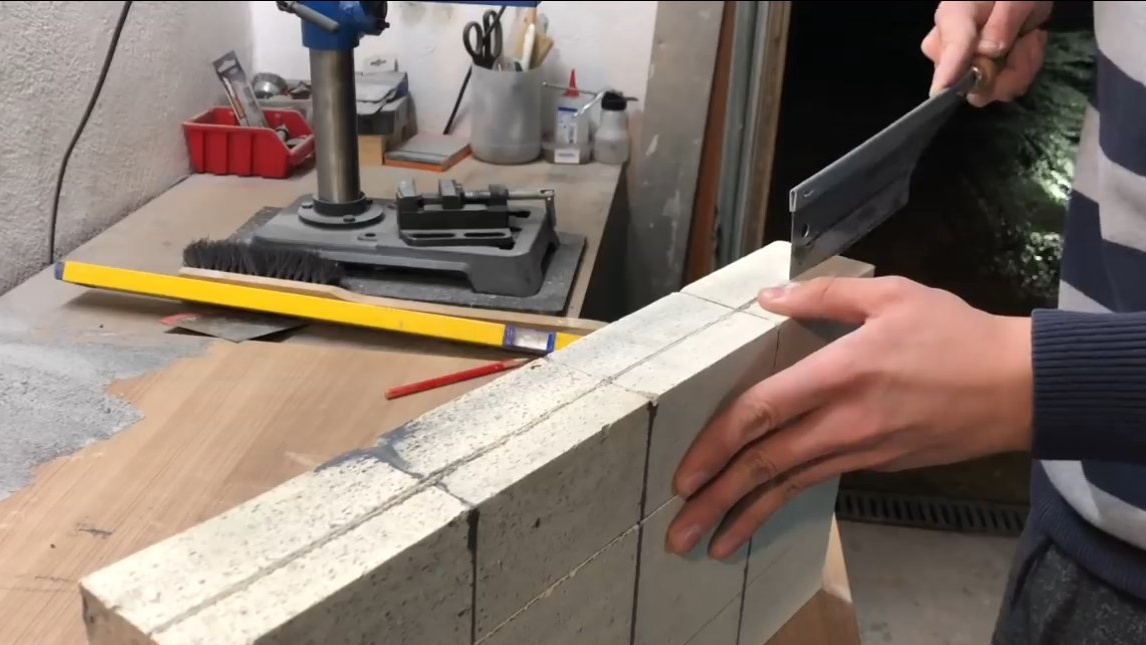
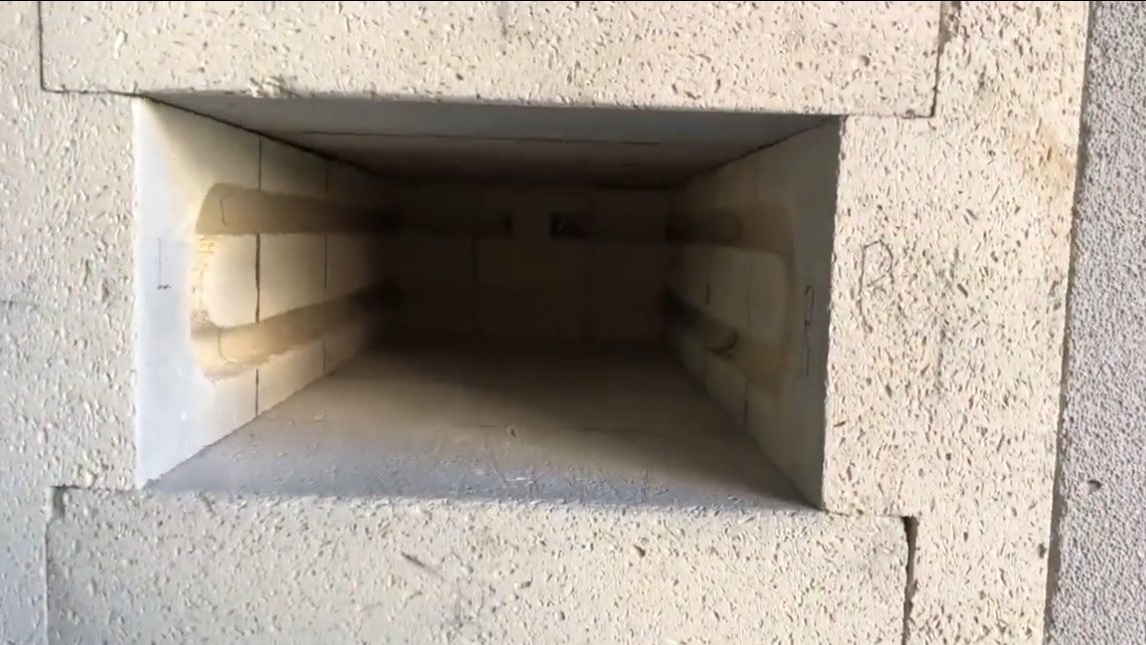
In total we glue 4 plates, the spiral will be mounted in the side walls. To assemble the furnace, the author cut a saber saw in the side walls of the grooves.
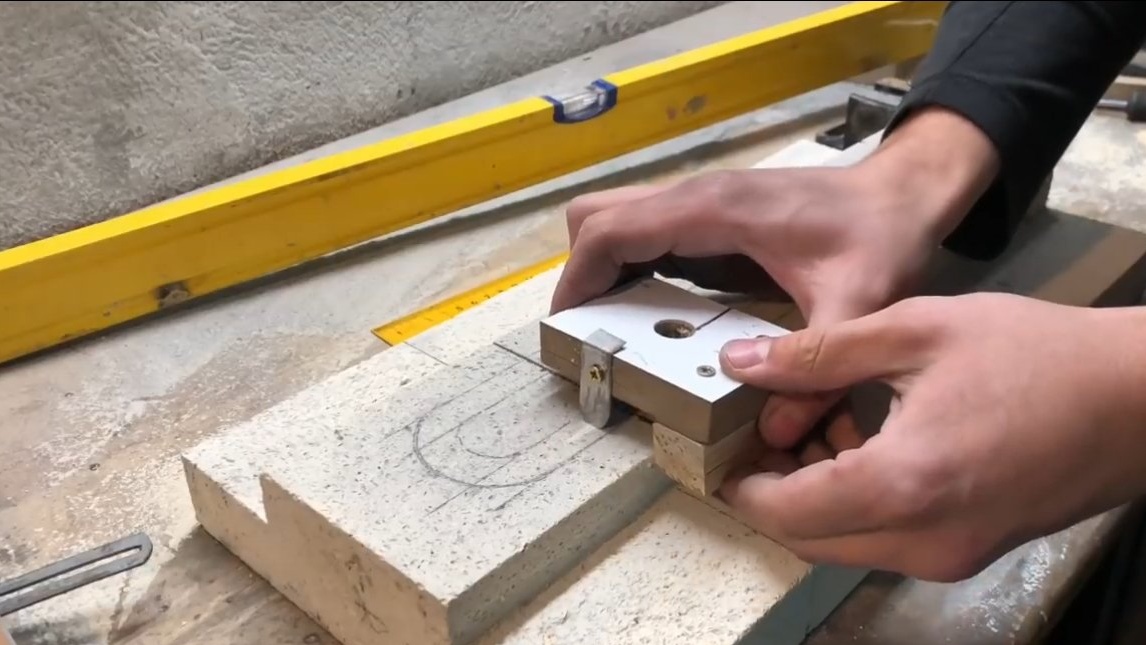
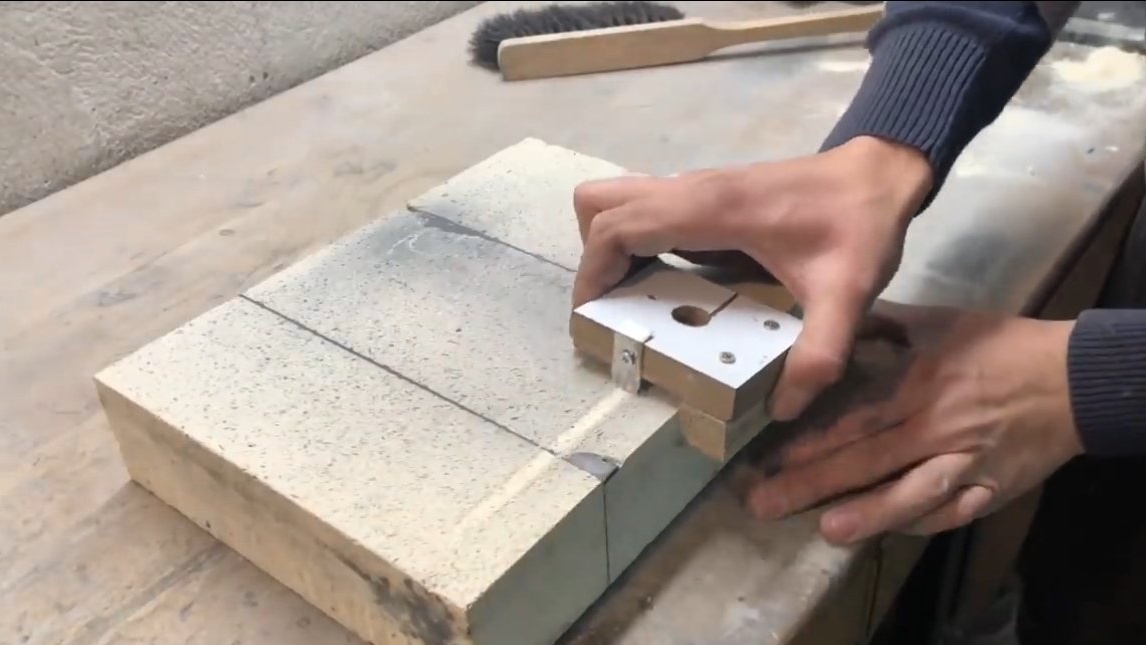
At the end, it remains to groove the spiral. To make grooves, you can make a simple fixture, the brick can be processed very easily, you need to try not to break it.
Step Two Wind the spiral
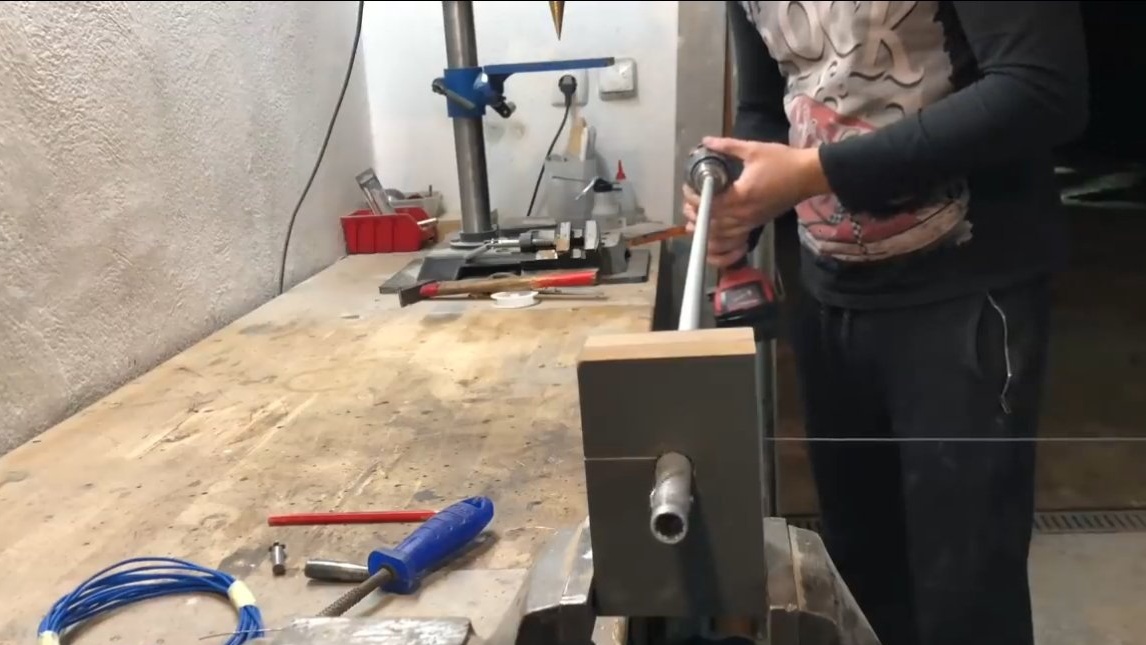
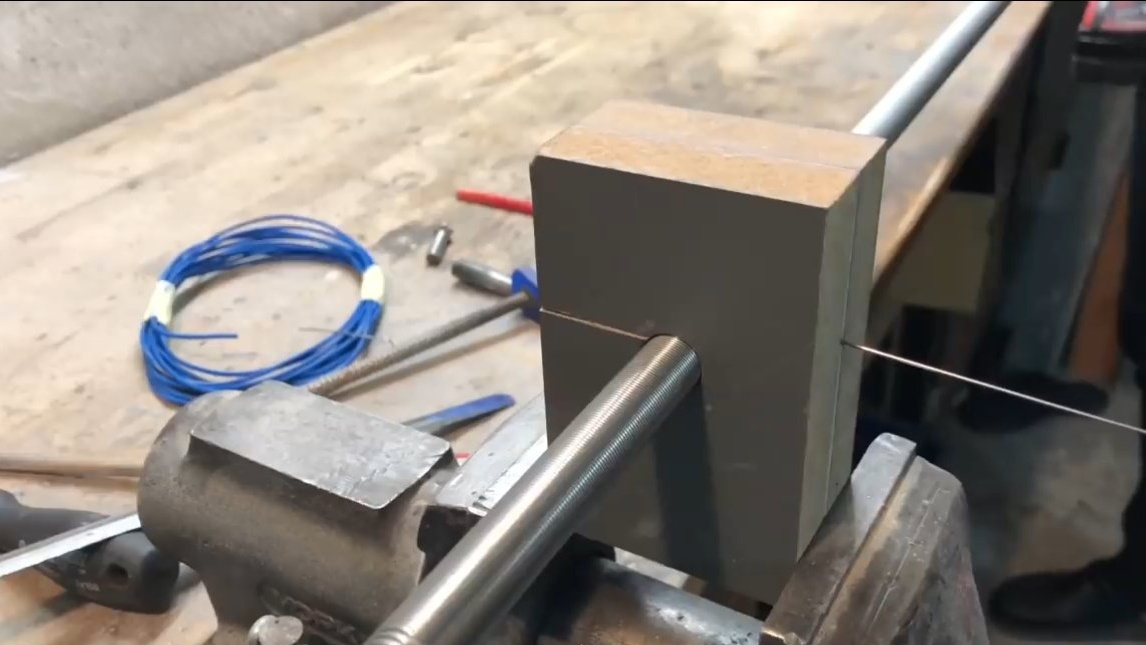
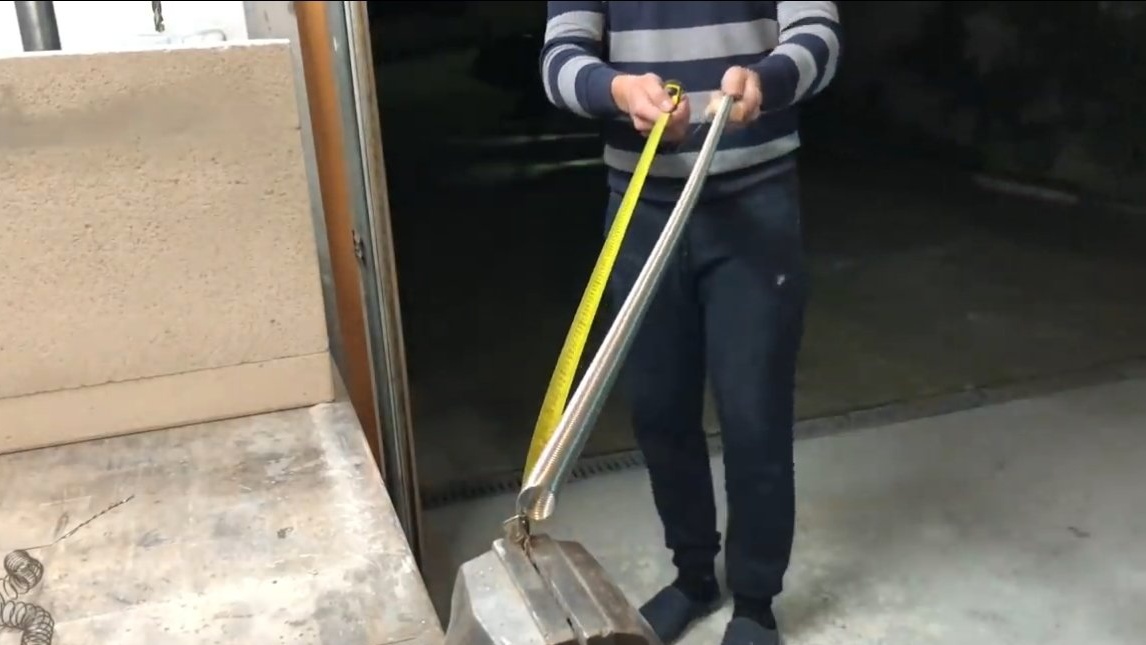
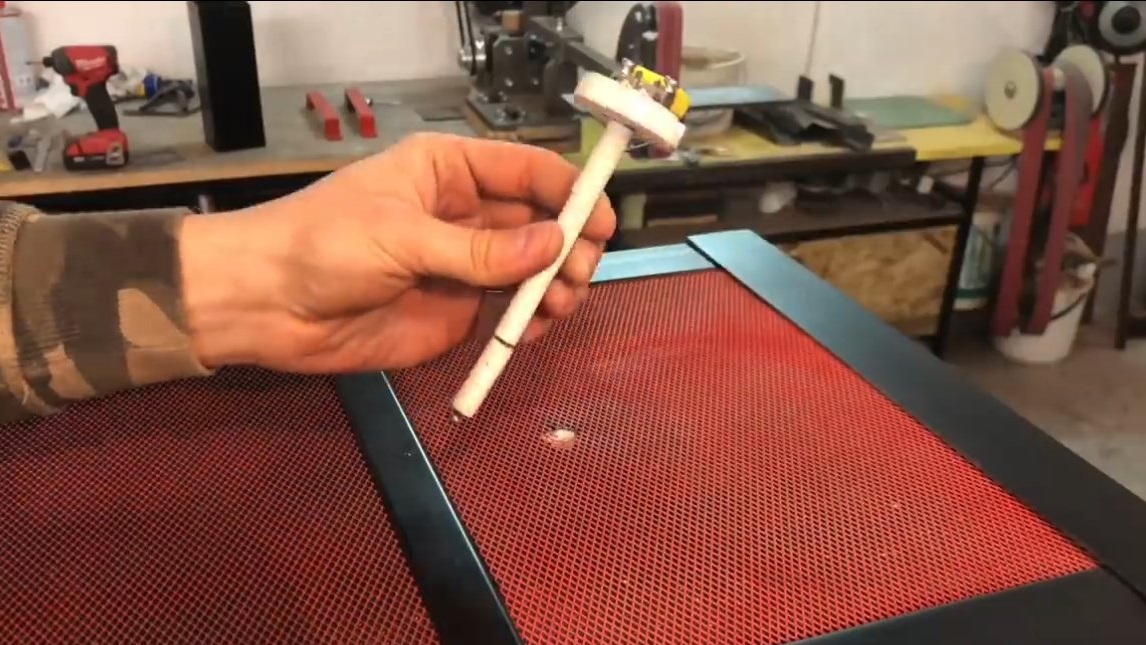
We make a heating element for the furnace, the author decided to use a wire from cantala 1.2 mm thick. The wire was wound on the pipe with a screwdriver, and then the author pulled the resulting spring into a spiral.

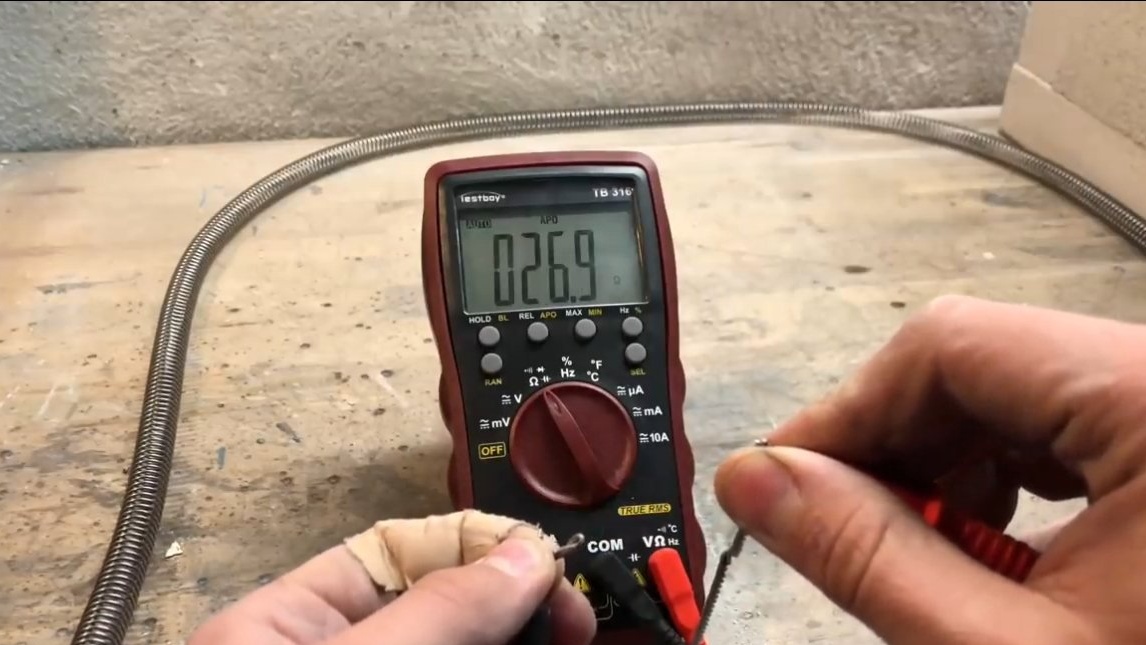
The heating element turned out with the following characteristics:
U = 240V
R = 26.7Ω
I = 9A
P = 2150W
Step Three Frame and door
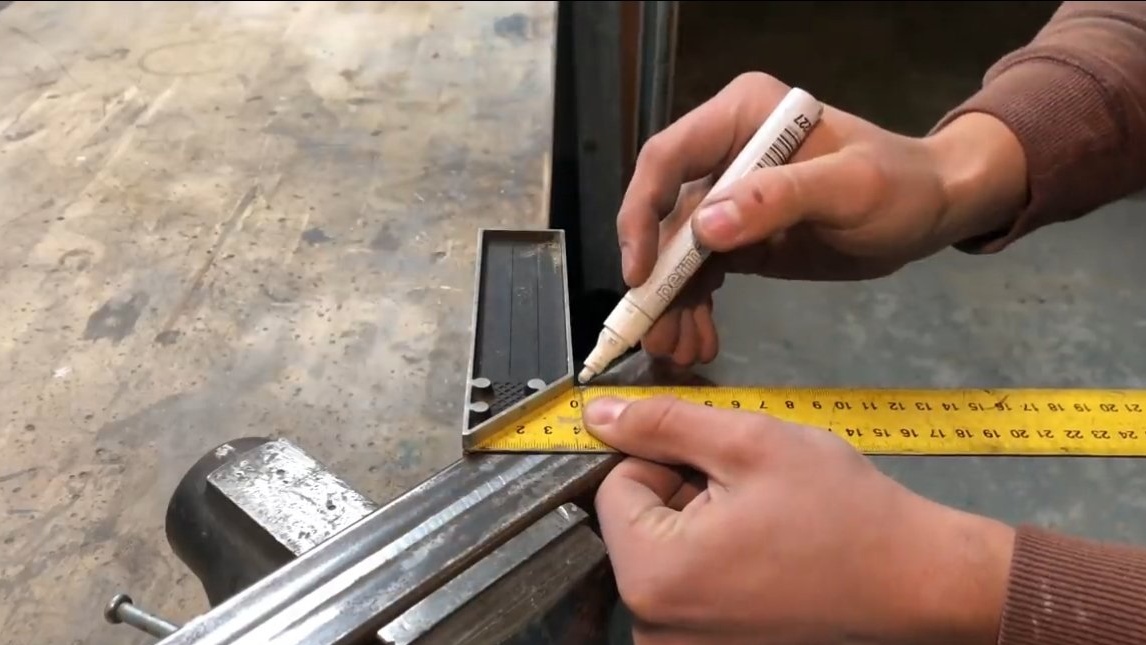
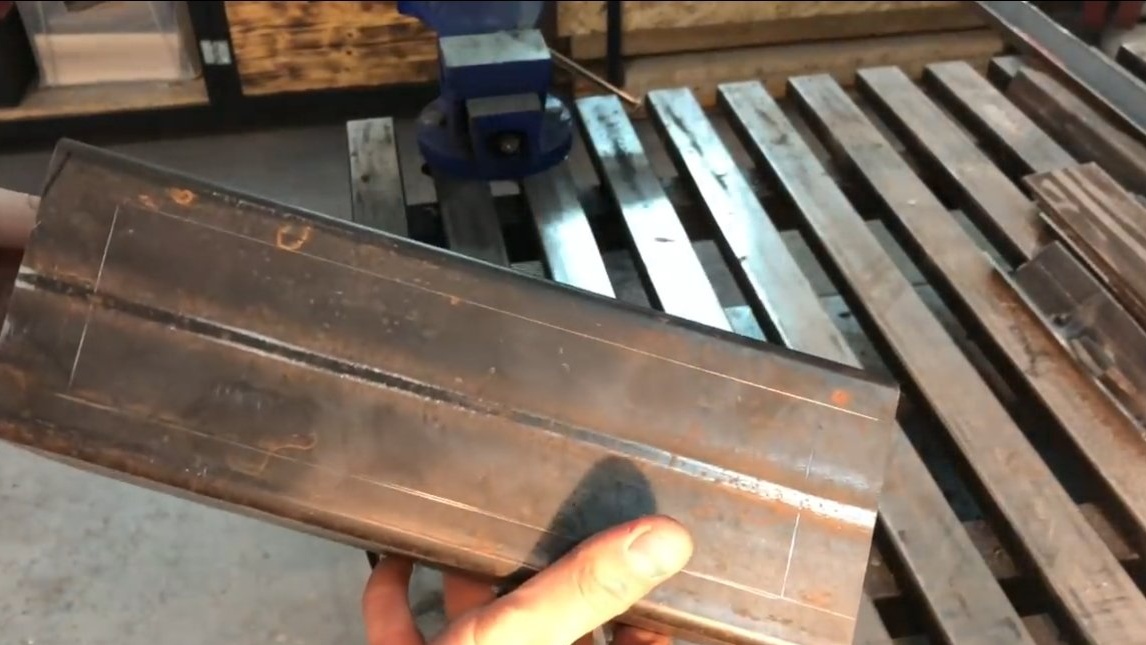
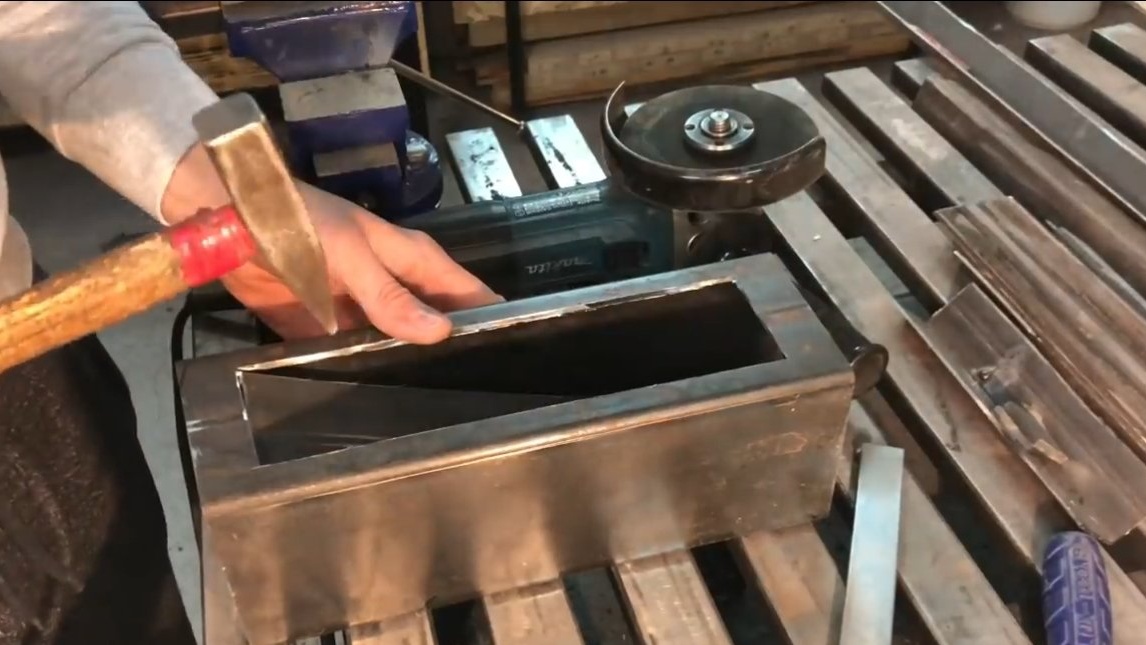
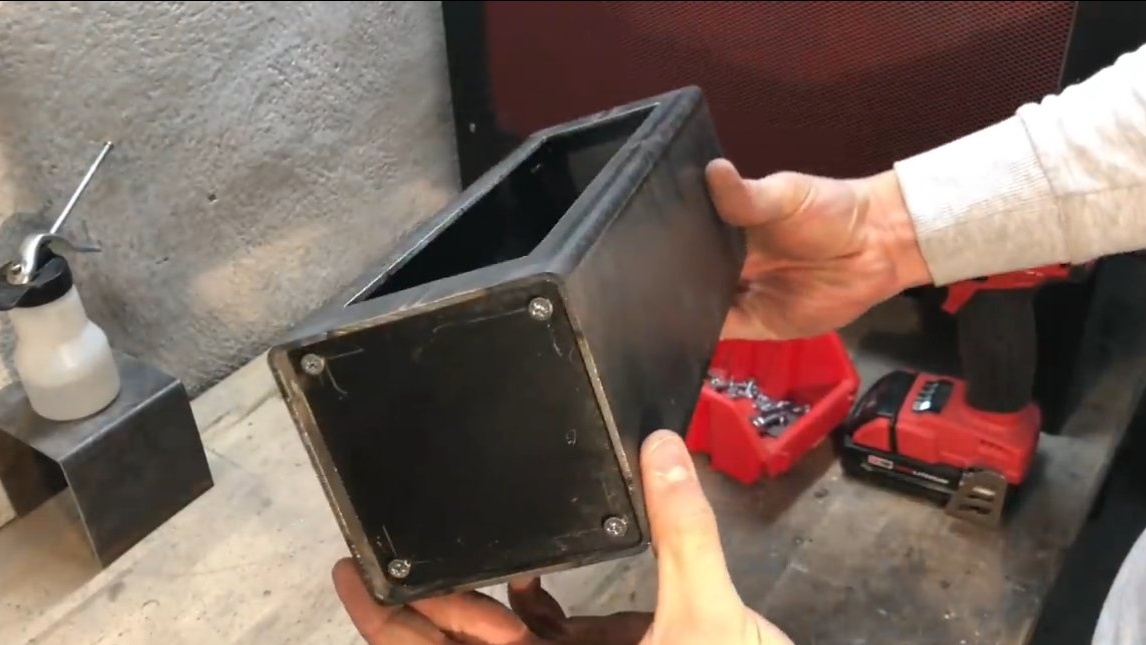
We definitely make a frame for the furnace, since the brick itself is quite fragile. As a material you will need a corner, weld the structure, as in the author's photo. We make stable legs for the furnace, you can use profile pipes.

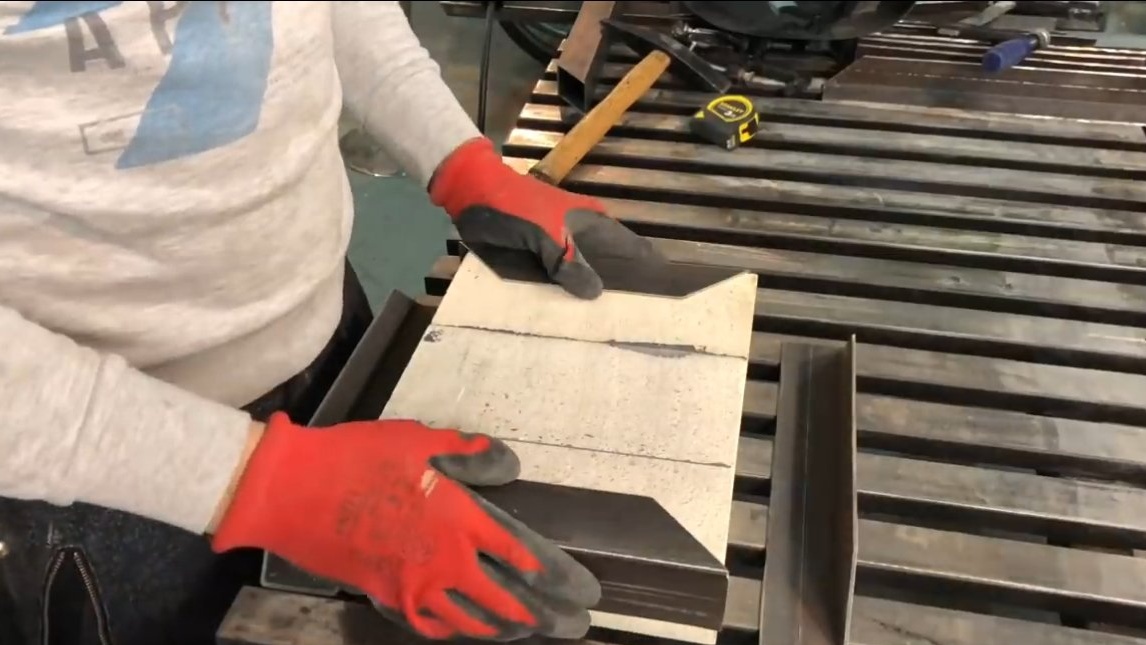
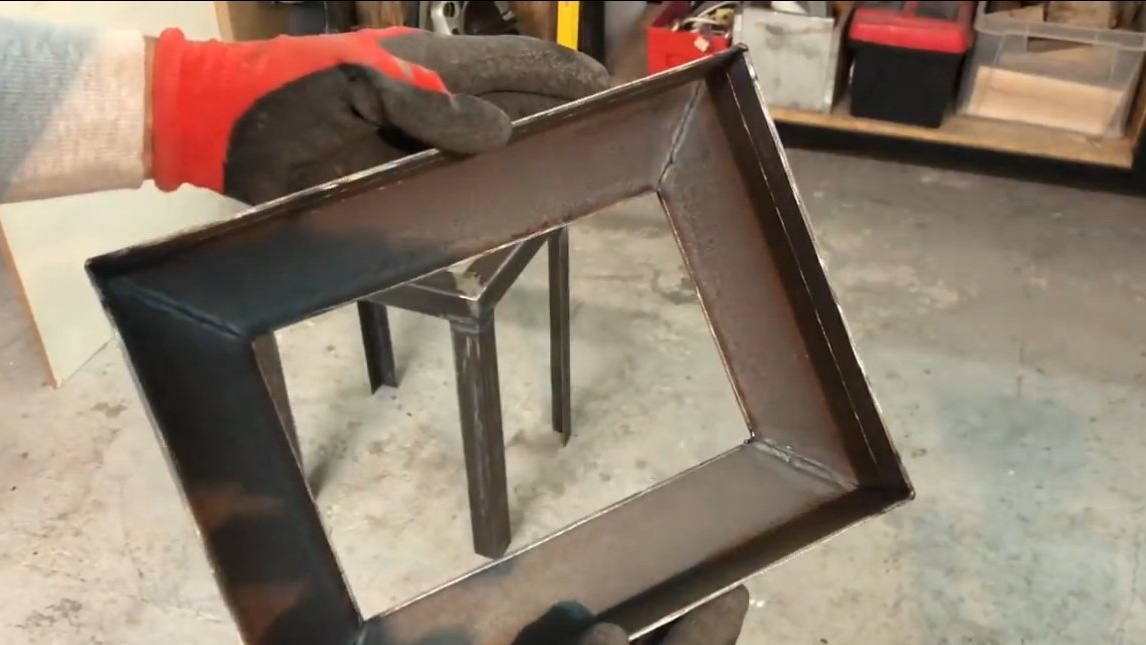
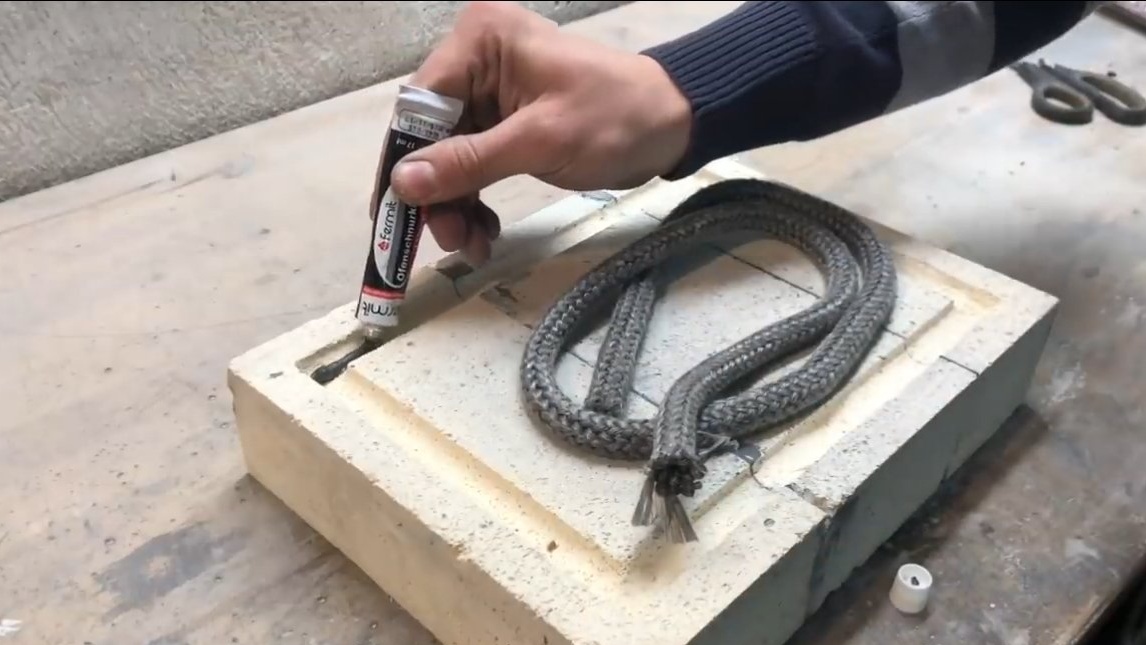
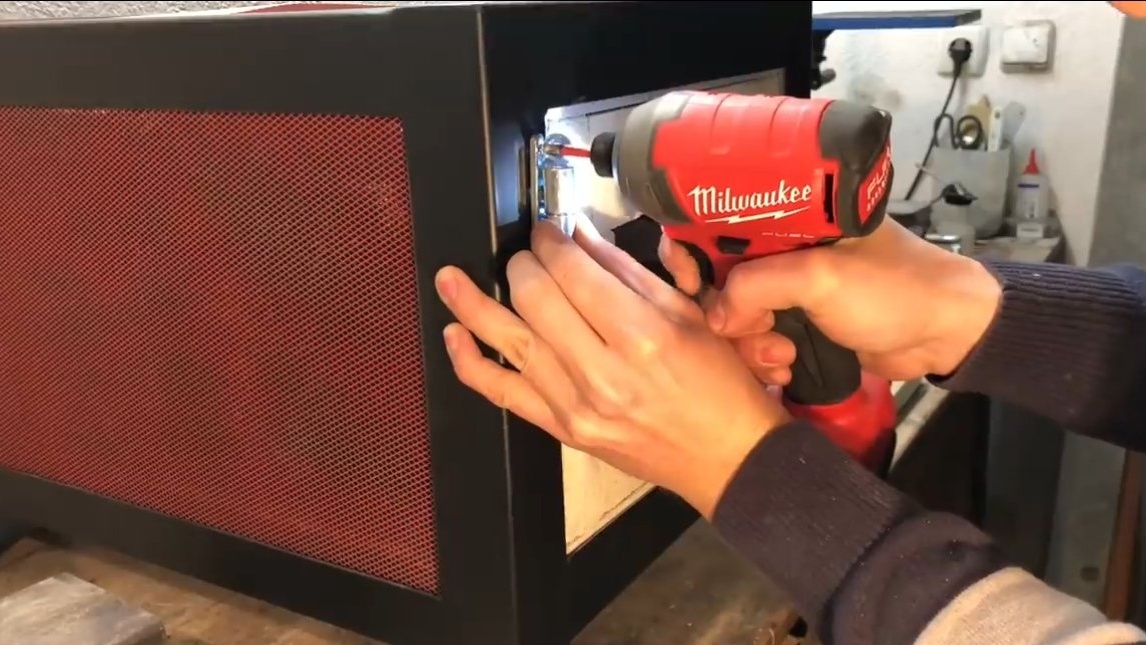
Also, for the oven, you need to make a door, cook a frame from the corner under it and lay the brick. The door should press firmly against the furnace, this will ensure a rapid increase in temperature and its high values. The author made a groove in the circle of the door and pasted the oven sealing cord.
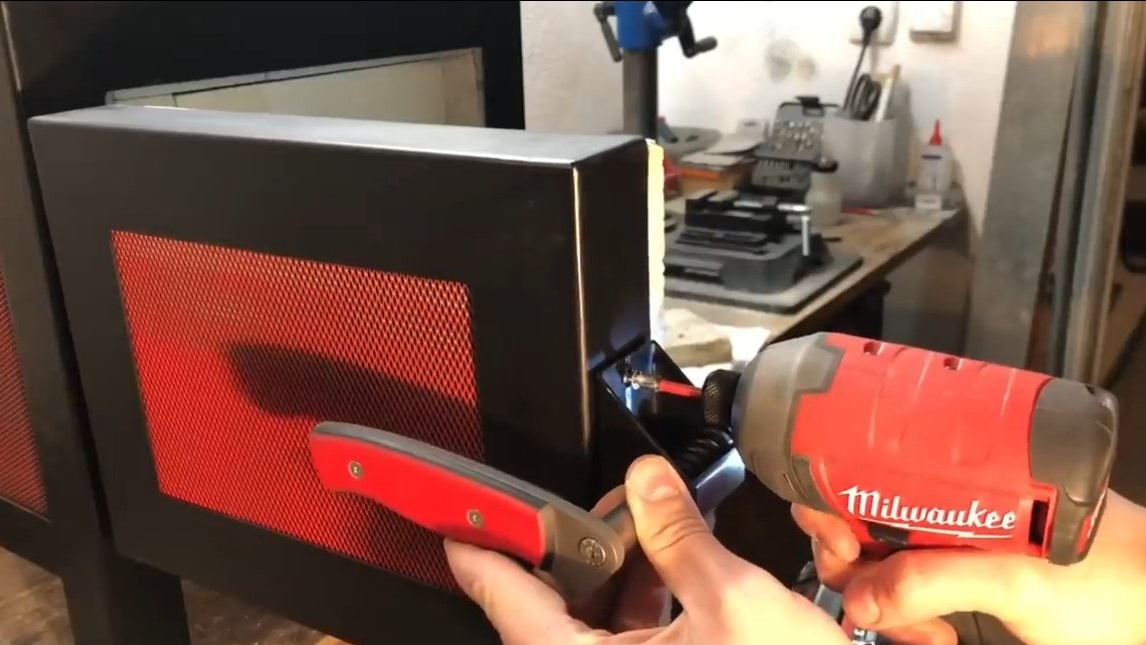
We hang the door on good door hinges and make a reliable locking handle.
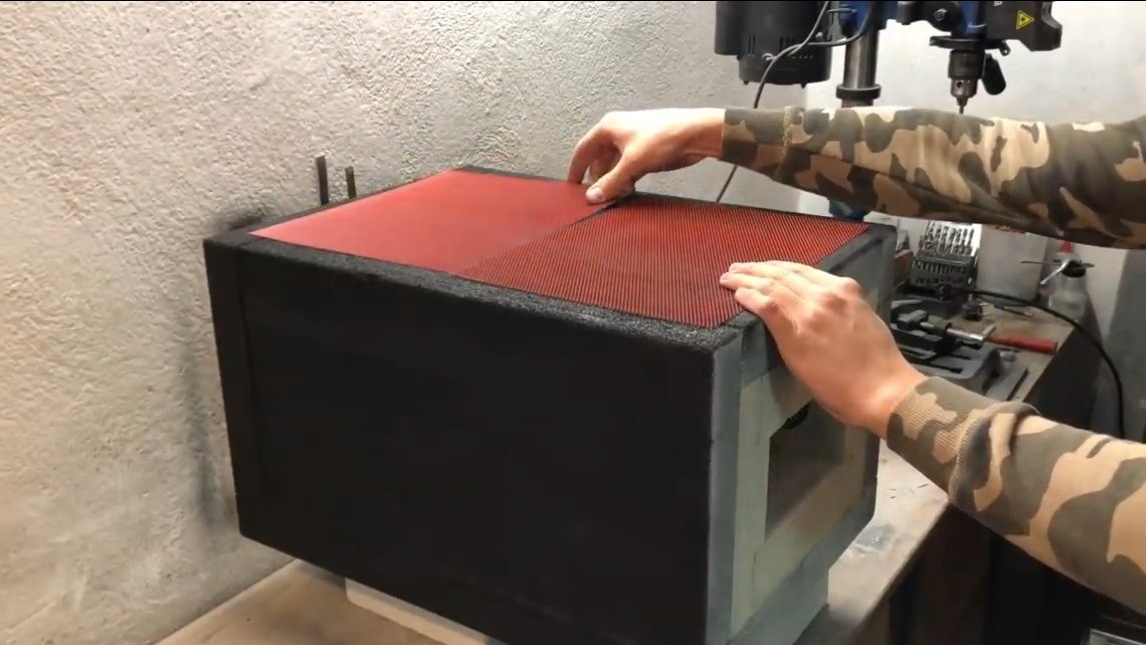
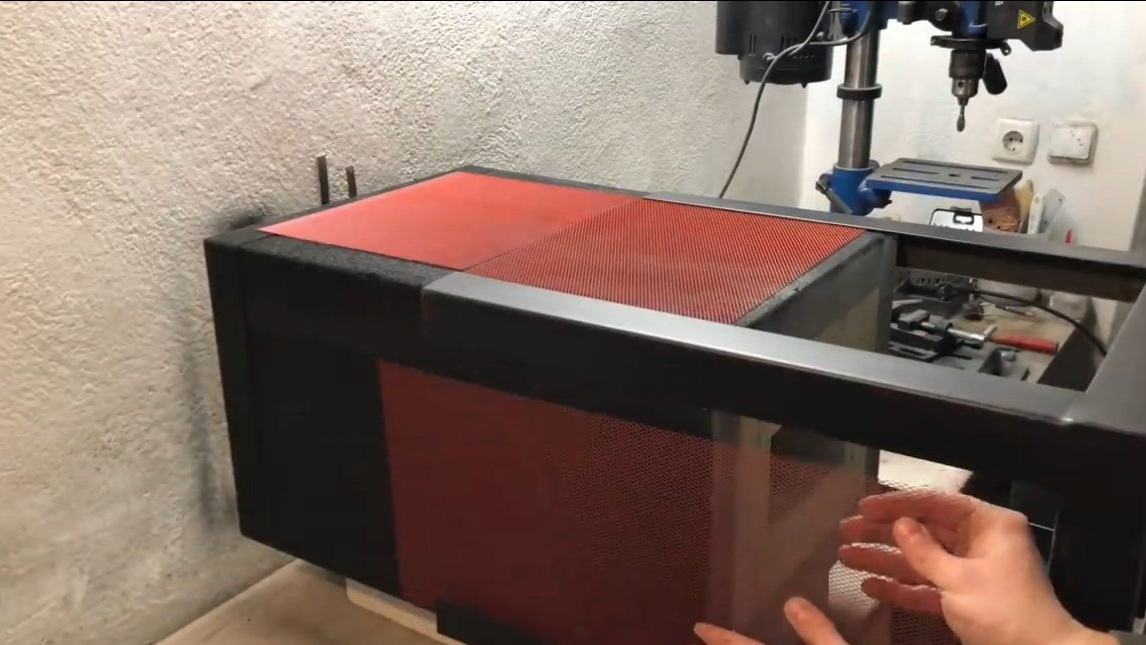
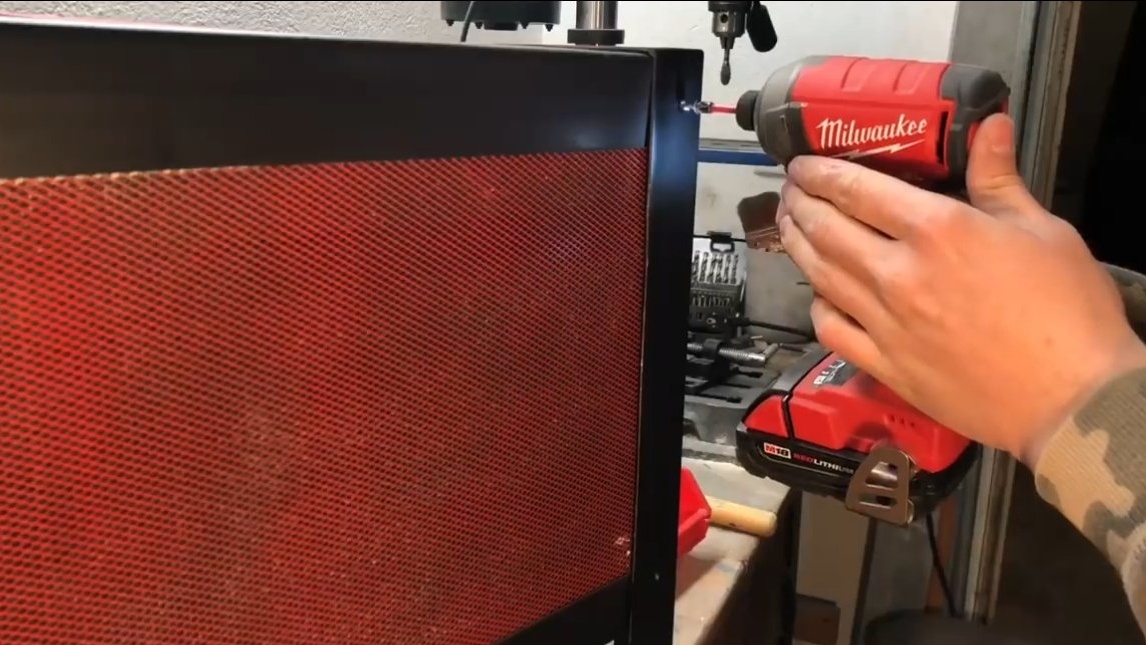
Step Four Assembly
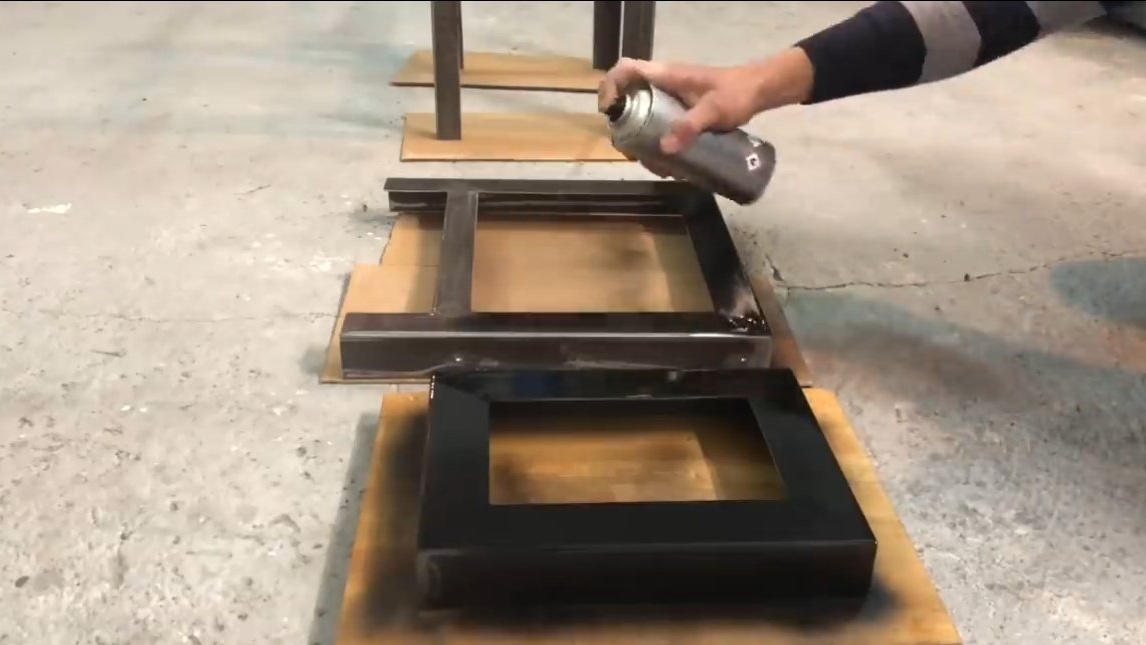
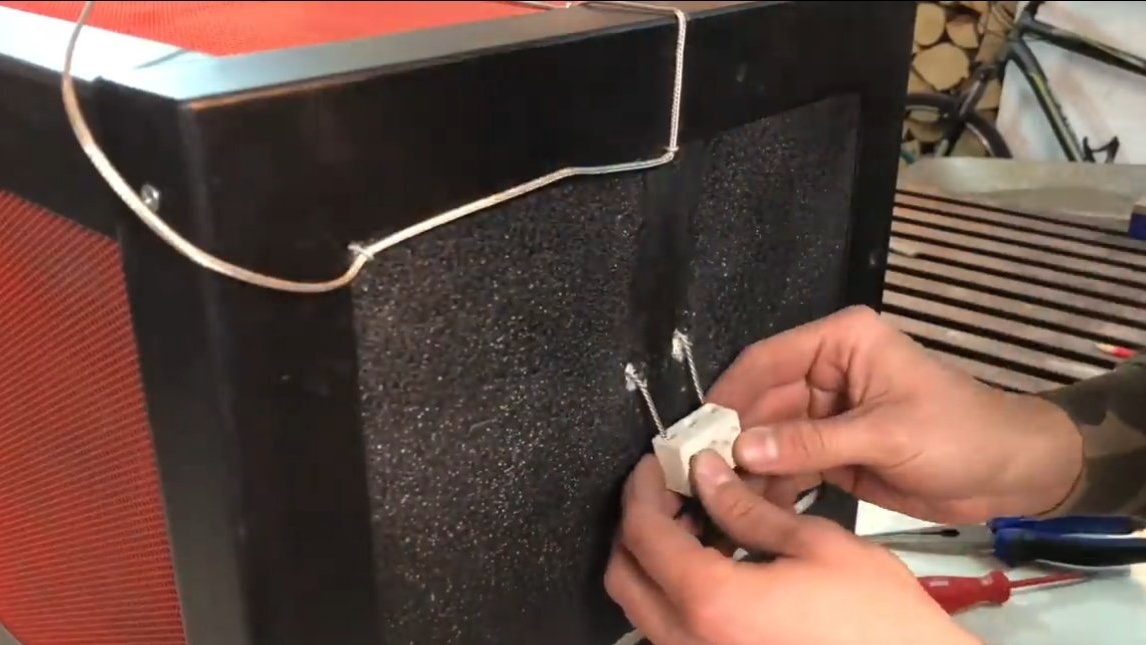
For aesthetic purposes, the oven can be painted with heat-resistant paint. If it is good to paint the brick, the paint will prevent the crumbling of brick chips. The author finished the furnace with a heat-resistant mesh, everything looks good, the mesh will protect the brick from impacts and will not release large parts of the brick in case of cracking. Of course, it would be more appropriate to sheathe the entire furnace with sheet metal.
Step Five Electronics Mounting
We put the spiral in the groove inside the furnace, it is desirable to fix it by grabbing it to the brick with wire.
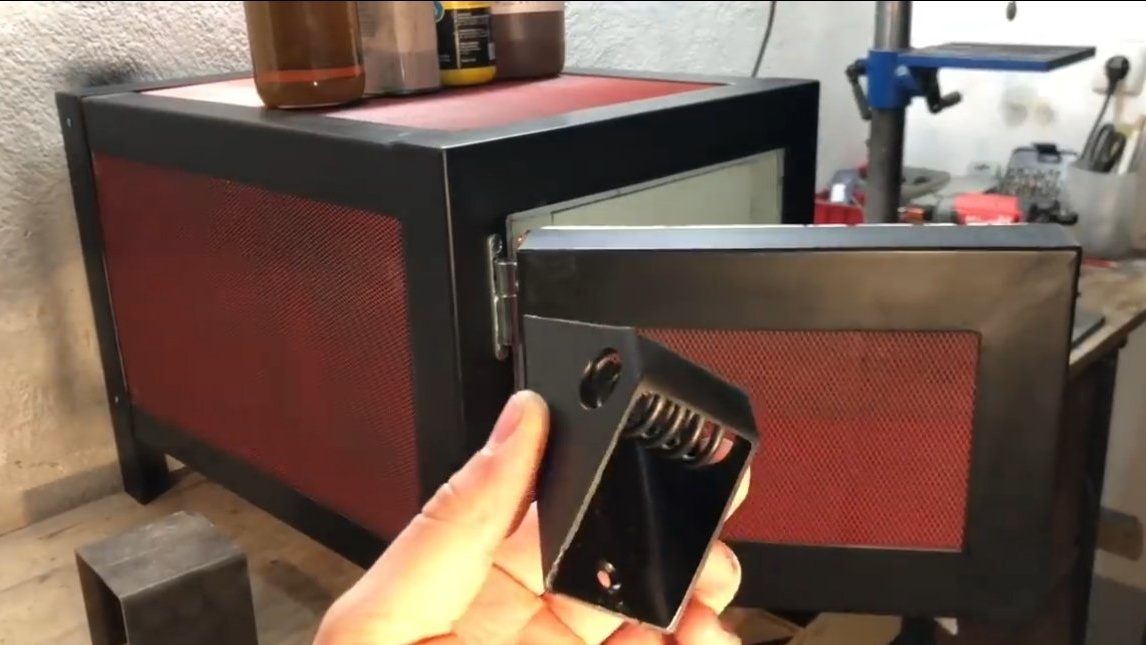
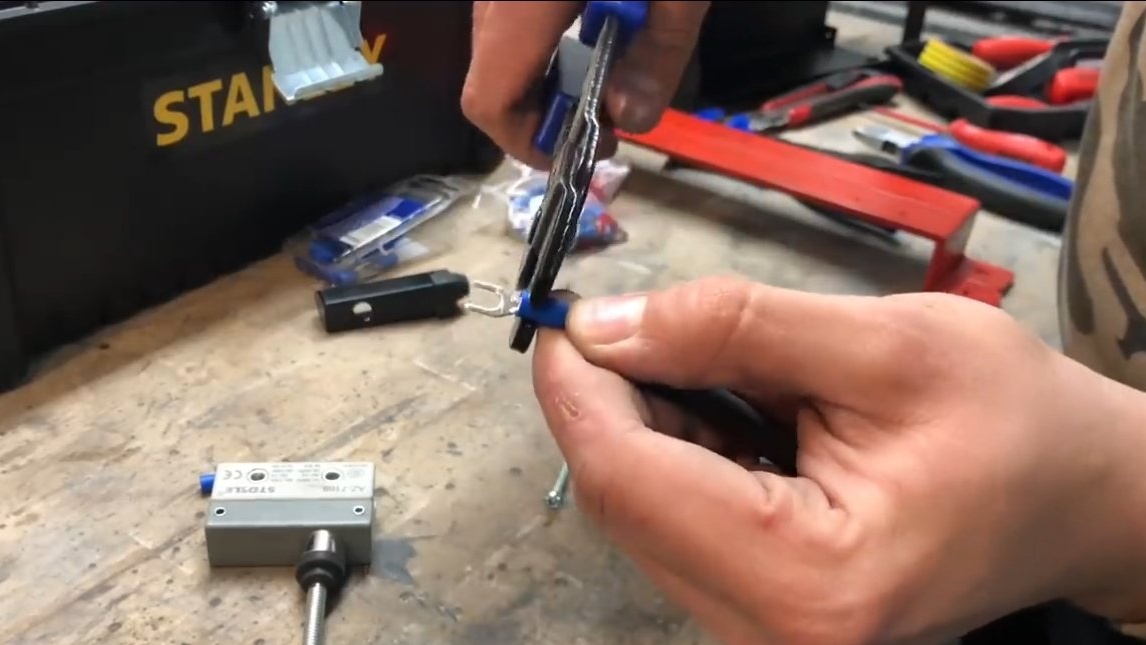
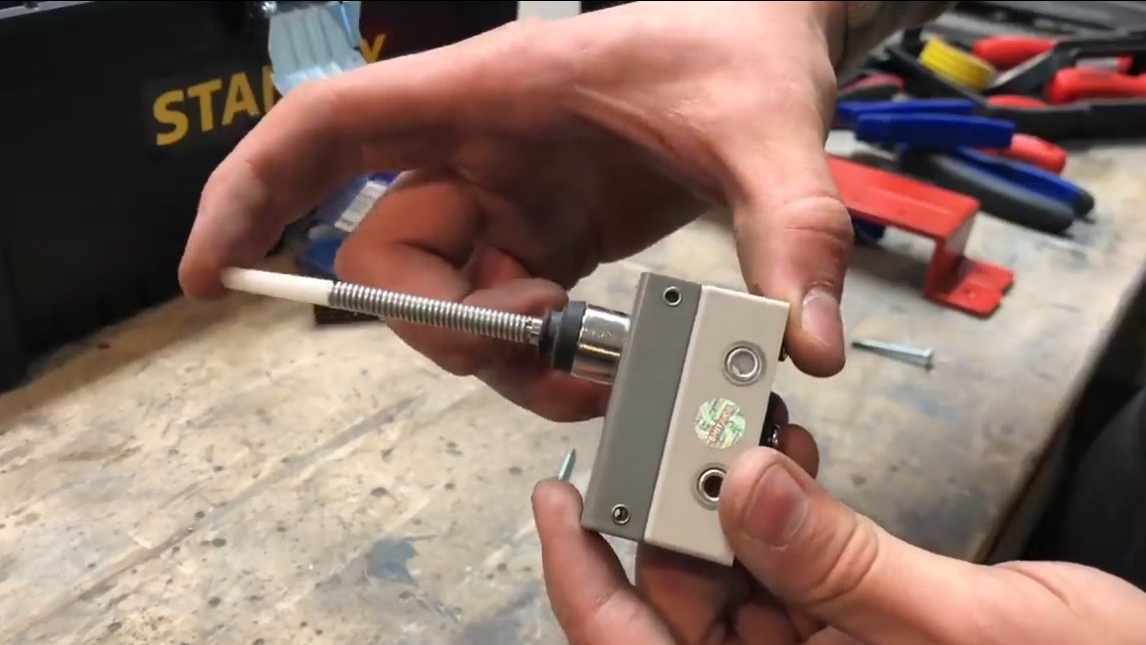
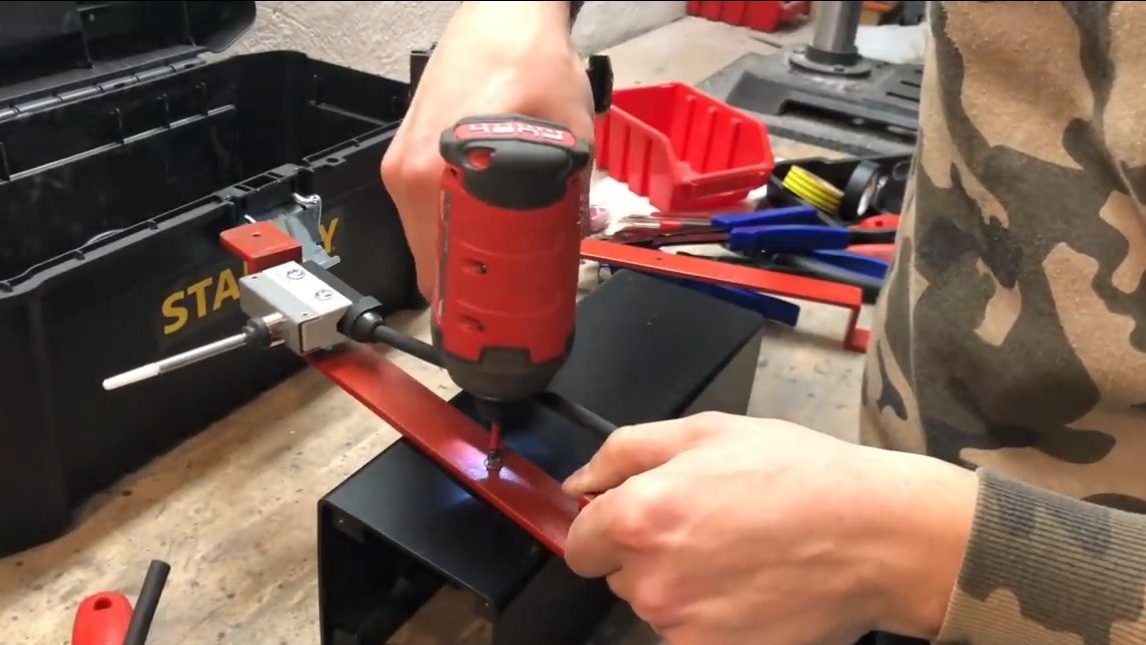
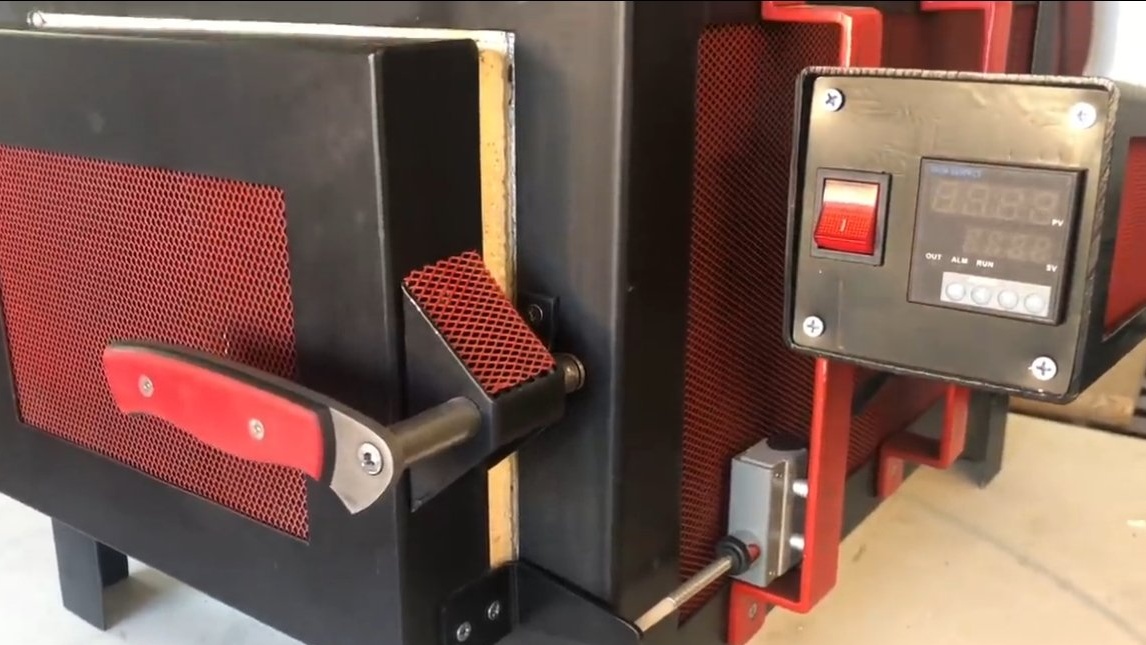
The author sets the limit switch on the door; he will turn on the furnace only when it is in the closed state.
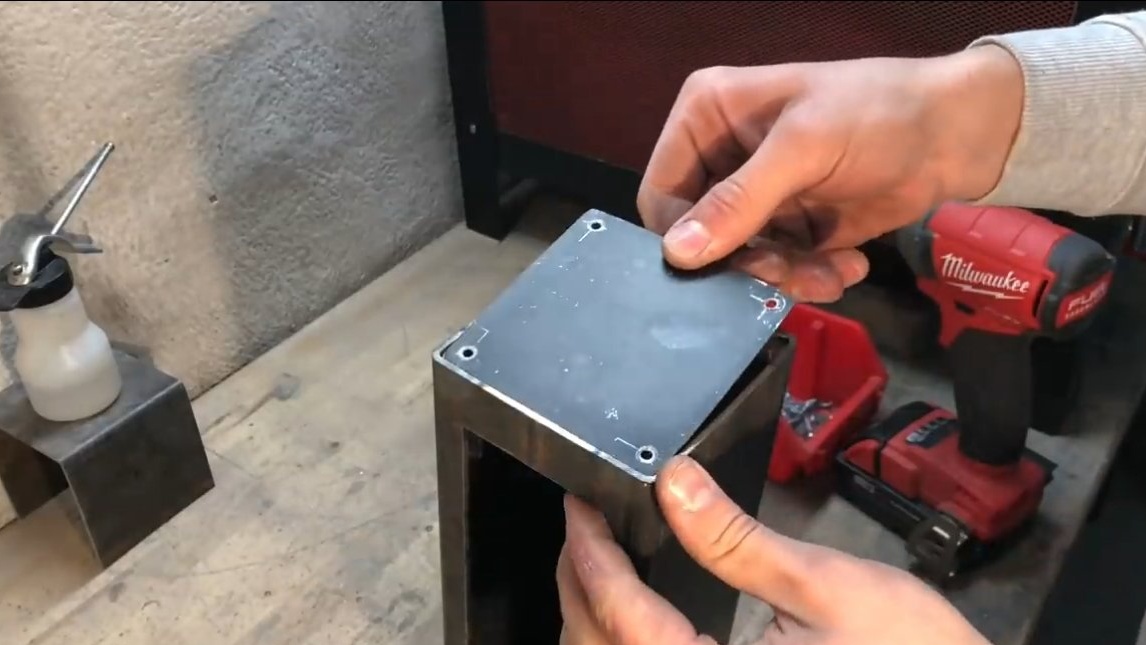

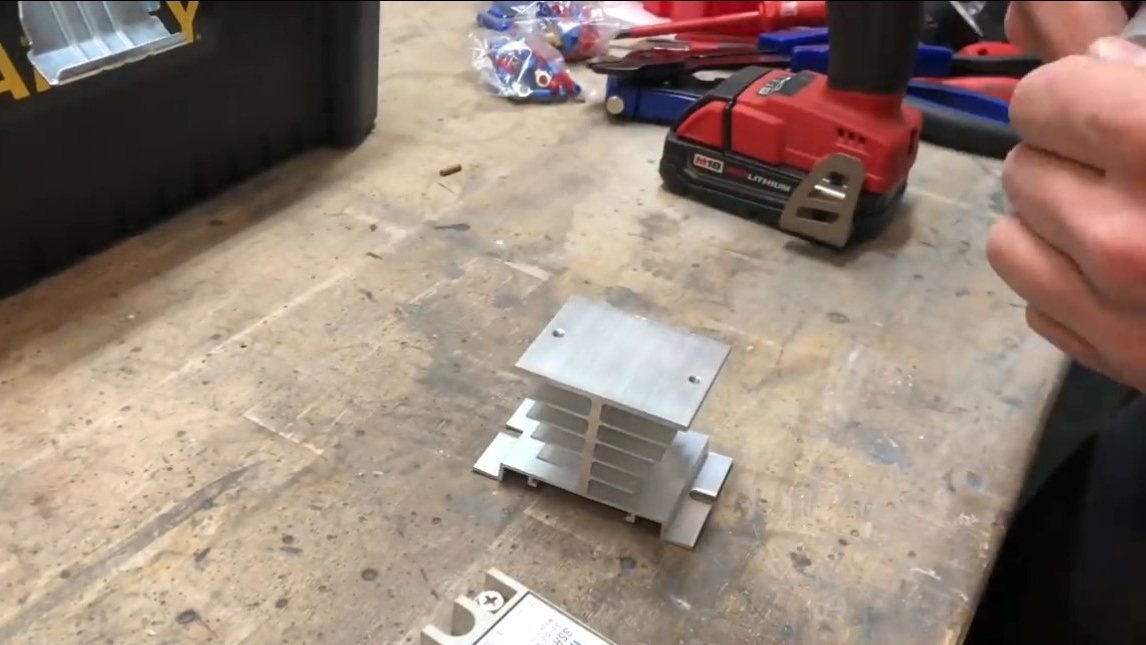
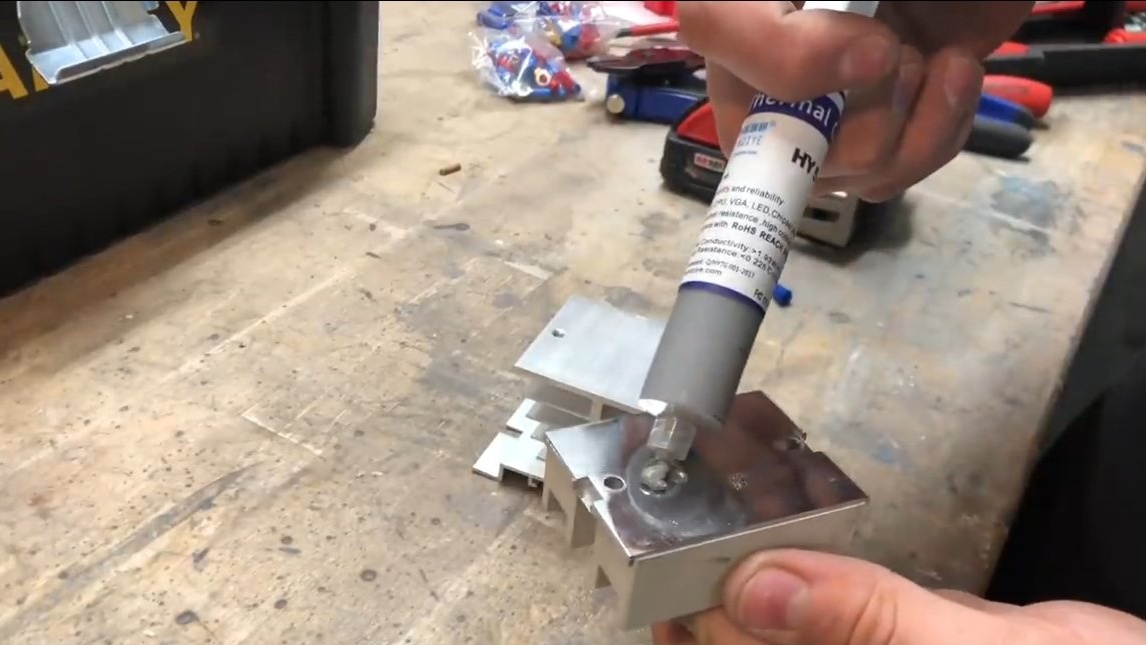
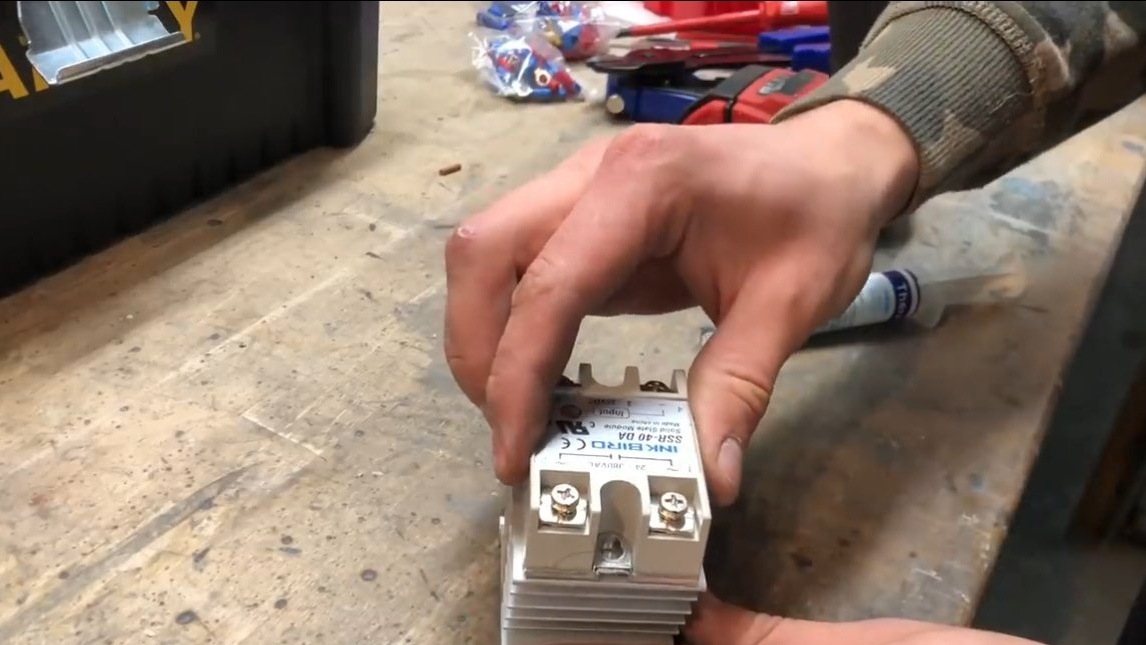


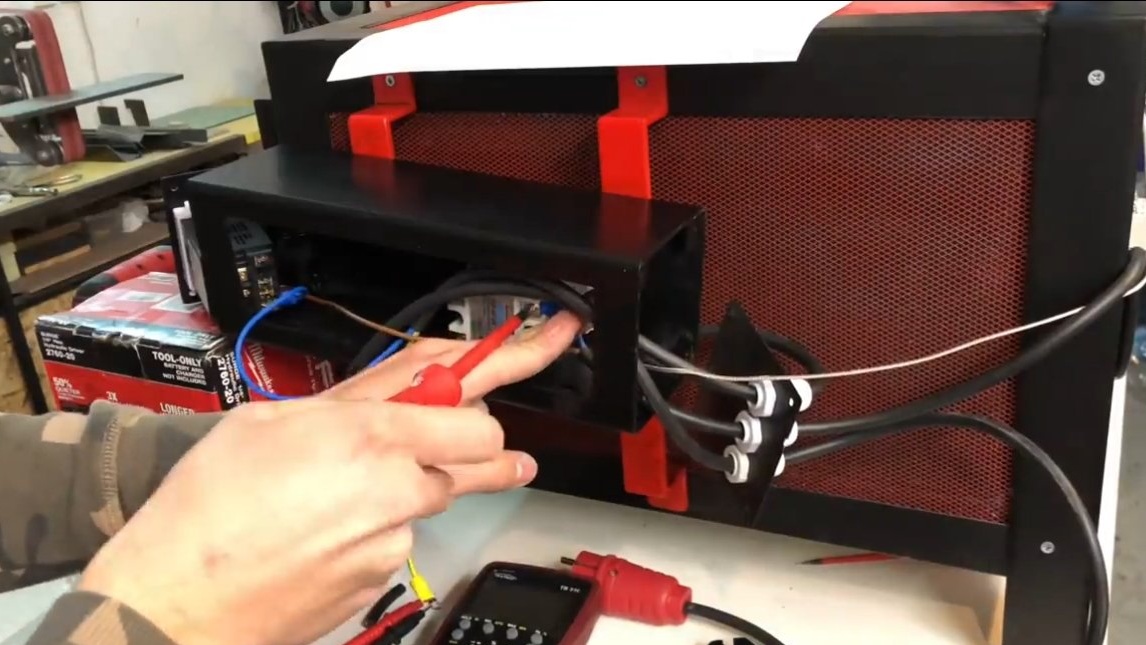
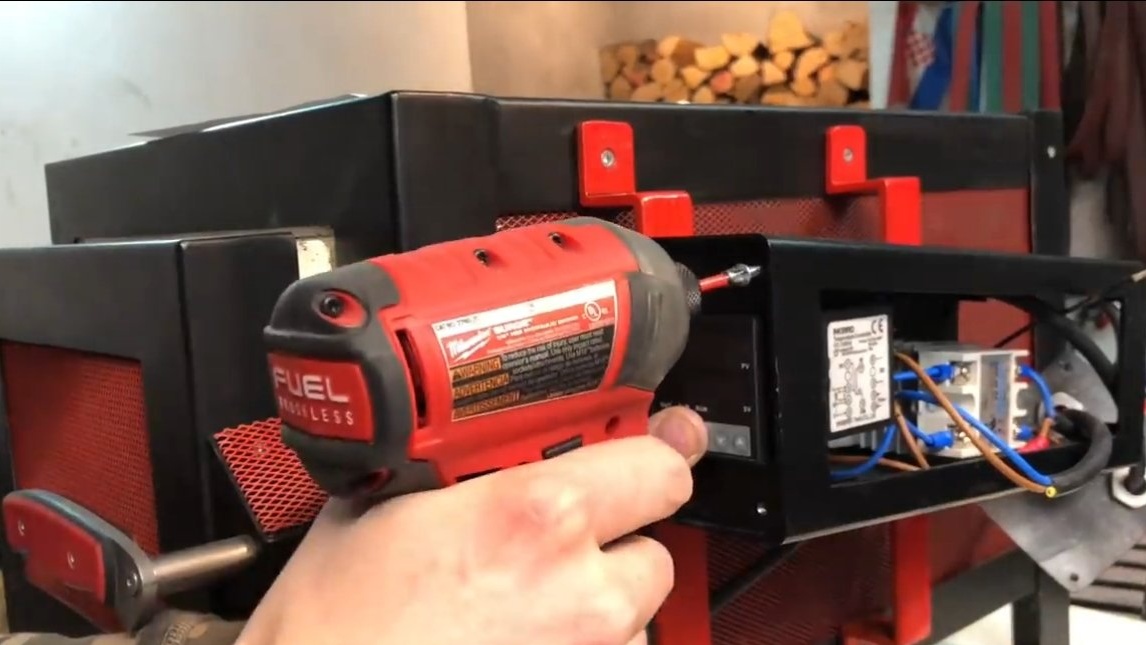
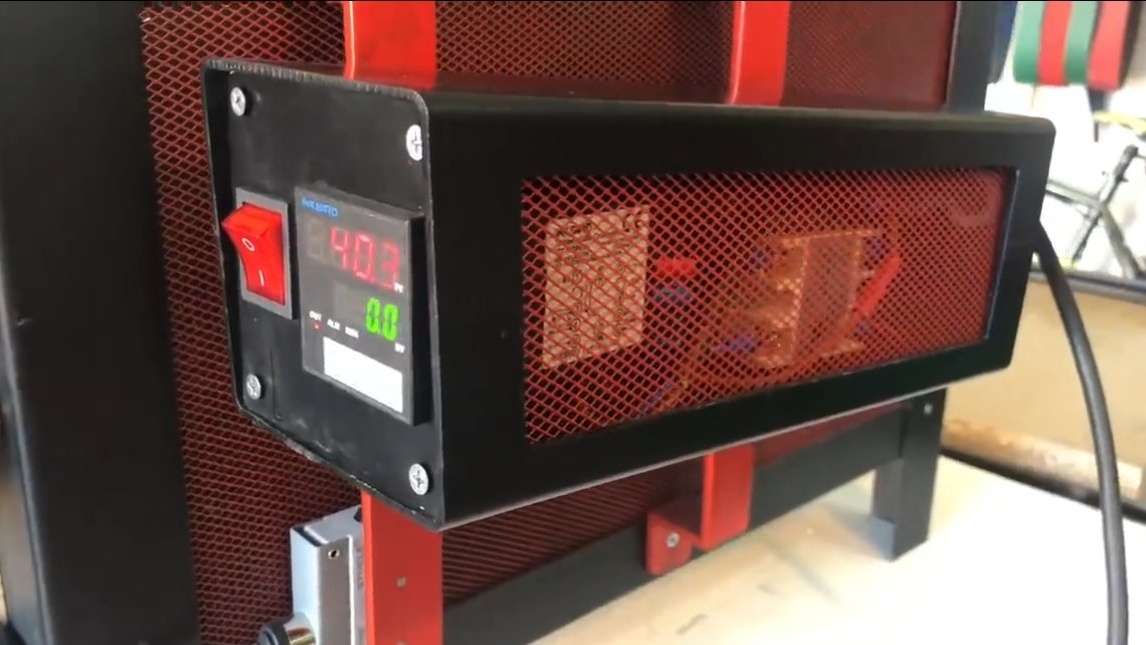
For the temperature controller, we make the case from a piece of the profile pipe, the case must be fixed at a certain distance from the furnace, so that electronics not warmed up. An SSR relay is installed inside the case, which will turn on the spiral on command from the temperature controller. The relay will have to control a load of 2150 watts, you need to choose the appropriate rating. A detailed connection diagram can be seen in the photo.
We also have a switch on the control panel that will control the operation of the entire furnace.
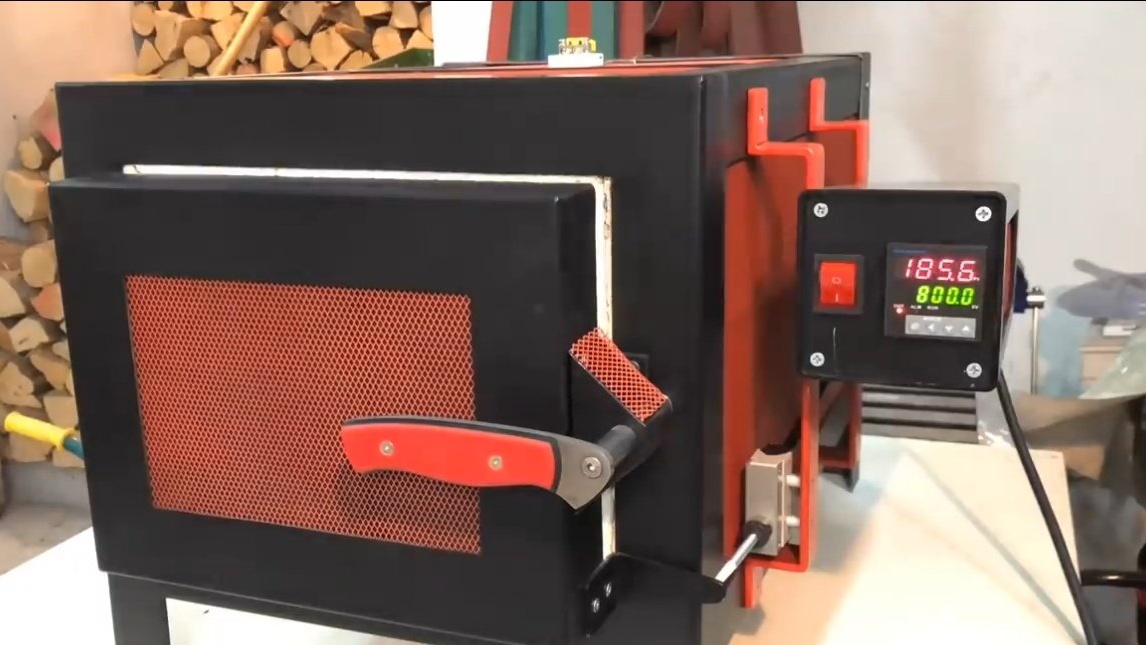
Step Six Test
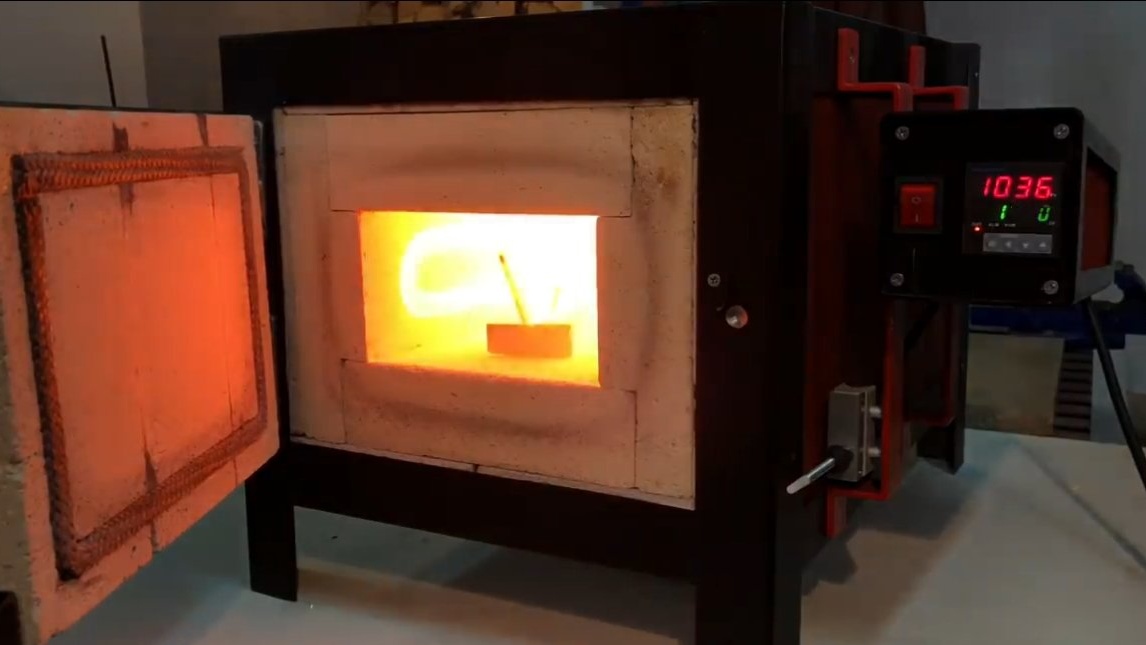
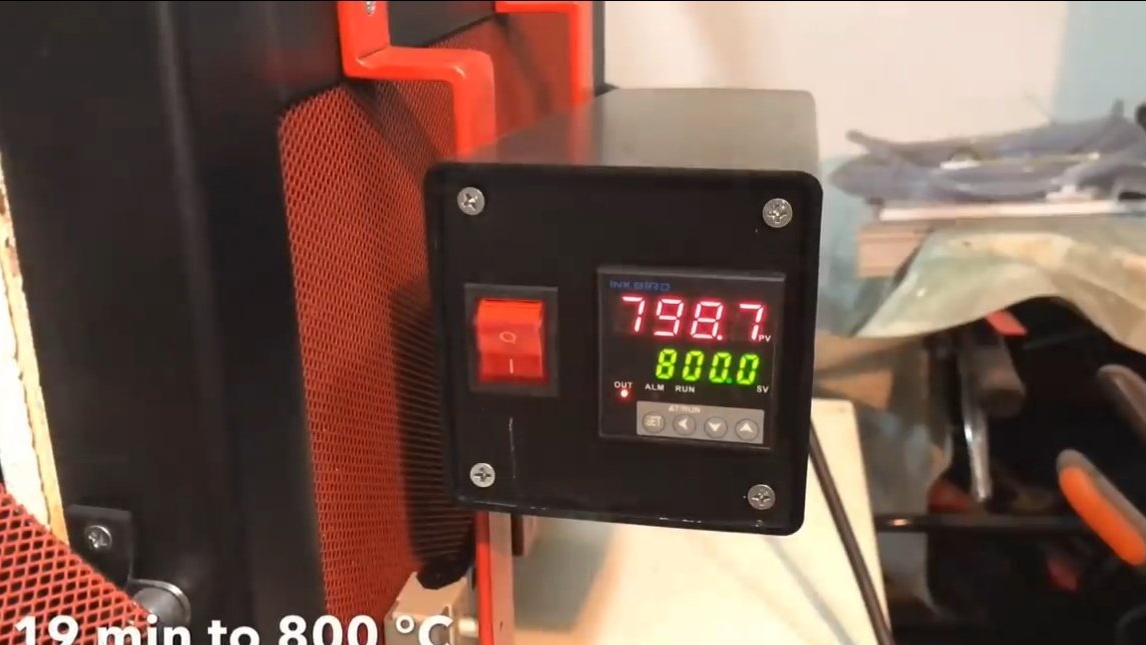
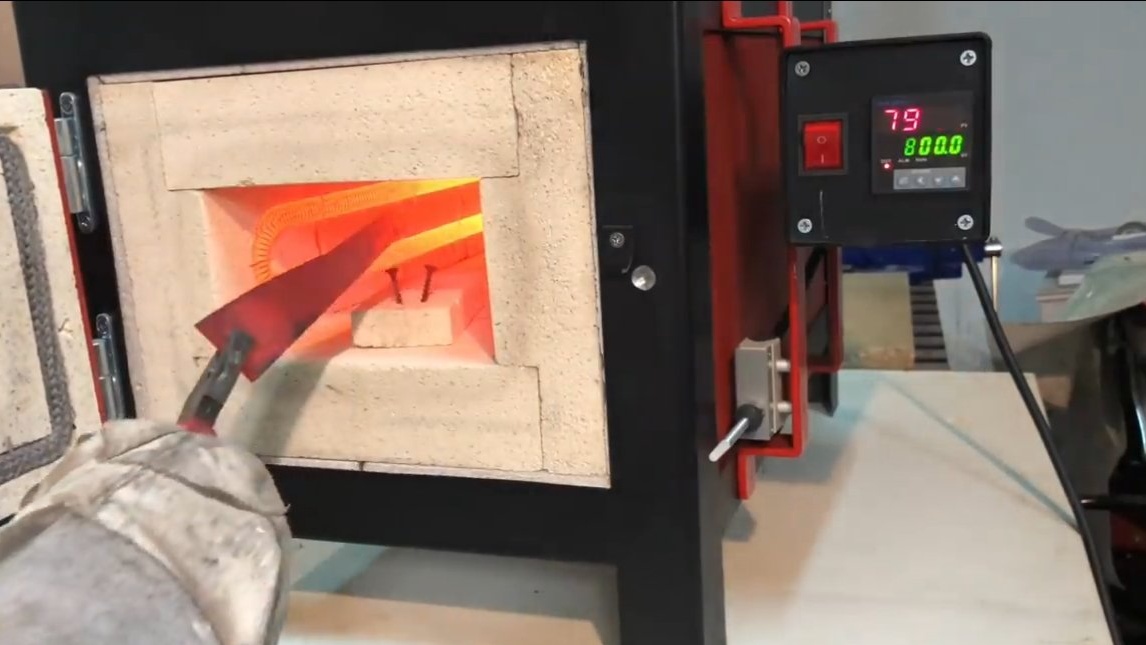
We turn on the oven; as a test, the author set the temperature to 800 ° C. The furnace was able to reach this temperature after 19 minutes, a similar temperature is enough for hardening some steels.
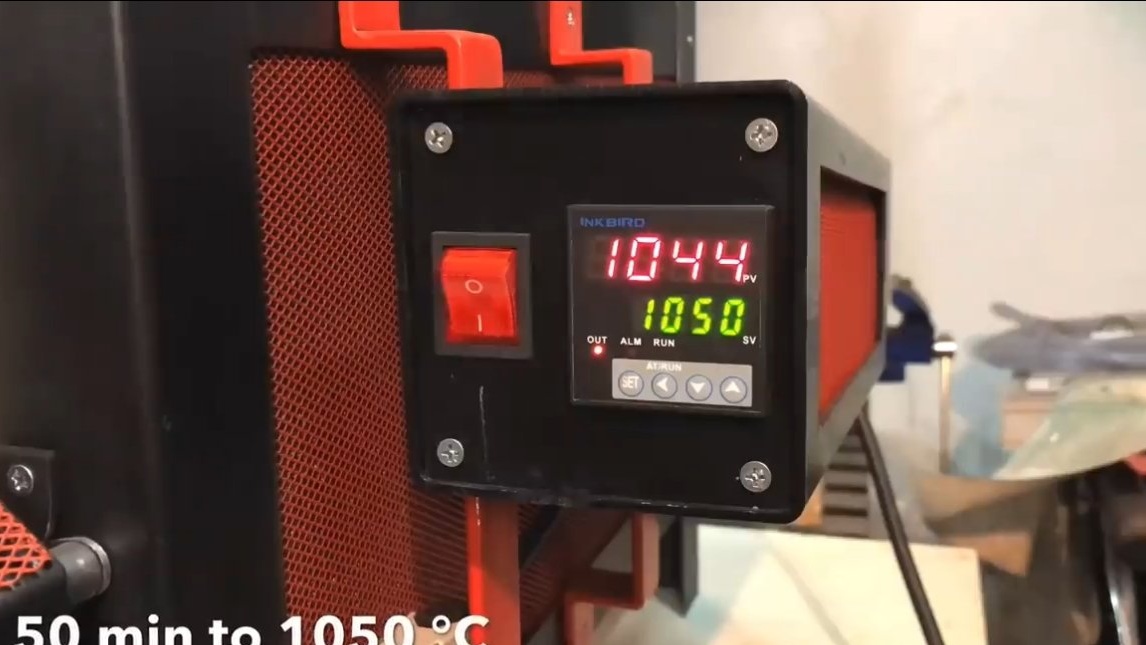
Also, the author was able to accelerate the furnace to a temperature of 1050 ° C, it took 50 minutes, the steel at this temperature glows with a bright yellow glow, it can even be forged.
The project is completed on this, I hope you liked the homemade work, and you found useful thoughts. Good luck and creative inspiration, if you decide to repeat this. Do not forget to share your ideas and homemade things with us!