
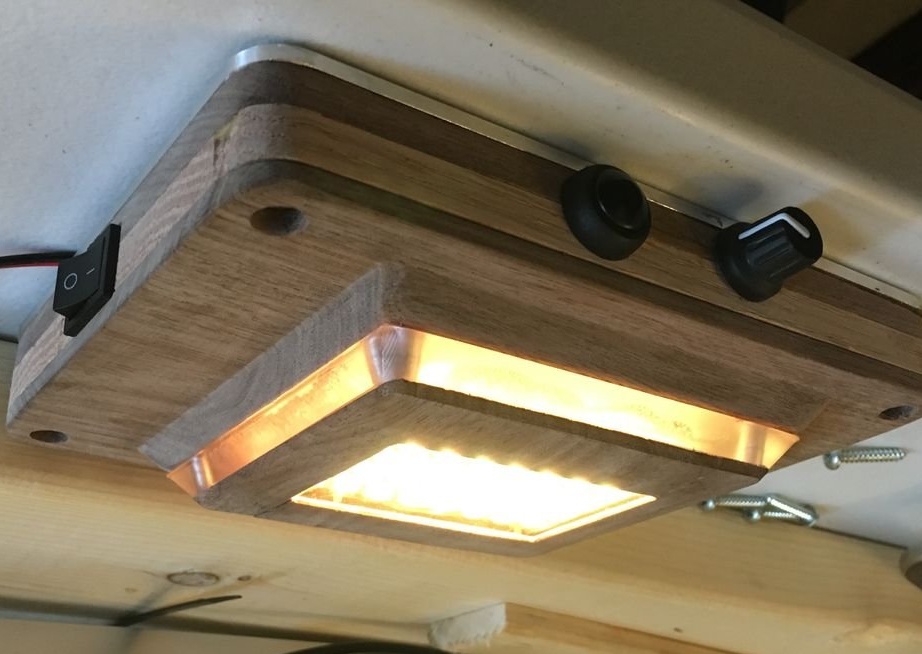
The lamp proposed by the author of Instructables under the nickname MattF74 can be installed in a van, motorhome, block container, etc. It has three controls: a power switch, a button and an encoder, which is enough to switch several modes and smoothly configure parameters.
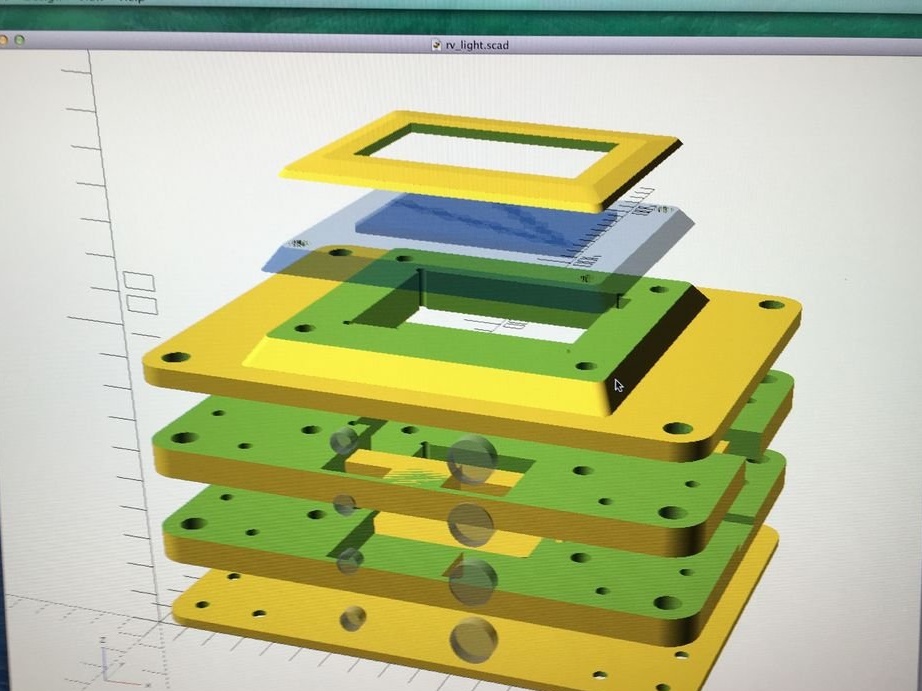
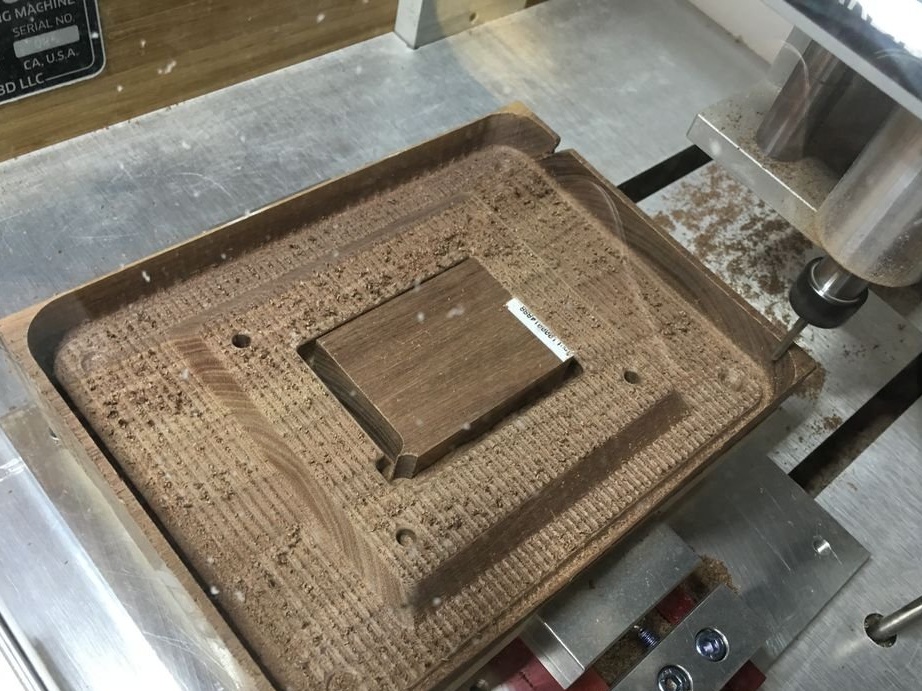
Master designs housing homemade so that all its parts can be made both by milling and 3D printing. In both cases, they will have the same shape. In one common ZIP archive, the wizard places all the files necessary for repeating the lamp, related to both the body and the spills, and places the result here.
The master himself prefers a combination of modern electronics with
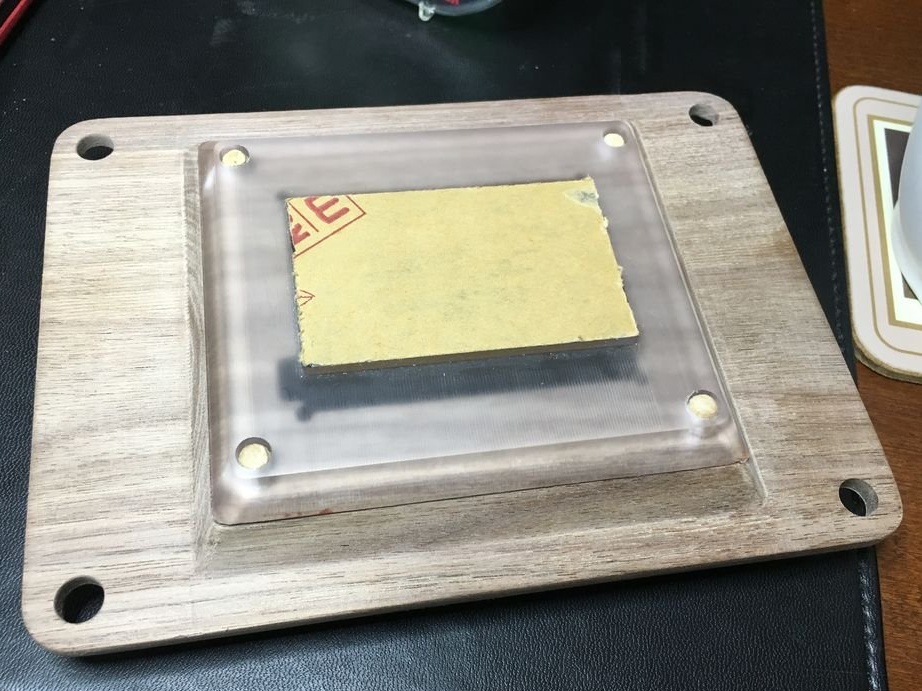

Glues parts and places under a press. Wood can be glued to wood with PVA glue, plexiglass must be glued to the wood with other glue, since it is not porous. The same applies to 3D printed parts if you choose this method.
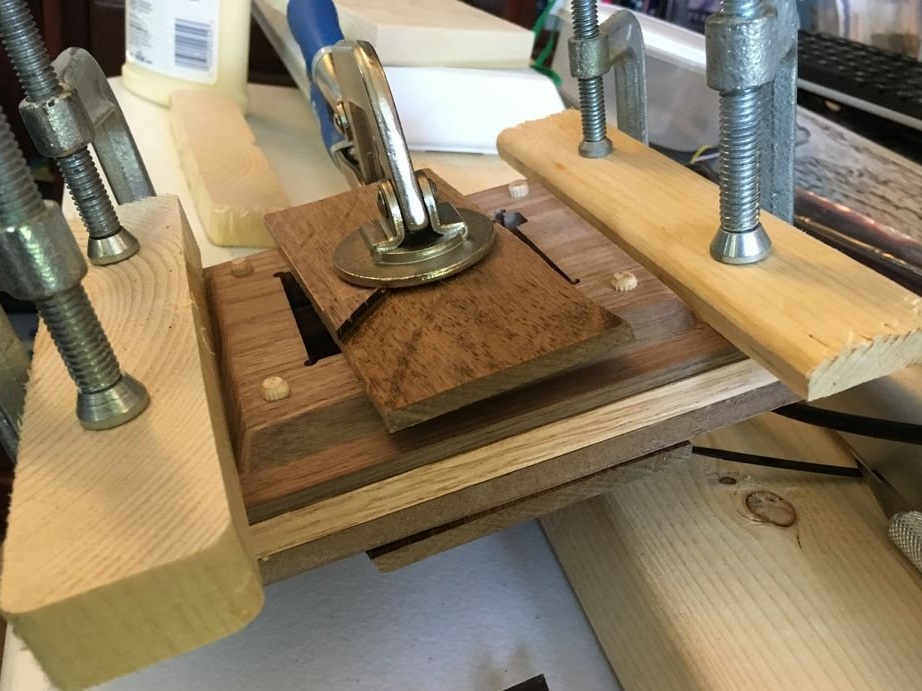
The holes for the controls are done independently (this is not shown). In the case of 3D printing, you can get these holes at the manufacturing stage by uncommenting the lines in the file for the Openscad program after the comment "// Holes for button and encoder - probably drill these manually after milling" and regenerating the STL files.
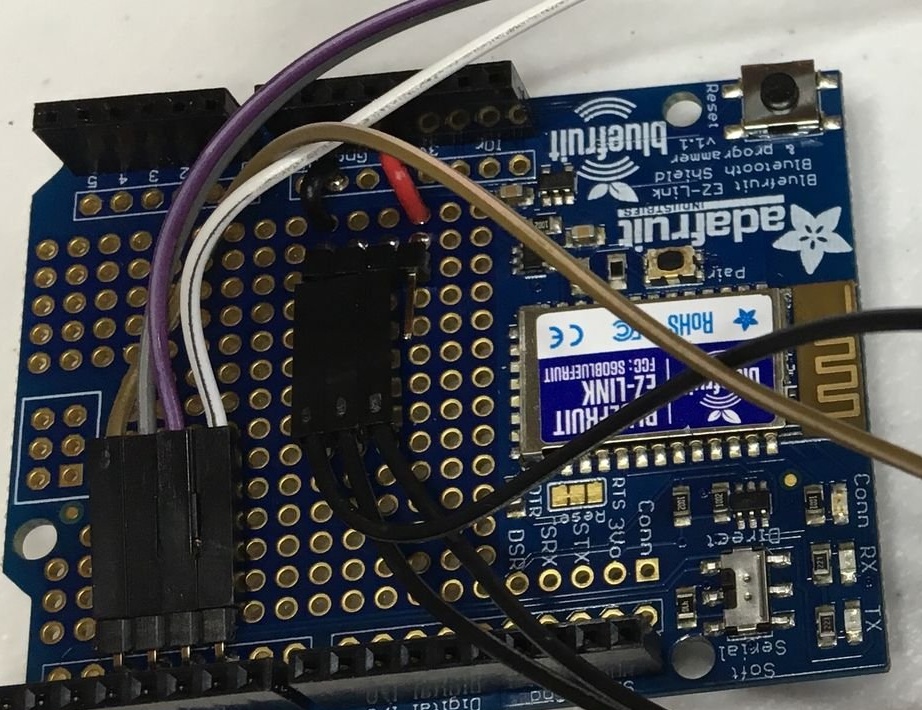
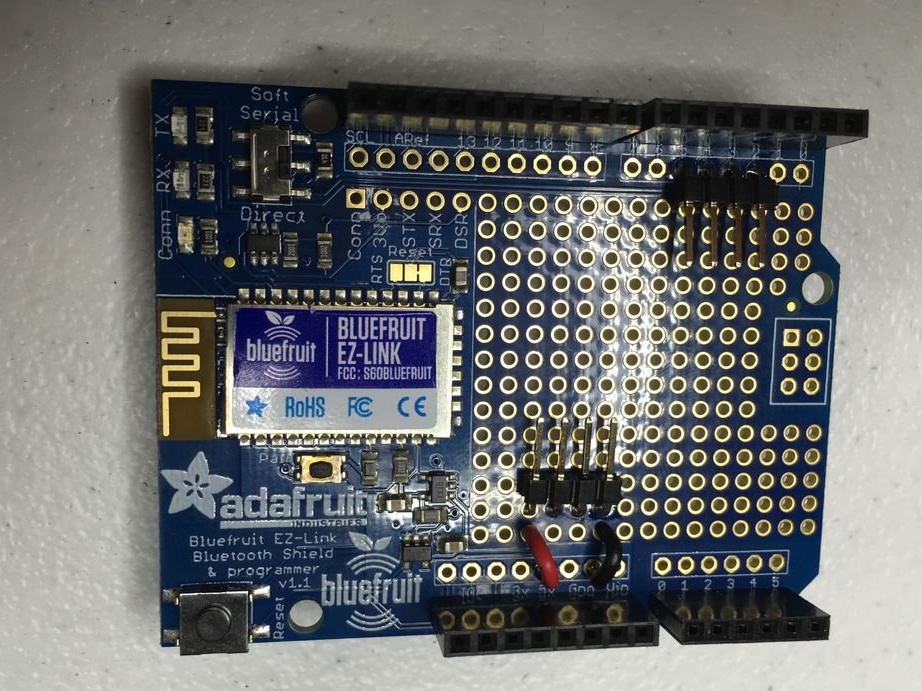
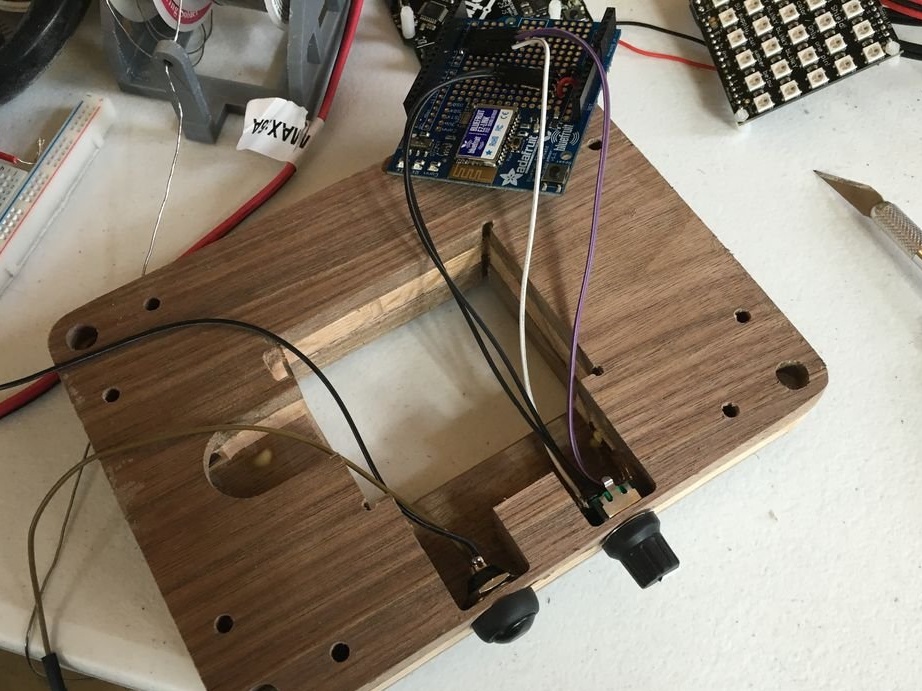
As a clone Arduino the wizard applies the Adafruit Metro board, to which the Bluetooth shield is added for flashing through it. Controls are connected as follows: a separate button - output D2, encoder - D3 and D4, a button built into the encoder - D5. Neopixel removes data for device control from pin D6.
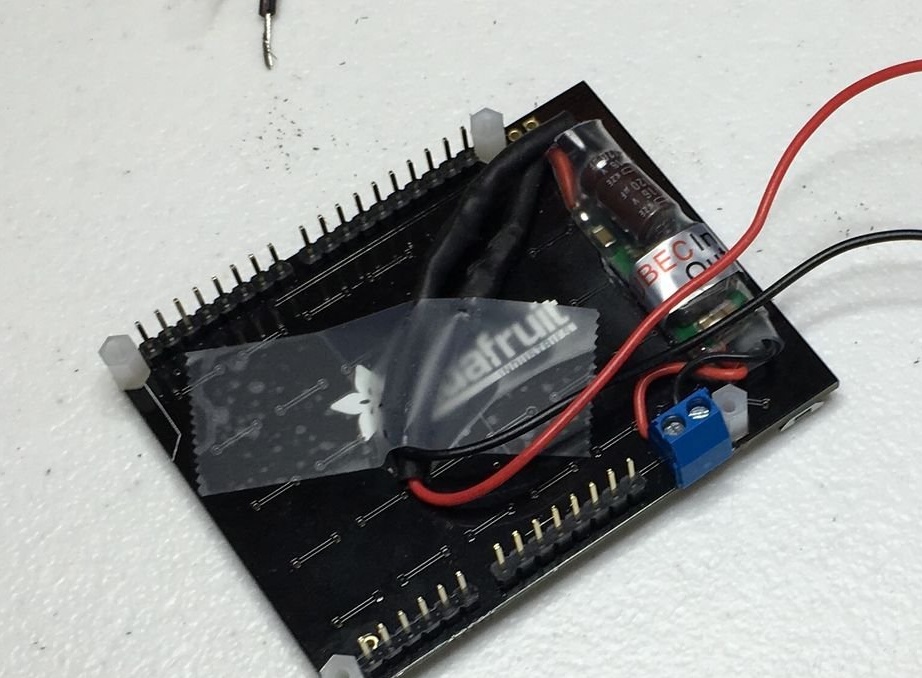
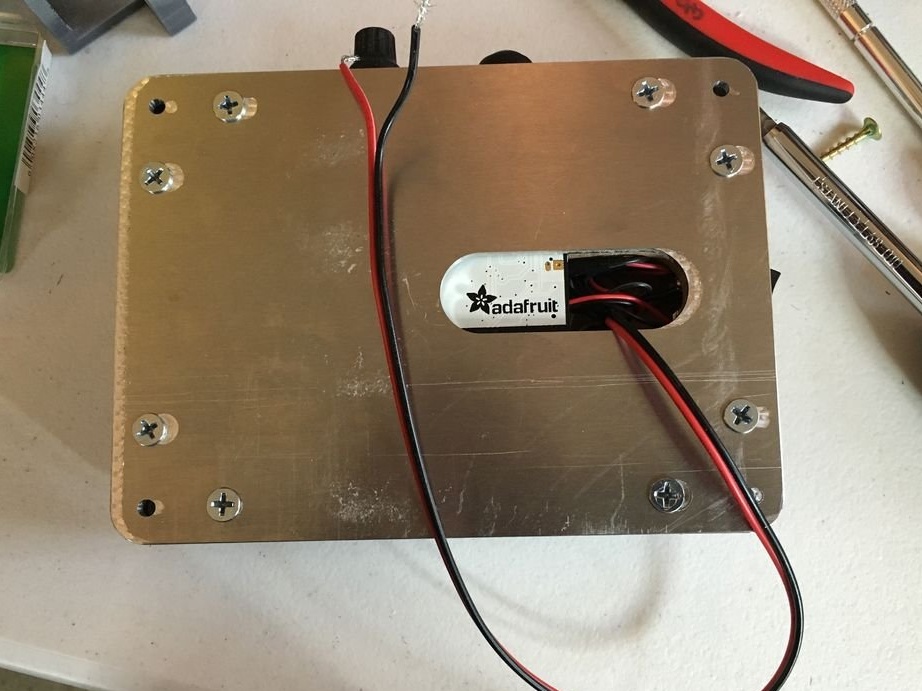
Glues and attaches to the Neopixel device a pulsed step-down converter so that all this can work from 12 V (in a van or motorhome - from the wiring system through a fuse, in a block container - from the power supply for the router), connects the power switch:
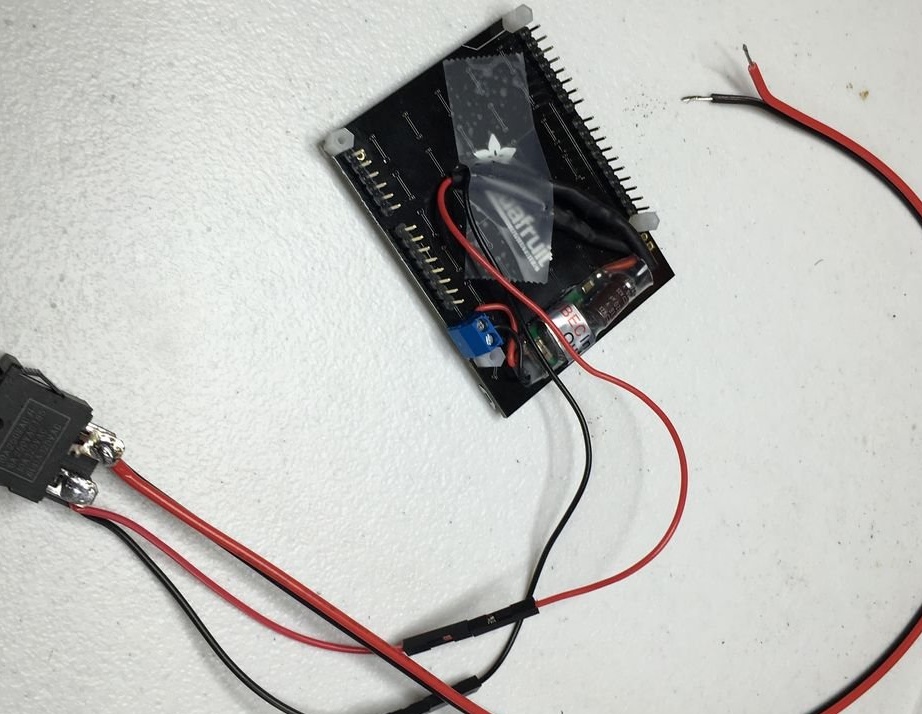
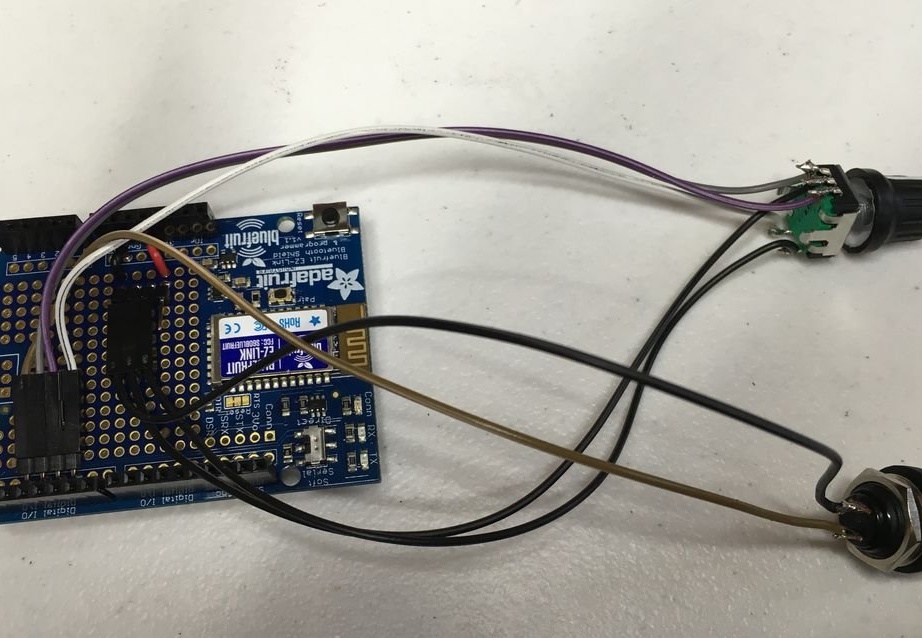
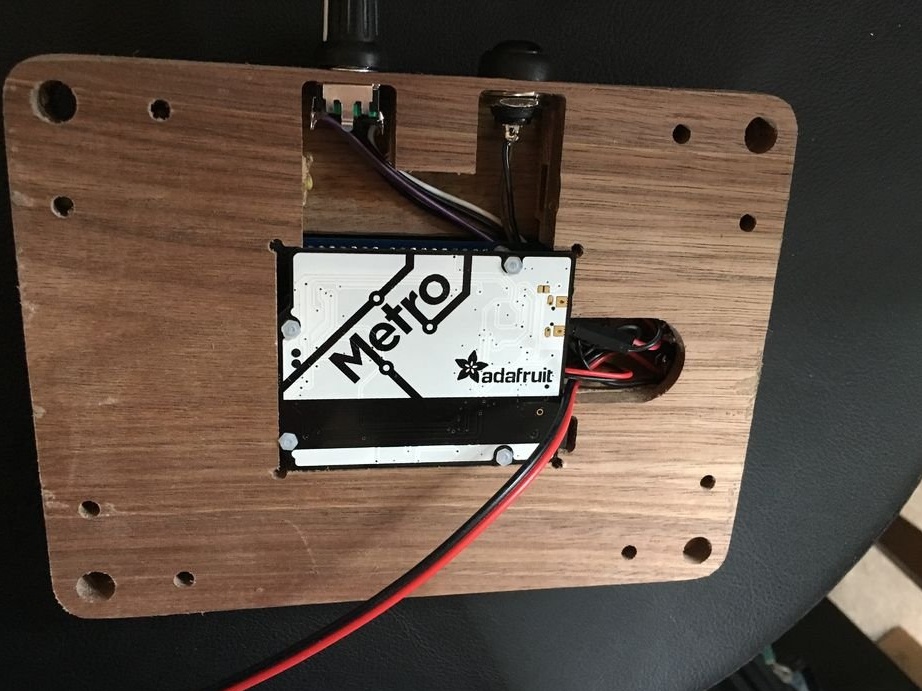
It connects everything, installs all the boards and controls in the case:
Fills the sketch. Of non-standard libraries, only Rotary to work with the encoder, everything else in the Arduino IDE is already there.
Installs and connects the lamp:
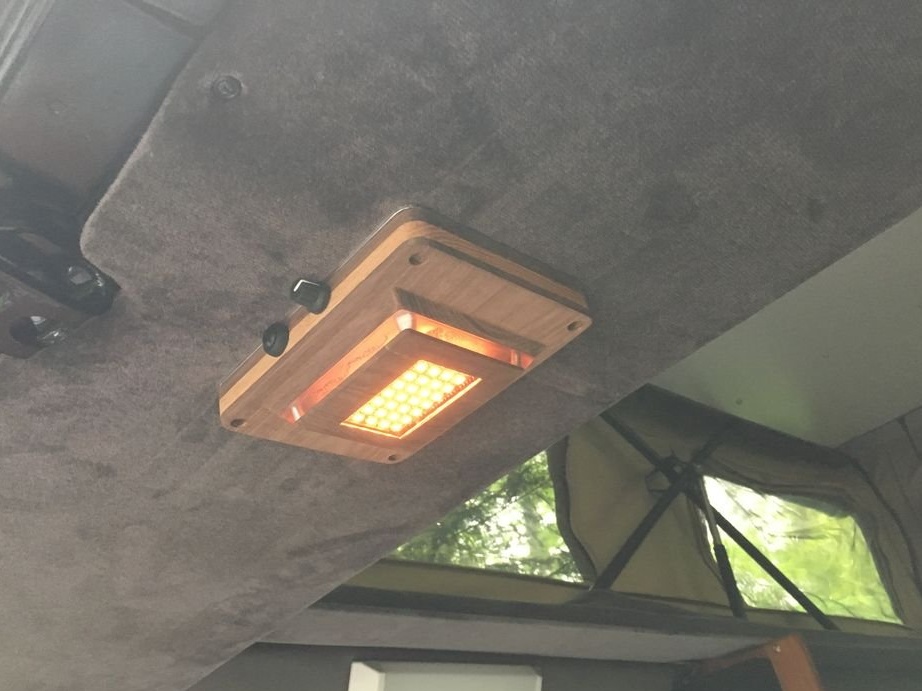
Appointment of controls:
The switch switches the supply voltage of the lamp physically. After switching on, it does not begin to glow immediately, but with a slight delay, simulating the operation of a classic fluorescent lamp.
Pressing the button built into the encoder switches the brightness and color adjustment modes. Rotation - changes the selected parameter. In the color selection mode, the minimum corresponds to white light, the maximum - smooth automatic color change.
A short press on a button separate from the encoder switches the lamp between standby and operating modes. A long press saves the current color and brightness settings - they are restored automatically after a physical shutdown and power-up.