
I welcome all fans to craft, I propose to consider the instructions for making an electric bike do it yourself. The author decided to adapt the 775 motor to bike, and with him he managed to disperse homemade up to 45 km / h, which is enough for a light bike. Motors 775 come in different capacities, the bike will need the most powerful, it can be a 775 288W motor, it’s enough for riding. According to the assurances of Chinese manufacturers, the motor shaft is capable of spinning 15,000 rpm, or even more, and this is too much. To solve the problem, the author had to make a gearbox, which significantly lowers the speed and increases traction. If the project interests you, I propose to study it in more detail!
Materials and tools used by the author:
Material List:
- motor 775 at 288W (or similar suitable power);
- experimental bike;
- footboards for a moped;
- bicycle sprockets;
- axis with a small drive sprocket;
- the coupling of the right size;
- bearings with housings;
- axis;
- corner;
- Sheet steel;
- starting relay;
- switch (3 positions);
- main switch;
- batteries;
- bolts and nuts;
- wiring and more.
Tool List:
- welding machine;
- grinder;
- drill;
- vise;
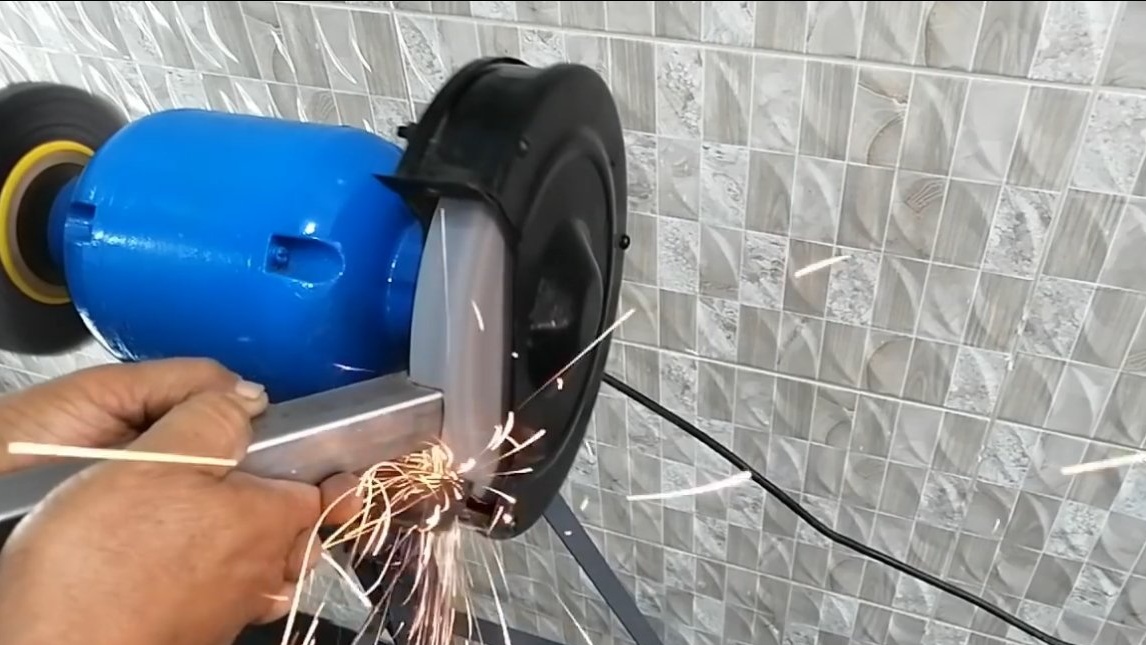
- whetted;
- lathe;
- tape measure, marker.
Homemade manufacturing process:
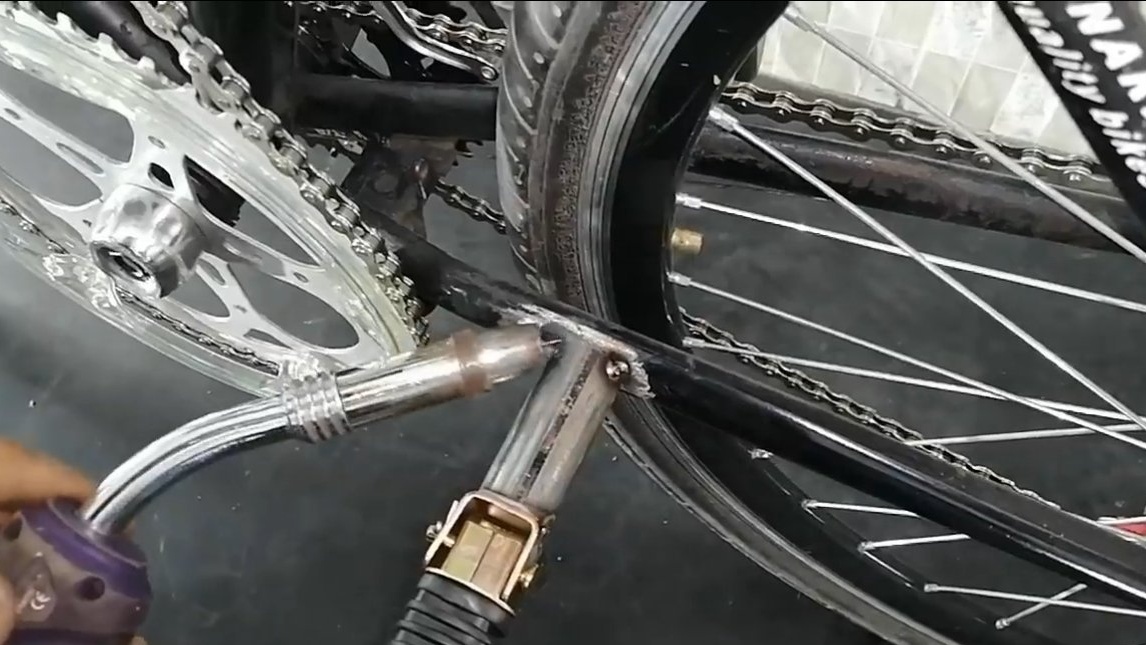
Step one. Weld an asterisk
We remove the front block of sprockets from the bicycle axis, then we need to install a new, small sprocket so that we can transmit large torque to the rear wheel. The author drilled the rivets and dismantled the block of sprockets, you need to remove the smallest sprocket.
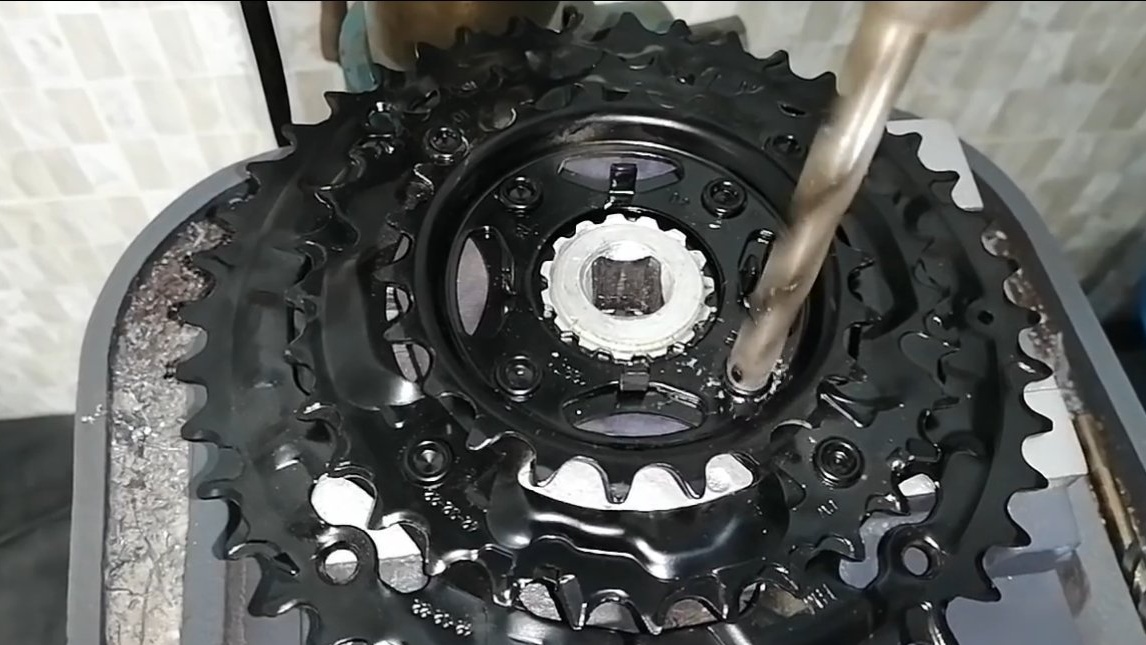
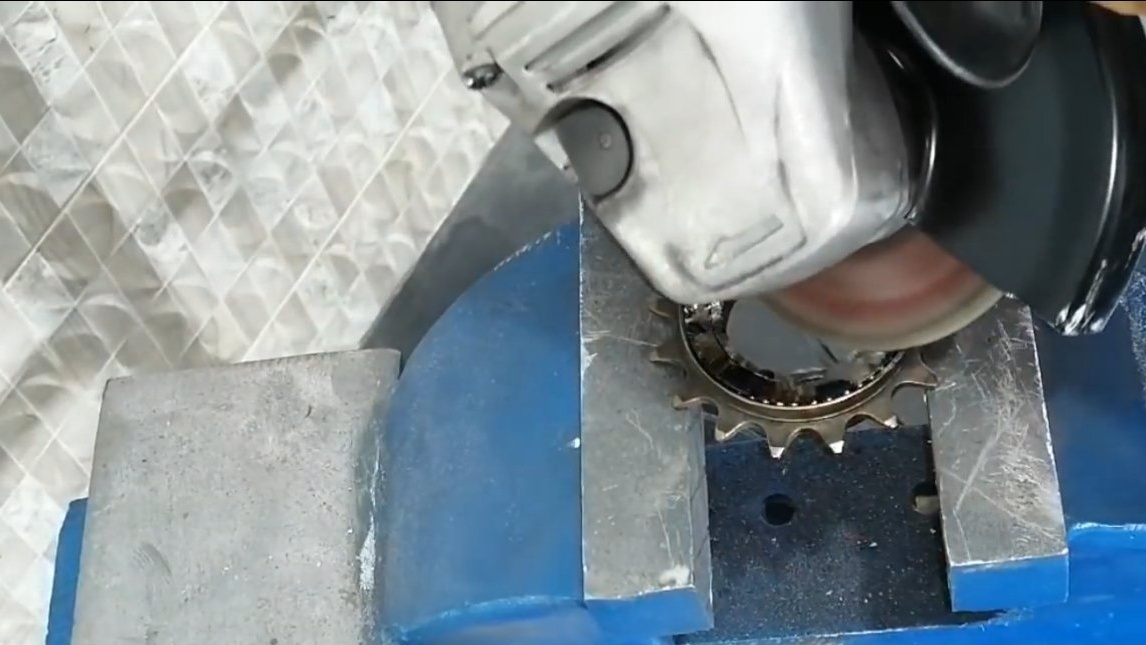
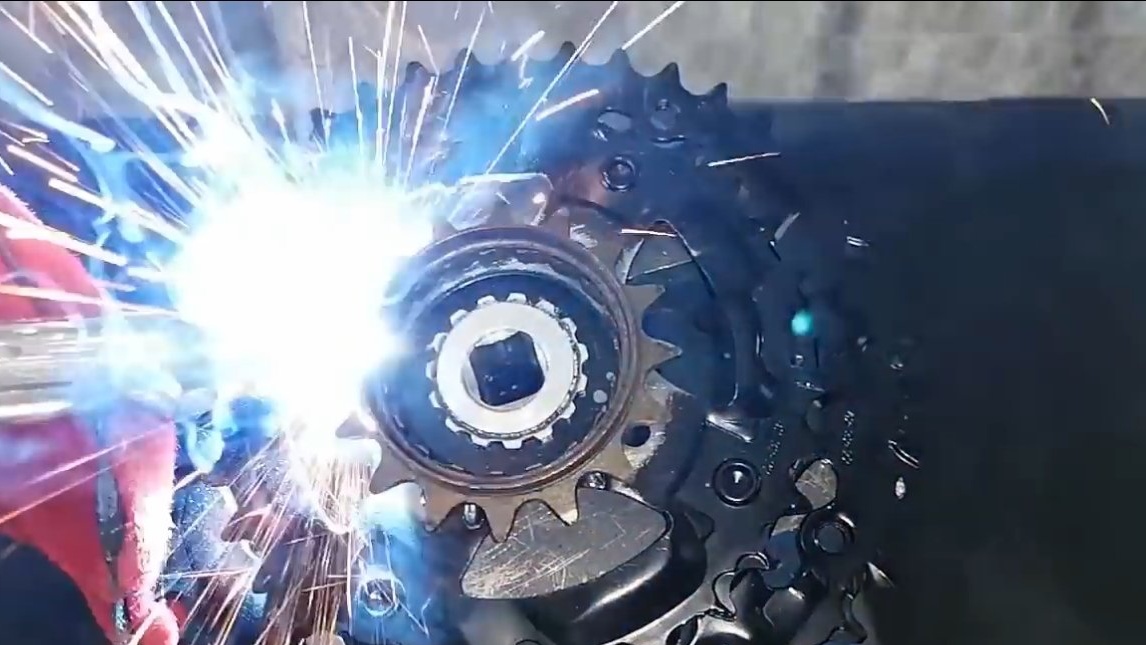
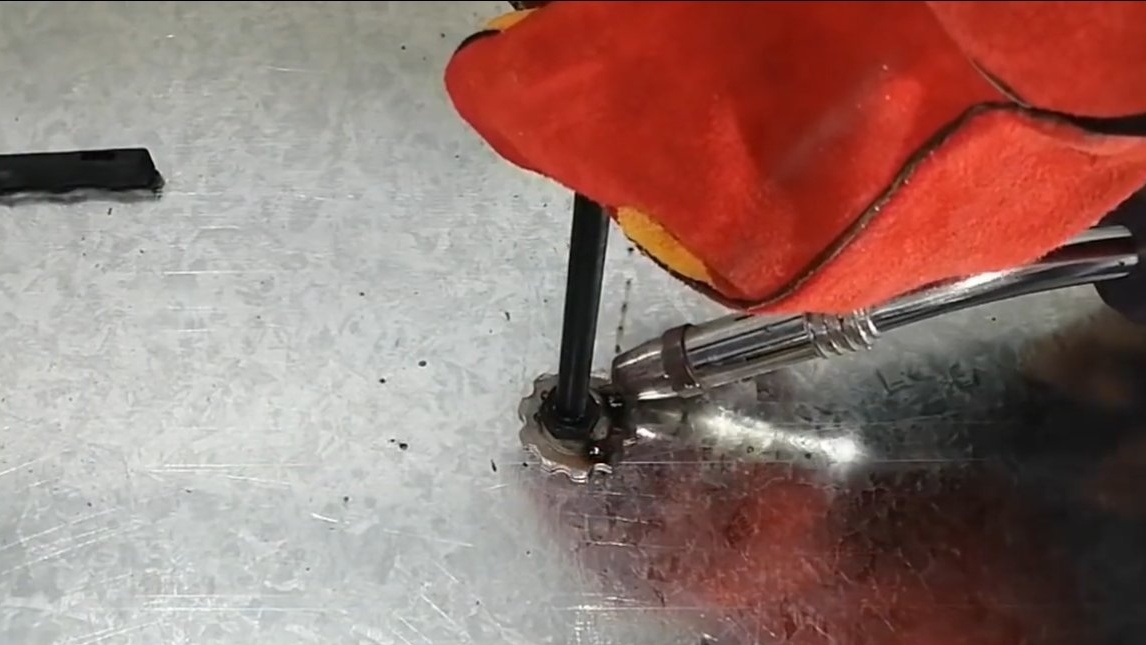
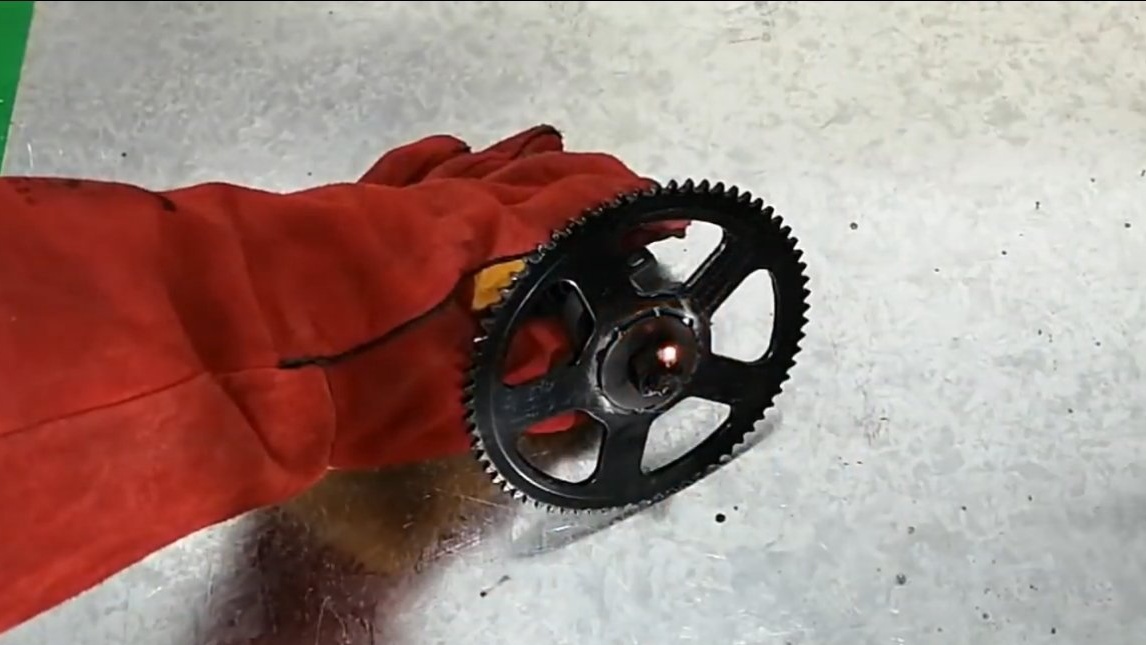
Next to the block of sprockets you need to weld the smallest sprocket from the rear wheel of the bicycle. Of course, you need to carefully mark everything and weld the sprocket clearly in the center. The ratchet assembly can be brewed, if any. That's all, now the block can be put in place. The connecting rod with the pedal can be cut so as not to interfere.
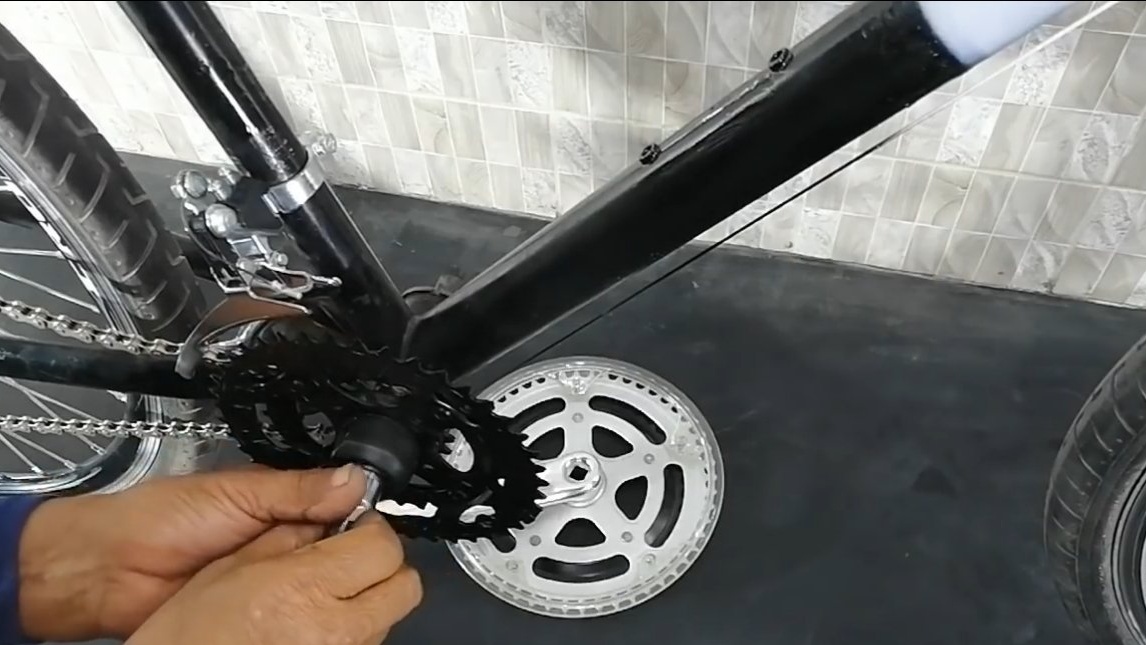
As for the other side, here we put an asterisk of the largest possible size, torque will go on it from a small asterisk of the drive axle.
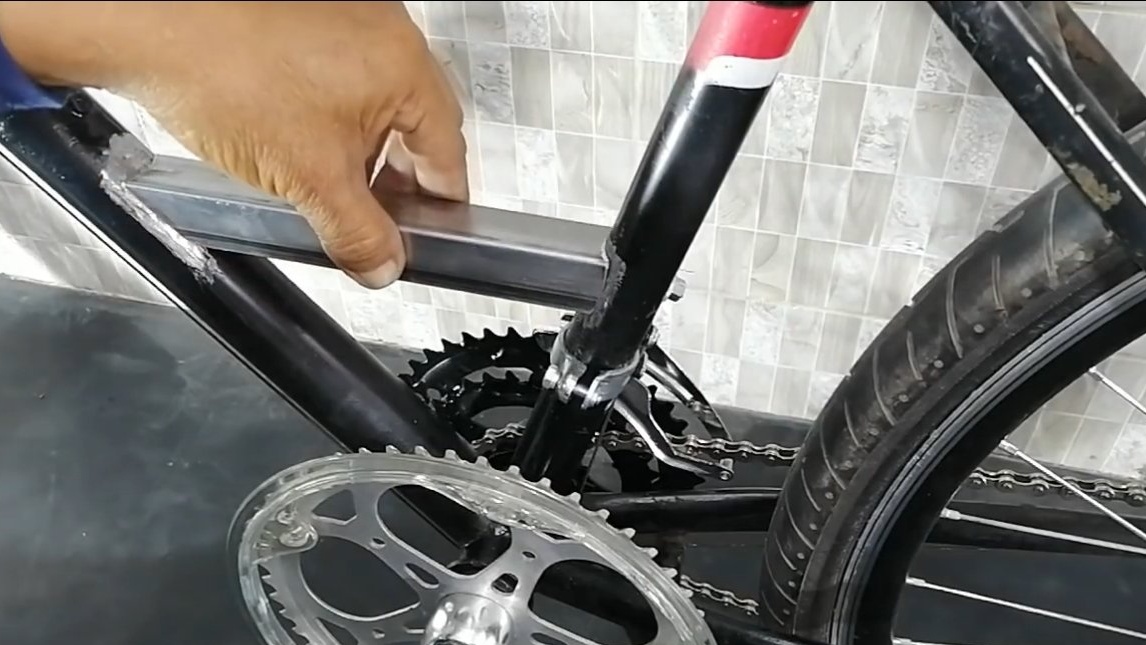
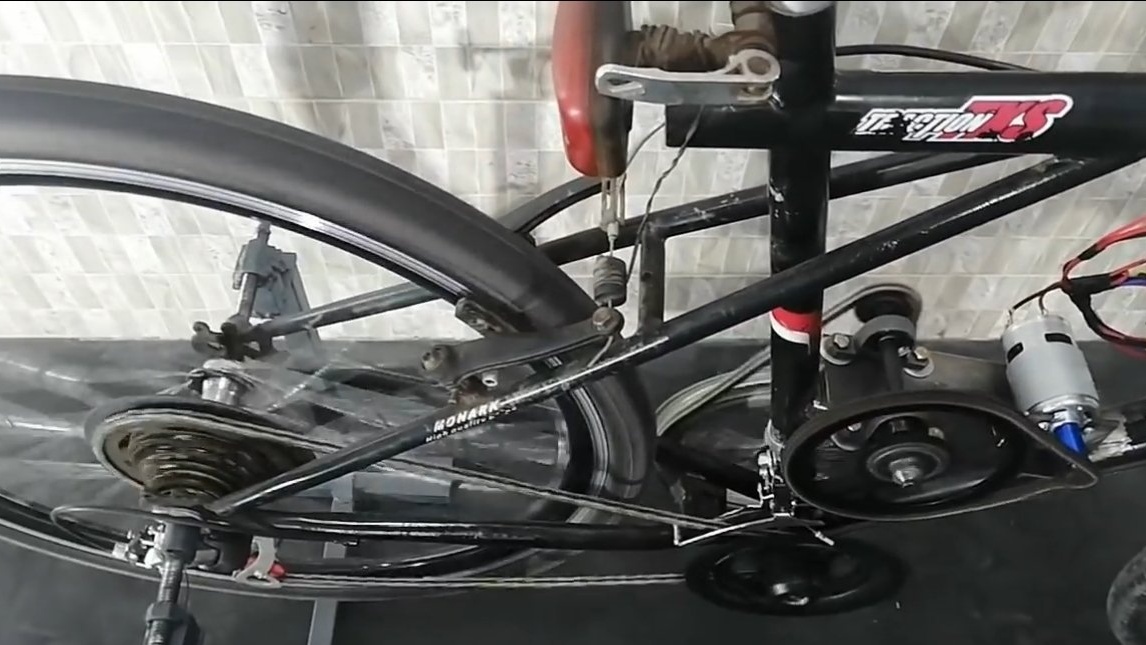
Step Two Motorama
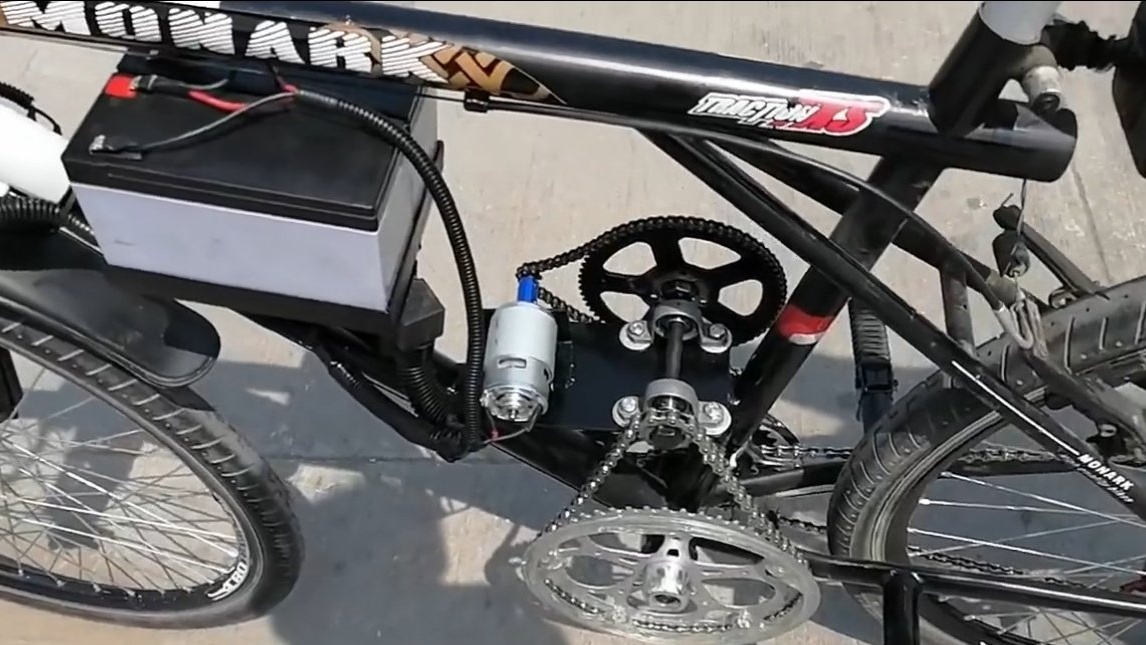
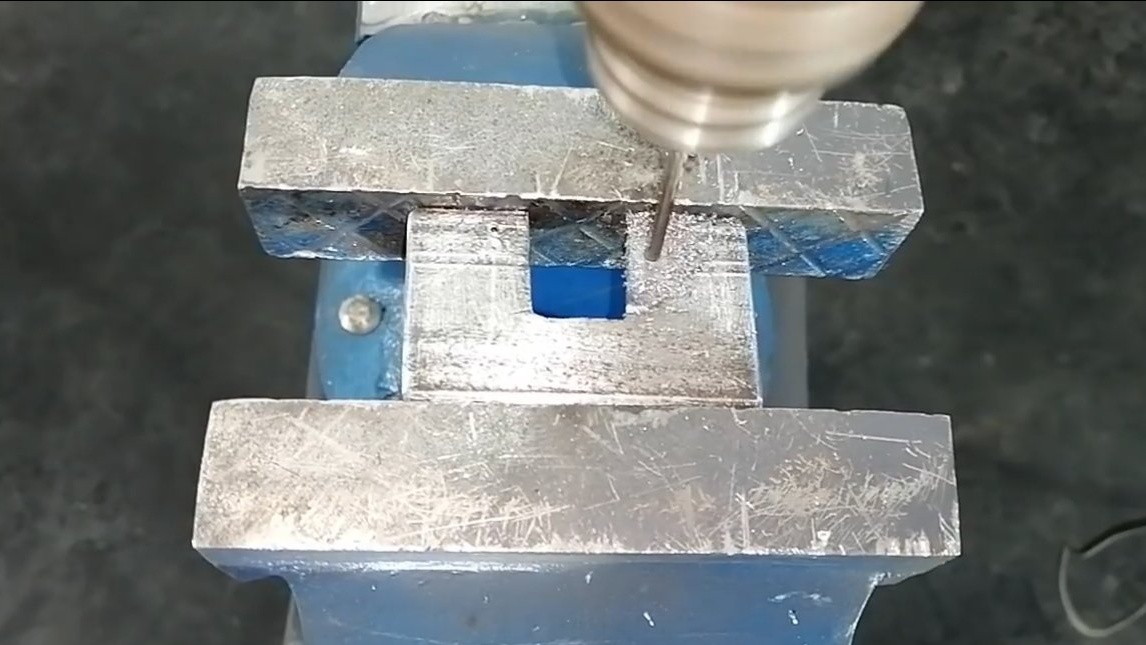
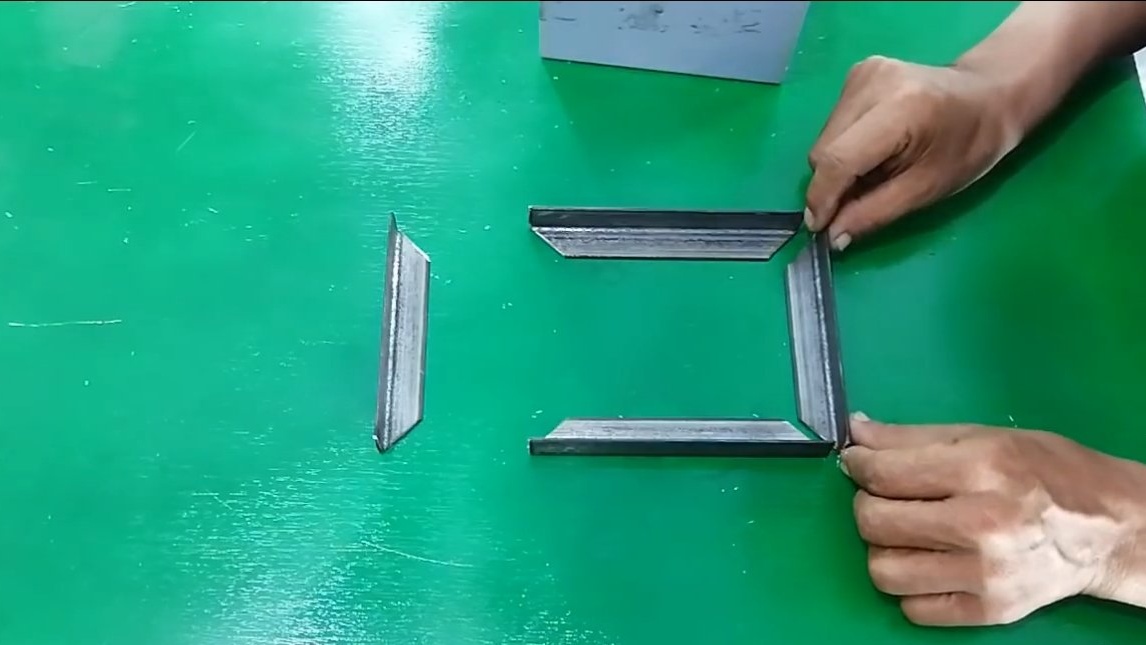
We make a motor mount on which we fix the working axis and motor. The author cut a piece of the profile pipe and welded it into the bicycle frame. Next, a steel plate is welded to this pipe, it is better to drill holes for mounting bearings in advance.
As for the engine, for him the mounting bracket was made of a piece of corner. The corner can be welded to a steel plate or bolted with nuts.
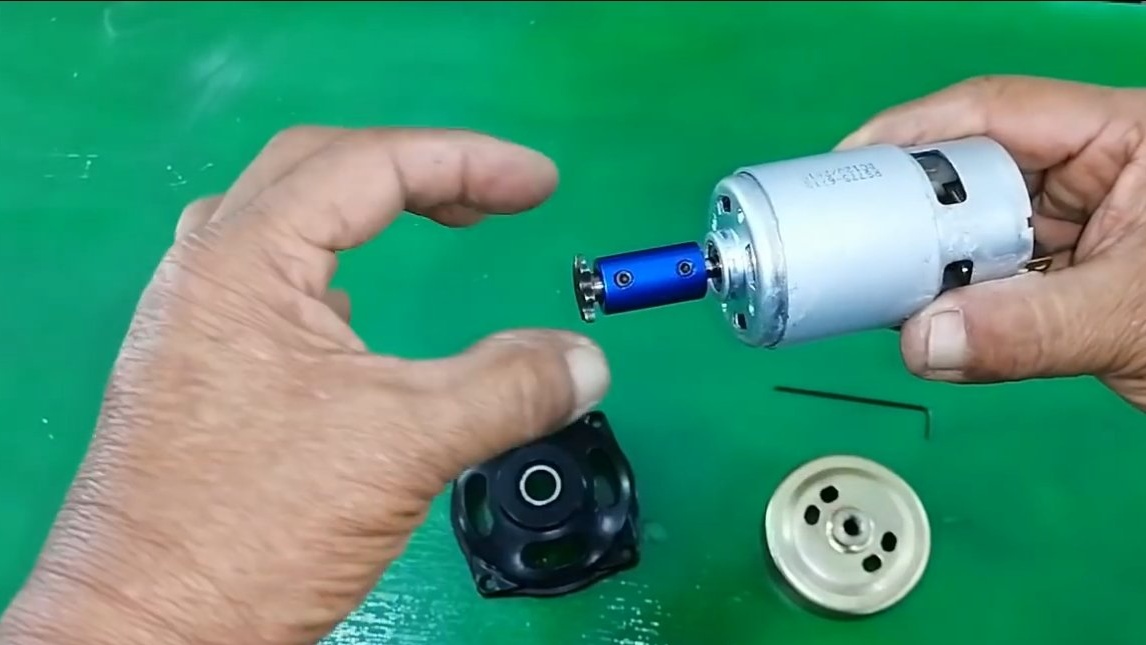

Step Three Lead sprocket
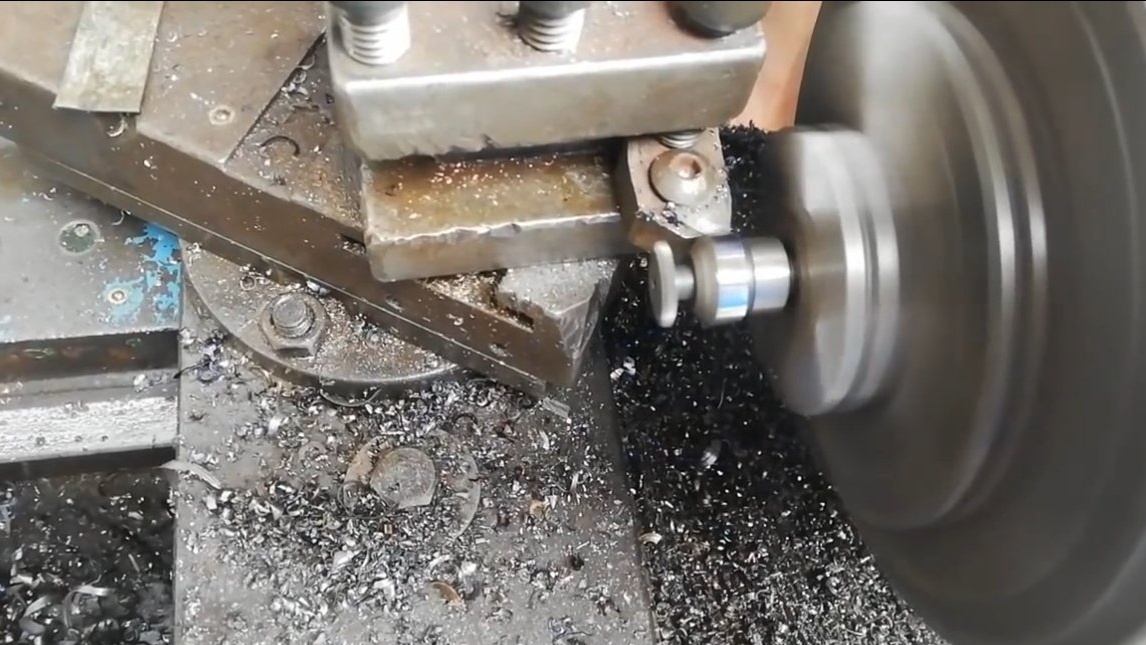
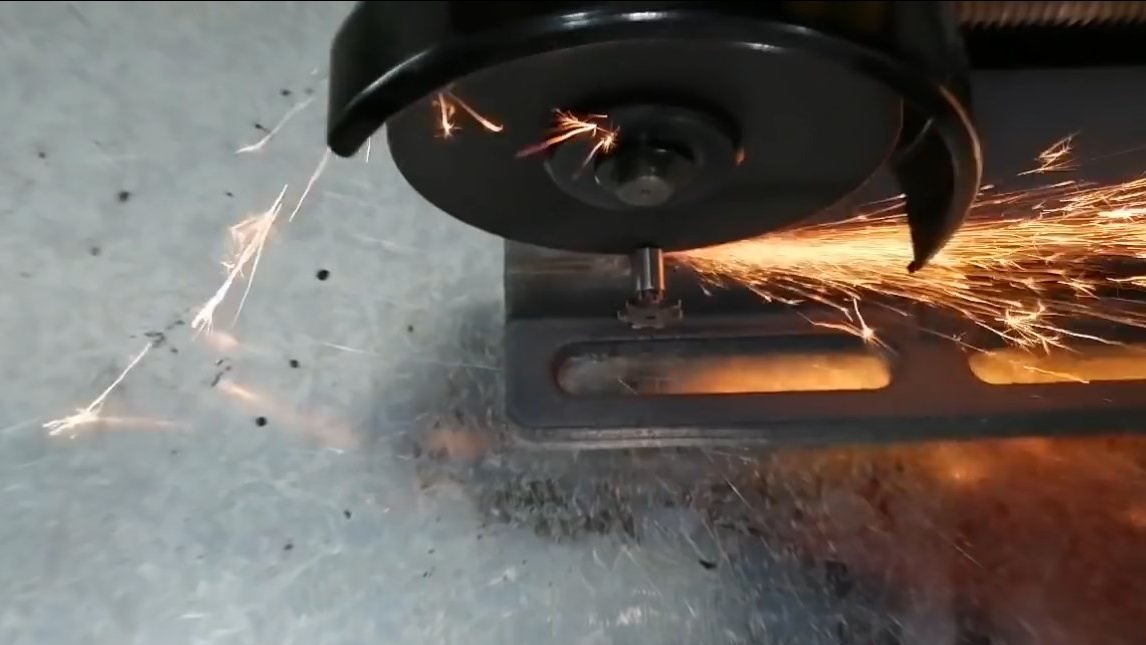
We need to install a drive sprocket on the motor shaft, it has the smallest dimensions in comparison with all the others. The author got this star along with the axis from the centrifugal clutch, which is put on the motors for the card.
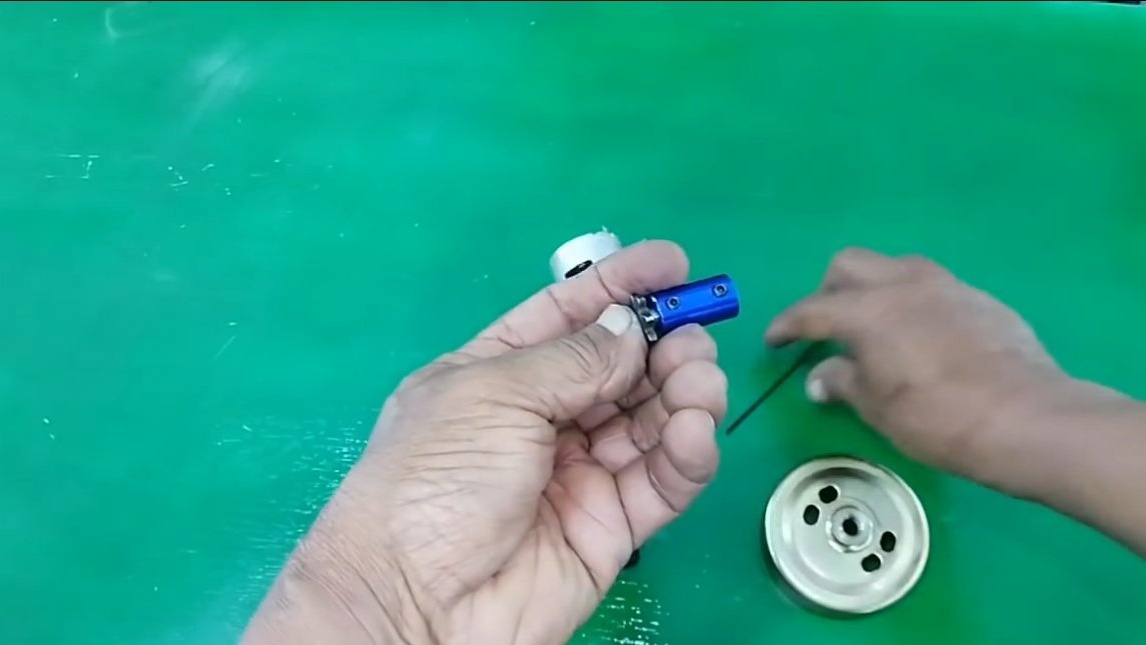
The axis with the sprocket is connected to the motor shaft through a suitable coupling.

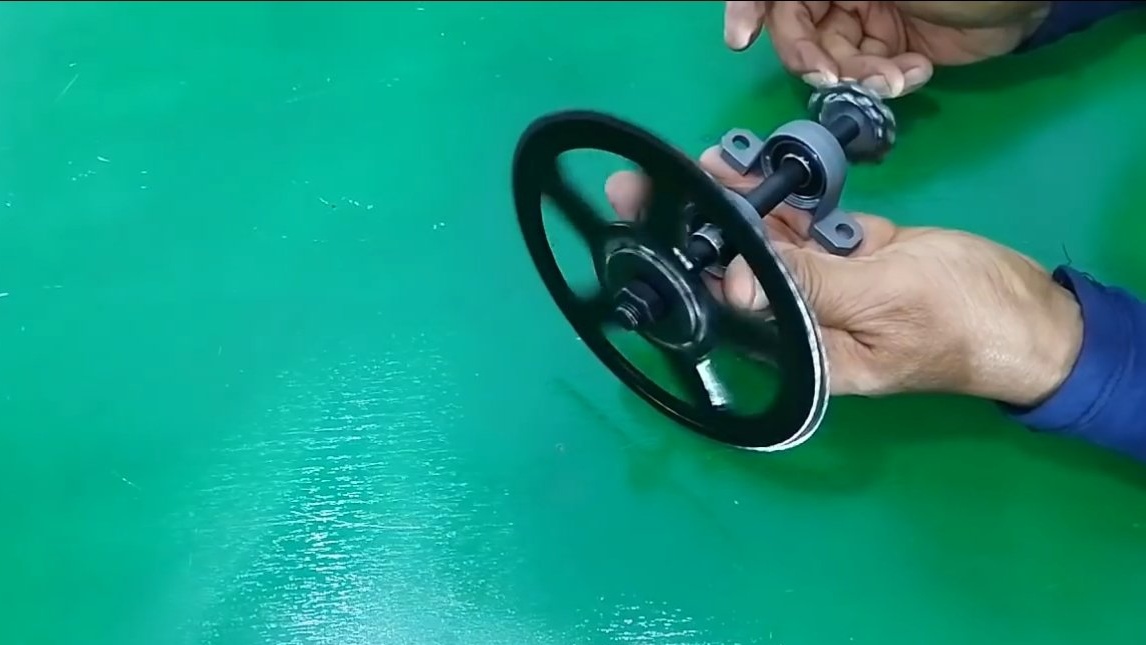
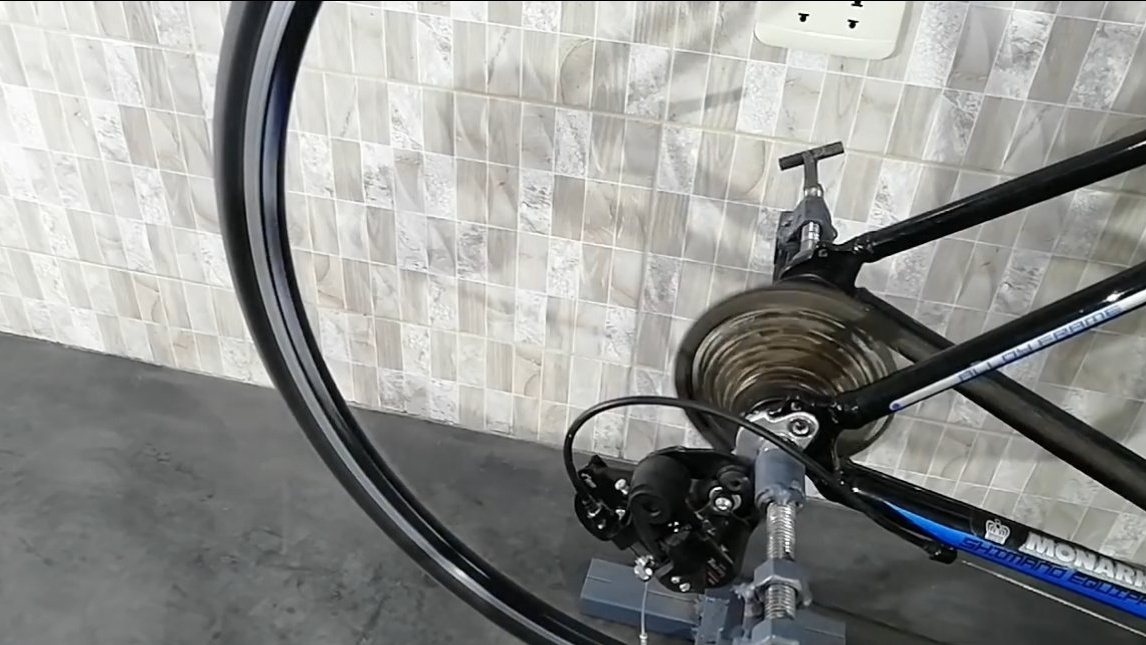
Step Four Working axis
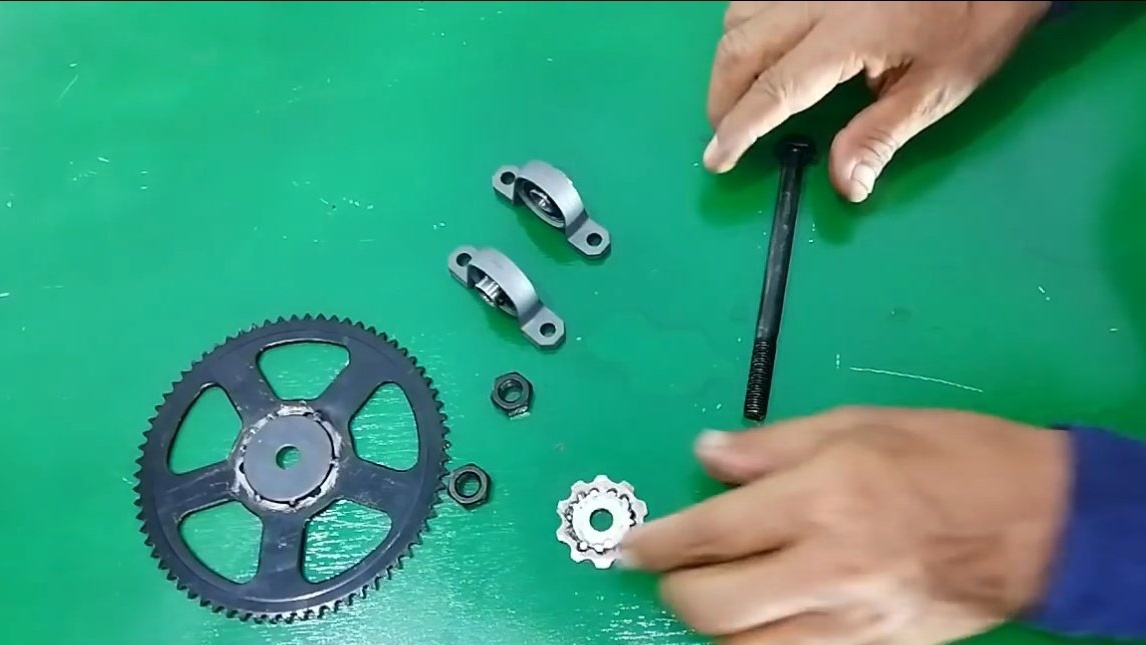
We put the working axis on bearings, bearings in housings and are attached to the motor frame. On one side of the axis we put a large asterisk, it will take torque from the motor shaft. On the other side there is a small bicycle sprocket, which transmits speed to the lower axis, on which the pedals were previously.

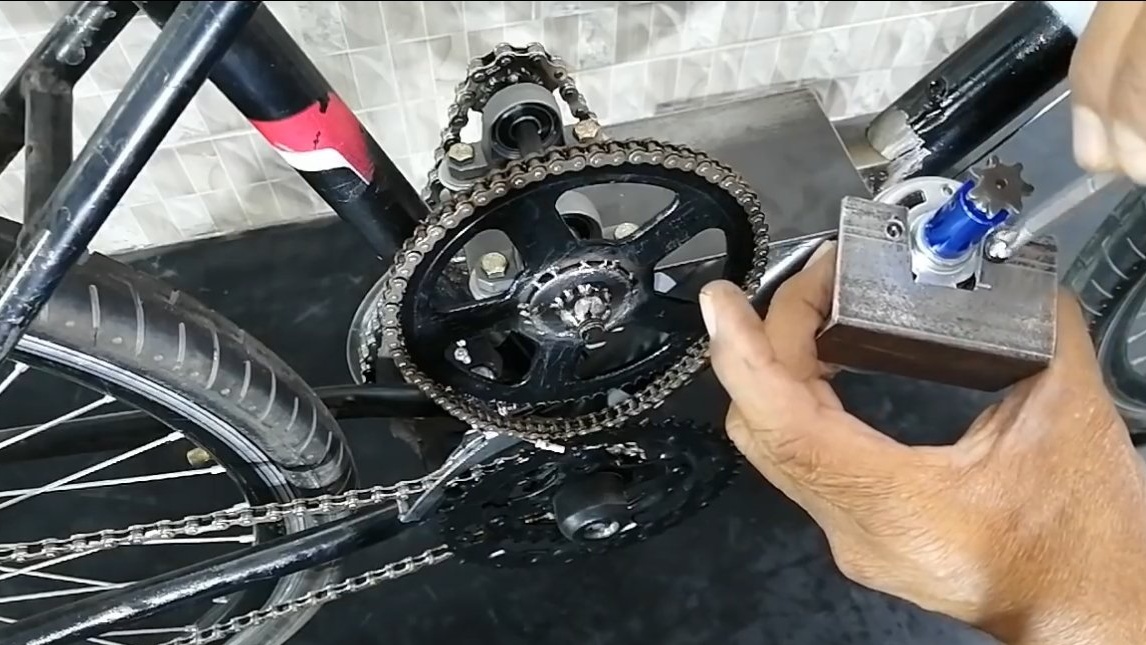
After assembling all the nodes, put and pull the chain. Now apply voltage to the motor and see if everything works well. In the process, the chain should not fly off, otherwise the whole structure will work unstably and fail at a crucial moment.
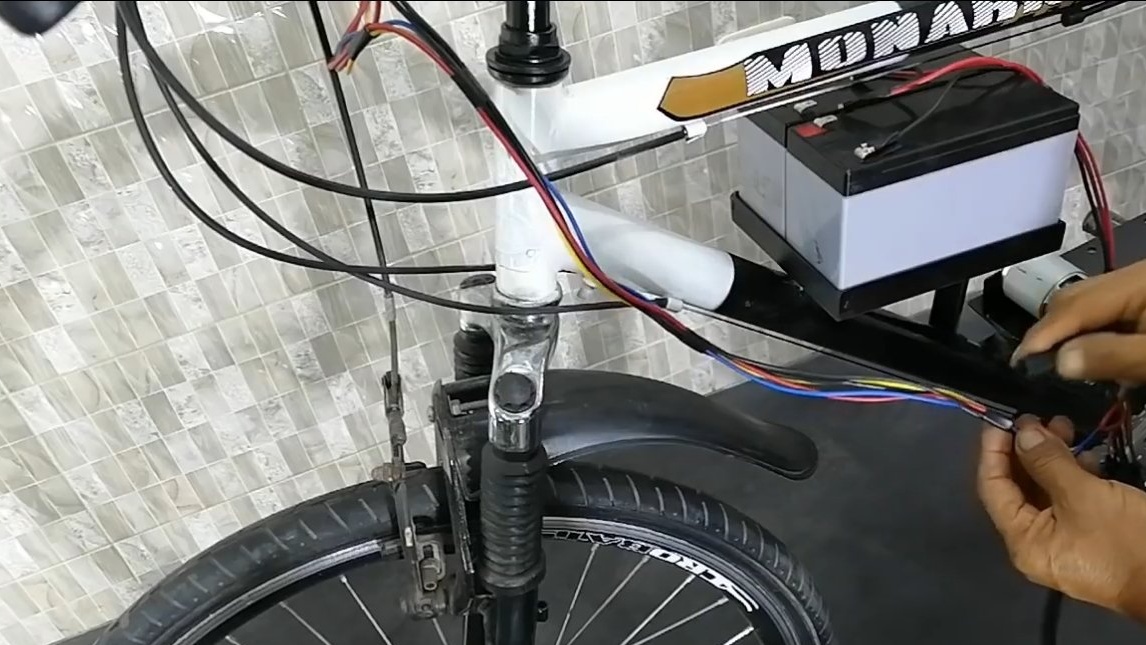
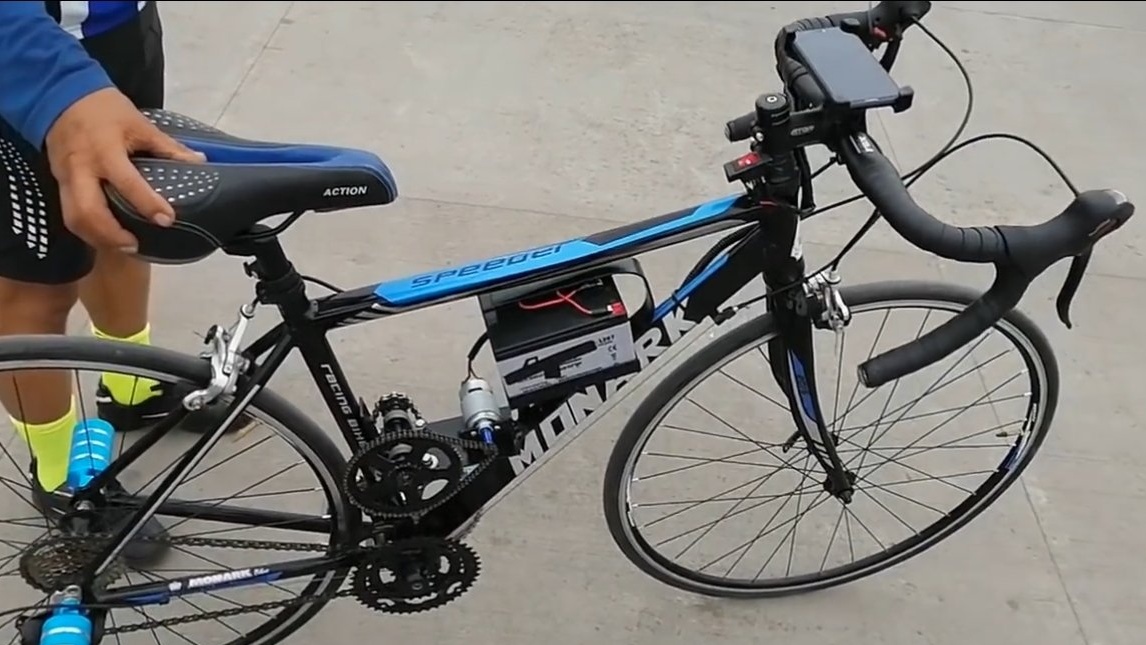
Step Five Frame for batteries
We make a frame for batteries, the author uses two batteries of 12V each. Under these two batteries we assemble the frame from the corner and weld it into the bicycle frame. Well, then the batteries can be fastened with a clamp and so on.
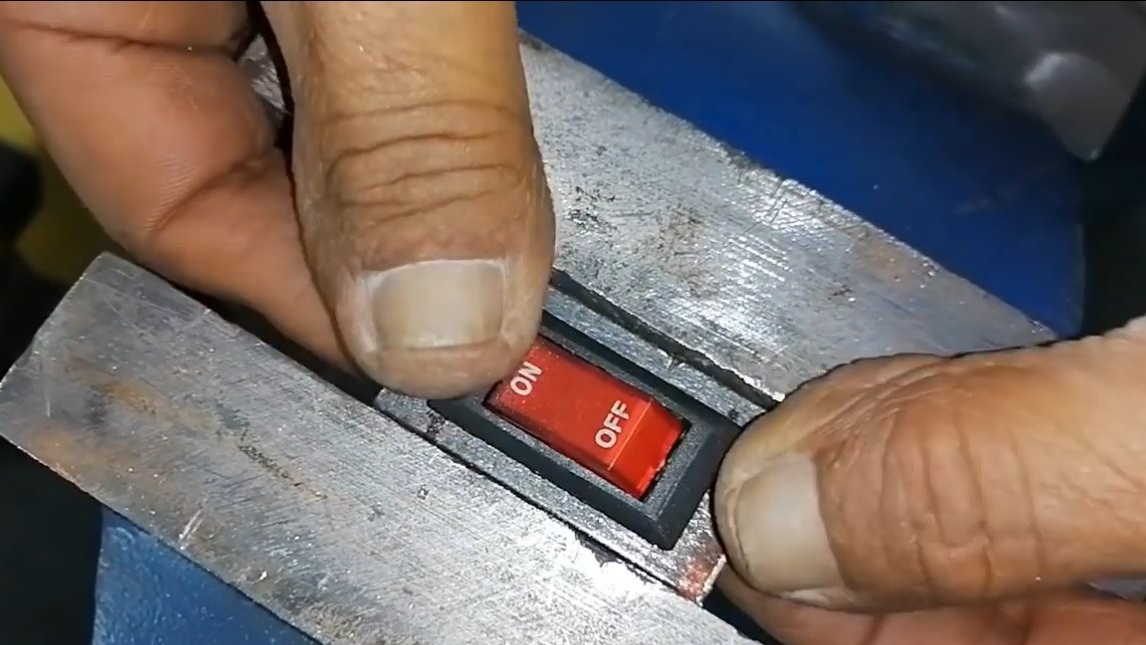
We also weld a piece of corner to the frame and put a general switch.
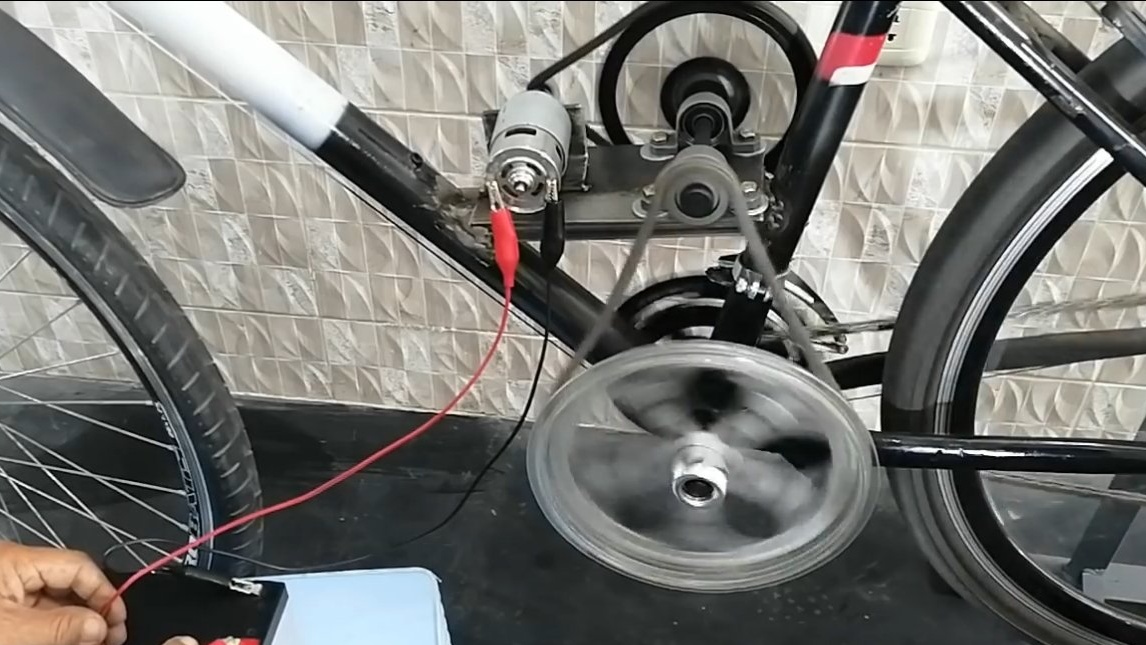
Step Six Connect wiring
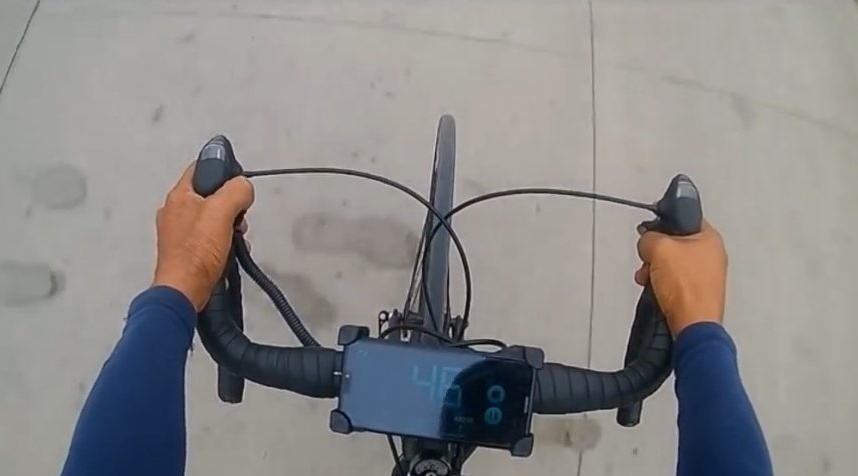
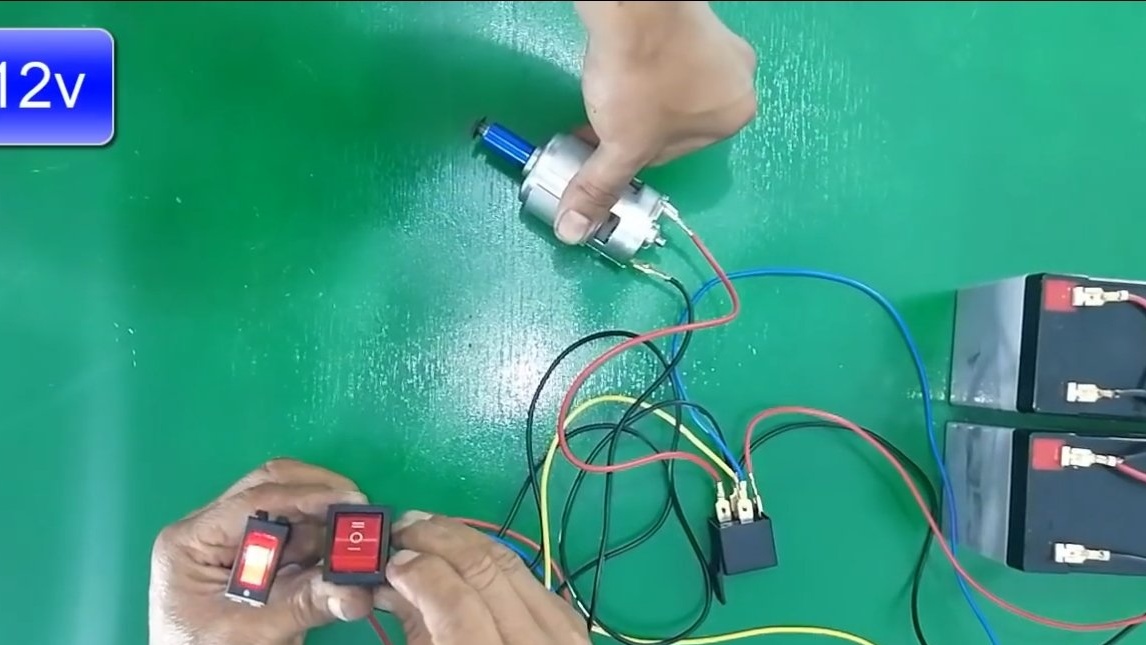
You need to start the motor through the start relay, since it consumes a lot of current. The relay itself can be connected to a button mounted on the steering wheel. So, when you hold down the button, the bike will accelerate, and when released, it will ride.
The author also installed a switch that will allow the voltage to be supplied to the motor 12 or 24V. The result is two driving modes, high-speed and economical.
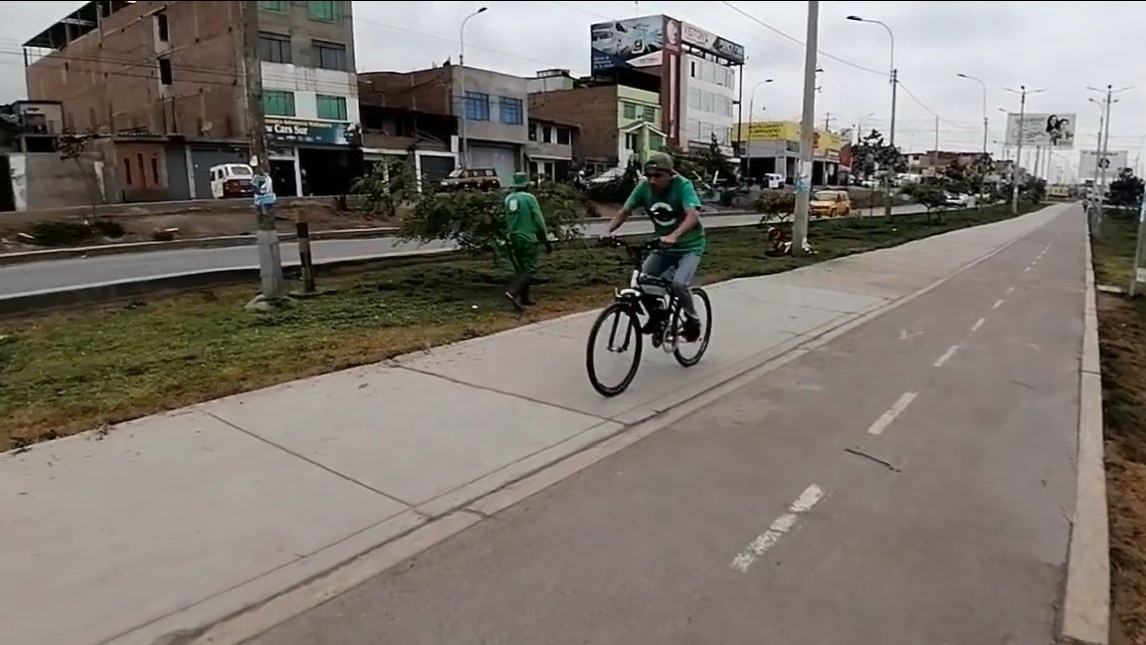
Seventh step. Running boards and trials
We weld in a convenient place the steps from the moped or just pieces of pipes. The bike is ready, you can experience it. The maximum speed will depend on the weight of the rider, as well as the weight of the bike. Well, the driving distance will determine the battery capacity and driving style. The author managed to accelerate to 45 km / h, this is a good result, 30-35 km / h is quite enough for a bicycle. At homemade work, you can drive to work, the car is silent, and you can charge it from a household network.
The project is completed on this, I hope you liked the homemade work, and you found useful thoughts. Good luck and creative inspiration, if you decide to repeat this. Do not forget to share your ideas and homemade things with us!