

The author of Instructables under the nickname ShaneCunningham proposes to implement a capacitive relay on Arduino programmatically. Of the additional parts, only capacitive sensors and resistors themselves will be required. No external hardware generators. In software homemade involved this and this third-party developments.
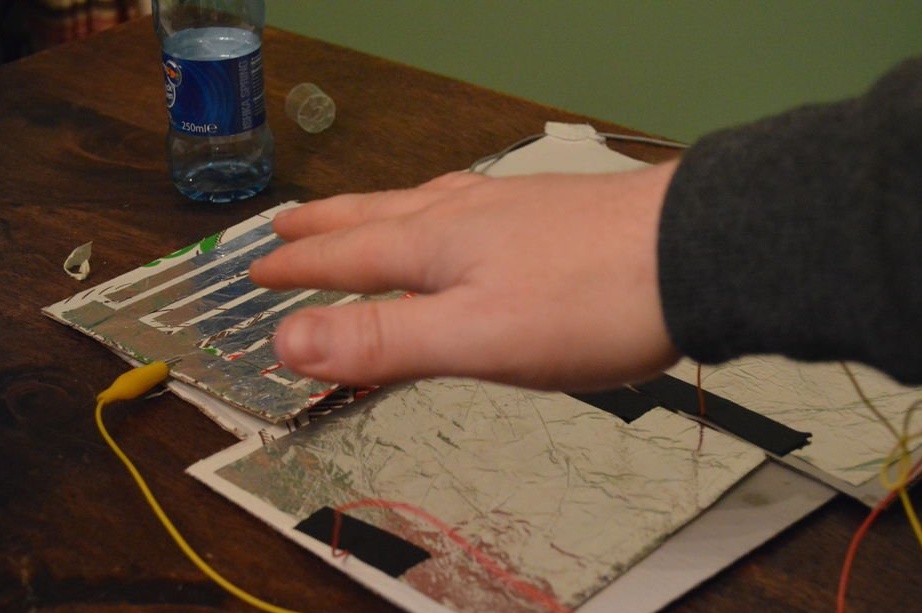
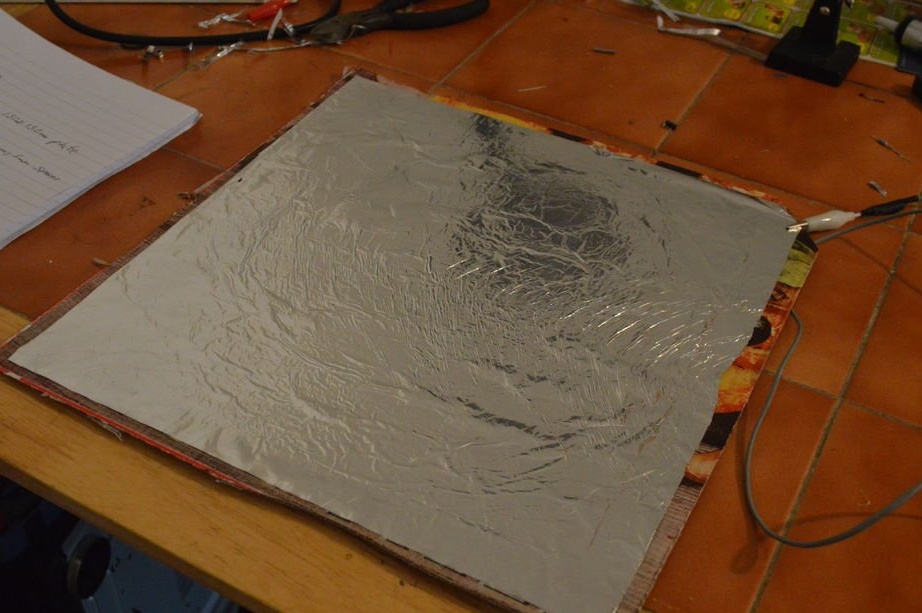
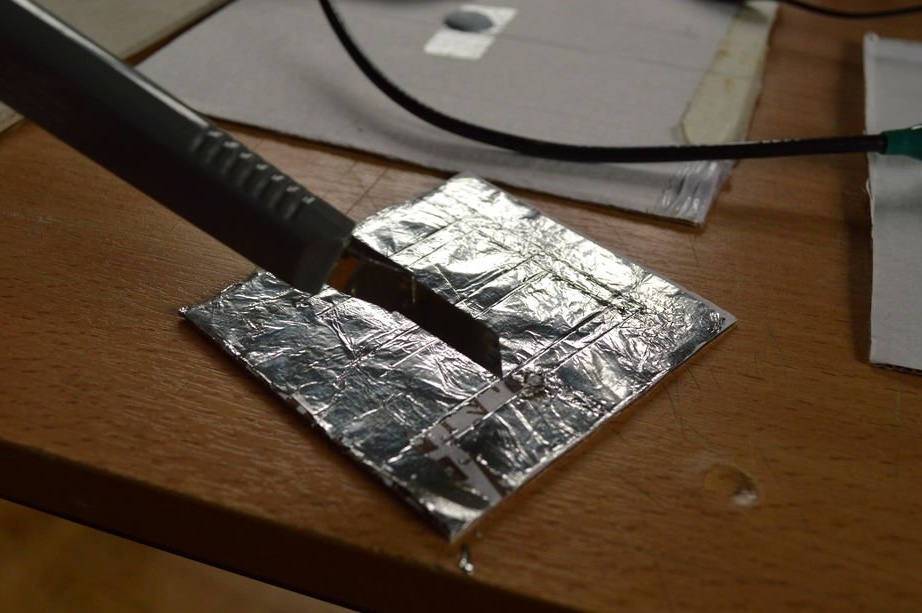
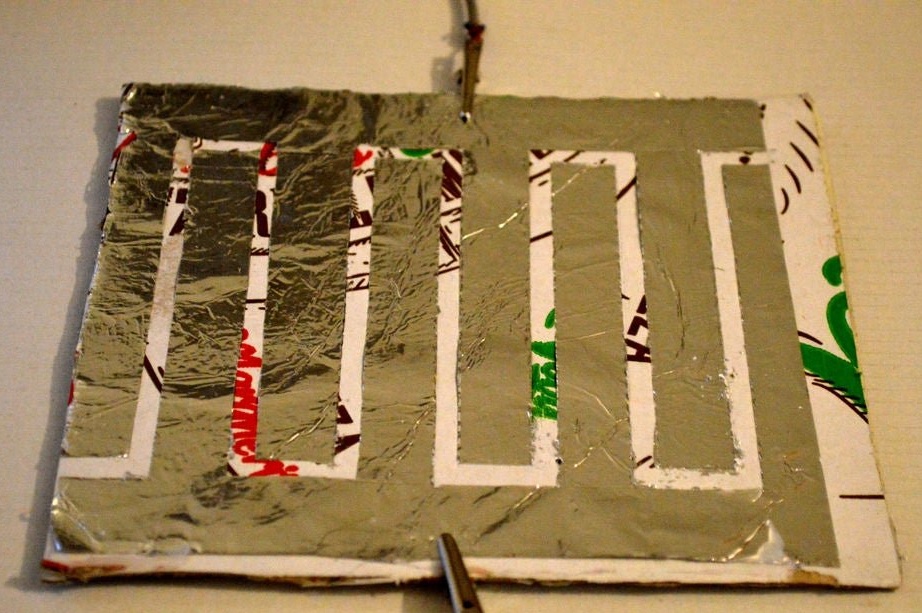
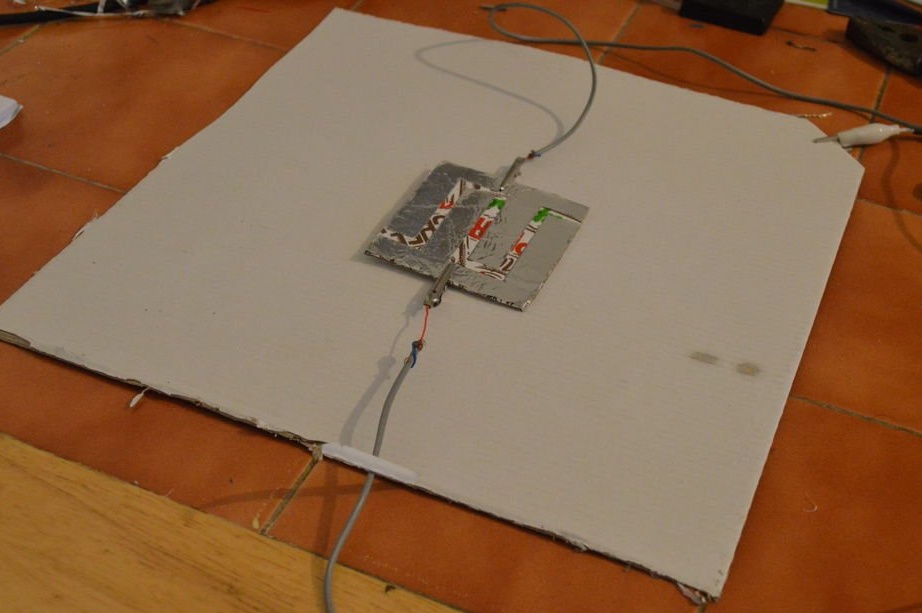
Capacitive sensors - two-layer, three-pin. The master makes them do it yourself. A cardboard square with a side of 300 mm is pasted over with foil - this will be the output connected to the common wire. On top of it places a cardboard square with a side of 100 mm, also glued with foil. On it, the foil layer is divided into two parts along a contour similar to an oscillogram of rectangular pulses. These will be two more conclusions.
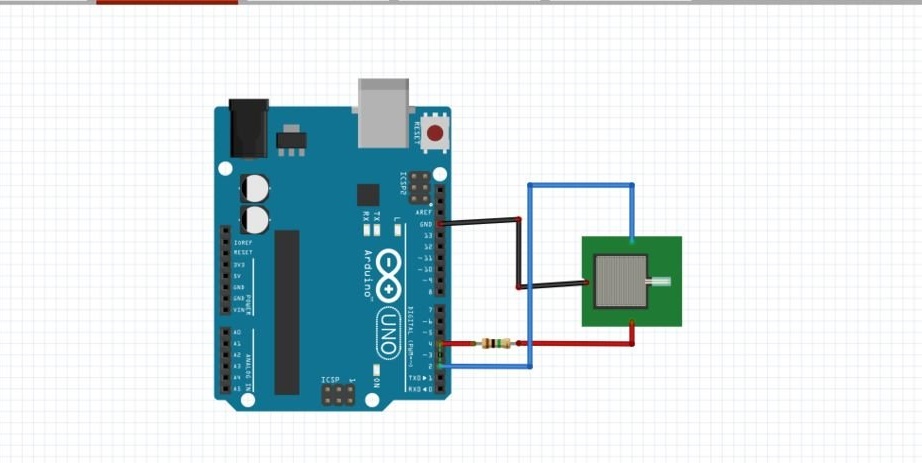
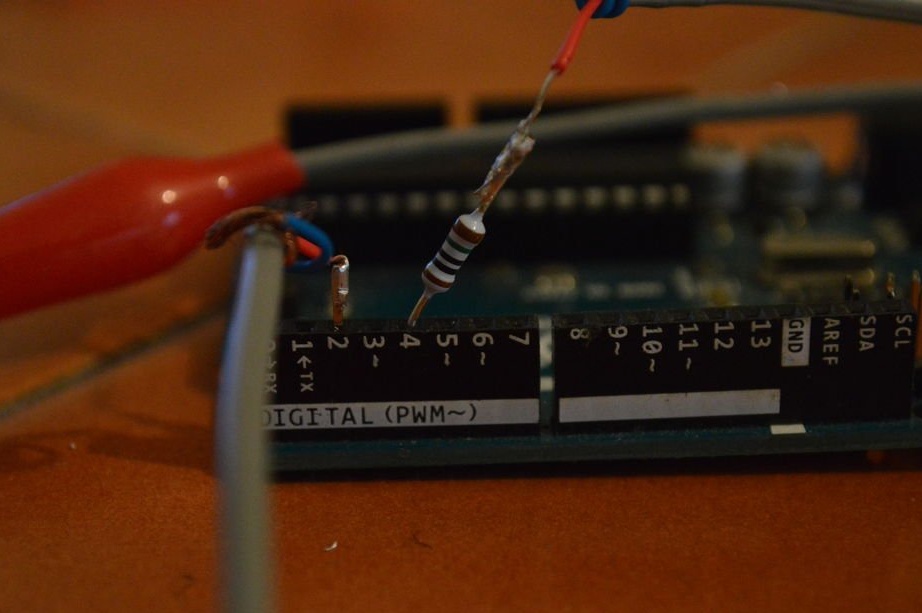
Each of the manufactured sensors is equipped with a 1 MΩ resistor. If there is only one sensor, connect it as shown below. If there are several of them, you will have to use the Arduino conclusions - two per sensor - and take this into account in the sketch.
Here's what the wizard does:
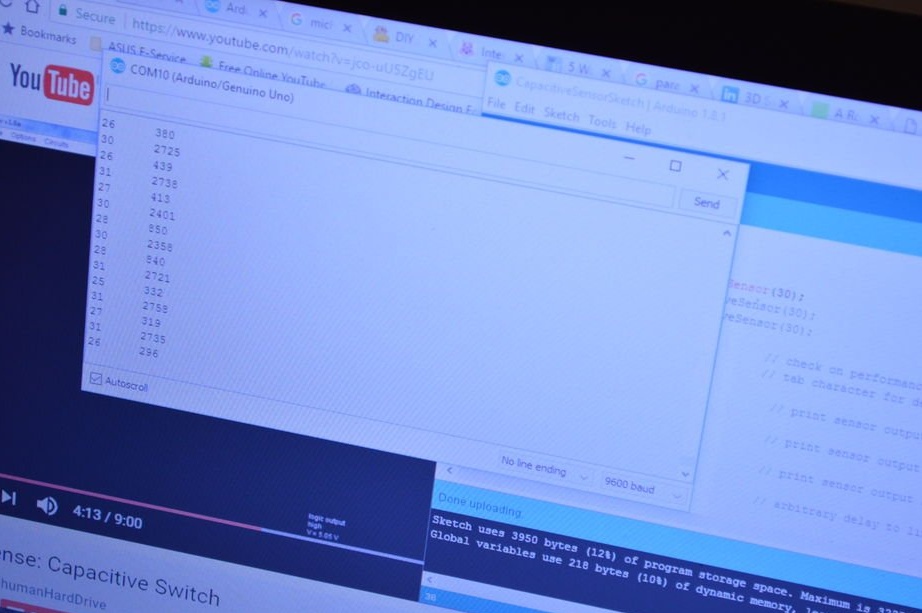
Composes a sketch that sends data taken from the sensor via the serial interface:
///////////////////////////////////////
void loop () {
long total1 = cs_4_2.capacitiveSensor (30);
Serial.println (total1);
/////////////////////////////////////////
Code for Communicating with Processing over Serial
* /
int val1 = 0;
int val2 = 0;
int val3 = 0;
int inByte = 0;
CapacitiveSensor cs_4_2 = CapacitiveSensor (4.2); // 1M resistor between pins 4 & 2, pin 2 is sensor pin, add a wire and or foil if desired
CapacitiveSensor cs_4_6 = CapacitiveSensor (4.6); // 1M resistor between pins 4 & 6, pin 6 is sensor pin, add a wire and or foil
void setup () {
cs_4_2.set_CS_AutocaL_Millis (0xFFFFFFFF); // turn off autocalibrate on channel 1 - just as an example
cs_4_6.set_CS_AutocaL_Millis (0xFFFFFFFF);
Serial.begin (9600);
pinMode (2, INPUT);
pinMode (6, INPUT);
// pinMode (8, INPUT);
establishContact (); // send a byte to establish contact until receiver responds
void loop () {
// if we get a valid byte, read inputs:
if (Serial.available ()> 0) {
// get incoming byte:
inByte = Serial.read ();
// long start = millis ();
long total1 = cs_4_2.capacitiveSensor (30);
long total2 = cs_4_6.capacitiveSensor (30);
// long total3 = cs_4_8.capacitiveSensor (30);
// delay (10);
val1 = map (total1, 700, 2300, 0, 255); // sensor values from calibration are mapped to here - begins to detect human proximity at 700 (4 "away), hand nearly touching sensor at 2300
val2 = map (total2, 30, 175, 0, 255);
// val3 = map (total3, 0, 13000, 0, 255);
Serial.write (val1);
Serial.write (val2);
//Serial.write(val3);
//Serial.print(val1);
// delay (50);
}
void establishContact () {
while (Serial.available () <= 0) {
Serial.print ('A');
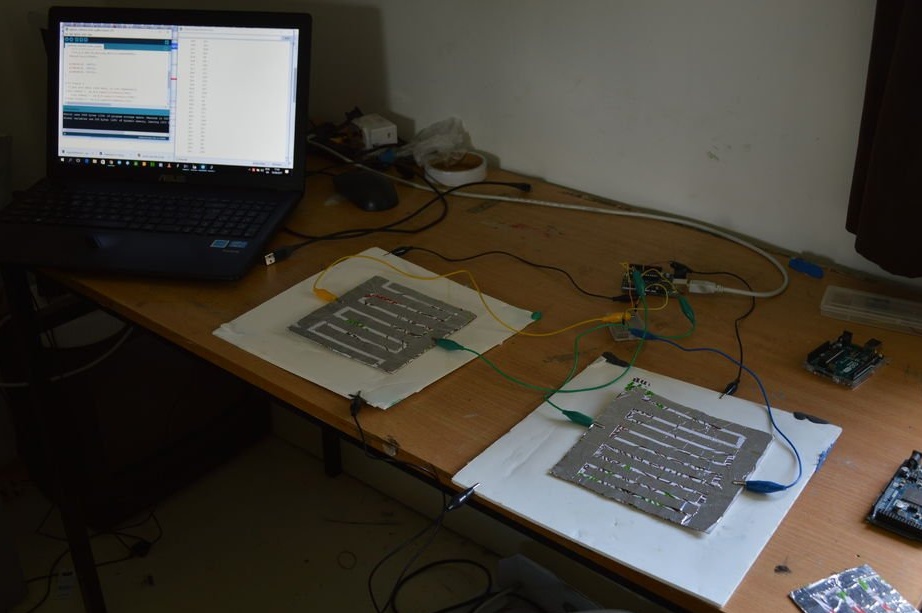
delay (300); }The wizard organizes further analysis of the incoming information on a PC in the Processing environment.


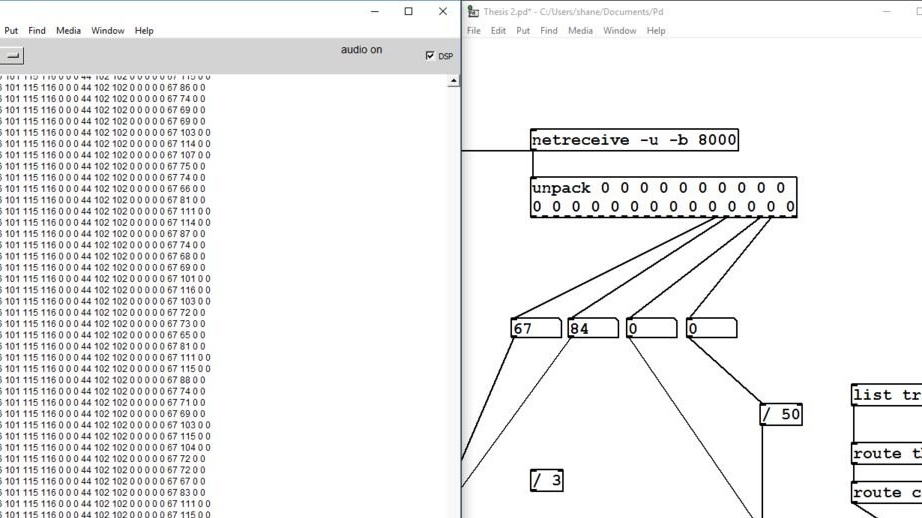
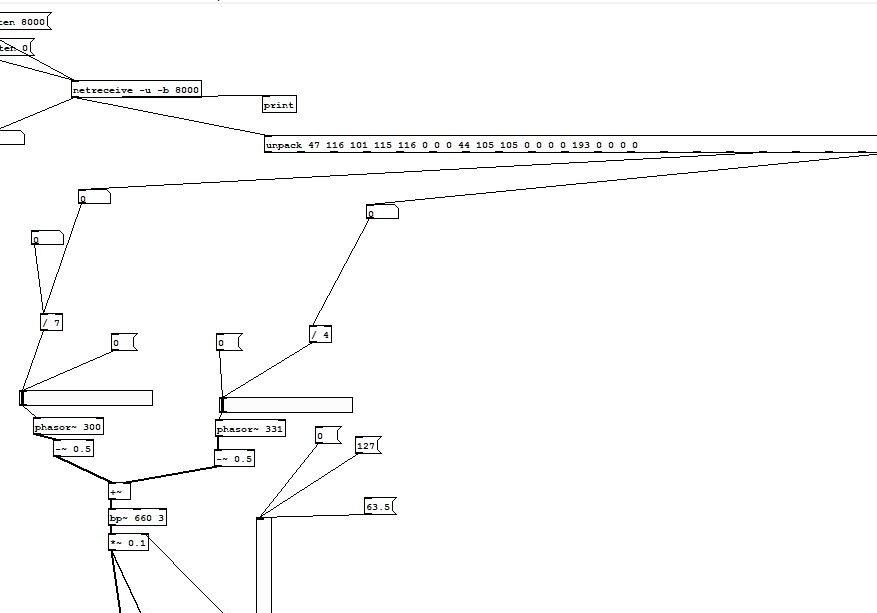
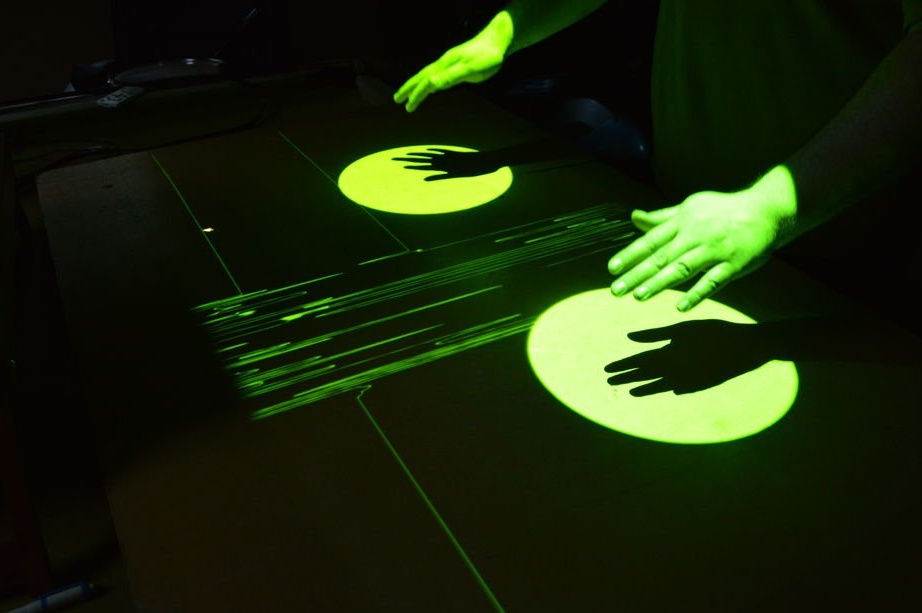
But this is only the beginning of the experiment. In the future, you can use it to process signals from Arduino sensors - the same thing, or, if its resources are not enough, one more.