
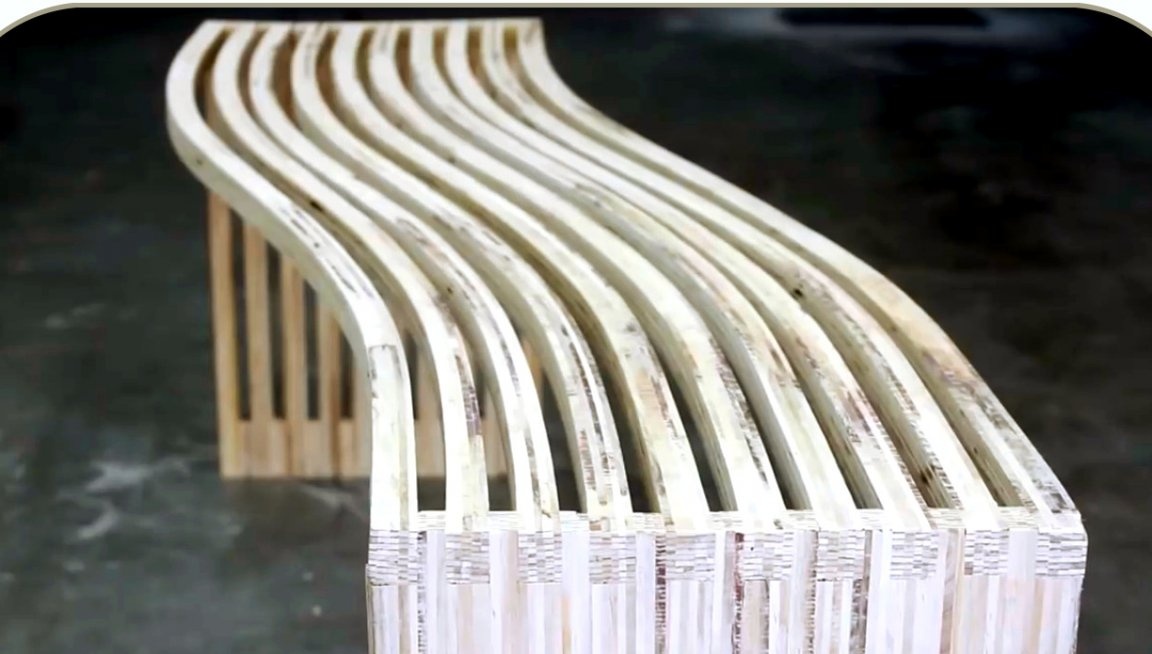
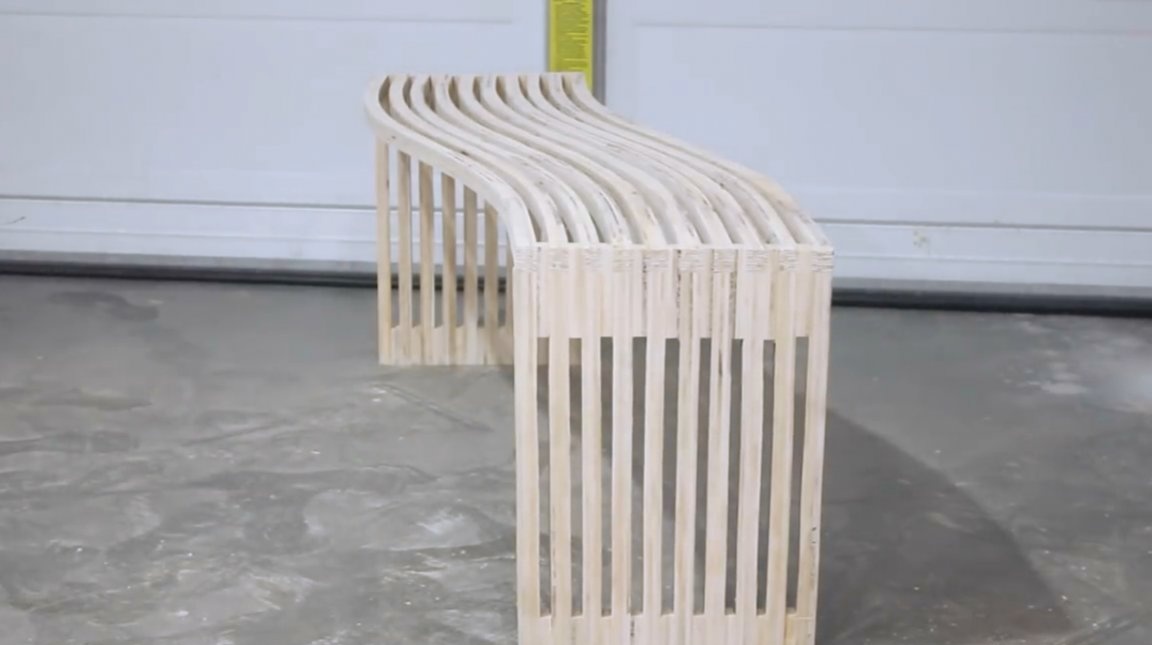
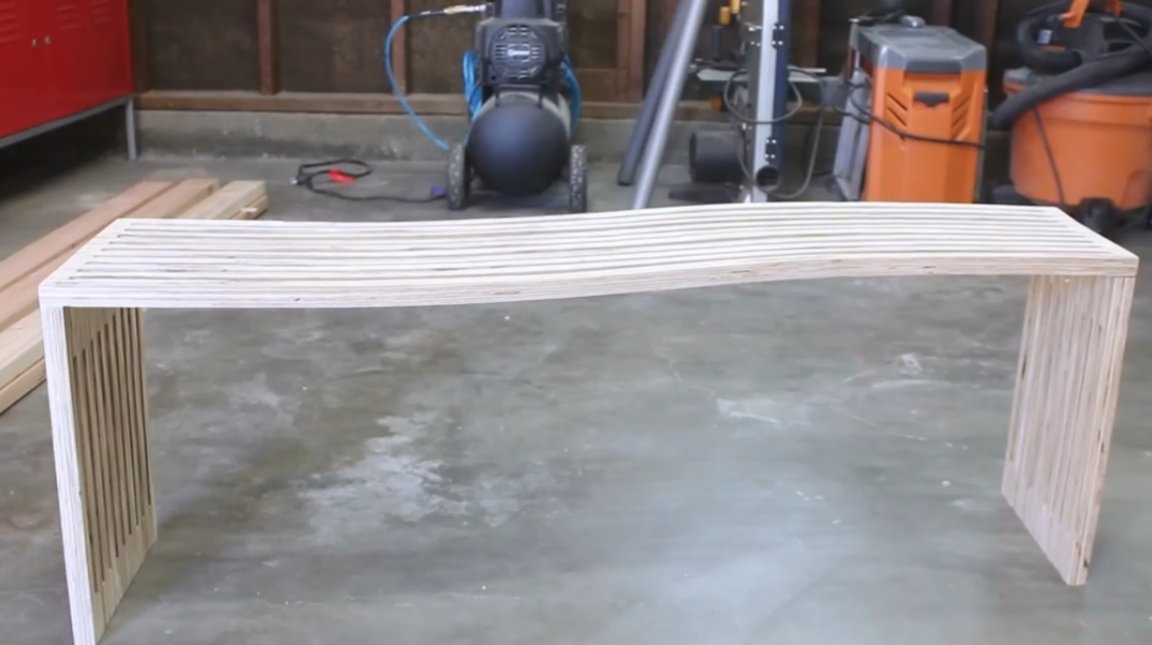
In this article, Zach, the author of the YouTube channel “Workshop Edits”, will tell you about the manufacture of a unique Lignum-style bench with a characteristic design of smooth lines. The main material will be ordinary sheet plywood.
Materials
- sheet plywood
- PVA glue
- Paper, tape
- MDF panel
- Sandpaper.
Instruments, used by the author.
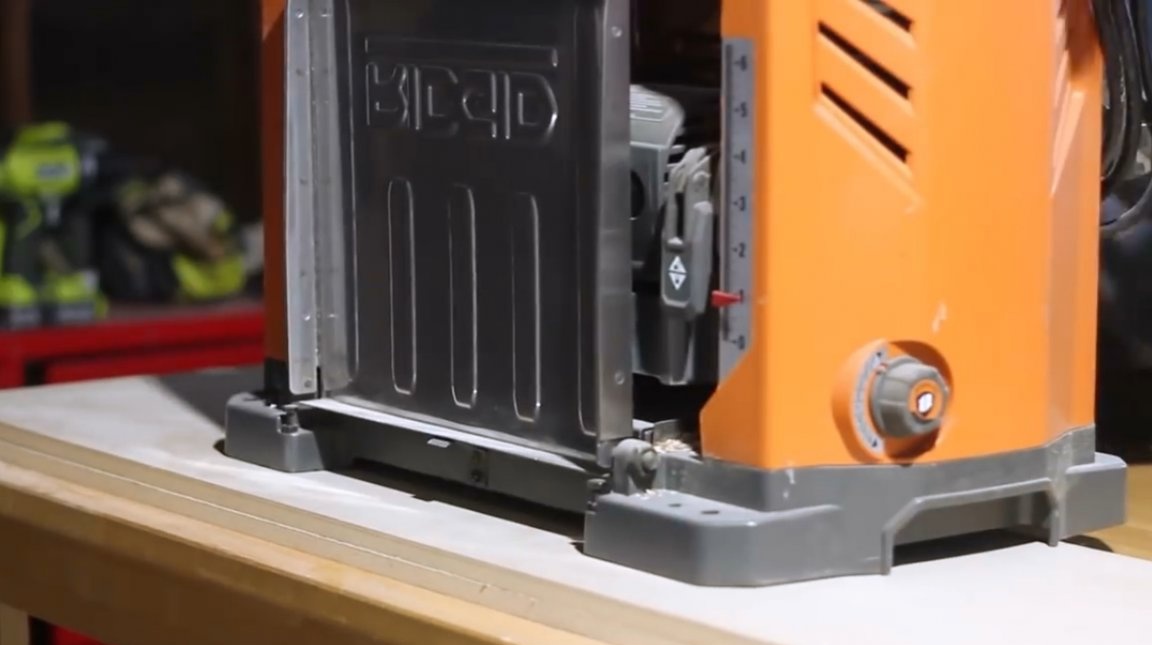
— A circular saw
— Electric jigsaw
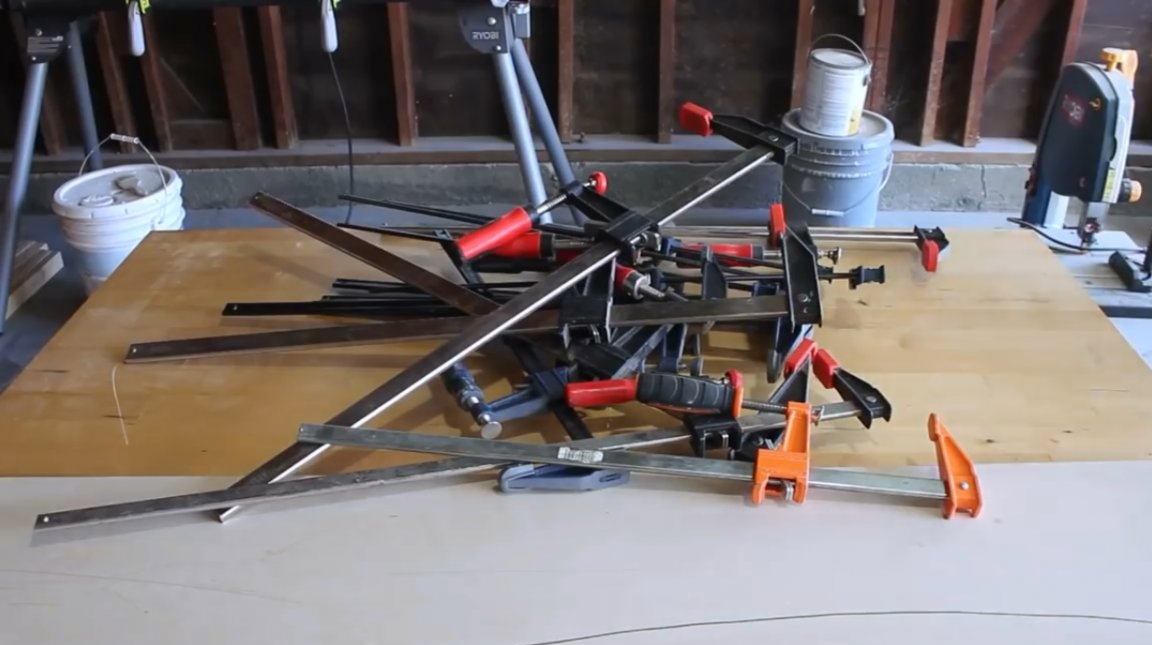
— Clamps
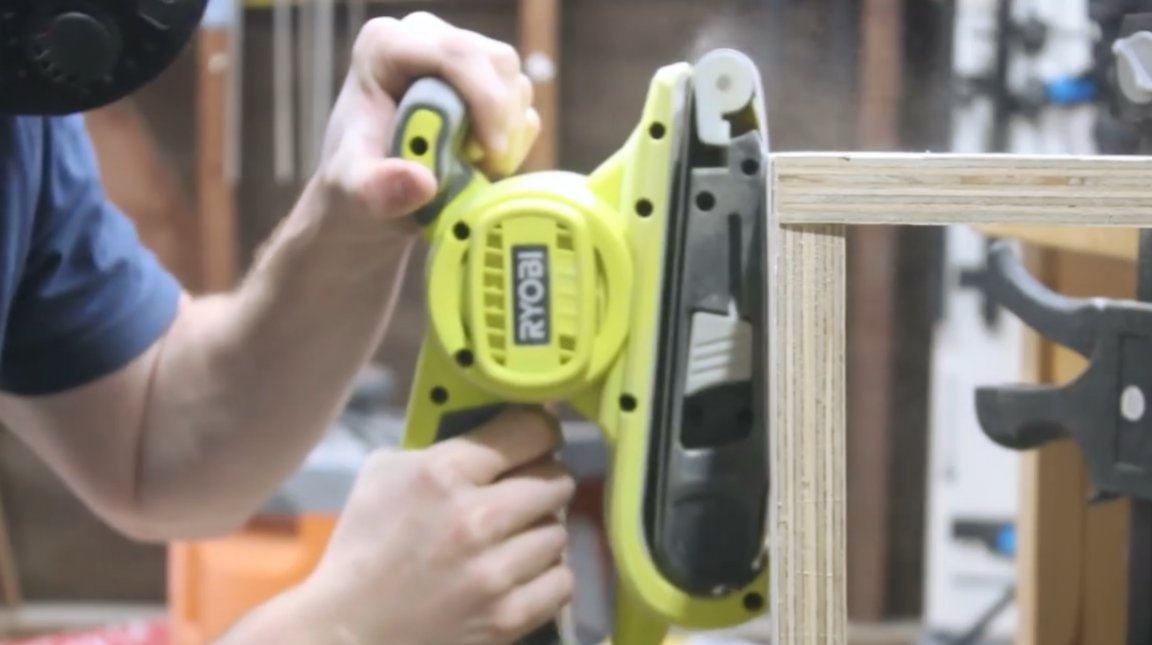
- Tape and orbital grinding machines
— Screwdriver, drills Forstner
- Miter saw
- Hammer, chisel
— 3M Professional Respirator
- Orbital sander
- scissors, pencil, Svenson's square, ruler, marker.
Manufacturing process.
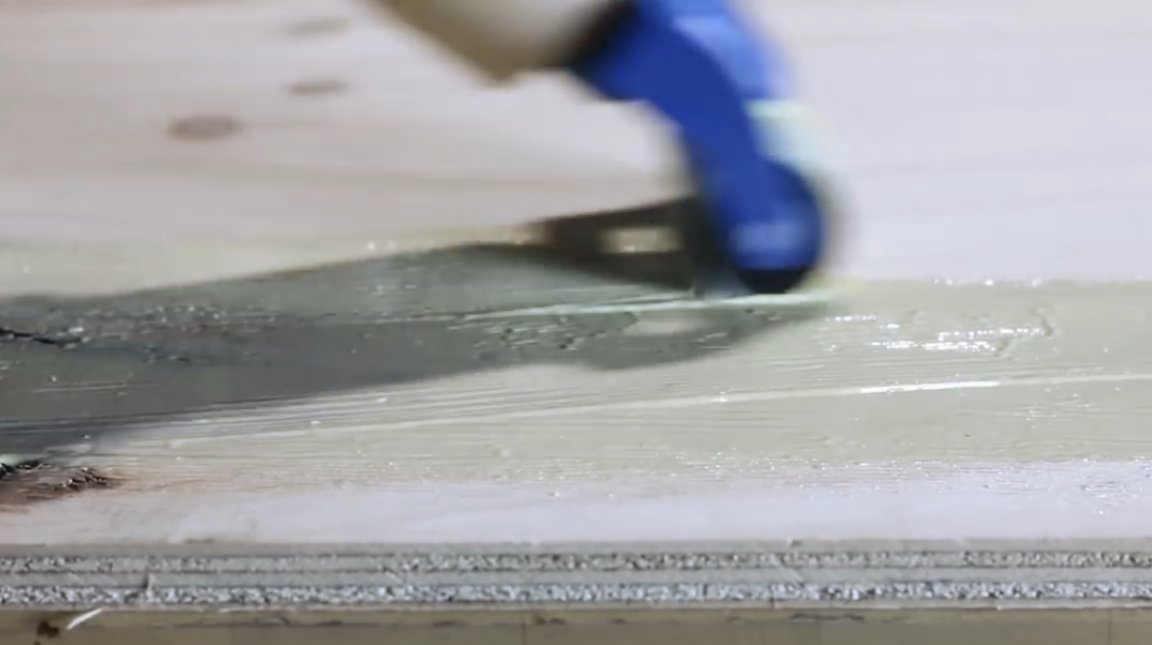
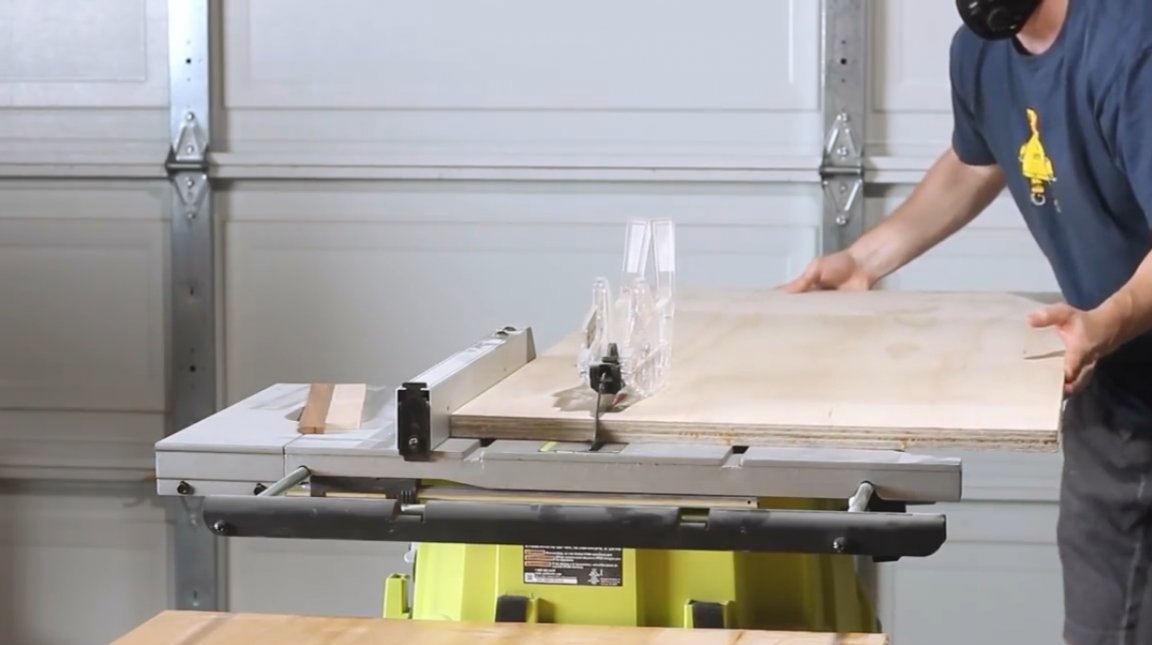
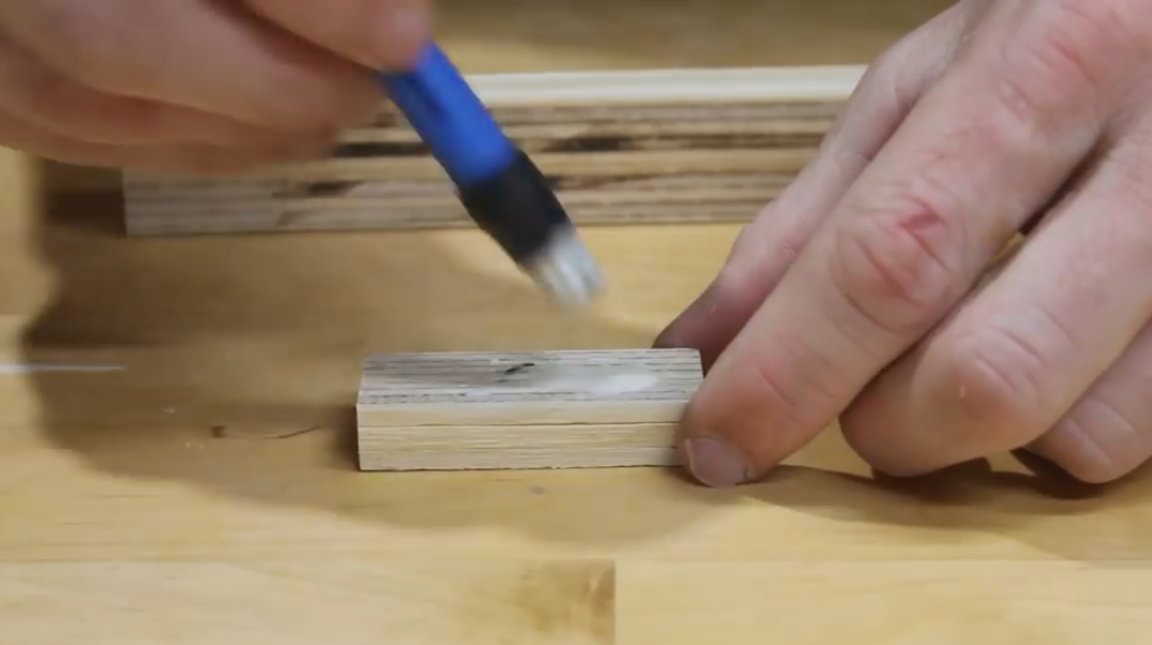
Instead of using one thick plywood sheet, the author decides to do with four thin sheets. Each pair of sheets, he abundantly smears glue on wood. At the same time, he uses a remarkable Rockler device that allows him to quickly and evenly distribute glue over the entire surface of the sheet.
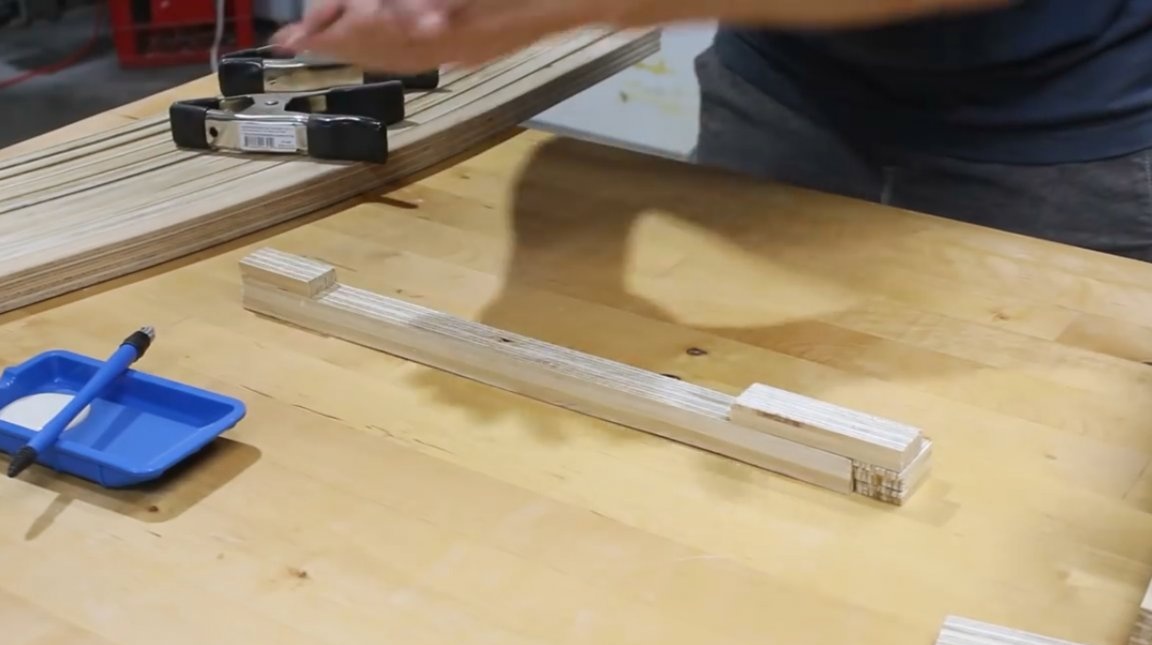
The sheets are joined together in pairs, and placed under the press. Thus, two plywood sheets with an inch thickness are obtained.
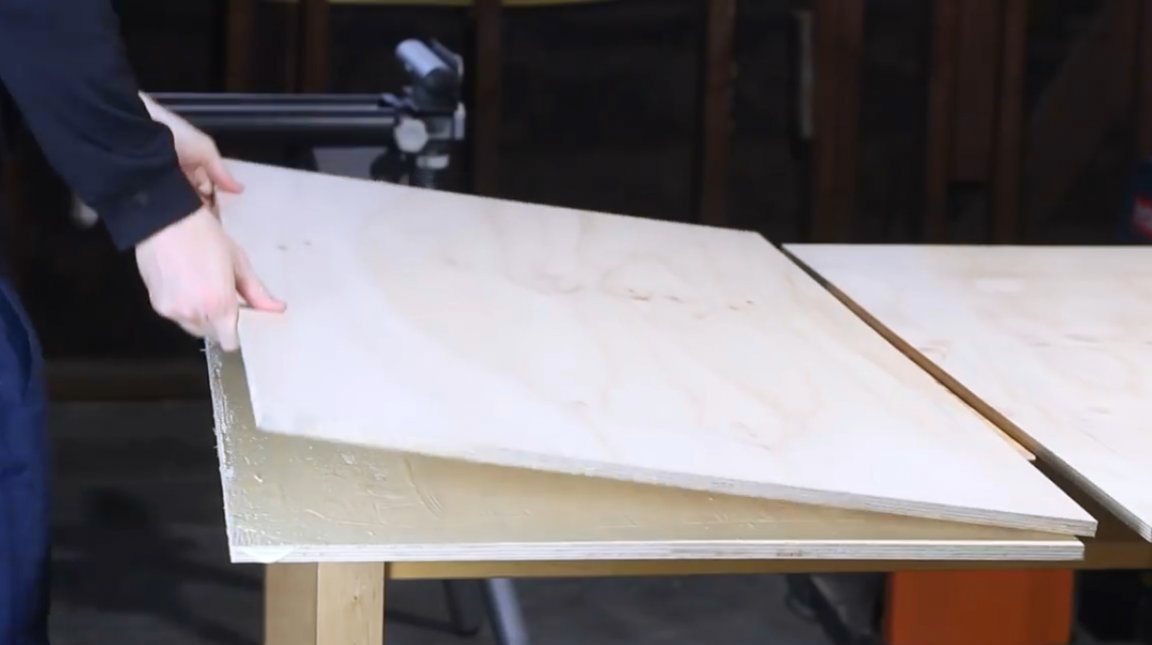
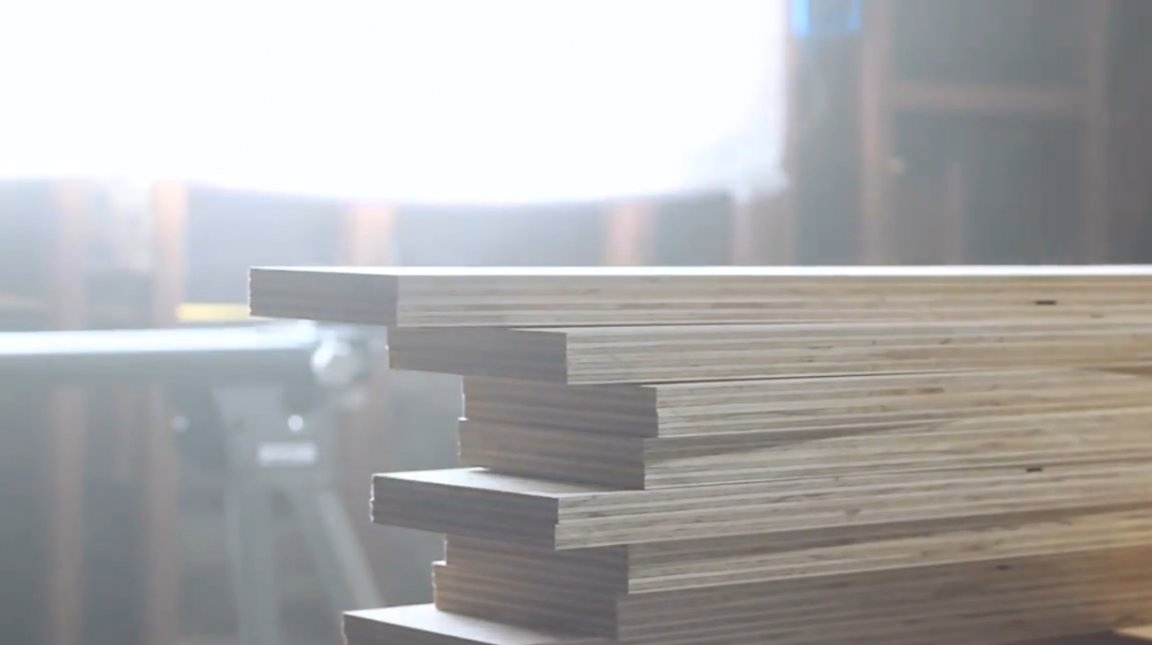
When the glue has dried, the master proceeds to the next step: he cuts each of the two sheets in half (30 cm each part), and also glues them in pairs to form a larger number of layers. And again he puts the material under the press.
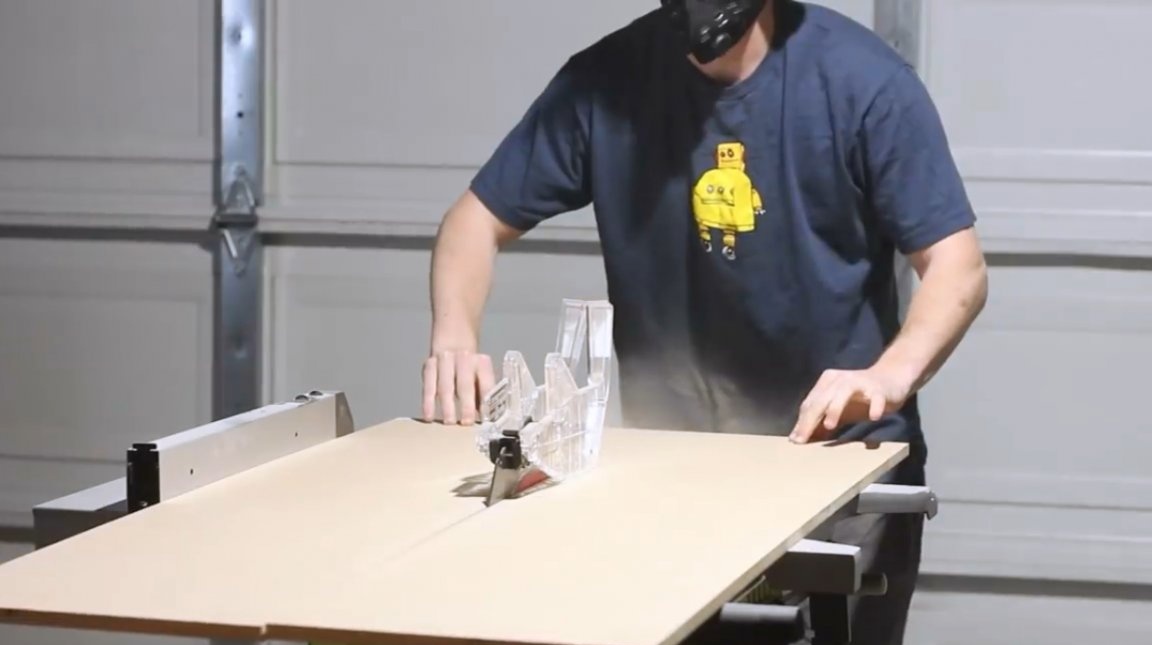

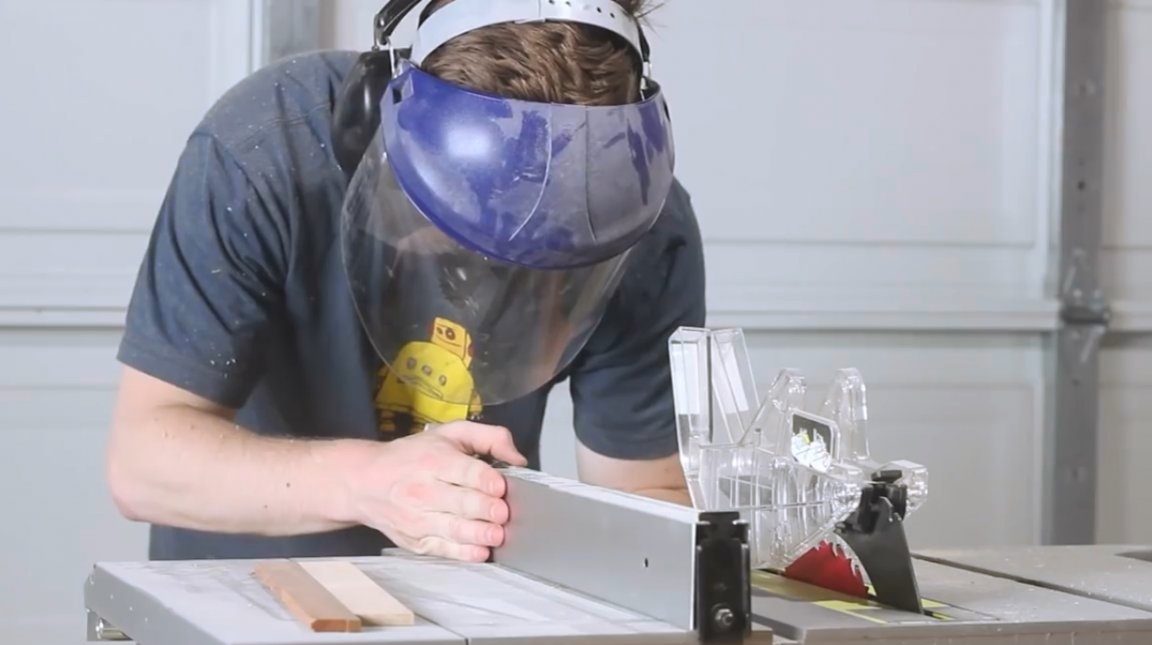
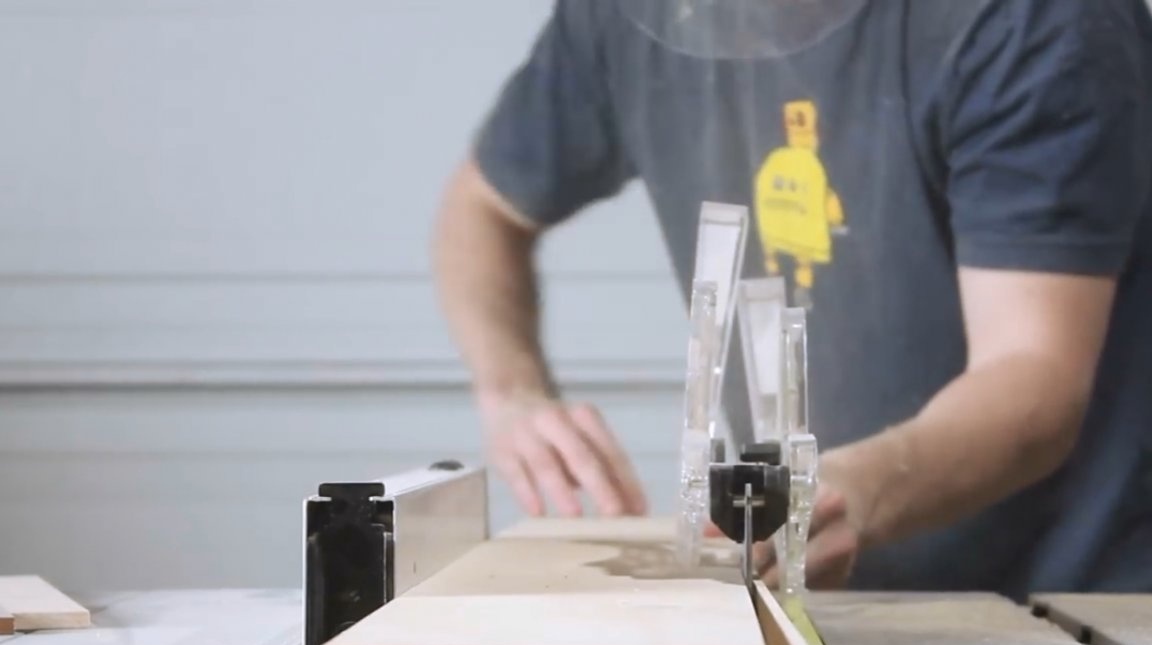
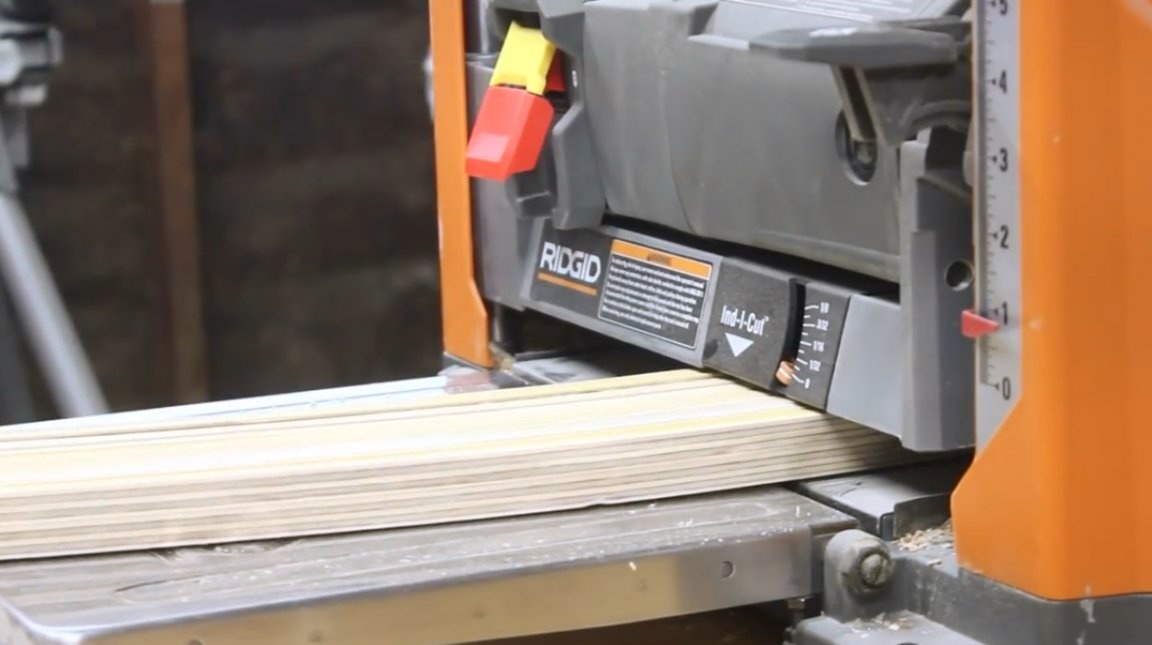
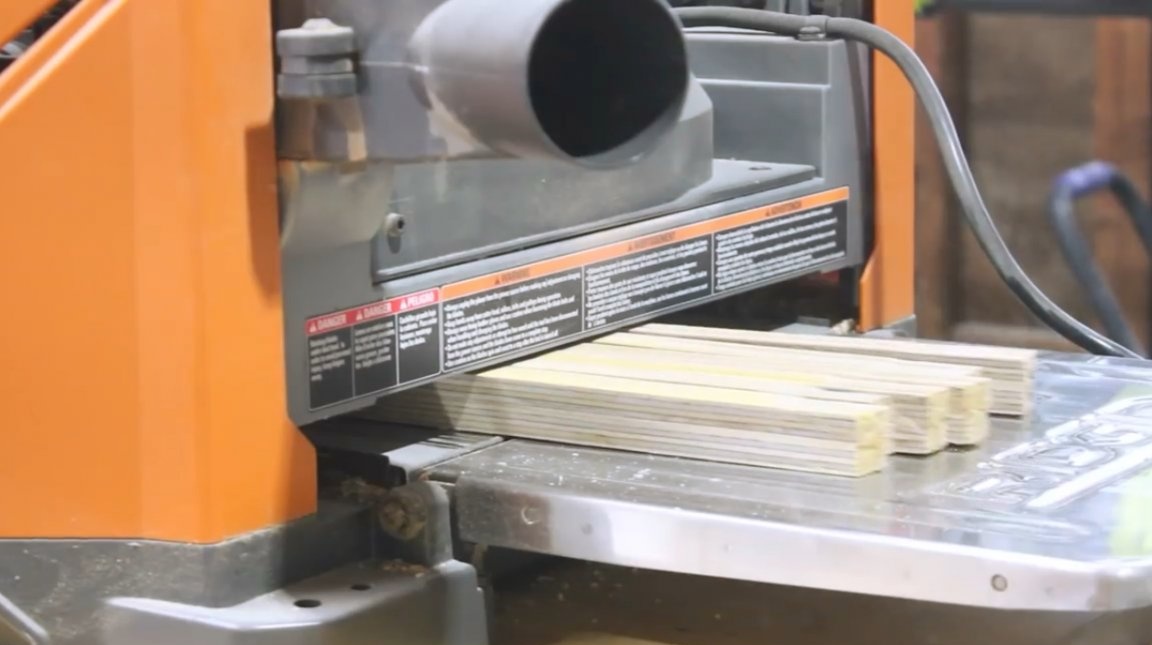
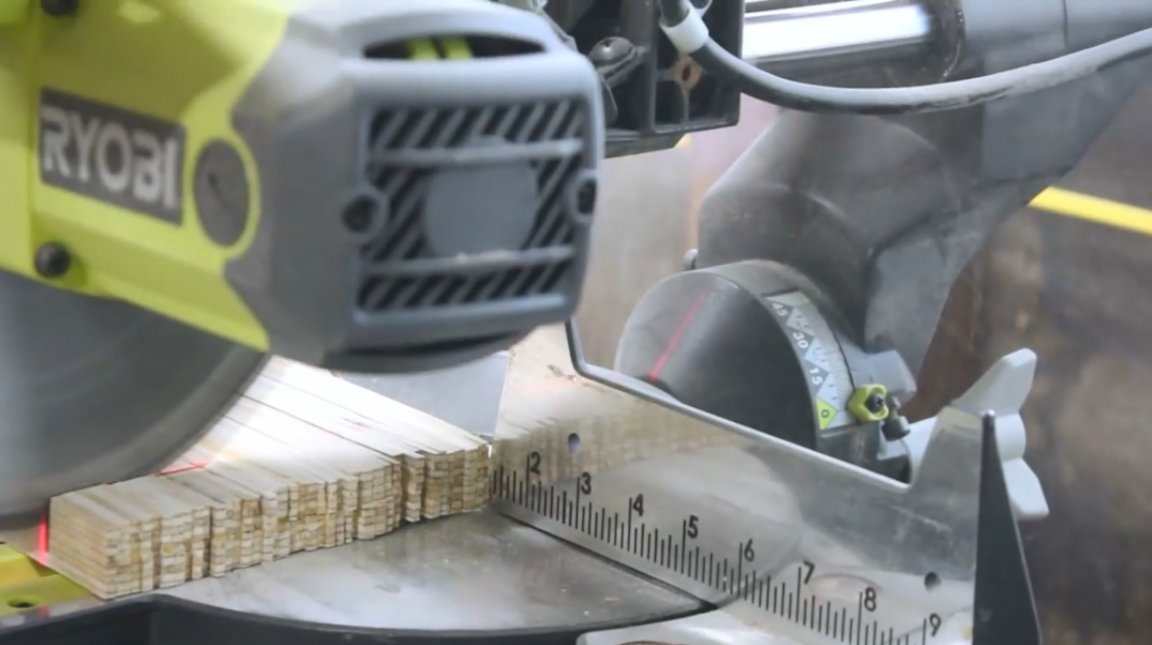
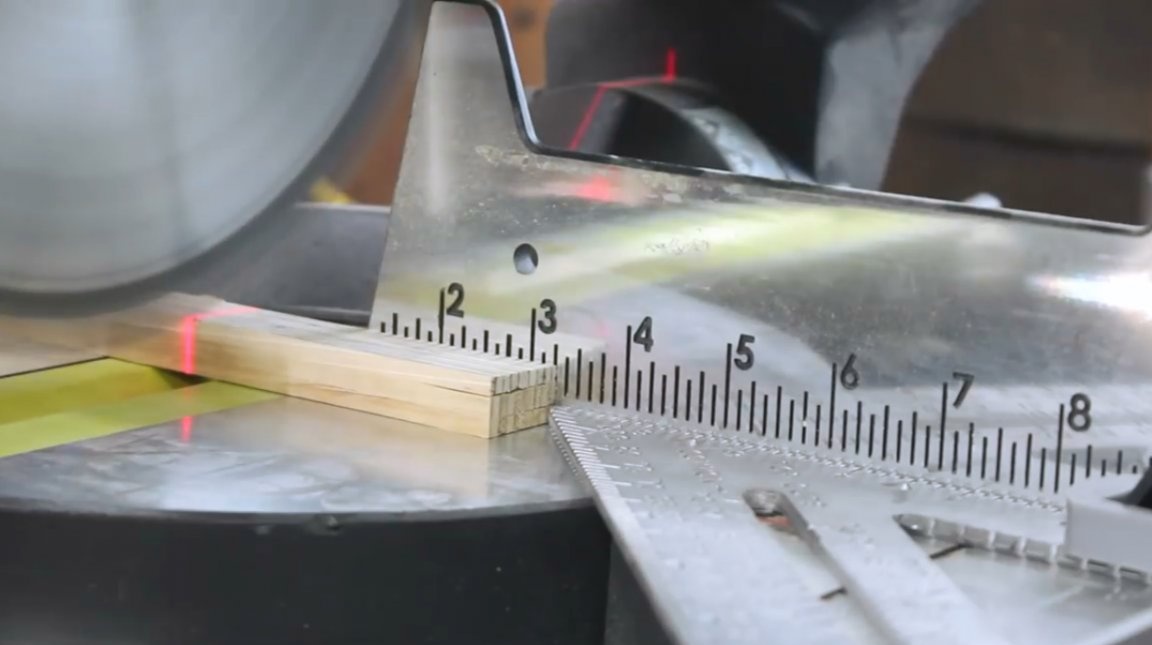
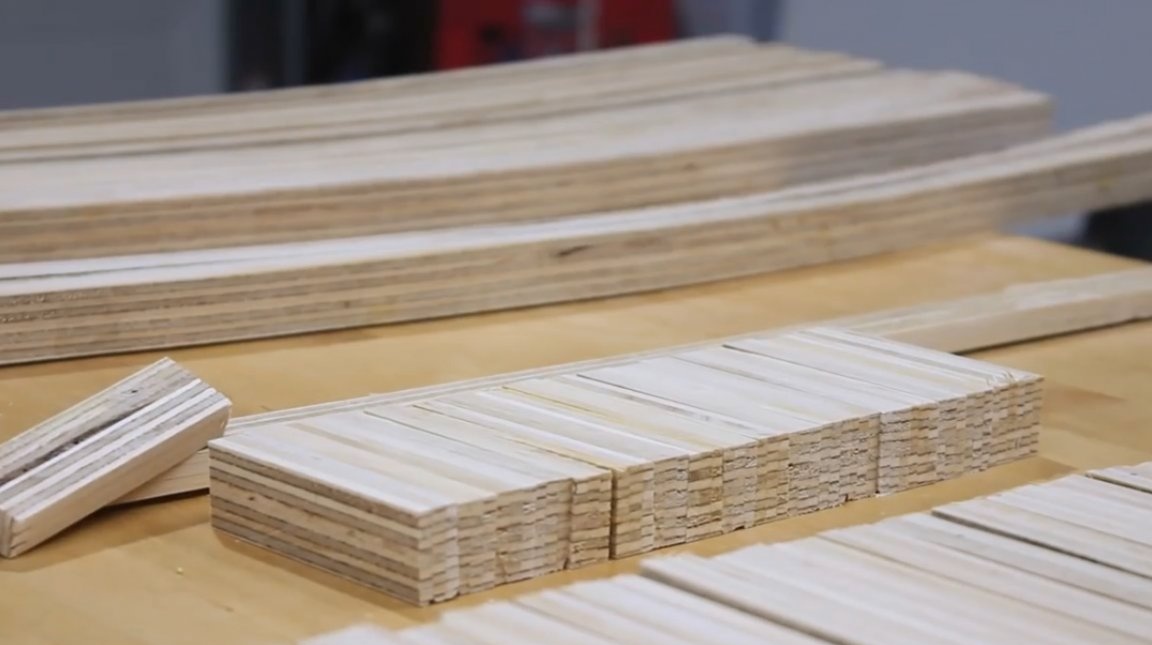
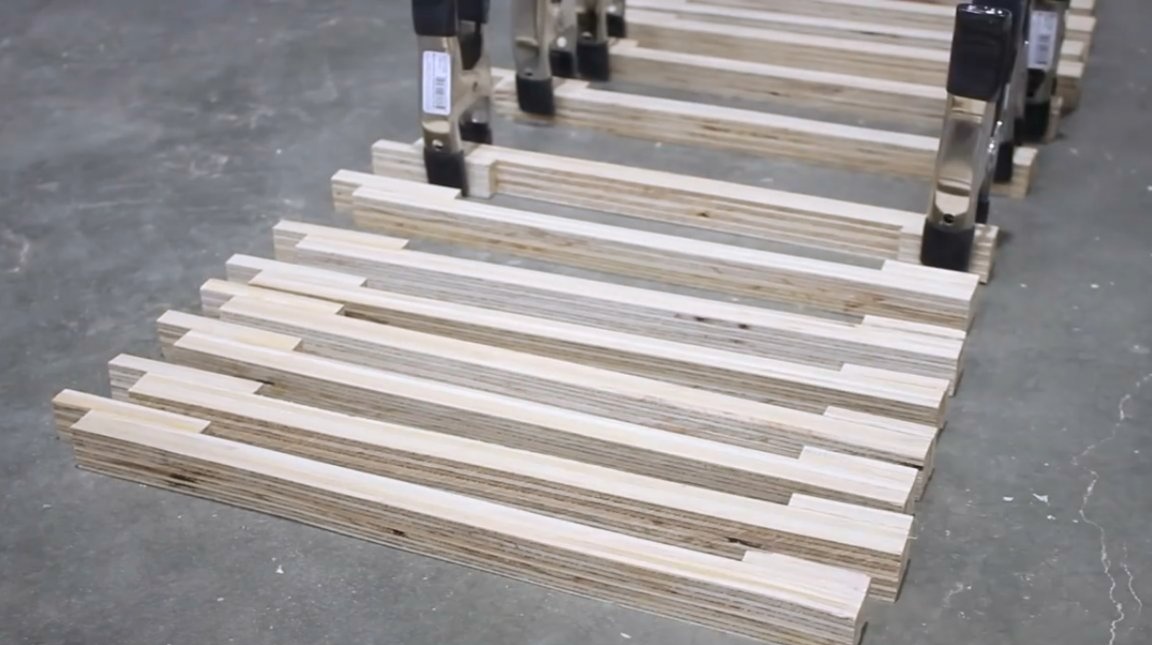
After the glue dries, the author cuts each plywood sheet into equal sections, up to 15 cm each. In this form, the material is much easier to manage on a small circular machine.
Now the craftsman cuts each piece of plywood into plates. Due to the thickness of the disk blade, the author can only move the emphasis 4 mm at a time. As a result, a 1/8 inch thick plate emerges in one pass. This is the ideal thickness for bending laminate.
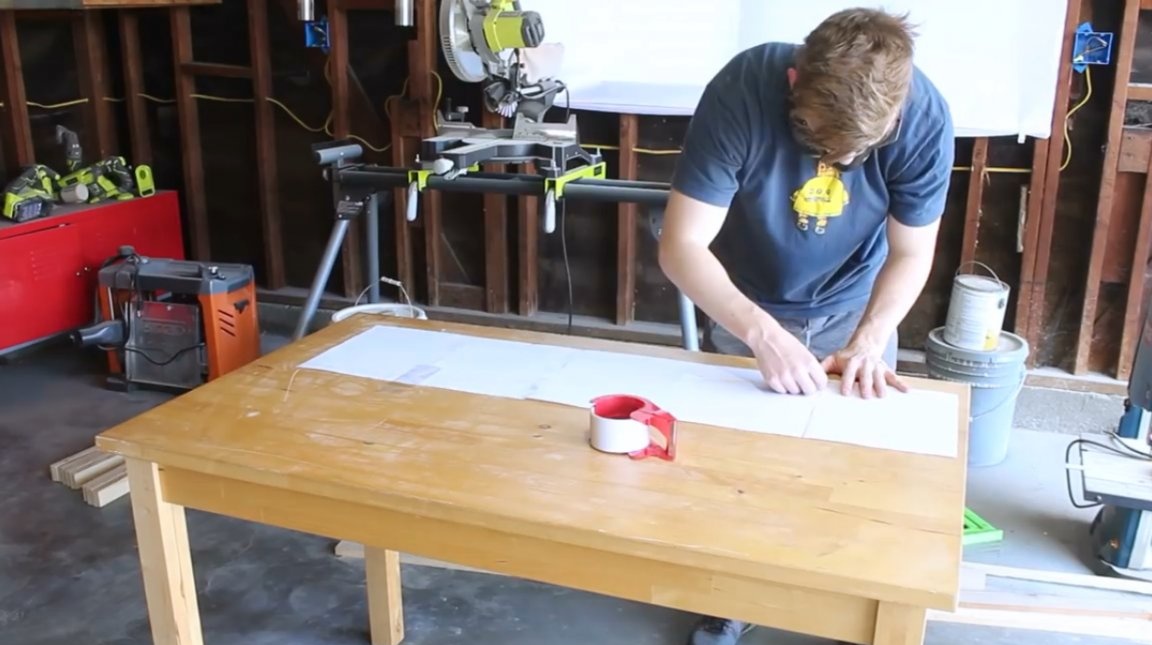
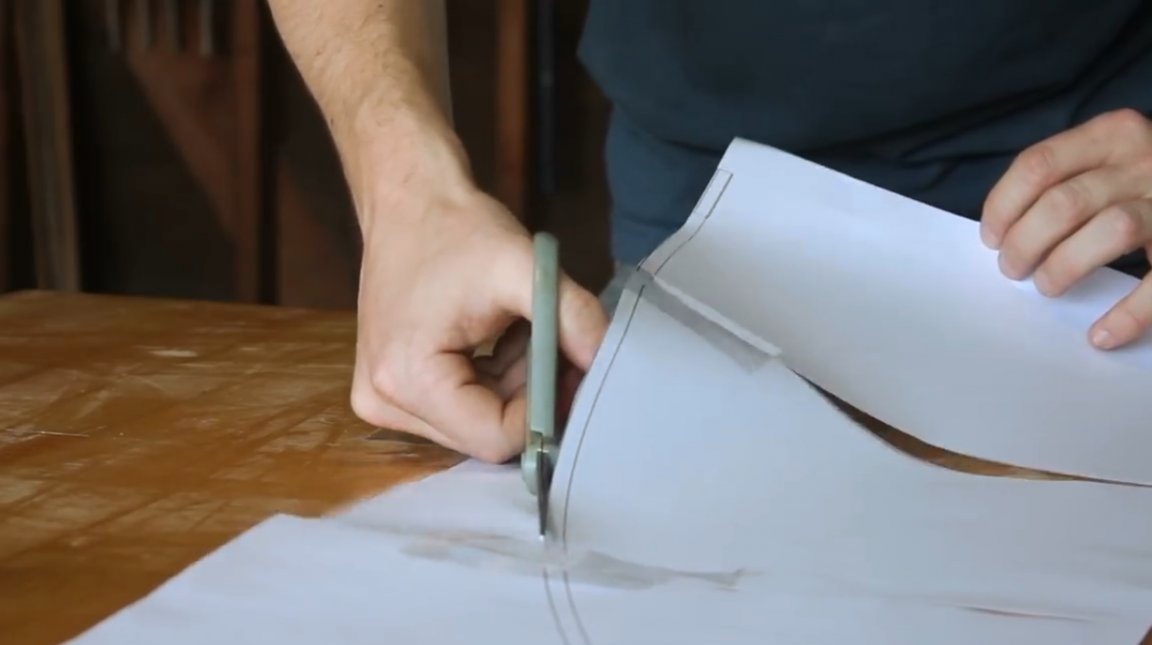
The next step, the author is working on a press template. On a computer, he designs a template, prints it to the desired scale, puts A4 sheets on the desired path and connects them with adhesive tape. It turns out just the bend that the author wants to achieve. Of course, it would be possible to strengthen the curvature and make the shape even more curved, but this bend is quite enough to impress.
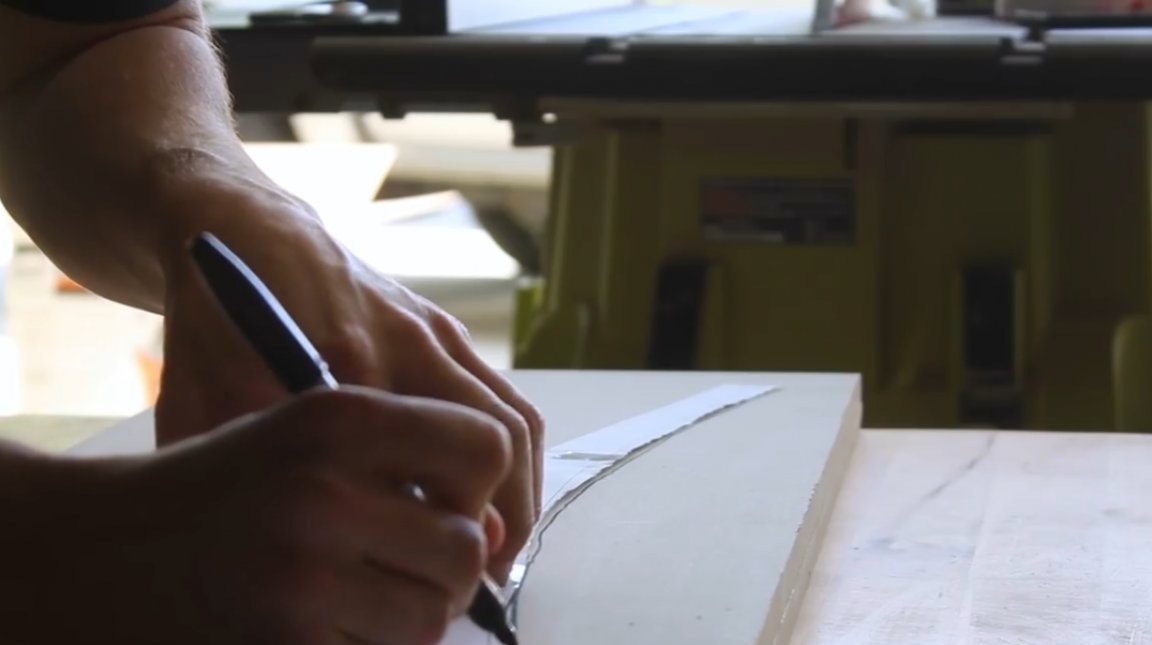
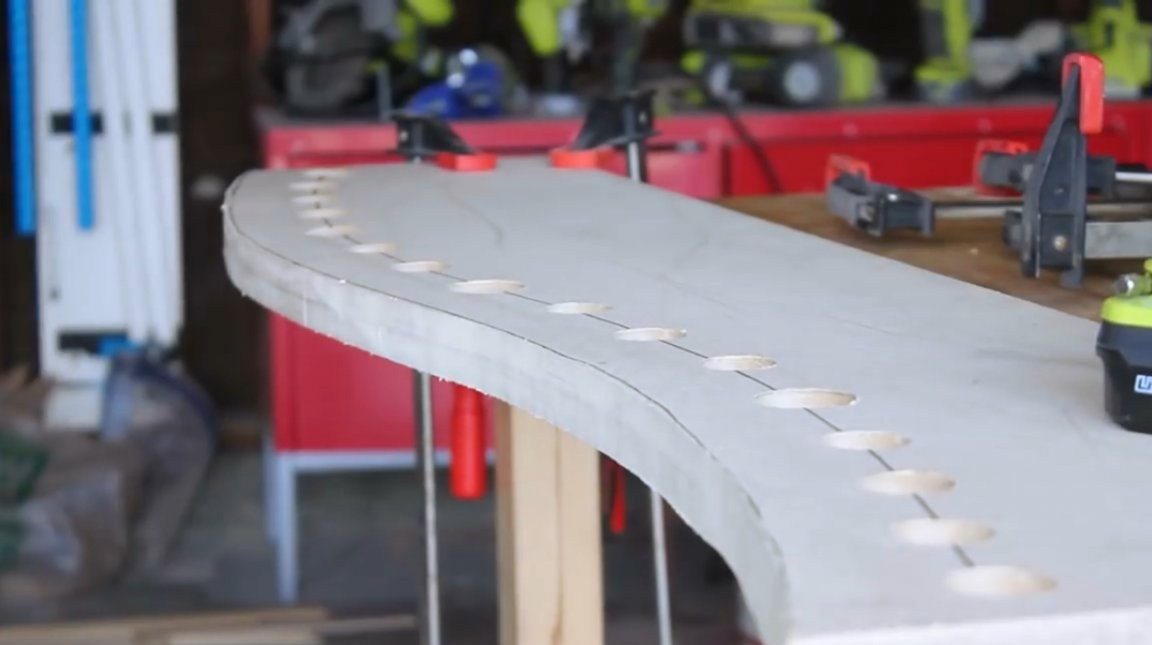
Zach cuts the pattern along the contour and transfers its outlines onto the MDF sheet.
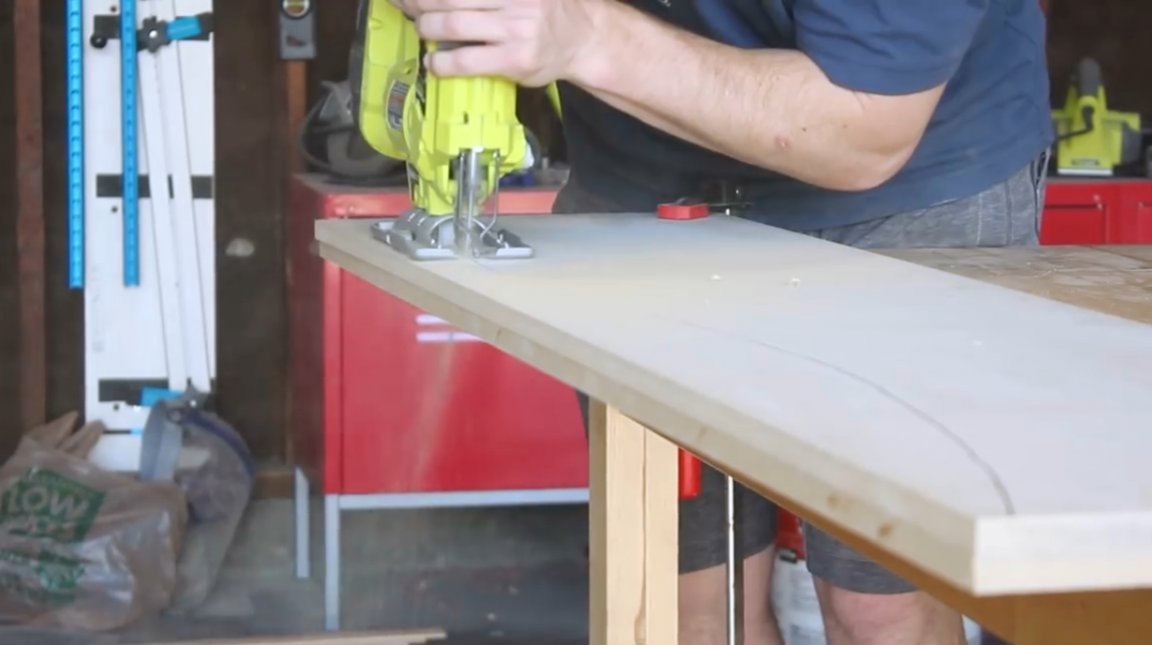
The shape is cut with an electric jigsaw.
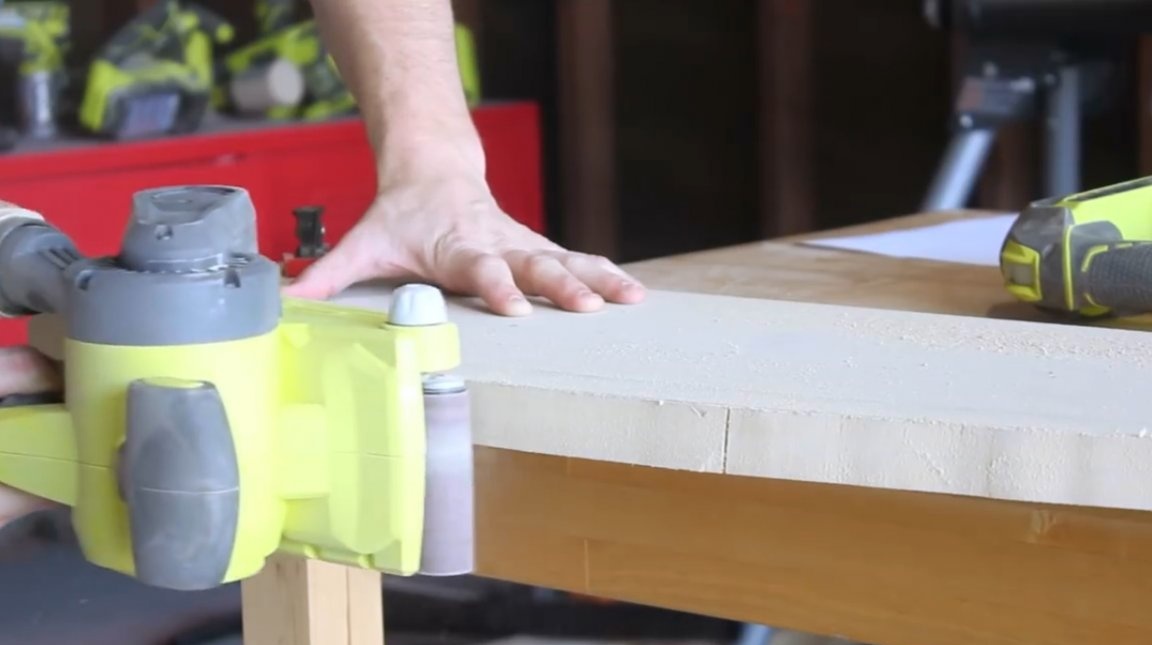
Then the edge is processed by a belt sander.
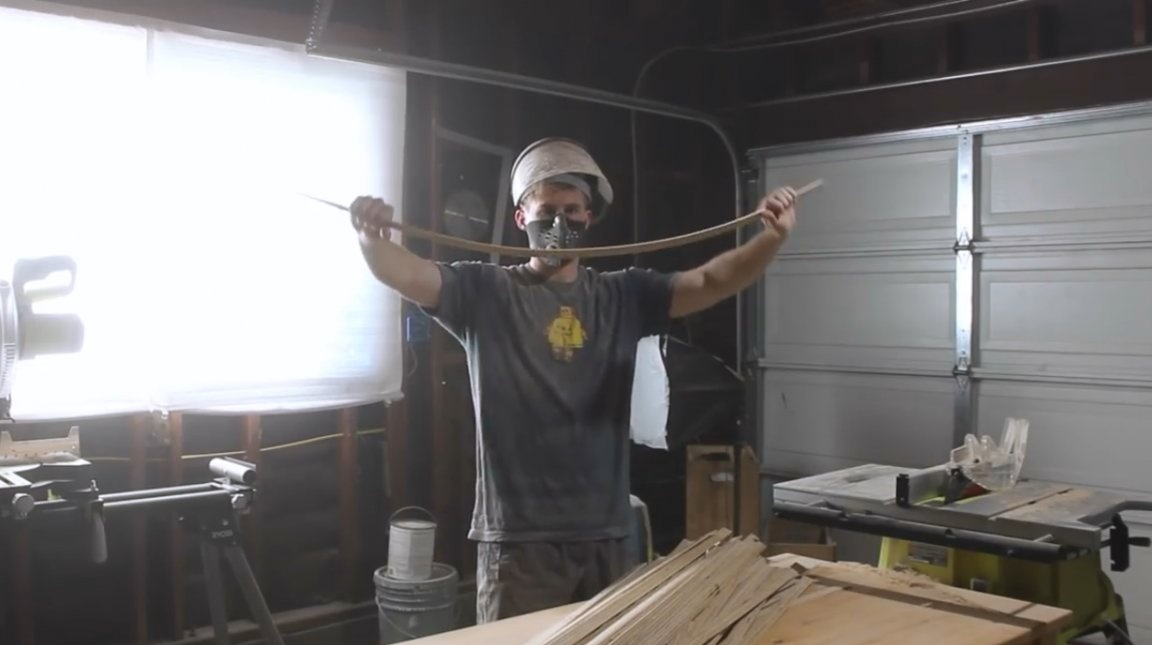
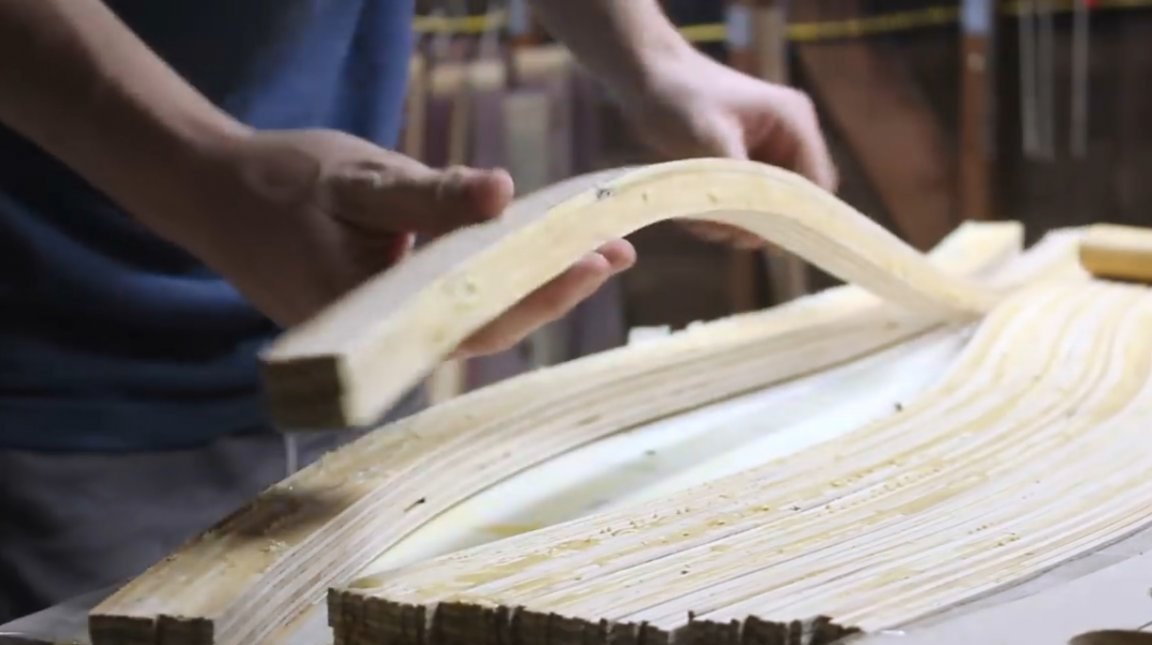
The author applies one of the strips to the form to see how the bend will take place.
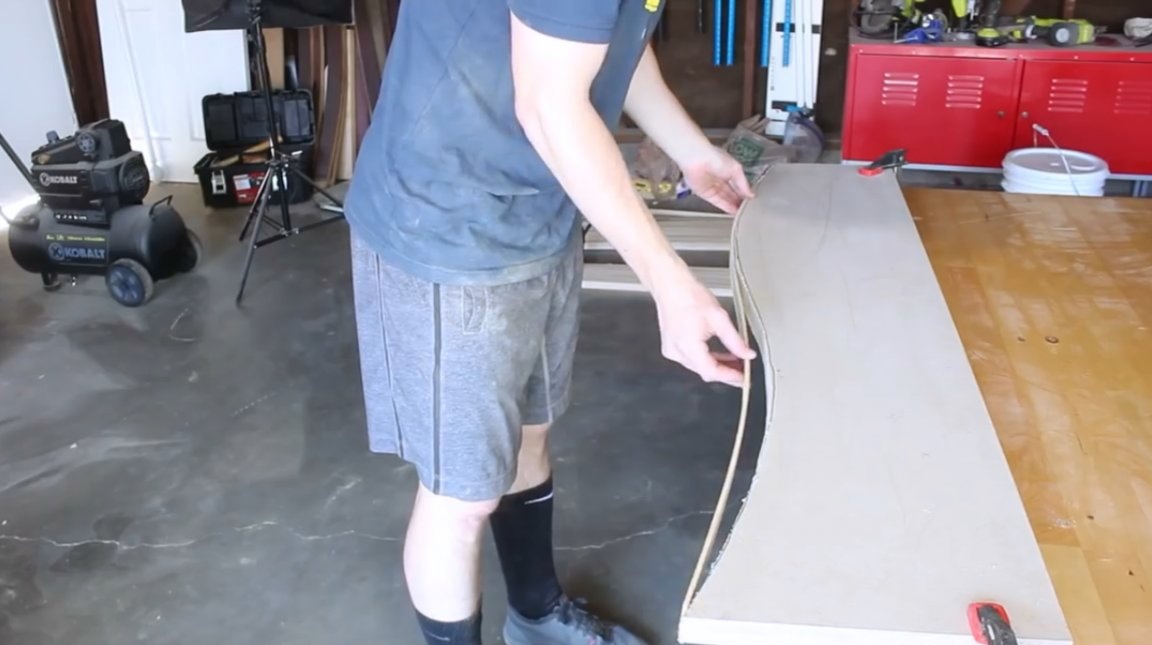
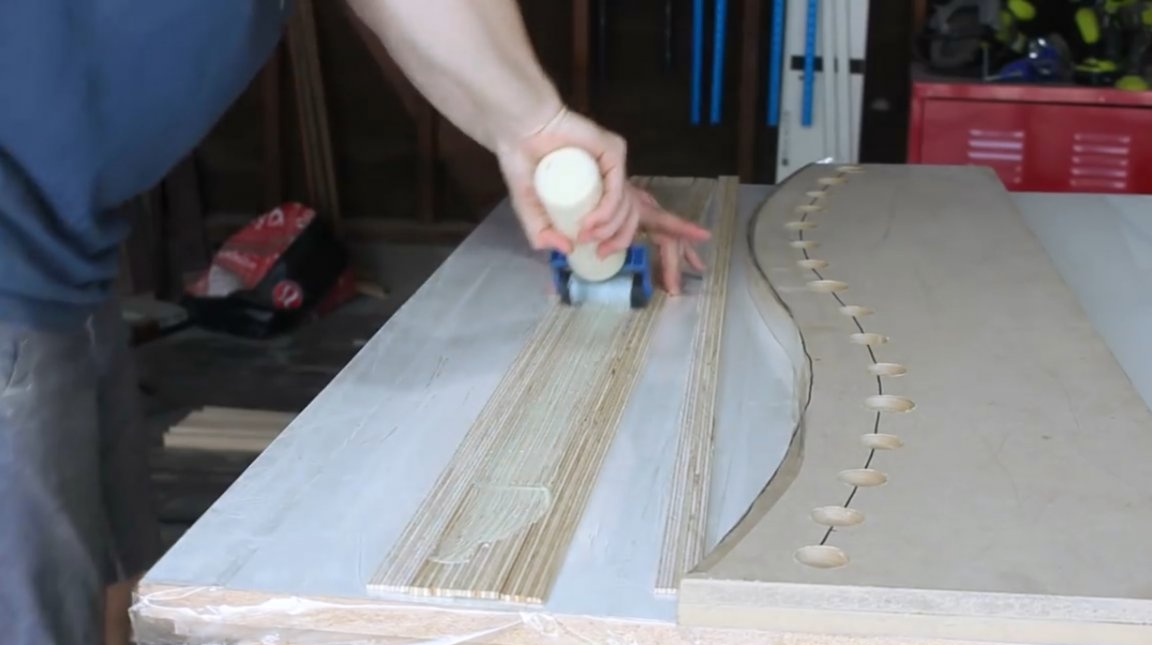
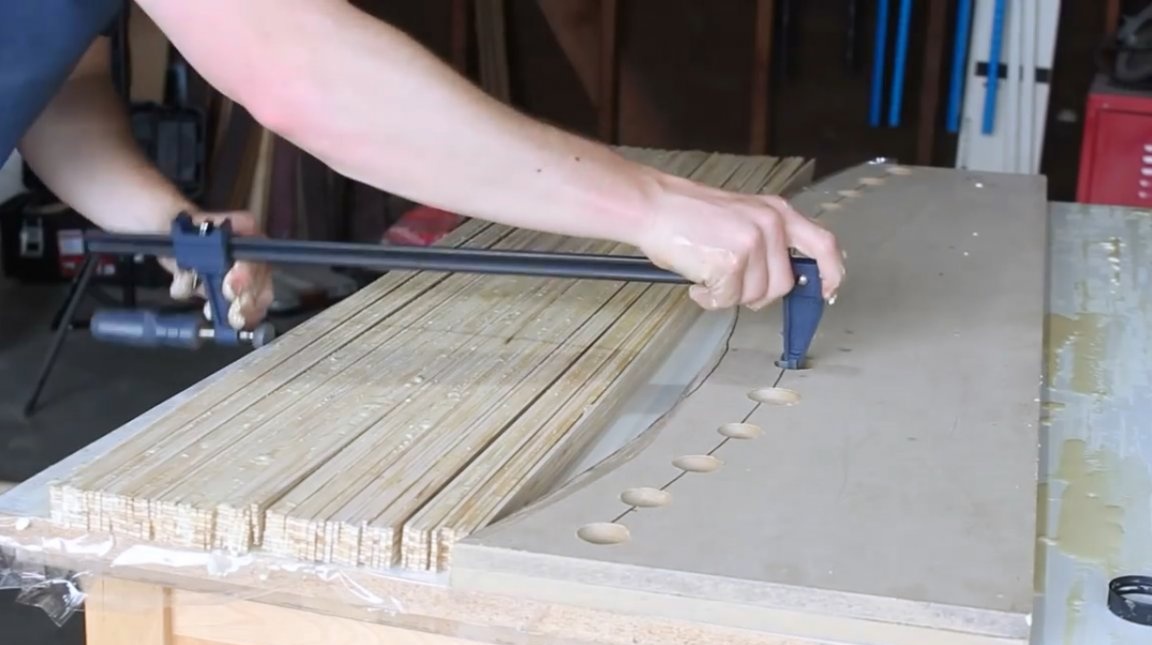
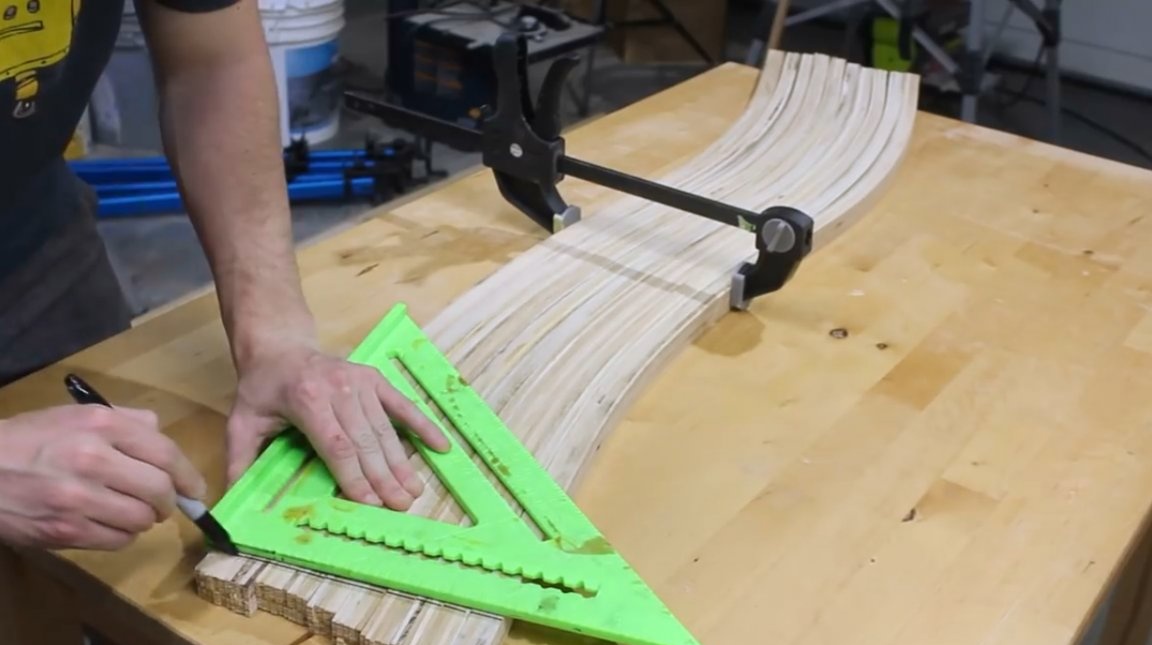
Next, the master draws a line along the edge of the form, passing about 5 cm in depth of the form. It is at this distance that the holes for the clamp jaws will be located.
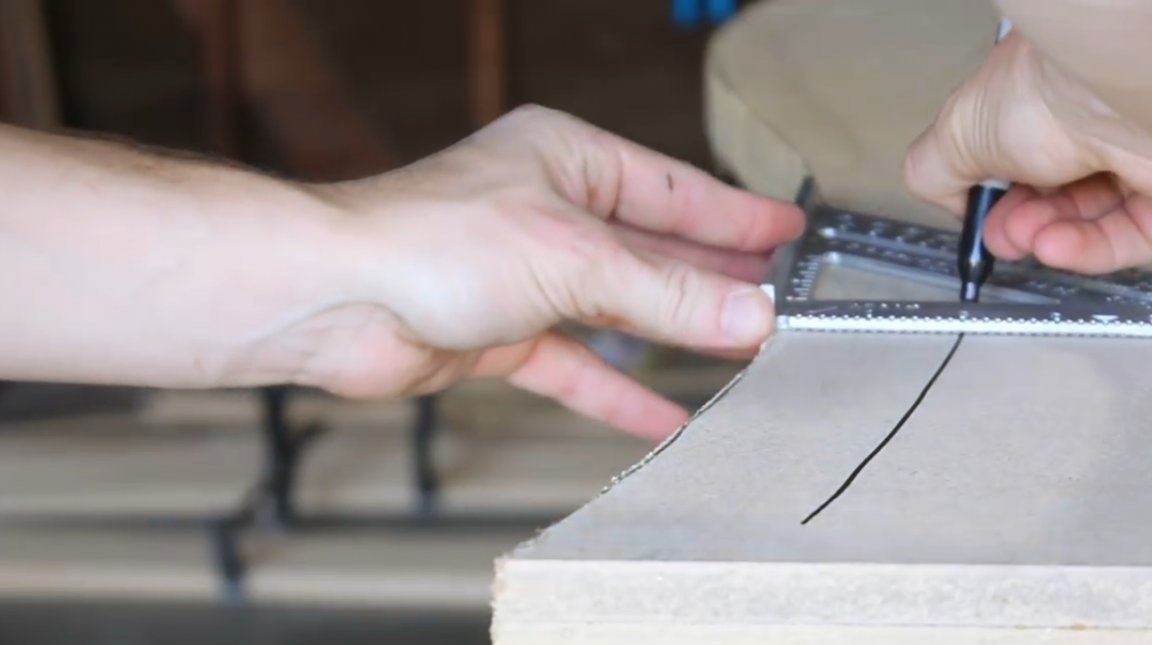
Each hole will be located at a distance of 70 mm from two adjacent ones. The number of holes should equal the number of clamps.
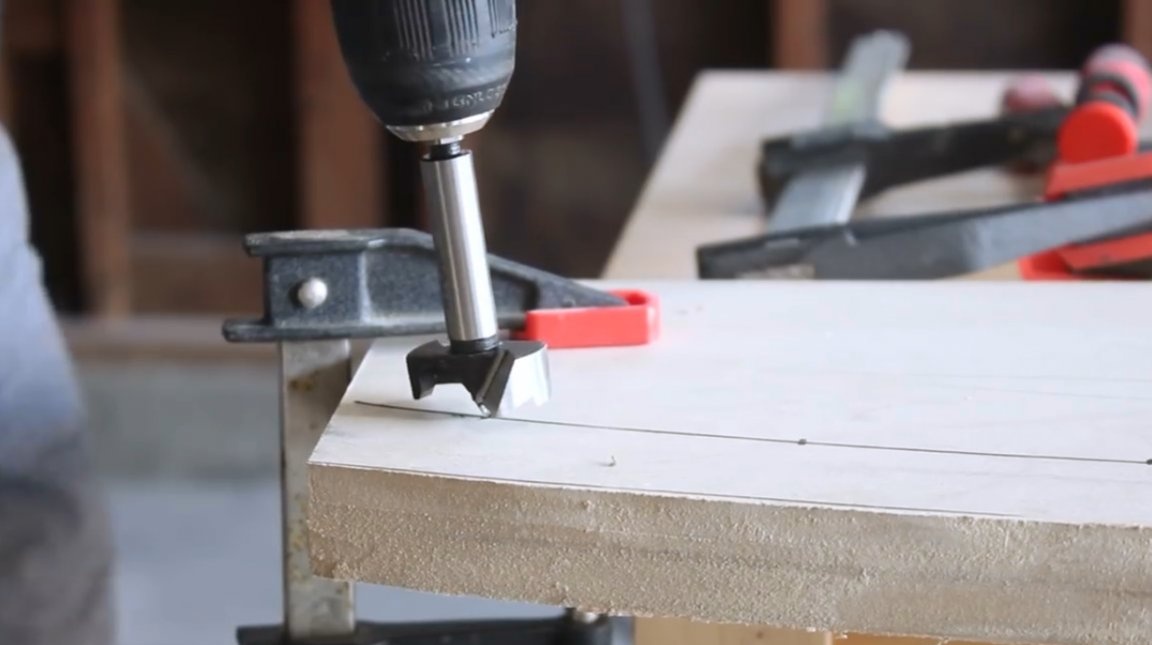
Manually drilling holes with a Forstner drill proved to be a tedious task. The author recommends using a drilling machine for these purposes.
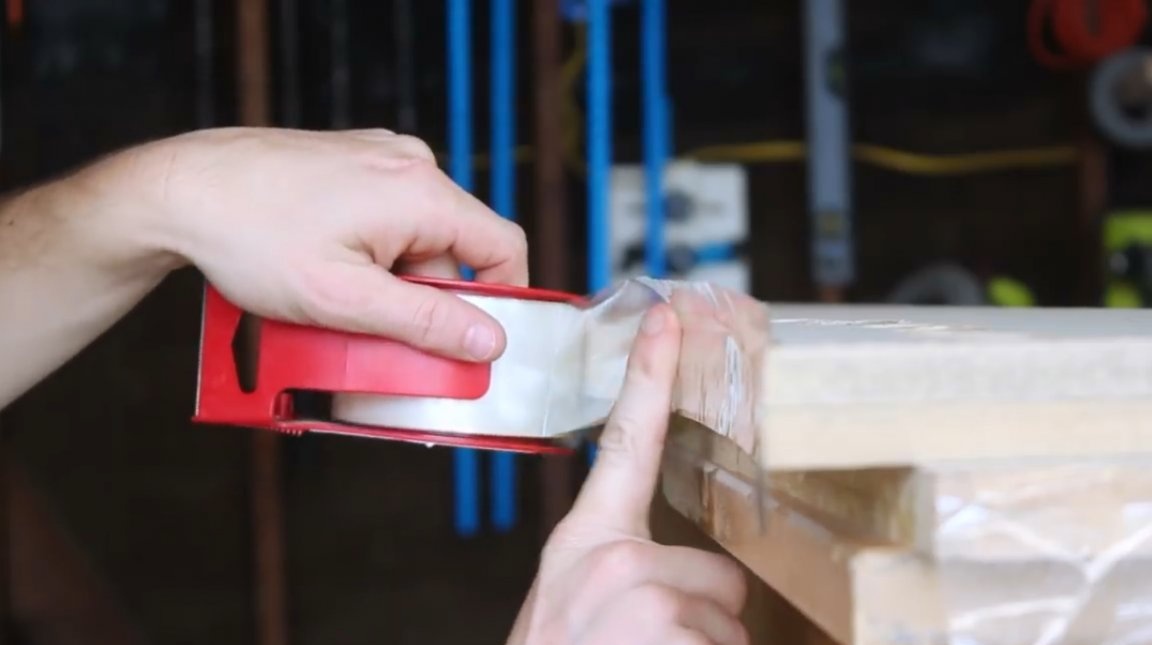
Now Zak puts a large sheet of plexiglass on the table, and pastes one of its sides with ordinary transparent tape to prevent glue from getting on the surface of the plastic.
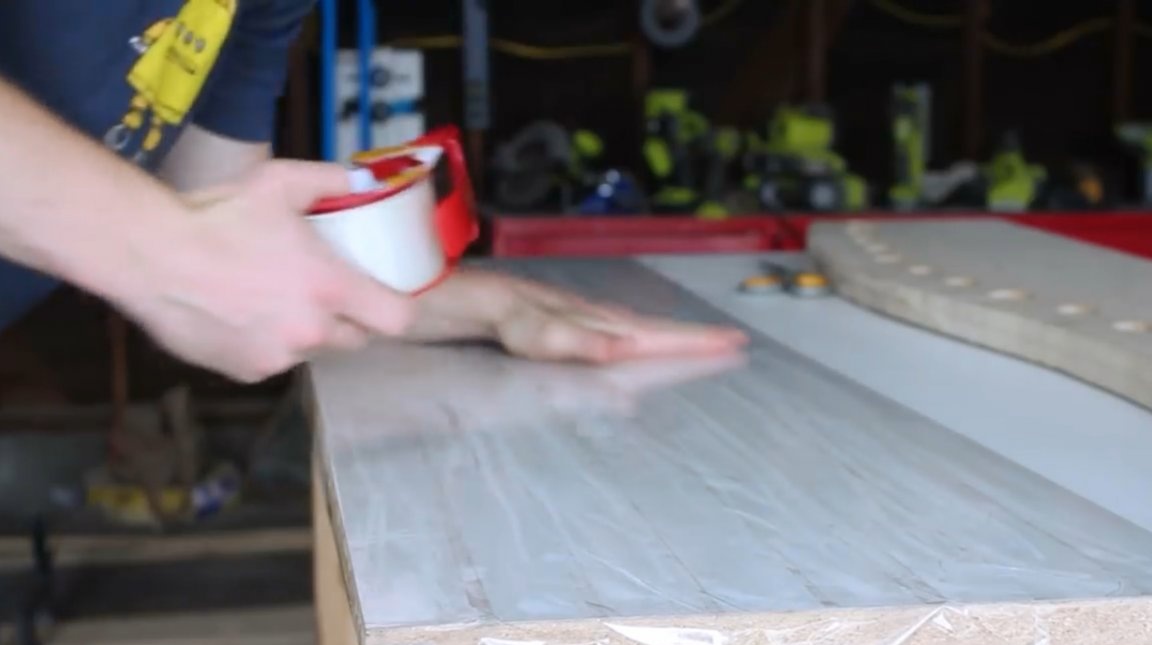
The edge of the MDF form is also pasted over with tape.
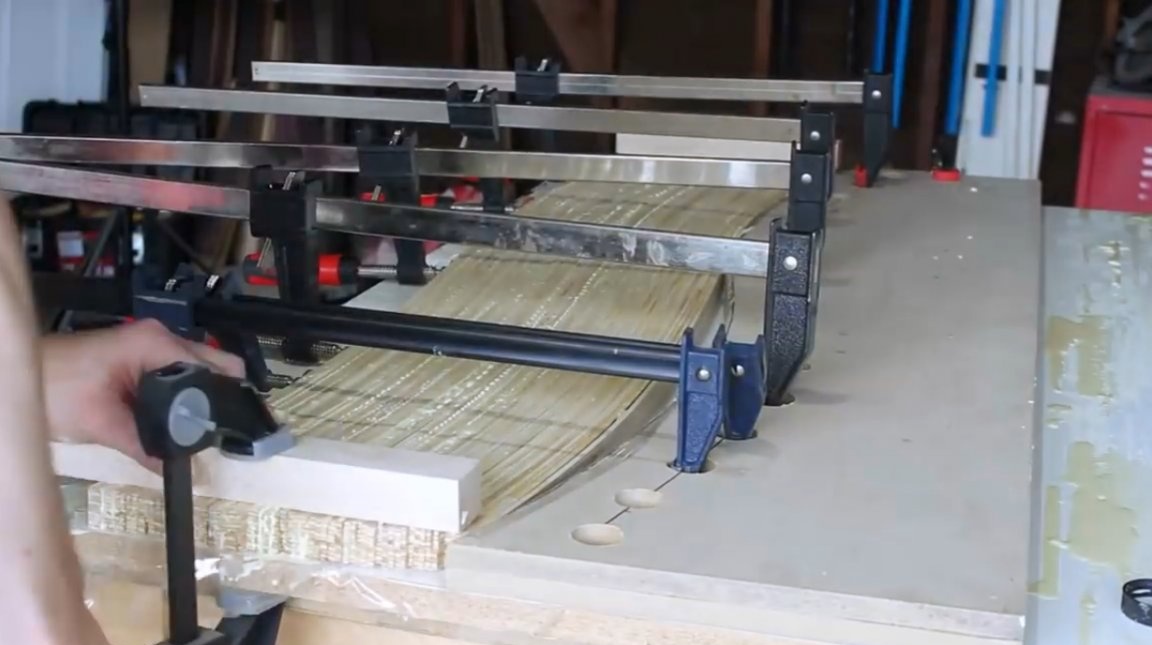
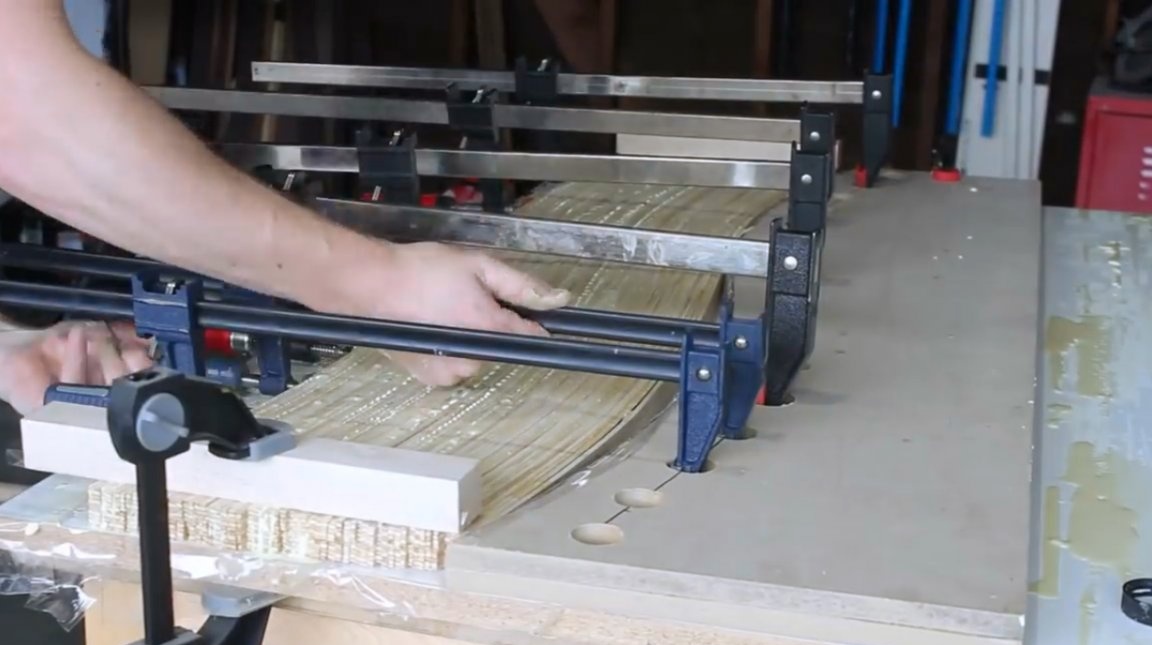
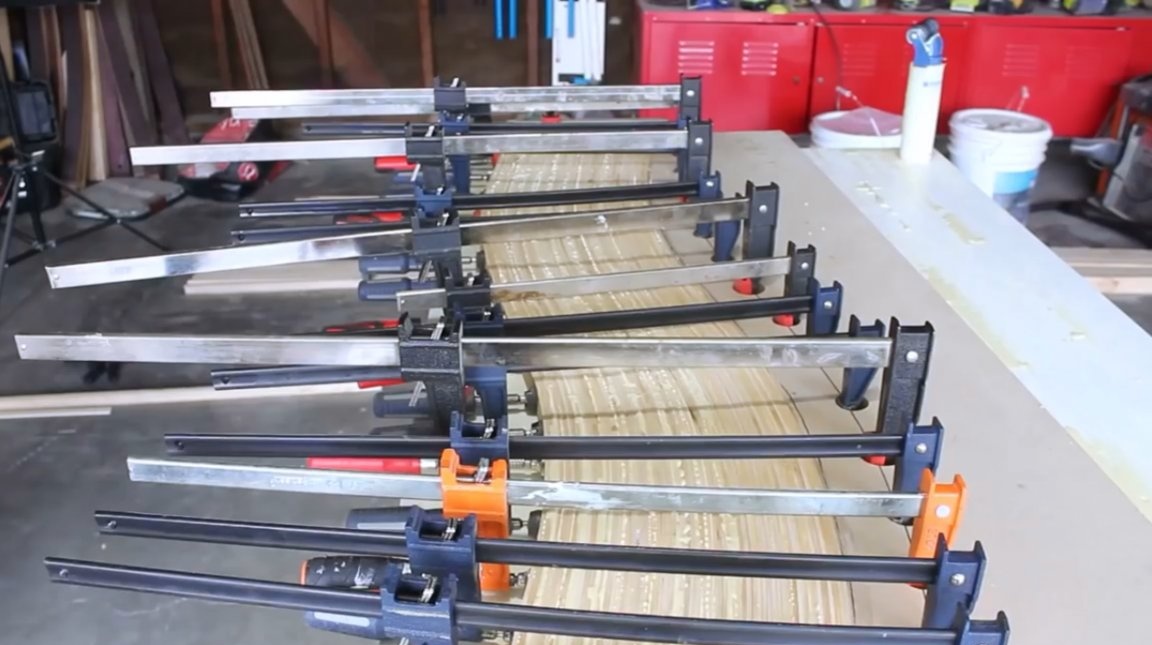
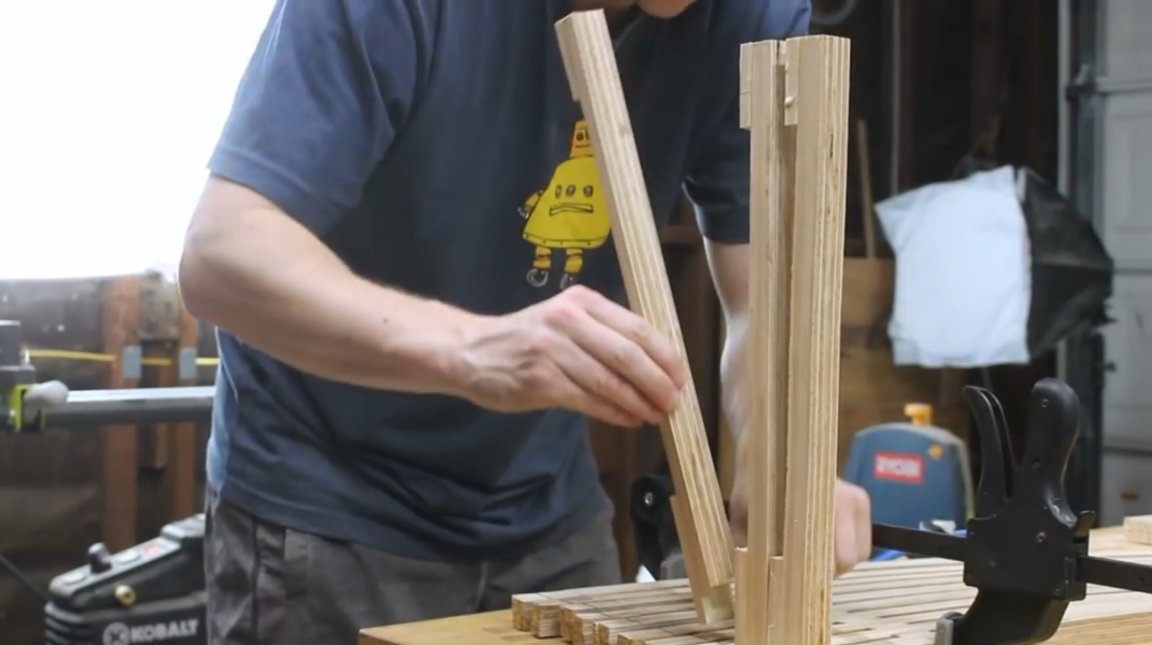
The bonding stage has come, followed by bending of the plates in shape. The author intends to glue and bend all the plates at once. However, at the same time he wants to get separate layered stripes, each of which will consist of 5 plates.
He solves this problem as follows: he glues 4 plates, and leaves the fifth dry. Four plates are joined together and glued, while the fifth serves as a layer separator. At the same time, he makes sure that the exposed glue does not fall on the intermediate separator plates.
Now he pulls all the plates together with clamps. The master uses a special quick-setting glue in this project. So 45 minutes is enough for everything to freeze. The sizing of the layers and their fixation in the clamps took 34 minutes.
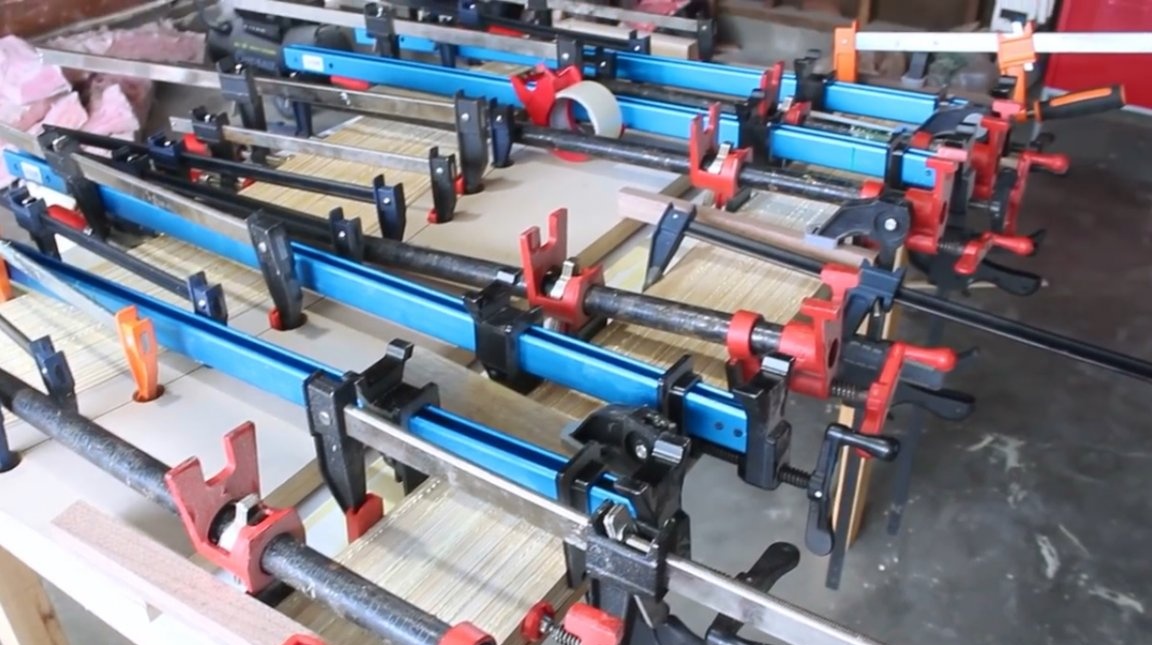
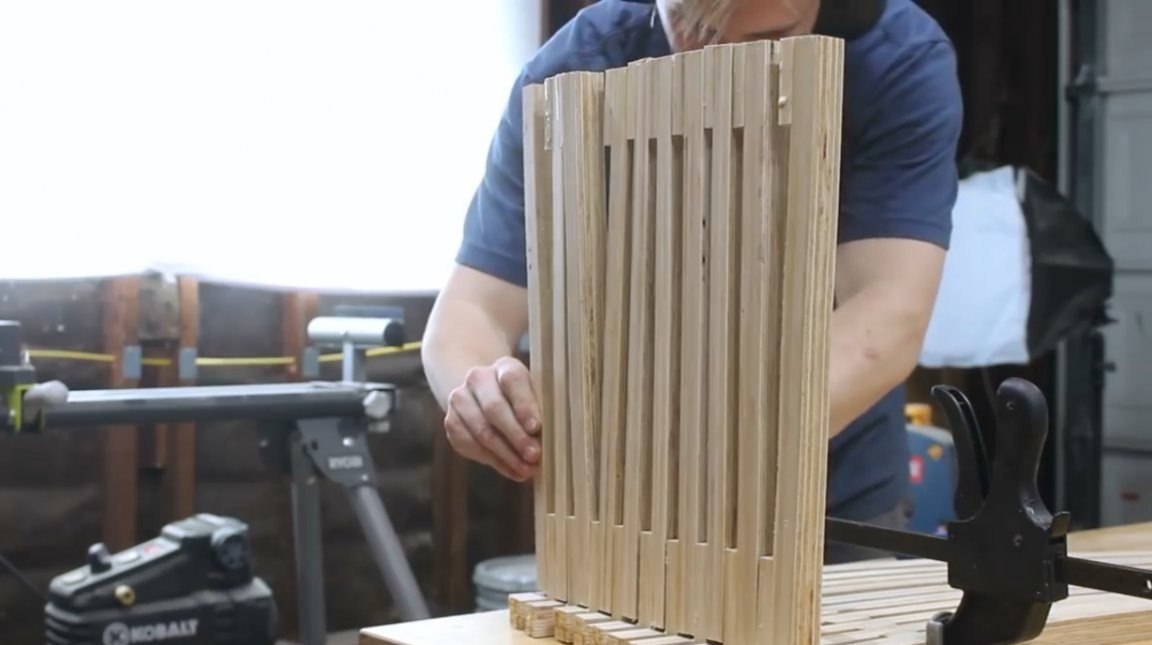
In the same way, the author glues and bends plates, which later become the legs of a wooden bench. This time, each set of strips included 3 plates and one dividing plate.
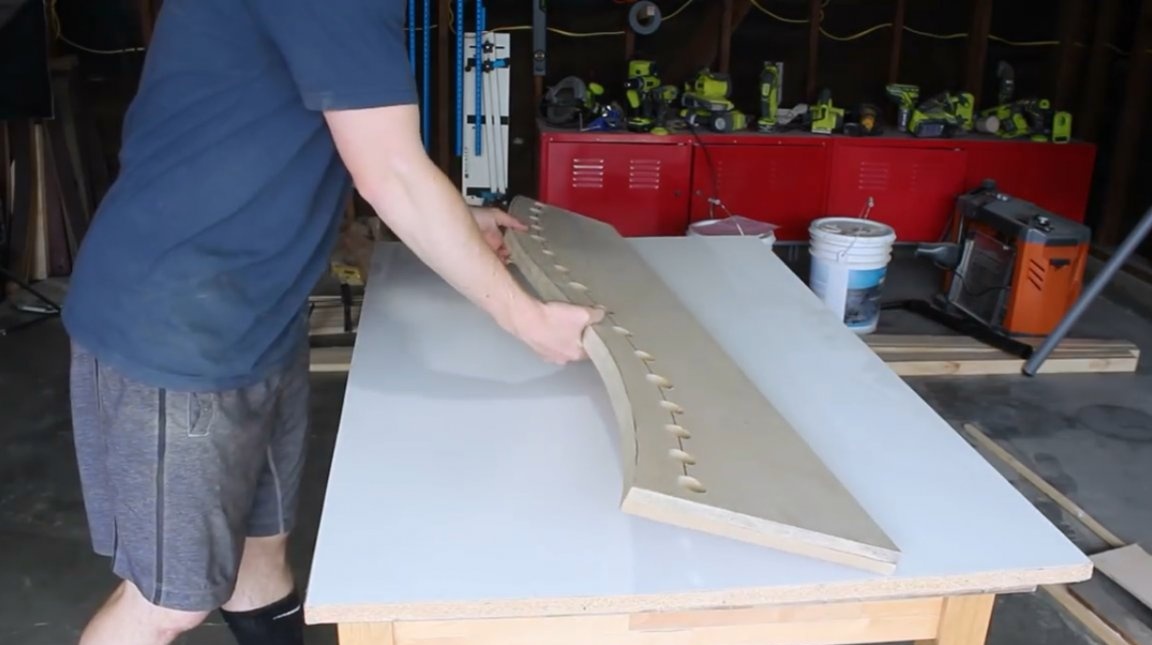
After 12 hours, the author removes the clamps, and carefully disassembles the structure, removing it from the form. Surprisingly, after removing the clamps, the plates did not spring together and did not change their shape!
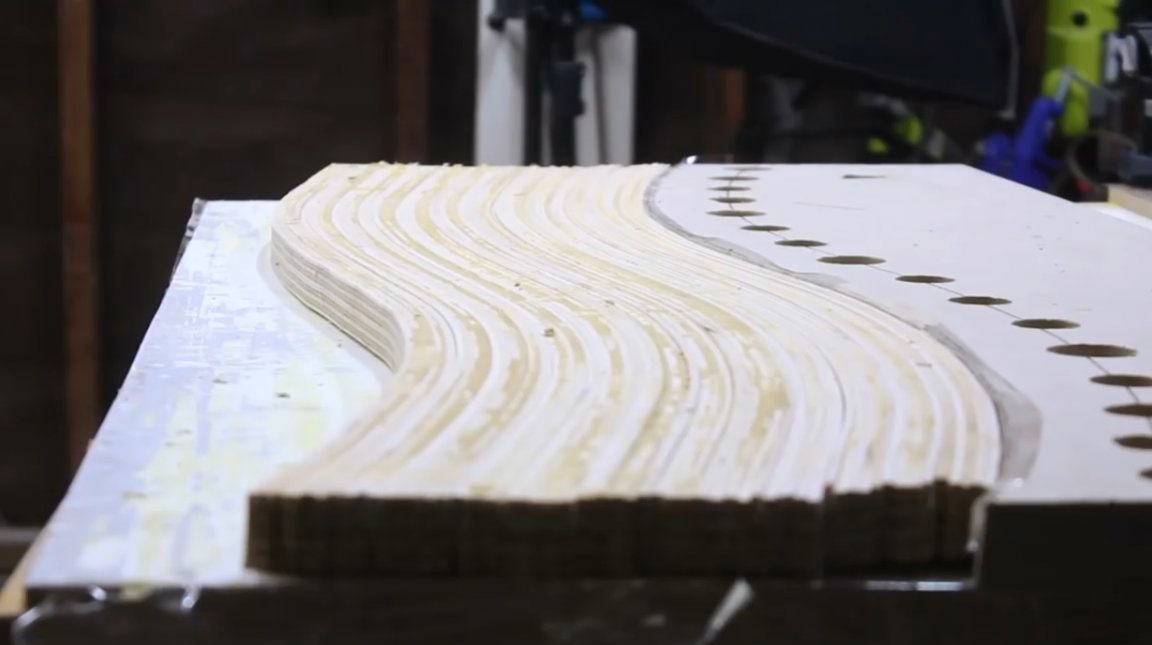
To clean the surfaces of glue, the master used a surface gage. In addition, in this way he received the same height of all segments.
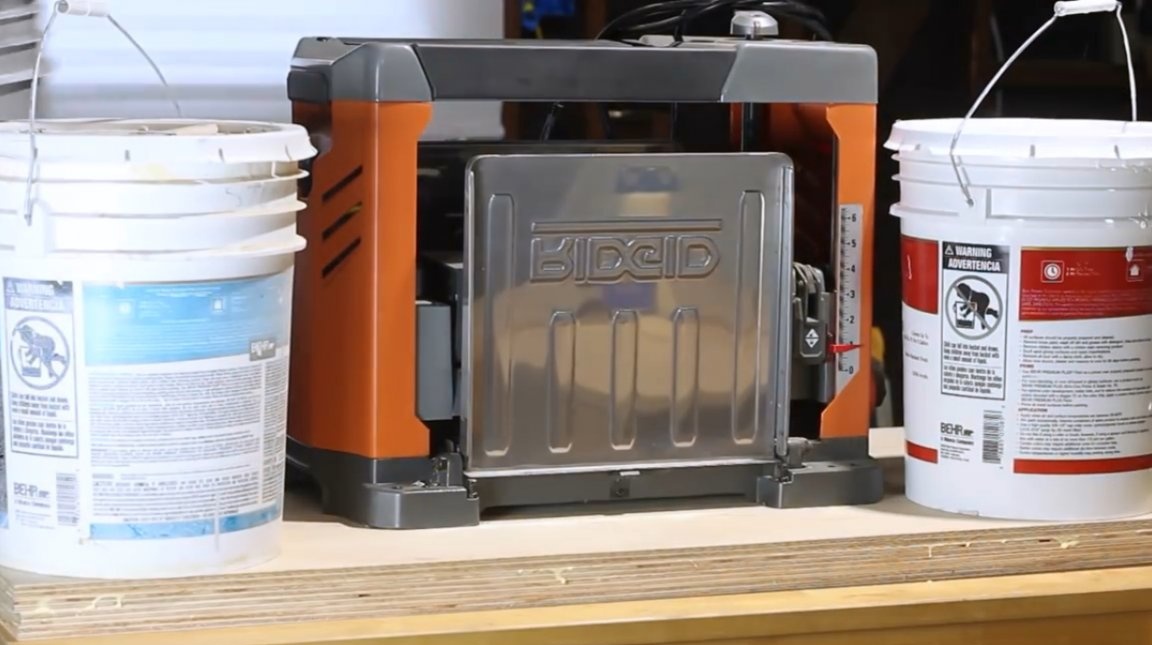
Of course, processing plywood in a thicknesser is fraught with some difficulties due to the alternate arrangement of fibers in its layers. Therefore, in some areas of plywood, dark burns may remain.
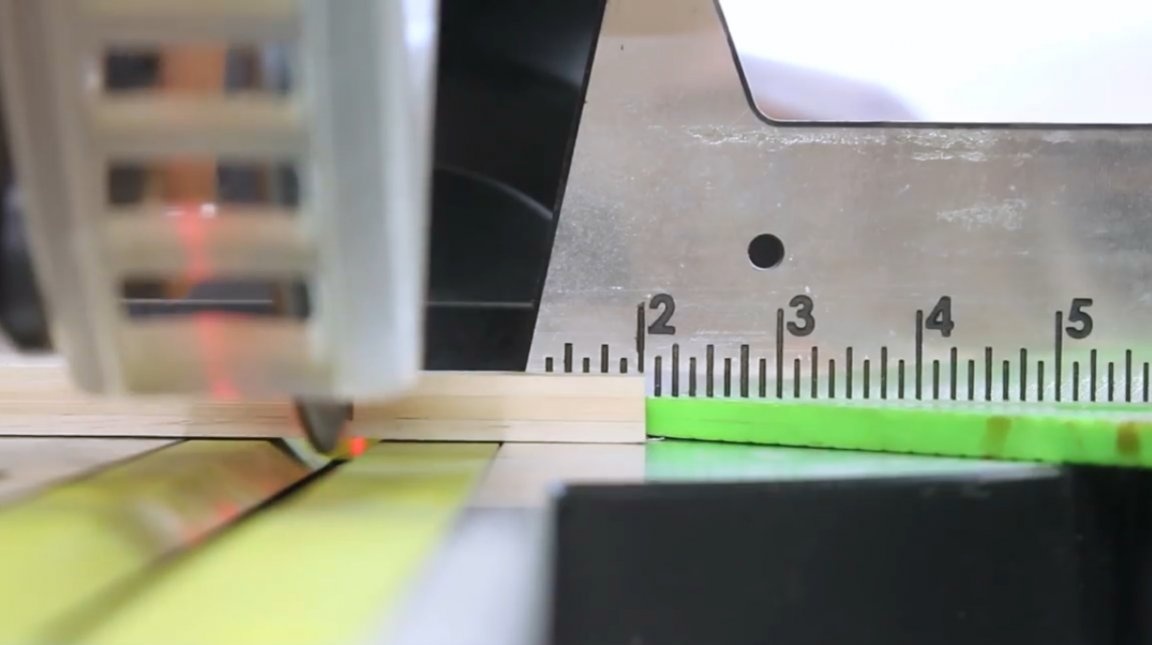
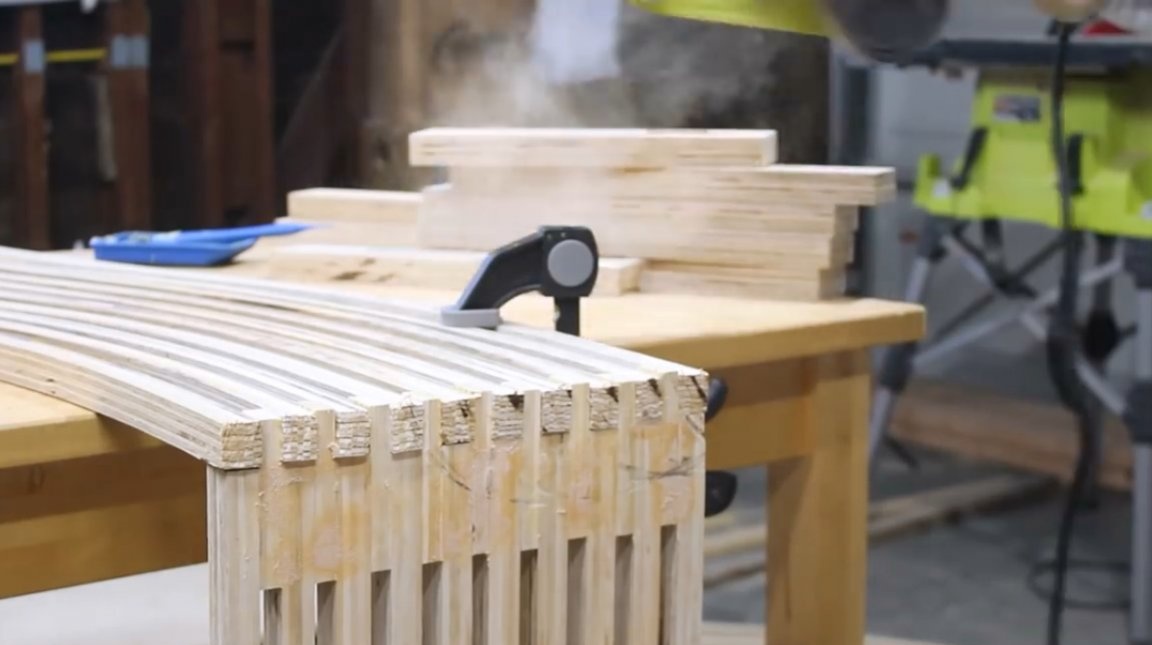
Then, on a miter saw, the author cuts the legs of the future bench, leaving a length of just over 40 cm.
Now it’s the turn to the liners for the legs. For them, the author uses strips three plates thick.
Since the author does not have a drum grinding machine, he achieves the same thickness of the upper and lower spacer bars by processing them on a disk grinding machine.

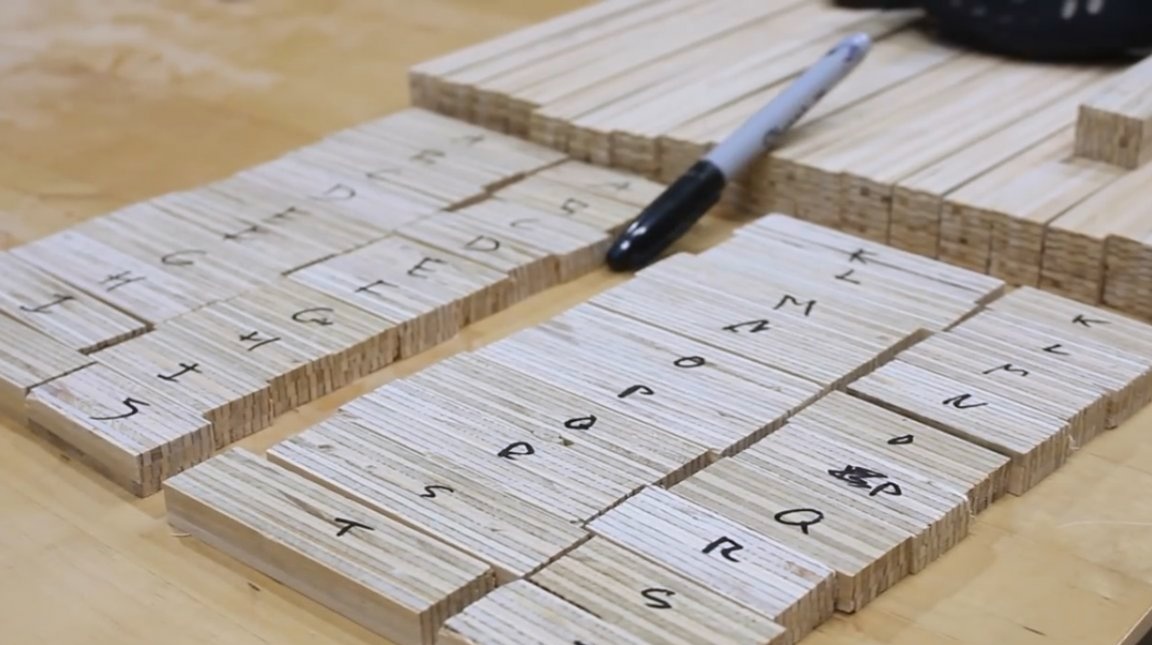
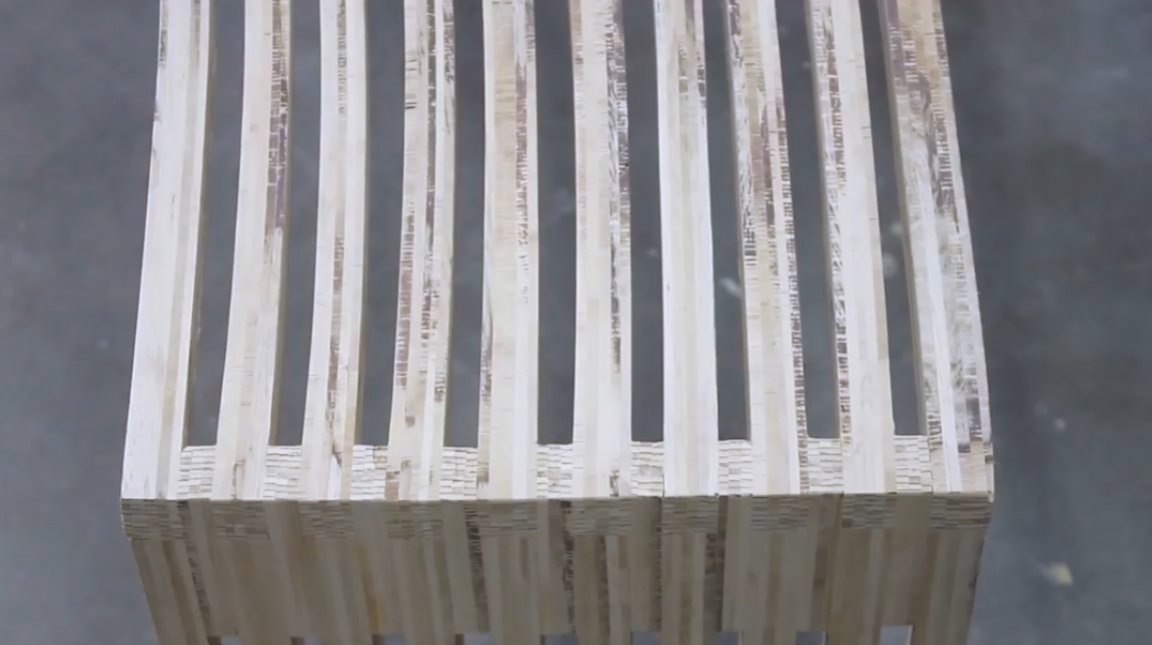
For the convenience of subsequent assembly, the segment is numbered.
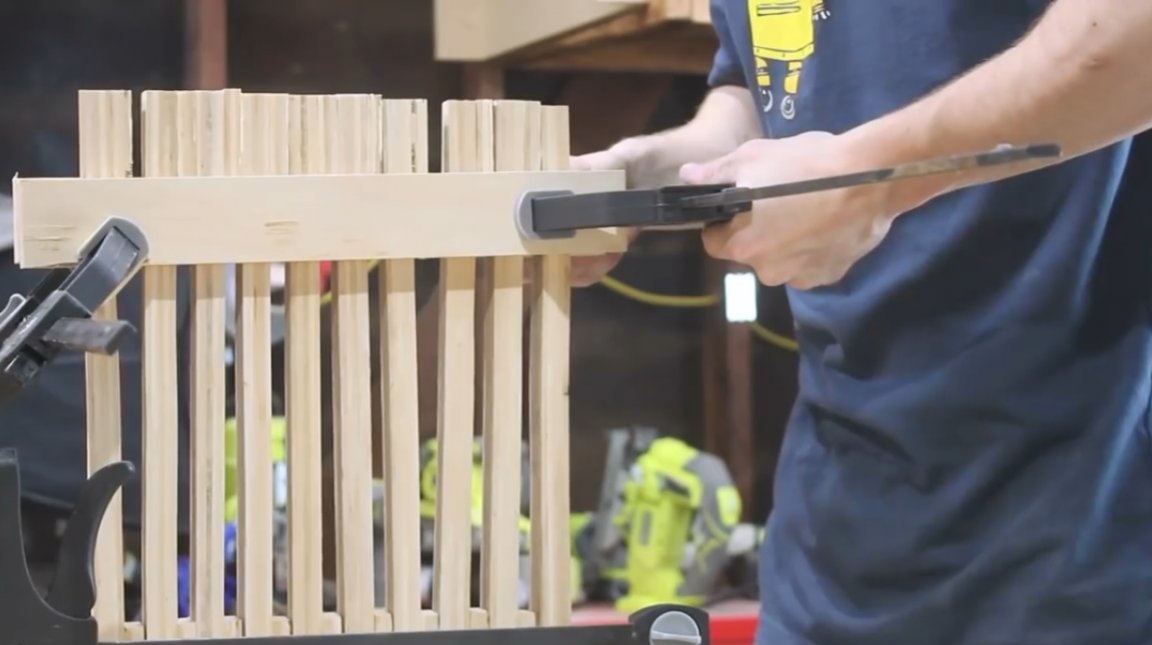
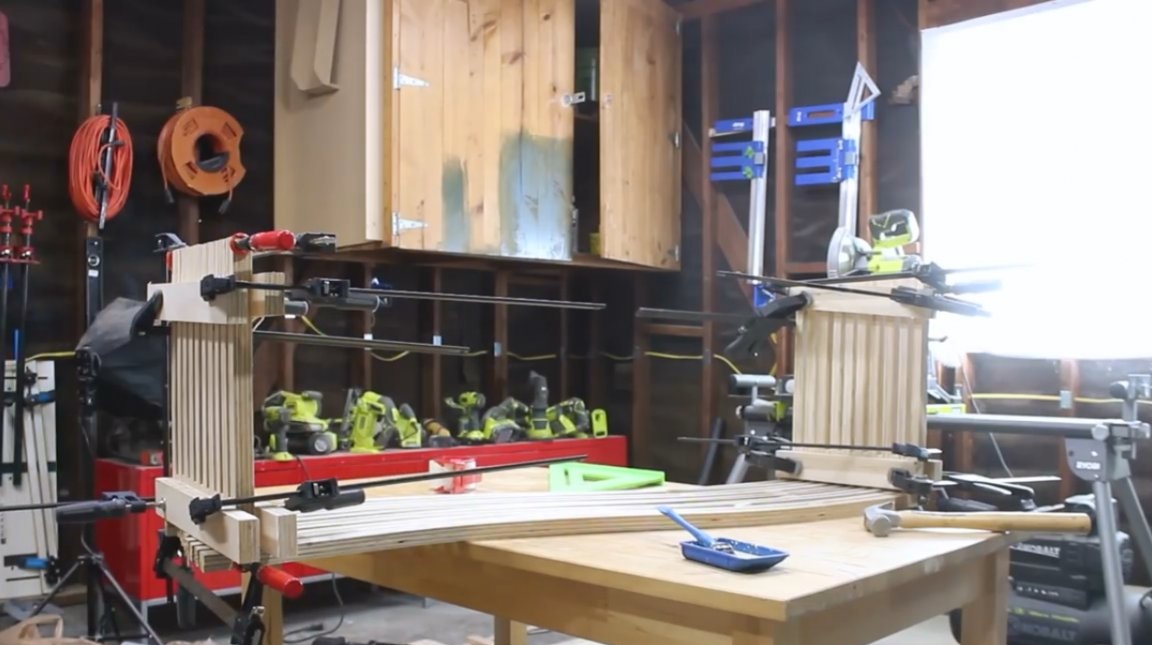
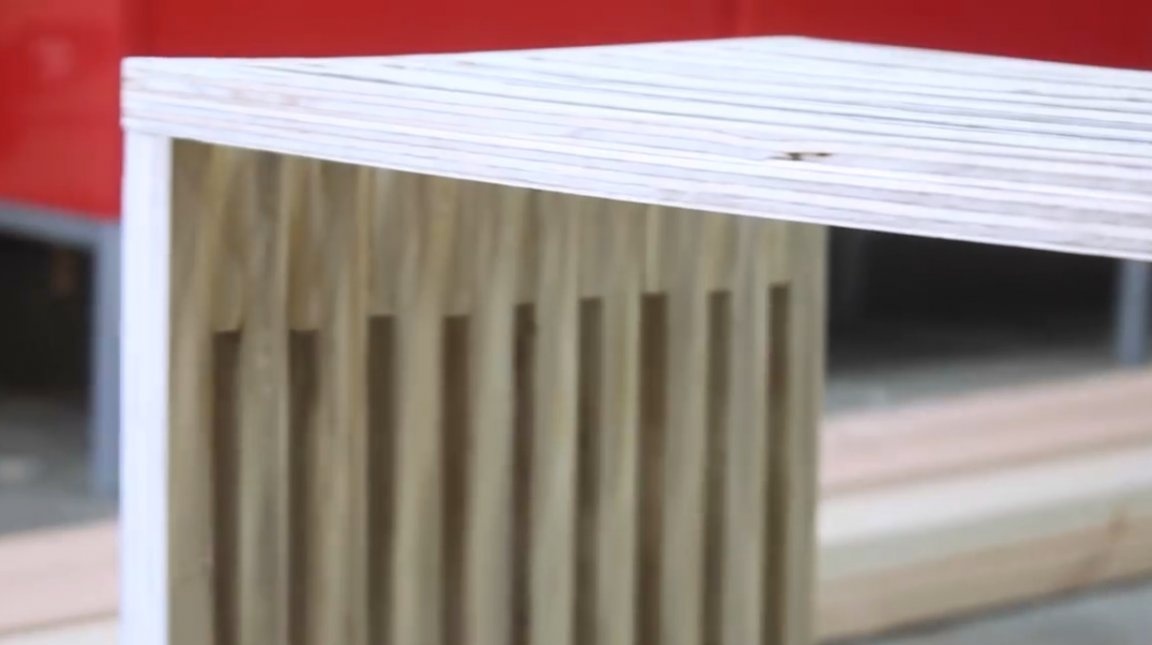
As planned by the author, each bench leg will consist of 10 wide plates, curved in shape. Therefore, you need to make 20 legs, 10 on each side. Plus, you need 18 liners, delimiters, 9 on each side. The last strip should cover the entire structure.

Now the craftsman arranges segments according to this principle.

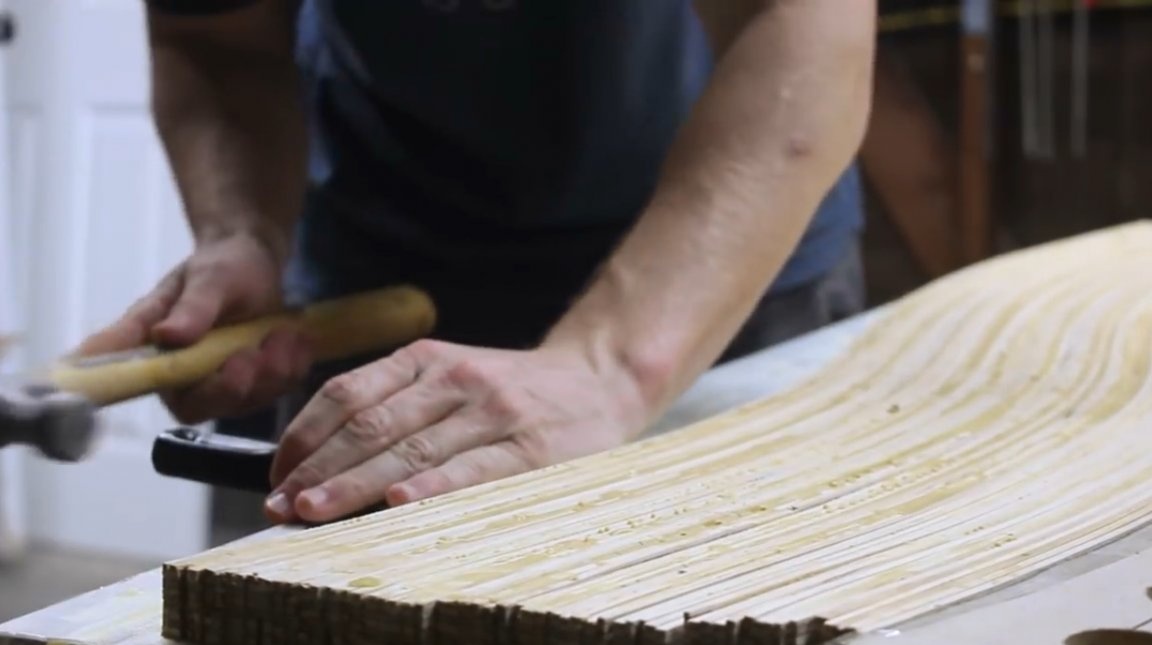
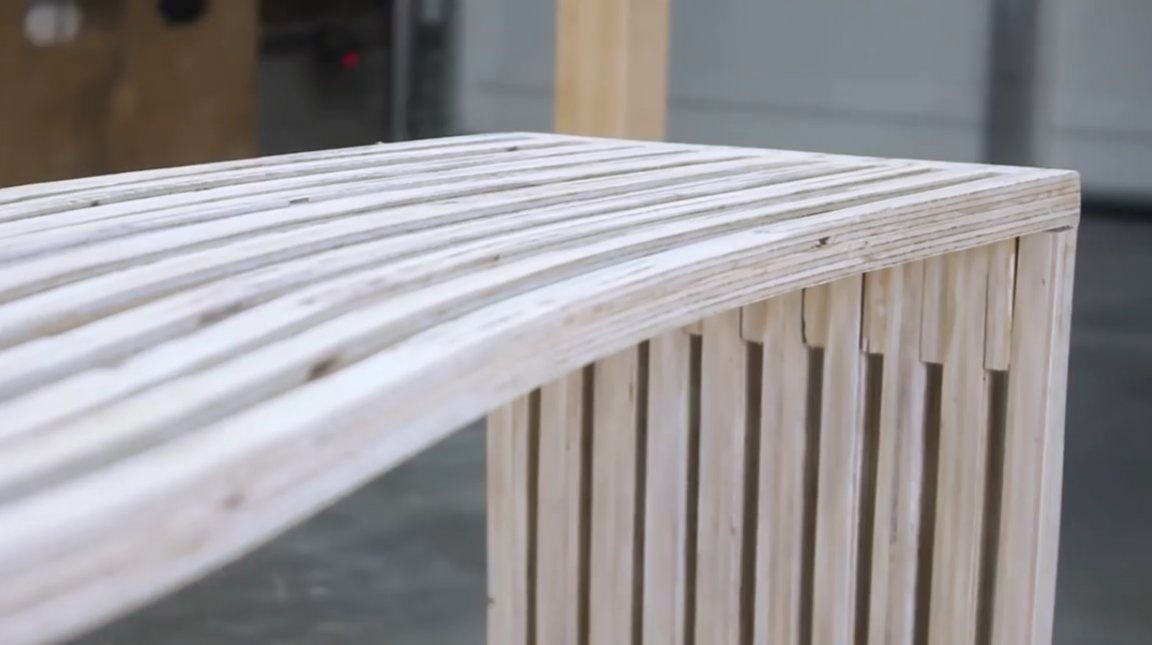
After that, he inserts long curved strips of seats into the gaps between the plates, after gluing trims into them three thick plates, and uses them as dividers.
Further, with several bars, two on each side, and with clamps, he pulls together the elements to be glued and leaves them to dry completely. The author strongly recommends the use of slowly setting glue in this case. It is also important to align the legs so that they are at an angle of 90 degrees with respect to the bench seat. This may take time. That's why you need slowly setting glue!
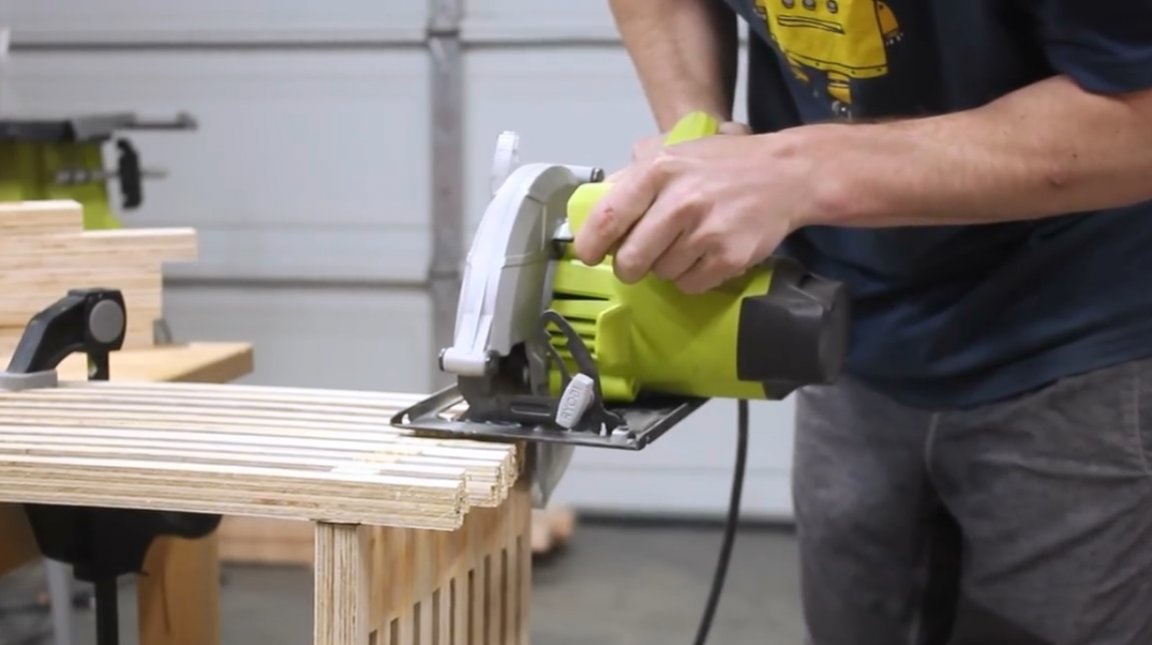
The next day, the author cuts off the excess material with a hand-held circular saw and polishes the product first with a portable belt sander (40 grit paper) and then with an orbital sander (80th grain).
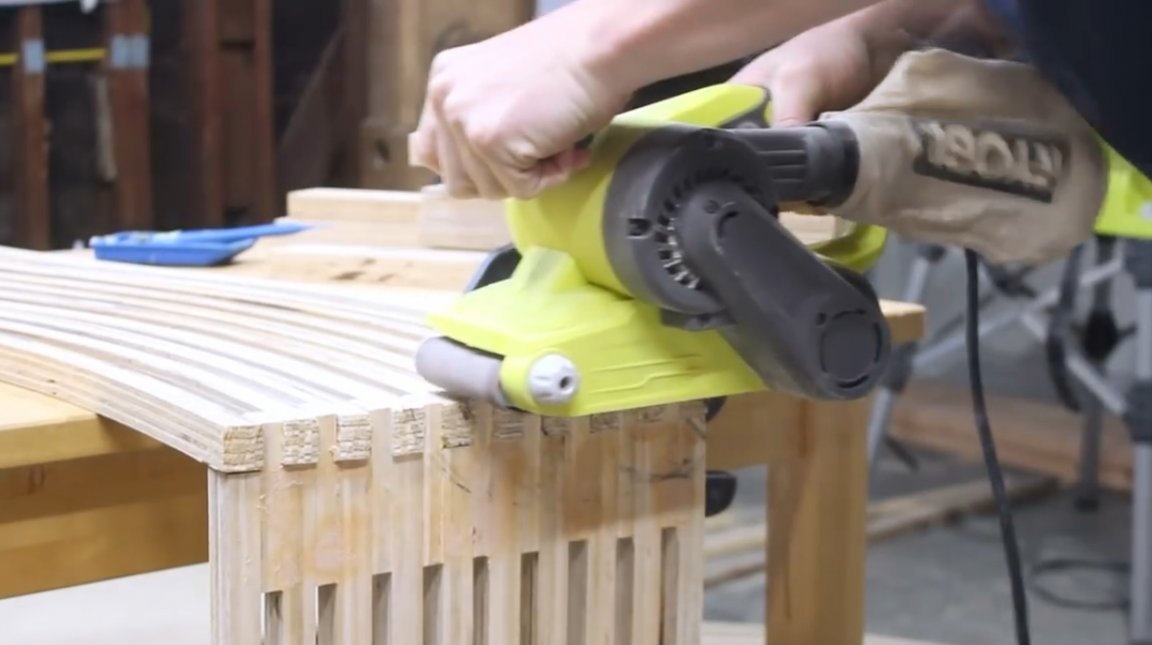
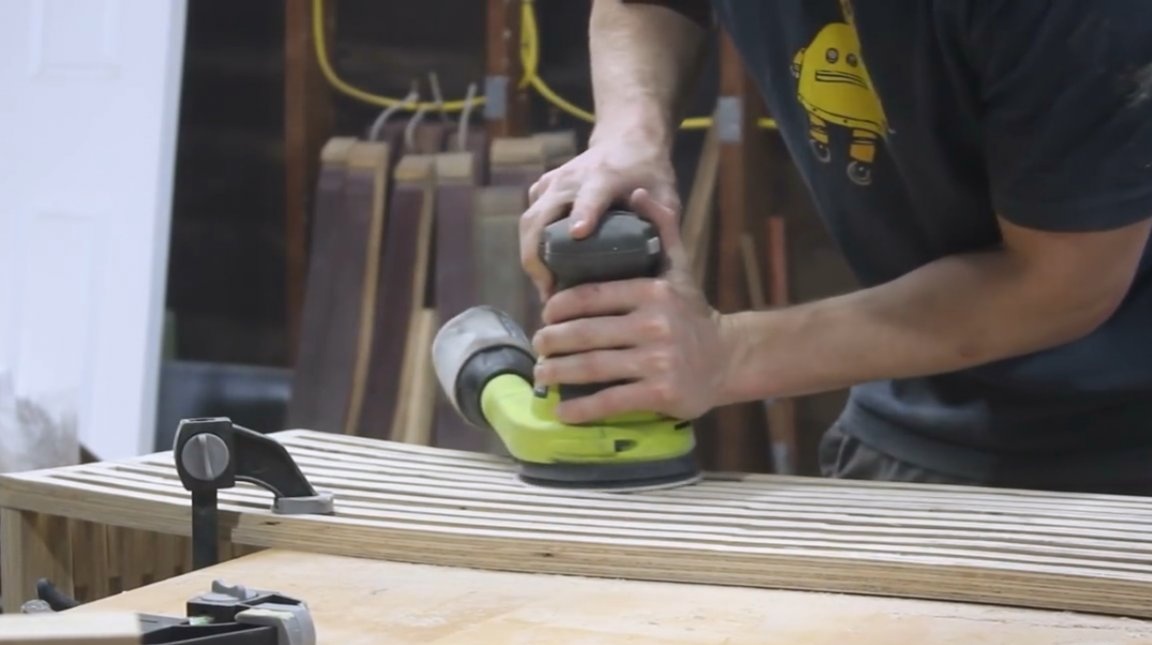
At the end there is also manual sanding with 120 grit paper.

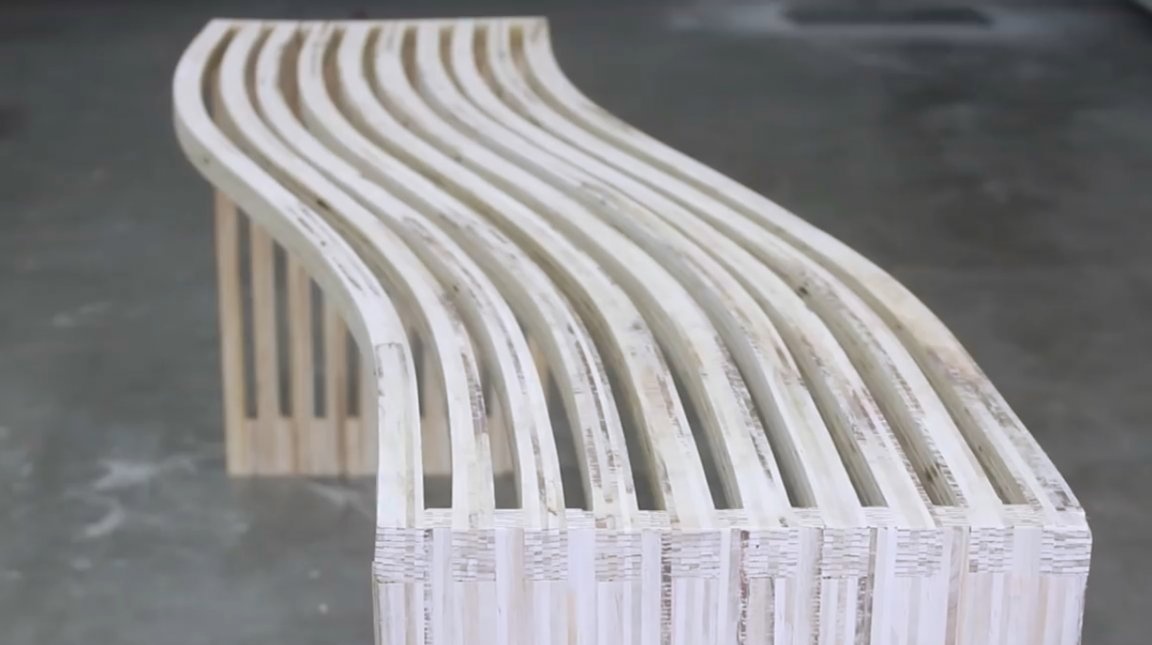
And now, the finished product is in front of you! It remains only to cover the bench with varnish, or paint.
I thank the author for an interesting technique for bending sheet plywood, and a shop of an unusual shape!
If you have interesting homemade products, share them on this site. Here you will get a real reward, not a “bunch of green stuff" at the entertainment forum.
All good mood, good luck, and interesting ideas!
Author video can be found here.