Many of you have country house, or just a private house. And, perhaps you prefer to make a barbecue yourself.
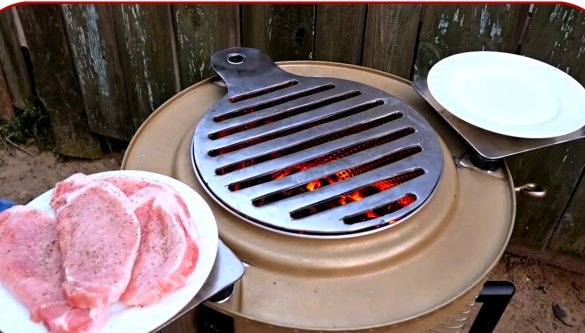
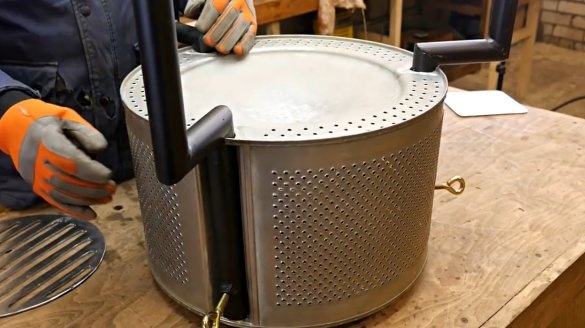
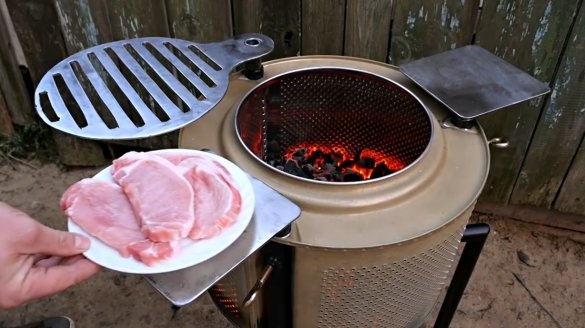
In this article, Ivan, creator of the YouTube channel Creates DIY, will tell you how he made a great brazier from an old drum from a washing machine.
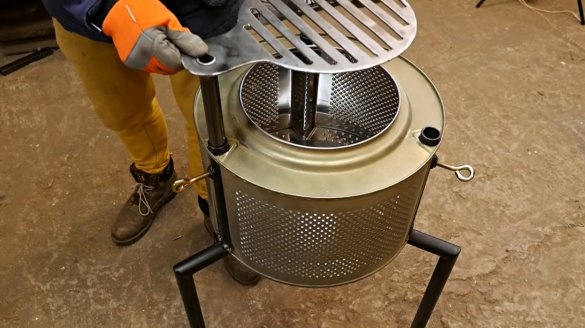
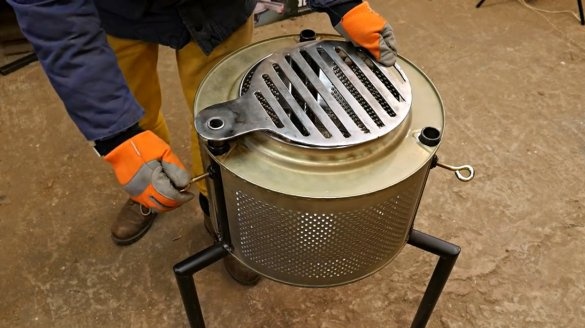
This version of the barbecue has one important feature, the master thought out a convenient system for adjusting the height of the grill.
Materials
- Sheet stainless steel
- The drum from the washing machine
- Steel pipe
- Spray paint.
Instruments, used by the author.
— Bulgarian, petal stripping and cutting discs
— Screwdriver
— Step Drills
- Plasma cutter
— Semi-automatic welding
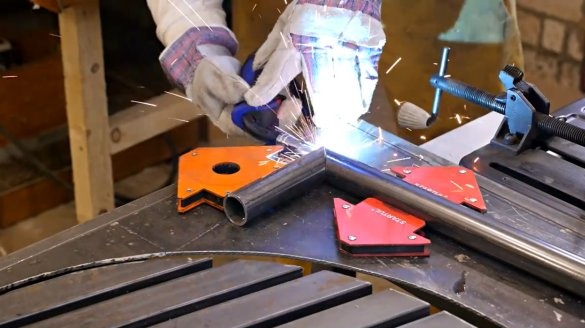
— Angle for adjustable angle welding
- Hammer, core, round file, vise
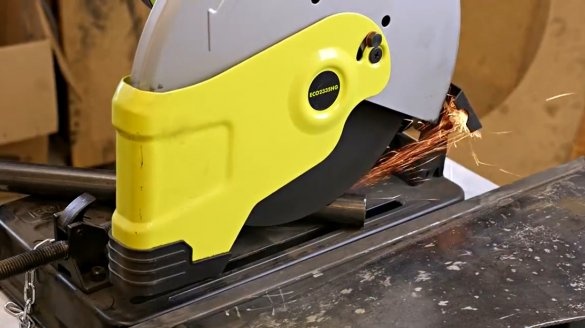
- Miter saw
— Clamps
- Marker.
Manufacturing process.
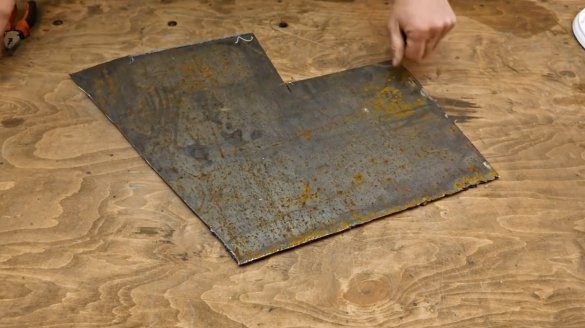
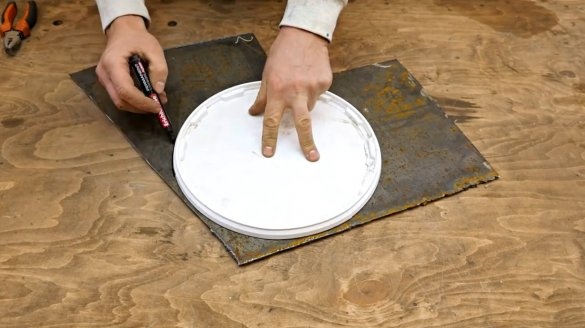
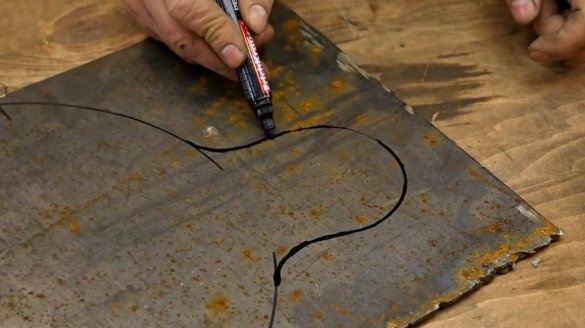
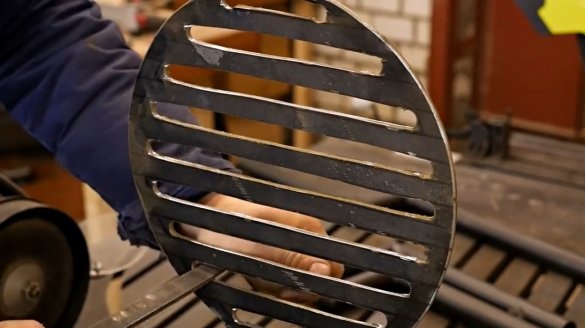
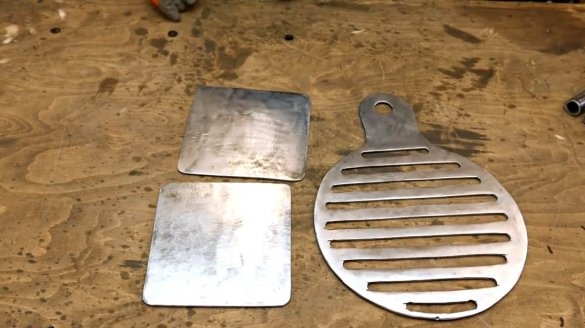
First of all, the author proceeds to the manufacture of a barbecue grill from thick sheet stainless steel. He marks out the contours, taking into account the size of the hole in the drum.
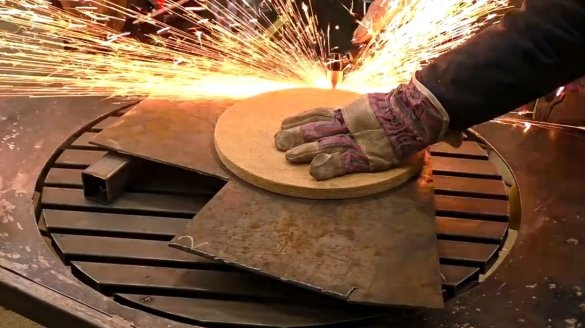
Now, using plasma cutter, cuts the workpiece along the contour.
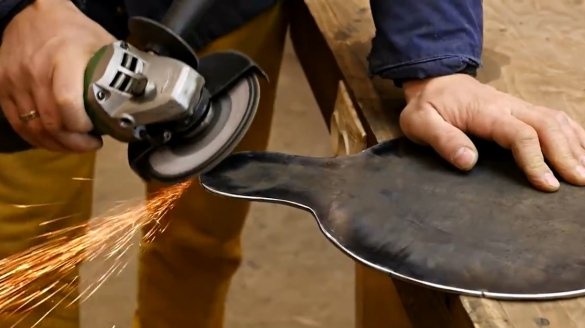
The edges of the future lattice are cleaned with a petal disk.
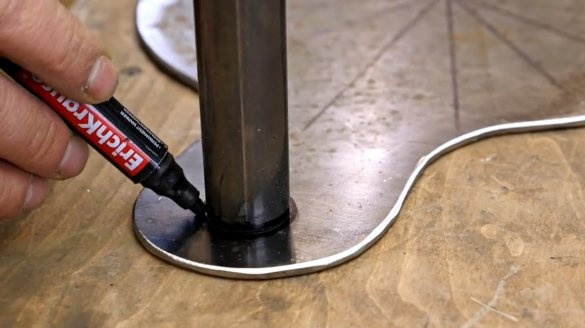
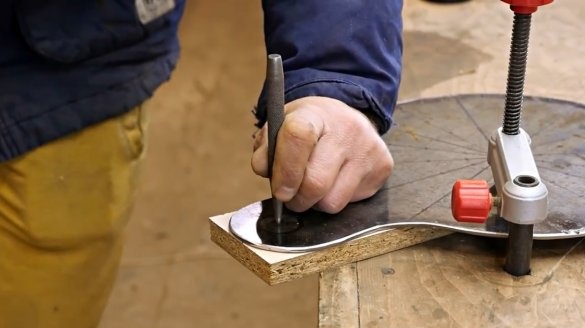
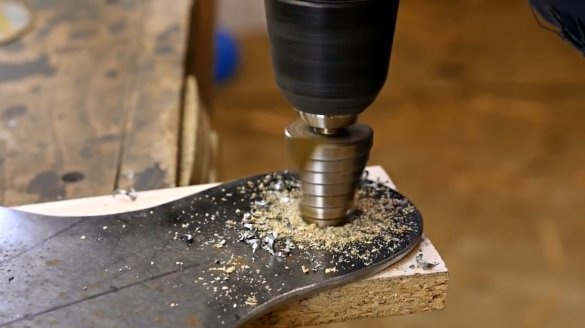
Then, on the edge of the workpiece, he marks the hole for the pipe, and drills a hole for it with a step drill.
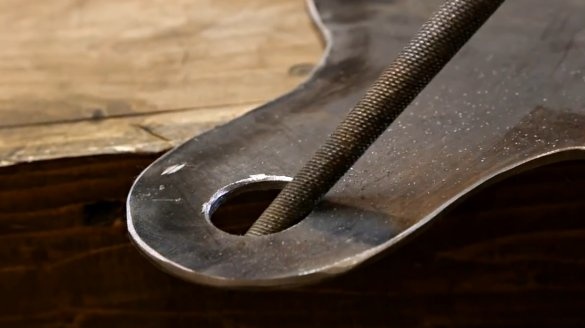
The edges of the holes are filed.
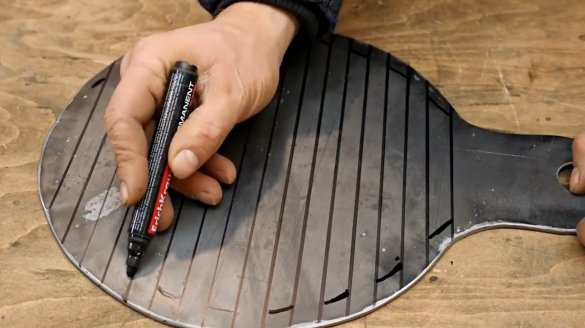
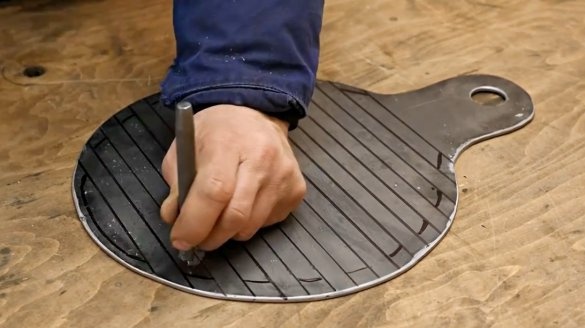
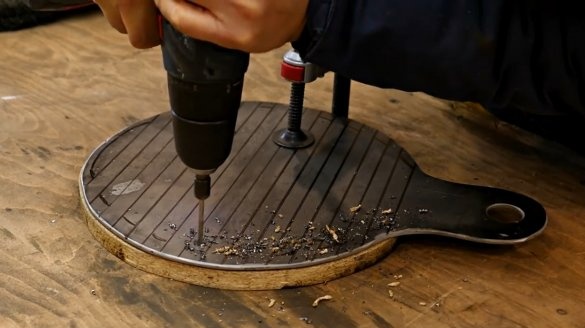
Then he marks out the necessary cutouts of the lattice, and drills holes at their edges, passing from a thin drill to a thick one.
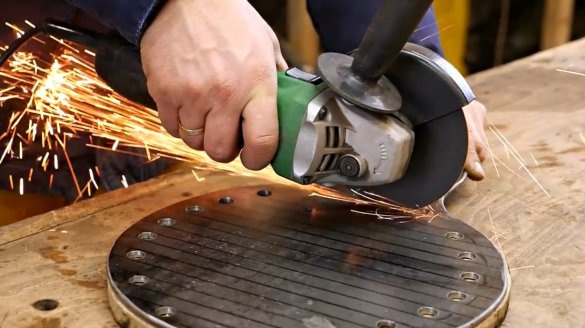
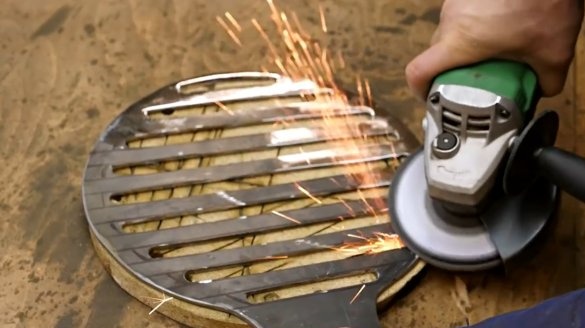
Then slots are made using a grinder.
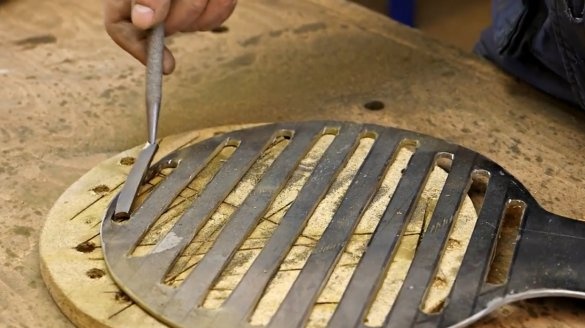
Excess pieces of metal are removed and the edges of the holes are filed. The surface is cleaned with a petal disc.
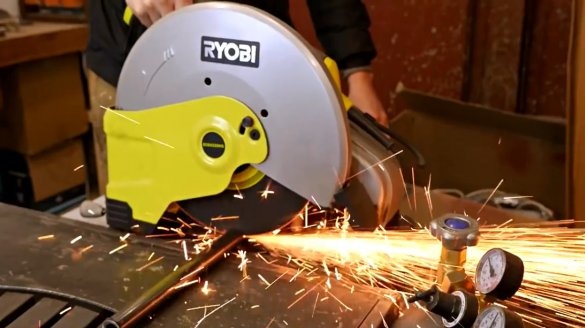
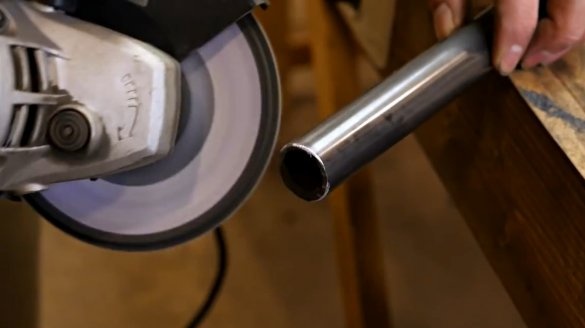
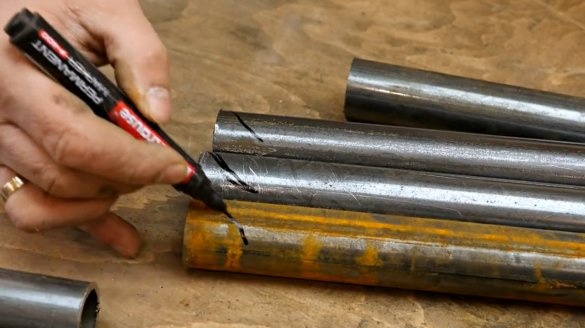
Now he cuts three pieces of pipe.
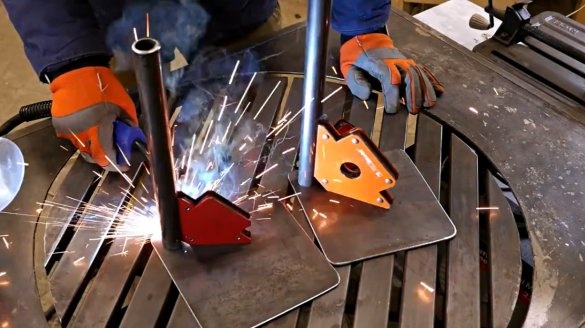
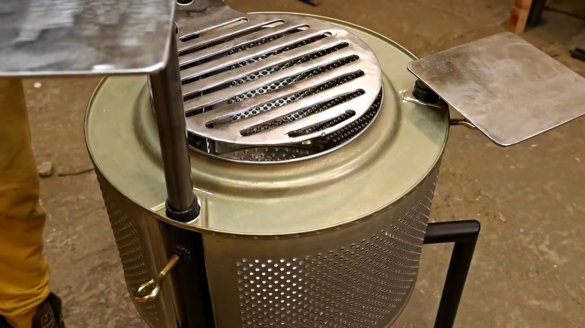
In addition to the grill, the author decided to make two small tables.
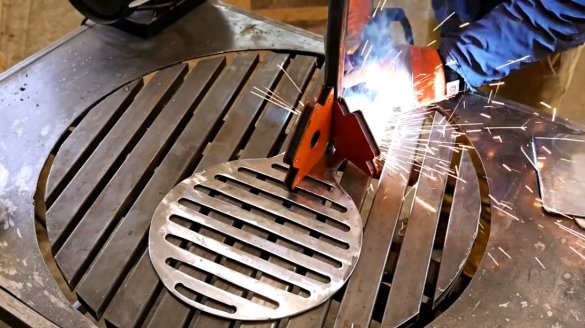
The tubes are welded to the grill and supports.
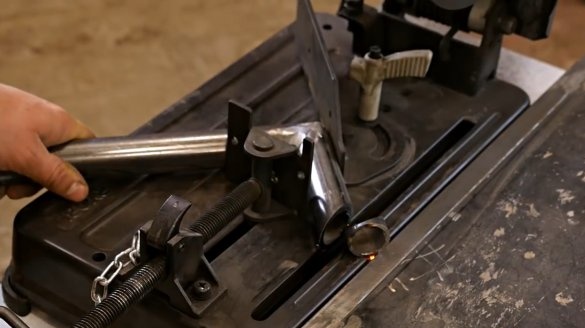
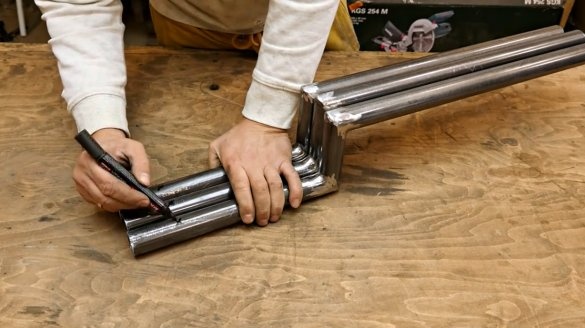
Brazier legs will be made of pipes of slightly larger diameter. Their edges need to be cut at an angle of 45 degrees.
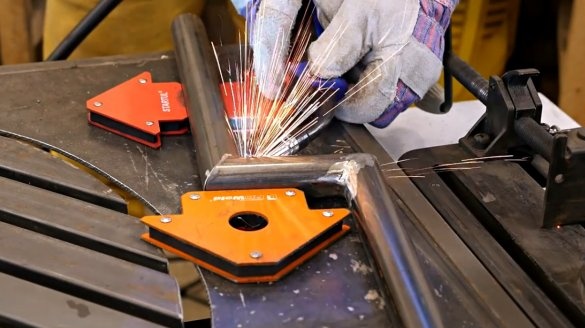
Then the tubes are welded as follows.
Another cut is also made, and the third part of the leg is welded.
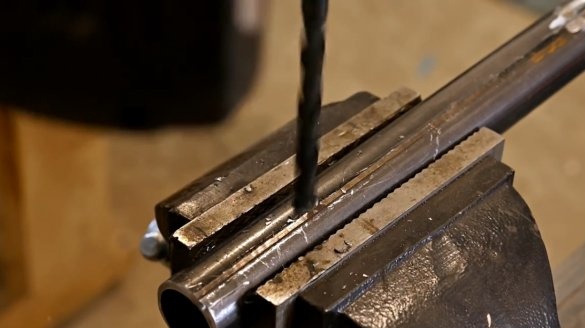
In the upper part of the legs, the author drills holes for the clamping screws.
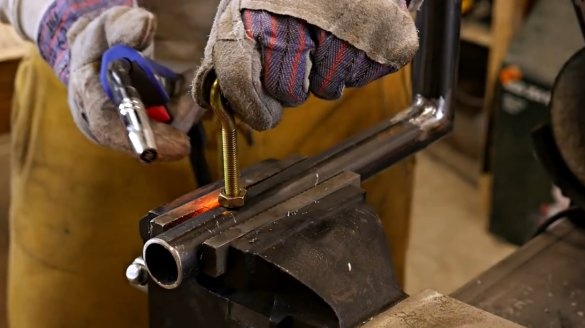
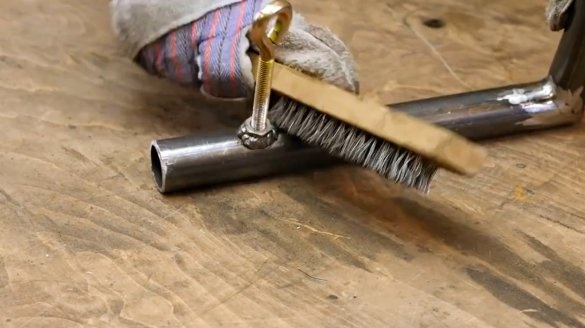
The nuts are welded to the tube and the seams are brushed with a wire brush.
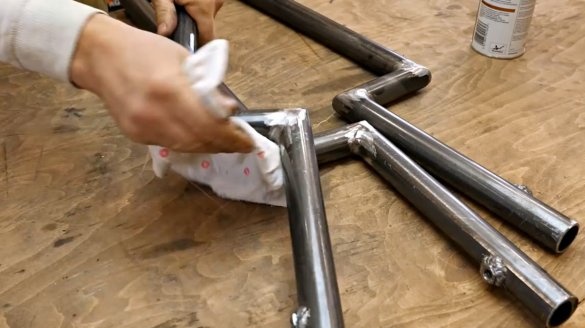
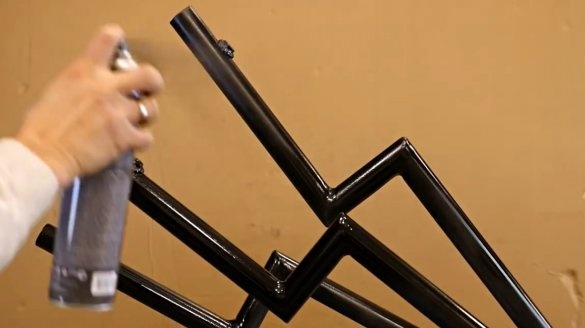
The master degreased the surface of the tubes with gasoline, and painted them with spray paint.
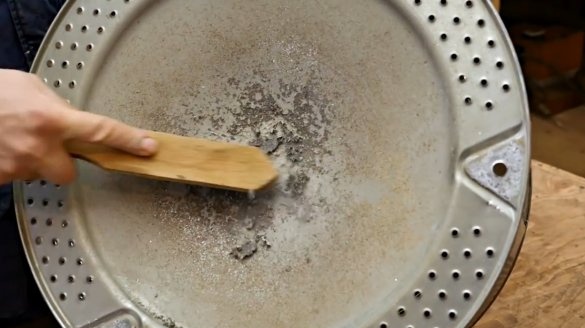
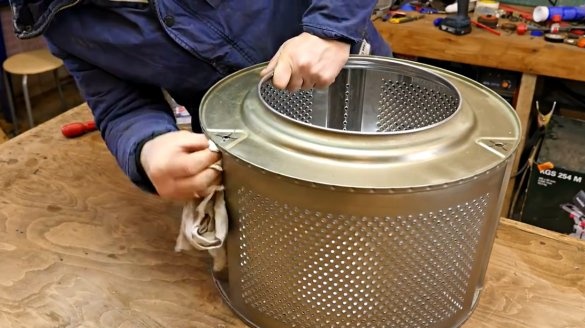
From the back of the tank, the author removes the crosspiece by drilling rivets. Then cleans all surfaces of the tank.
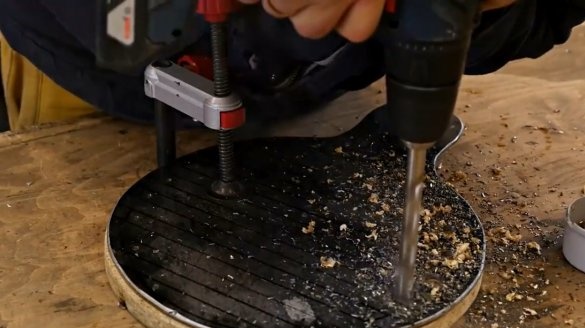
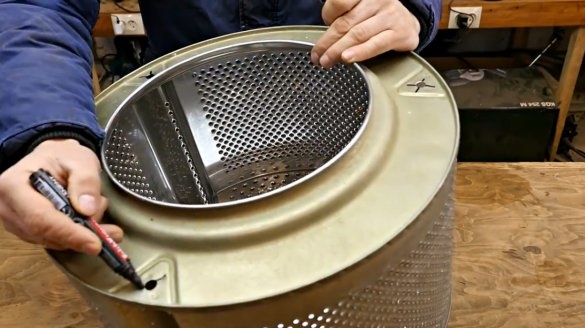
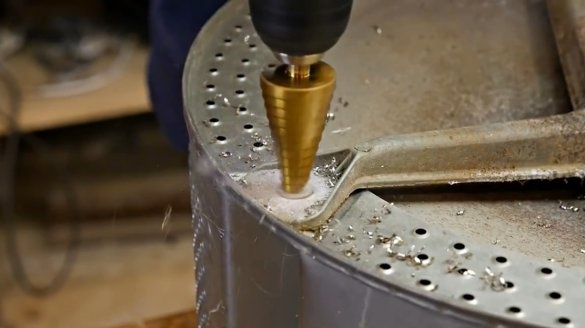
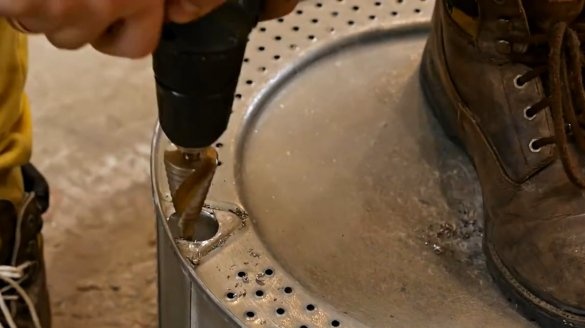
In three places, he drilled holes for the legs.
The legs are set in place, and you can begin to assemble the barbecue.
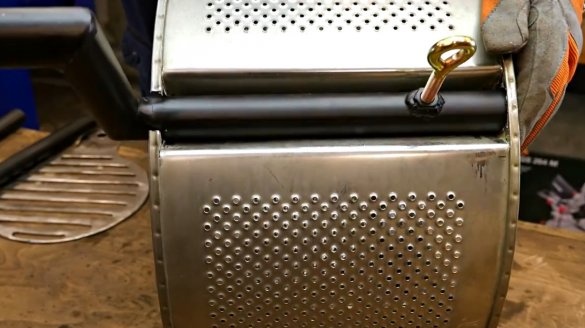
And this is how the height of both the grill and the stands will be adjusted. It can be fixed with a clamping screw.
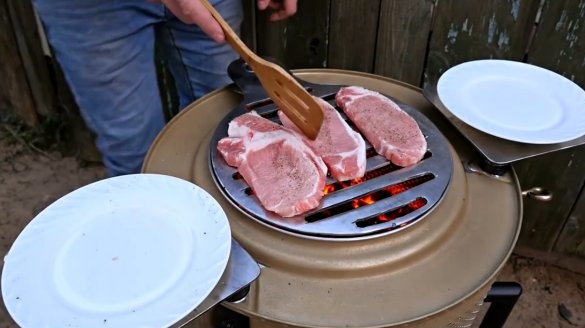
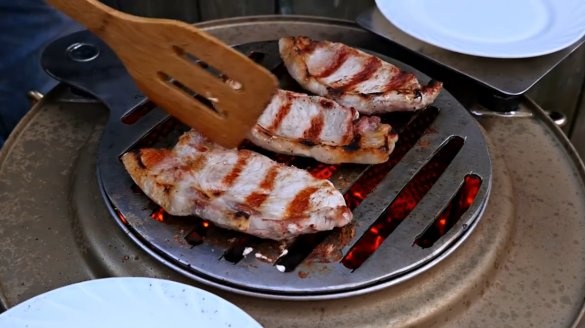
Everything is ready, you can load coal, light a brazier, and enjoy cooking.
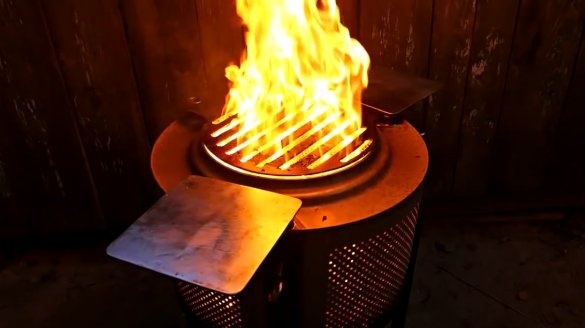
After use, you need to thoroughly burn the barbecue, thus removing food debris from the grill. For compact storage of the barbecue, the legs can be removed.
I thank the author for the simple but very interesting design of the barbecue!
If you have interesting homemade products, share them on that website. Here you will get a real reward, not a “bunch of green stuff" at the entertainment forum.
All good mood, good luck, and interesting ideas!
Author video can be found here.

