
3D printing is already tightly entering modern life. Amateur Radio modeling, whether it’s an airplane, a ship, or a model of rockets, there are many areas where three-dimensional printing is an invaluable assistant. And reducing the cost of such printers and only increasing the number of designs for self-assembly sooner or later will lead to the fact that such a device will stand on the table of each home designer on a par with a conventional soldering iron.
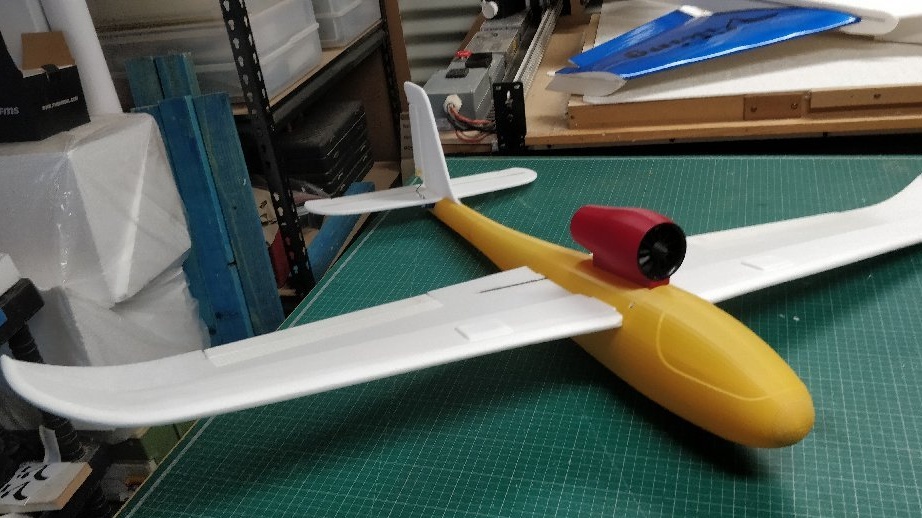
This article shows how to make a Bubble Jet radio-controlled model made using three-dimensional printing. To get started, let's go over the characteristics. The weight of the finished model is approximately 700 grams when using a battery with a capacity of 2200 mA⋅h 3С. The wingspan is 1200 cm. The propulsion system is a fifty millimeter impeller. Detailed impeller characteristics:
- Outer diameter: 52.5 mm
- Length: 38.6 mm
- Weight: 74 g
- Rotor: 50 mm, 11 blades
- Motor: 2627 5400Kv
- Operating voltage: 3C 11.1 V
- Static traction: about 650 g (12.5 V, 39 A)
Print Specifications:
Printing was done on a Prusa i3 MK3 printer with eSUN PLA plus plastic. For best results, printing each, even the smallest, part is desirable separately. All parts except Coca are printed with a layer of 0.2 mm, Coca - 0.1 mm. All files waiting for printing can be downloaded at the end of the article in one archive. Files are distributed free of charge, provided that if you repeat the model, you will publish photos of your model. Therefore, if you repeat, take 10 minutes of your time, go to the forum and post the photo.
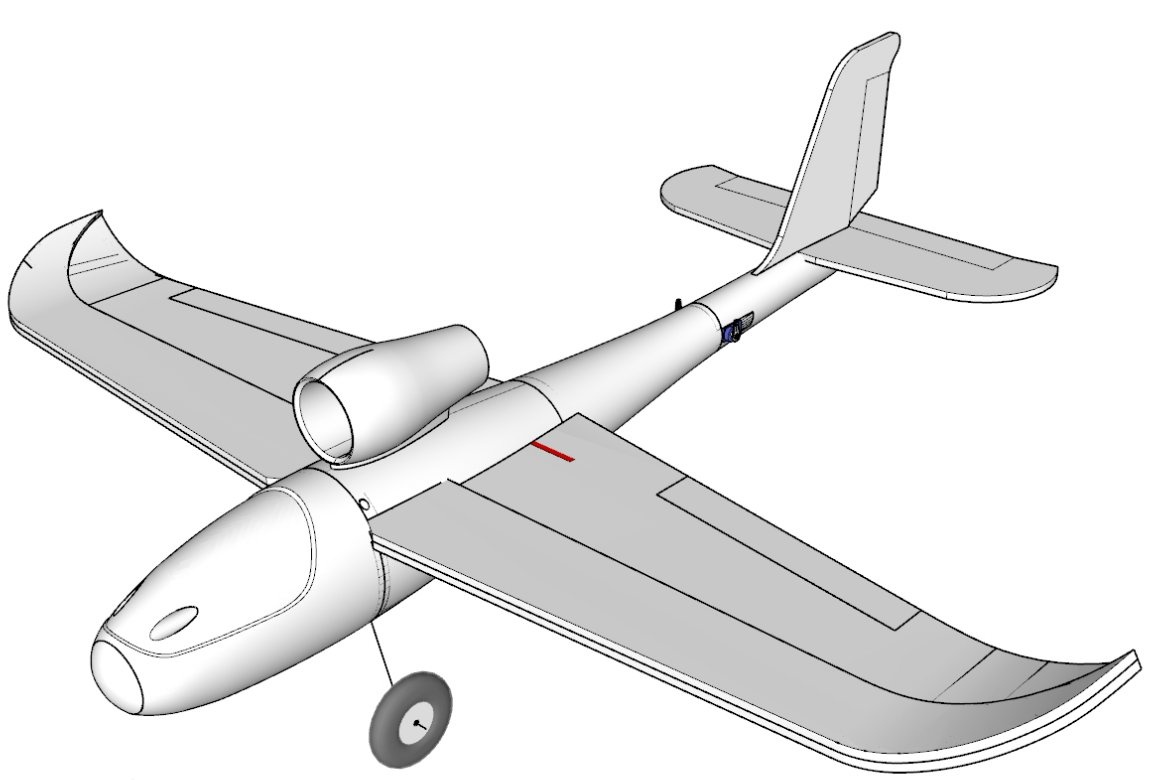
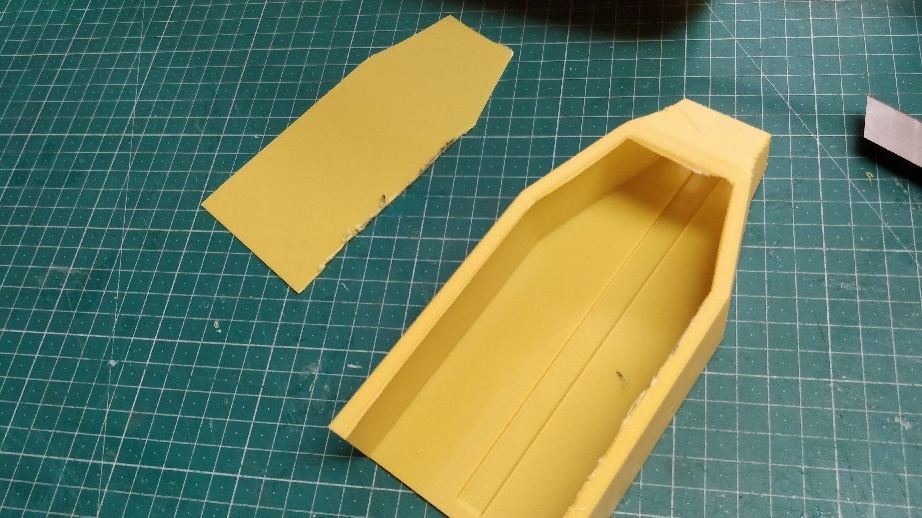
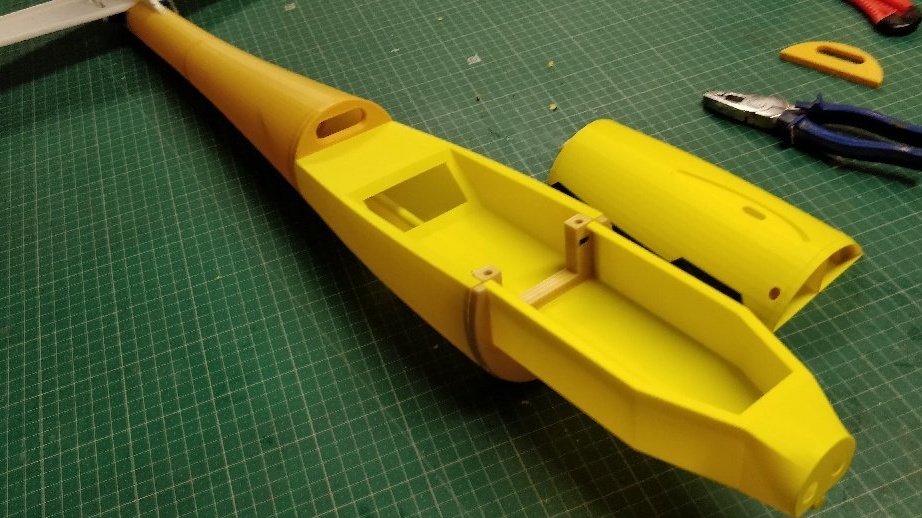
Tail and fuselage
Assembly begins with a tail, which consists of two compartments and plumage (horizontal and vertical stabilizer).
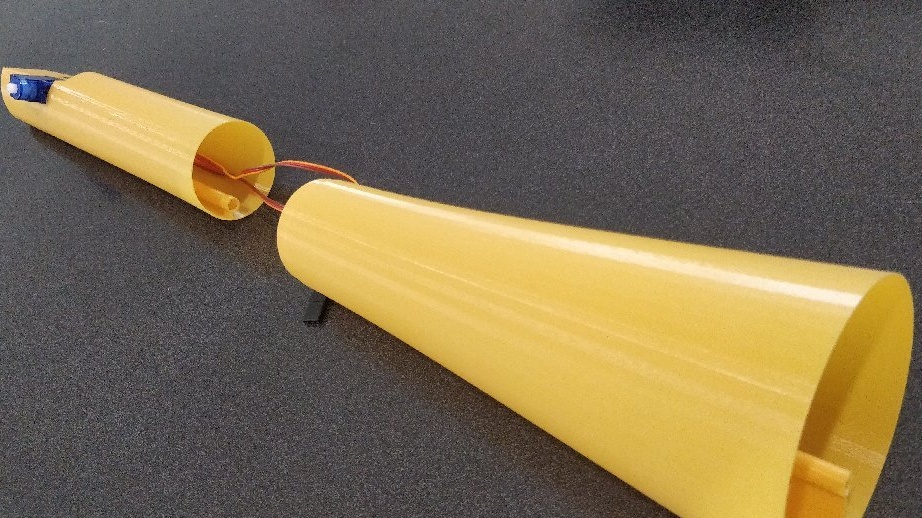
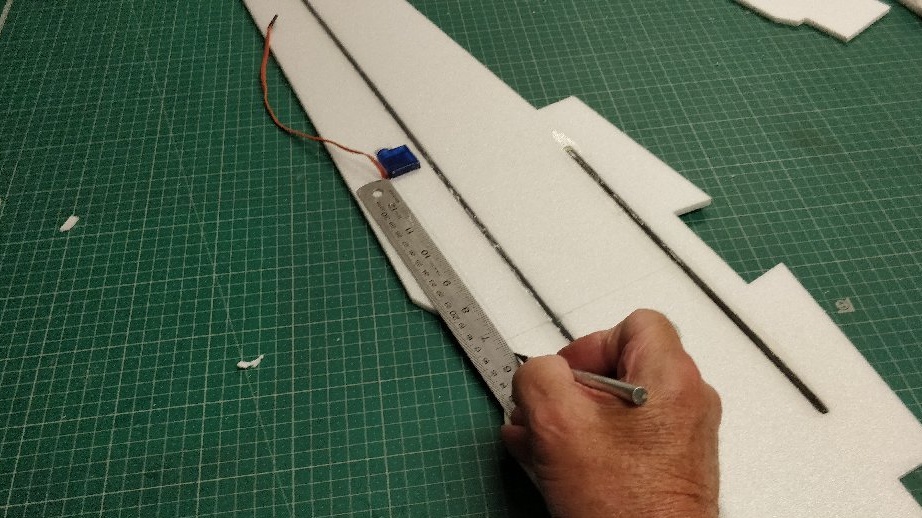
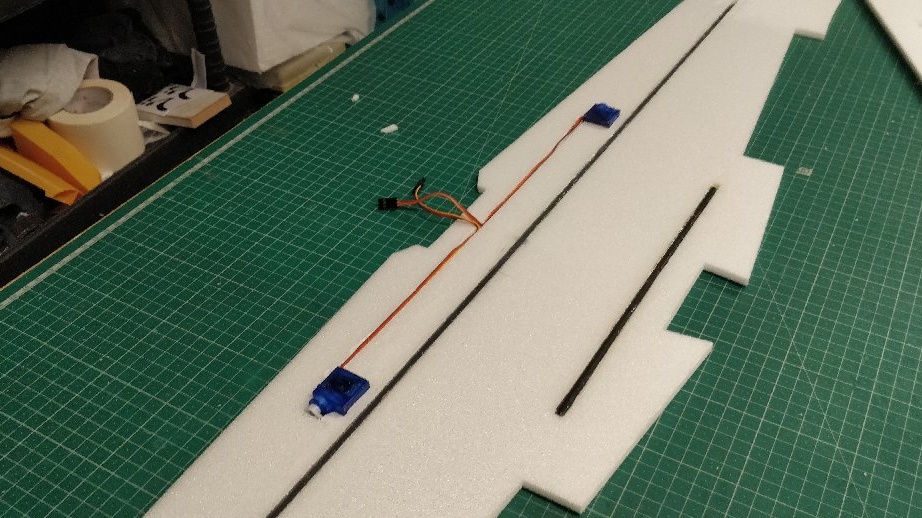
Plumage is made of foam, or rather ceiling tiles. For greater strength, a carbon rod is glued into the plumage. As an alternative, it is proposed to use beech battens.
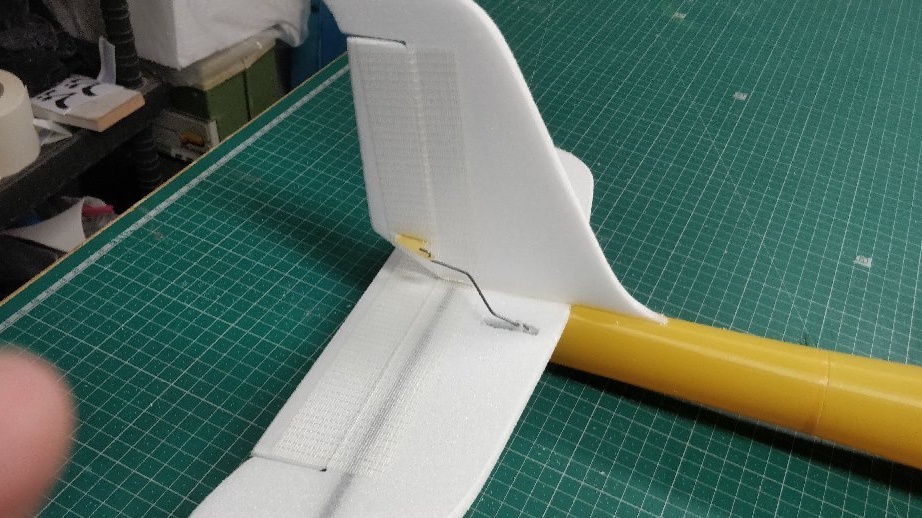
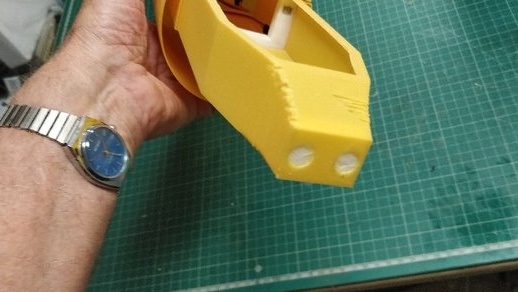
Servo drives extend through the tail.
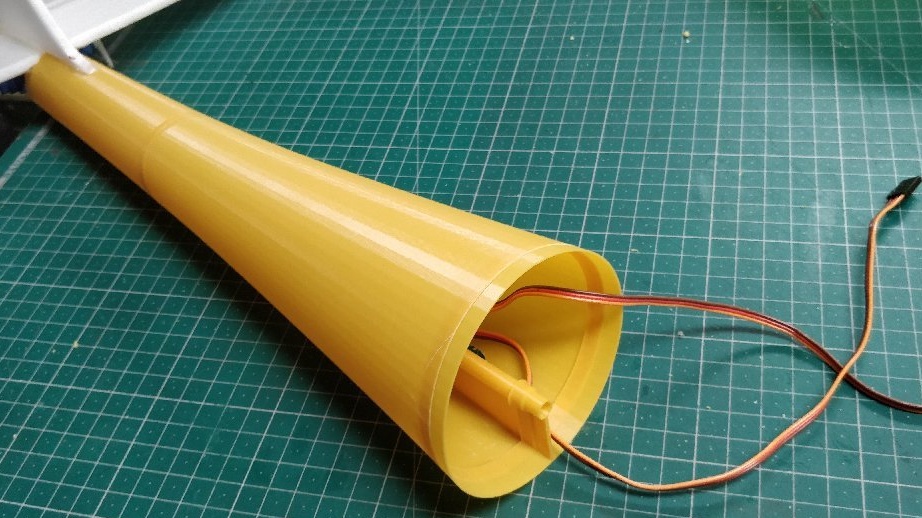
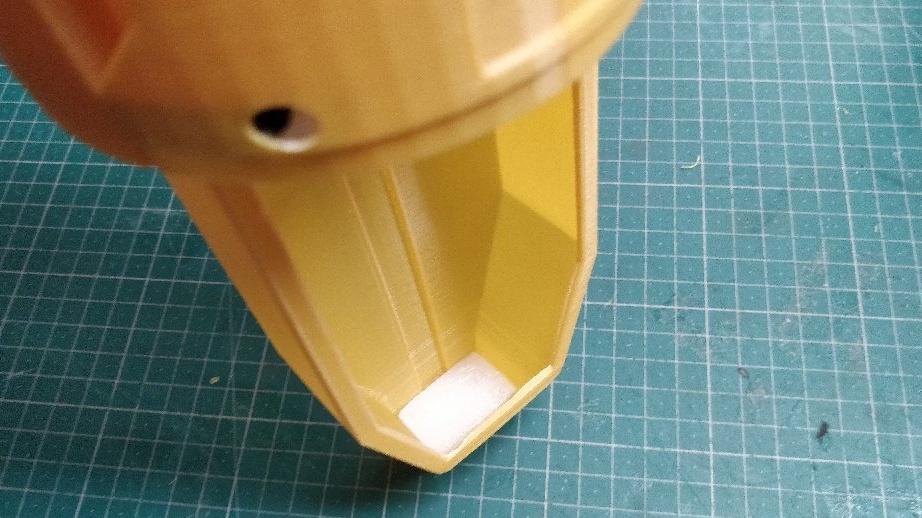
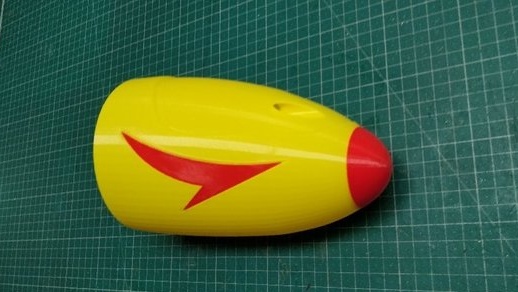
Next, the fuselage is printed, which consists of the lower and upper parts, as well as reinforcing inserts.

The fuselage with the tail is additionally reinforced with a carbon rod passing through. The photo shows a special channel for its installation. The fuselage is assembled and connected to the tail using cyanoacrylate glue.
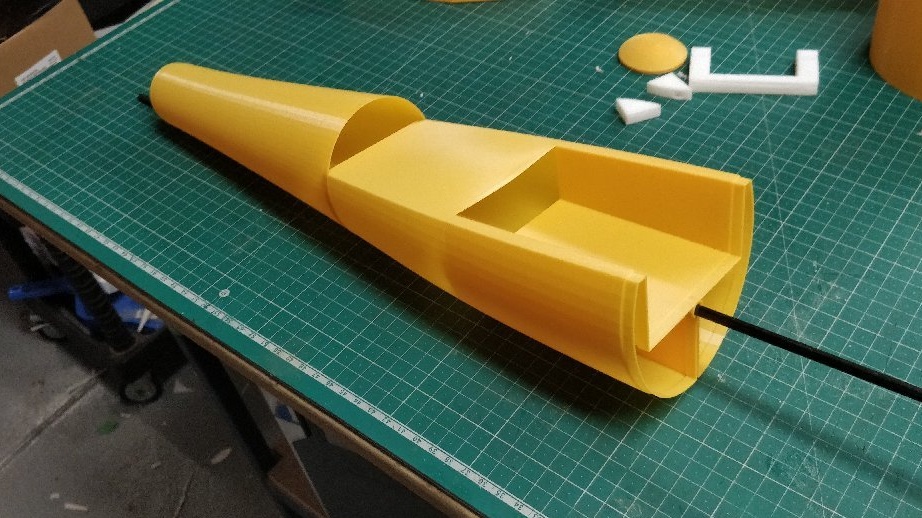
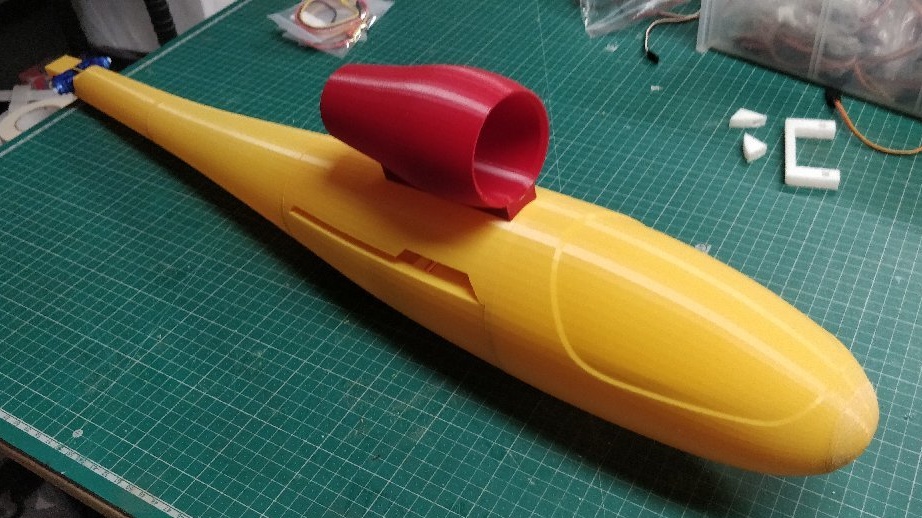
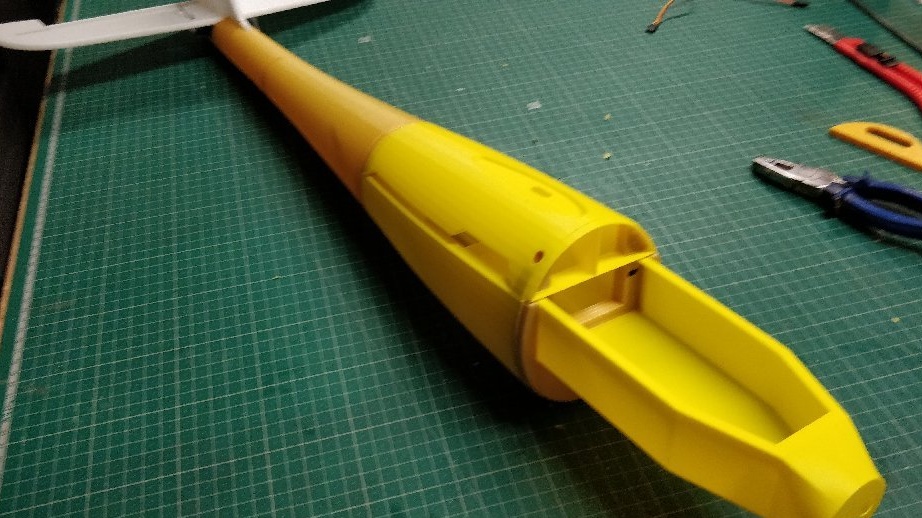
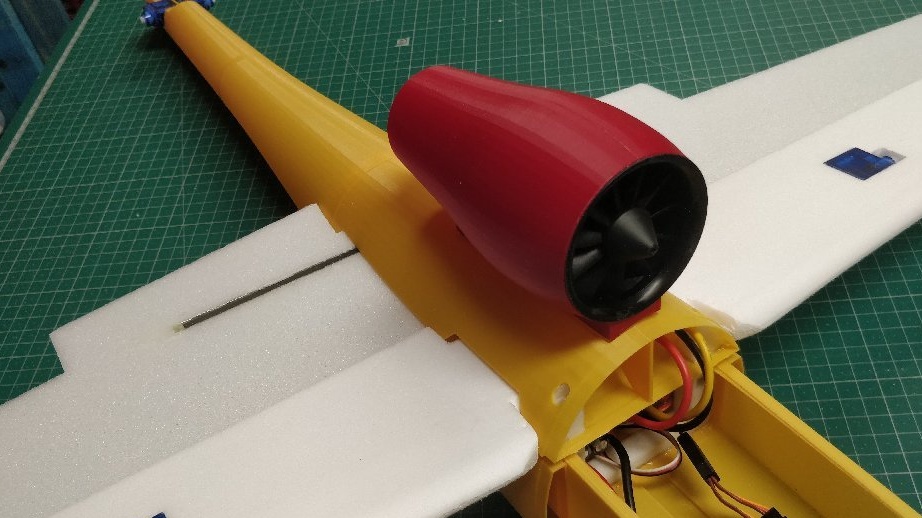
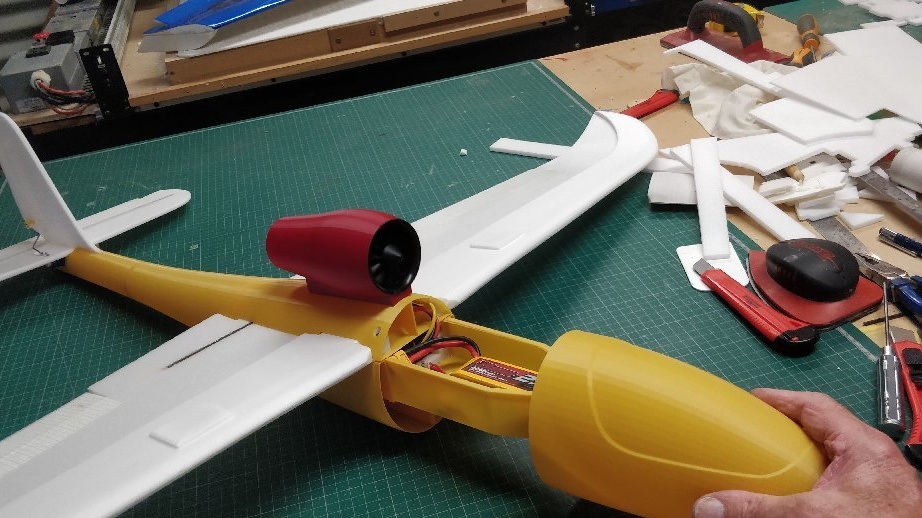
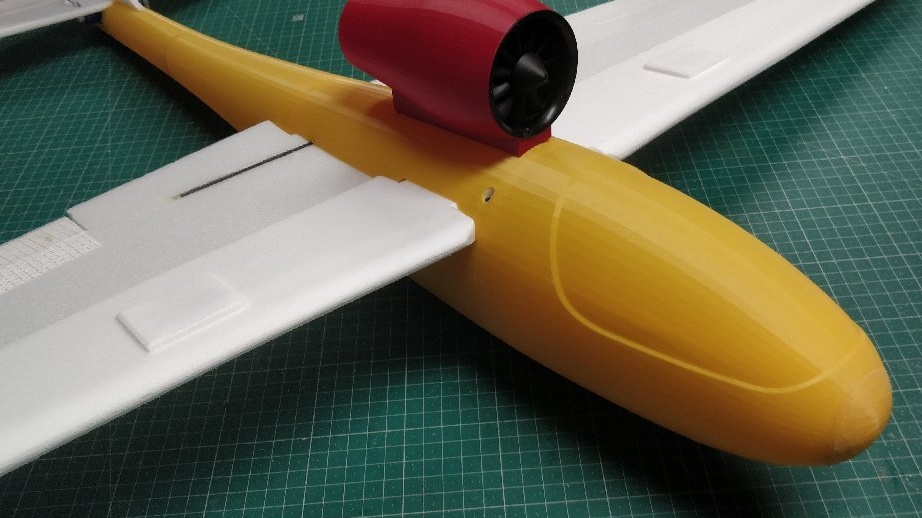
In the future, a flight regulator will be installed in the lower part, there you can also install a flight stabilizer, if you plan to use it. An impeller is attached to the top.

A wing will be mounted between the upper and lower parts of the fuselage.
The battery compartment is attached to the fuselage. To maintain the balancing of the model, I advise you to put the exact battery that the author offers, that is, 2200 / 3C.
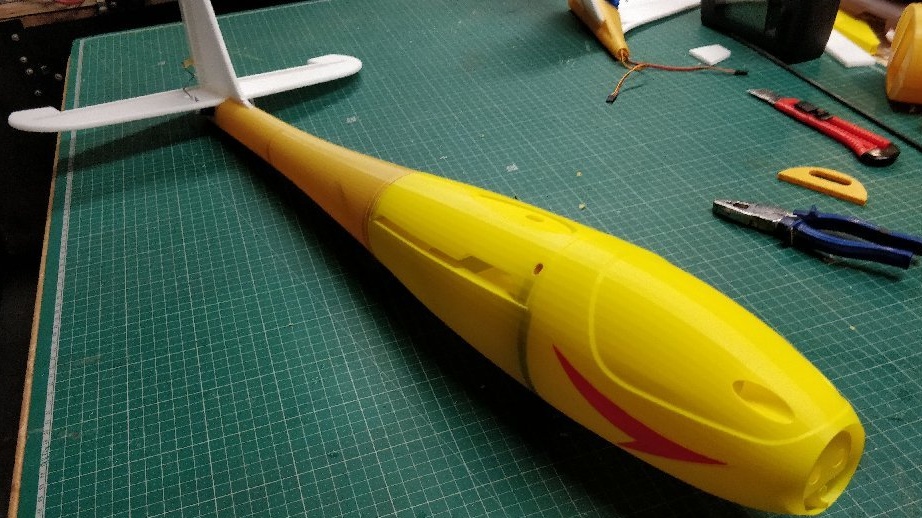
Later, this compartment closes the hood.
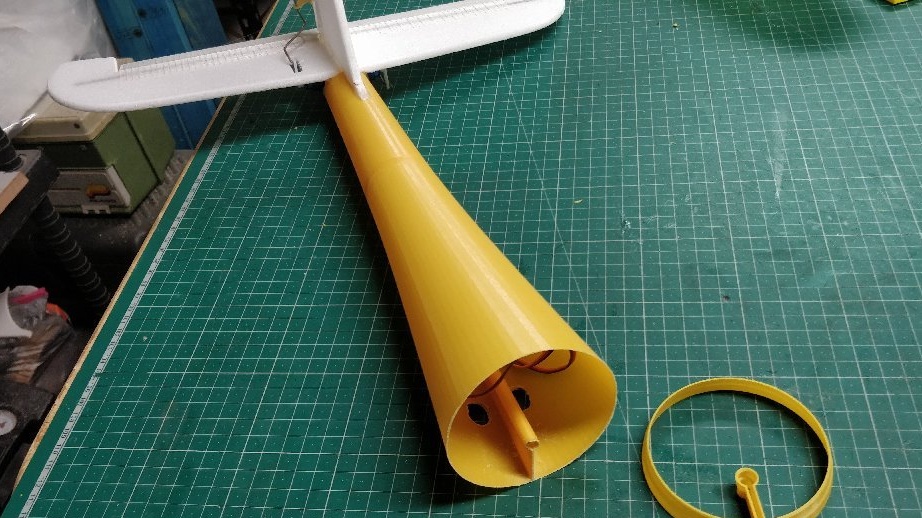
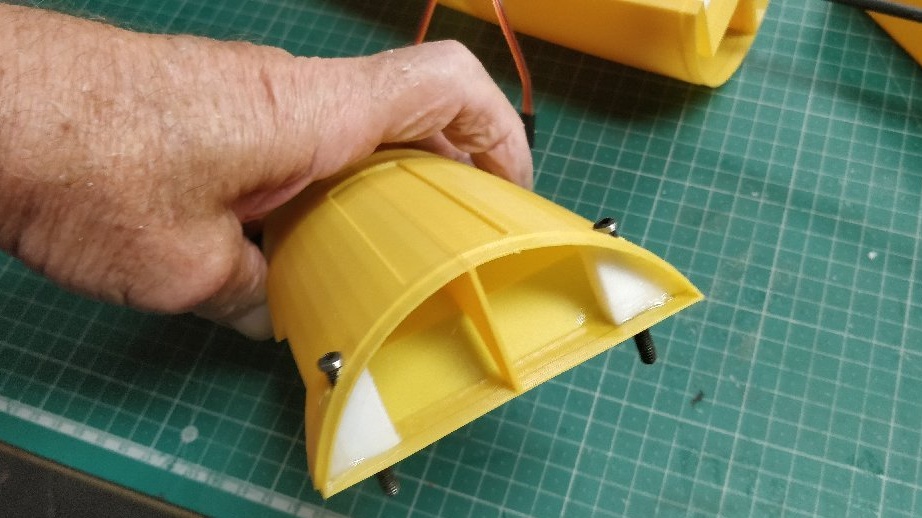
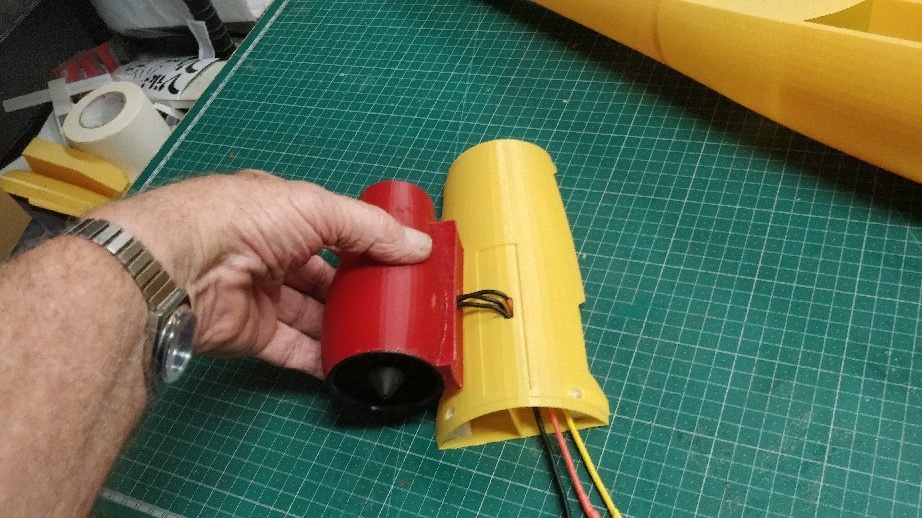
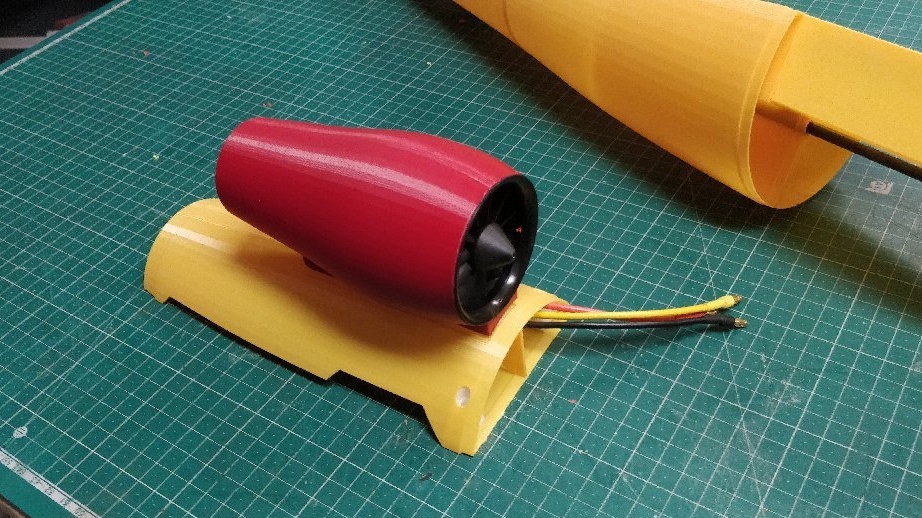
Impeller
The impeller is mounted in a special gondola. The author simply wrapped it with masking tape and pasted it with hot glue.
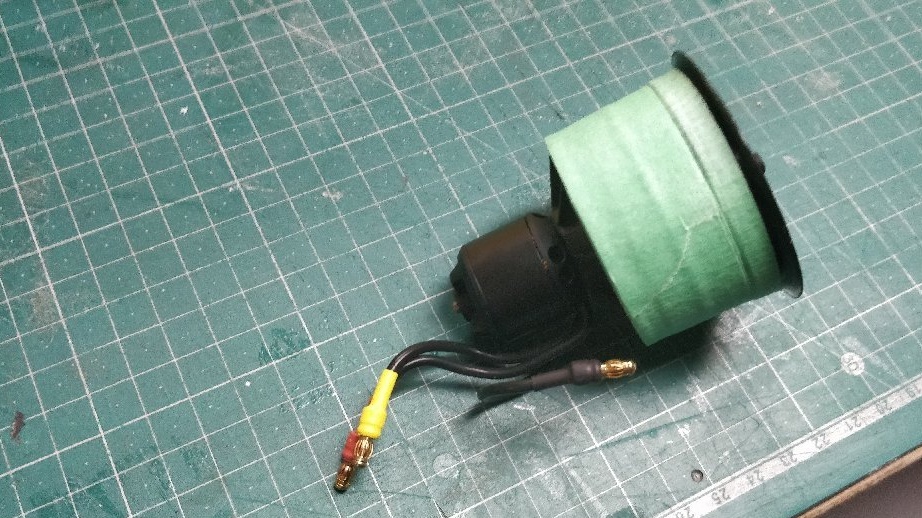
Engine wires pass through the nacelle through a special hole.
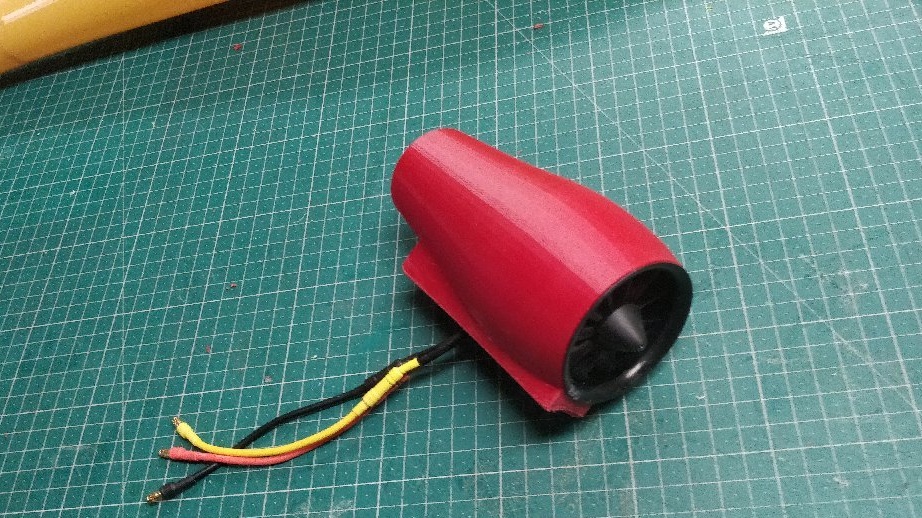
And wind up at the top of the fuselage.
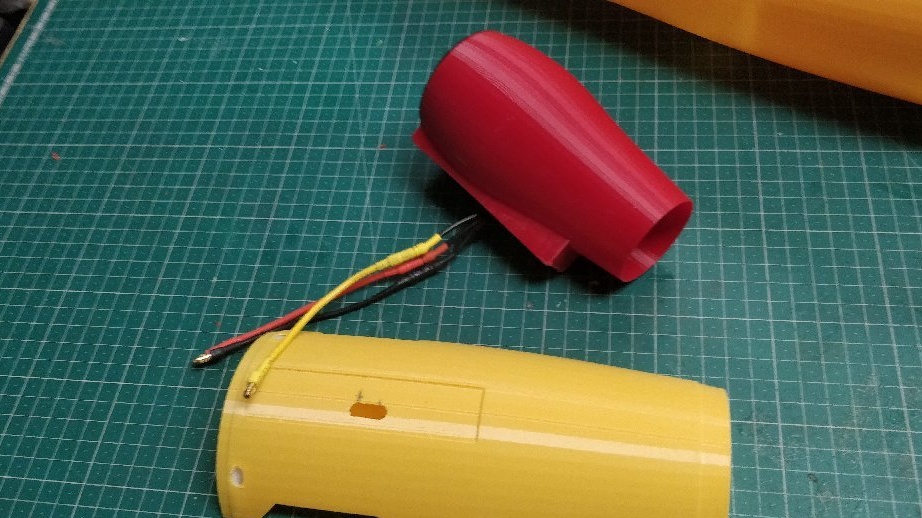
By the way, the author has developed several diameters of nacelles, namely for impellers of 50 mm, 64 mm and 70 mm.
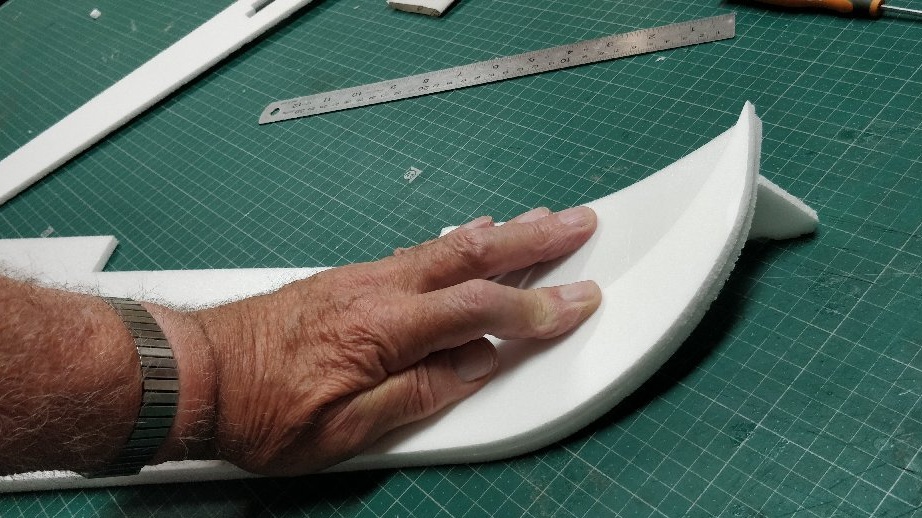
Wing
The wing, as well as the tail, is made of foam sheet and reinforced with carbon rods. For those who do not know, such rods are sold in aircraft model stores. However, they can also be replaced with laths made of light and durable wood.
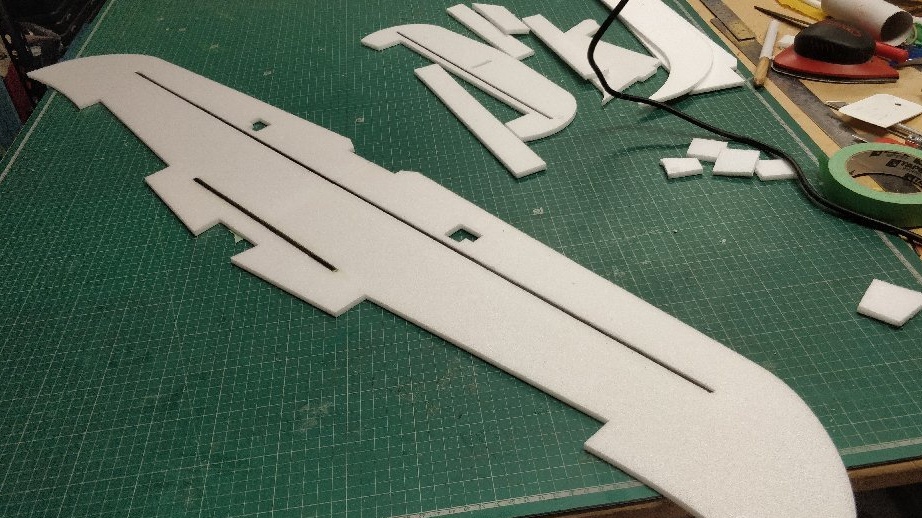

Wing tips are bent.
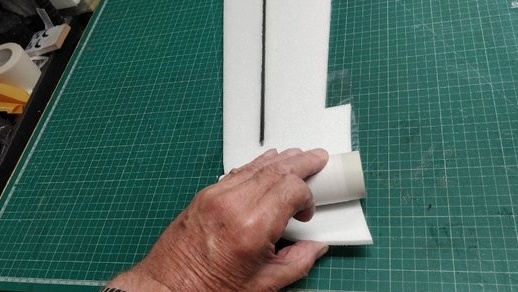
To do this, you must first bend the bottom layer, glue the top one to it and in this state leave it to dry. After drying, the endings will keep in shape.
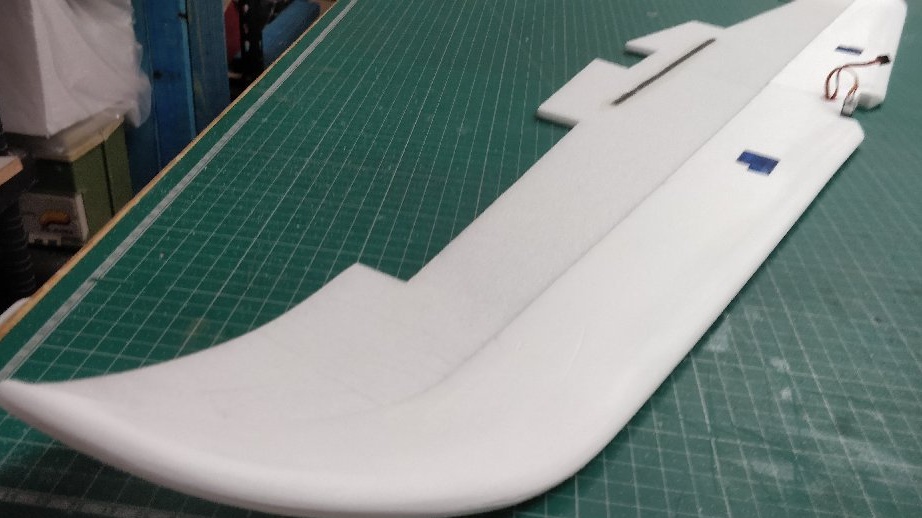
The wing is installed in the aforementioned groove between the parts of the fuselage. Fastening is carried out using two small bolts.

Hood
As already mentioned, the hood closes the battery compartment. Mounting is carried out using two magnets, which allows you to quickly access the battery compartment and electronics.
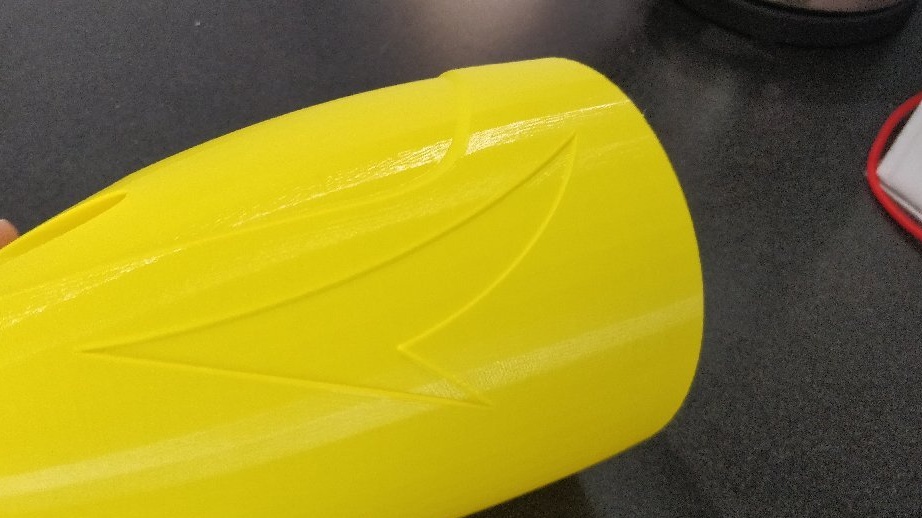
In front of the hood you can see 2 holes, they are needed for ventilation and cooling of electronics, especially the regulator.
Final assembly


Video of the flight of the finished model.
Here is such a wonderful model can be made with a printer for three-dimensional printing. The model came out not very maneuverable (due to the glider-like fuselage and wing), but it feels very confident in the air, as well as takes off and landing.
Also in the source you can see other options for details, for example, a fuselage with the possibility of installing a chassis or for a smaller wing span.
You can download all files for printing. here.
There are also drawings for the manufacture of a foam wing and tail.
There are also drawings for the manufacture of a foam wing and tail.