
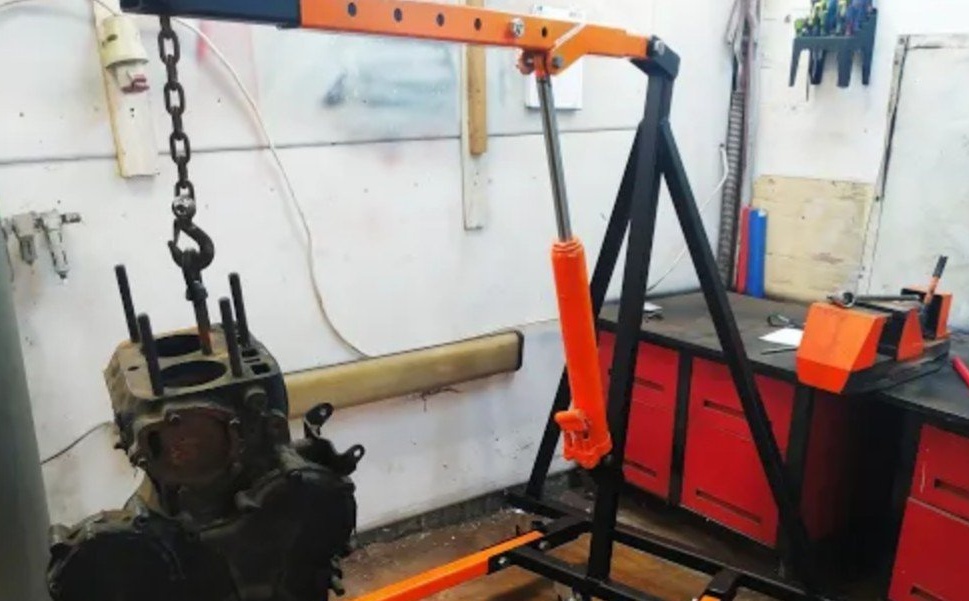
Hello dear the inhabitants of our site and site visitors. Surely, everyone who has a car and garage, there was a need to repair his steel horse. Suppose you need to pull out and make any manipulations with the engine. This is a rather heavy item and pulling it out alone is very problematic, if at all possible (I can’t say for sure, because I don’t have such an experience). Therefore, there is a need to create some kind of fixtures in order to do this easily and safely. In this article I will tell you how the author of the YouTube channel workshop from scratch coped with this task. In order to move something from place to place or raise to the workspace something very difficult, which is not so easy to do, the author made a crane from profile pipes and an 8-miter jack.
For work, the author uses such tools and materials as:
-Saw for metal,
-welding machine,
belt grinding machine
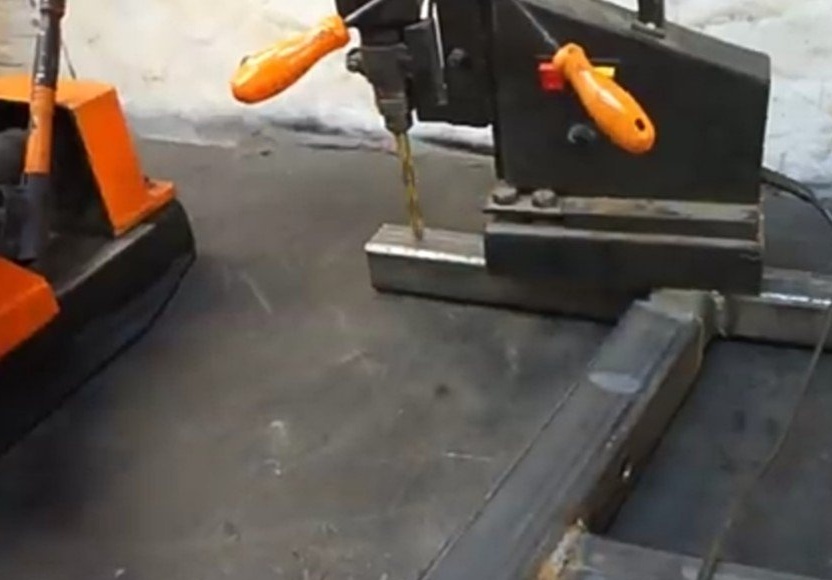
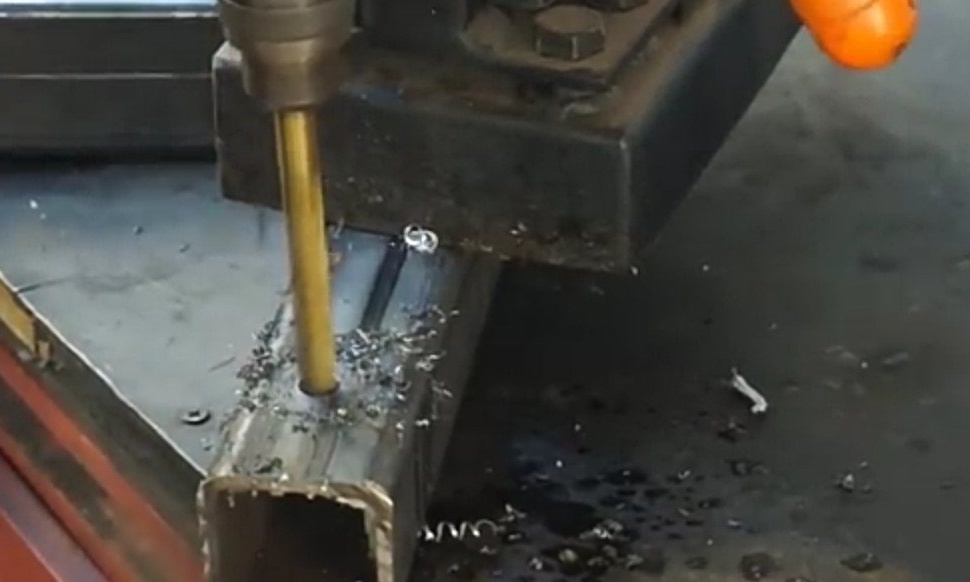
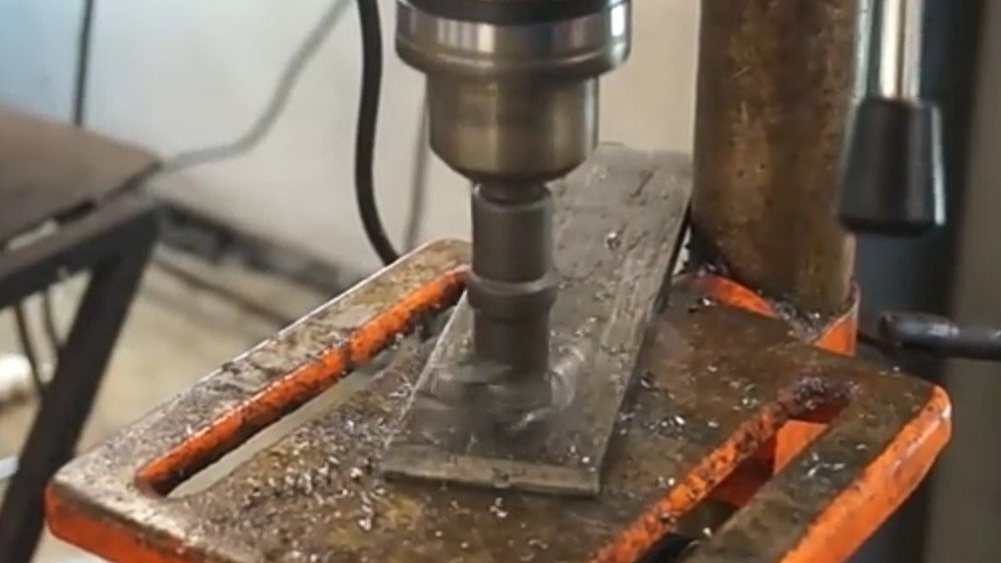
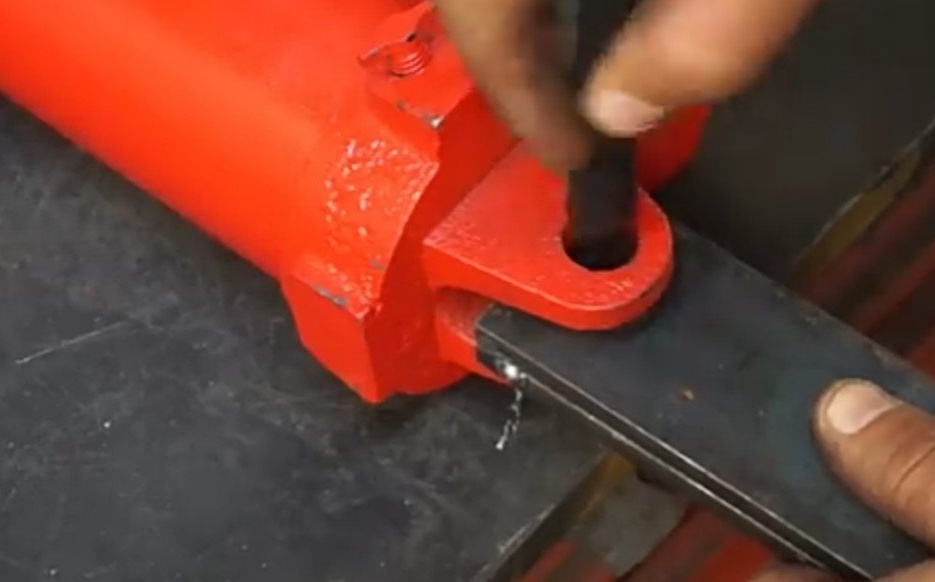
-drilling machine,
-Bulgarian,
-hammer,
-profile pipes of different diameters,
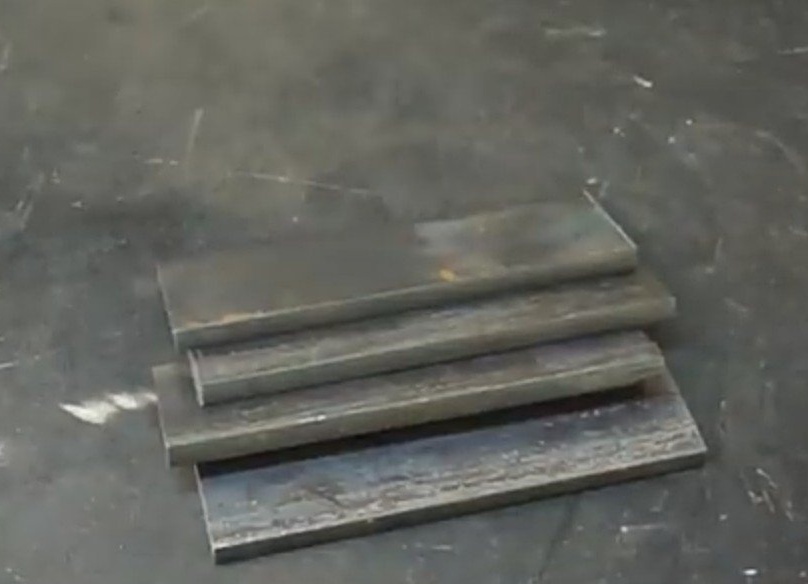
- steel strip
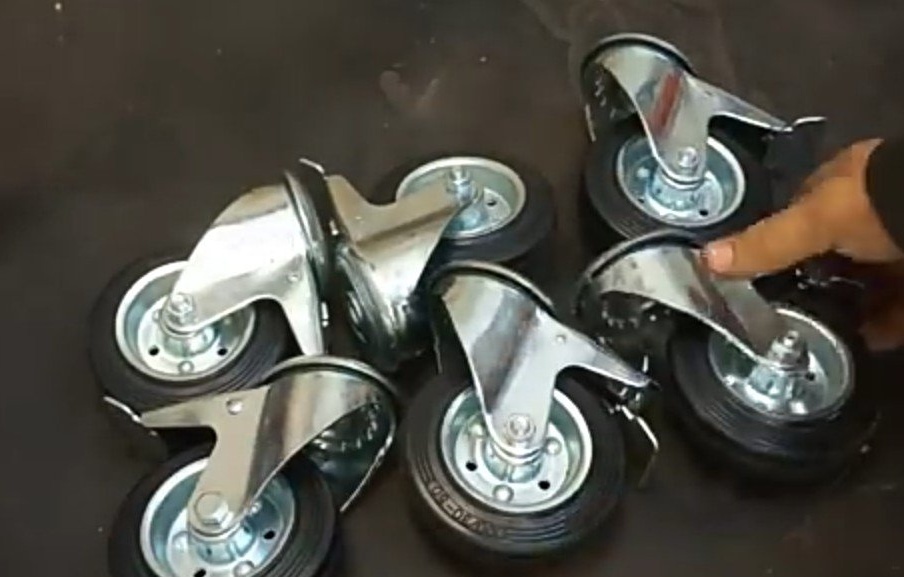
wheels
-jack.
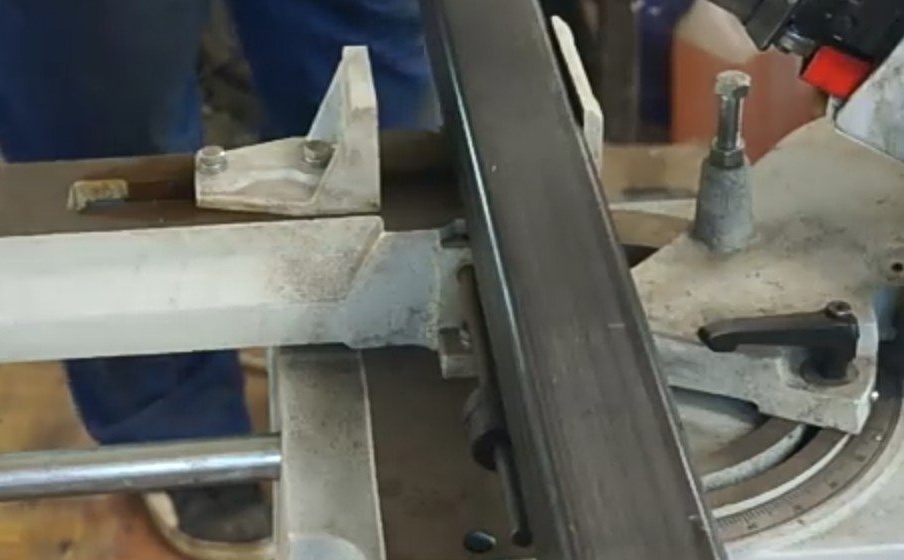
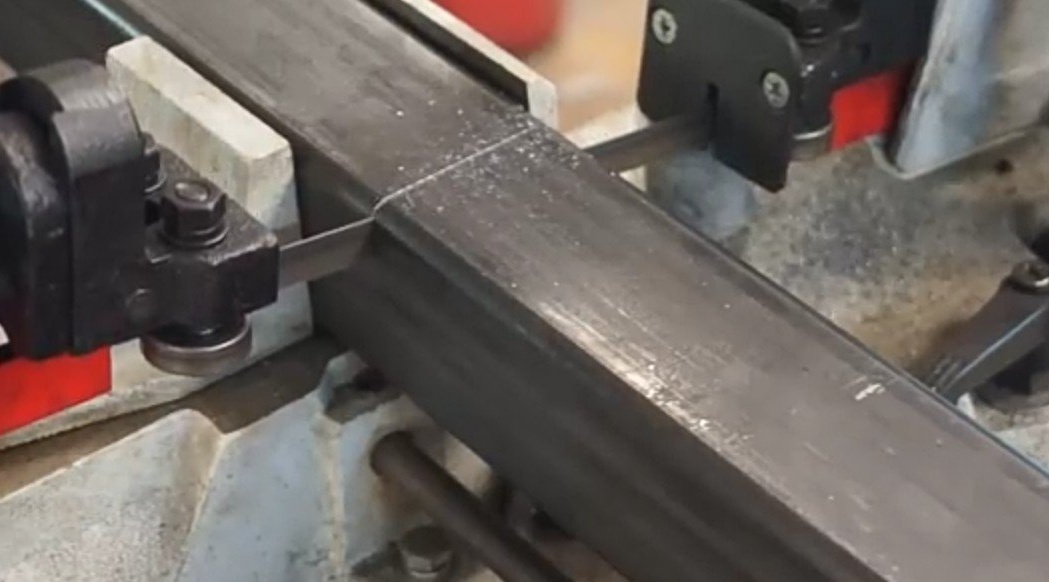
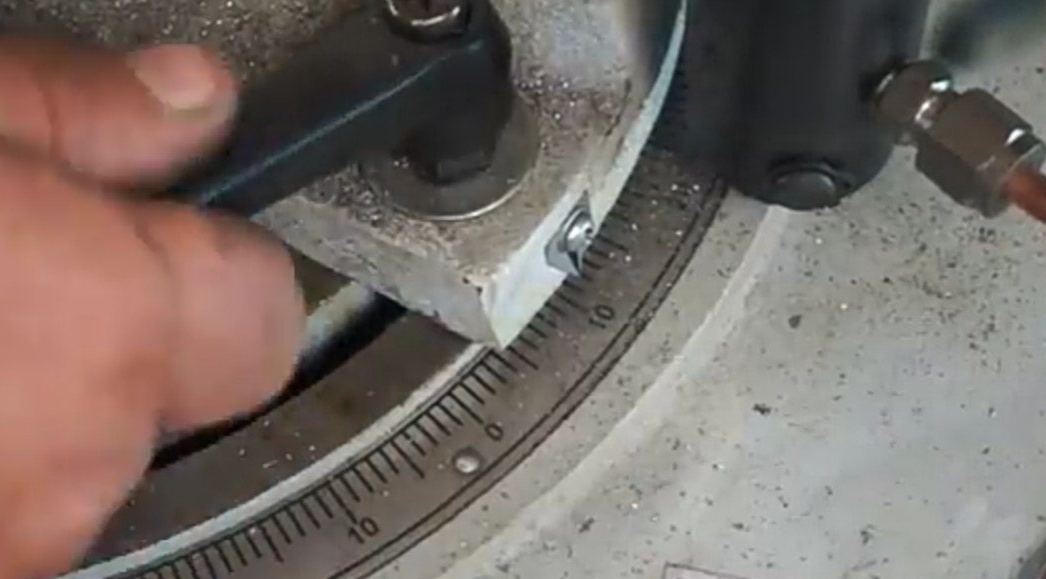
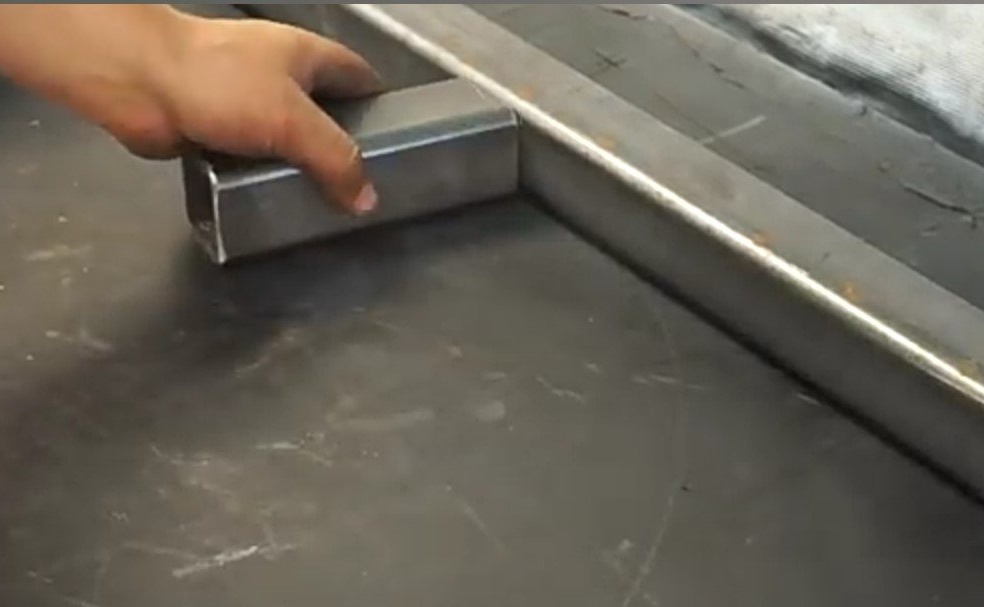
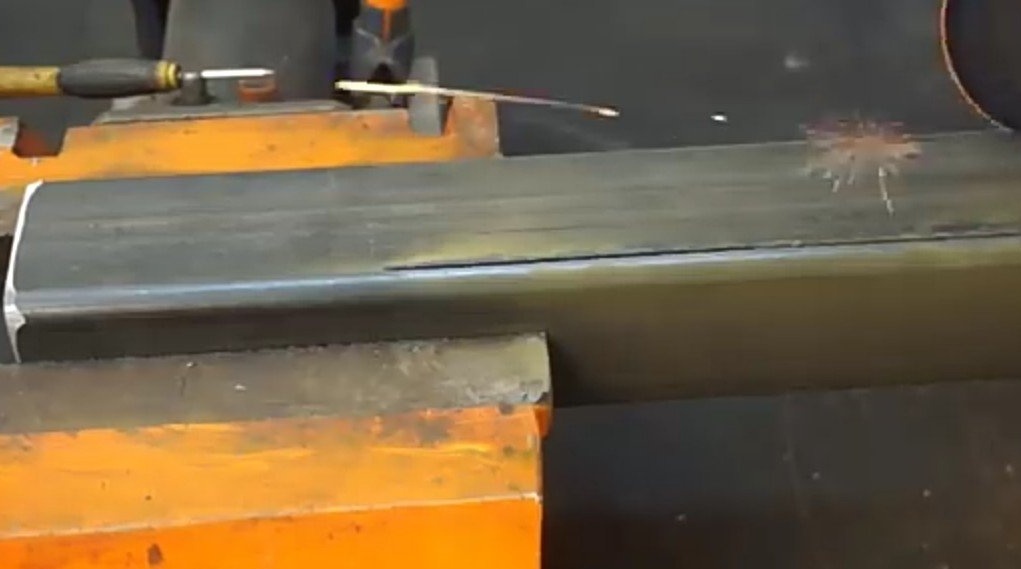
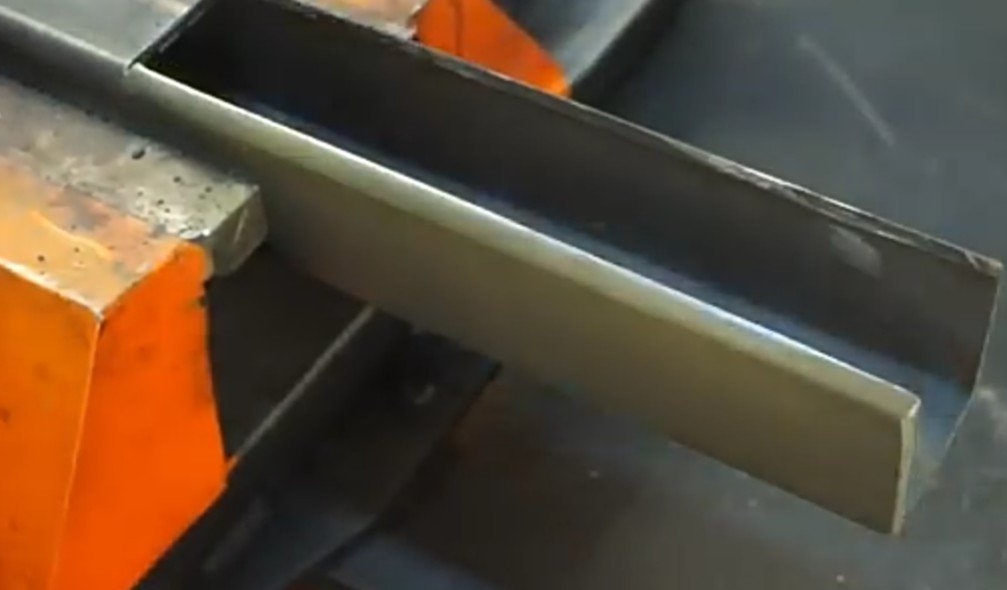
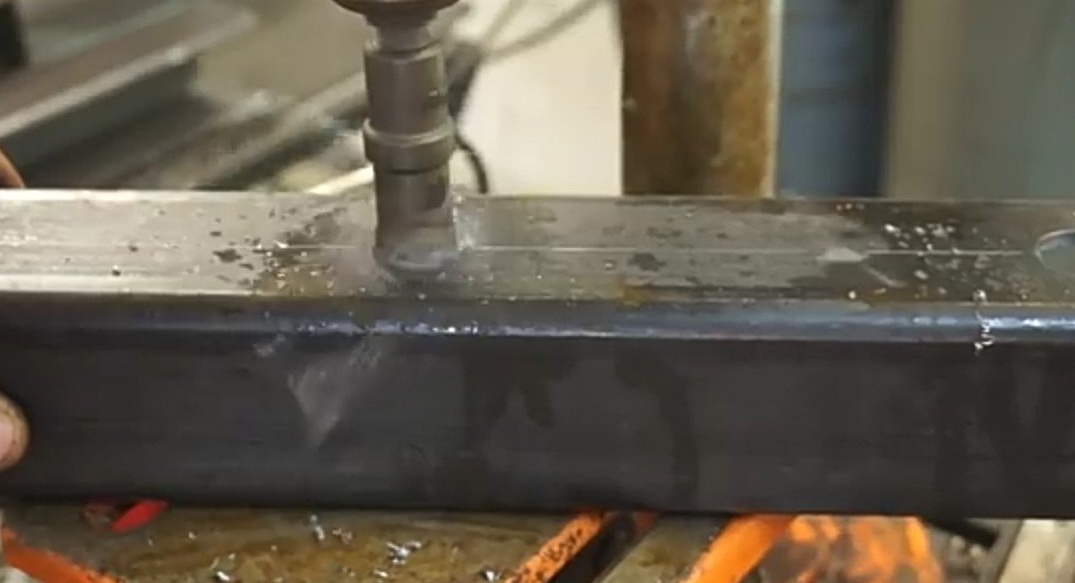
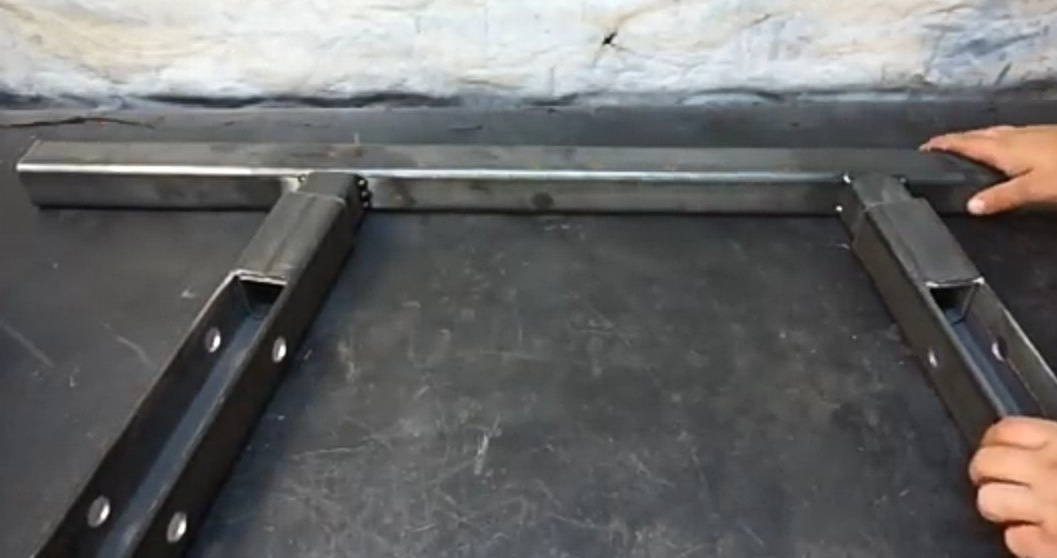
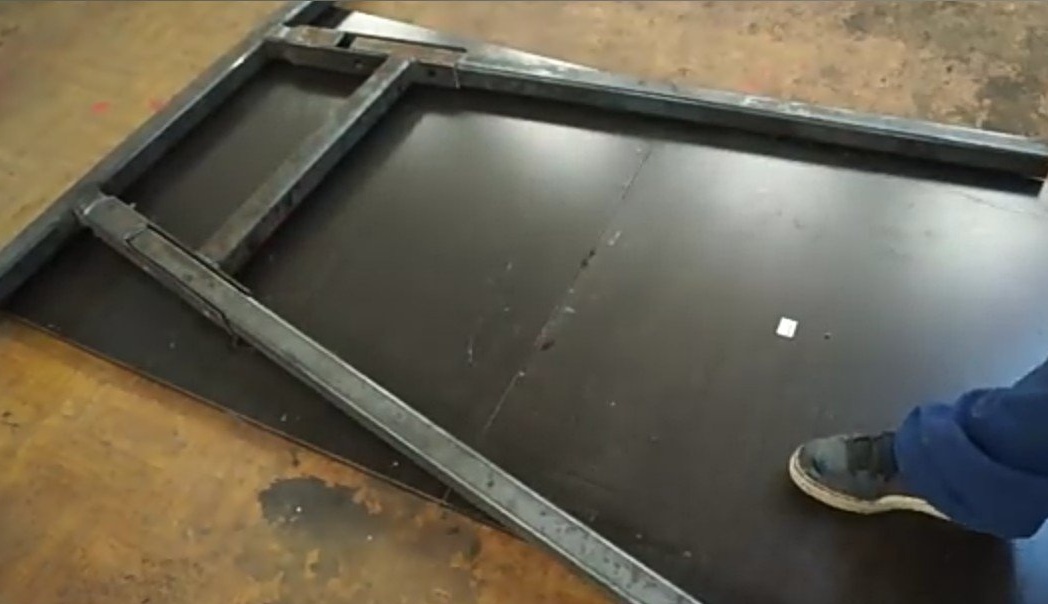
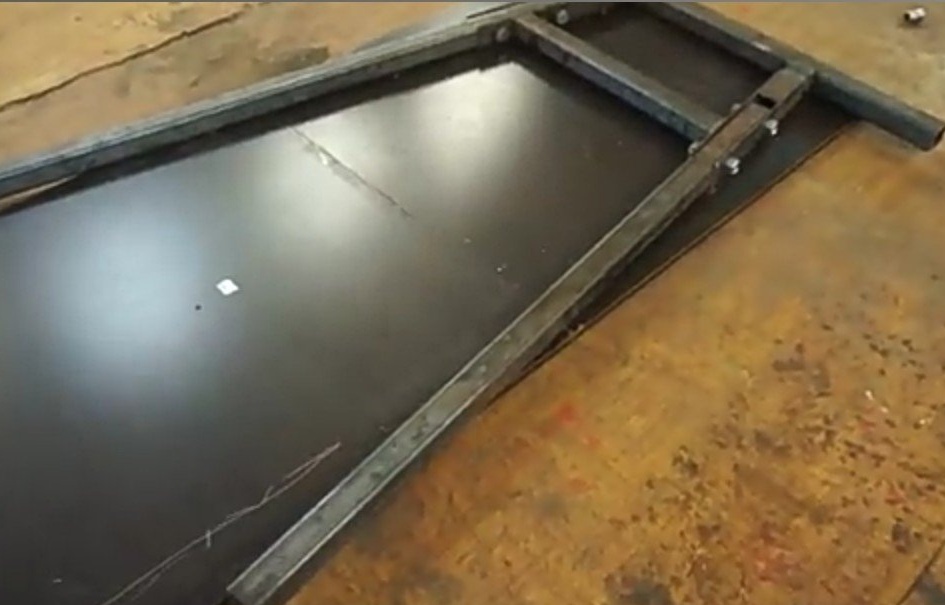
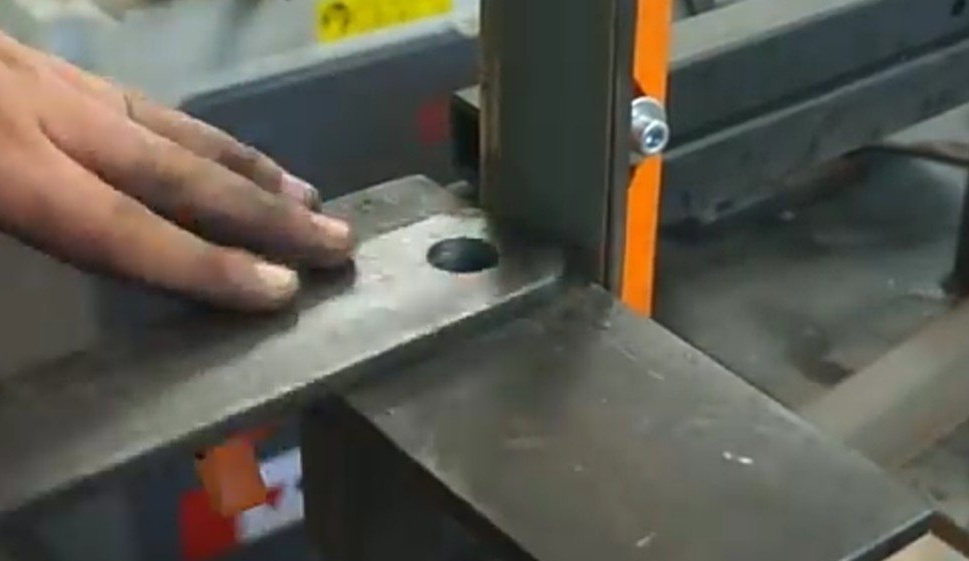
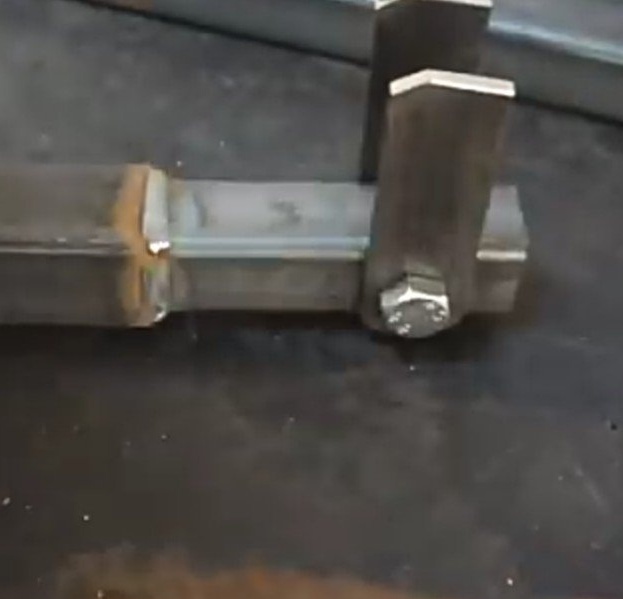
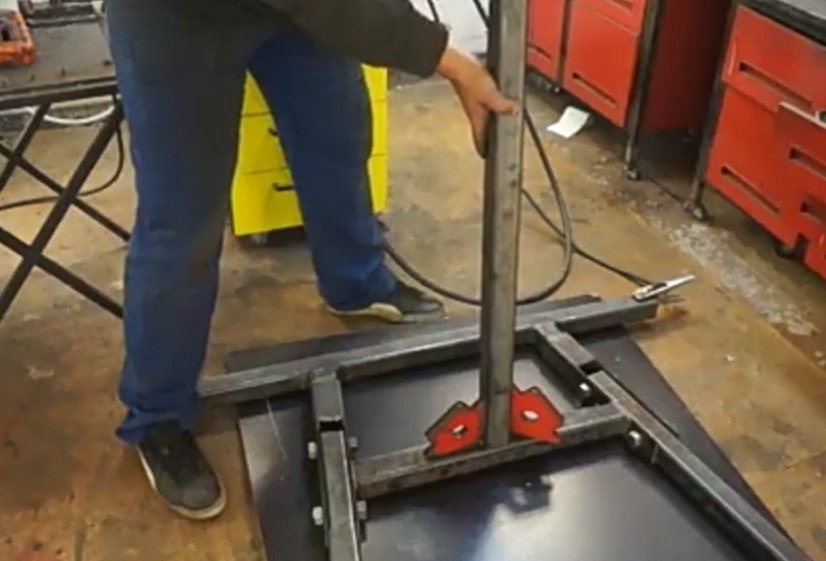
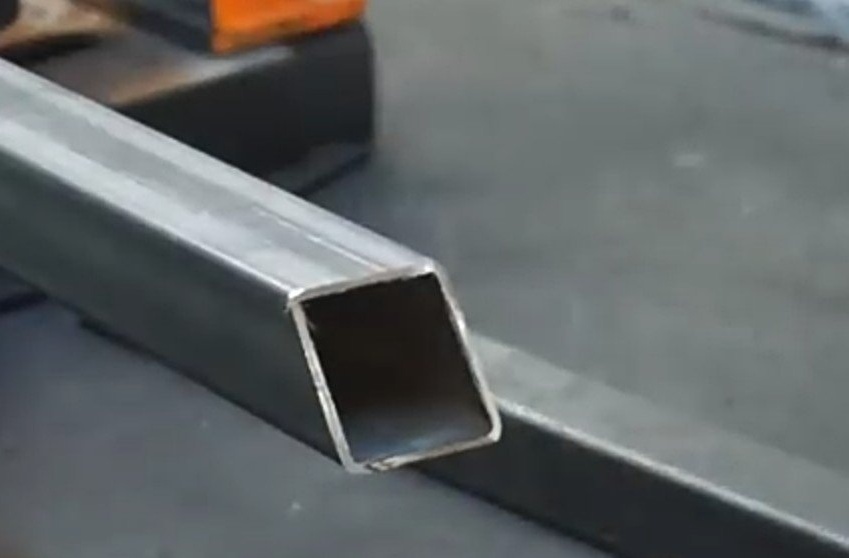
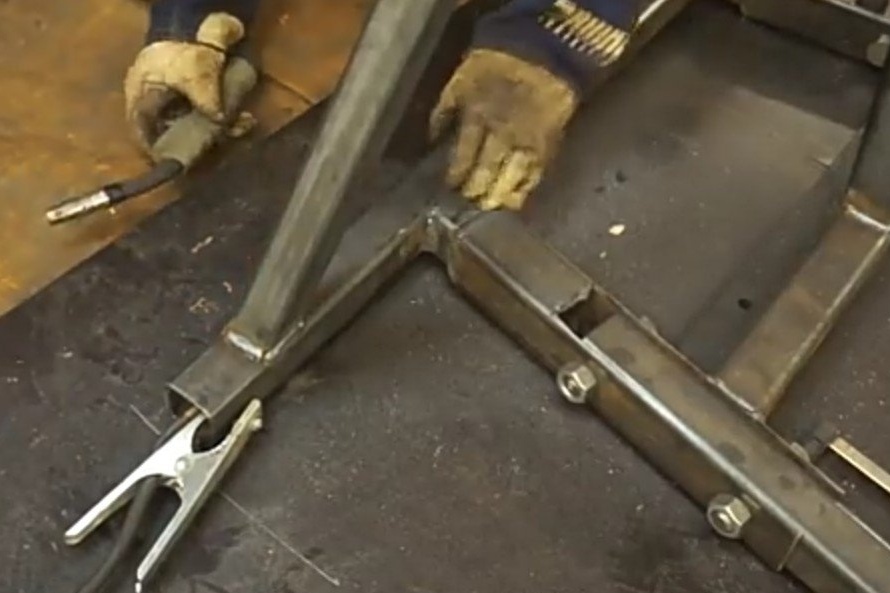
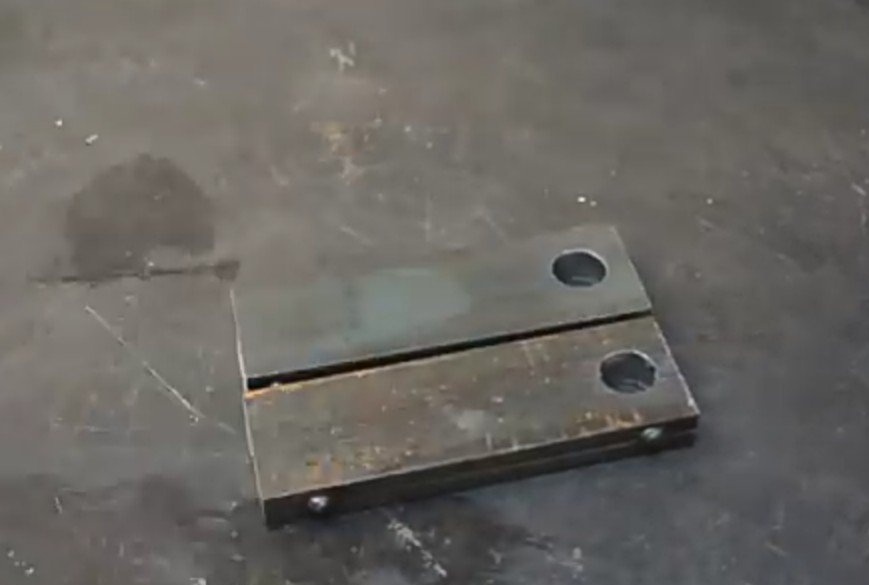
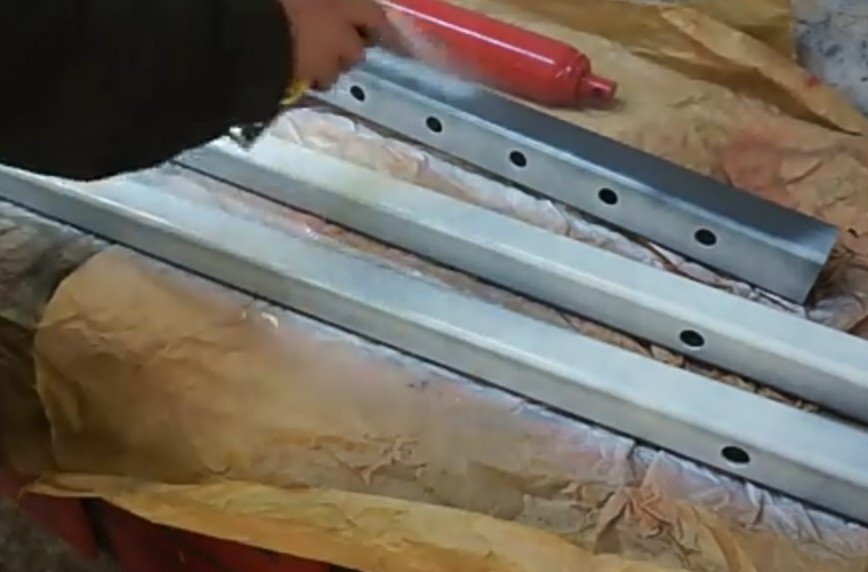
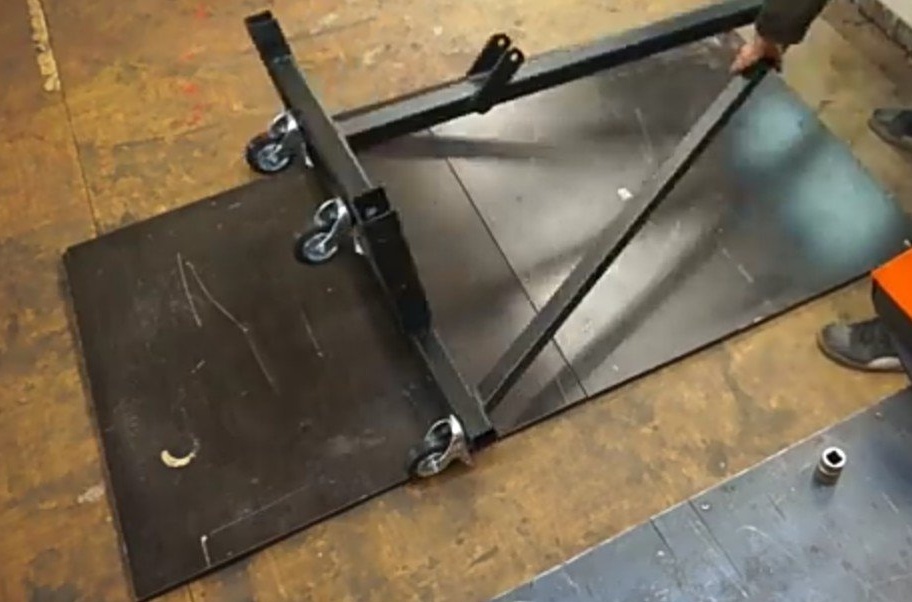
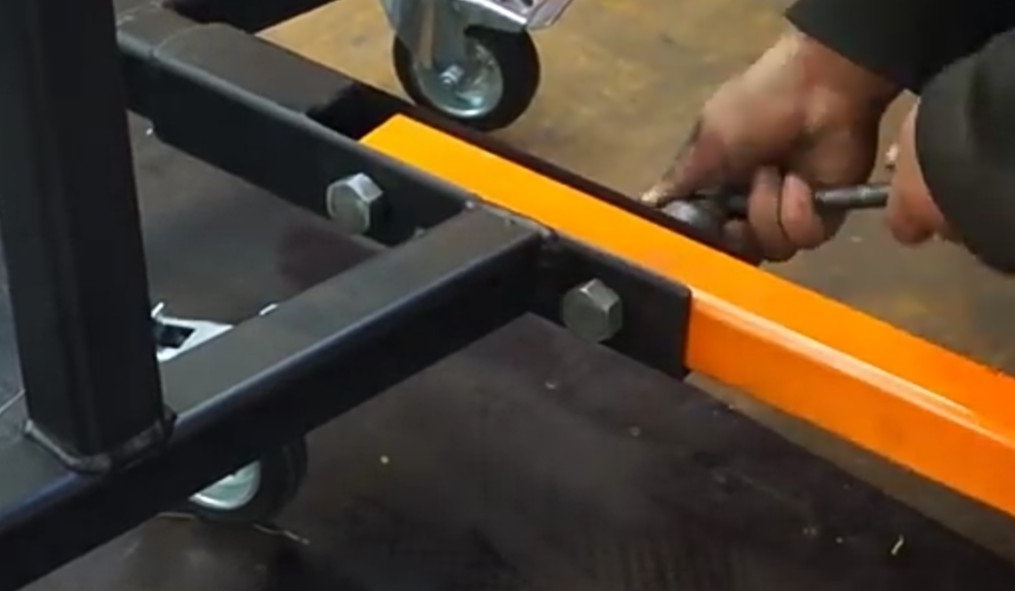
First of all, the author from a profile pipe using an electric saw for metal cuts the workpiece under the frame of the crane. Several small workpieces are welded to the transverse profile, one side of which has an angle of 11 degrees, and the other a right angle. This angle is made so that the race to the part to be lifted was wider and more convenient. Next, a profile of such a diameter is cut so that it can be freely put on already welded workpieces. In these details, the author cuts out one of the sides, but not completely, but leaving part of the profile as it was. In the blanks, several through holes for bolts are made, with which other parts of the crane will be mounted. Another profile is welded between these parts. It will serve both as an element that reinforces the structure, and as a place for the installation of the support profile for the boom. The author welds a thick-walled metal strip to it and makes holes in it. Wheels will subsequently be installed for it to conveniently move the finished product around the room. At the ends of the main profile, to which all parts of the structure are fastened, holes are drilled. They do not have to be cross-cutting. They are needed to install another pair of wheels. Then the author cuts a profile 110 cm long and makes holes in them that must exactly match those that were made in previously welded elements with a sawn top. These are 110 cm.the parts are support legs. The author connects them with bolts to the main part of the crane.

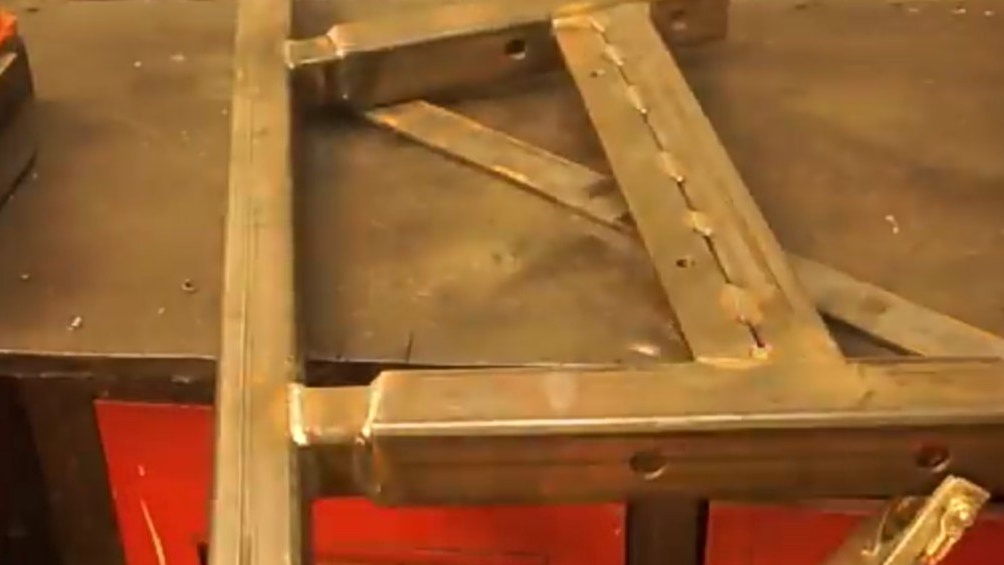
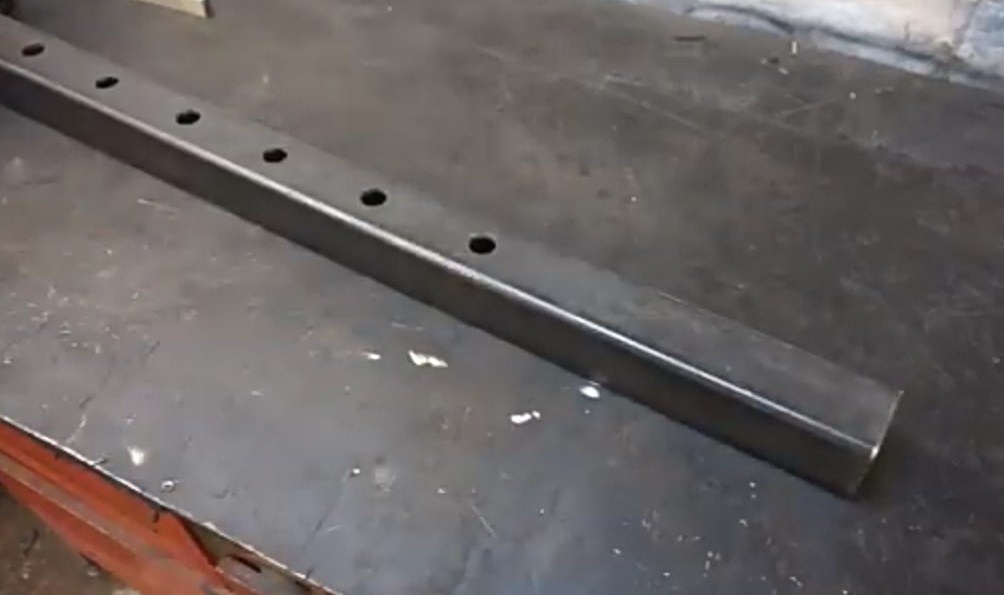
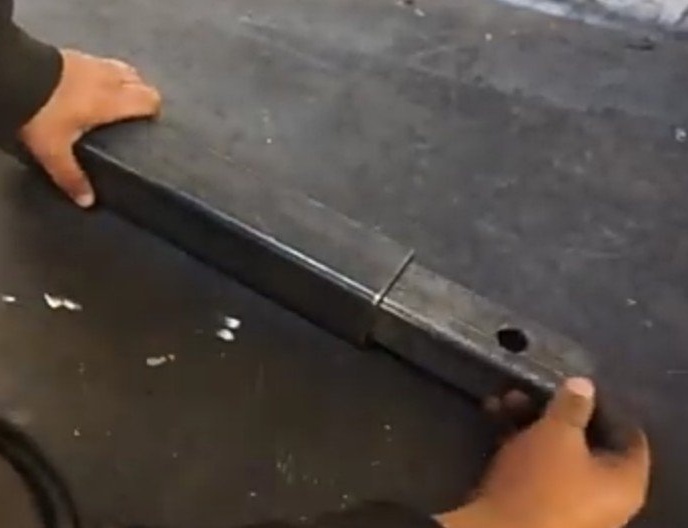
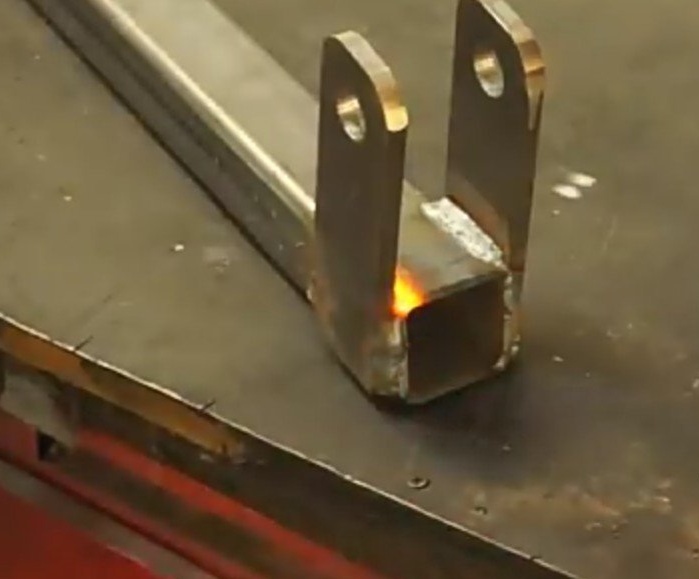
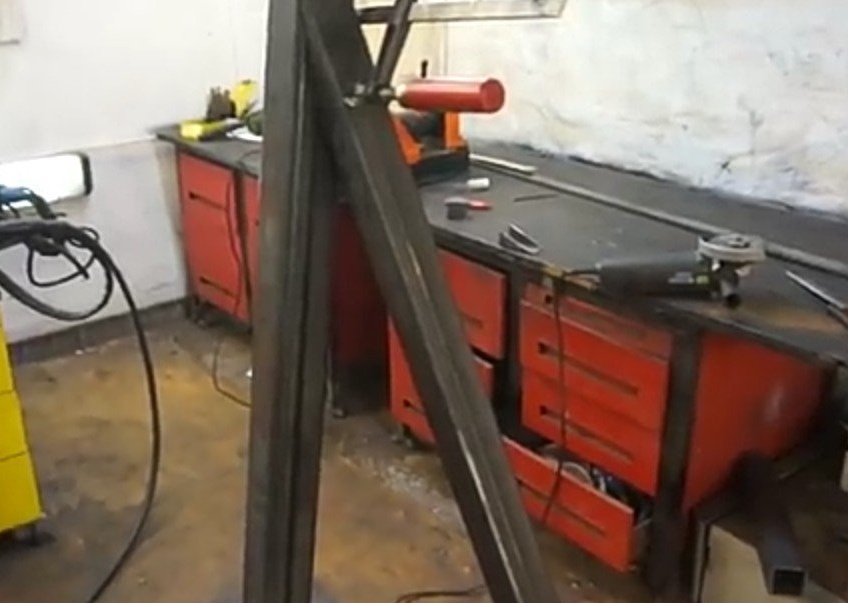
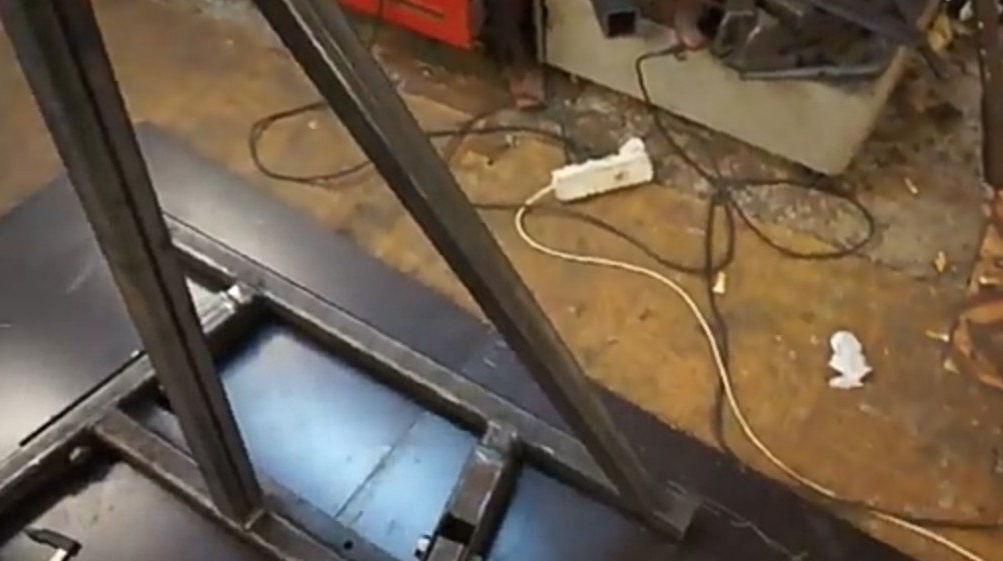
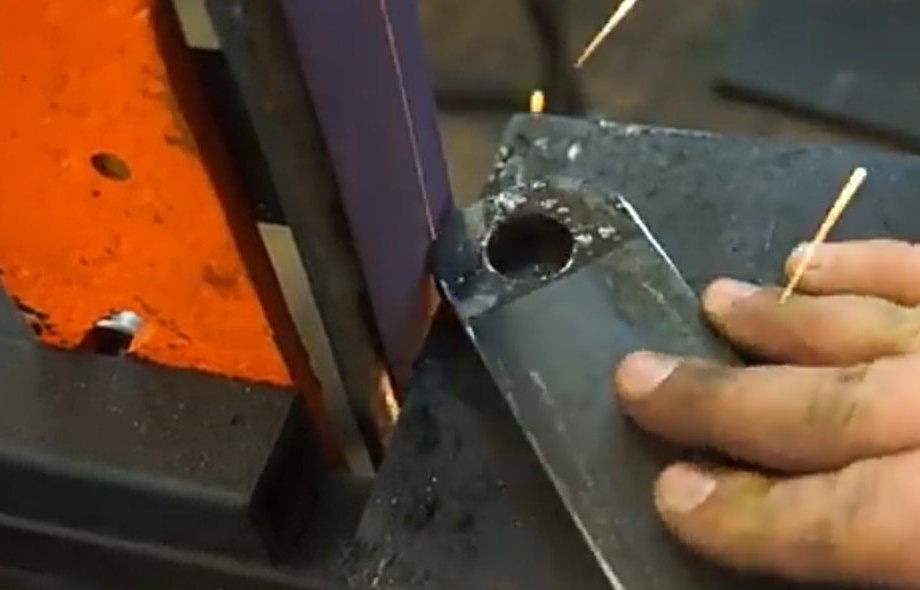
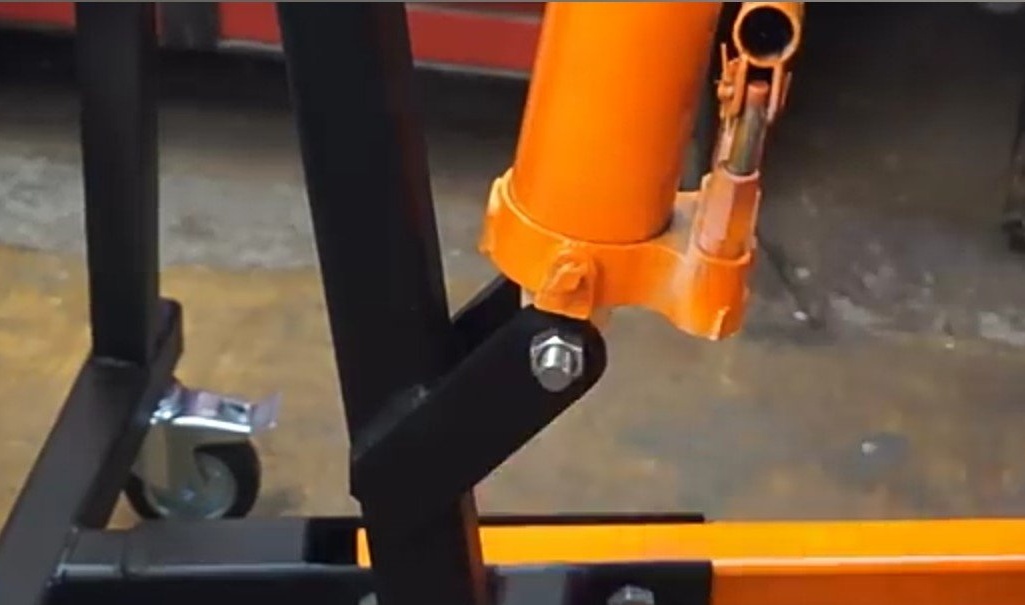
The next stage of the work performed by the author is the manufacture of a support stand for the boom and, accordingly, the boom itself. In the profile from which the boom is made, holes are drilled that are needed to fix the second, telescopic part of the boom. Thanks to this structure, the author will be able to increase the size of the arrow to the size he needs. A smaller part is welded into the end part, having through holes for eyes at the end in the walls. These fasteners are made of metal strip. They drill holes and round them. It bolts the arrow to the eyes and welds them to the support post. The support stand itself is attached to the frame. To strengthen this basic element of the entire structure, a diagonal strut is welded to it on each side. From the frame to the rack itself.
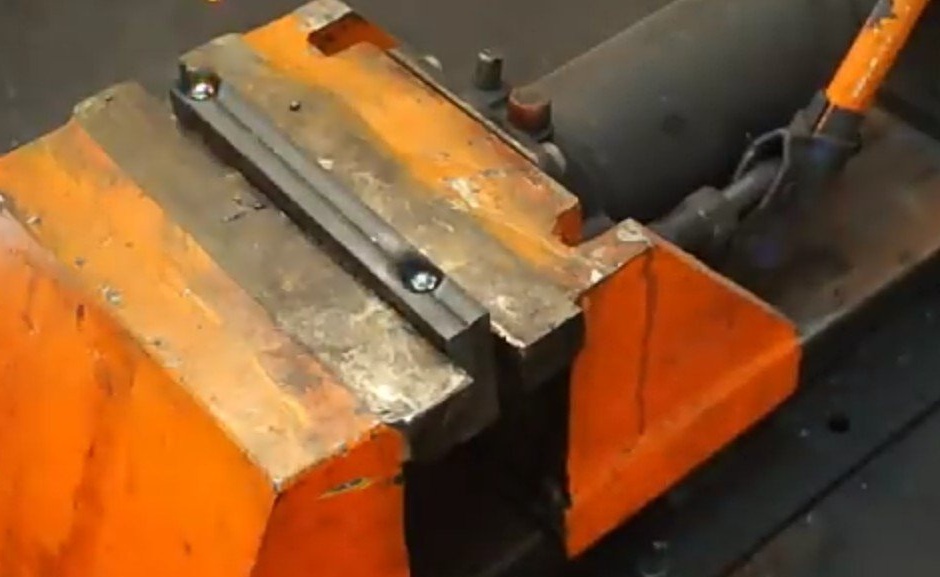
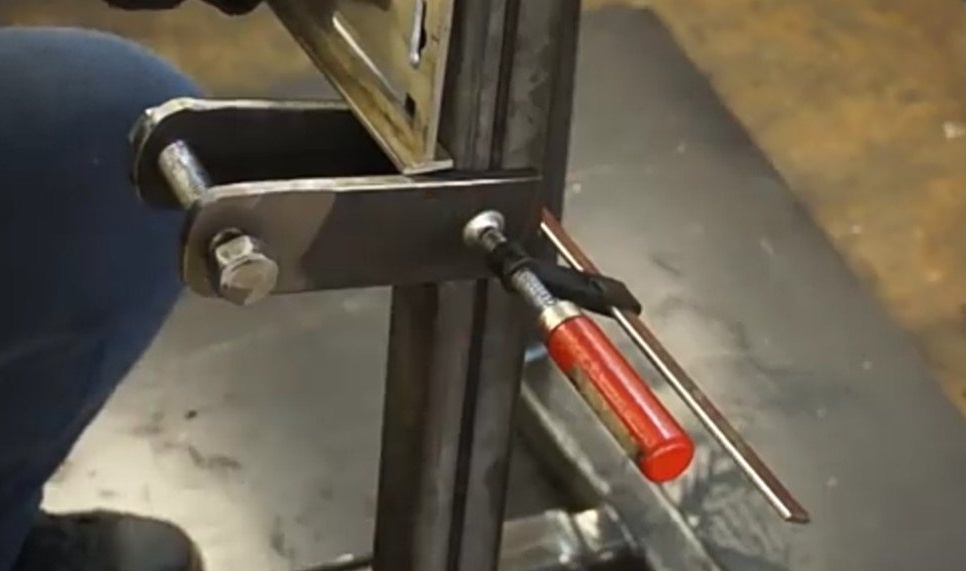
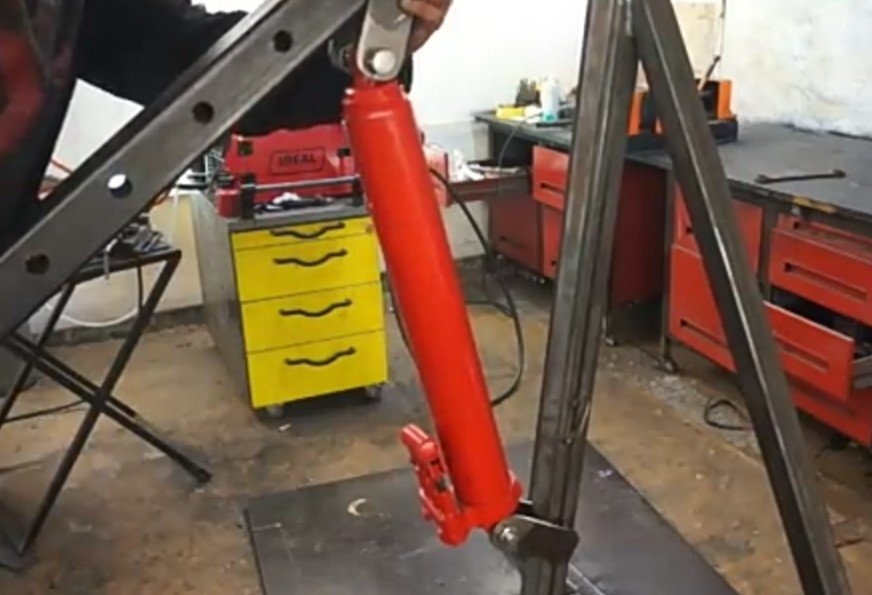
Now you need to install a lifting element on the support post and boom - a jack. The author is quite powerful, so there can be no problems with lifting goods. It will be fastened with the help of the same eyes as the arrow to the support. In order to drill holes without displacement in them, the author grabs the strips to each other pointwise at the edges. Then calmly makes holes. Next, the welding droplets are cut off by the grinder and the parts, after stripping, are fixed in place. A jack is installed to check. Fasteners are bolted. A chain with a hook at the end is inserted into the boom.
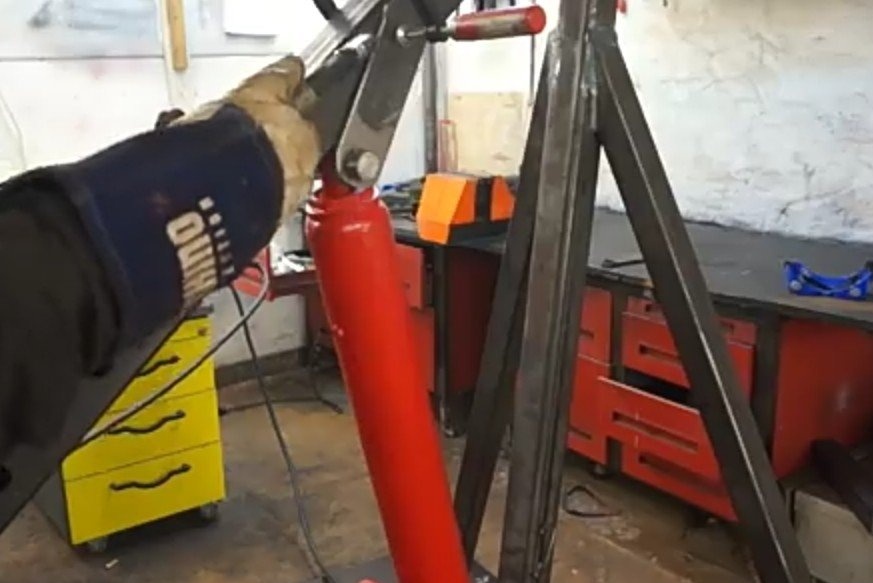
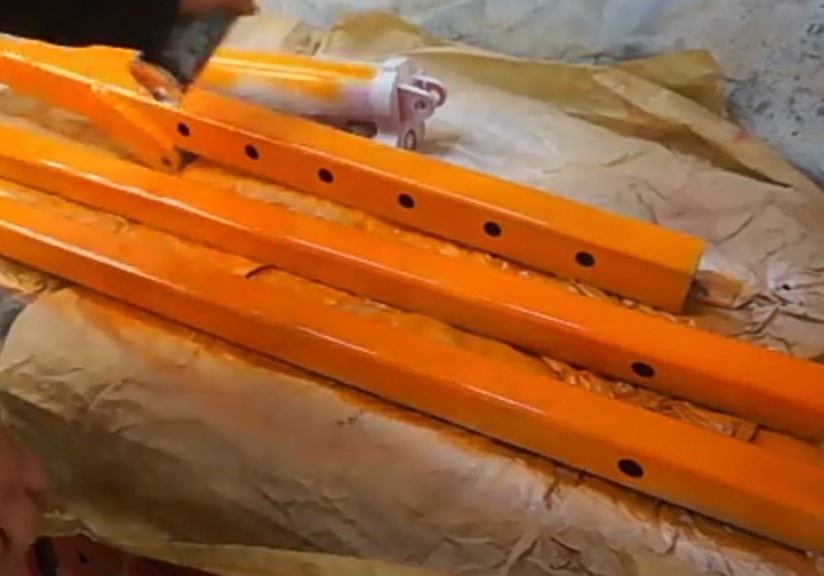
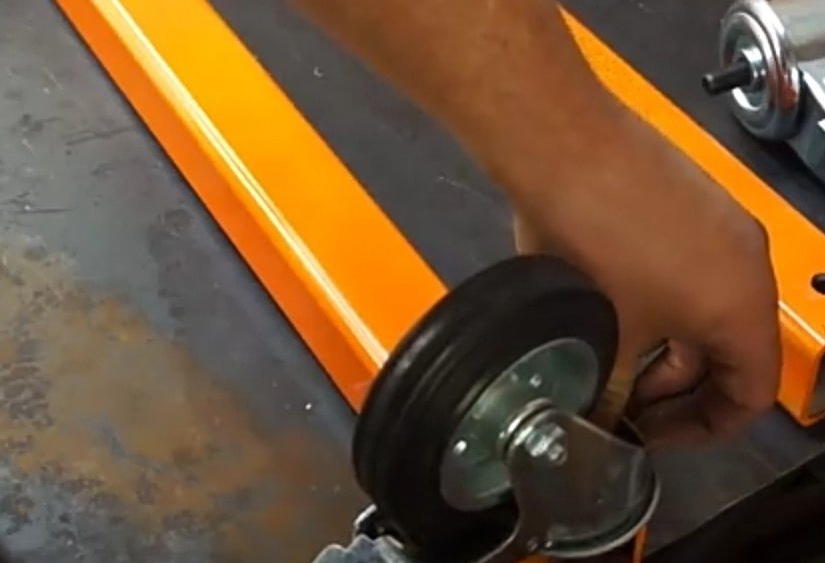
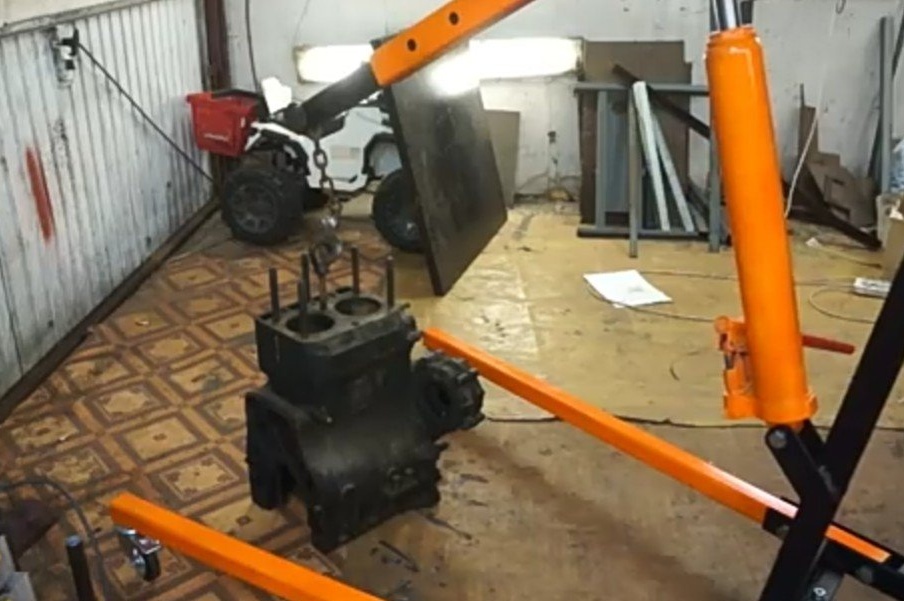
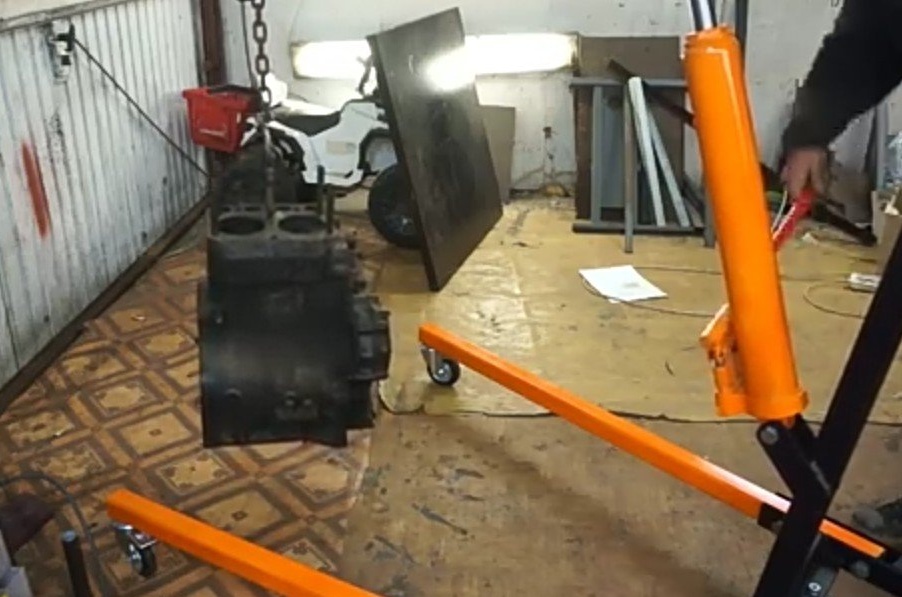
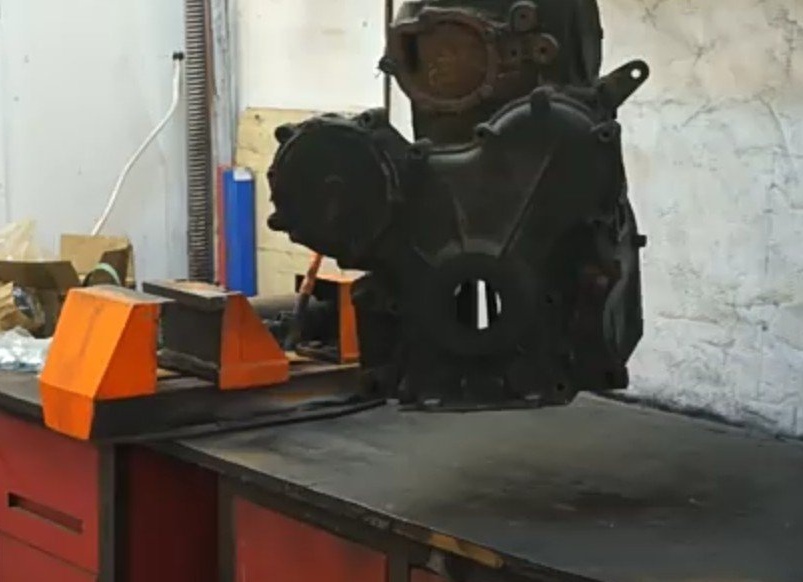
The main work is done. There is very little left. The design is disassembled and it is given a presentation. The author covers the parts with a primer, prepares them for painting. After the primer has completely dried, the final painting of all parts of the elevator is done. Then the author puts the wheels in order to be able to move the crane through the garage to the desired place. The design has three pairs of wheels. The entire structure is assembled and tested. With the help of a crane assembled by himself, the author easily lifts and transports a heavy engine onto a table where he can repair it.


This concludes the article. I wish you all creative success and their implementation!