Hello dear the inhabitants of our site and site visitors! In this article I want to tell you and step by step to describe the process of manufacturing a hinged shelf for a flower. The complexity of the creation is easy, there is nothing difficult in the process. To create it, 6 mm plywood was needed. thick.
From the tools I used:
Jigsaw with a file for plywood,
A screwdriver with drills of different diameters for wood,
As fasteners were self-tapping screws and decorative carnations with a wide rag,
A grinder or grinder with a grinding nozzle,
Sandpaper and marking tool.
Since in my family my wife is an inveterate florist, we have 19 pots of flowers. Where possible, they stand on window sills or on other surfaces in the house. But, there came a moment when there’s practically no where to put them. It seems that there is a place, but all is something wrong: either this pot will interfere there, then there will be little sunlight, or something else. Therefore, I had to start making shelves for them. This is the process of creating the first, so to speak, “swallow” I want to show you.
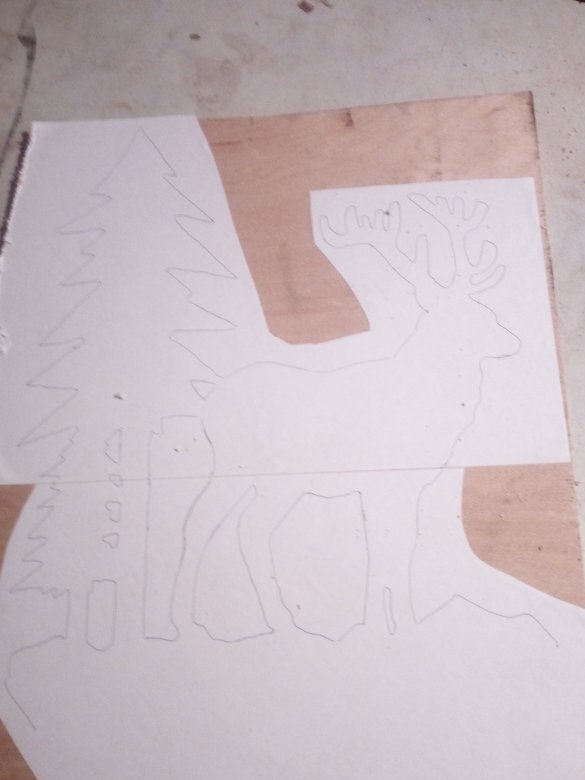
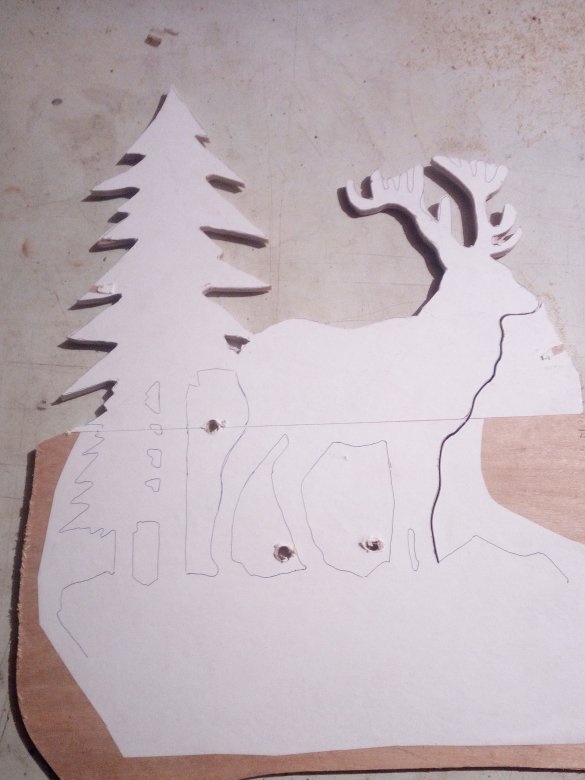
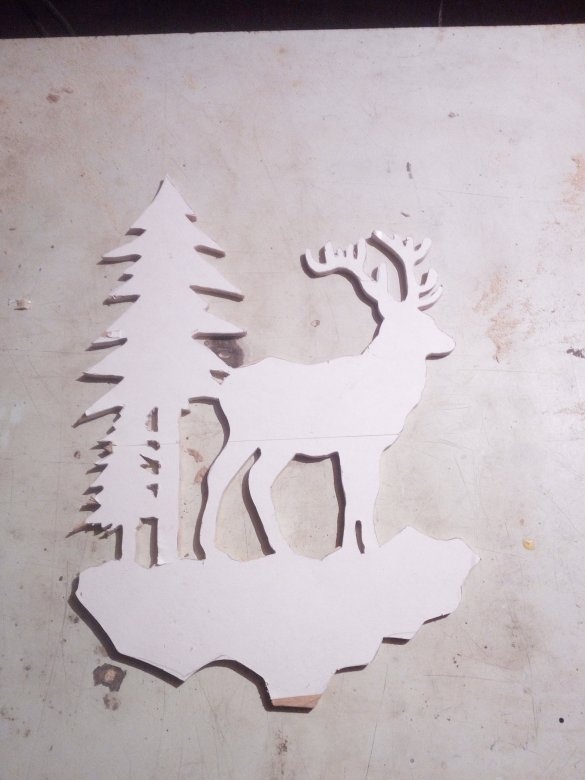
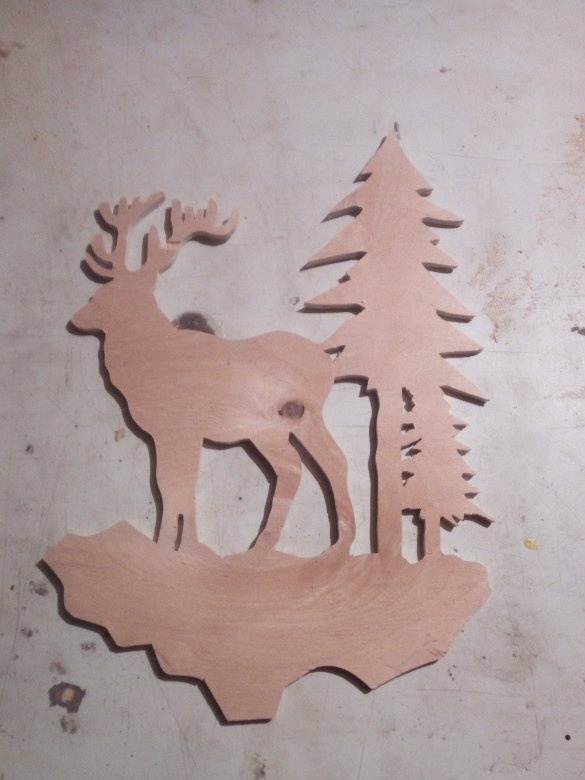
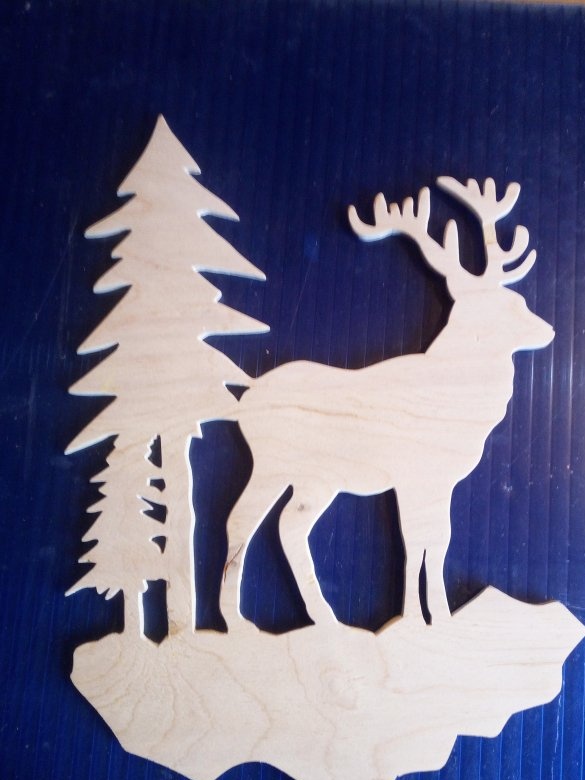
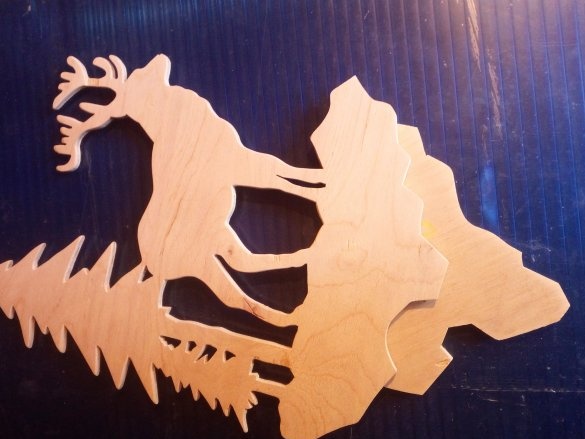
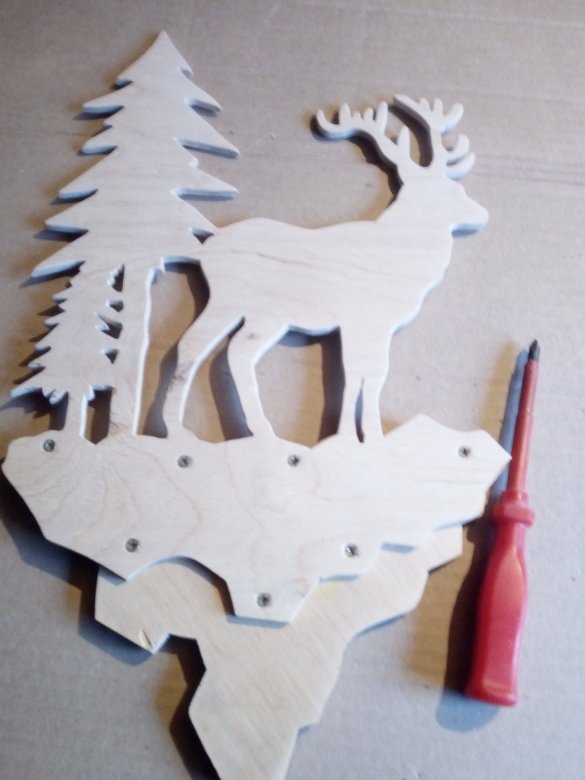
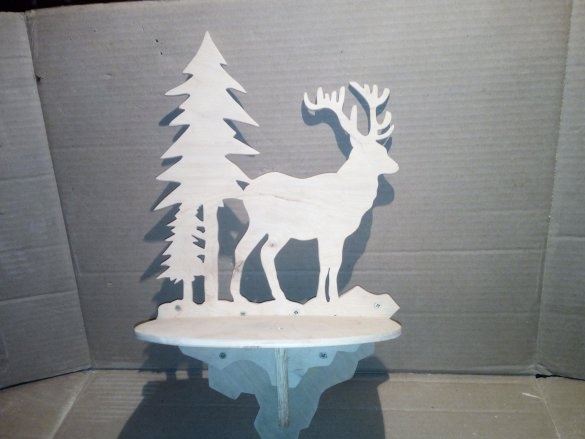
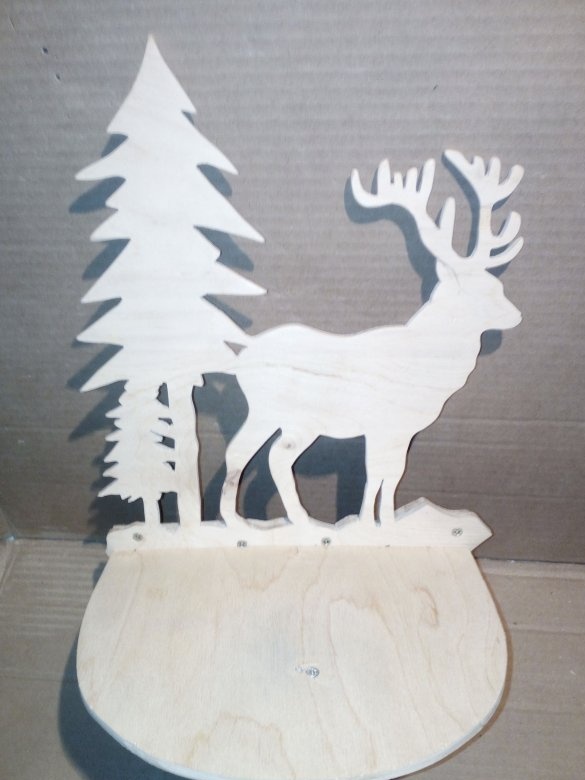
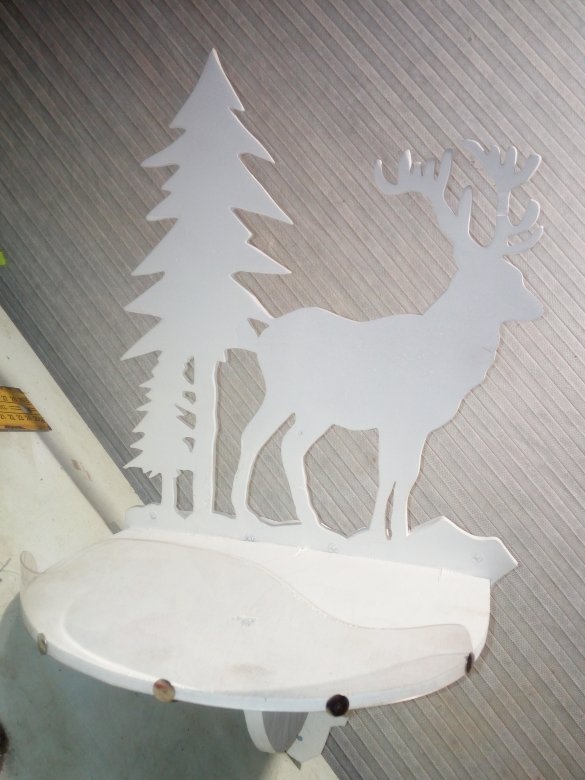
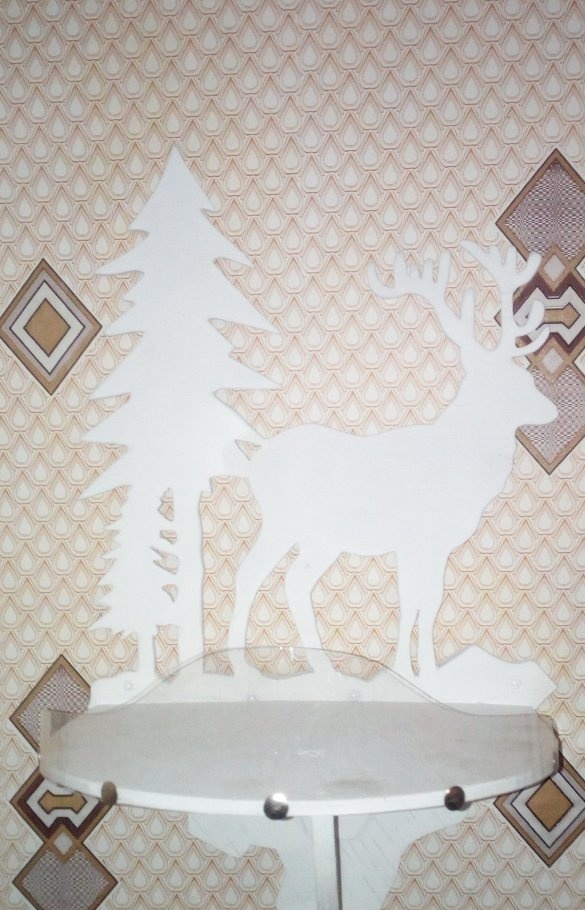
Having looked at what the Internet offers in this case (I didn’t want to do something like a board-board-crossbar = shelf. I’m not interested), I chose a shelf that looks like a frozen piece of landscape. Deer surrounded by fir trees. After redrawing the picture on paper, I pasted it onto a plywood blank using PVA glue. Having let it dry thoroughly and stick to a wooden surface, I proceeded to sawing out the main part of the structure. I installed a file with small teeth on an electric jigsaw so that the edges of the plywood were not very torn. Where there was a need for a cut inside the picture, I made holes with a screwdriver, the drill of which should be larger in diameter than the width of the file. Of course, I had to tinker with some elements, in particular with the antlers of a deer, because such a jigsaw is not very suitable for cutting particularly small and intricate details. But still, everything turned out fine. I carefully grind the entire workpiece.I clean the end parts with sandpaper. He worked horns and internal recesses with needle files, because he could not crawl with sandpaper. Yes, and they are very convenient to give the desired shape. Jigsaw was not always able to cut exactly along the contour. The file is not intended for such work.
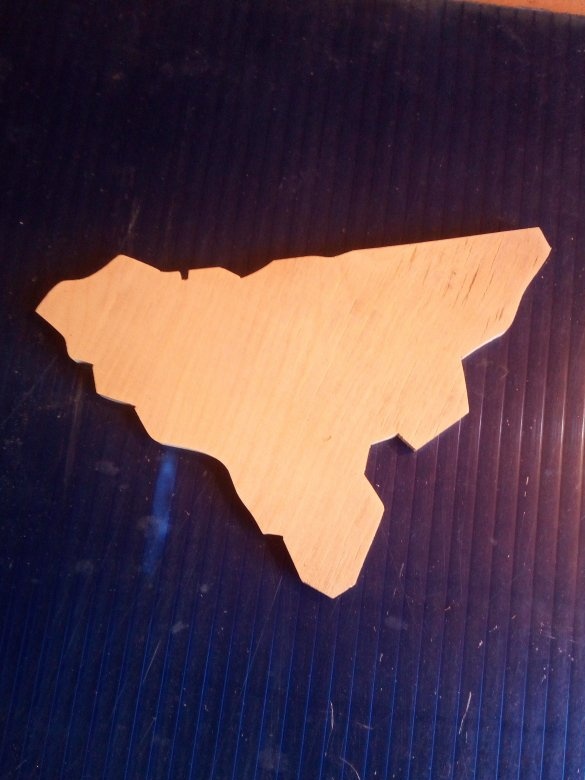
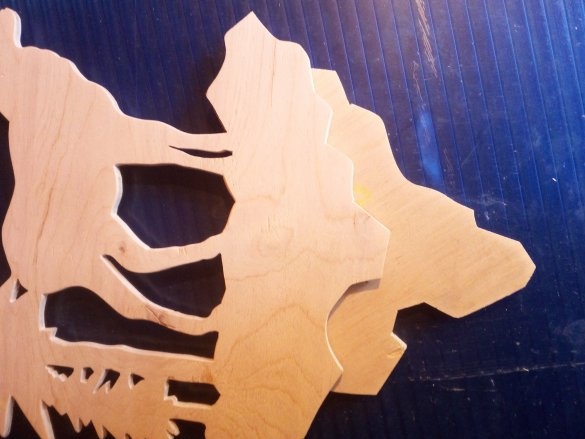
Further, I sawed an additional part from the same piece of plywood to the lower edge of the workpiece, thereby giving it a more voluminous appearance and a large area of attachment to the wall and supports. Details are polished. cleaned flat surfaces with an orbital sander.
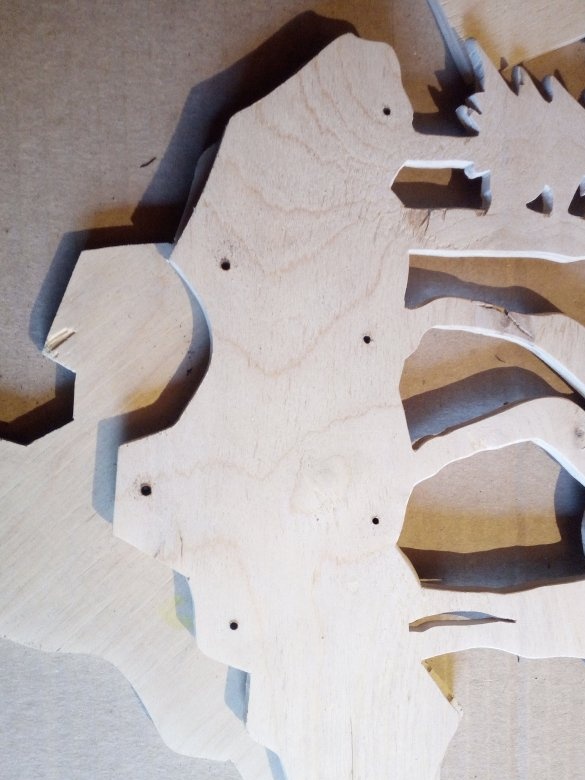
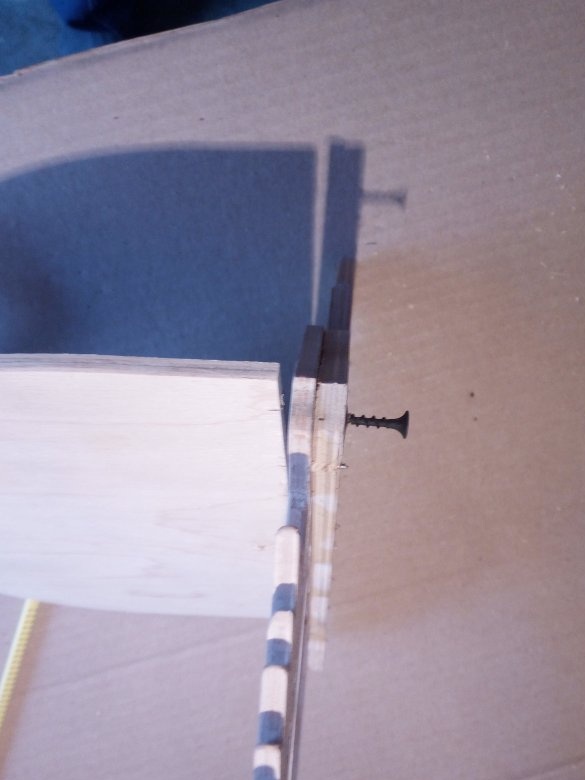
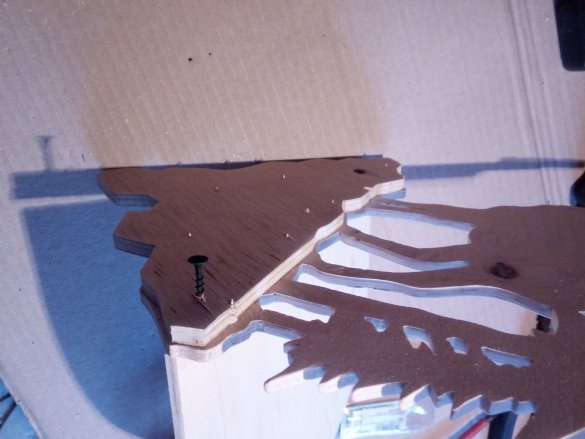
The next step is to prepare the surface on which the flower pot will stand, a kind of so-called little table. Saw and clean. Next, I begin to assemble all the finished parts in one design. Since all connections are made on self-tapping screws, before screwing them into the workpieces, I make holes for them so as not to split the plywood.
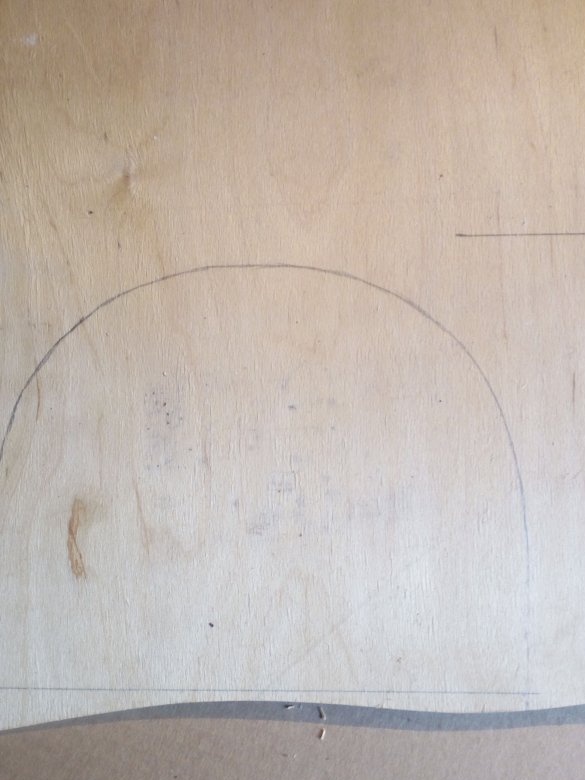
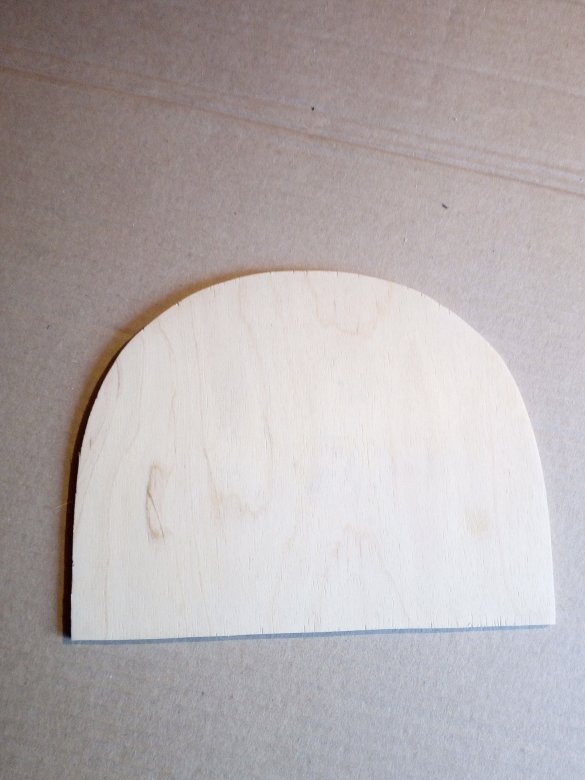
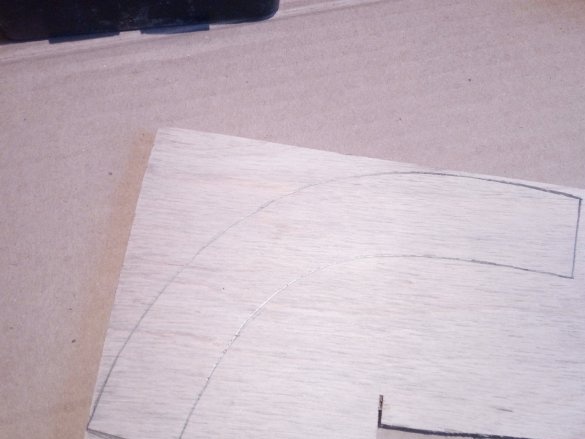
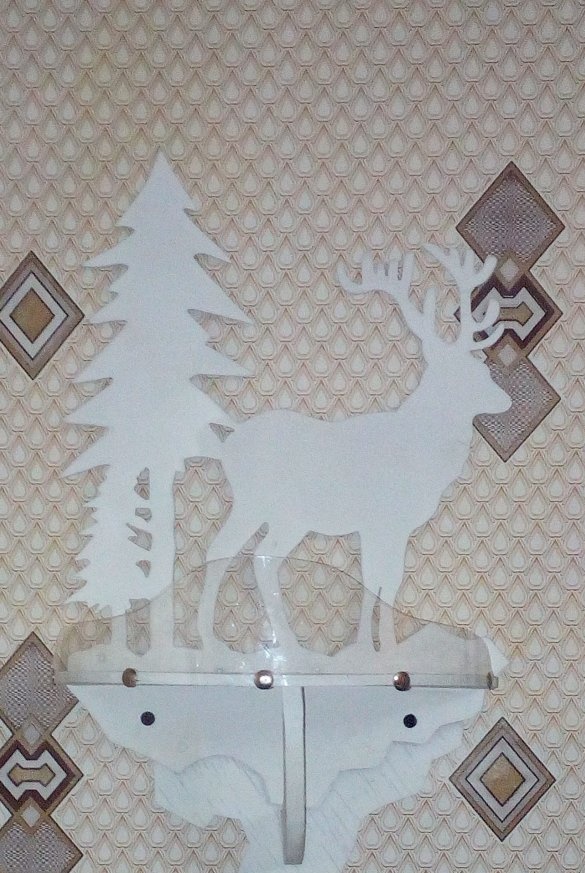
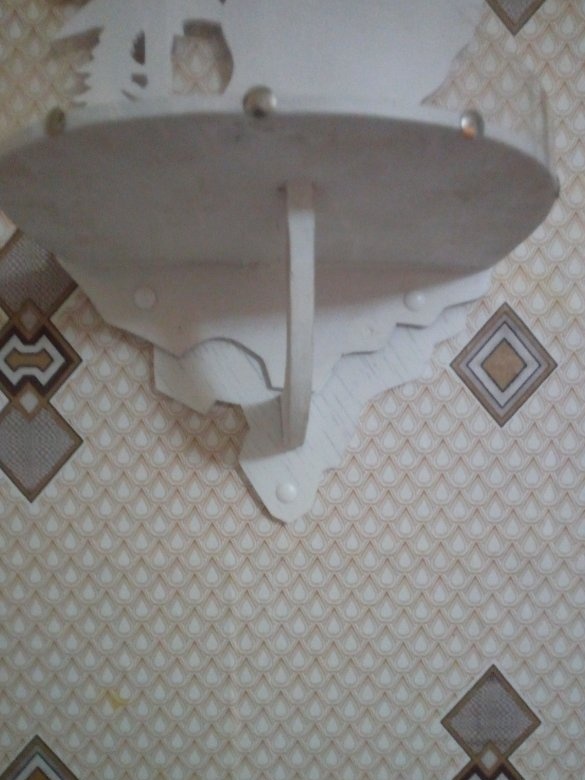
As soon as the details were fixed, I make a supporting arch. It will abut against the bottom of the table and the wall, simulating a rocky base. I connect the parts together.
A little advice to those who want to repeat and make the same shelf: instead of an arch, it is better to make some step construction, such as a ladder, from the board. So it will not be knocked out of the overall composition, and in terms of strength it will be an order of magnitude higher. But, as they say, clever thought comes after ... I noticed this when I hung the shelf and put a pot on it for the sake of example.
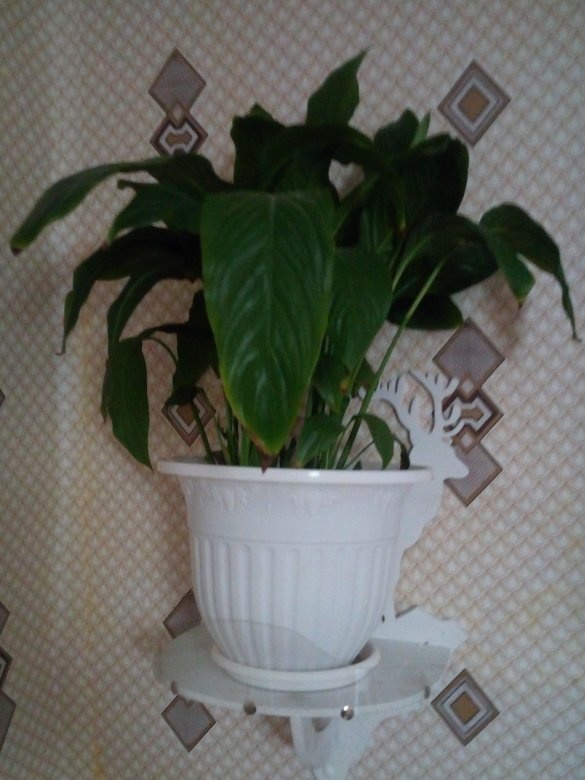
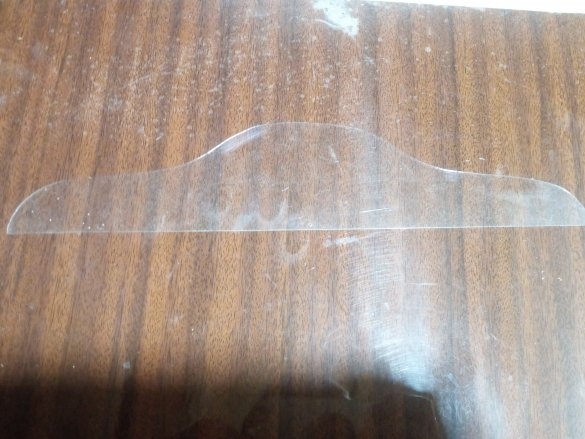
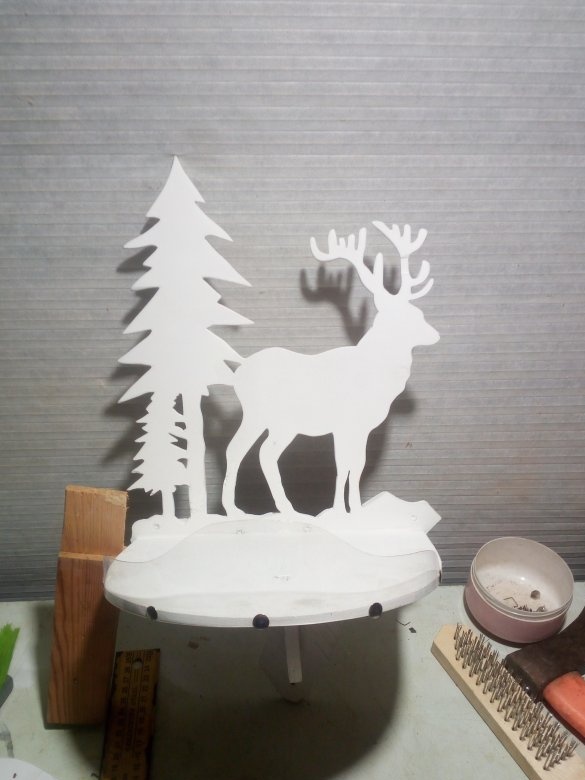
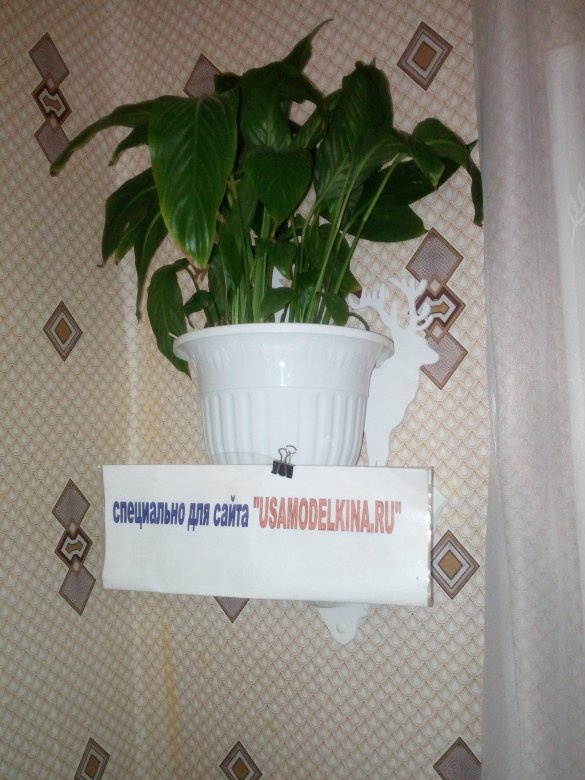
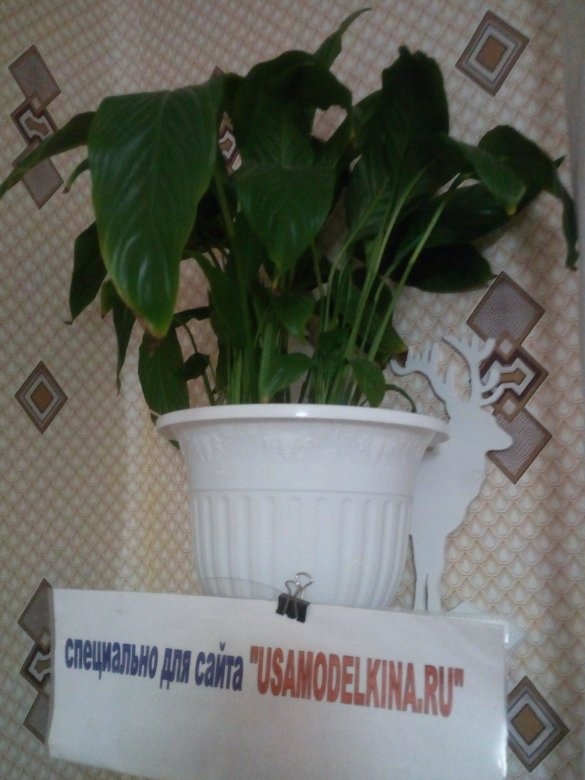
I cut a protective rim from thin-walled transparent plastic to the edge of the table, so that with some careless action, the flower would not be refined. Decorative nails secured it to the end of the table. In the wall of the shelf, the one that depicts a rock, drilled three holes for self-tapping screws, to fix the shelf to the wall.
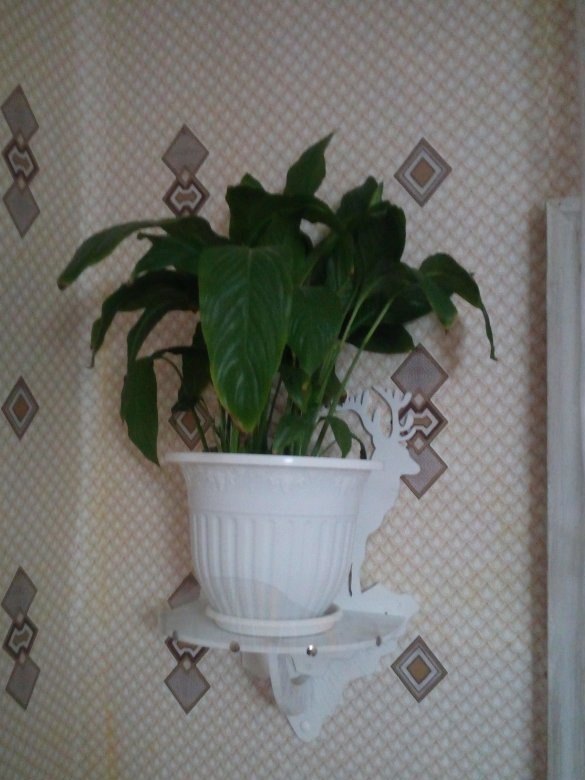
Shelf painted white in several layers. I did not paint it, I thought that behind the flower the shelf would be lost and would not be visible. All the same, it was created as an independent decor. And the white color will be visible behind the green color of the plant. Screwed to the wall. In the caps of the fastening screws, I inserted decorative caps for the main color, so that it was not so noticeable.
Put a flower pot. It immediately became apparent that for this shelf you need a flower and a smaller pot. This one is too large and almost completely obscures the shelf. But so far this one is standing. In other homemade products, I will take into account the size of what is planned to be put on them. In the meantime, this is what happened. With the exception of the supporting arch and some minor “jambs”, in principle, it turned out the way I wanted.
On this I end my article. I hope she will be useful to someone and he, taking into account my mistakes, will do better than I did! I wish you all creative success and realization of your ideas! With respect to you, Nikolai.


