
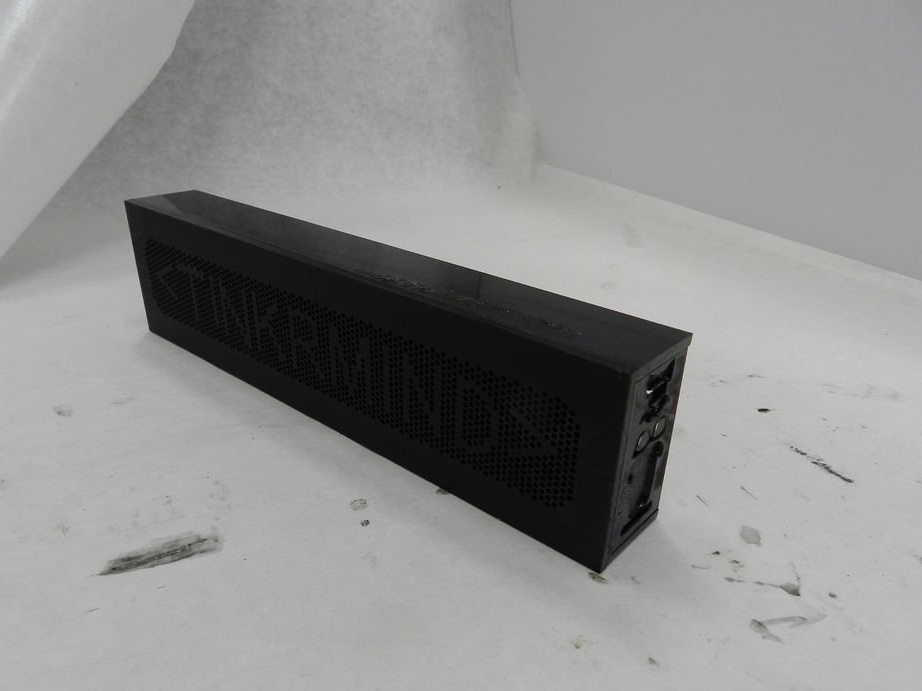
At one time, there were brick-type handheld game consoles with replaceable cartridges that did not contain any chips and turned out to be simple sets of jumpers or pushers that click on contact groups. A similar principle is used in children's talking computers with removable cardboard cards. And the author of Instructables under the nickname tinkrmind applied the same principle to his do it yourself An MP3 player, where the real data carrier is a memory card, but the selection of files depends on the “plexiglass” “plate” installed in the slot.
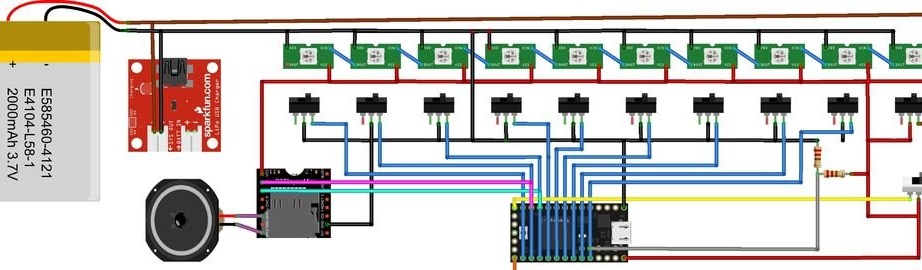
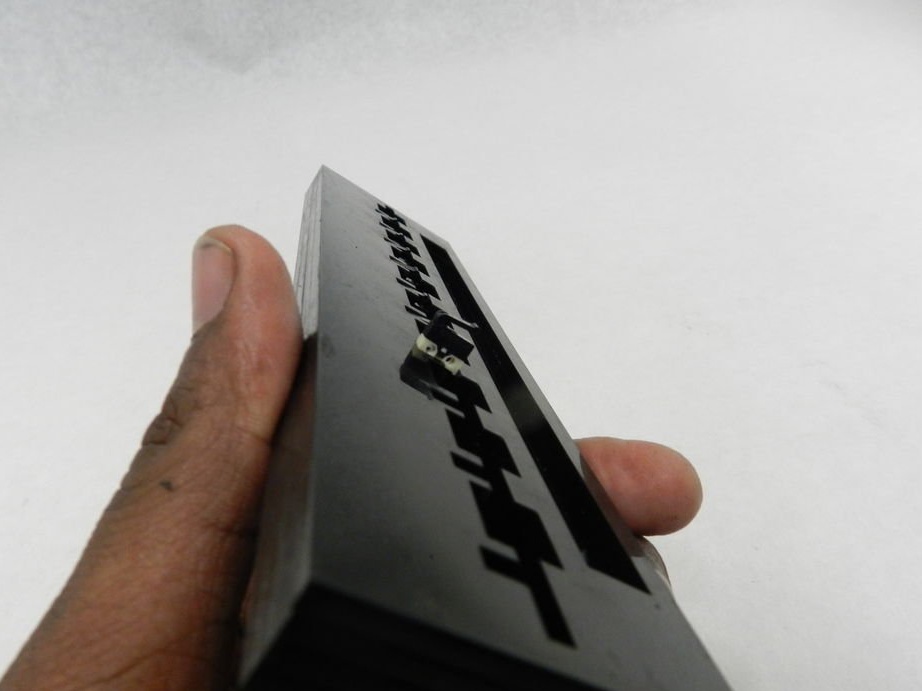
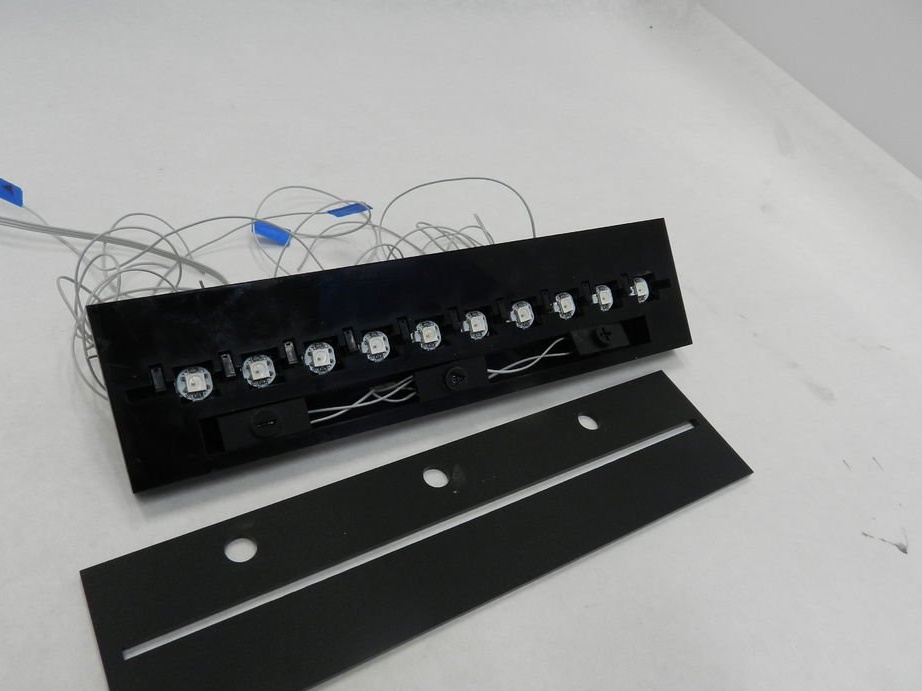
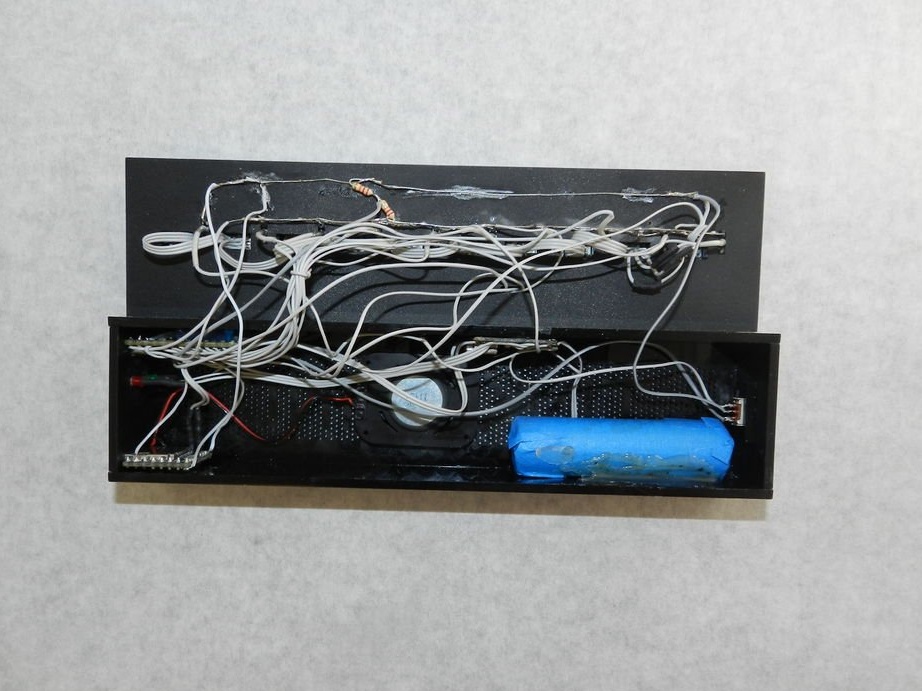
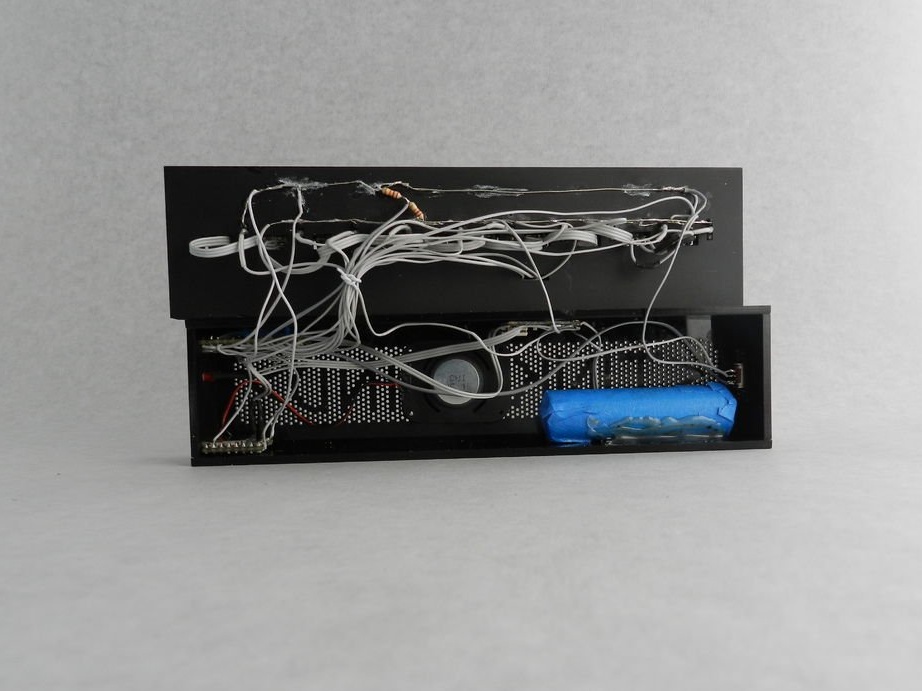
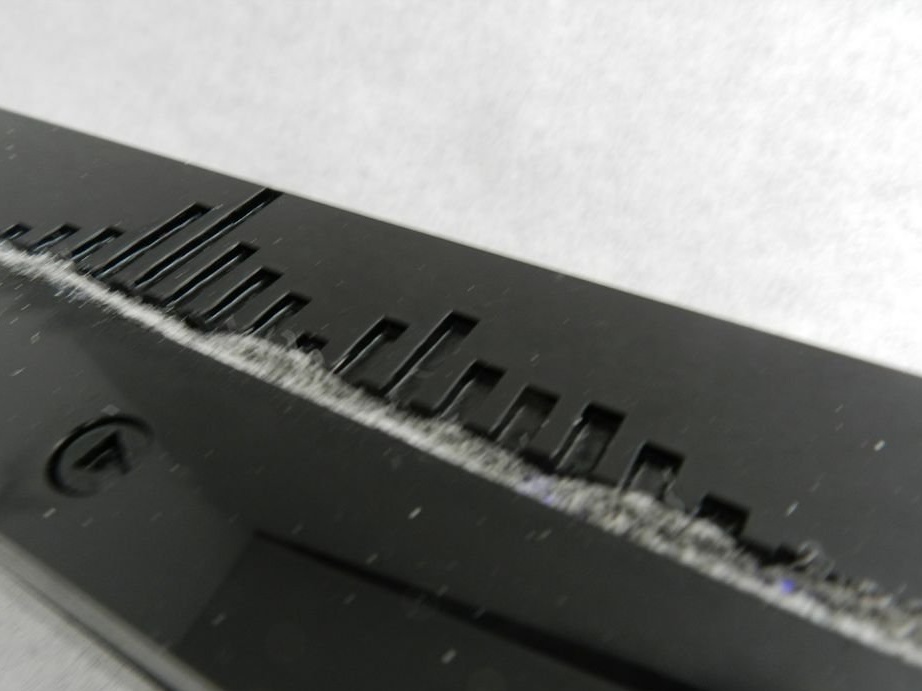
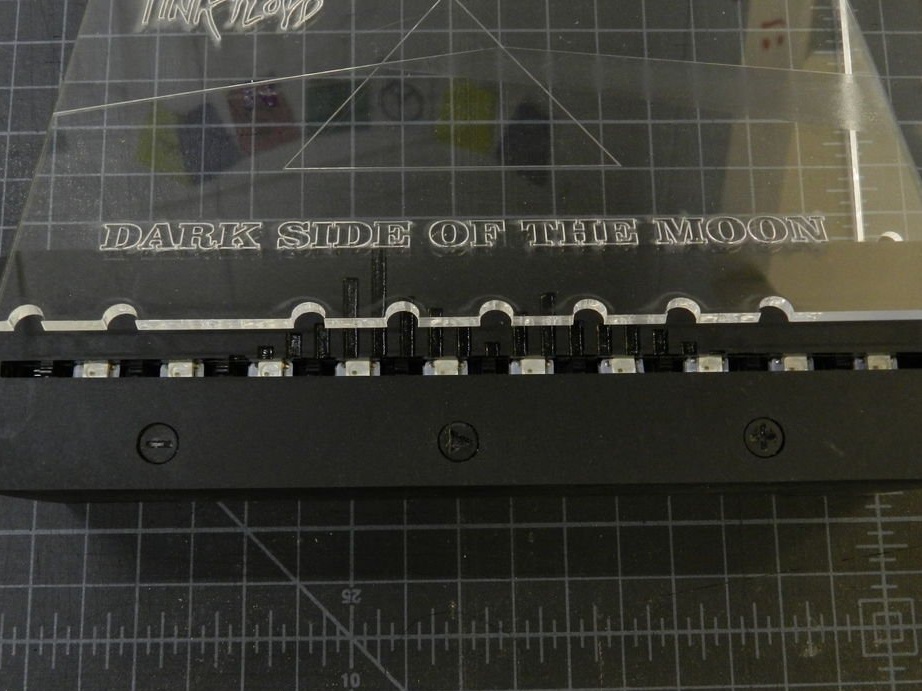
Let's look at the diagram homemade. In general, standard components: battery, charge controller, ArduinoDFPlayer with map and dynamic head. It is immediately clear what this design will do. When installed, the “record” clicks on some of the microswitches, passing a 9-bit binary number to the Arduino, and this, by the way, has 512 possible combinations. Arduino responds with the necessary commands to DFPlayer and the address LEDs. The tenth micro switch controls power.
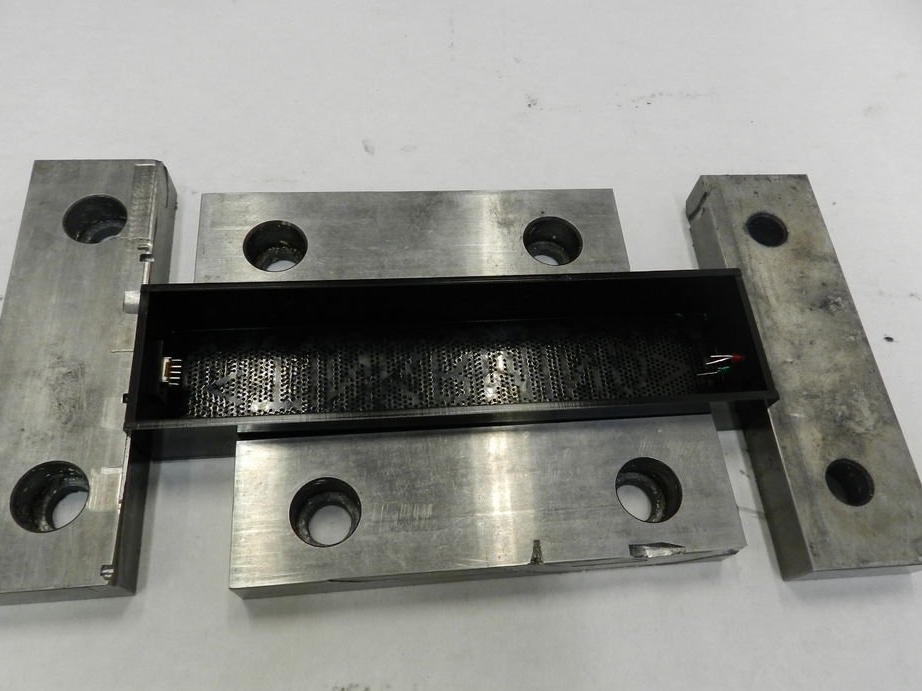
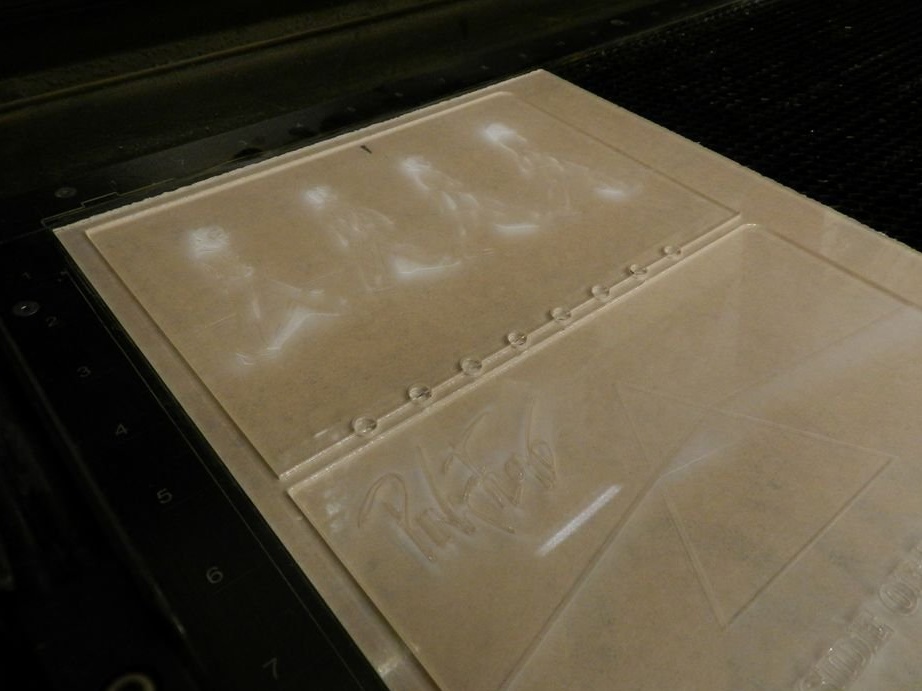
The master starts cutting with a laser, and then manually adjusting the body parts:
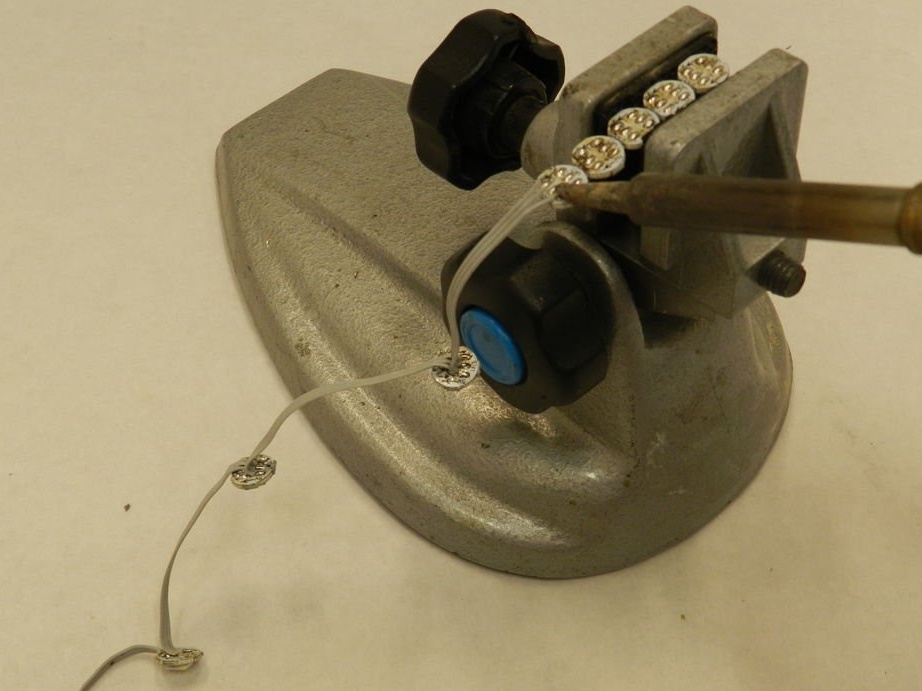
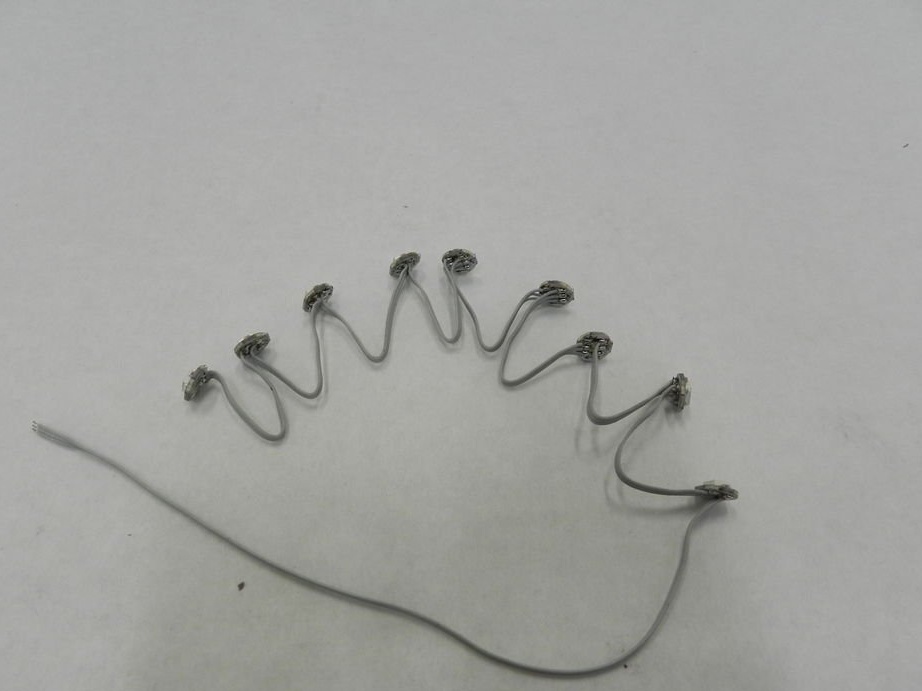
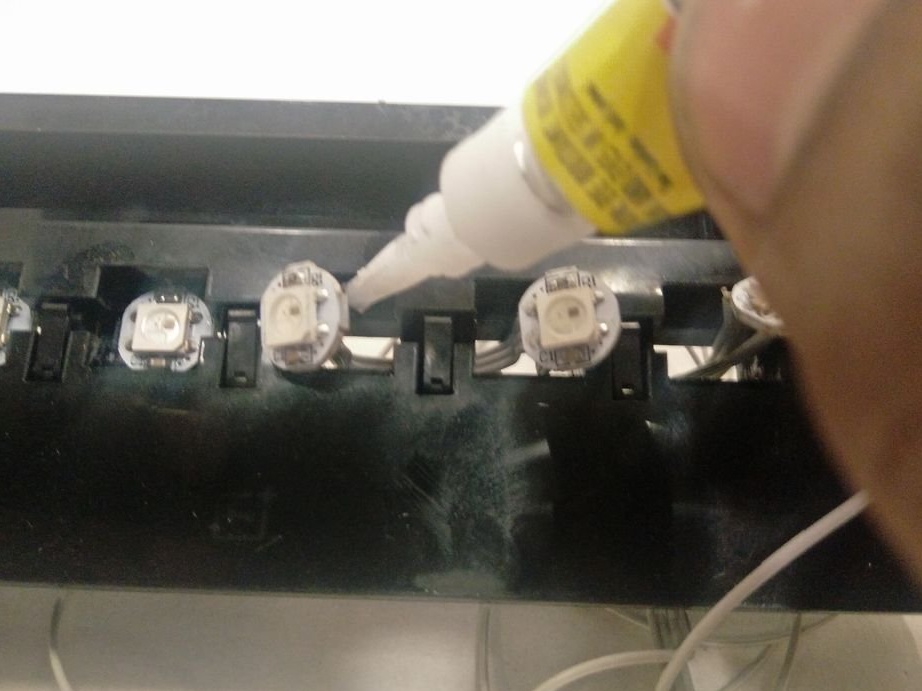
Creates a welcome sound file and uploads here, and he himself proceeds to connect the address LEDs to each other:
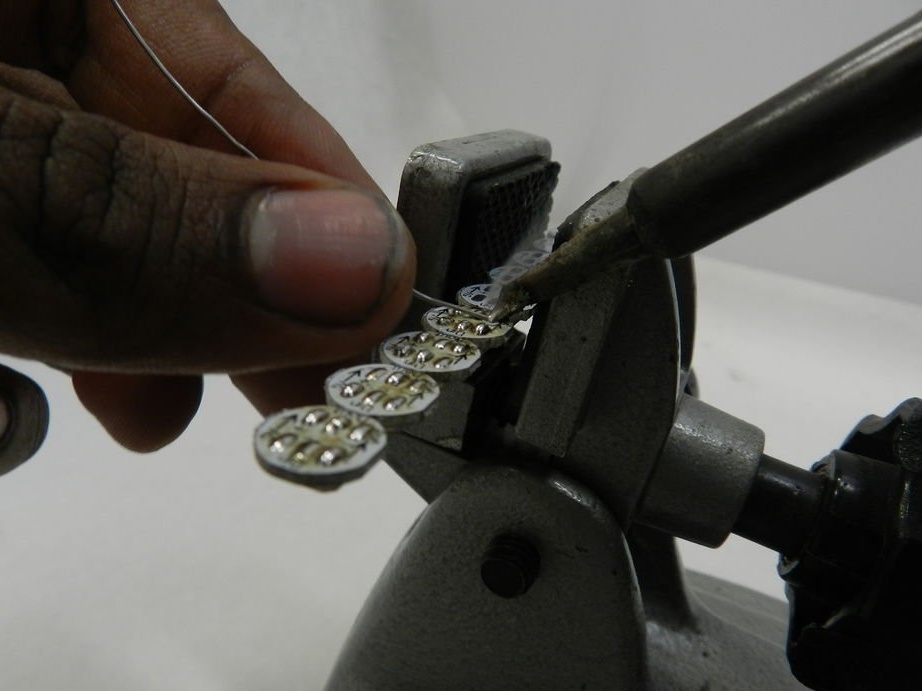
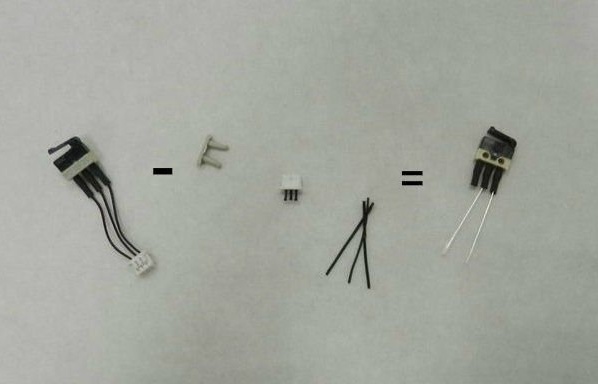
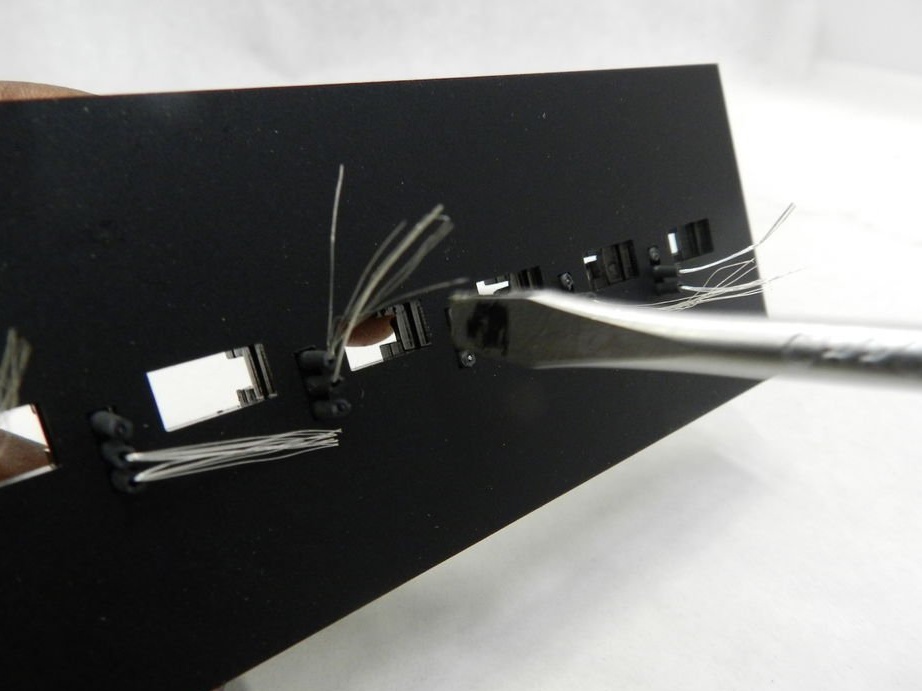
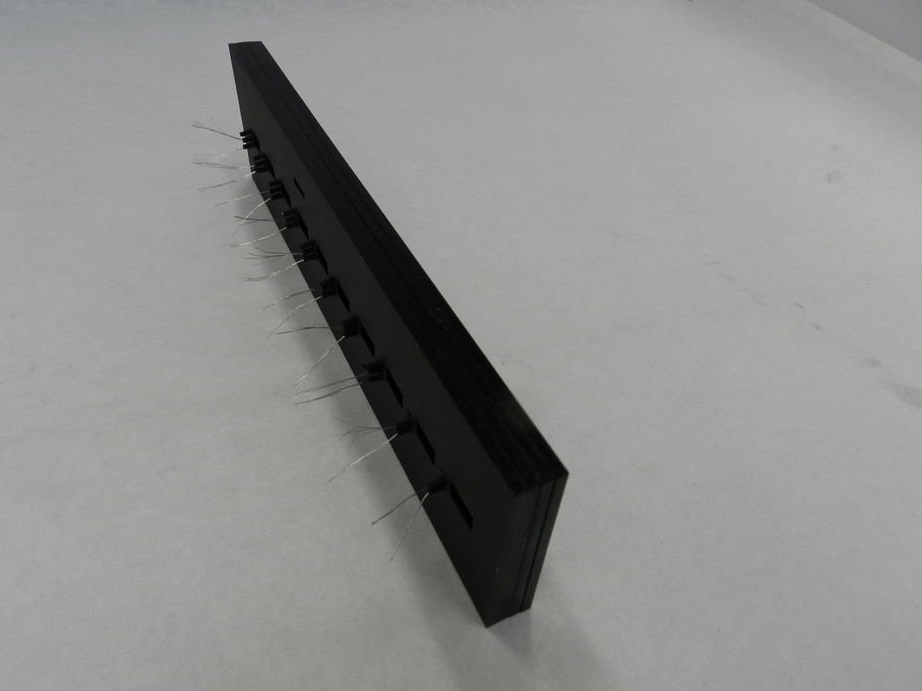
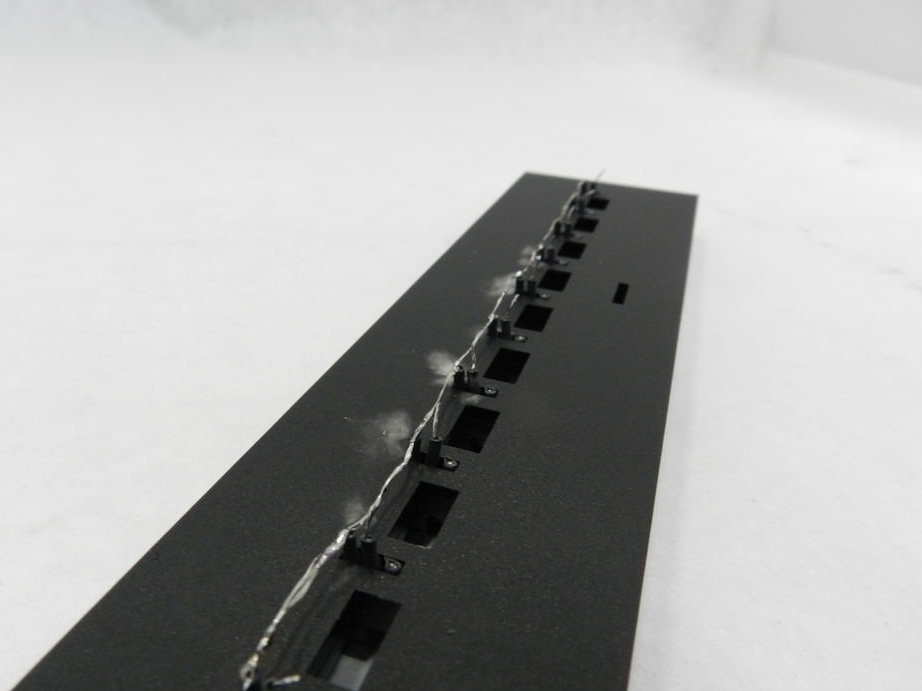
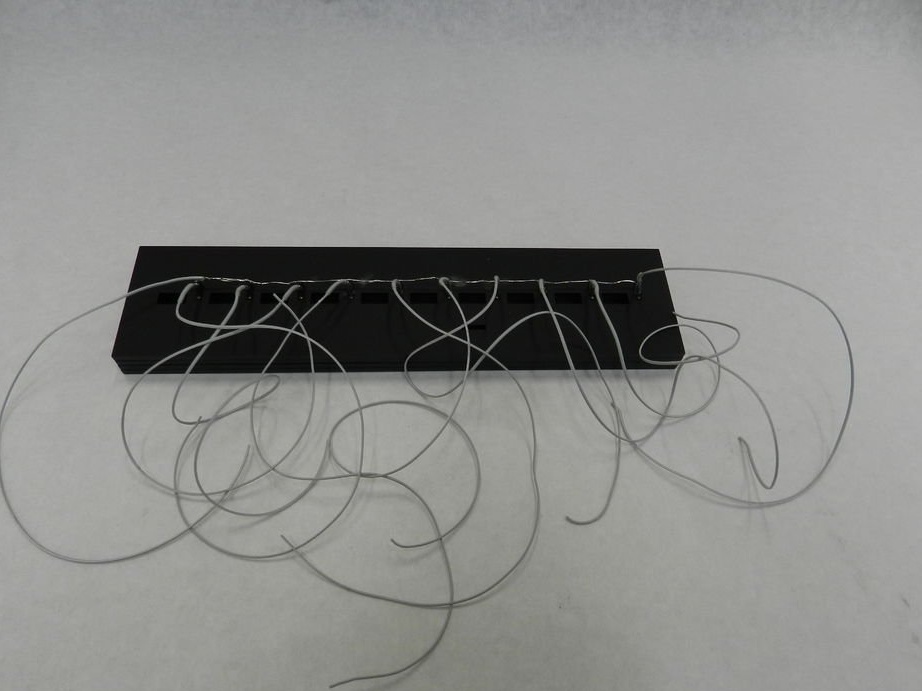
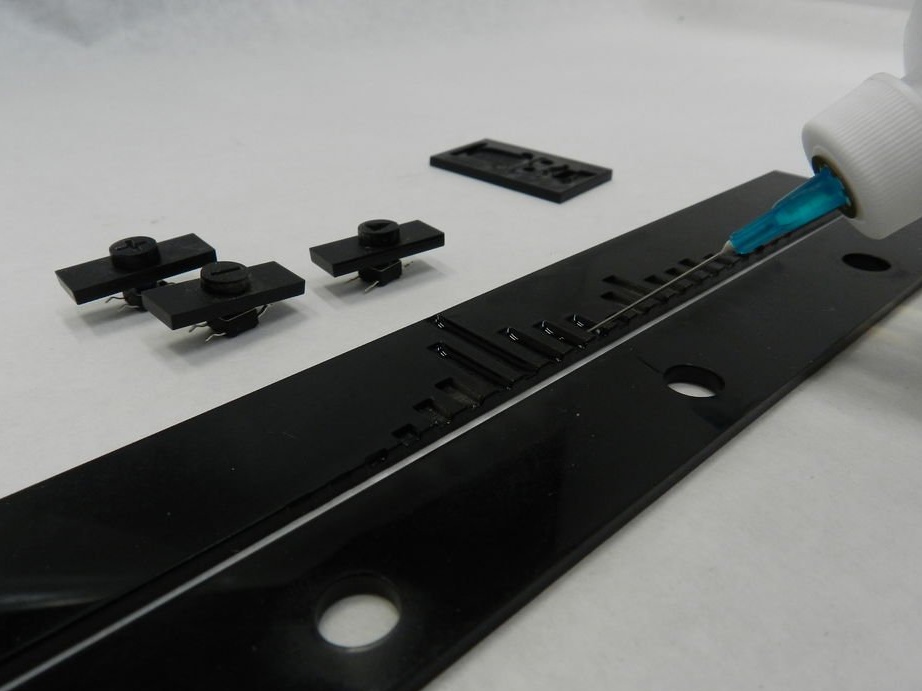
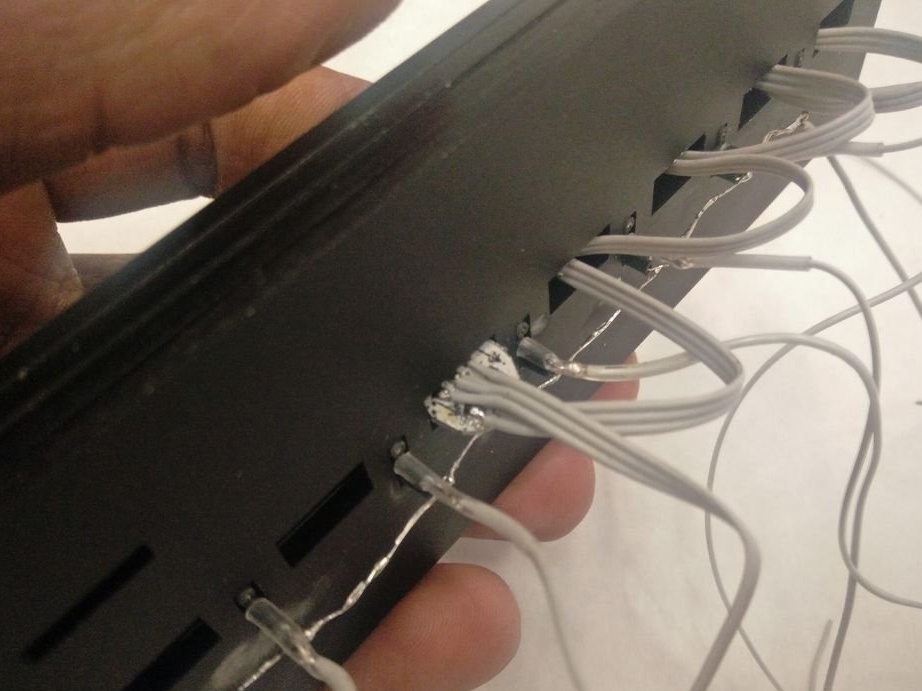
Separates from the microswitches the connectors that came with them, solders the conductors:
Glues the upper part of the body:
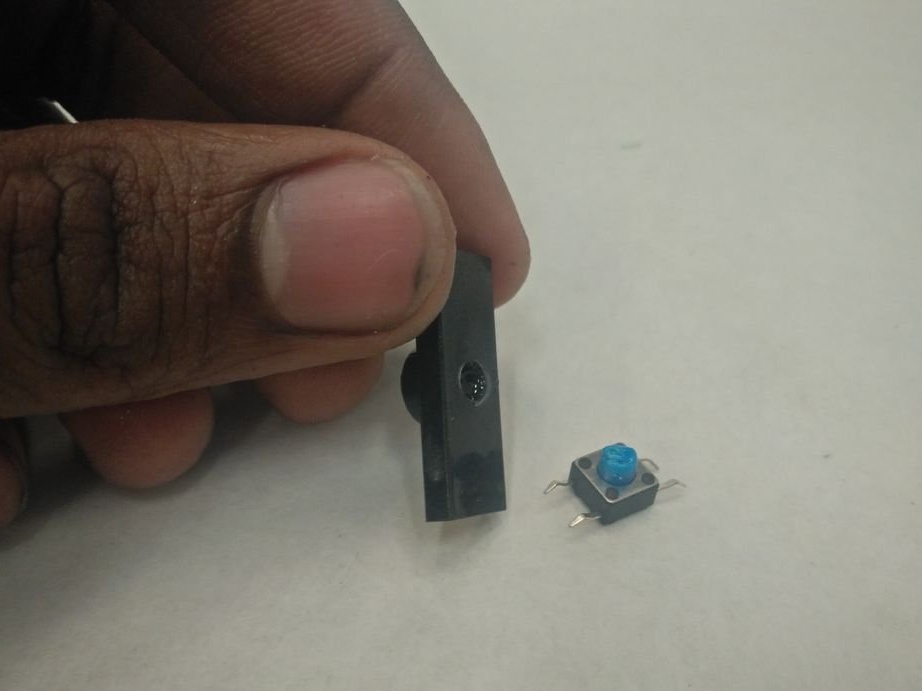
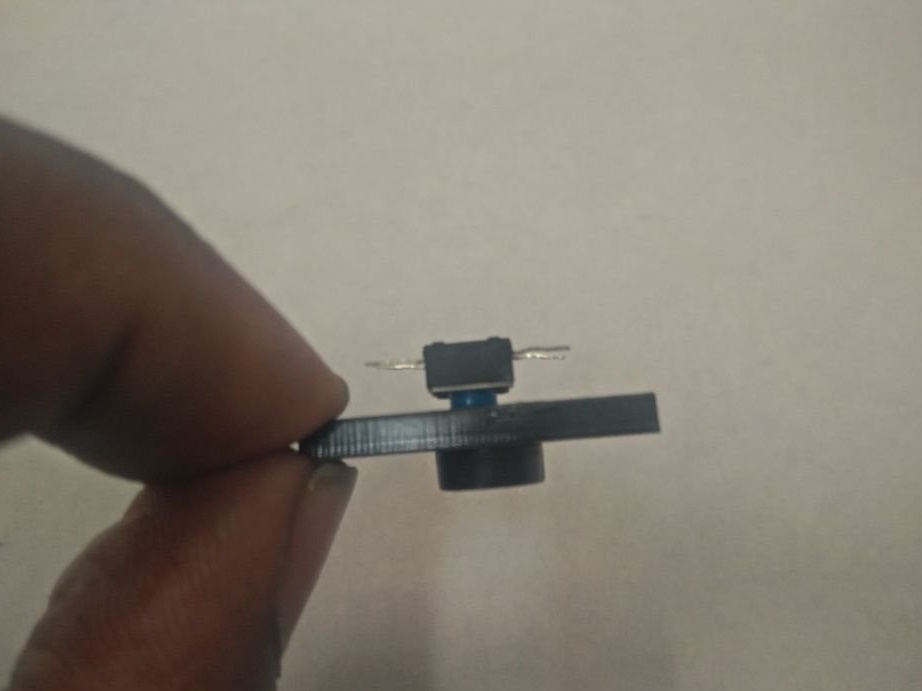
Sets microswitches:
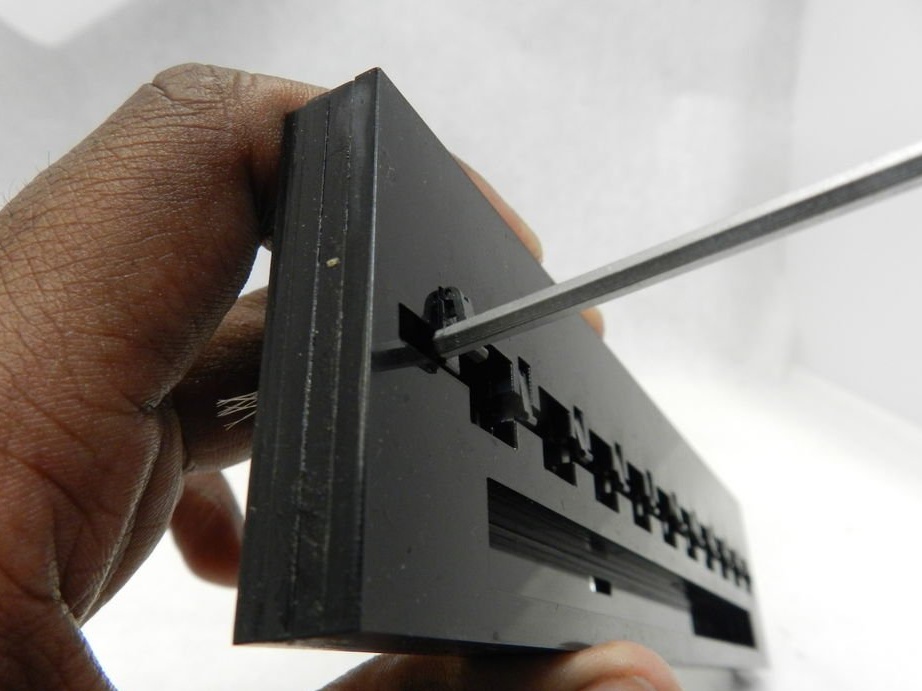
It connects them with the fact that one of them commutes power. The master does not take this into account immediately, which is why one of the jumpers after shooting had to have a bite, and then add another wire.
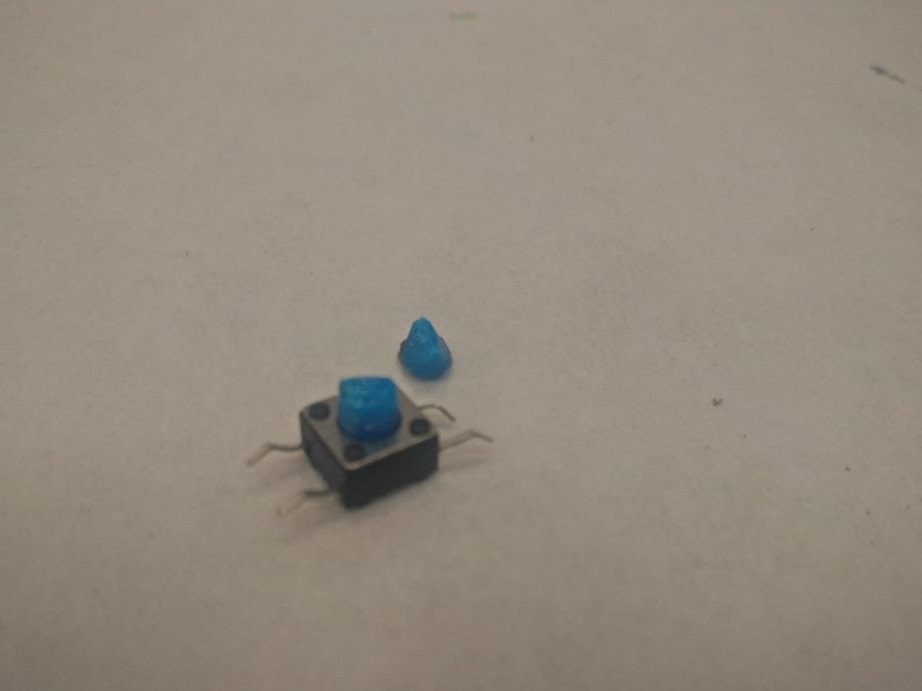
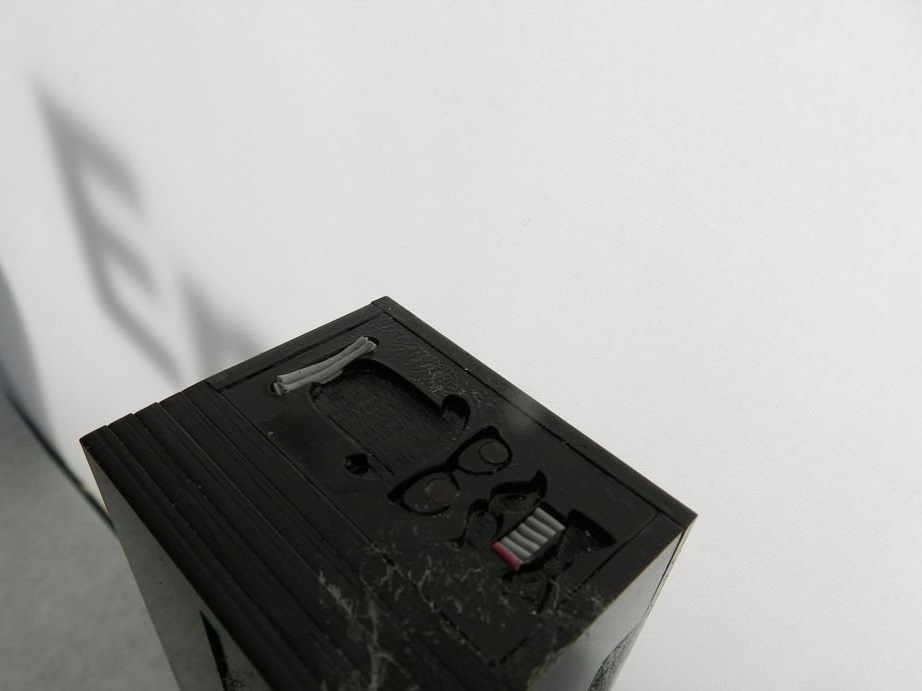
Adds pushers to clock buttons not shown in the diagram, obviously related to DFPlayer: start, quieter, louder.
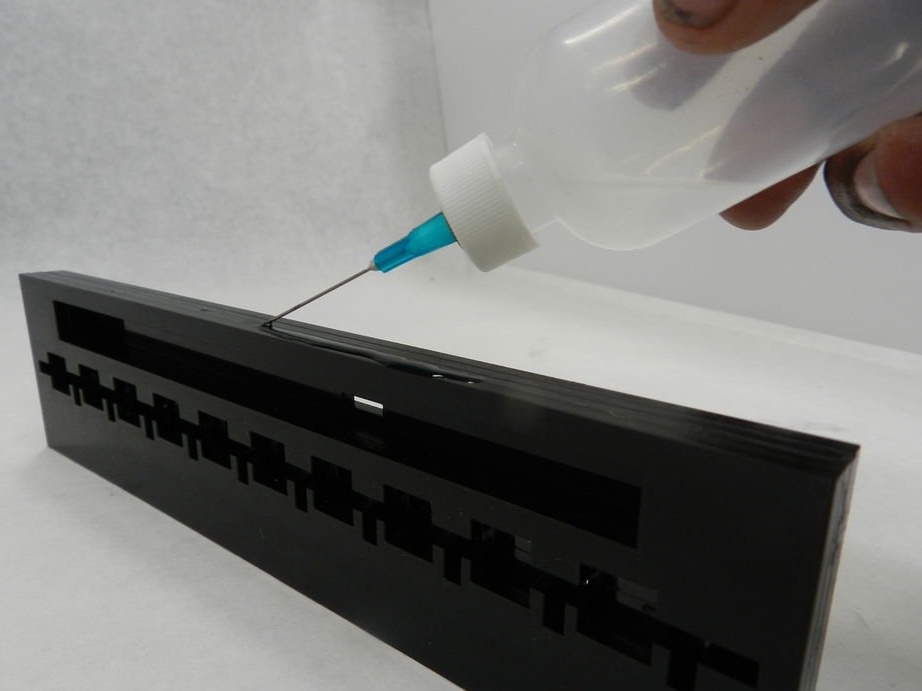
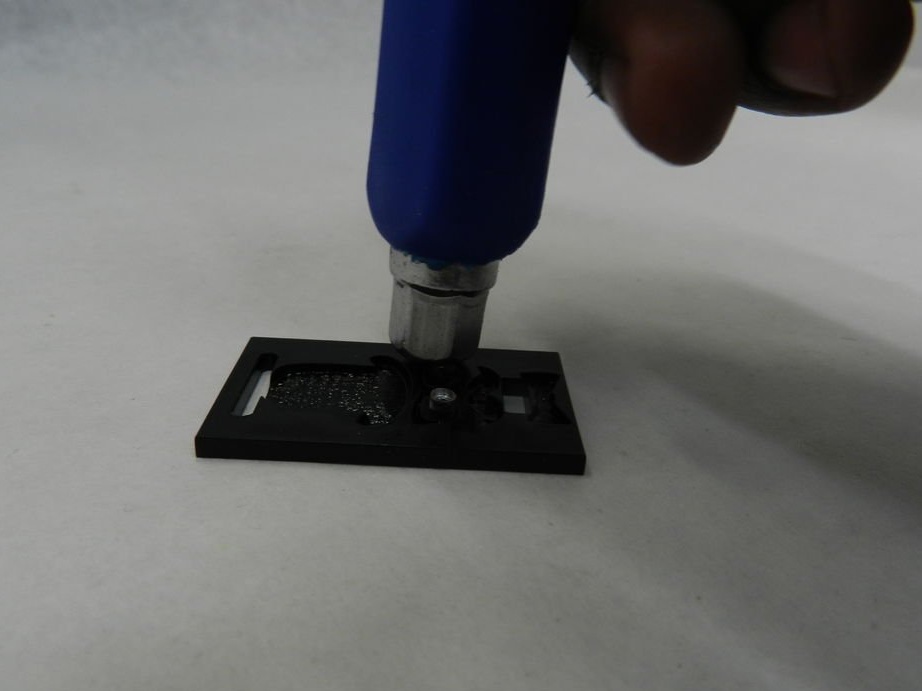
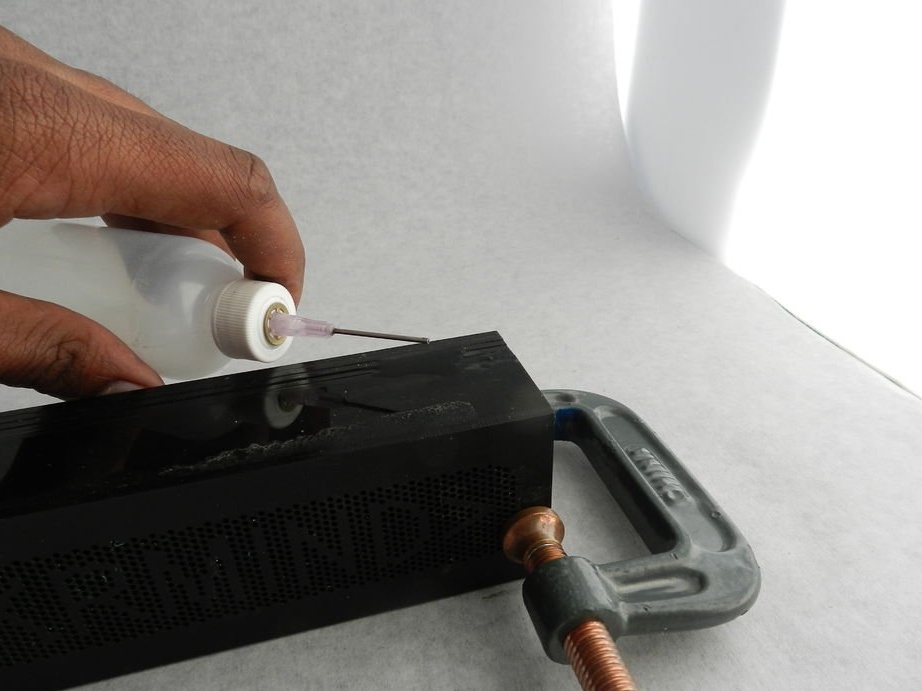
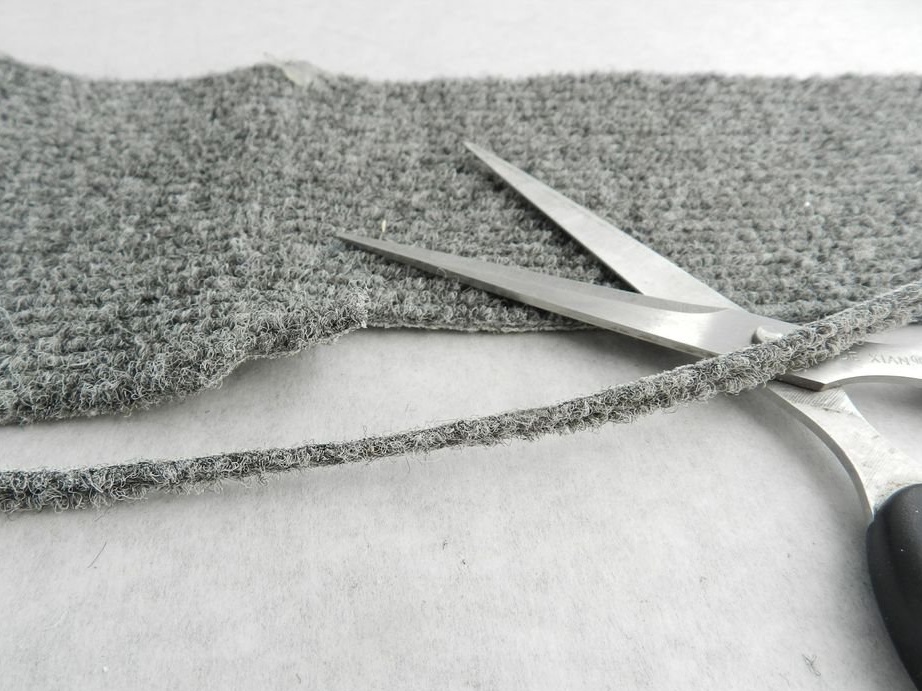
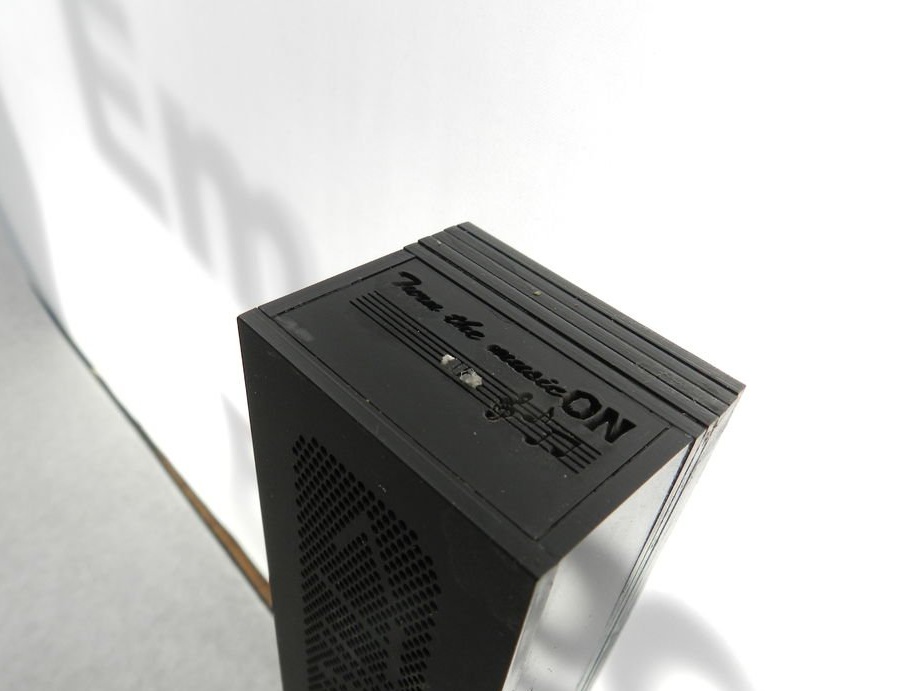
Those parts of the body that are planned to be made glossy are covered with a thin layer of solvent and allowed to evaporate. At this time, there should be no sources of open flame, sparks, electrical discharges, switching contact groups, etc.
Sets address LEDs and push buttons with pushers:

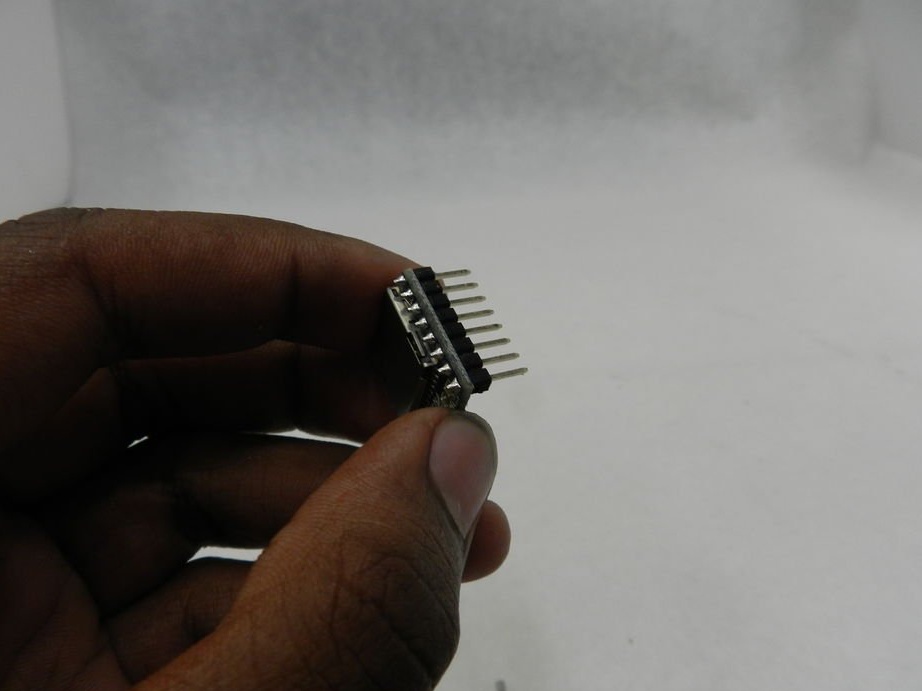
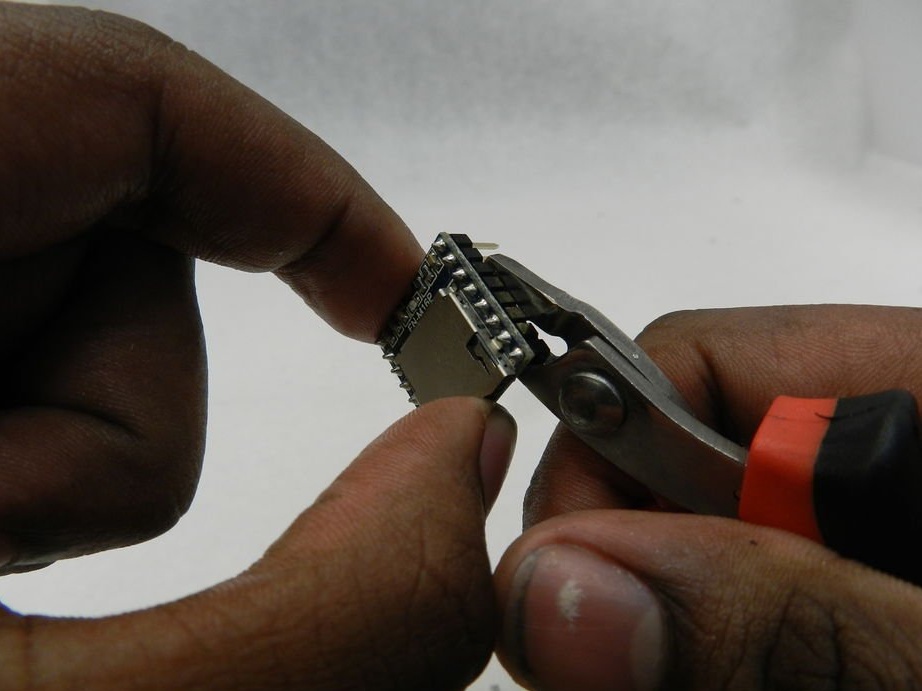
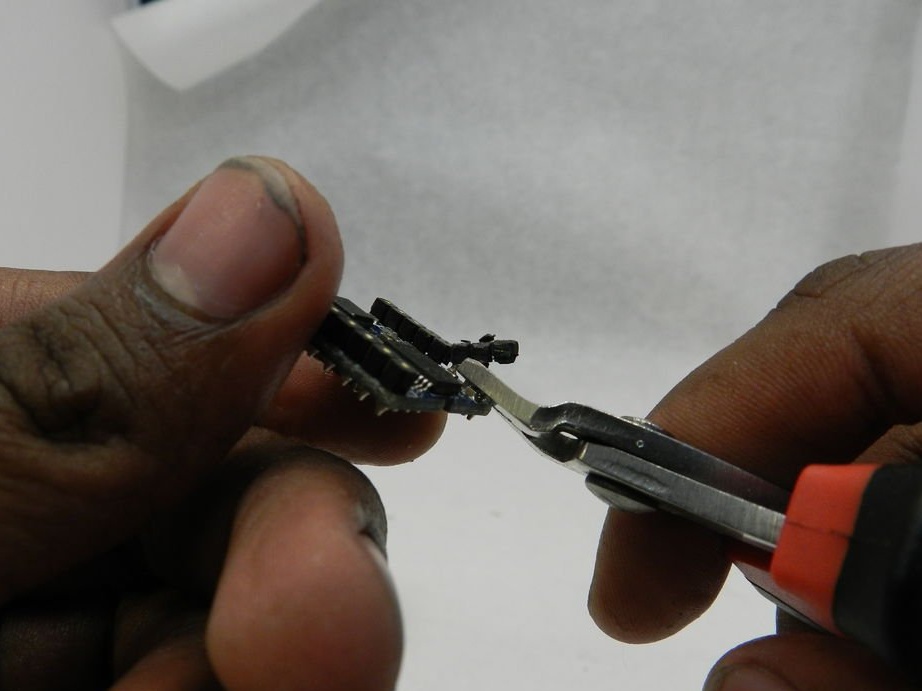
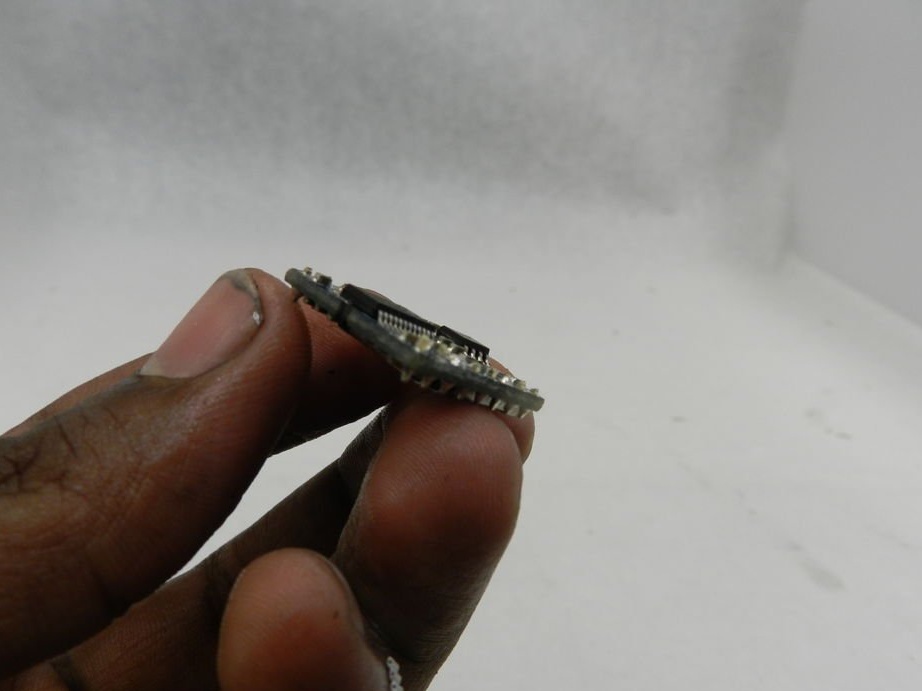
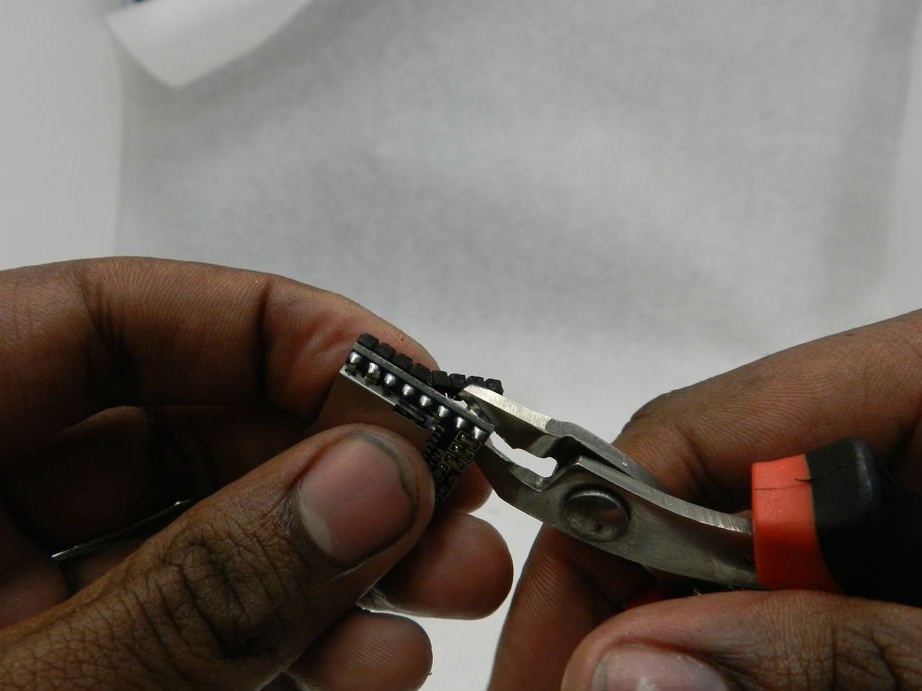
Bites off the comb from DFPlayer:
Assembles the case:

And puts there electronic part:
Connects the top panel to the housing:
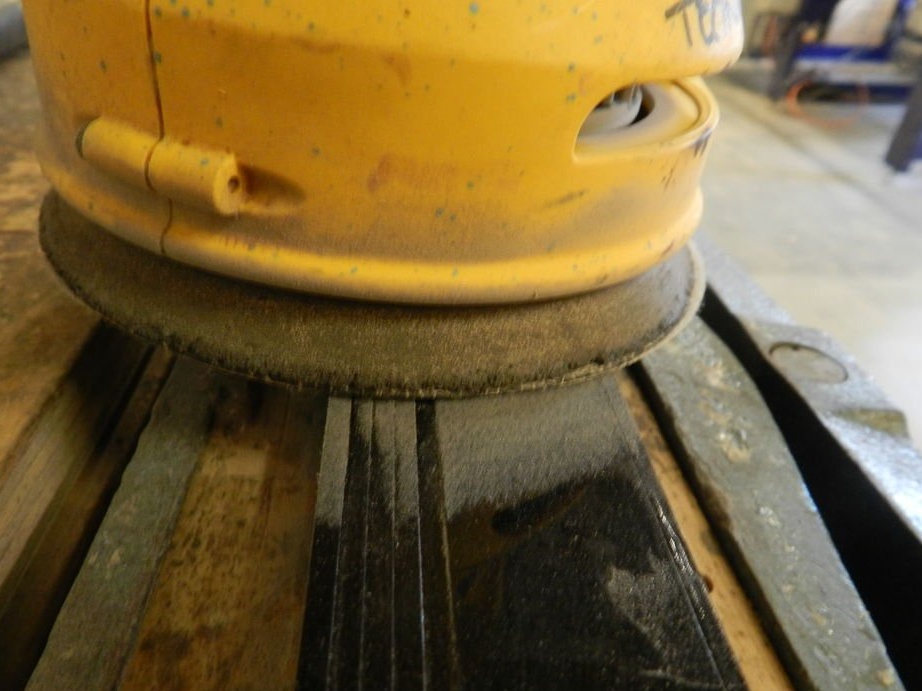
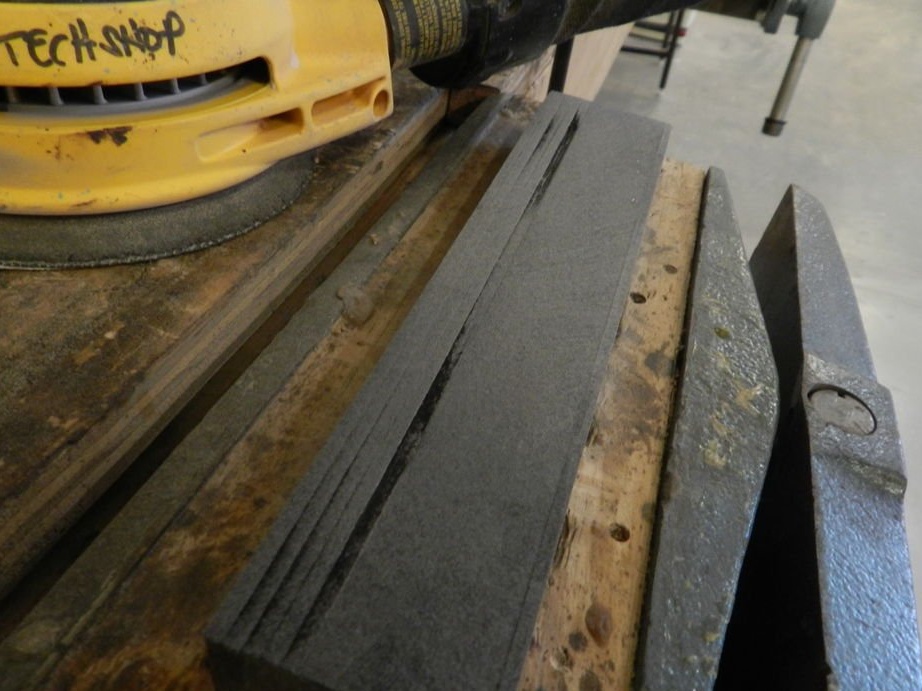
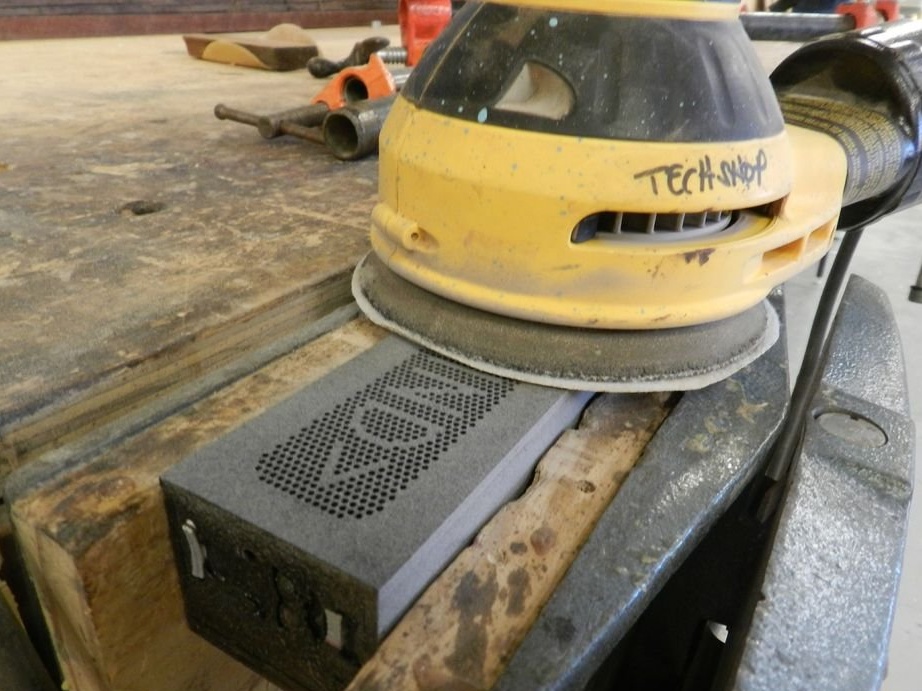
It closes the holes in the case so that dust does not get there, then it grinds some of the surfaces:
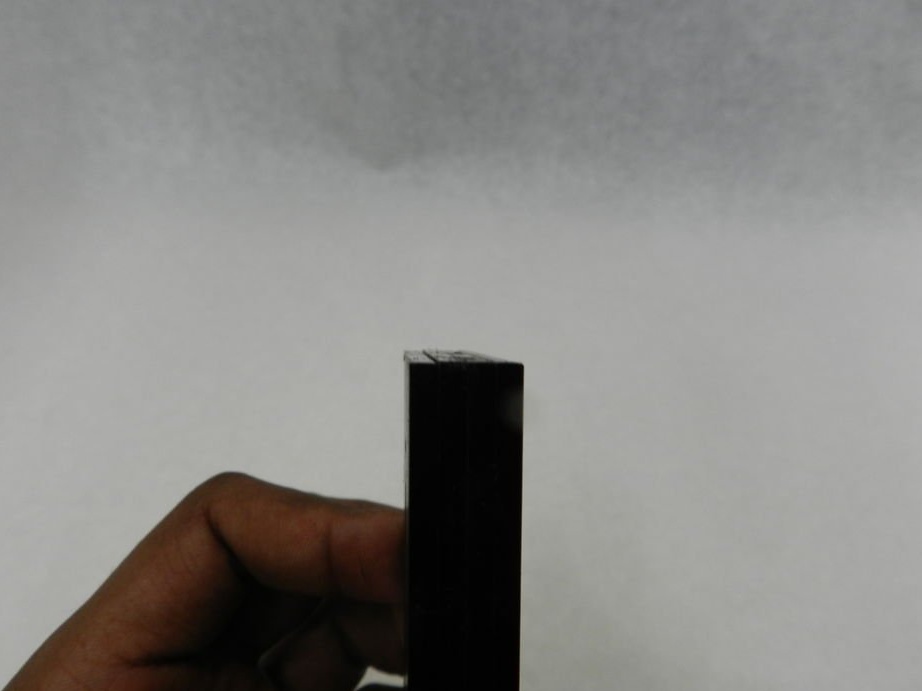
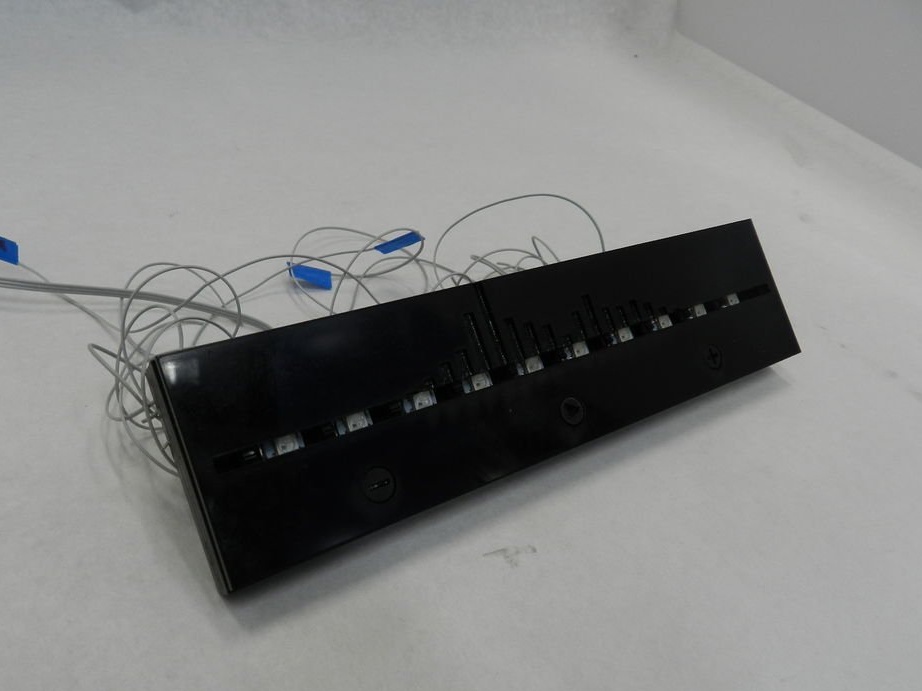
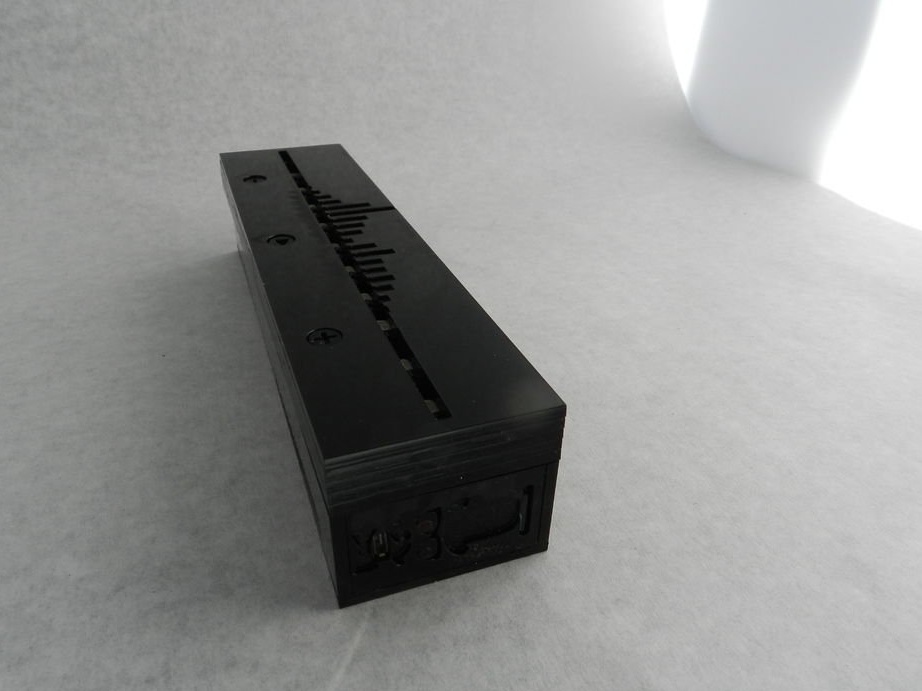
Done:
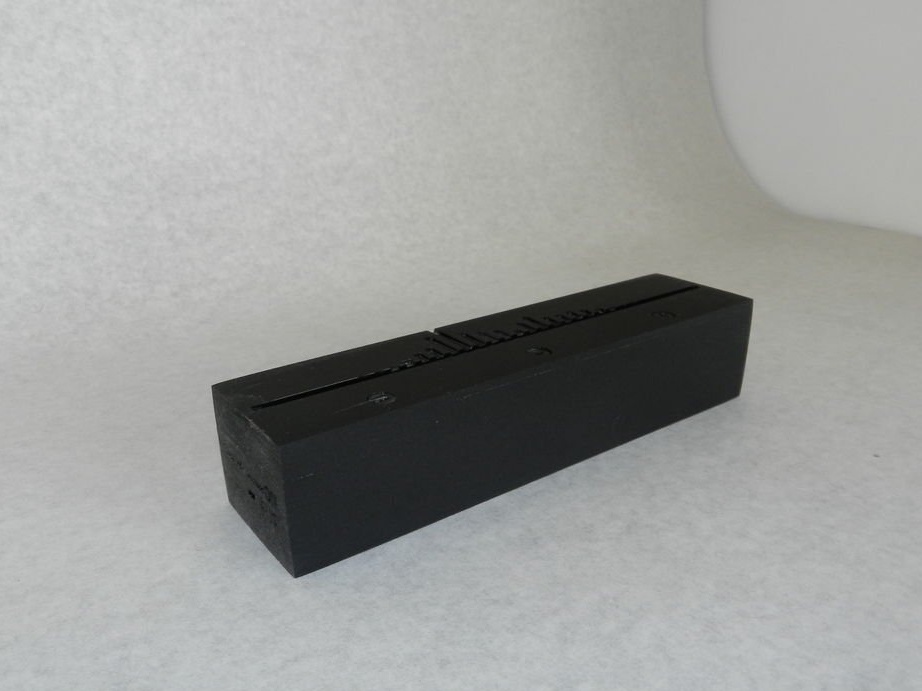
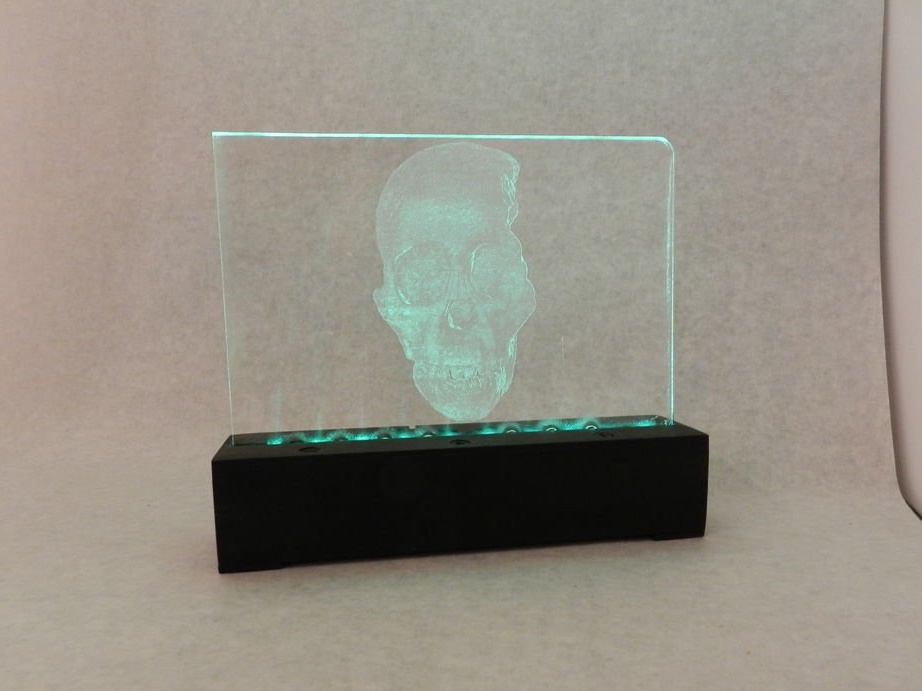
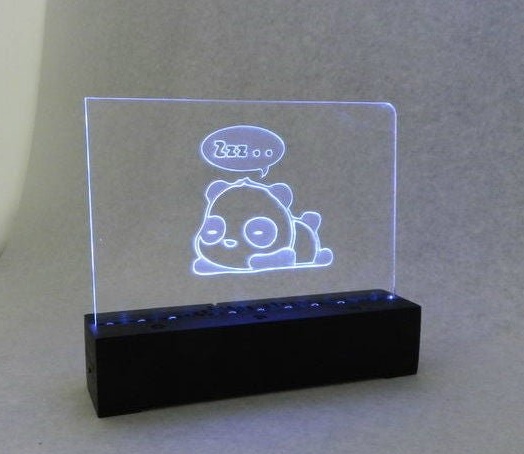
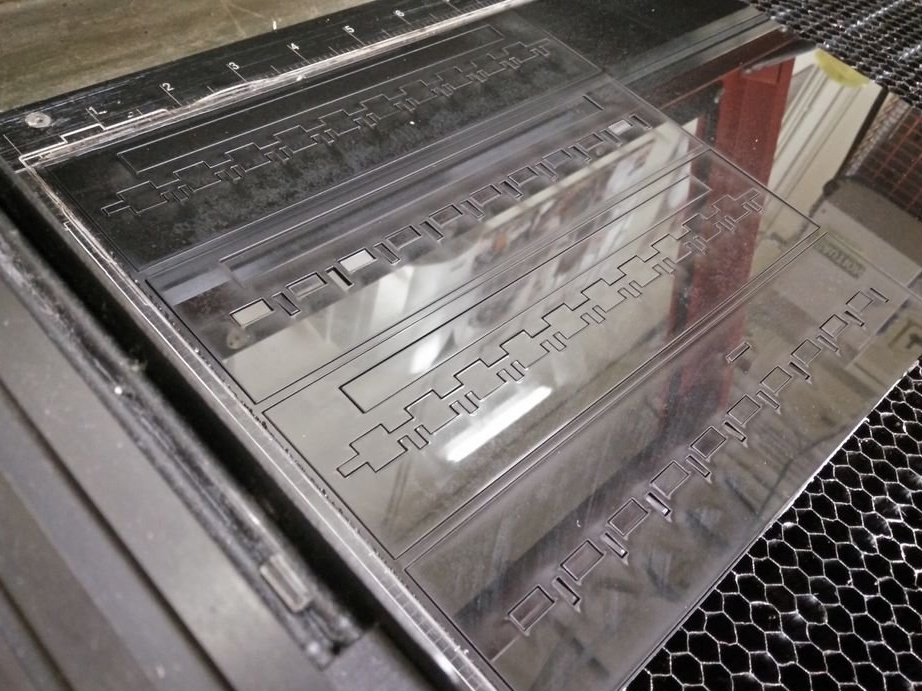
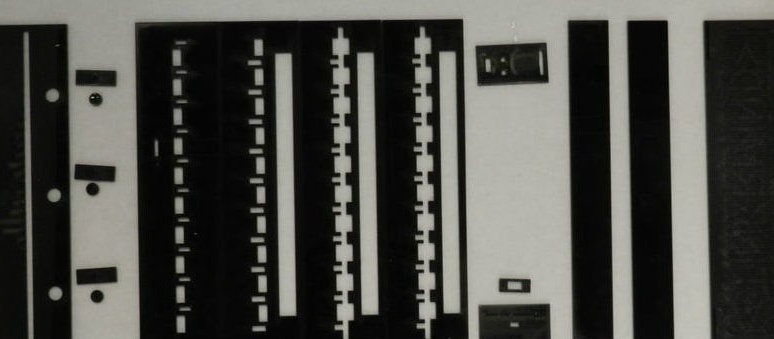
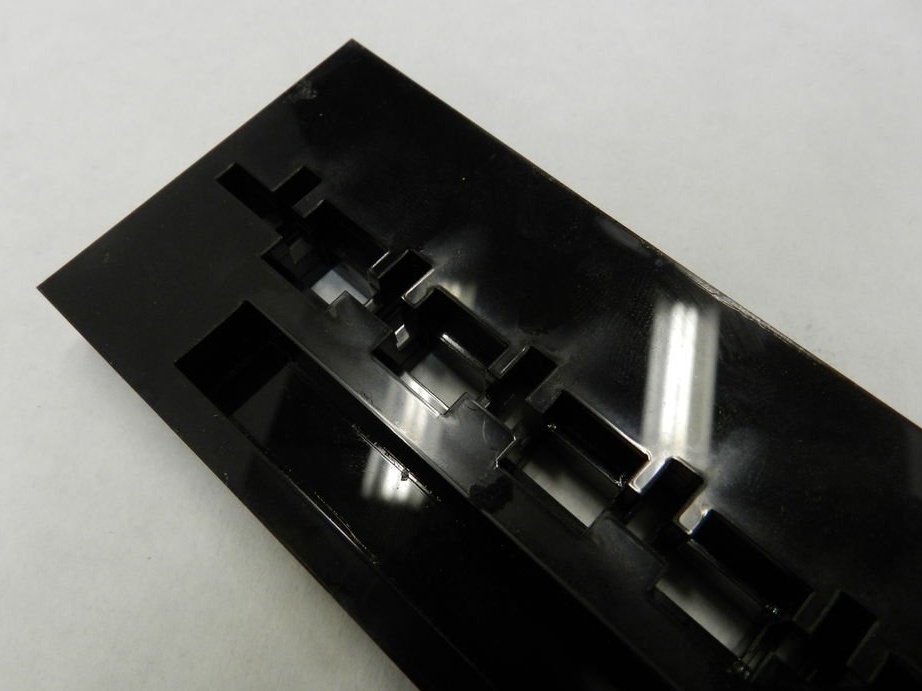
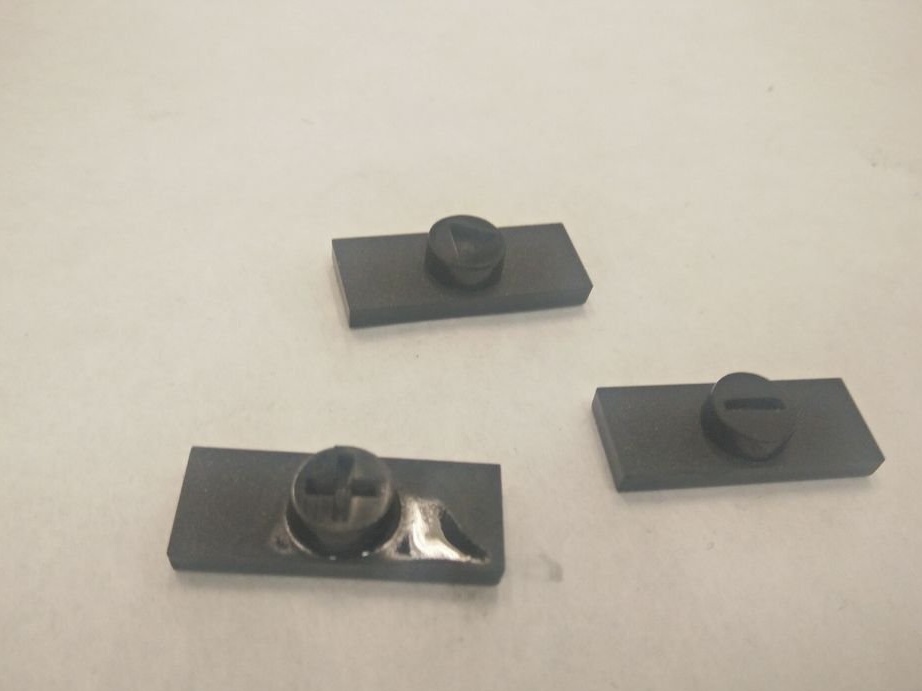
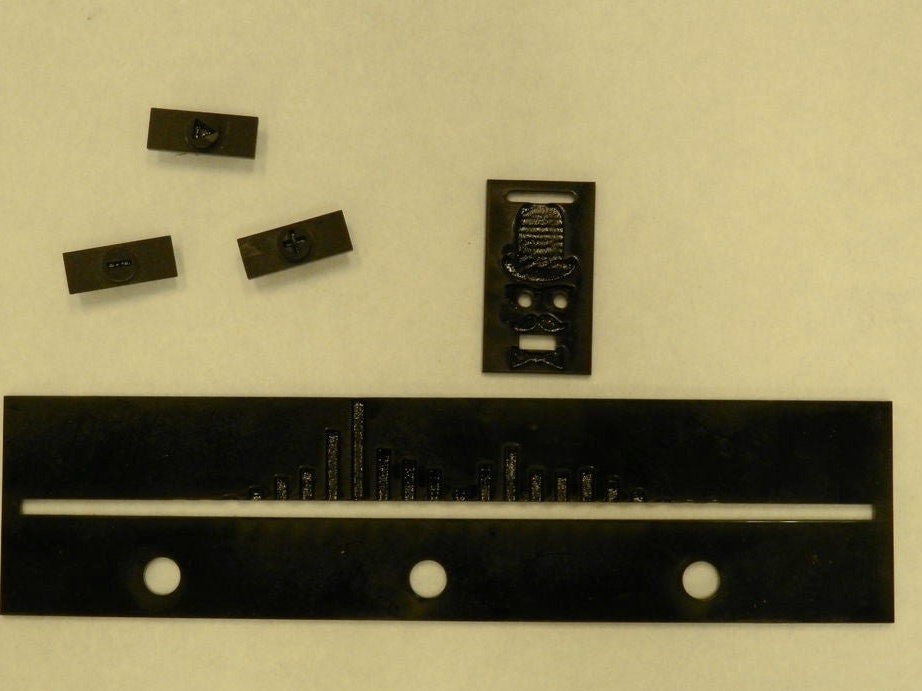
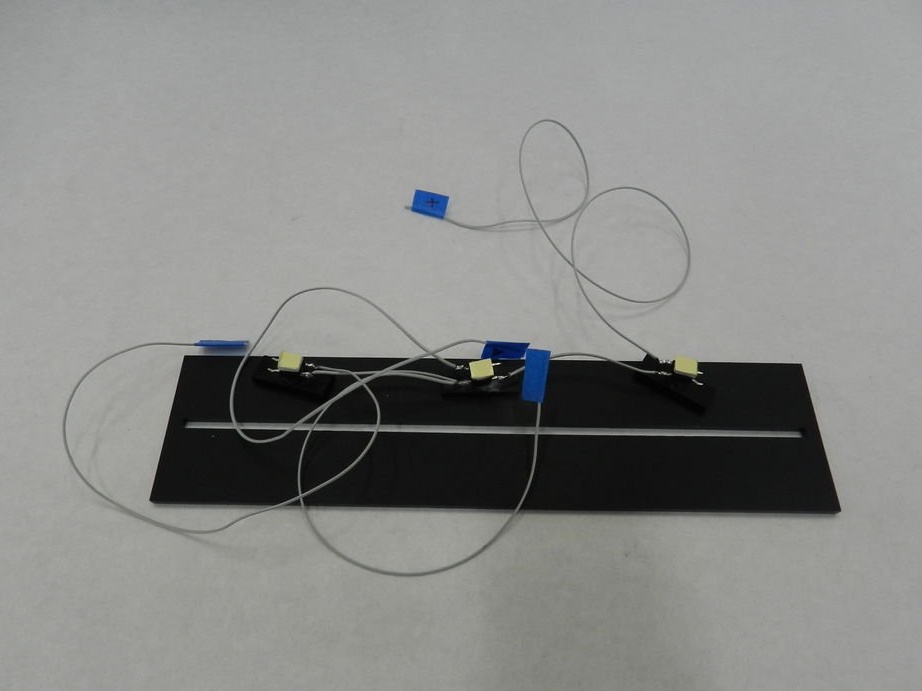
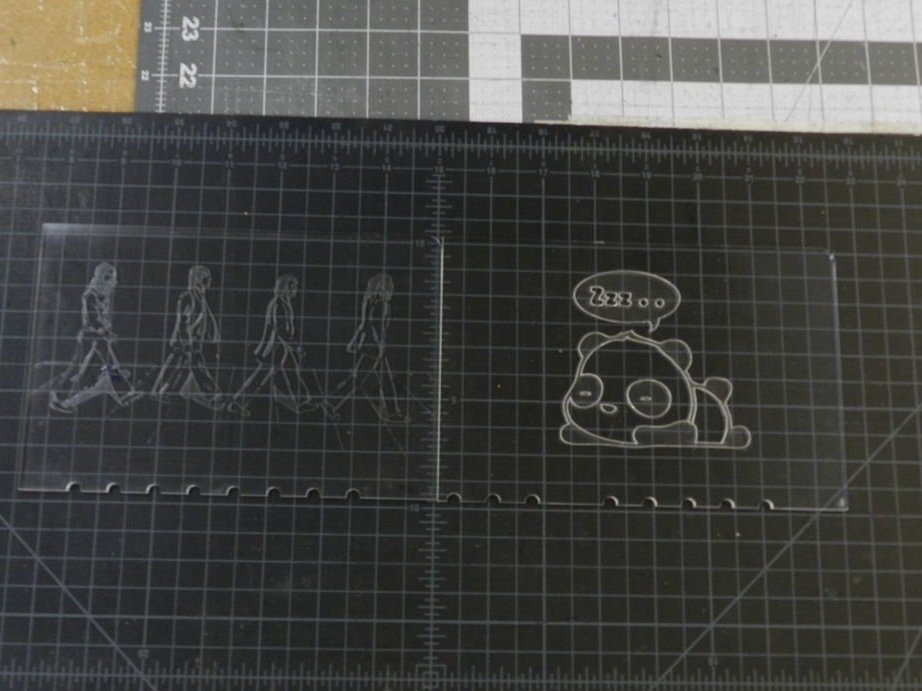
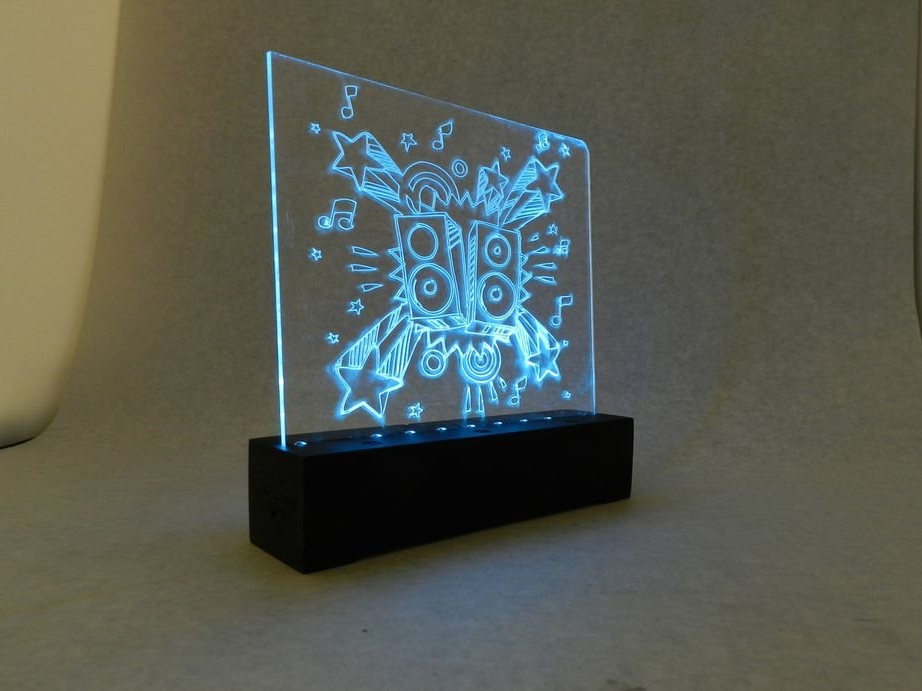
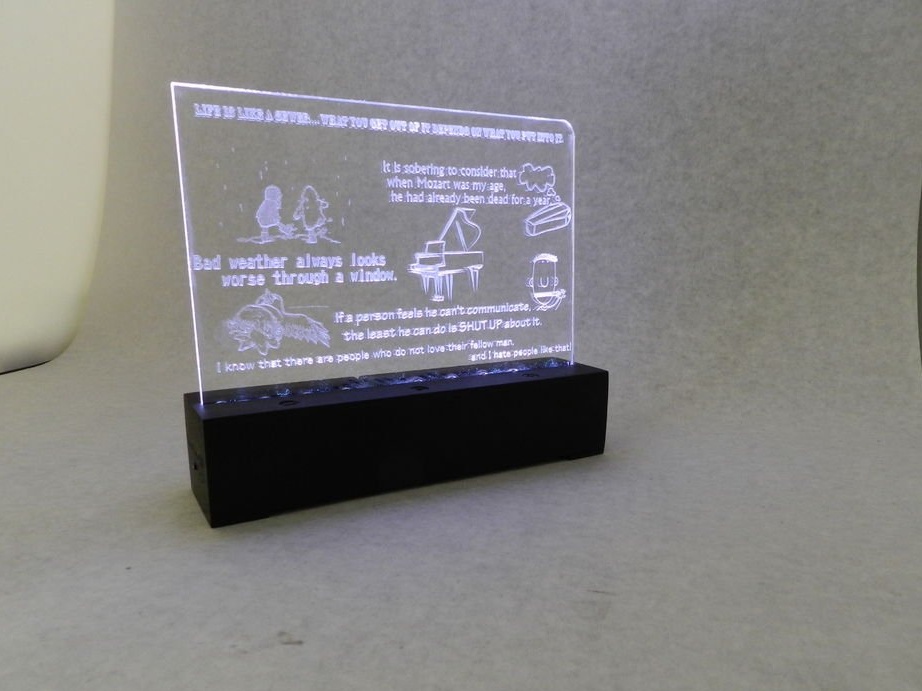
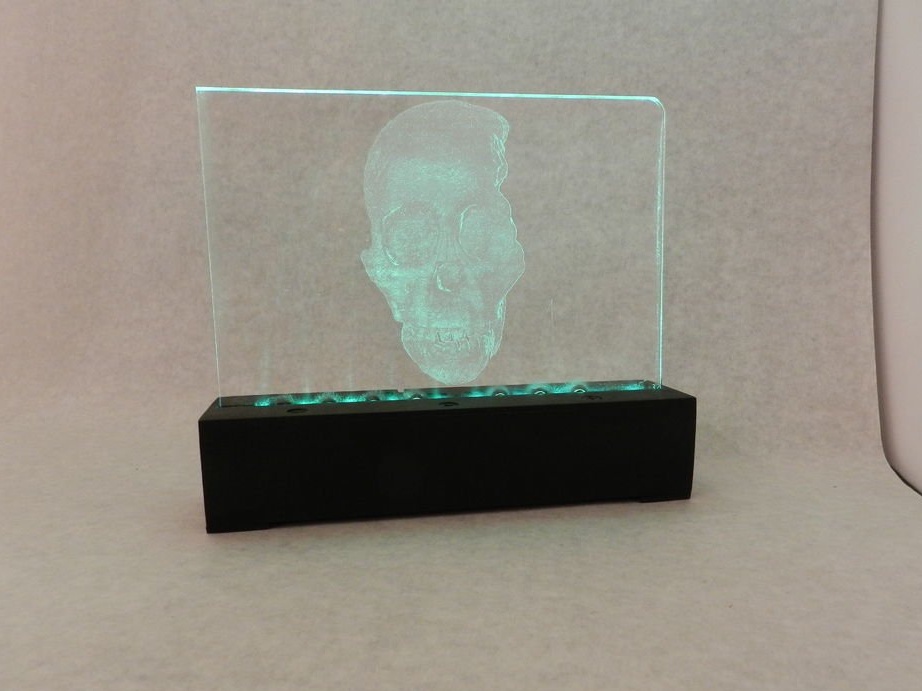
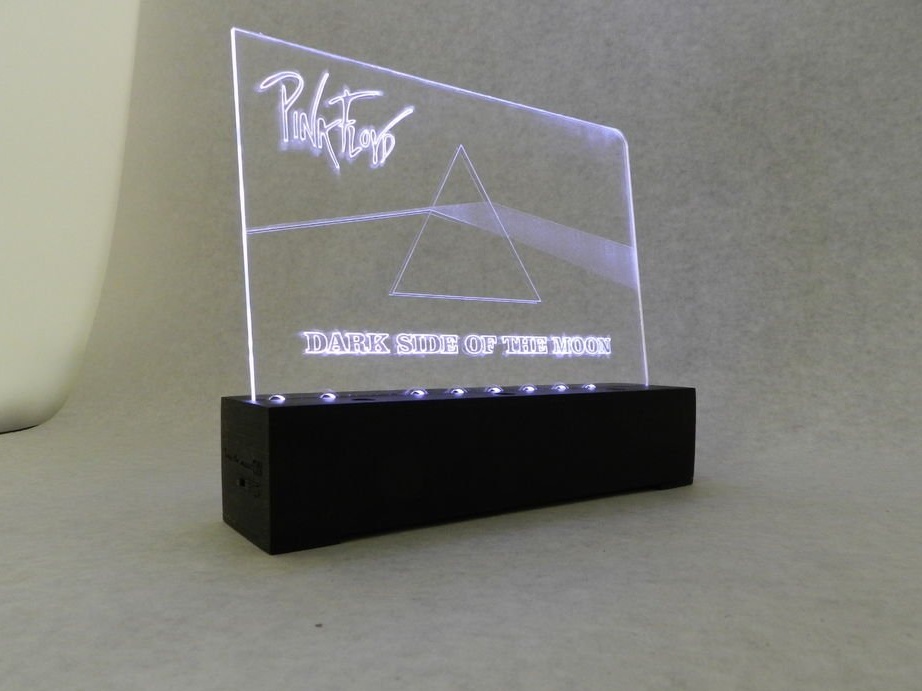
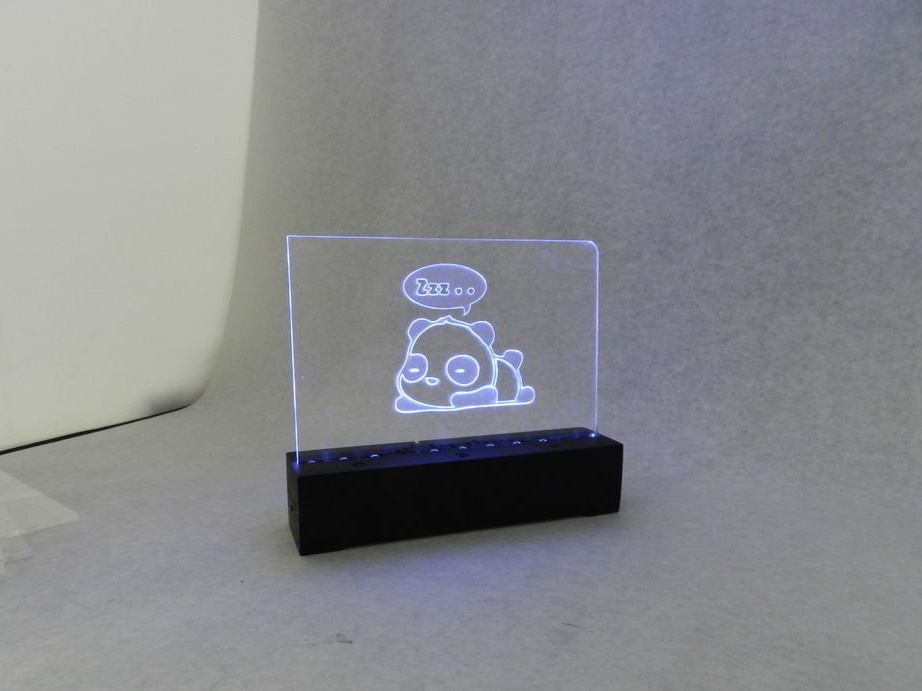
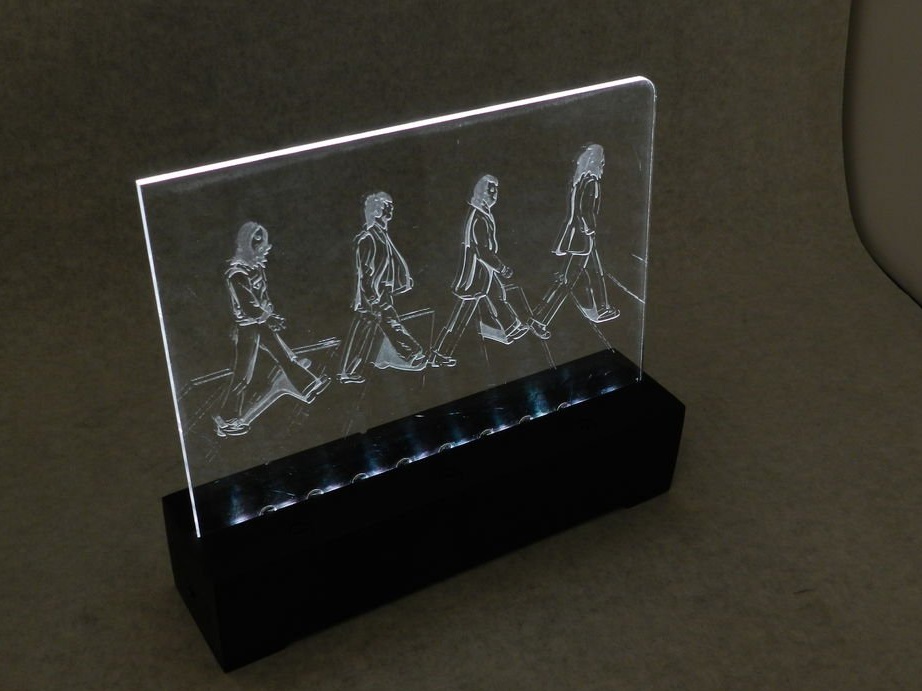
It's time to move on to the "records". Their master also receives by laser cutting, providing pushers (i.e., the absence of recesses) where they must press the microswitches. Then it transfers the binary number to the decimal system and names it the folder on the memory card, where it places the MP3 files corresponding to the “record”. For example, if the binary number 000000100 is encoded with the pushers, the folder corresponding to this “plate” should be called 4. We must not forget about the pusher that presses the micro switch that switches the power on.
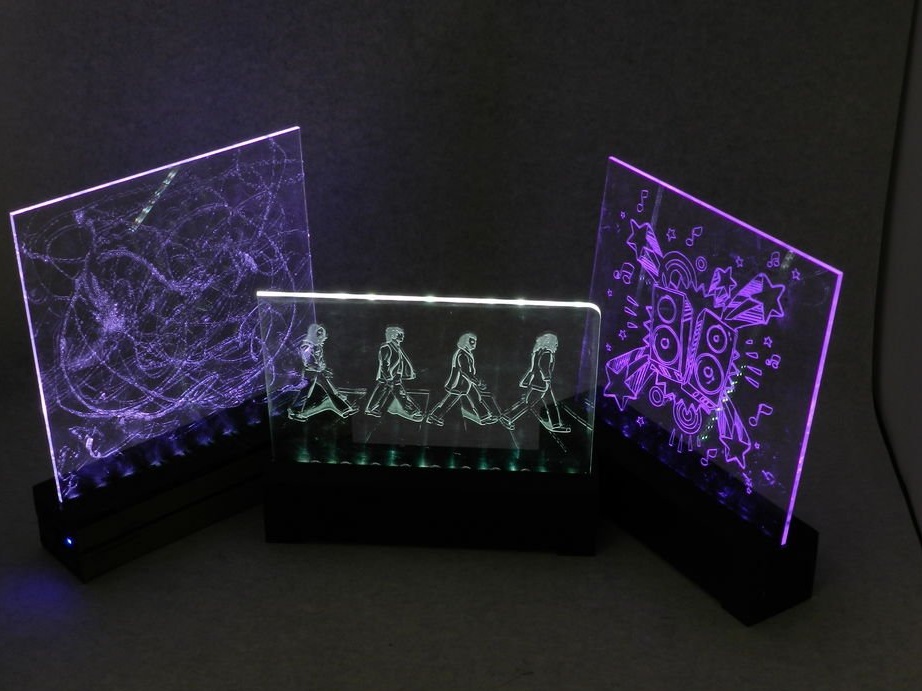
Fills in Arduino this sketch, charges the battery, and the device can be used. Further, one of the photographs shows that the master made as many as three such players.


The master recommends trying to make a few more plates with different patterns and binary numbers, as well as experimenting with different algorithms for the device.