

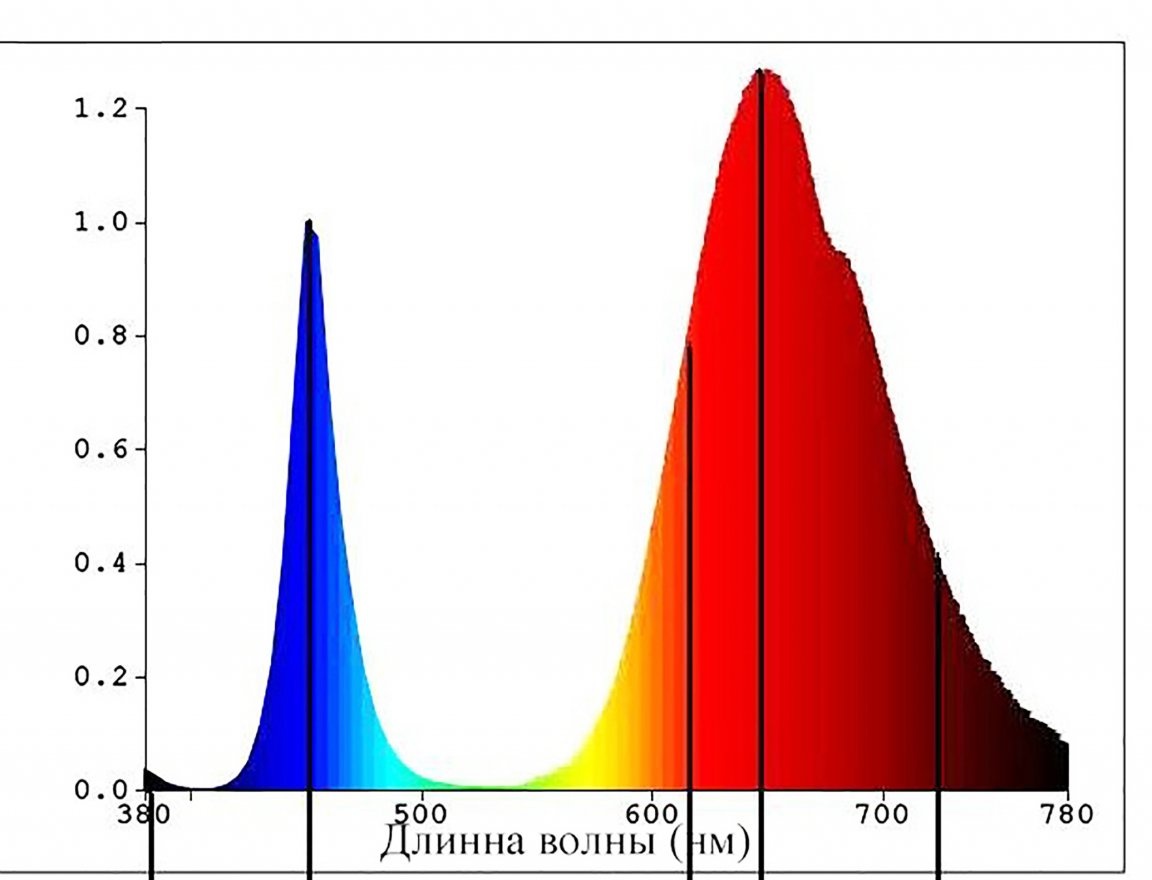
The practice of plant clarification has existed for a long time. It began with incandescent lamps with a special spectrum. Then began to use fluorescent lamps, the spectrum is more consistent with daylight. And finally, LED phytolamps appeared. K.A. Timiryazev (Russian great botanist) proved that the greatest activity of plant photosynthesis is observed in the red part of the spectrum and less in the blue part. The yellow-green spectrum is almost not involved in the process. Phytolamps are usually made of red and blue spectra of LEDs in ratios of 5: 2 or 7: 3. For manufacturing, 3GR-R LEDs emitting light with a wavelength of 650-660 Nm (red spectrum) and 3GR-B with a wavelength of 445-452 Nm (blue spectrum) are taken.
After much research, a special phosphor (USPI) was developed, which incorporated all the advantages of LEDs (red and blue) of previous brands.
It complements the spectrum with infrared radiation, “soft” UV radiation, and a green spectrum for maximum results. The advantage of these LEDs is that they represent a product made in one housing, which simplifies the assembly of phytolamps.
LEDs with a USPI phosphor have the following advantages:
1. In the sunlight contains a spectrum, moreover, in the proportions necessary for the plant.
2.660 Nm (red) and 450 Nm (blue) are the most optimal colors for fruiting and plant growth.
3. Soft UV radiation increases the immunity of the plant, and also contributes to the production of essential oils.
4. IR radiation improves photosynthesis.
5. Suitable for all stages of growth and plant types.
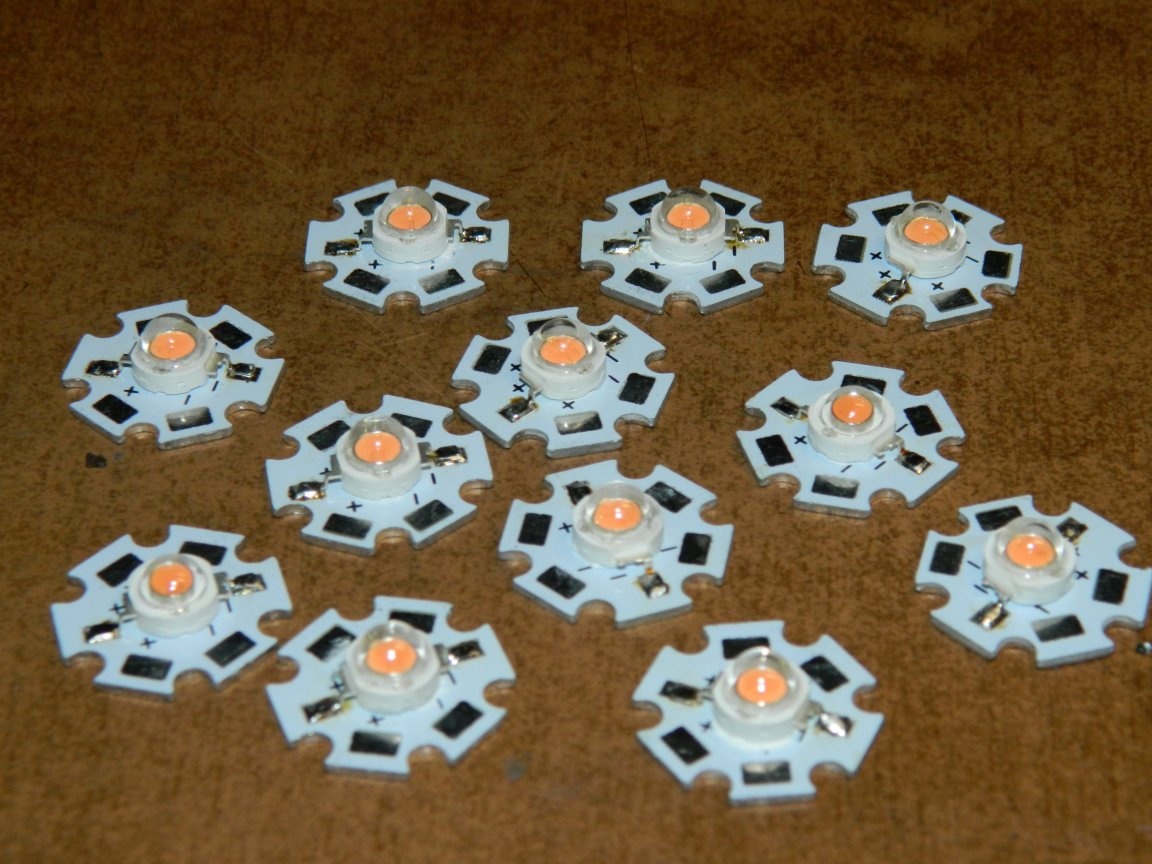
My wife has long asked to make phytolamps above the window sills in the apartment - she is a big lover of flowers. Full-spectrum LEDs 003-50C-B-P (per sample) I obtained in a small amount (albeit with difficulty).
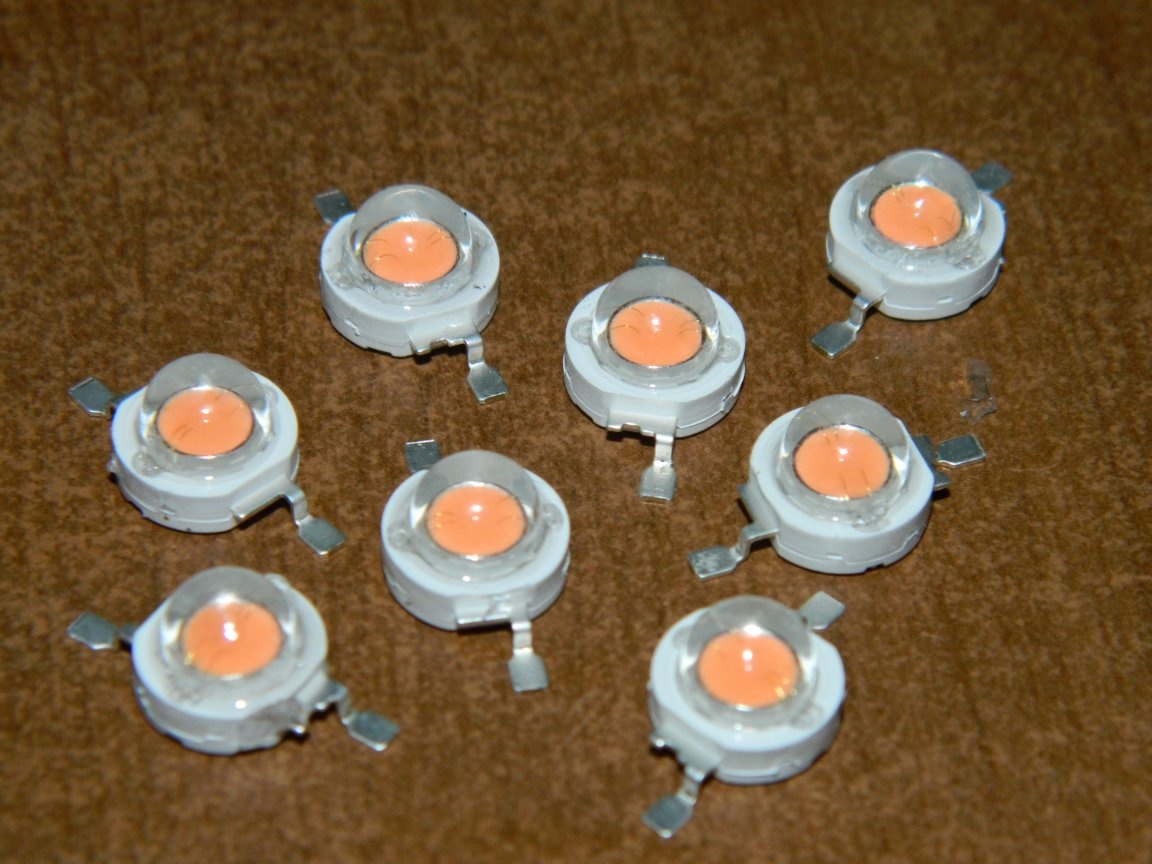
They have the following characteristics: emitted wavelengths - 380-840 Nm; Inom. = 700 mA; Upr = 2.9-3.4 V; 2Θ1 / 2 = 120 °; W = 3 W; Bridgelux chip 45x45 mil, USA. Such LEDs also exist with integrated lenses (45º and 70º), but they cost oh, how expensive!
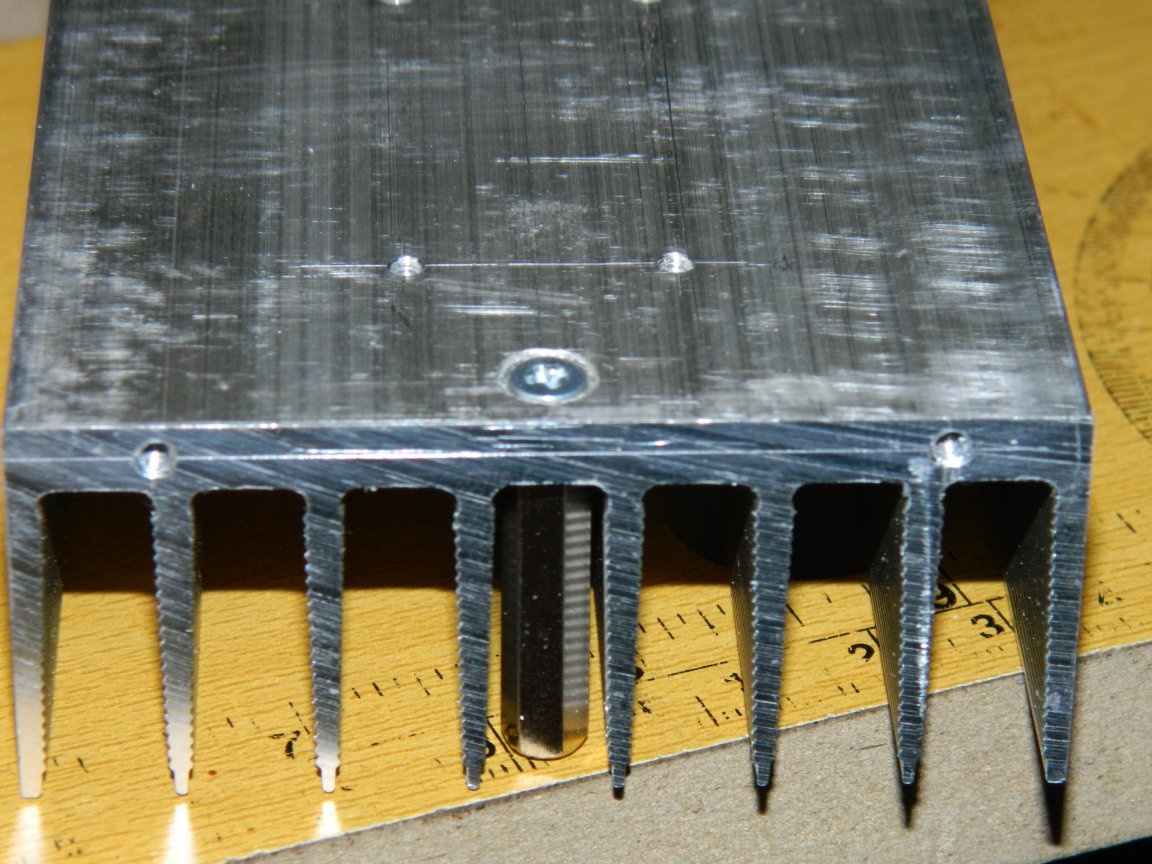
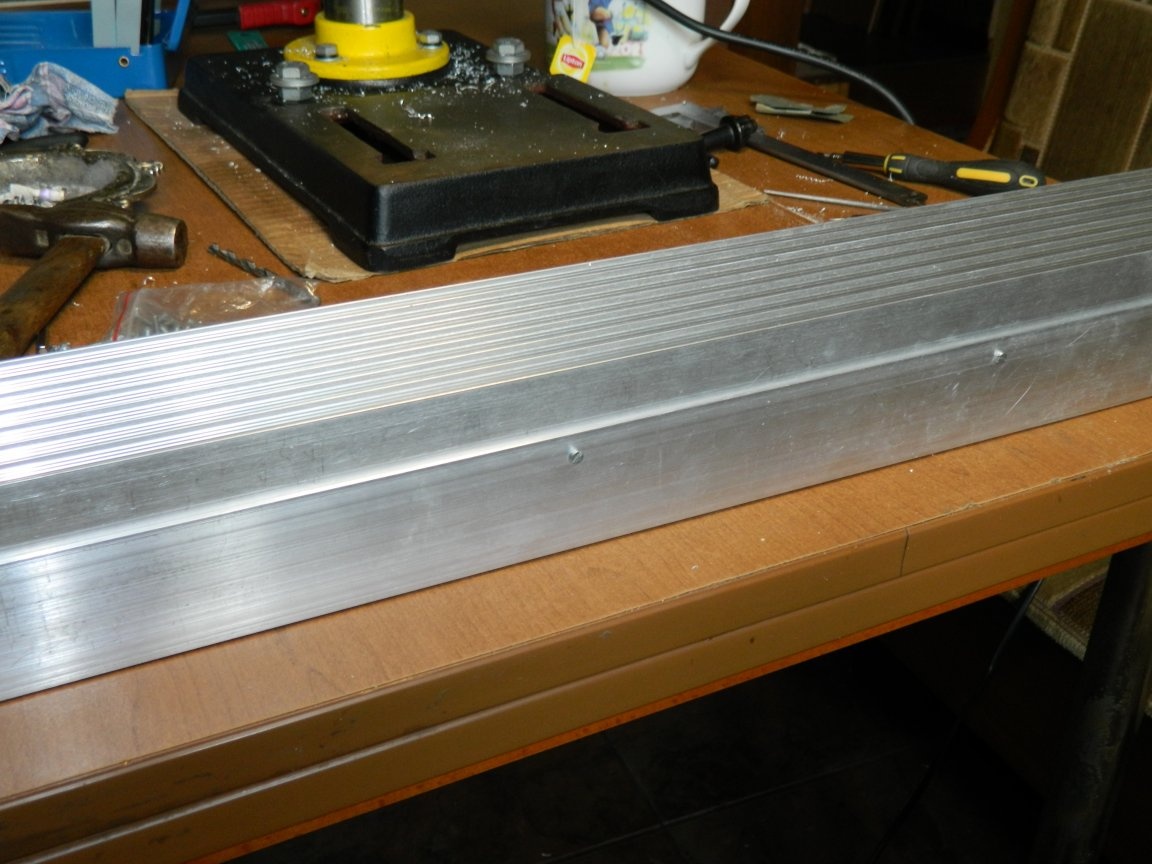
The point was small - radiators for these lamps. Calling a bunch of different companies, I found what I wanted - an aluminum ribbed profile AVM-002.1 30x72x500 mm.
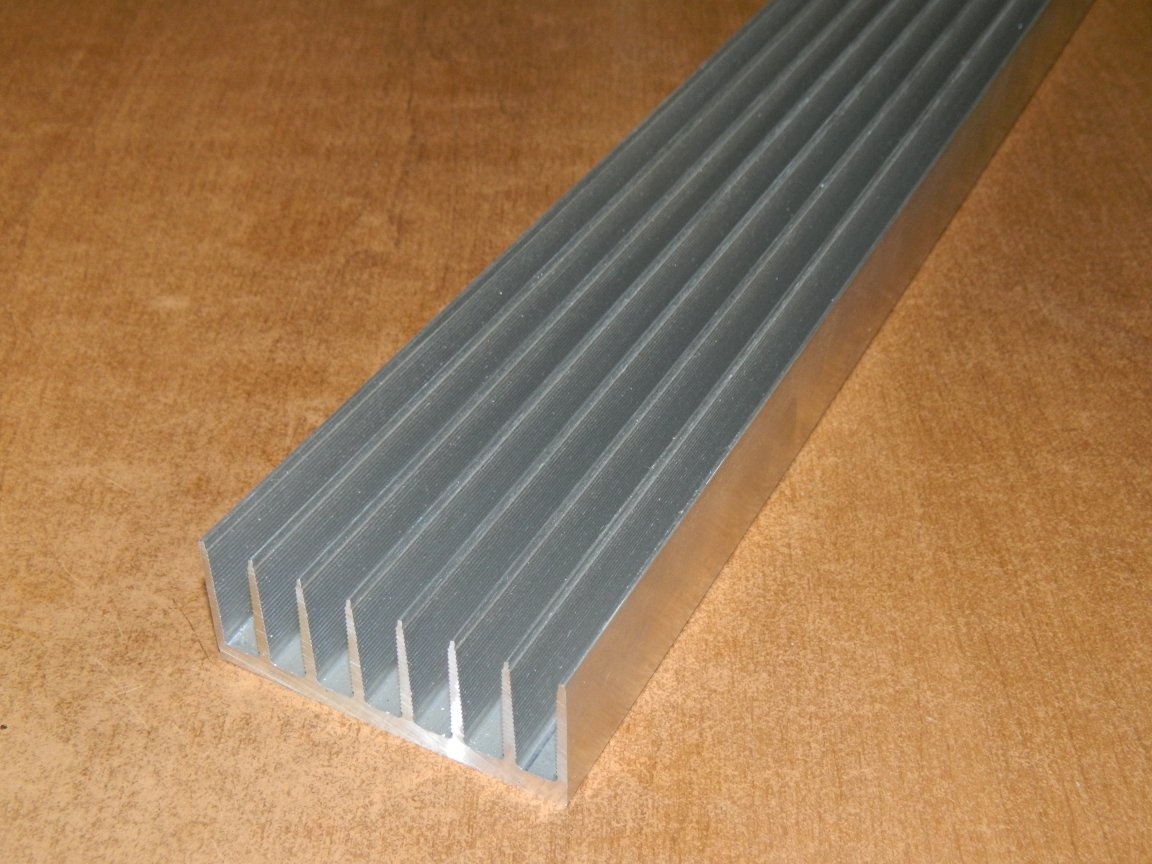
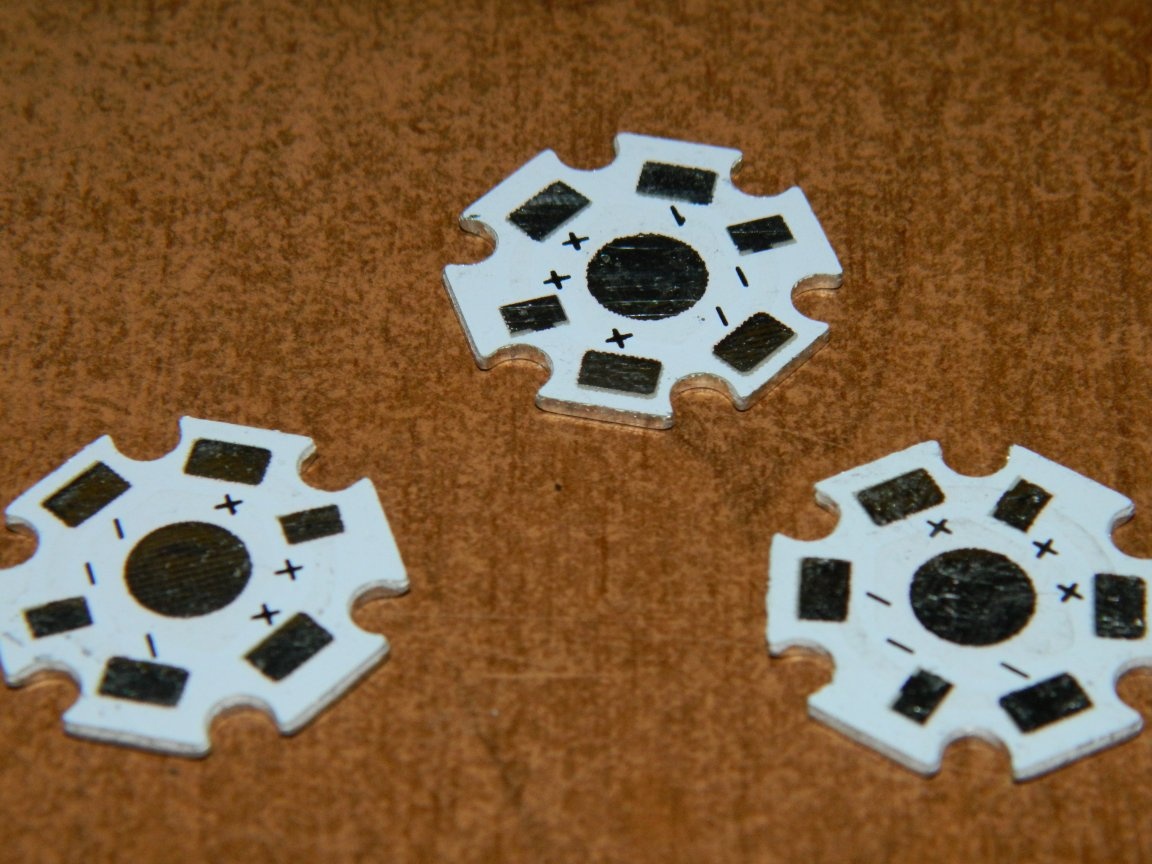
It went through all the parameters - a segment 0.5 m long could easily provide cooling of more than 30 (remember that 30 cm² / watt, and the surface area is more than 3000 cm²), plus the profile will serve as the basis on which the lamp will be assembled. To fasten the LEDs to the radiator, I used Star ø20 mm boards and 1.6 mm thick.
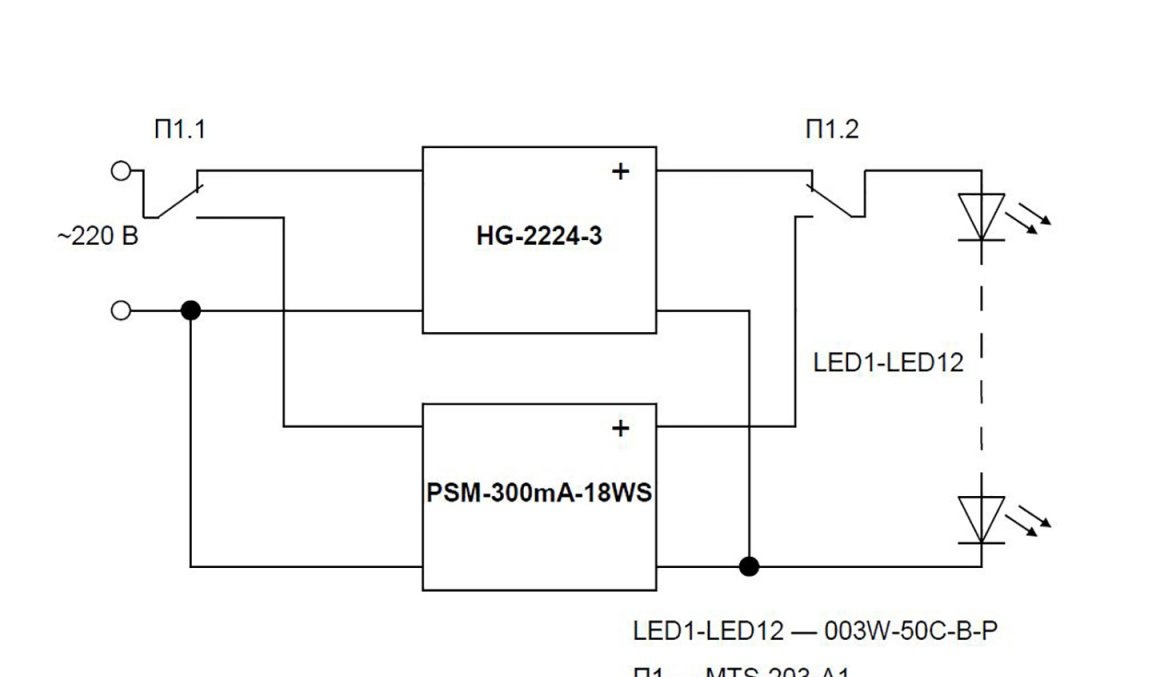
One lamp should hang above the windowsill in the living room and have a length of 0.5 m.It will have 12 LEDs. In accordance with this, two drivers were prepared:
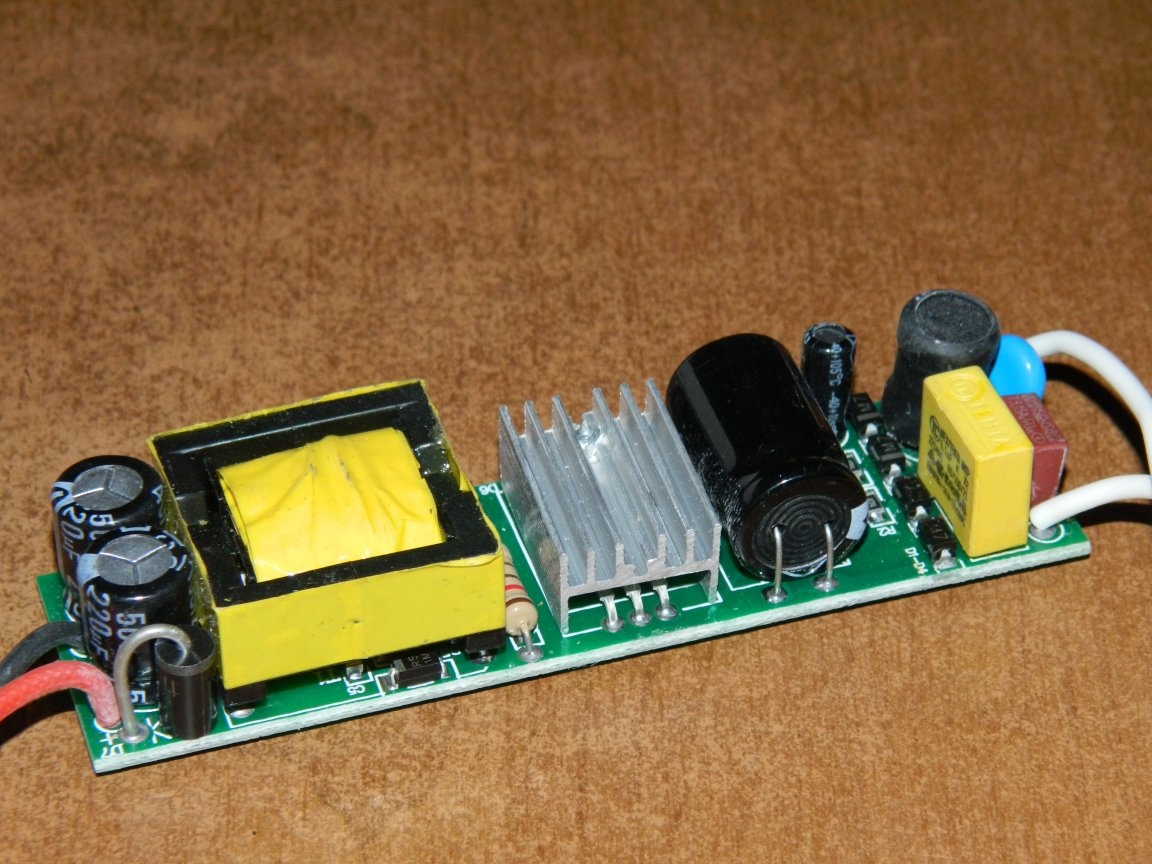
HG-2224-3 (Uin. = 90-260 V; Uout. = 20-43 V; Iout. = 620 mA; dimensions - 95x27x20 mm) and PSM-300mA-18WS (Uin. = 90-260 V; Uout. = 27-60 V; Iout. = 300-320 mA; dimensions - 54x20x22 mm). The connection diagram is presented on figure.
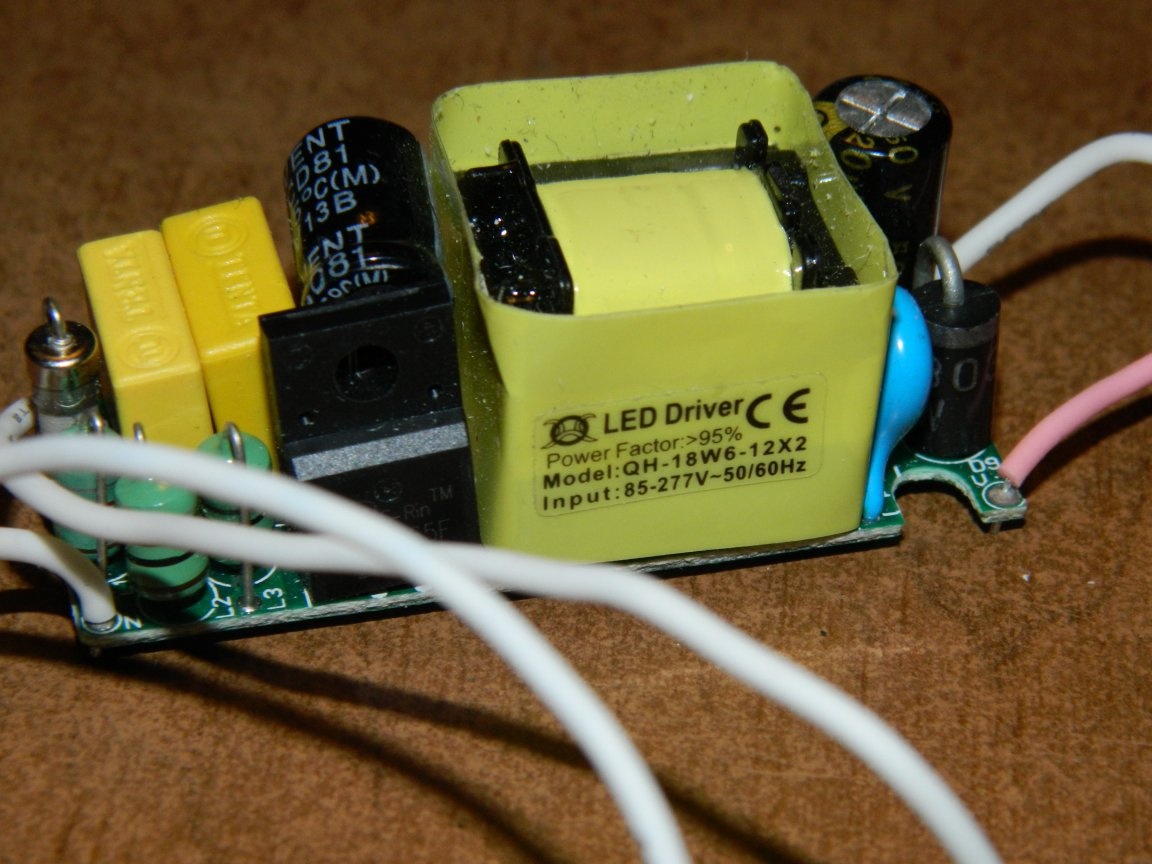
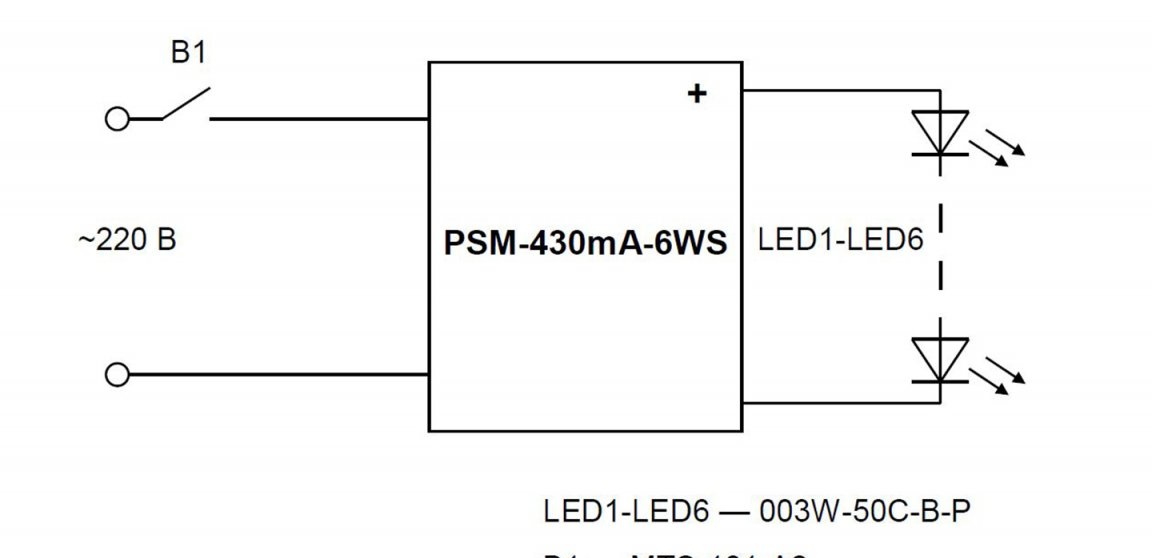
The second is to hang in the kitchen (where the window sill is smaller), and I sawed off the radiator itself with a size of 0.25 m (I decided to put 6 LEDs). The PSM-450mA-6WS driver with the following characteristics was also selected:
Uin. = 90-260 V; Uout. = 12-22 V; Iout. = 430-450 mA; dimensions - 40x17x18 mm. The connection diagram of this lamp is presented on figure.
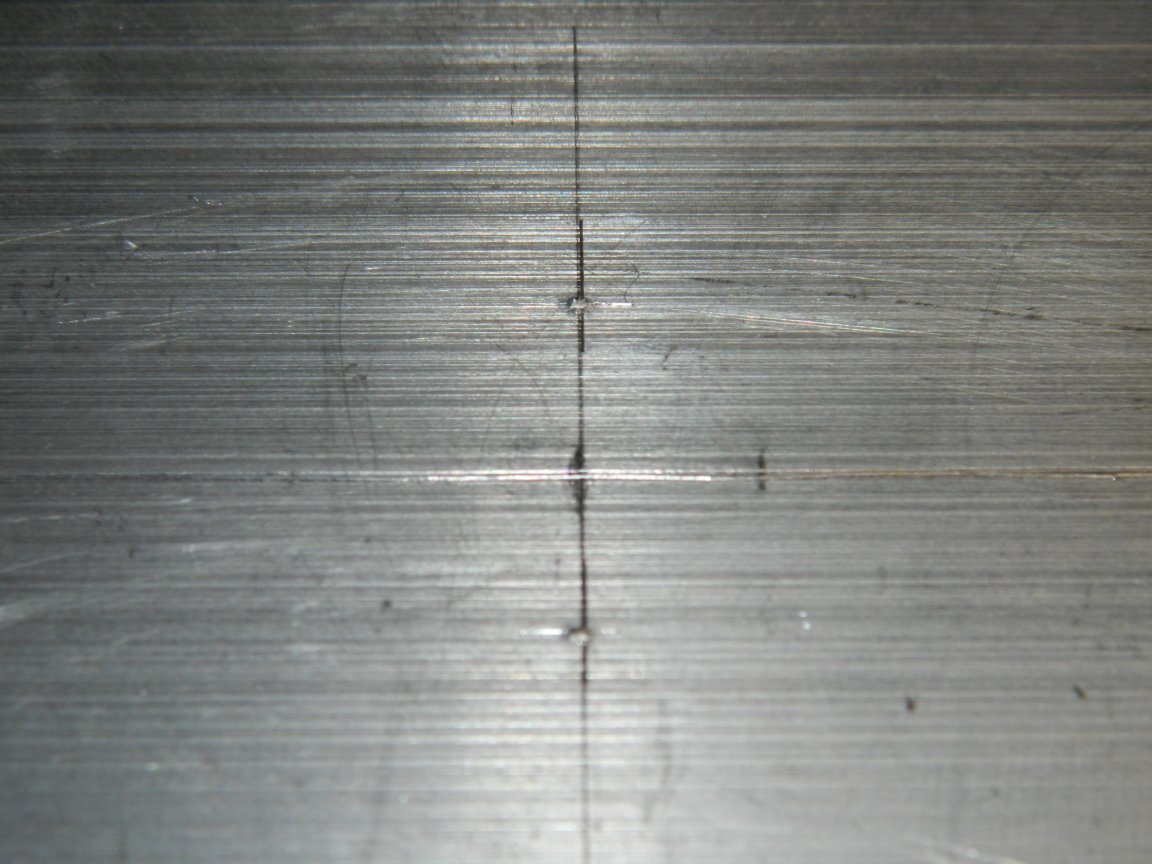
Started by marking the profile for fastening Star boards - the boards should have been located at a distance of about 40 mm.
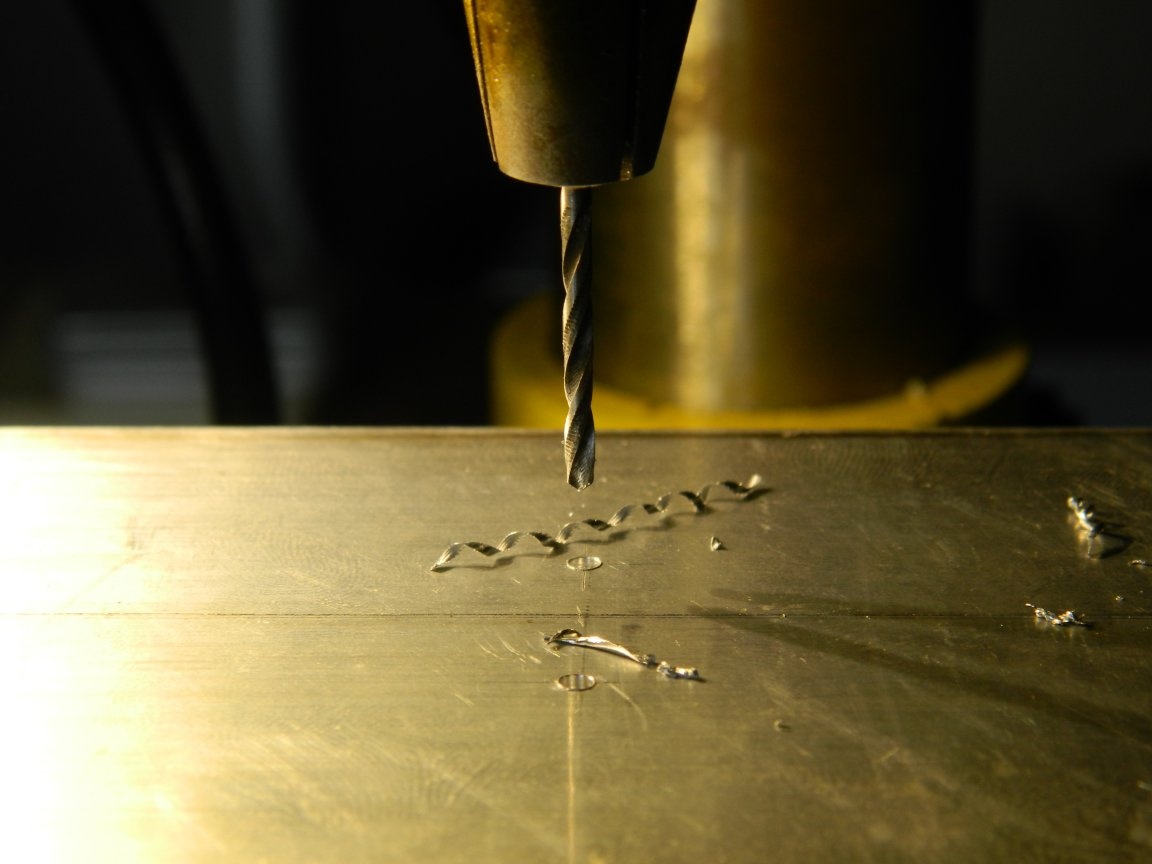
I also had to take care of the body kit around the lamp (although it is “soft” UV, but it’s not worth the risk). I made holes for them at a distance of 2.5 mm from the radiator fins. On a drilling machine, he drilled holes for threading.
M2.5 quick-taps (still from machine tools),
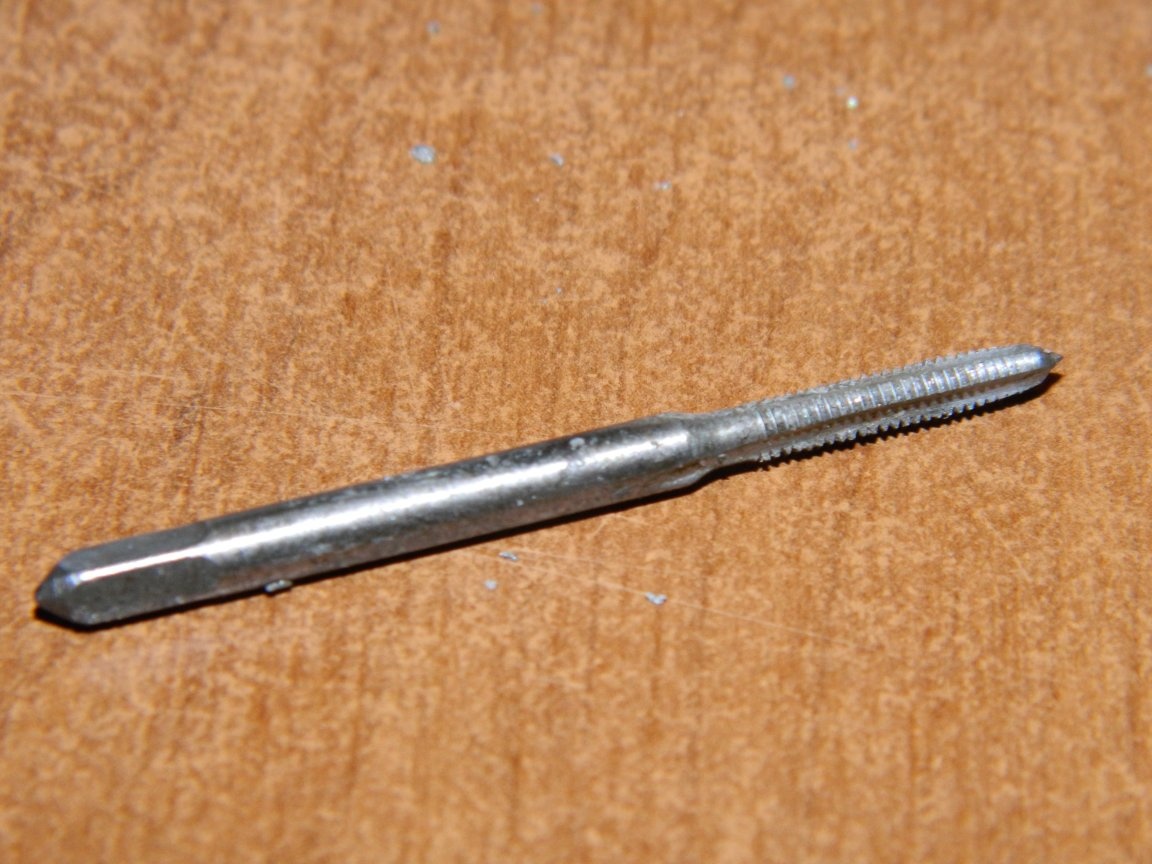
which, fortunately, were found in the coffers. I cut the thread manually using soap,
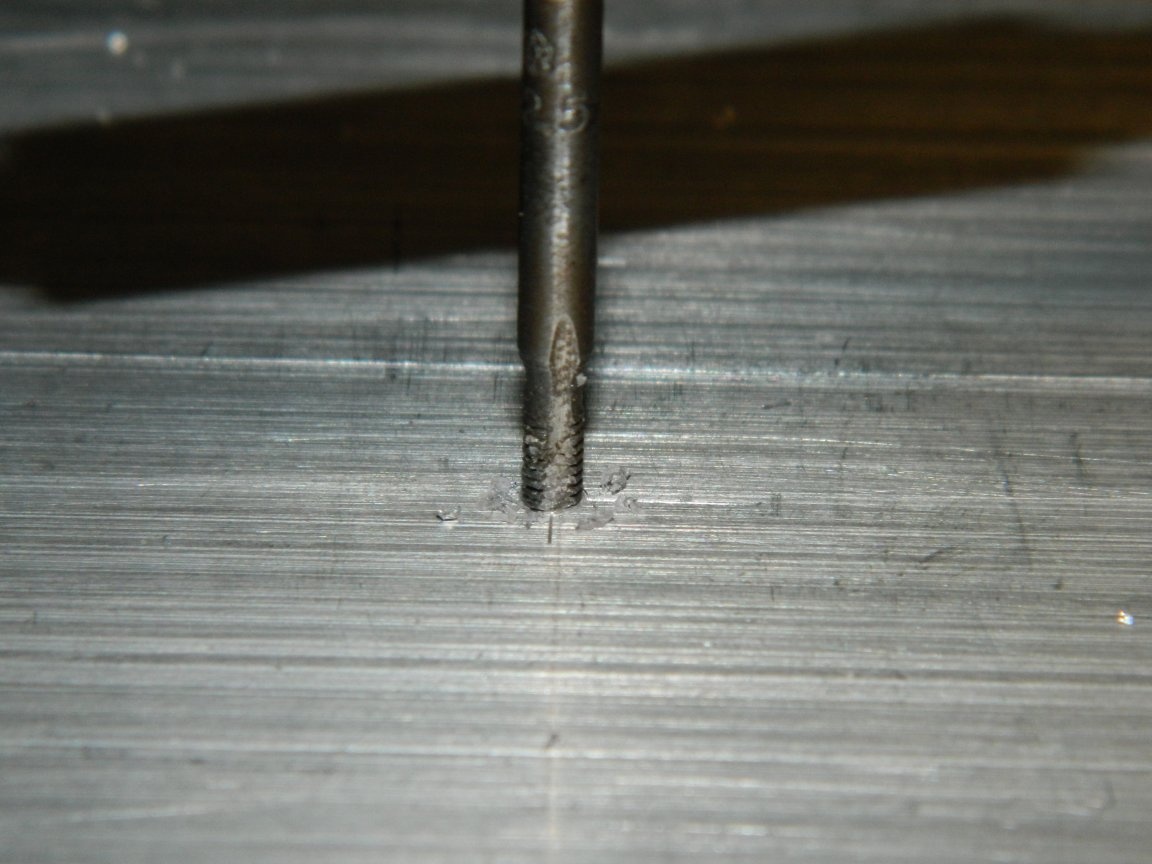
since the metal is very viscous. Not without incident: when I cut the thread in the blind holes for mounting the body kit, I broke the tap.
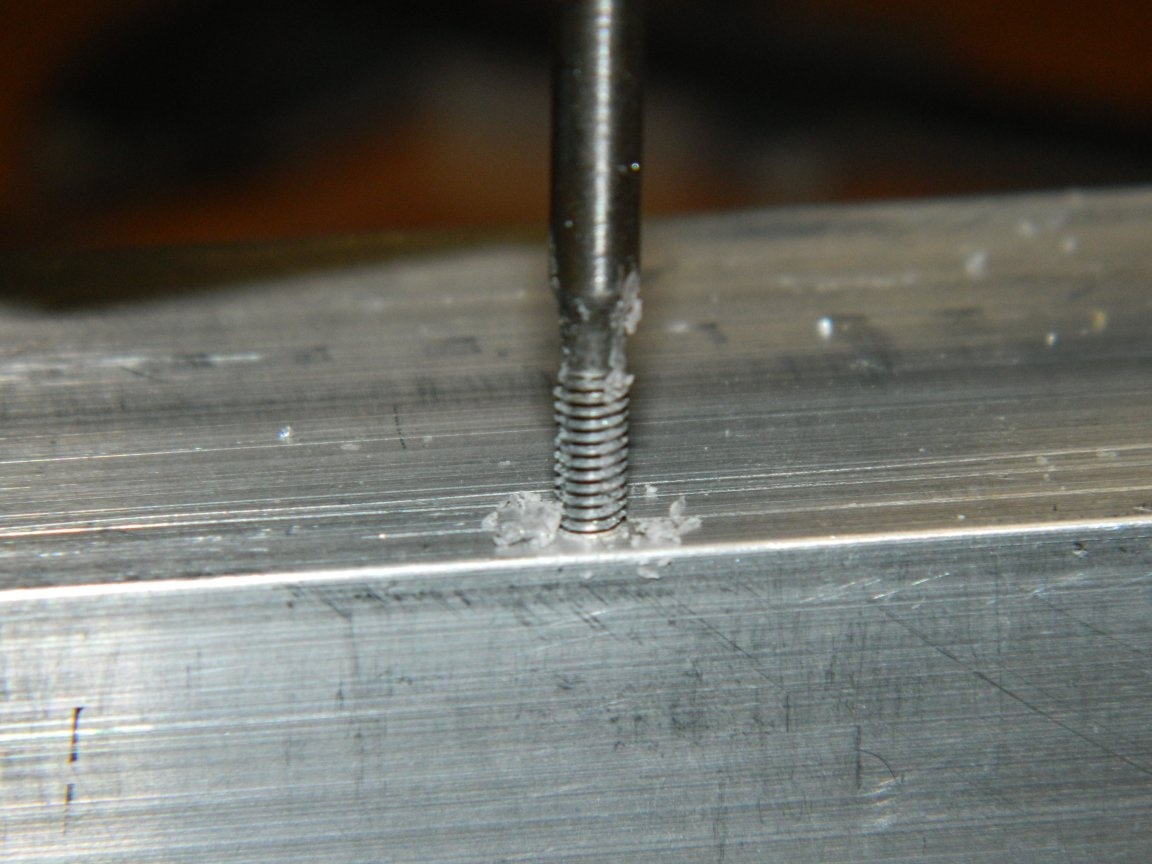
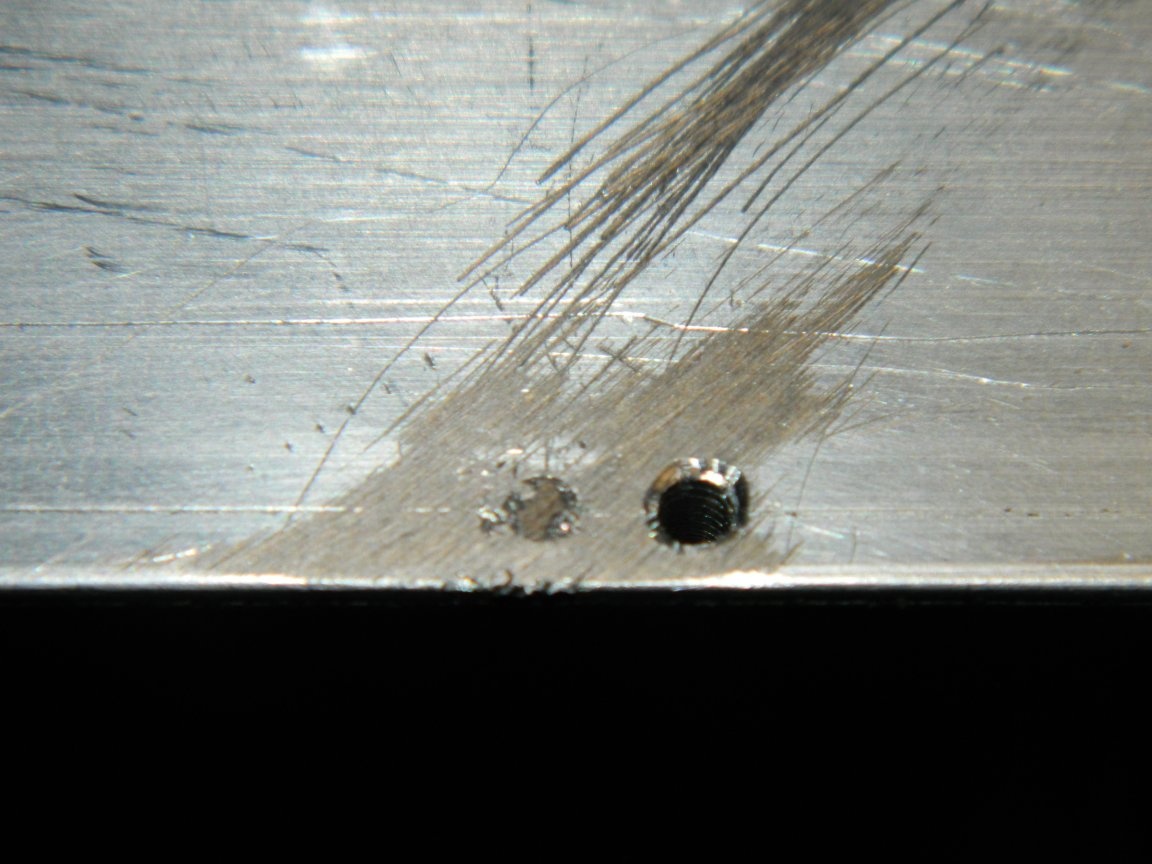
There is nothing to do - a chip fragment was cut with a diamond file, next drilled another hole and cut the thread. At the opposite ends of the radiators I attached struts ø6x25 mm with an internal thread M3 - they will be used for suspensions.
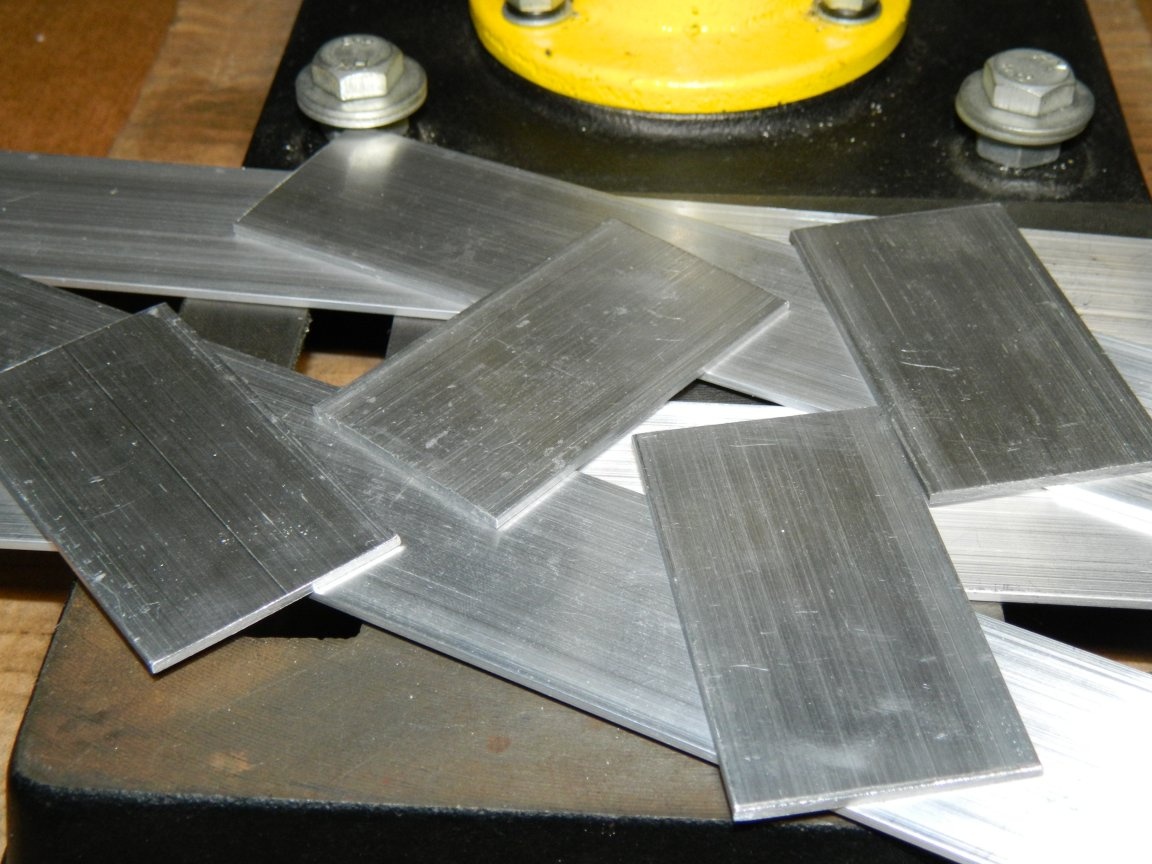
The body kits needed to be made from the point of view of the safe use of lamps, since the proportion of ultraviolet light has a place to be (when testing a lamp in the living room at maximum mode, "grabbed bunnies"). From duralumin strip cut body kits with a section of 40x2 mm
and secured with M2.5x8 mm screws so that they protrude 30 mm.
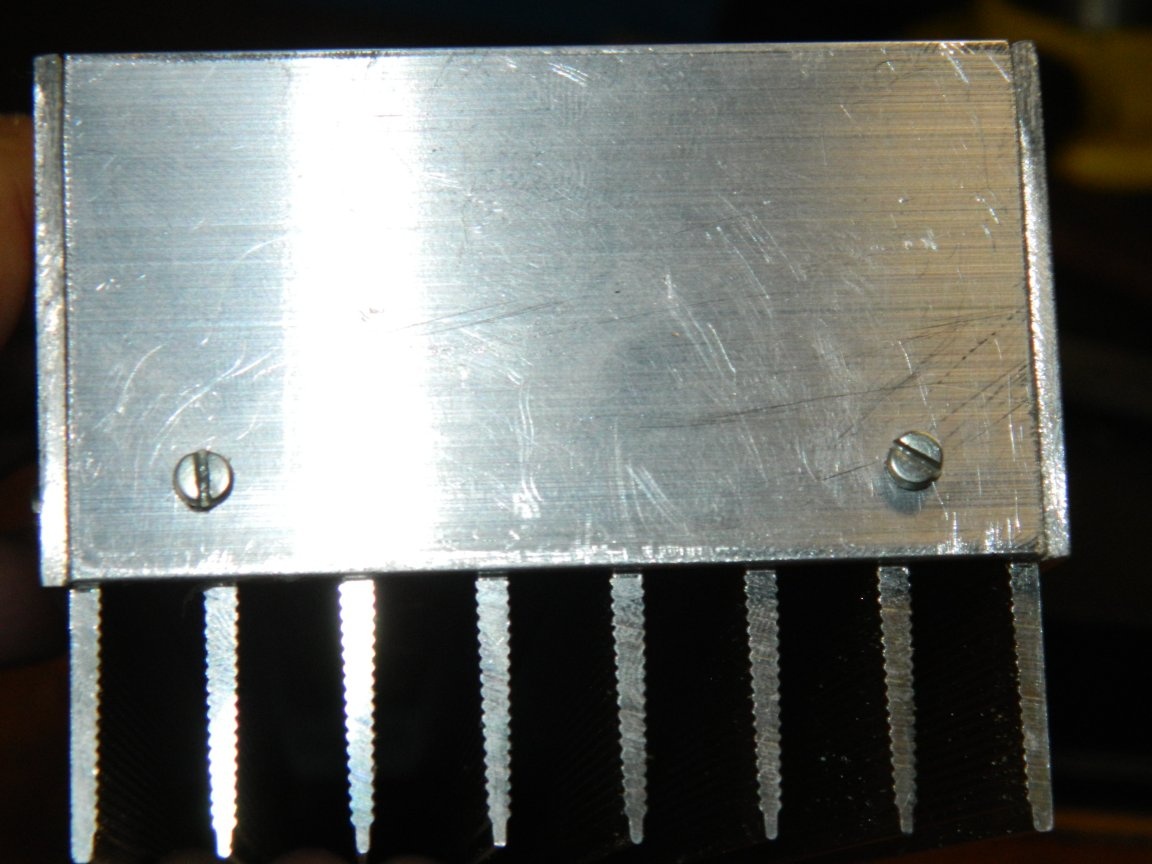
Thus, the LEDs were closed from a direct look.
For fastening the lamps, I used hooks for drywall.
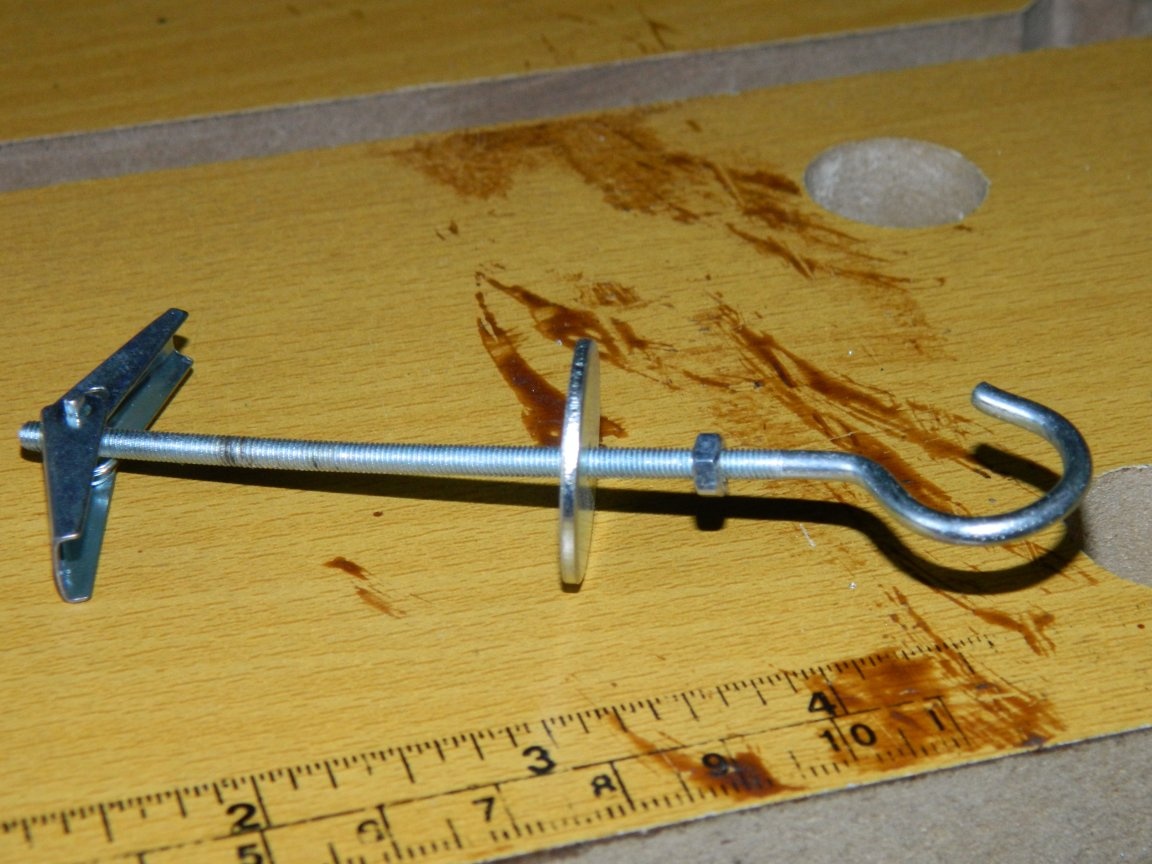
M3 thread was cut on the rod, twisted the hooks and locked the connection with a nut.

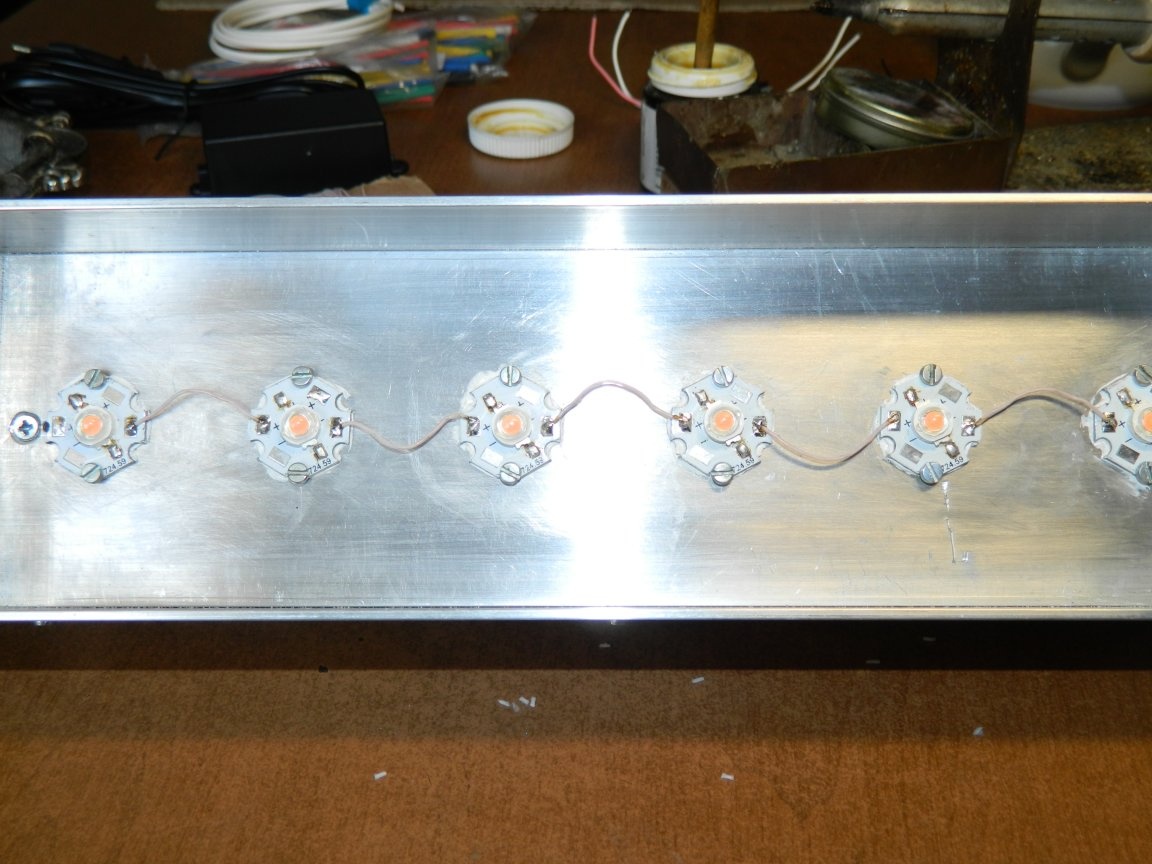
I won’t talk about soldering LEDs for a long time (I wrote about this many times). The following rules must be observed: use a low-power soldering iron ≤ 20 W, use solder type POS-61, which is low-melting (or similar), use inactive flux when soldering, be sure to use heat-conducting paste to improve the contact of the heat-conducting area of the LED with the board. The contact of the hot tip with the terminals of the LED should be no more than 1-2 seconds. The LEDs were wired to the boards.
Then, with M2.5x6 mm screws, the boards are fixed to the radiator through the thermopaste KPT-8 and the MGTF wire 0.17 mm² are soldered in series.
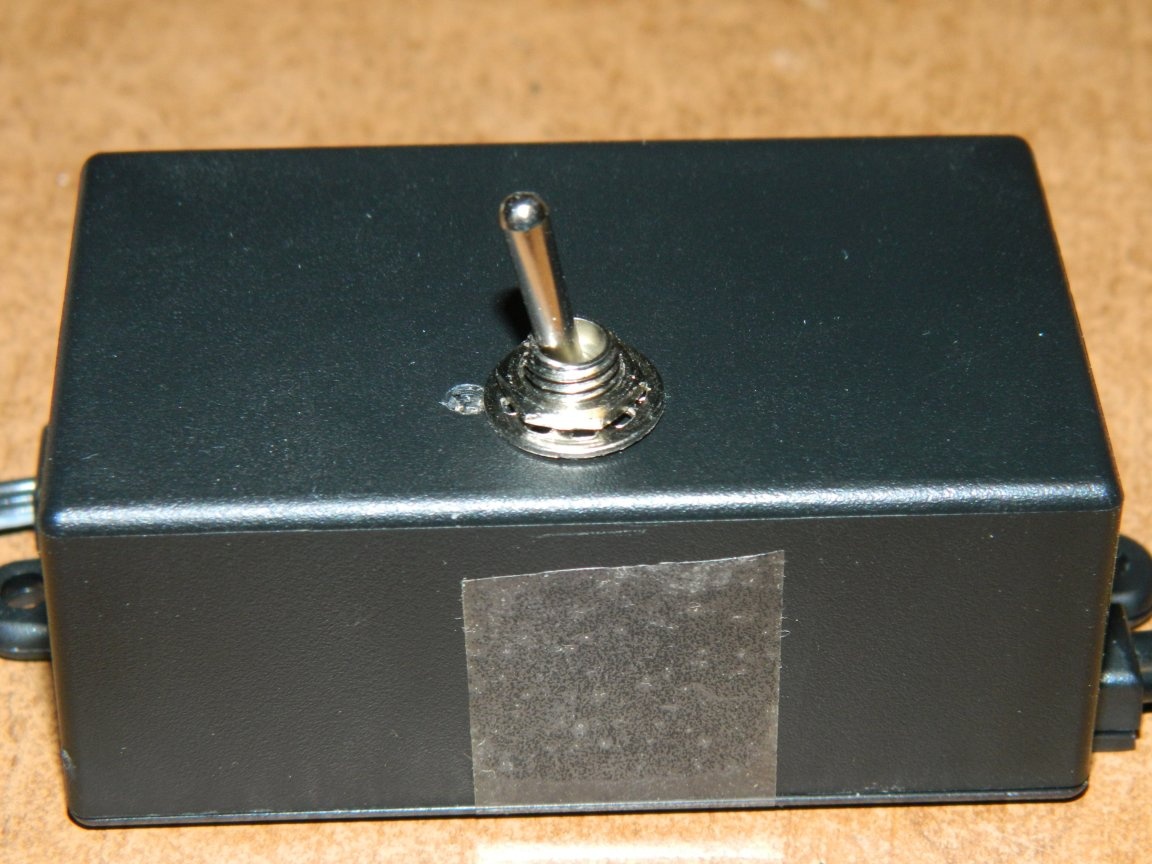
Now let's deal with power supplies. At first I wanted to fix them on top of the lamps on the racks, then I changed my mind for the following reasons. Firstly, in spite of my calculations, the radiators can warm up, and therefore the power supply can also warm up, which is not very good. Secondly, the lamp will hang freely on the cables, so there is a risk when turning on / off, swing it and break the glass. I decided to place the power supplies separately from the lamps. The driver was quietly housed in the G1013 case with dimensions of 65x38x27 mm, as well as the ON-OFF MTS-101-A2 microtumber switch.
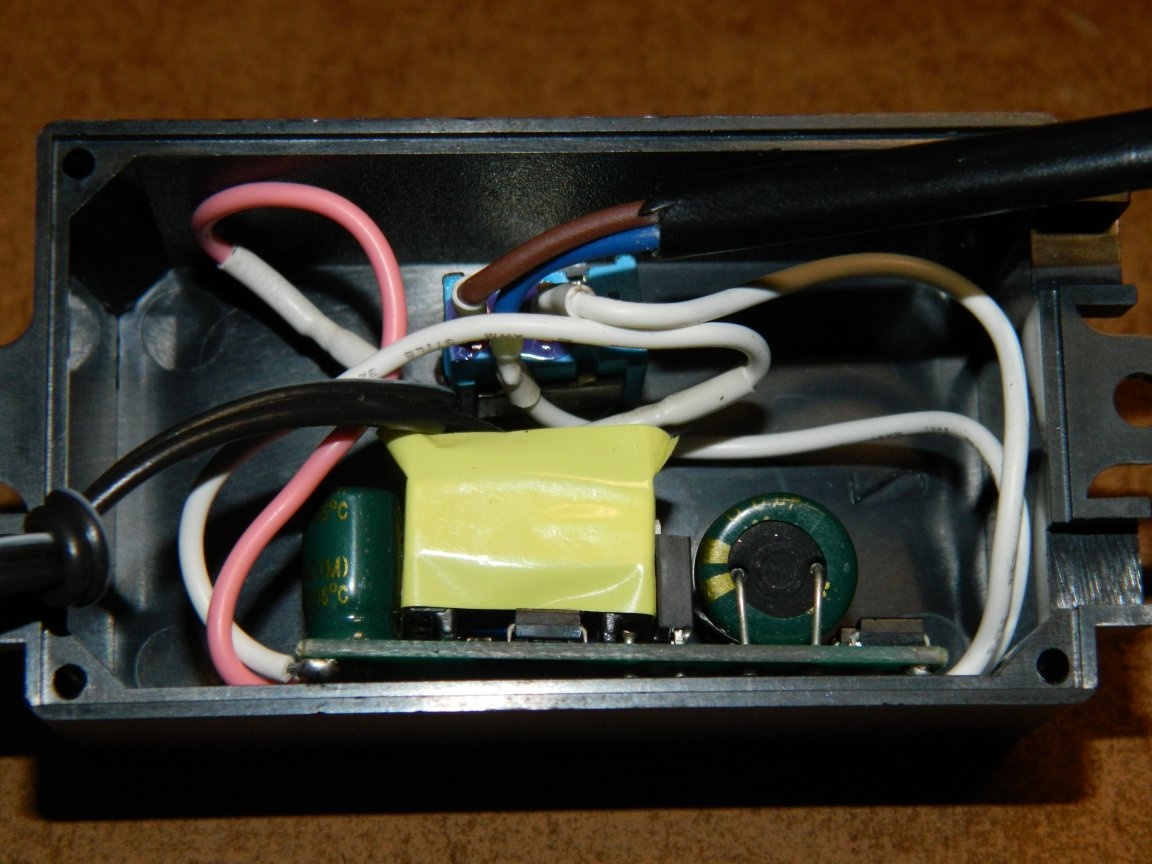
To connect the power supply to the lamp, a wire was used to connect 2x0.2 mm² audio speakers, with a 220 V network - a network cable for audio equipment. All joints are insulated with cambric. When everything was assembled, a lid was placed underneath.
G1005025B cases with dimensions 100x50x25 mm were available,
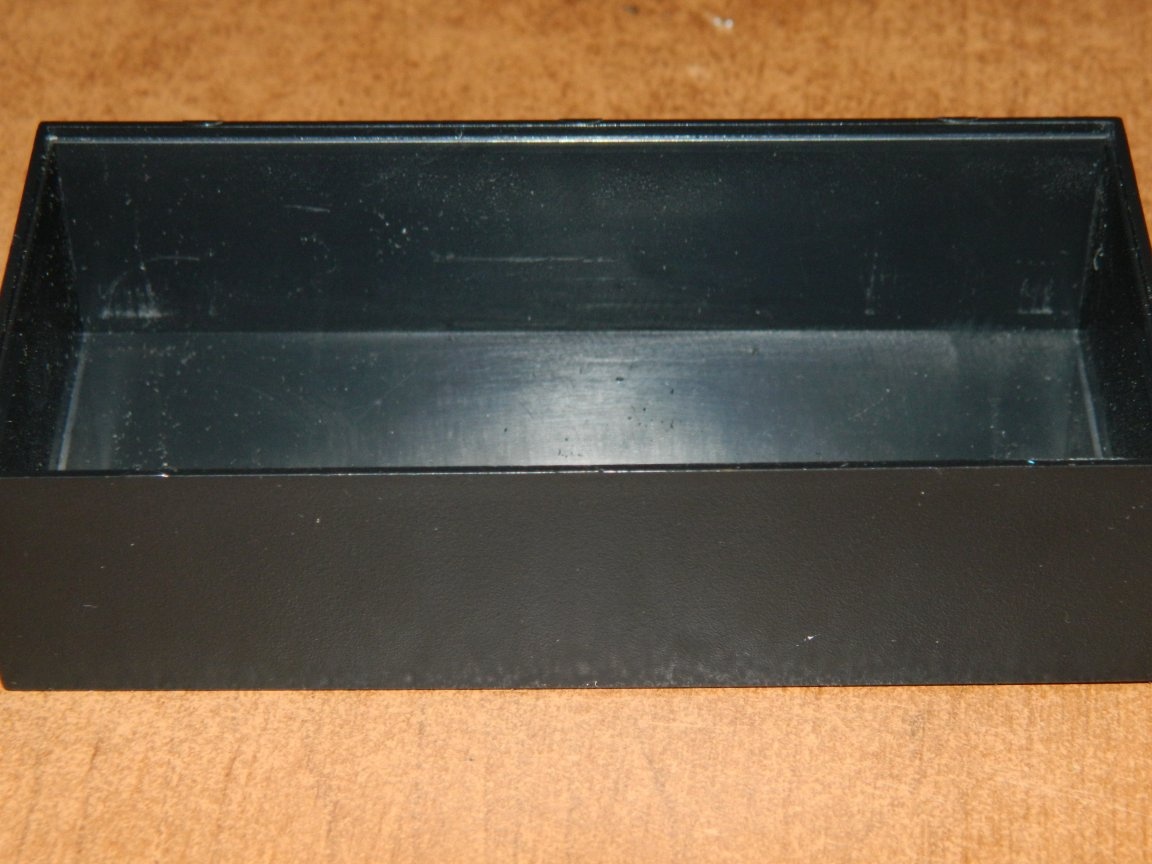
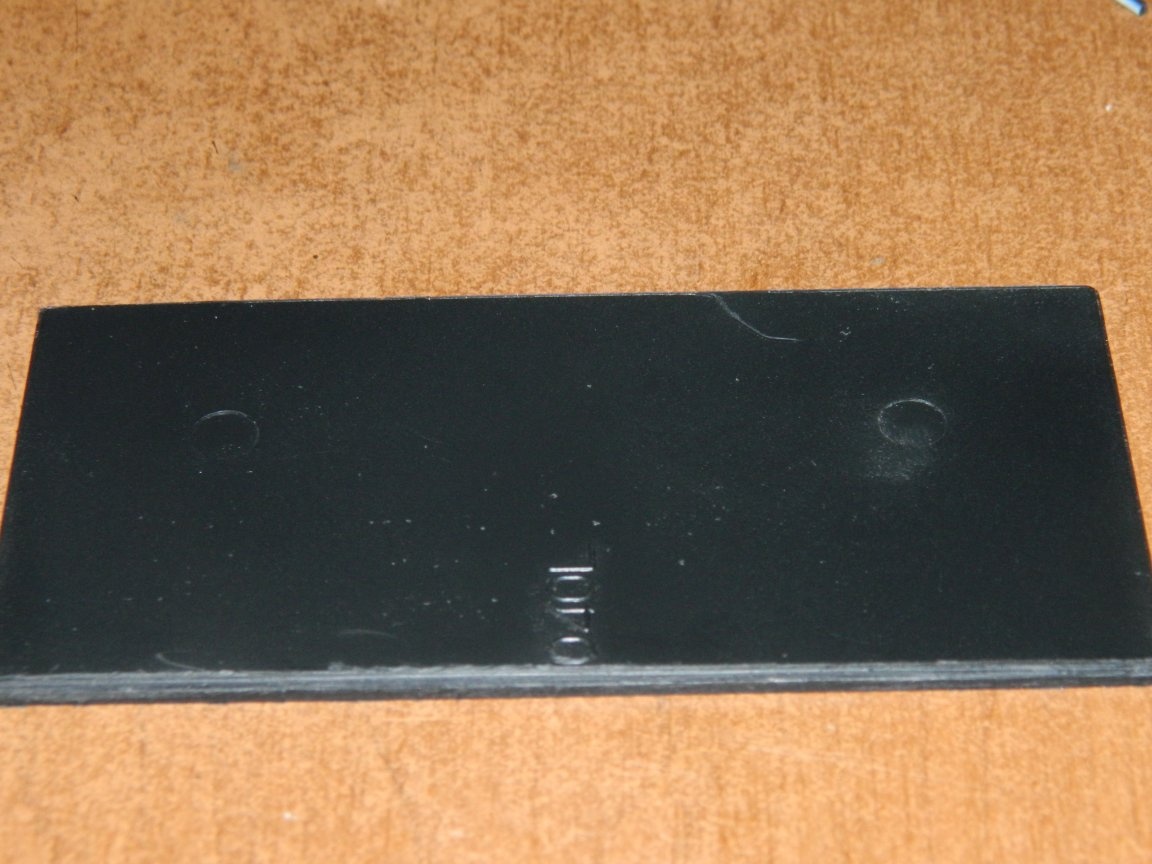
but there were no covers for them. There were covers G10010040L with dimensions of 100x100 mm. I had to buy two cases and one cover. I cut the lid into two parts and milled the side with a drill.
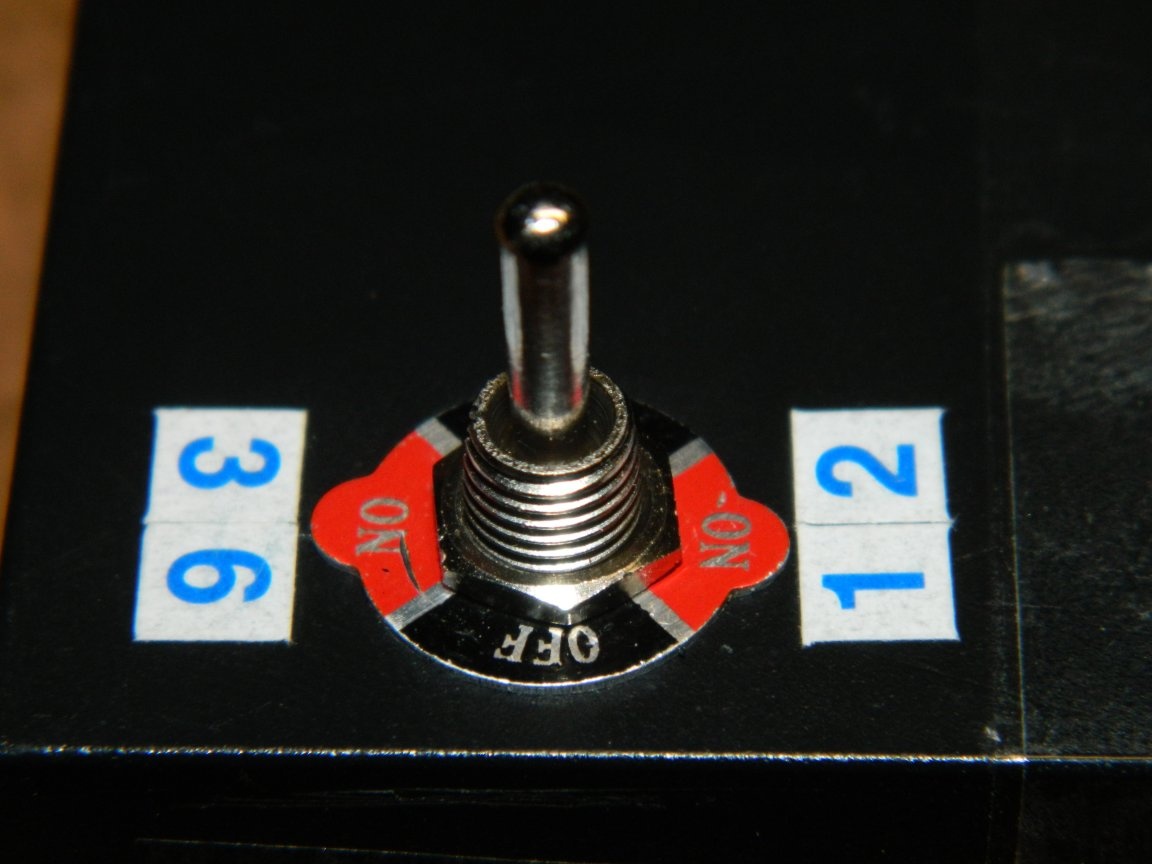
Both drivers and the ON-OFF-ON MTS-203-A1 switch got into the case.
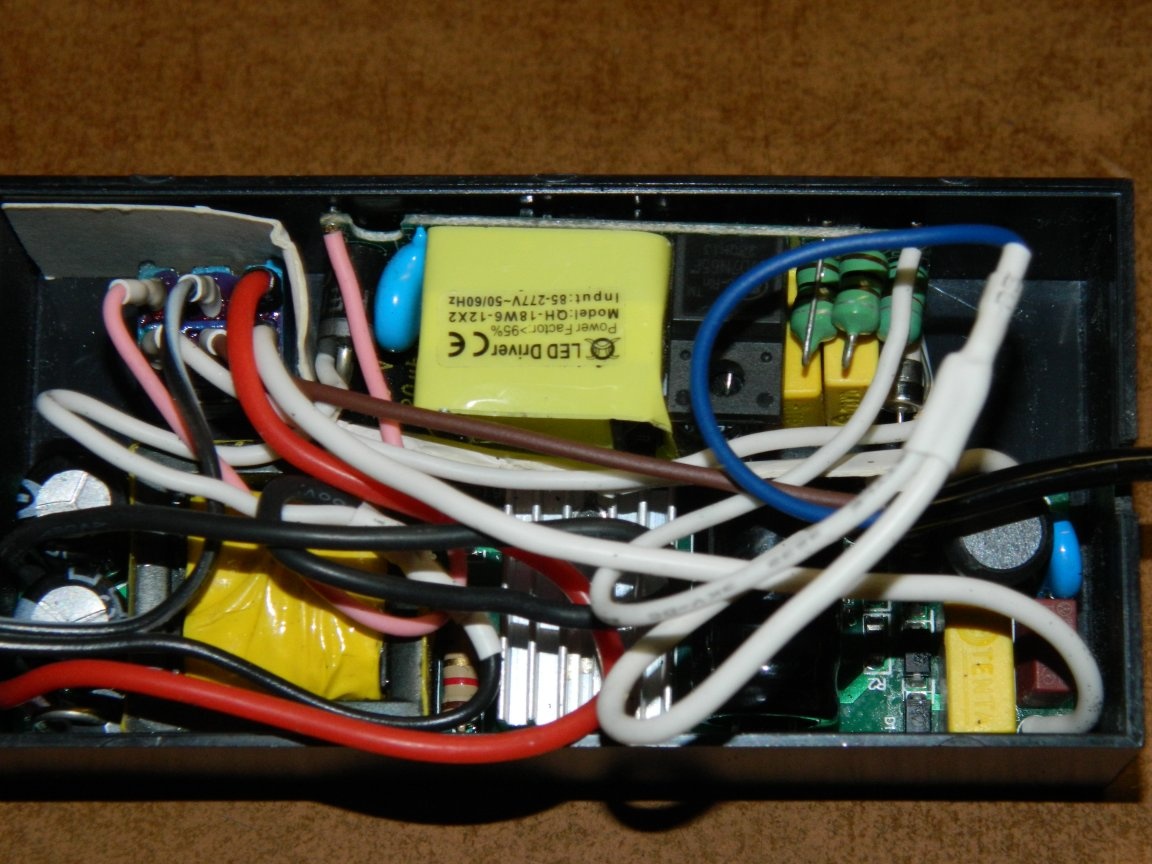
So that there was no shorting of the cases to each other, I put a cardboard gasket. Then I pasted the numbers 12 and 36 next to the toggle switch.
Then the hooks went into business, what I had prepared in advance. Having drilled ø10 mm holes in the window lining in the kitchen, I fixed the hooks in drywall.
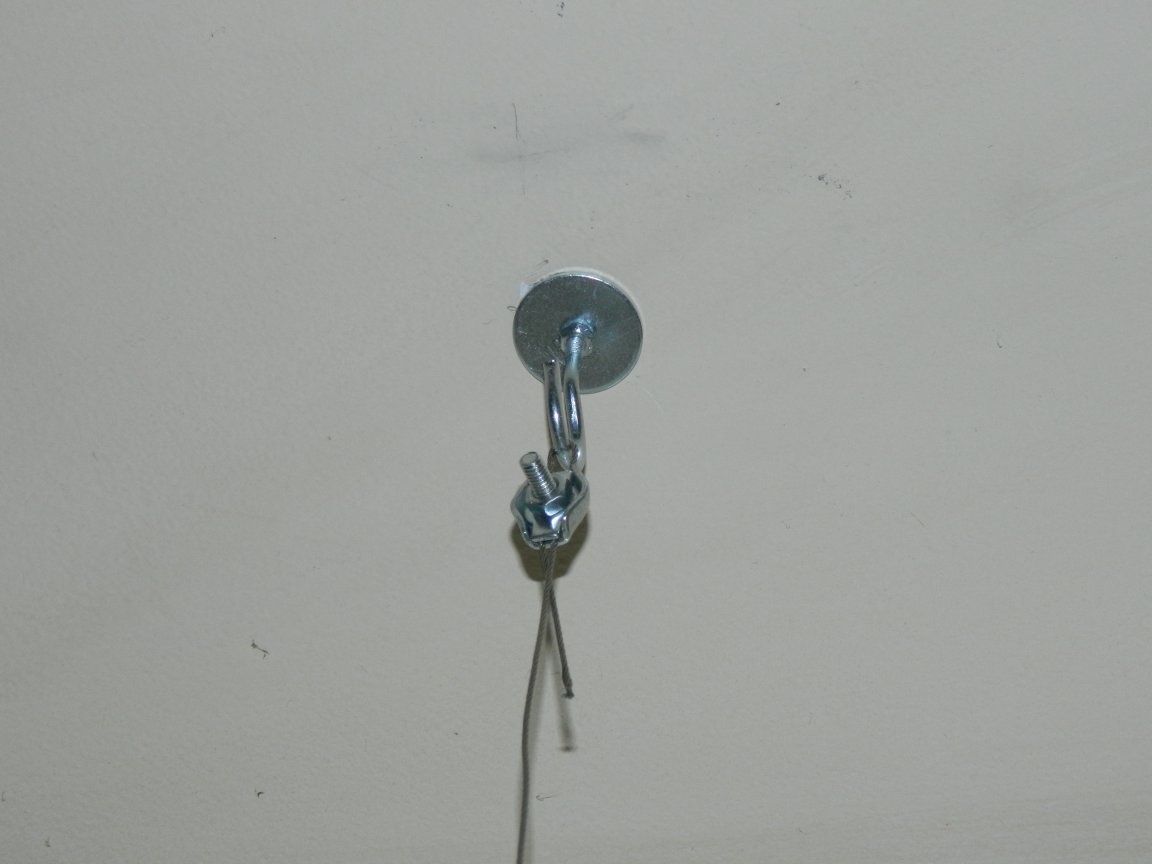
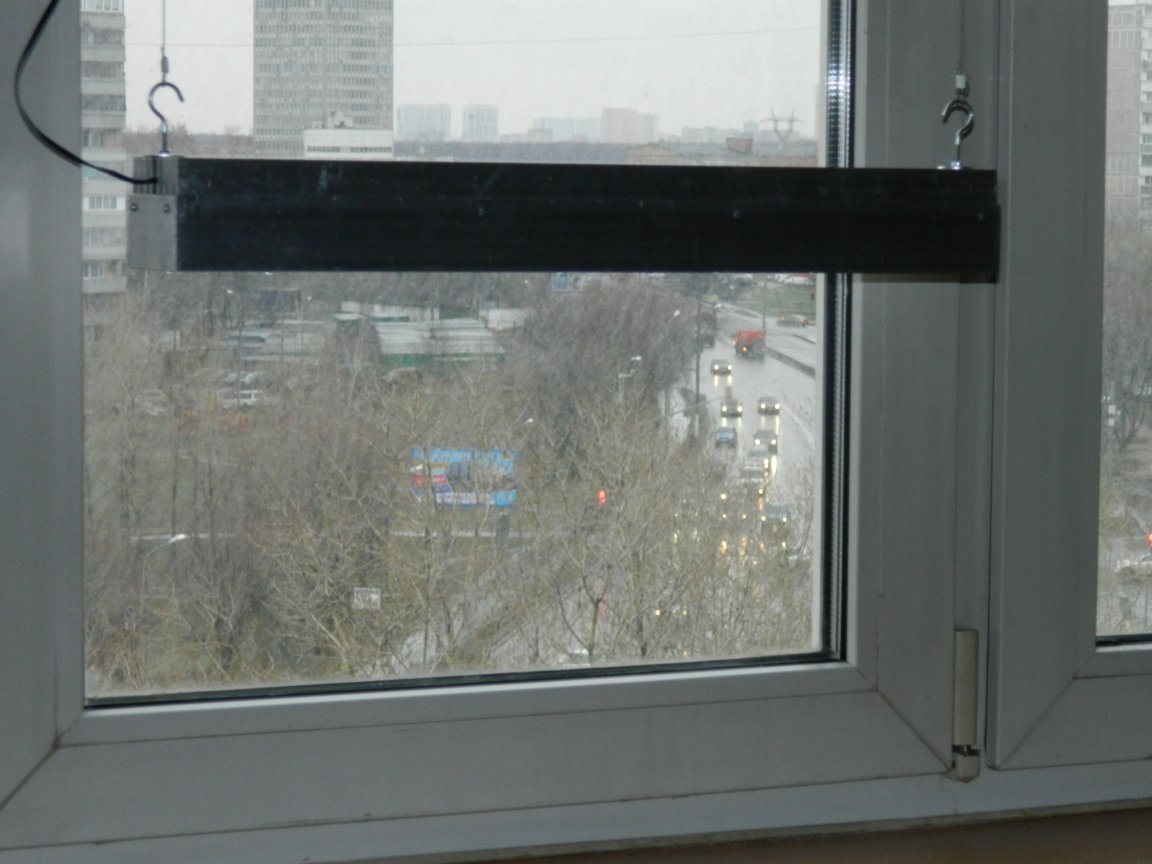
The lamp itself was hung on a steel cable ø1 mm. A special clip is located on the upper end of the cable so that you can adjust its length (bought in the rigging department in Castorama). The other end is looped and staked in a piece of pipe.
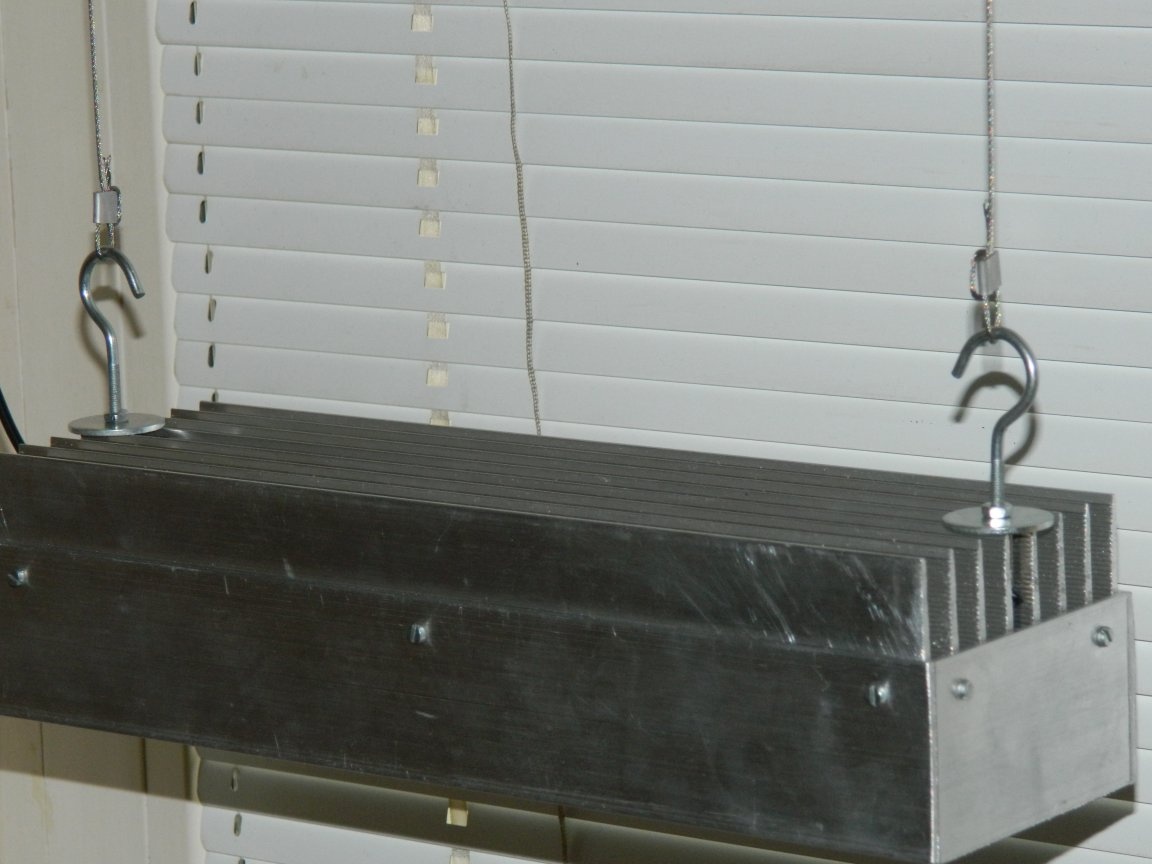
I did the same with another lamp.
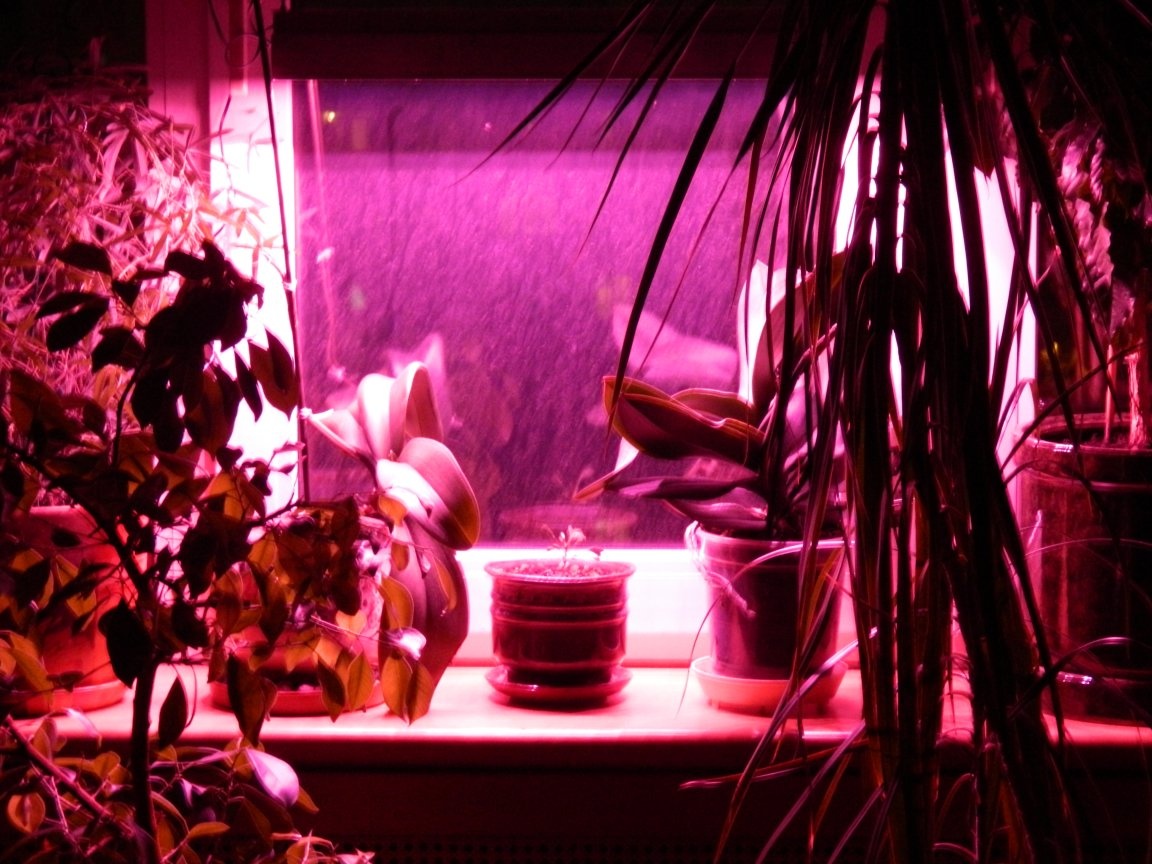
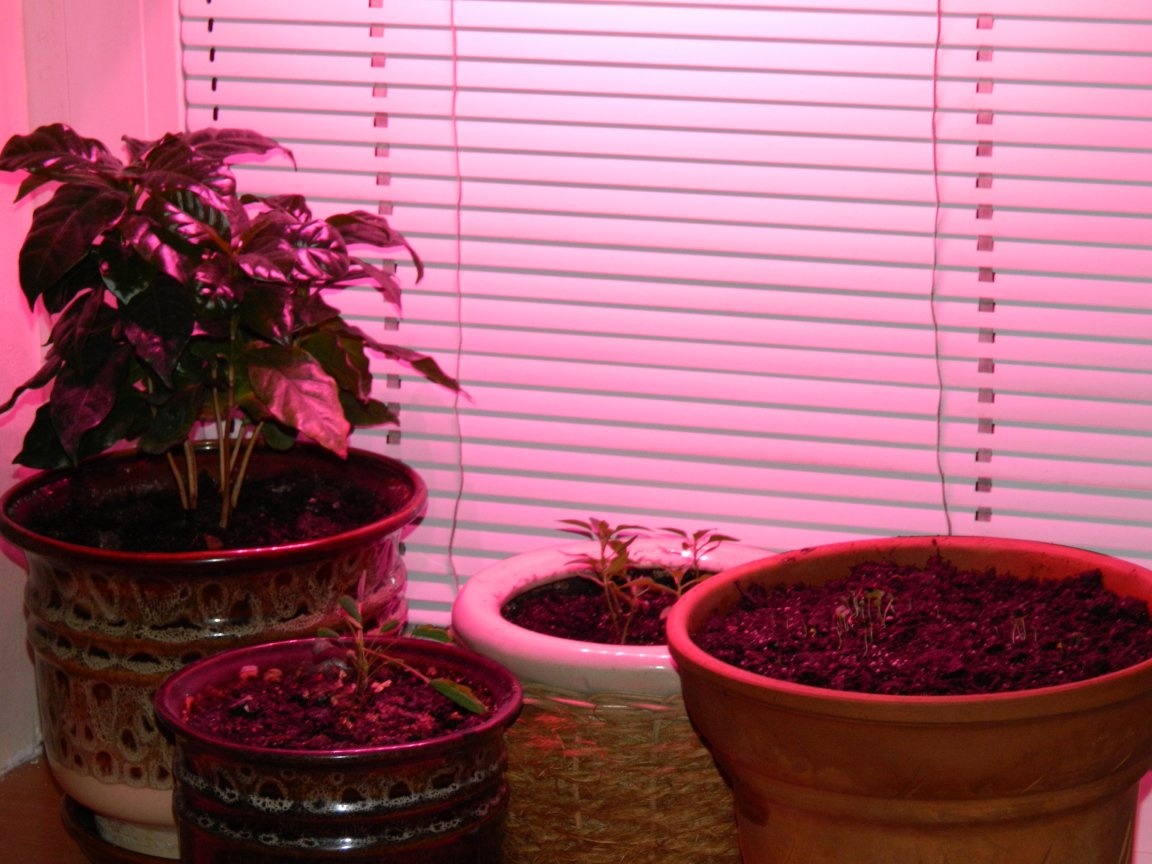
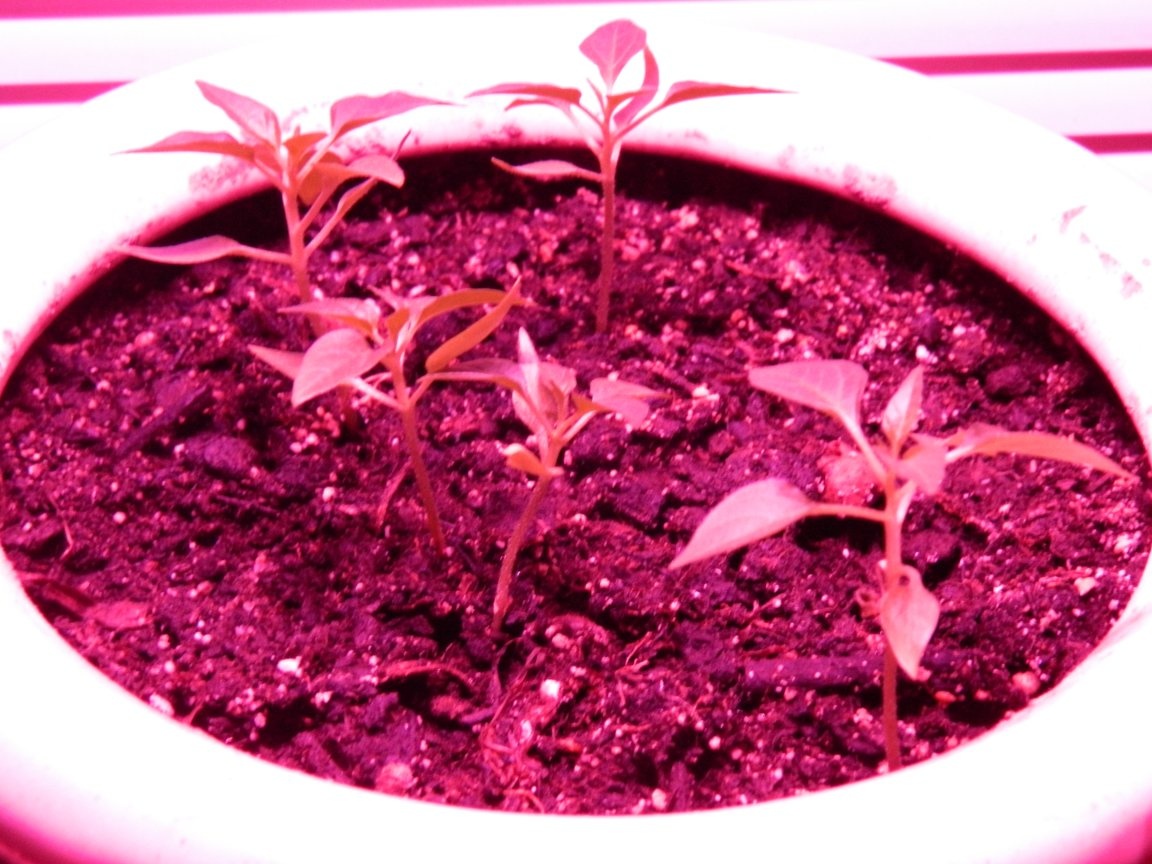
Thus, for the joy of my wife and her beautiful plants, I made two whole phytolamps (and seedlings rush under these lamps with might and main!). Everything is working fine.
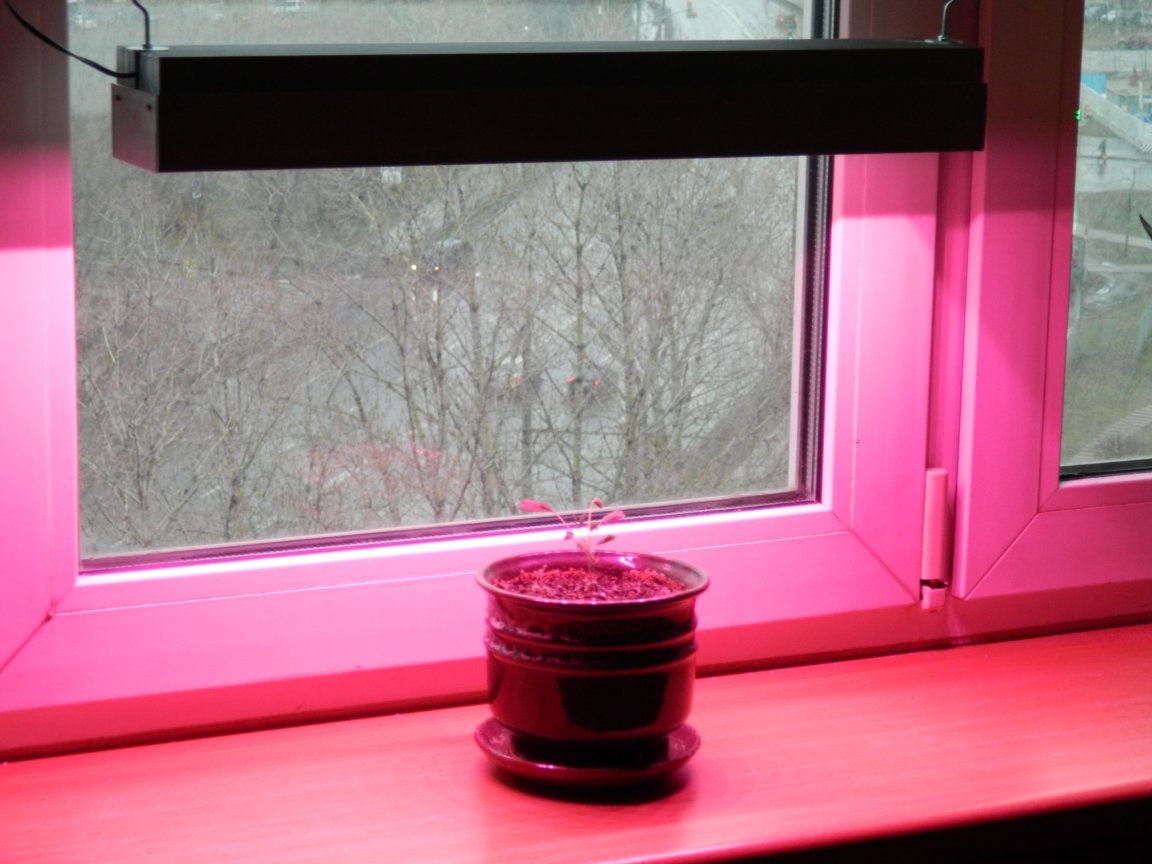
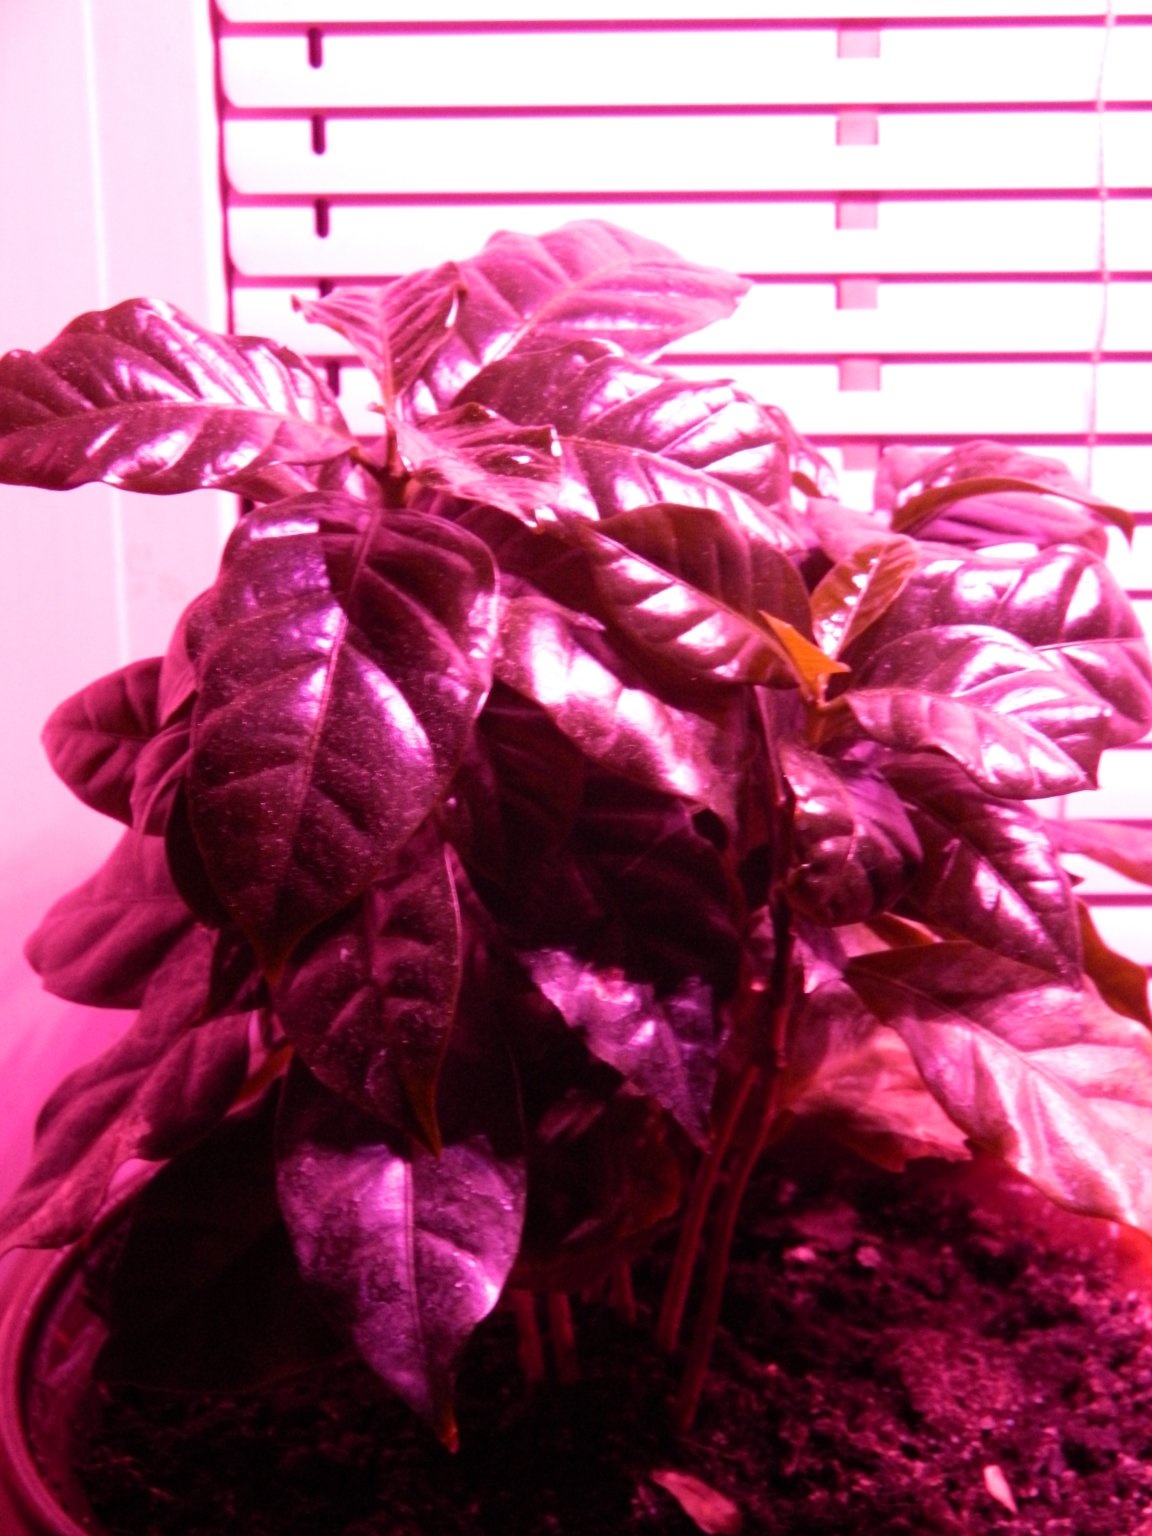
At maximum (36 W), the lamp worked all night - and was barely warm. And most importantly - they can be easily removed and transferred to the greenhouse in the country. If you look at the price of such lamps in stores, then it goes off scale - a lamp with a power of 24-36 W costs from 5200 to 7900 rubles. A similar lamp cost me a little over 2000 rubles. And he spent only two days on its manufacture - he invented more how and what to do. Saving, as they say, on the face!