
Do you want such a cute talking monster? Then check out this article in which the Master will tell you how he made it. At the end of the article, you can watch a video with an example of a monster talking, as well as with the process of its manufacture.
Tools and materials:
-Raspberry Pi;
-AIY Hat speech recognition board with Google Assistant;
-Speaker;
-Microphone;
- Servo motor SG90;
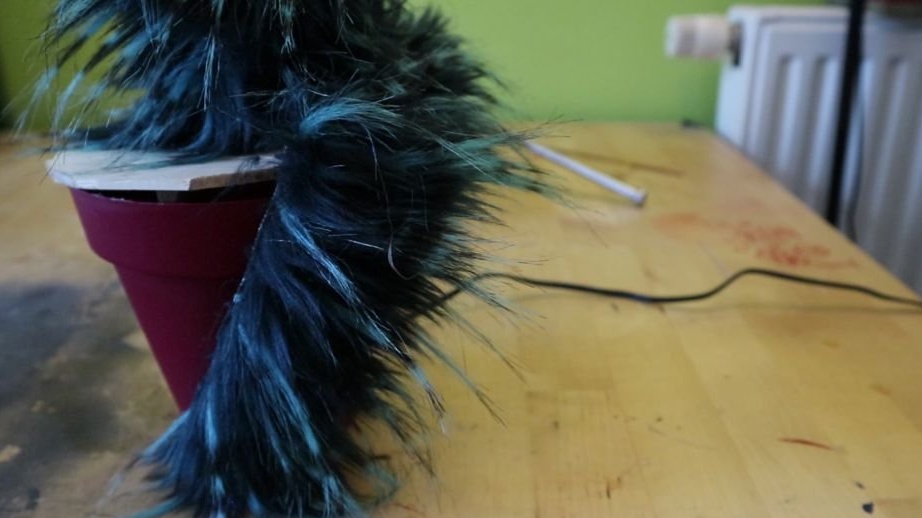
-Flower pot;
-Faux fur;
-Plastic ball;
-Felt furniture linings;
-Aerosol paint;
-Glue;
-3D printer (optional);
-Soldering accessories;
-Camera module;
-Remo.tv (software);
Step One: Torso
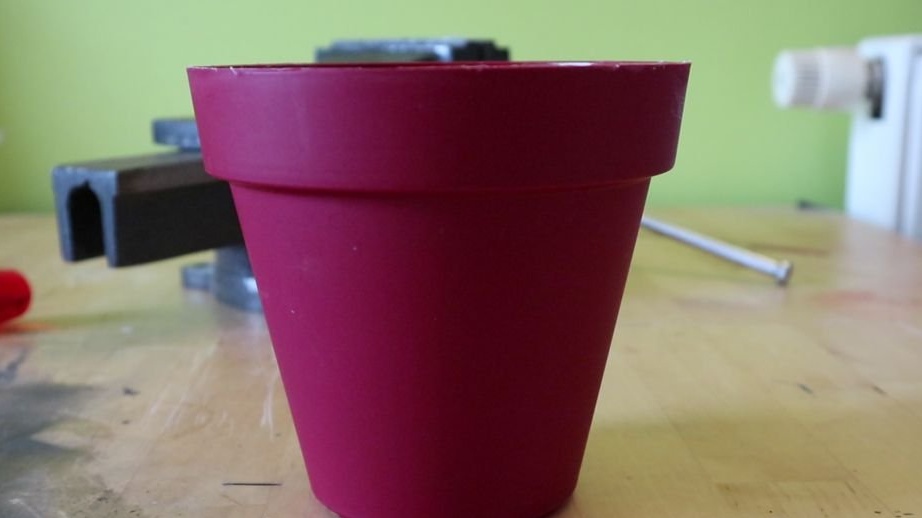
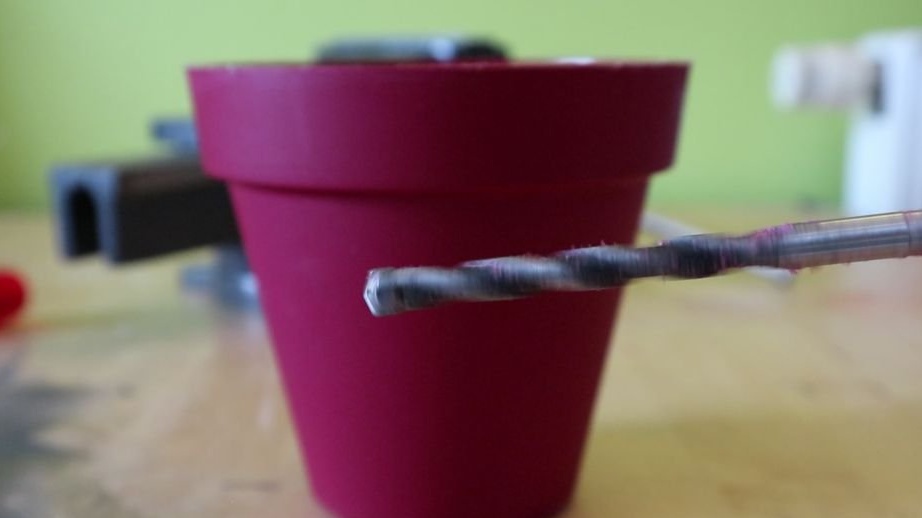
The body of a monster is an old flower pot. It is better to take plastic so that the weight is small. The size of the pot does not matter, you can make both a small monster and a large one. In the bottom of the pot, if there are none, holes for wires are drilled.
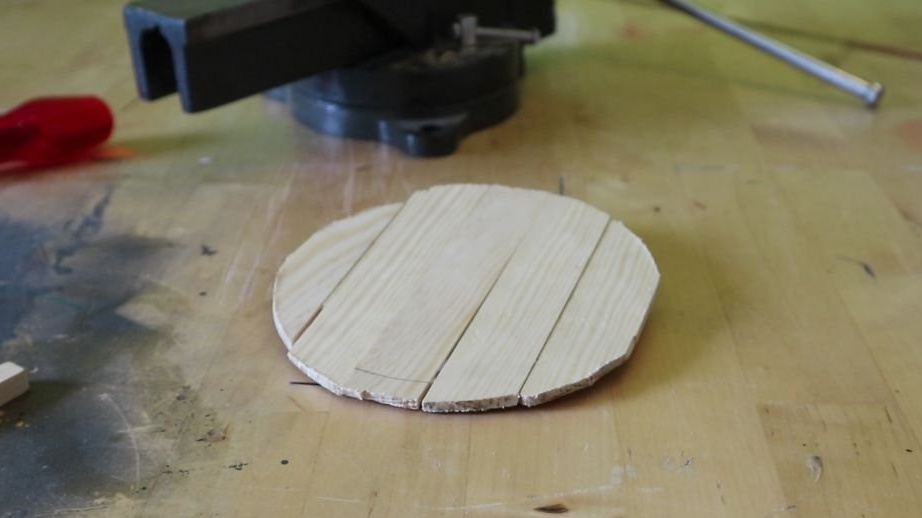
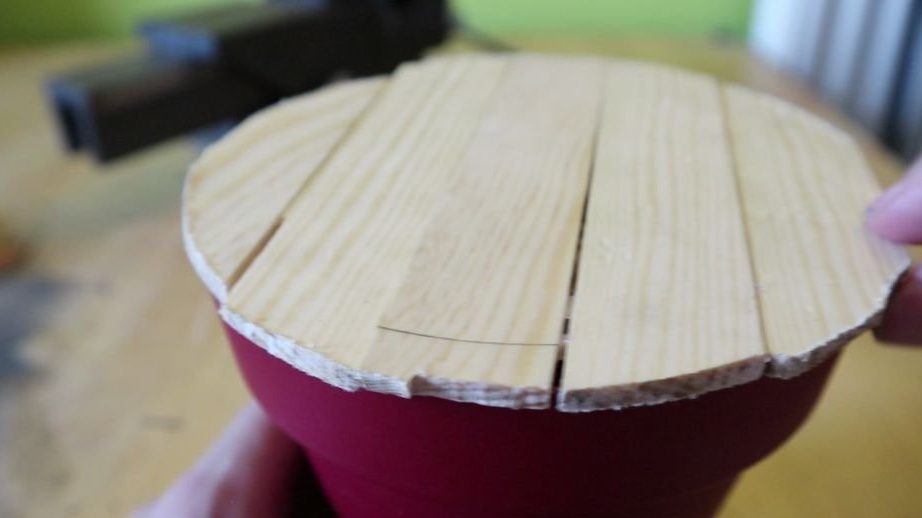
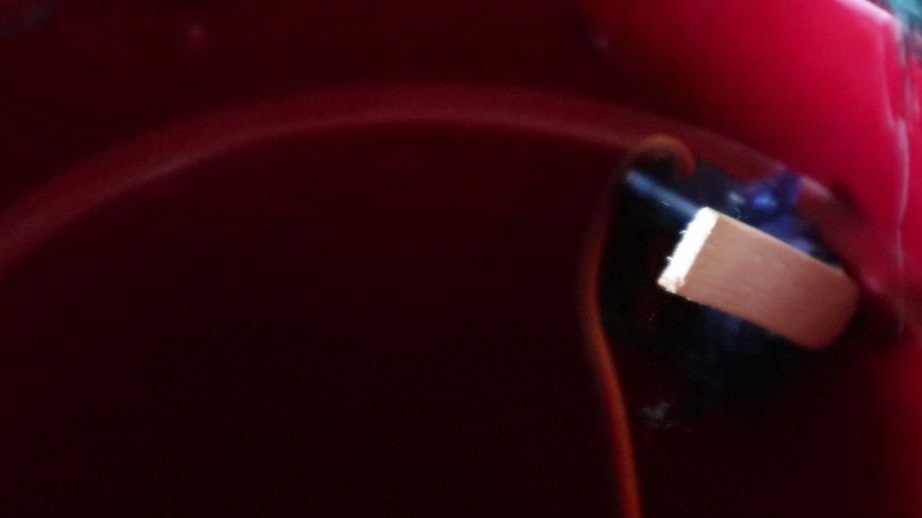
Step Two: Mouth
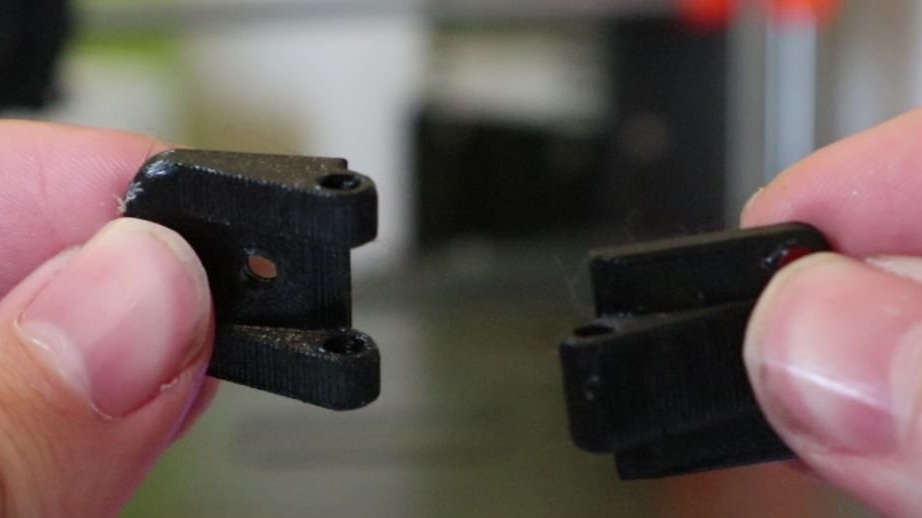
Any suitable material can be used for the mouth. The master used wooden planks, connecting them in the form of a disk. The mouth is mounted on top of the pot and should overlap its edges. For fastening, you can use the usual loop and print it on a 3D printer.
Then the loop is attached to the wooden blank and the pot.
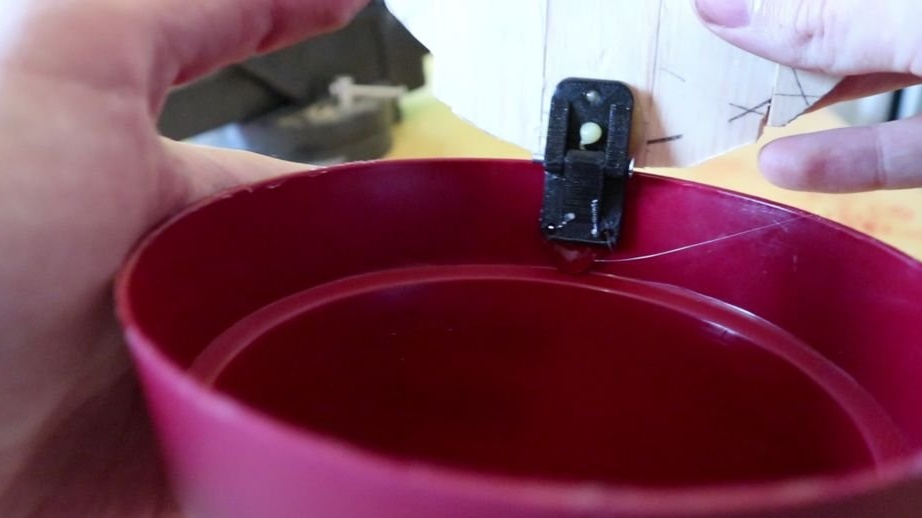
Step Three: Servo
In order for the mouth to open, the master sets the servo. On the lever of the servo-driver fixes the stick from the ice cream, cutting it to the desired size.
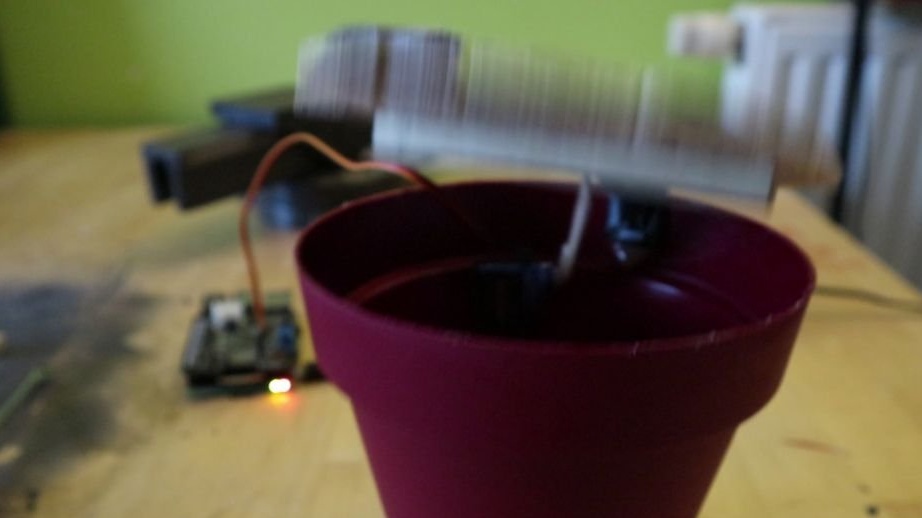
Step Four: electronics
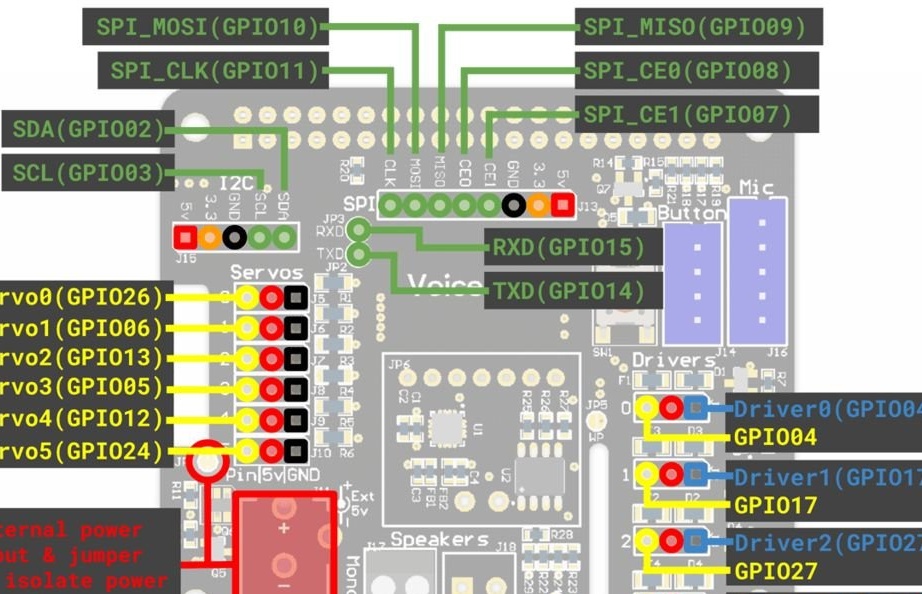
Next, the wizard connects AIY Hat to Raspberry P. You can see the connection guide by this link.
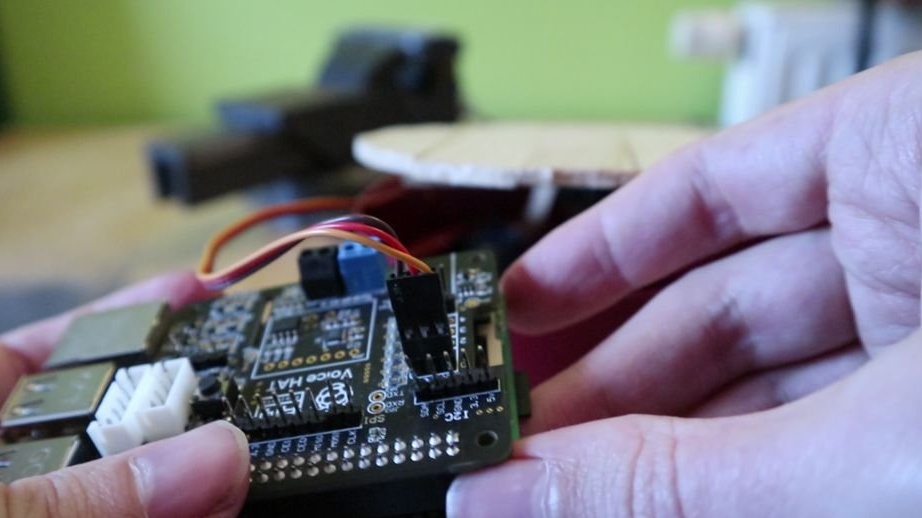
Further connects a servo to AIY Hat. Loads the code.
import time

# Servo setup
from gpiozero import Servo
mouthServo = Servo (24)
while True:

    mouthServo.min ()
    time.sleep (0.2)
    mouthServo.mid ()
    time.sleep (0.2)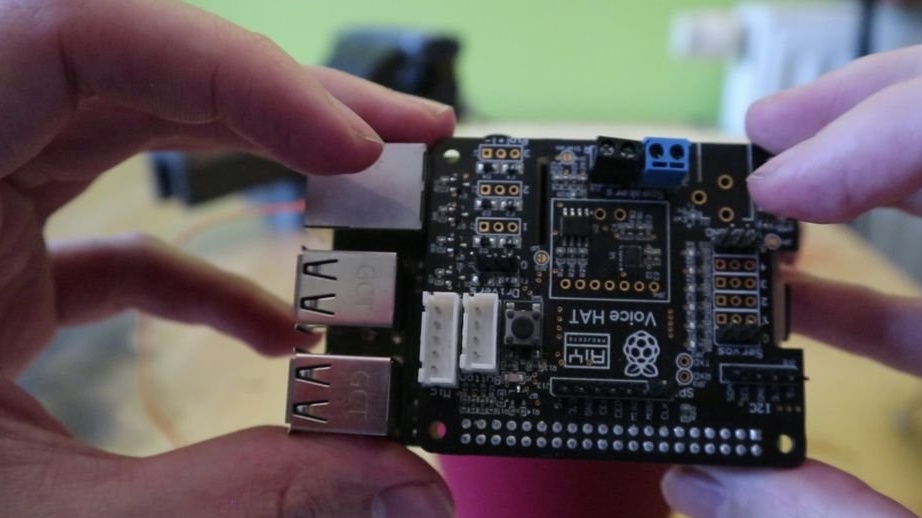
Step Five: Eyes
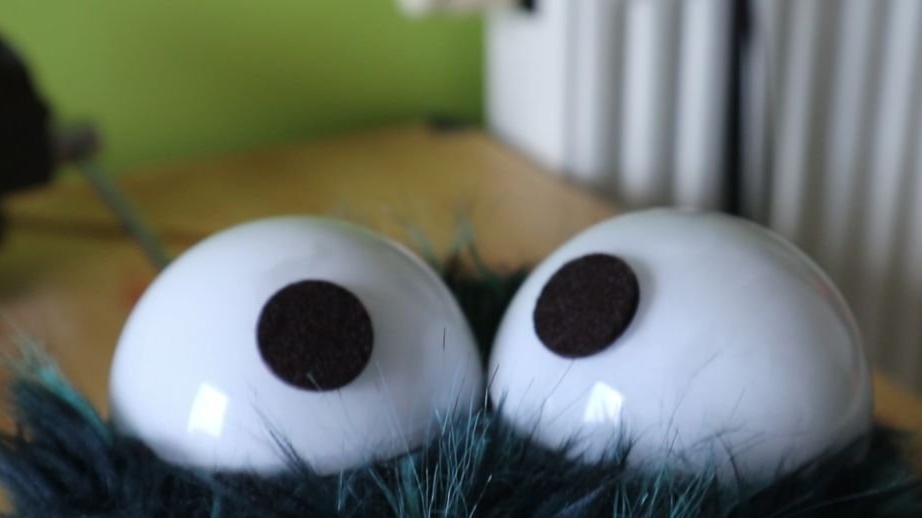
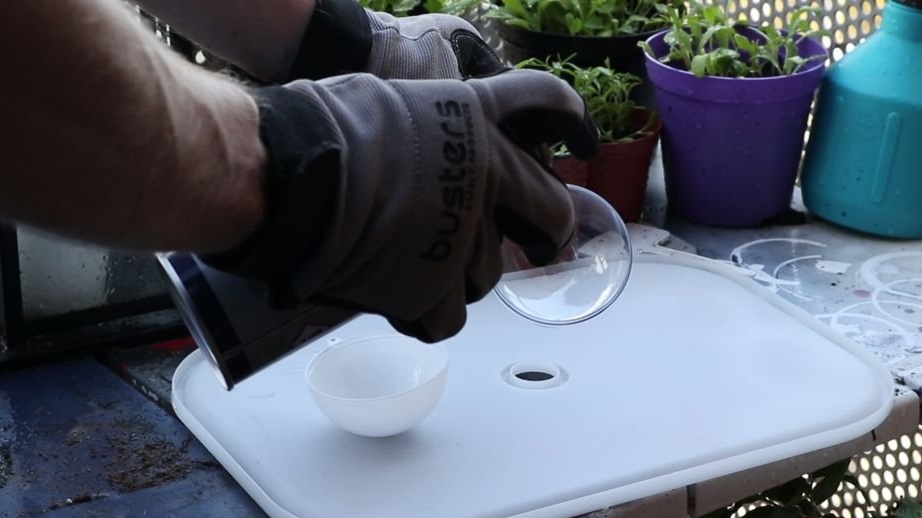
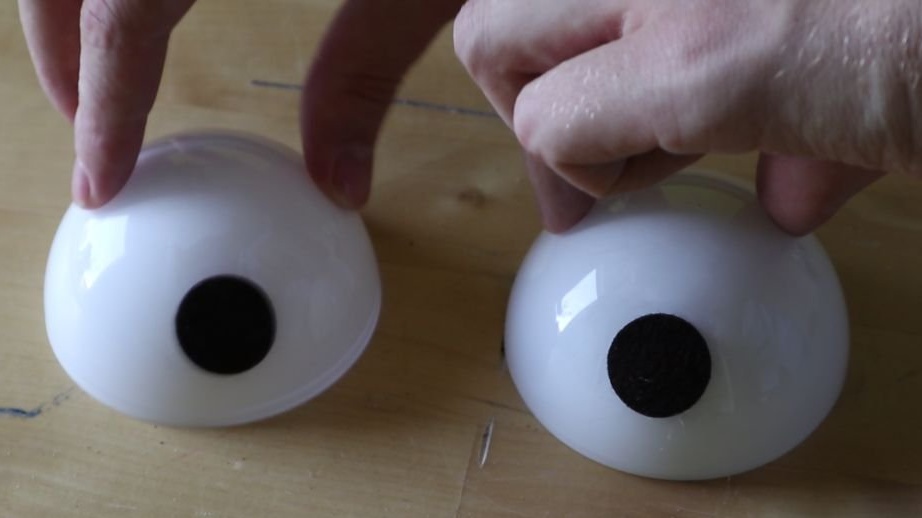
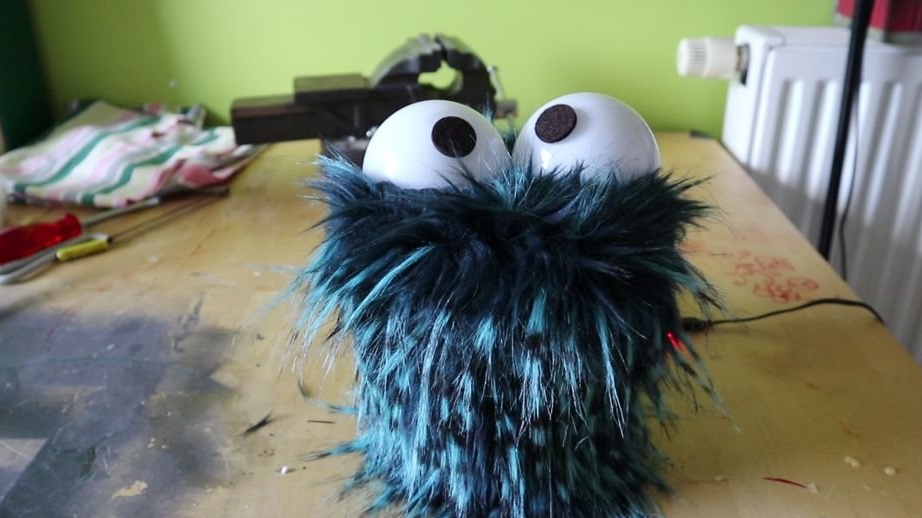
The eyes of the master are made of transparent plastic balls. The master paints one half of the balls with white paint. After drying, glues a black circle on a white background. The eyes are fixed on the lid / mouth, then sheathes the pot with fur.
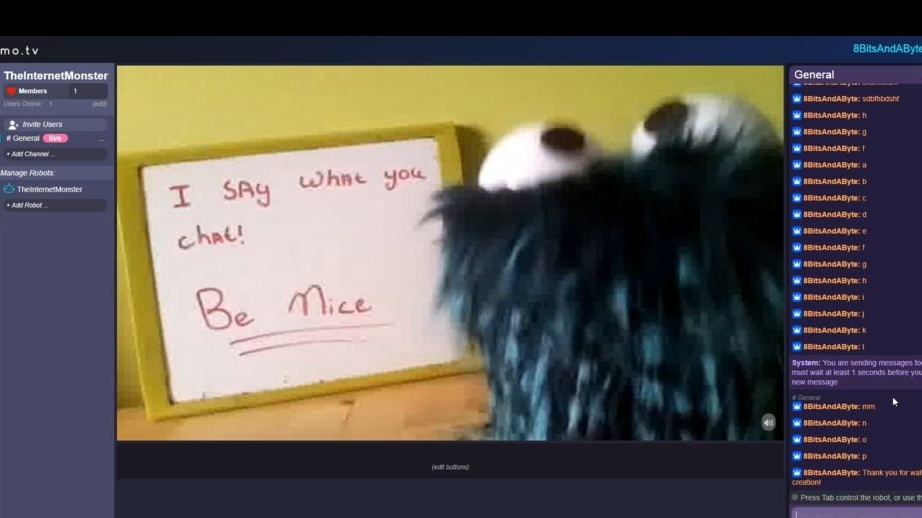
Step Six: Internet Connection
Now it remains to connect the camera, speaker, microphone and connect the device to the program Remo.tv.