In this article, the Master will share how he made bouncing stilts from an old spring.
Making jumpers is not difficult, not expensive, and is available to the average master.
Imagine a trampoline that is always with you. Jumpers are made of spring, profile and springs. The only drawback is the heavy weight.
A video with an example of the assembly and operation of the device can be seen at the end of the article.
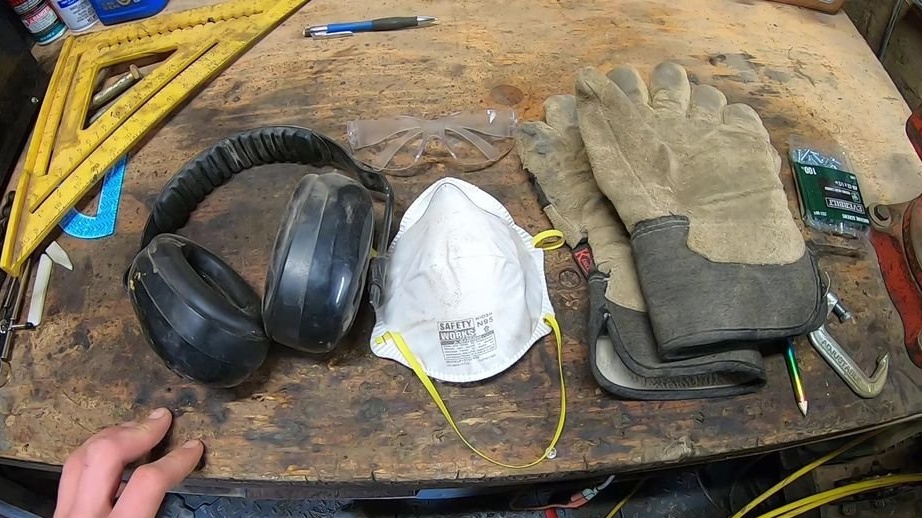
Tools and materials:
-Welding equipment:
-USHM;
-Drilling machine or drill:
-Vise;
-Hammer;
-Roulette;
- Metalwork keys;
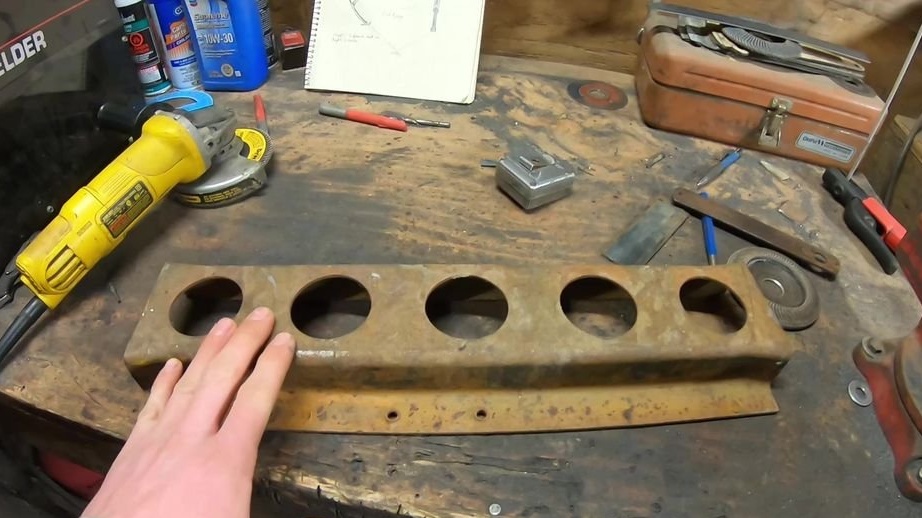
-Spring;
-Profile;
-Washers;
-Pin with cotter pin;
-Threaded rod;
-Belts with adjustable;
-Insulating tape;
-Glue;
-Rivets;
-Springs;
-Bicycle tire;
-Various metal products (fasteners, staples, brackets, etc.);
Step One: Plan
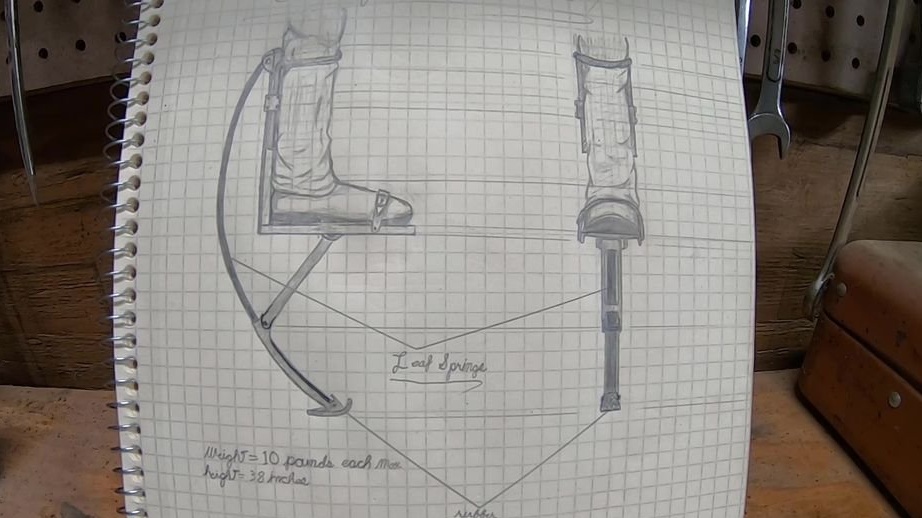
The wizard began by creating a sketch. As you can see, the picture does not look like the final result, but it helped to understand the mechanics.
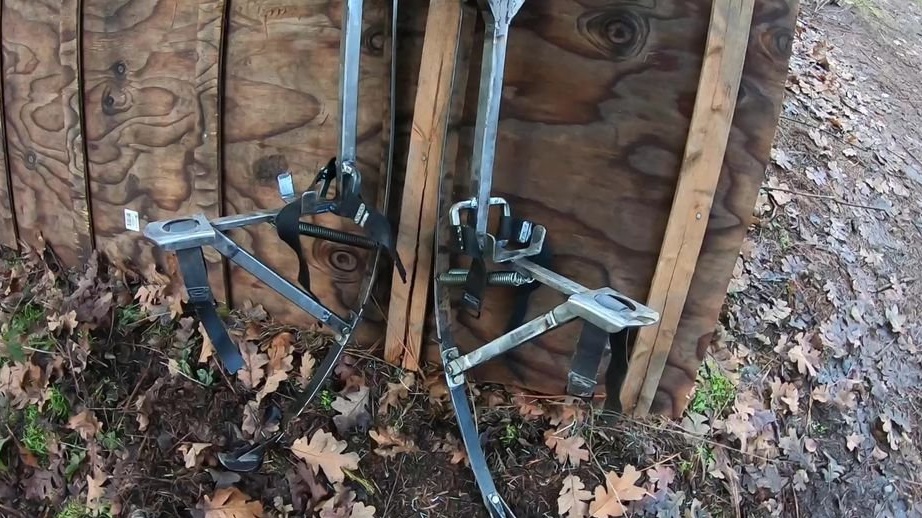
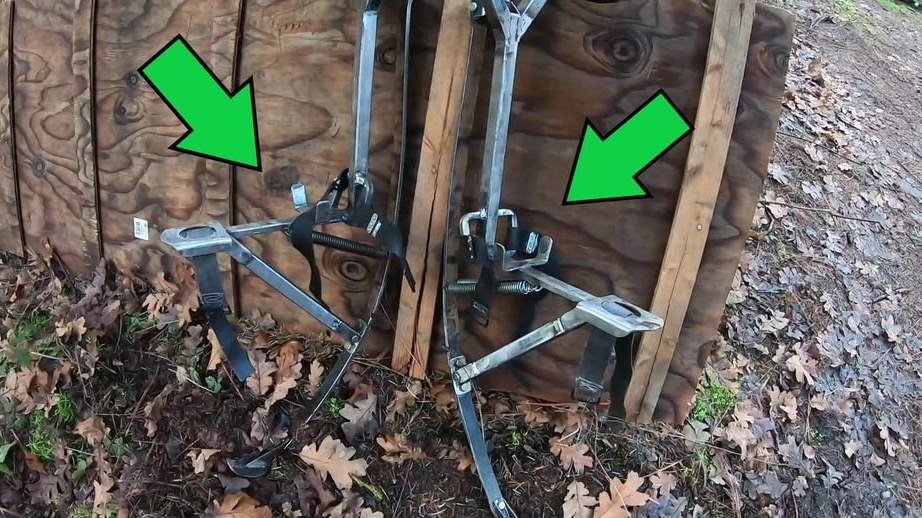
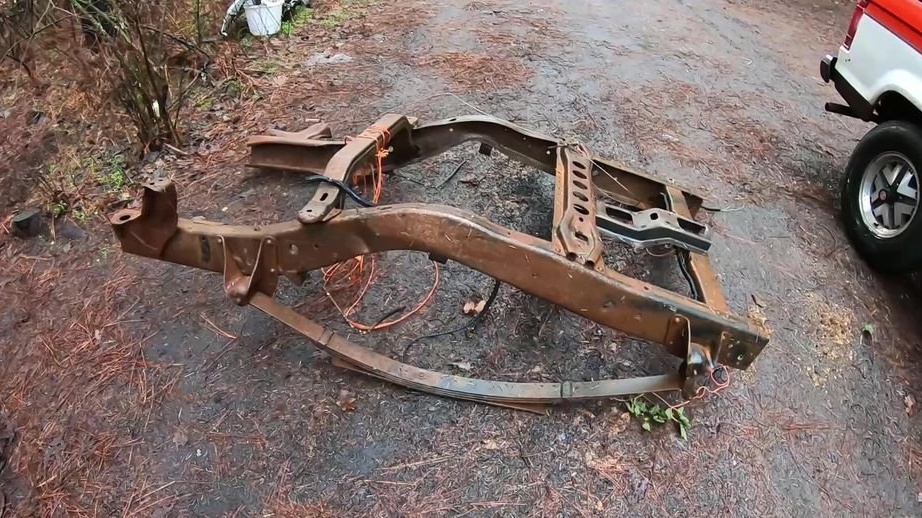
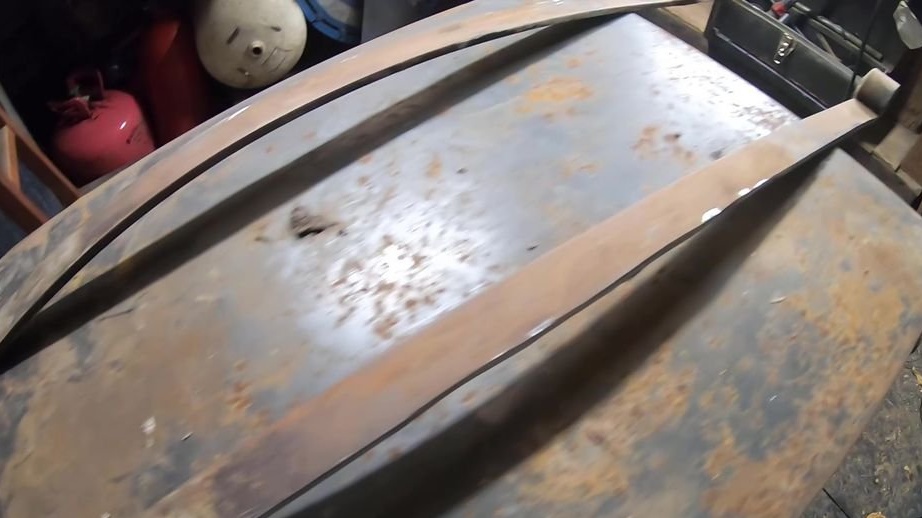
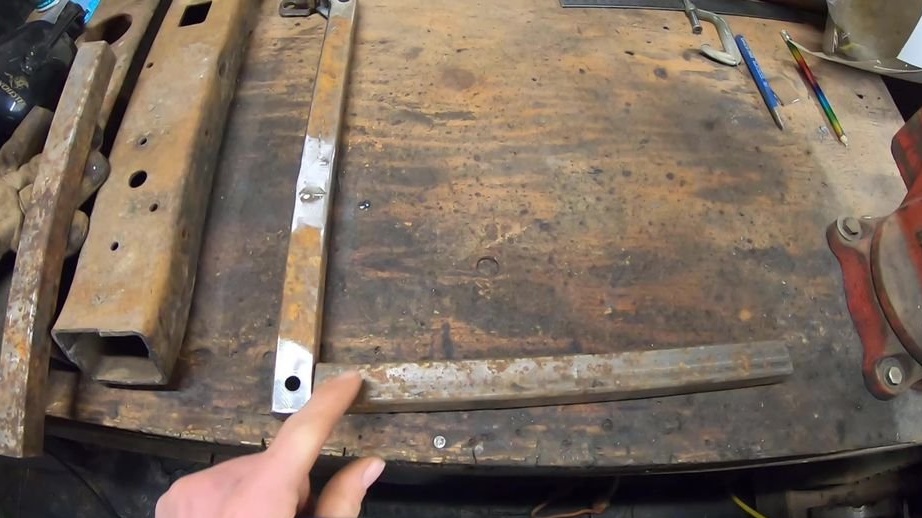
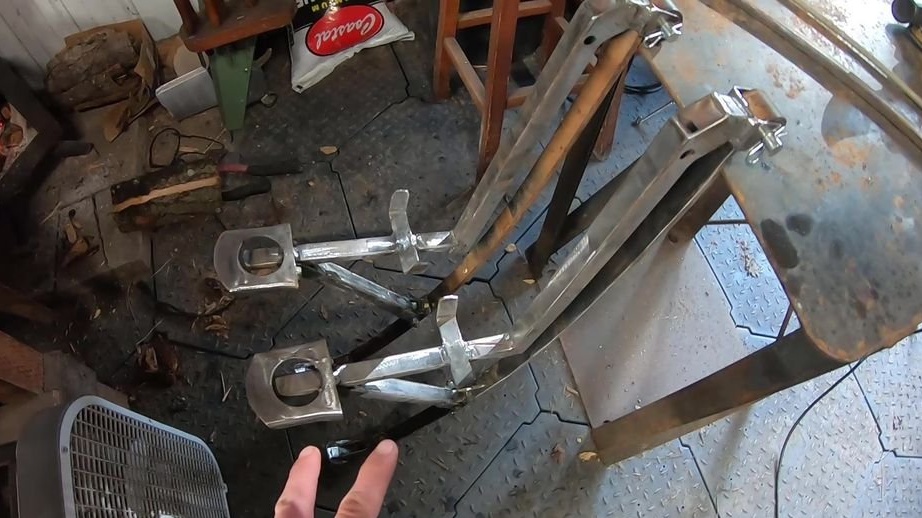
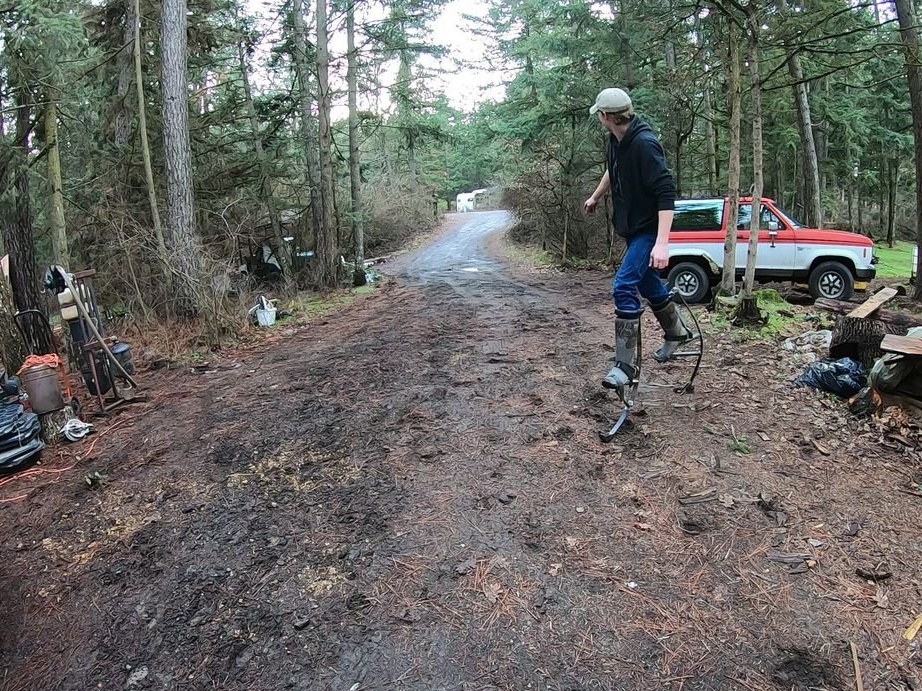
The spring is the most important part of this device and is what makes these stilts work. The master took spring from the old car.
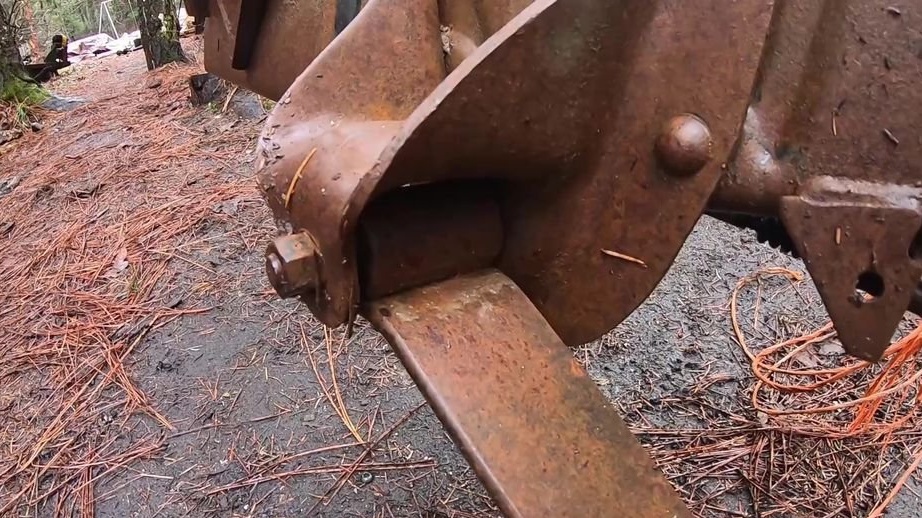
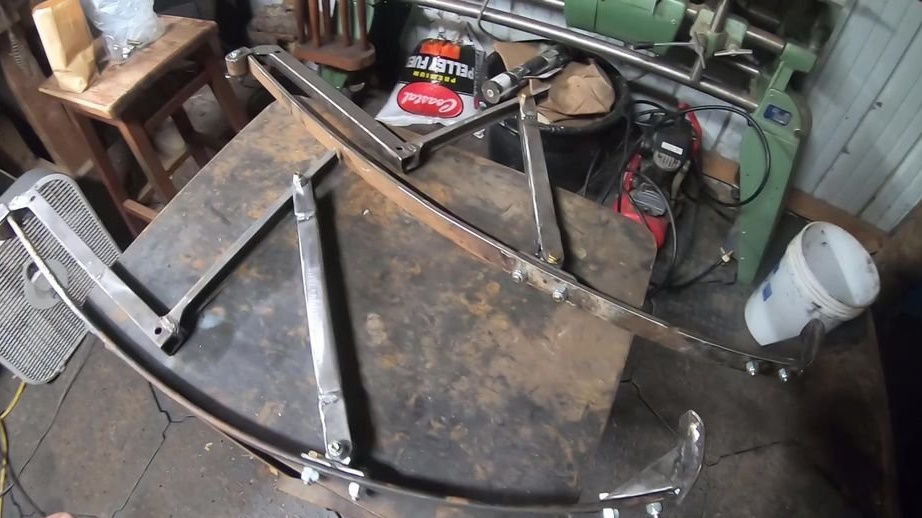
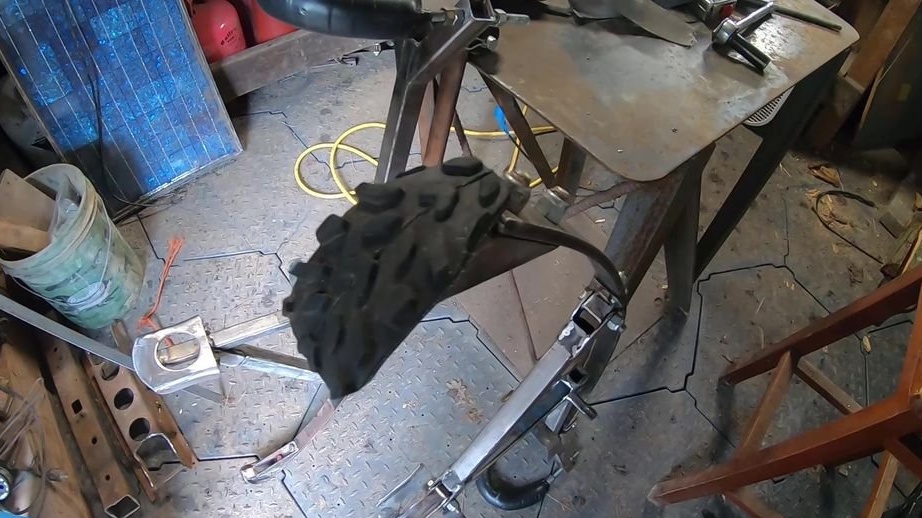
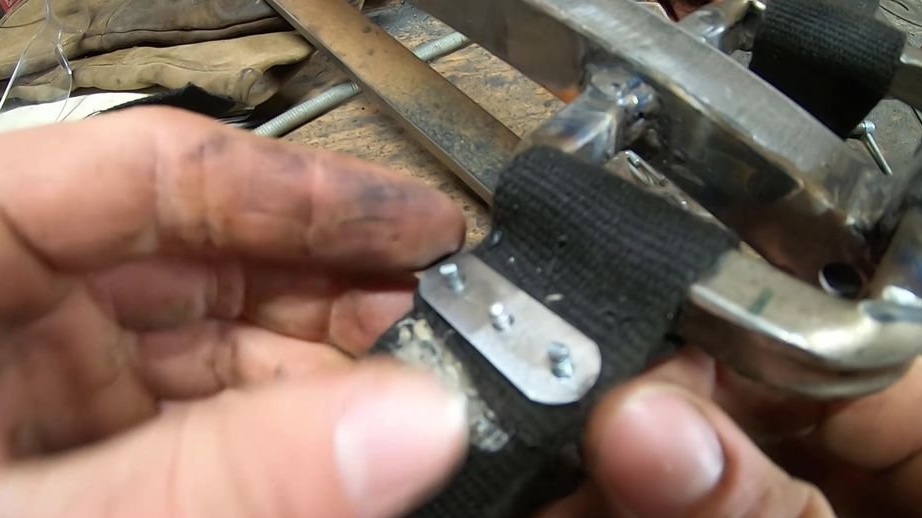
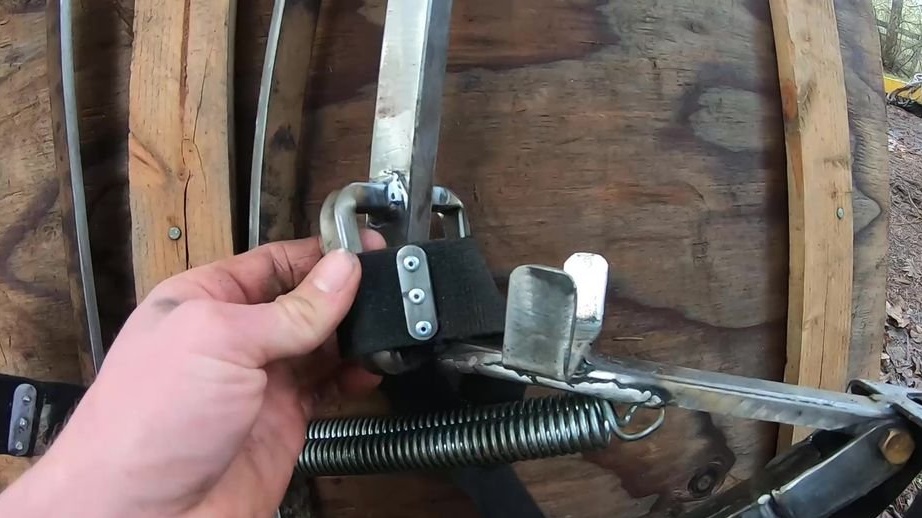
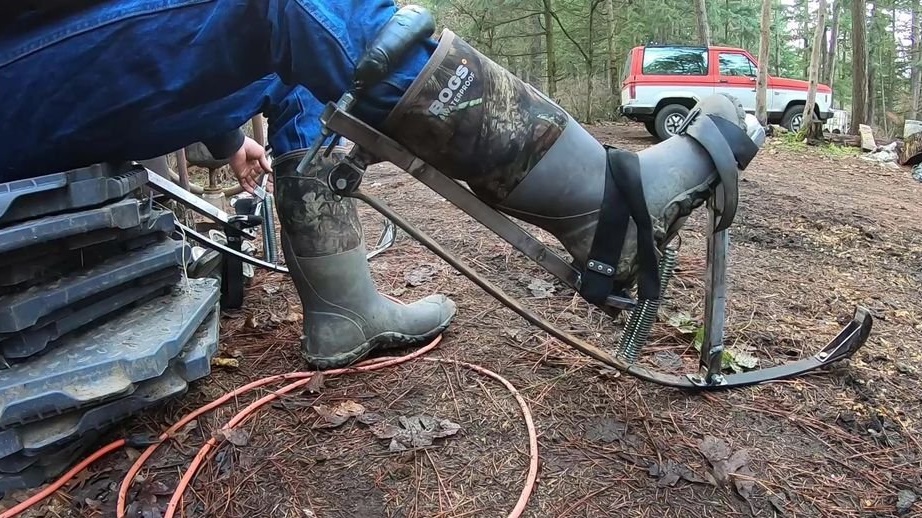
The spring is attached to the skeleton of the leg around the upper region of the lower leg of the jumper. The leg of the jumper installed in the frame has three fixation points. One strap around the toe, one strap around the ankle and another one-piece metal holding rod over the spring to securely hold the upper leg.
Step Two: Resores
Each spring kit has a main spring with eyelets at both ends, for attaching the kit to the car body. It is the root springs that are needed for this project.
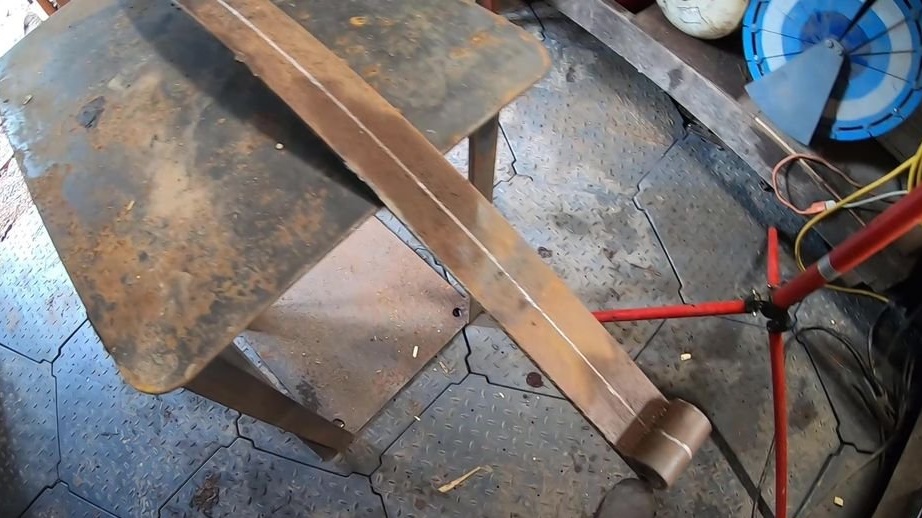
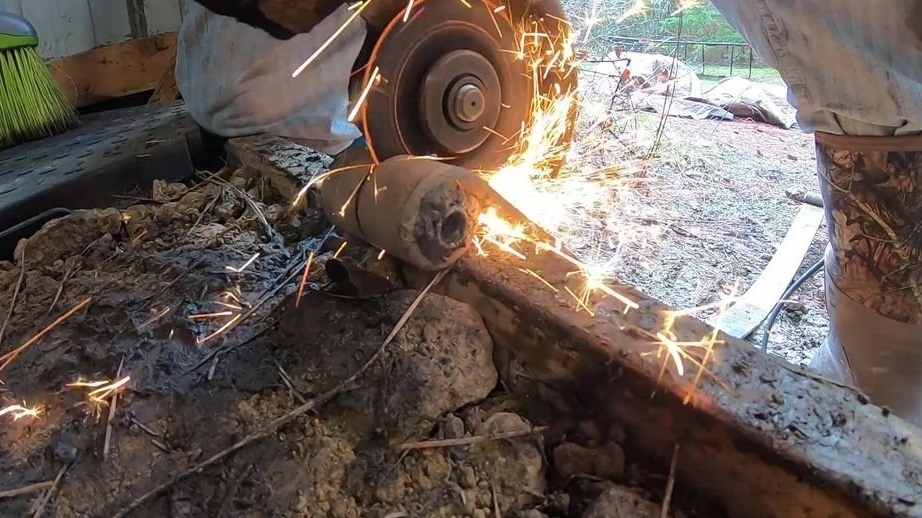
The master cuts the root spring along the middle. Then it measures the distance between the sole and the upper part of the lower leg. It adds 55 cm to this length. This is the desired length of the springs.
After cutting to the desired length, it cleans the workpiece from rust and burrs.
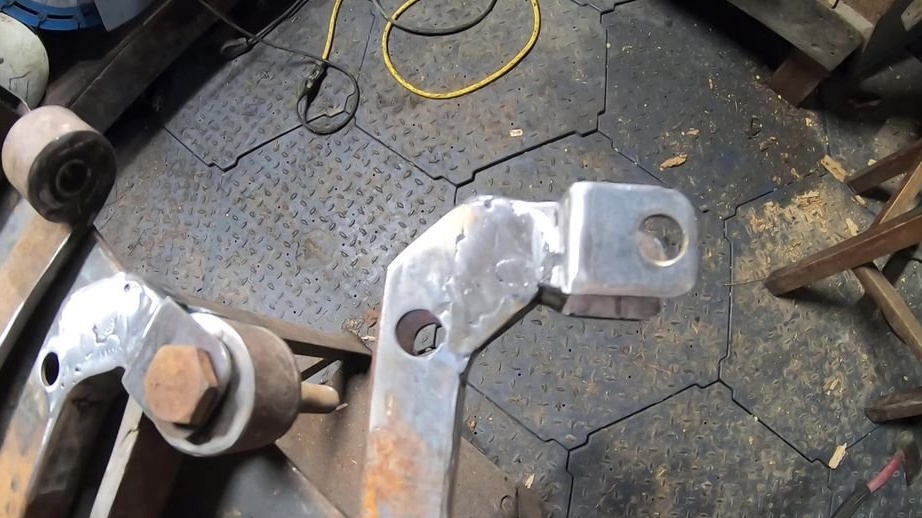
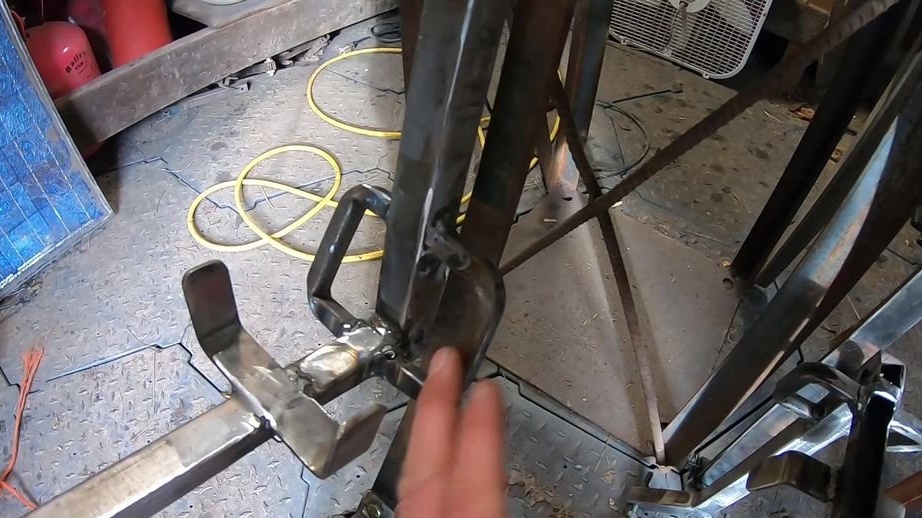
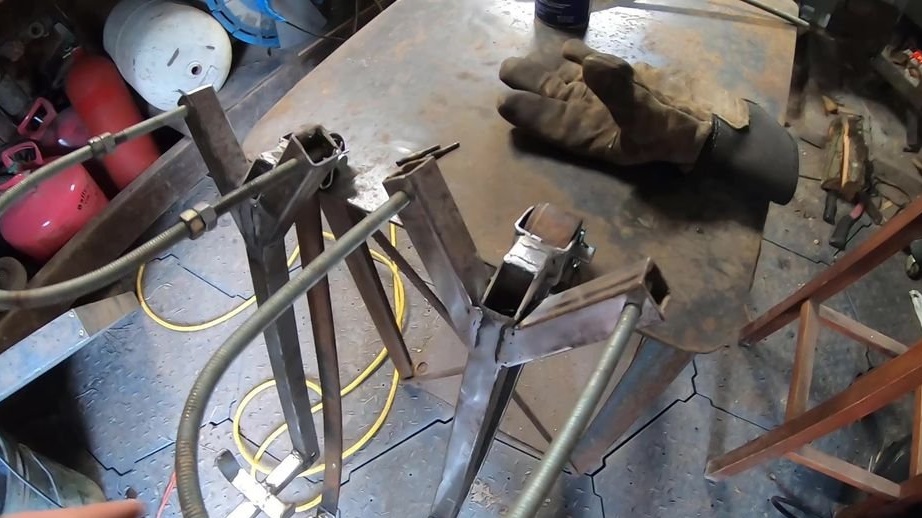
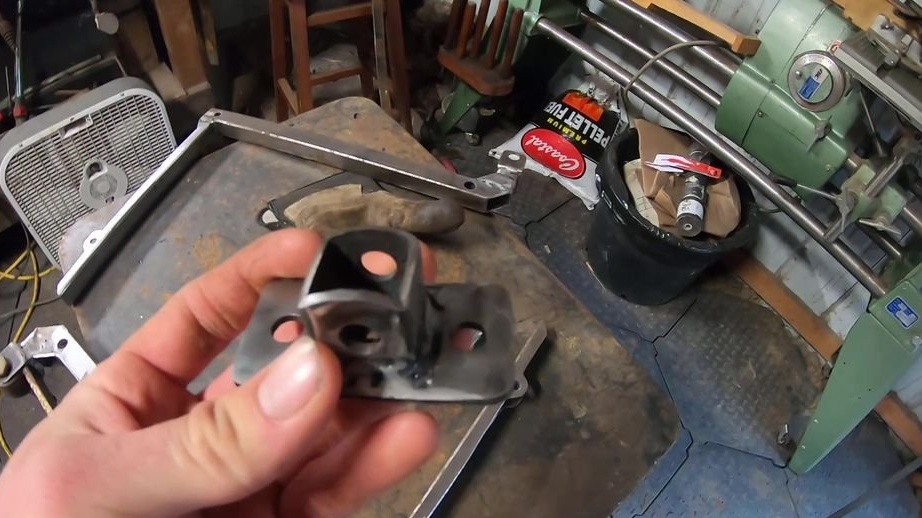
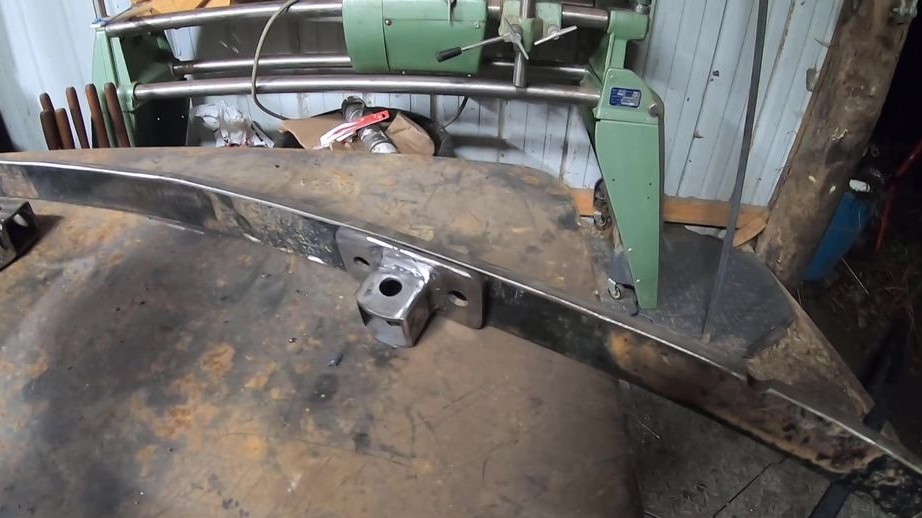
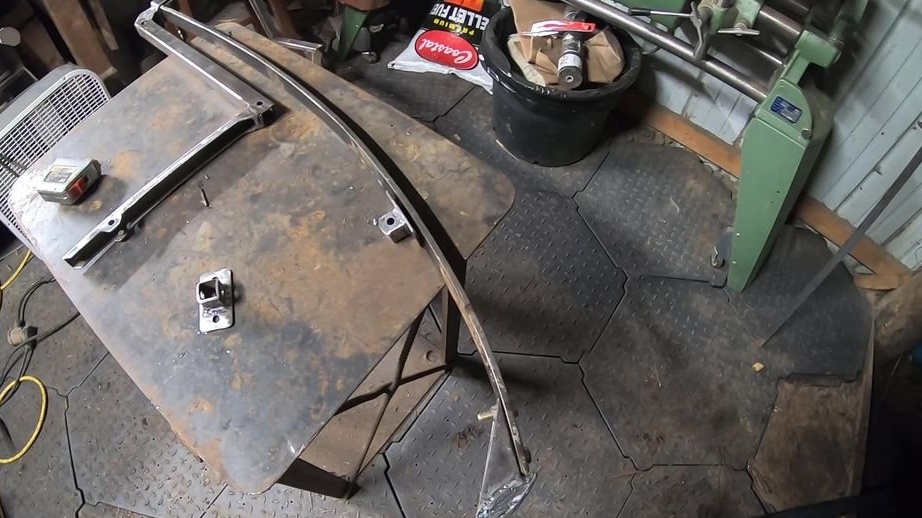
Sha second: frame
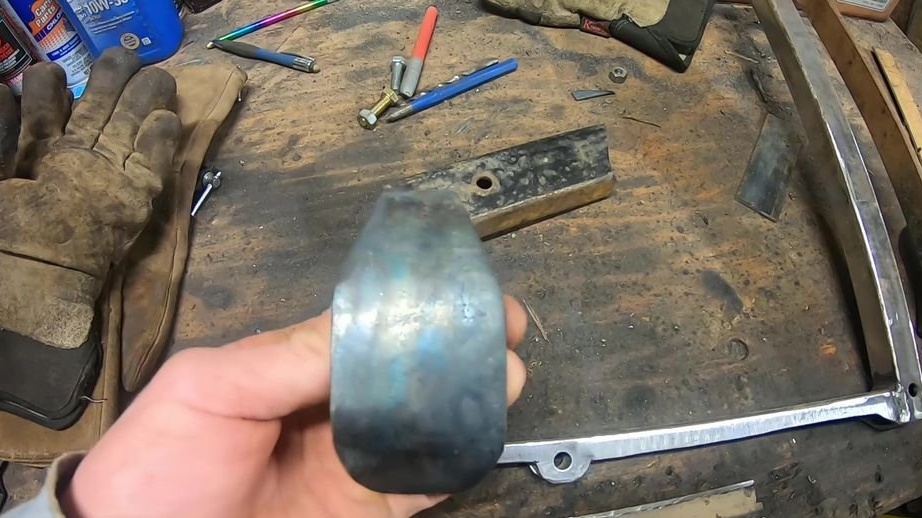
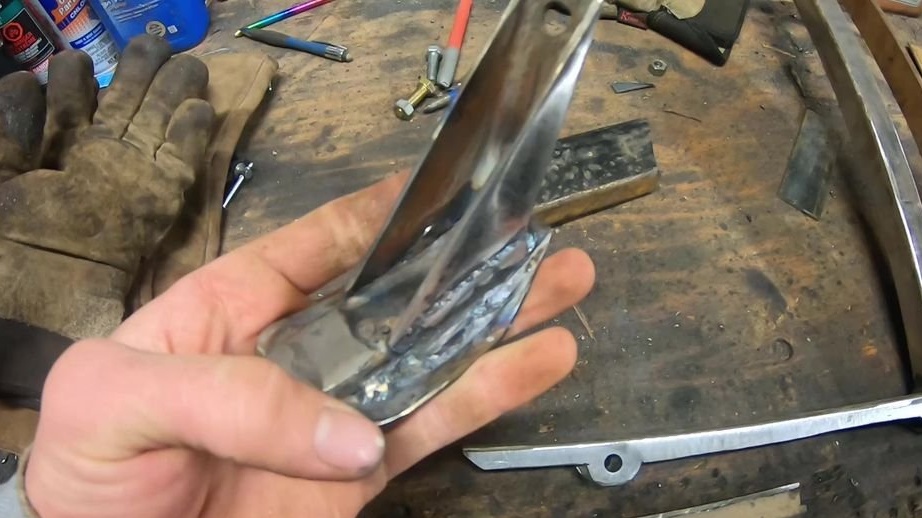
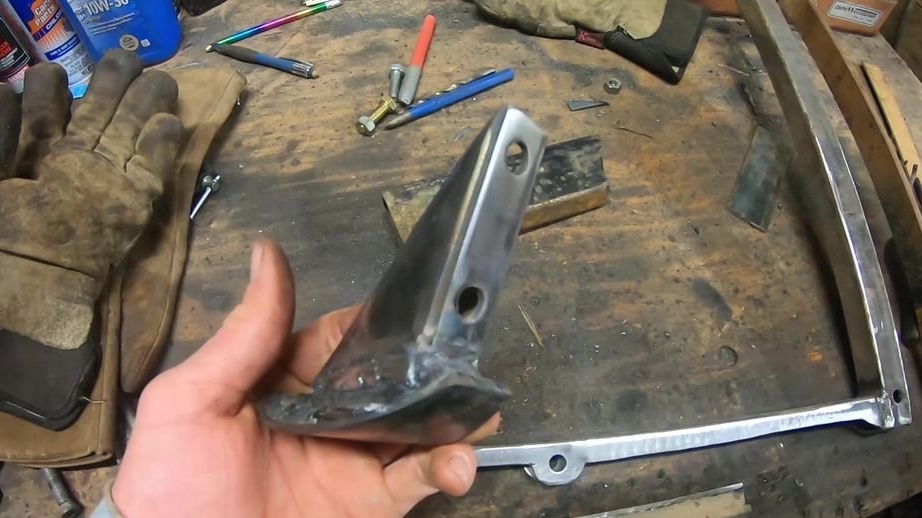
Next, the master makes the frame and secures the spring to it. The spring is mounted on two points. The first point of the eye. The second bracket, mounted in the middle of the spring.

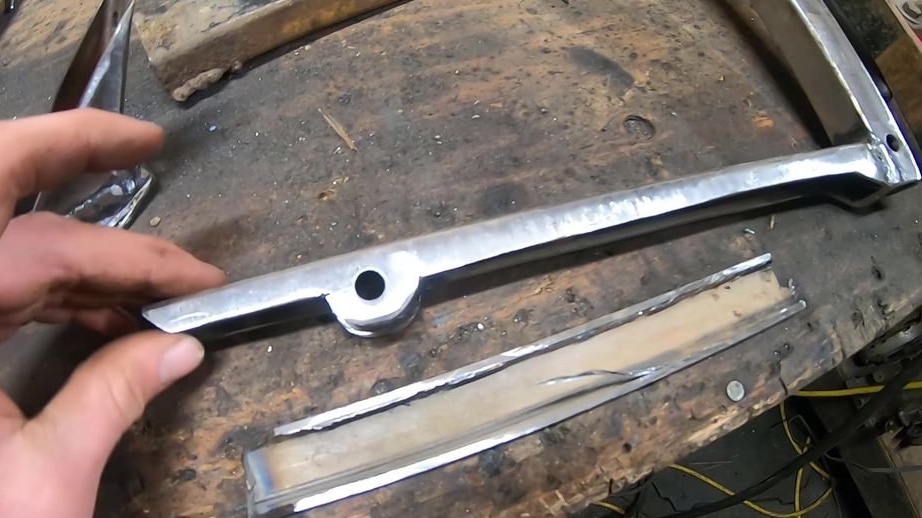
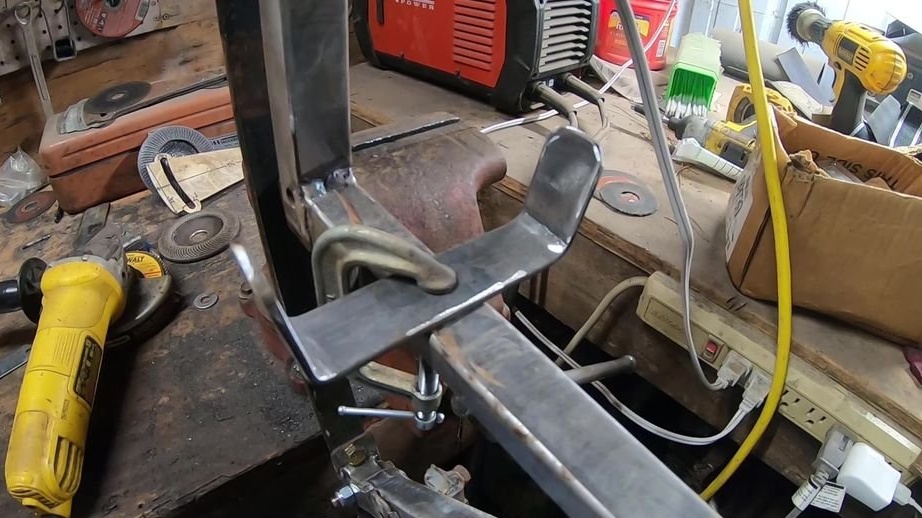
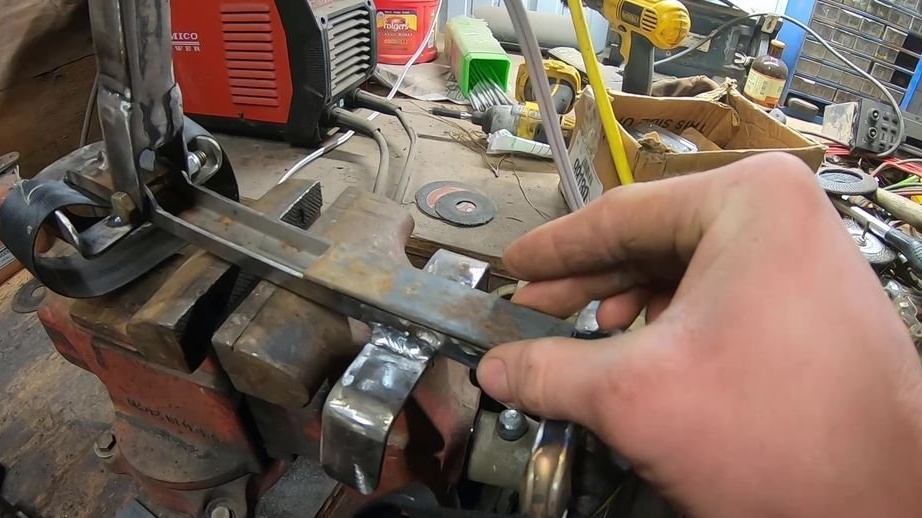
Step Three: Support
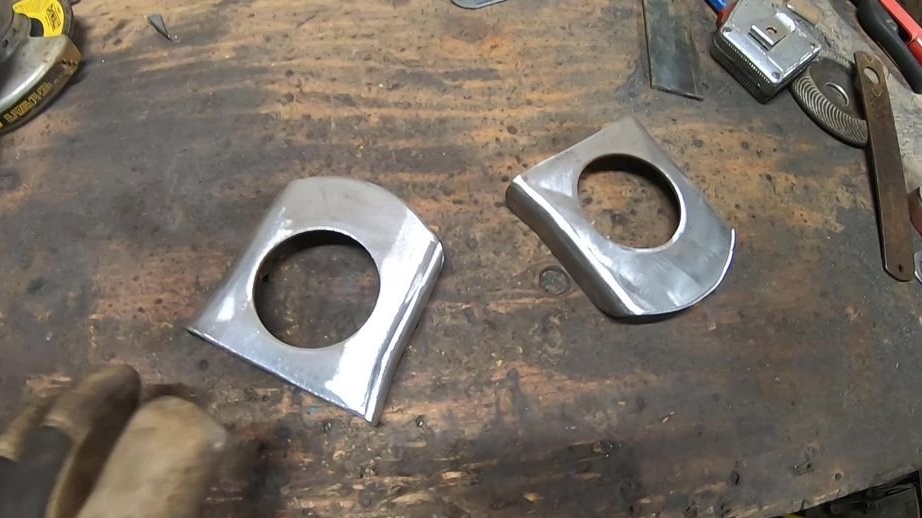
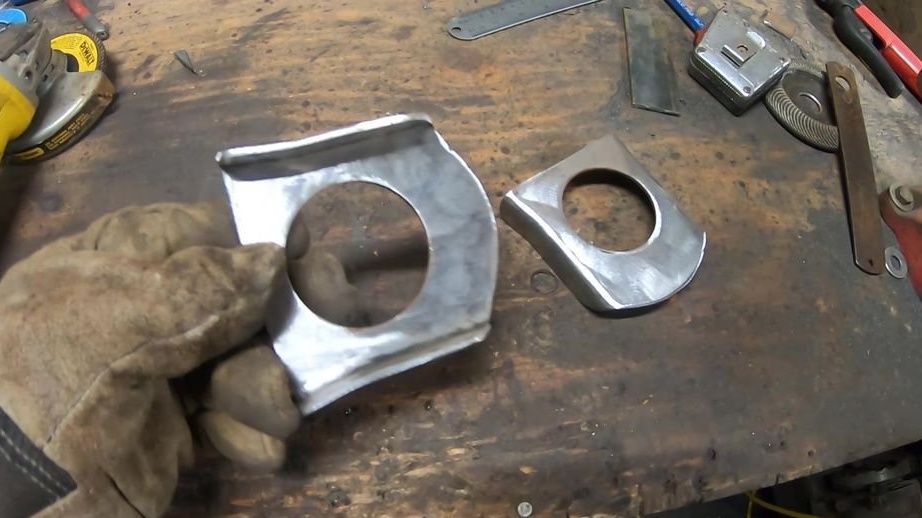
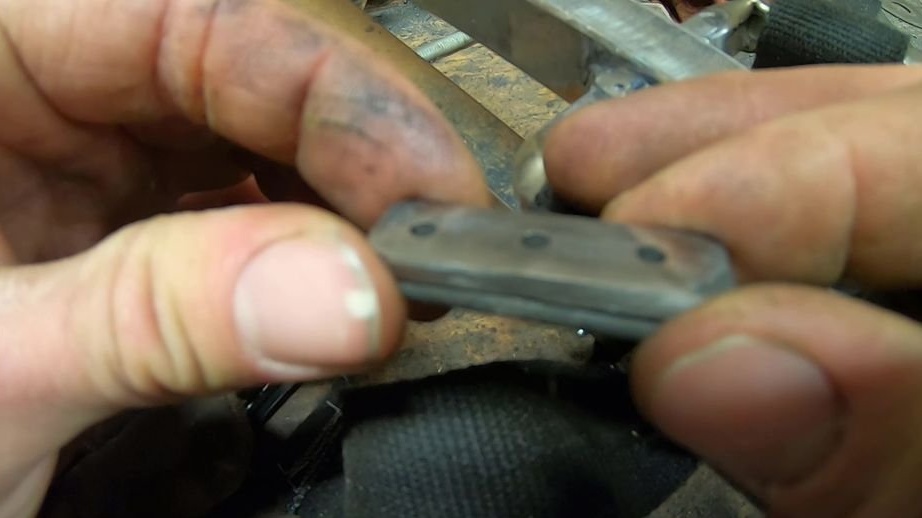
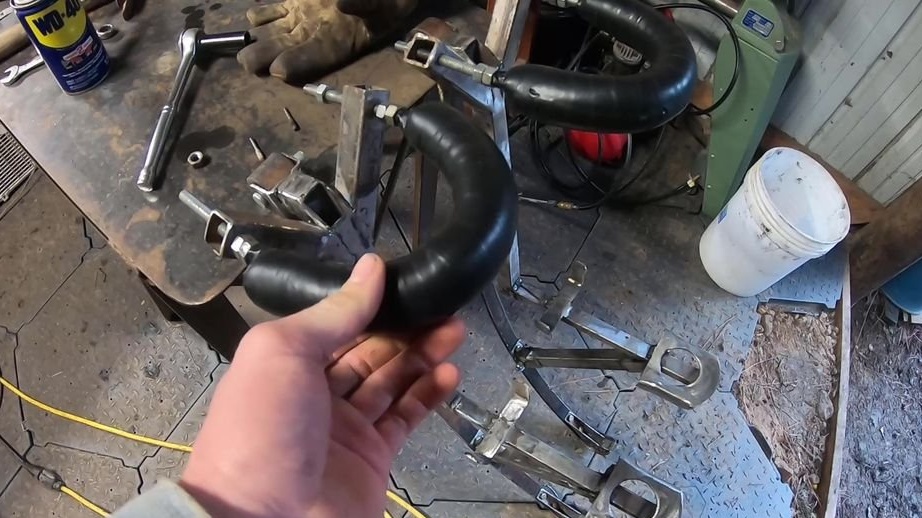
The edge of the spring is sharp and the master makes and welds a metal plate to the spring.A piece of bicycle tire is glued onto the plate.
Step Four: Belts
Fastens straps and a latch in the upper part. The whole one walked about 5 kg.
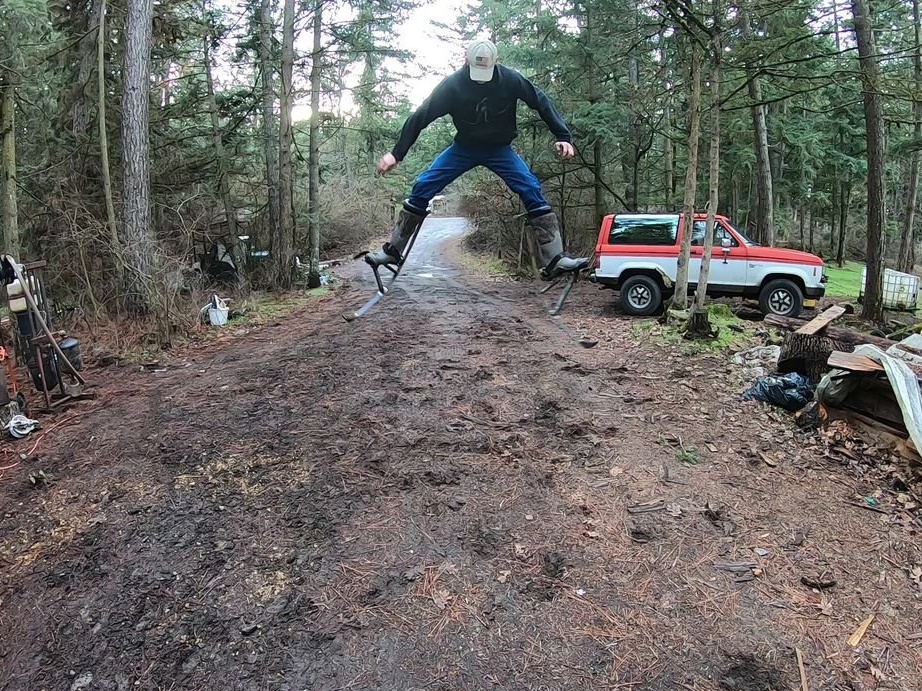
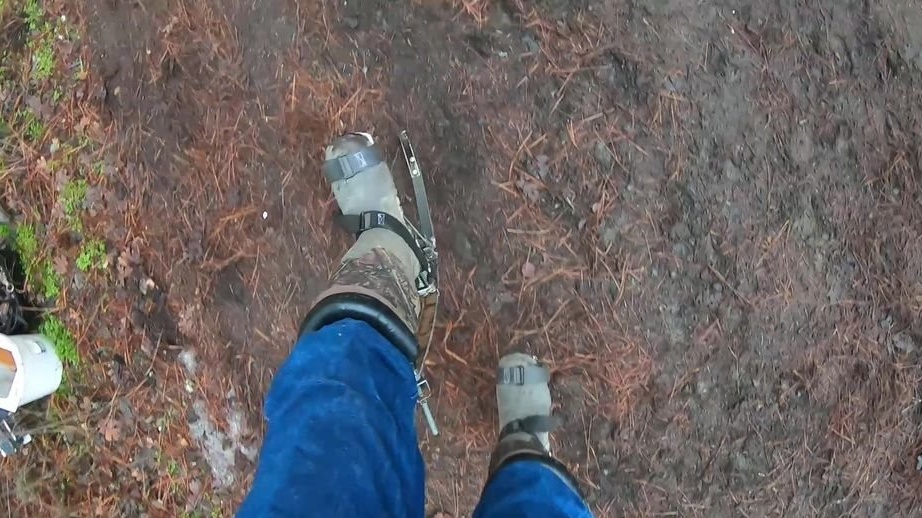
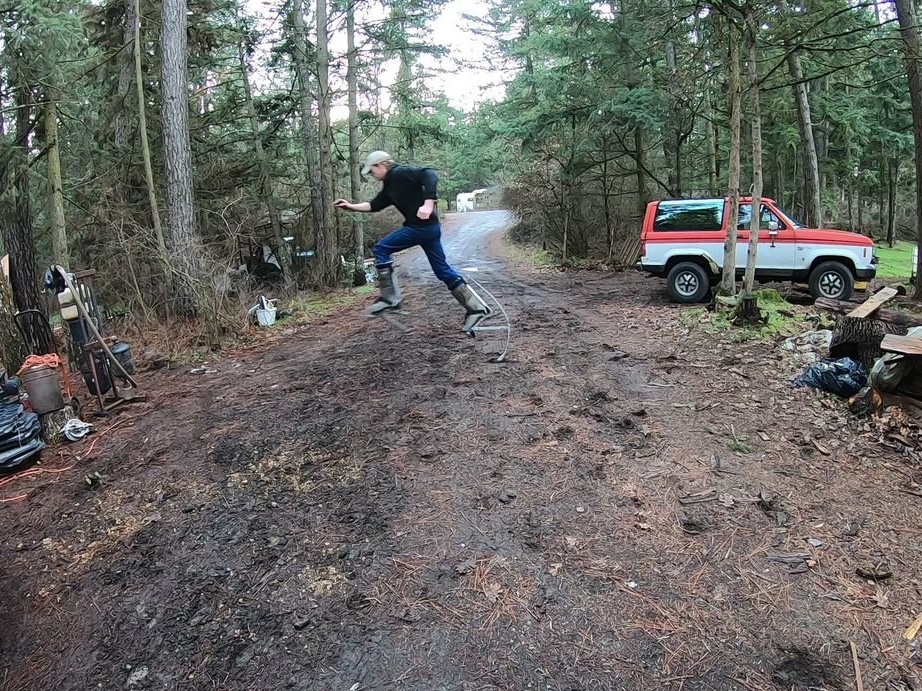
Step Five: Testing
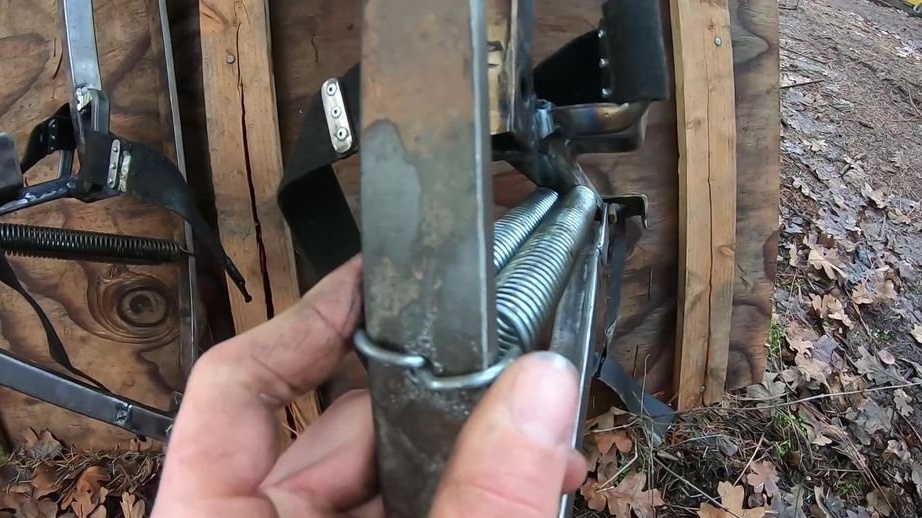
Everything is ready and the master checks the jumpers at work. During testing, the master slightly modified the device by adding springs (see photo).
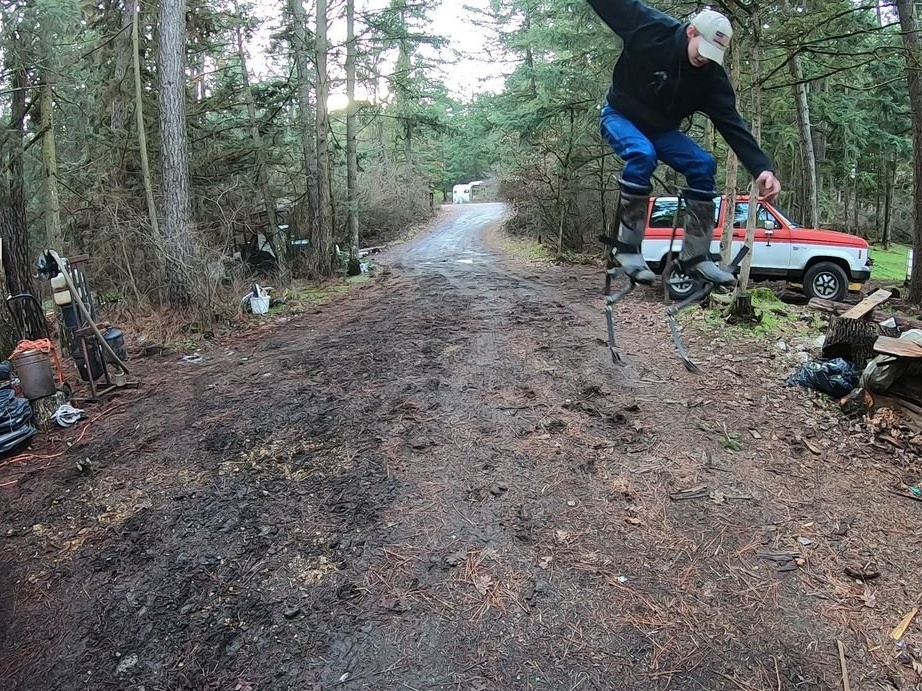
According to him, he is satisfied with the result, but is not going to stop there. His next idea is to make a jump rope reinforced with pneumatics with the possibility of bouncing up to 2.5 m.