Of course, heating with a wood stove has a number of disadvantages. These are low hygienic conditions associated with moving firewood into the room (inevitable garbage), heating them (the best results of the fire are obtained if the firewood is kept in the room for at least 2 hours), efforts to transport fuel. Specific requirements for a heated room - a house, should be built literally around the furnace, with a minimum of partitions preventing air circulation. This is especially important in northern areas with severe and long winters.
Nevertheless, there is no inexpensive economical alternative to stove heating in the forest zone. In addition, modern designs of heat-intensive brick furnaces have high heat engineering and performance indicators, long life, convenient configuration and provide predominant lower heating. This allows you to get comfortable conditions in winter with minimal resources. The stove, unlike boilers, is non-volatile (unreliable village electricity) and can be frozen for a while (long departures). Heat-sensitive wood (brick) stoves are often used for heating residential and utility rooms in rural areas and summer cottages of the forest zone.
Recently, there has been growing interest in renewable energy sources, ecological, nature-friendly way of life. Partly, this is a reaction, counteraction to the hectic and consumer urban culture, with its imposed values that do not make an individual happy, and partly - latent awareness (hopefully) of the deplorable prospects of humanity at the same time. Wood as a fuel - fits perfectly into such a new model behavior. In some countries, interest in wood stove heating began to be maintained and stimulated at the state level. Therefore, it is worth looking for ways to improve the characteristics of furnaces and their convenience. This is relevant and promising.
Anyone, no matter how experienced the radio master knows, it’s not enough to assemble the necessary device, say, a measuring generator, and to achieve its satisfactory performance. For everyday use, you should equip the device with a convenient housing, connectors, an understandable front panel, scales, verniers, attenuators, etc. A similar situation is in the furnace business. Guests entering our house at the sight of heating stove often, most of all, they were touched by its convenient shelves. In some cases, even the built-in fireplace was less impressive. Moreover, if highly specialized knowledge and practice are needed for laying a furnace, then for many “things” ordinary, average technical and construction skills are quite enough.
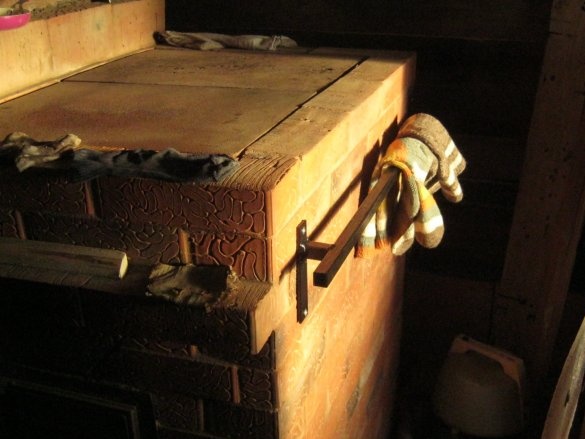
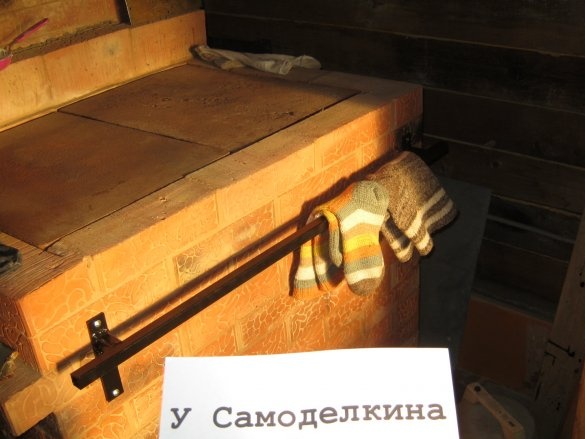
Here, I brag of a simple stove-rail for drying wet mittens of hats and socks. Its design is very simple, standard metal products are used as blanks. The fastening on the furnace masonry is done in a manner similar to that for concrete walls, without the need for wiring any parts into the masonry of the furnace. The only thing is that welding was used, but you can try connecting the parts with screws or rivets.
What was needed for work.
A set of bench tools, a marking tool, a small angle grinder, goggles and headphones. Something to drill - a machine, drill or screwdriver. Small welding inverter with accessories. A good extension cord came in handy. LMB, brush, rags, dishes. Small diameter carbide drill or drill. Self-tapping screws for sheets (with flat heads).
So, let's get started.
Refinement has been wood stove in workshop. The number of small gizmos requiring periodic drying has increased, space on the brick edge of the slab has become scarce. Having chosen a convenient place on the side of the plate, I decided on the dimensions - the length of the rod. I chose the length of the suspension brackets so that the mounting holes at the edges fall into the middle of the bricks.
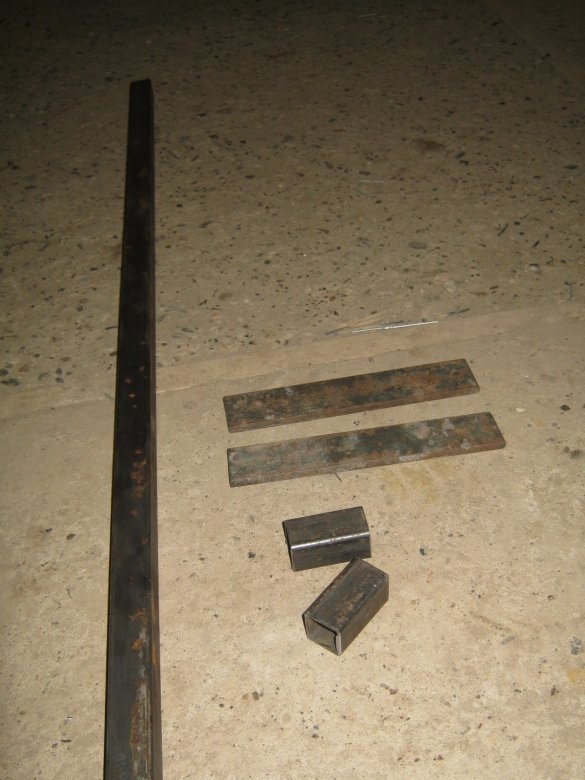
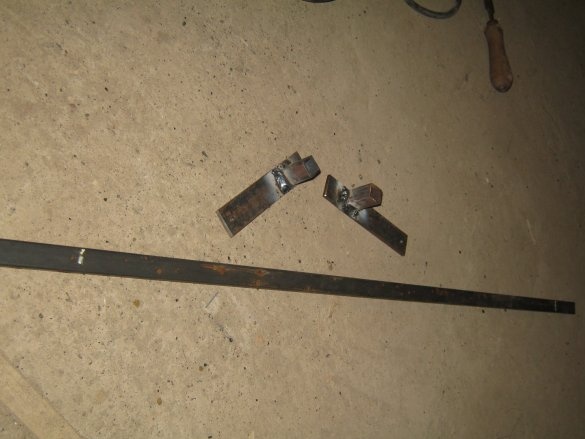
I picked up suitable blanks in the glands. It turned out - a rod and two racks from a 20x20mm square pipe, two brackets from pieces of a strip 30 mm wide.
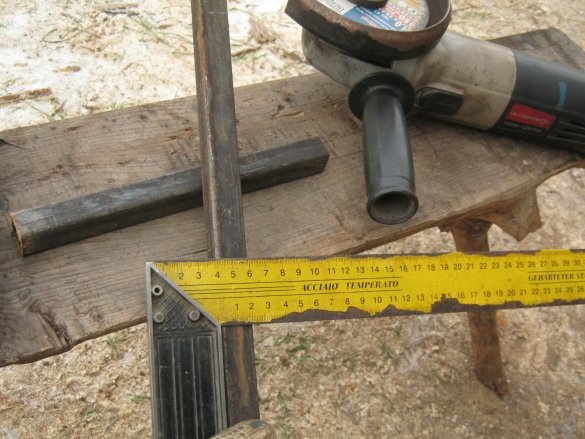
Marked up the blanks, cut off with a thin abrasive disk angle grinder. A device like a pendulum saw would be appropriate here. For a more perpendicular cut of a square pipe, I marked each facet with a joiner square and pencil. Cut the same way. Each face in turn. For a long time, the roughness of the edge is somewhat reduced.
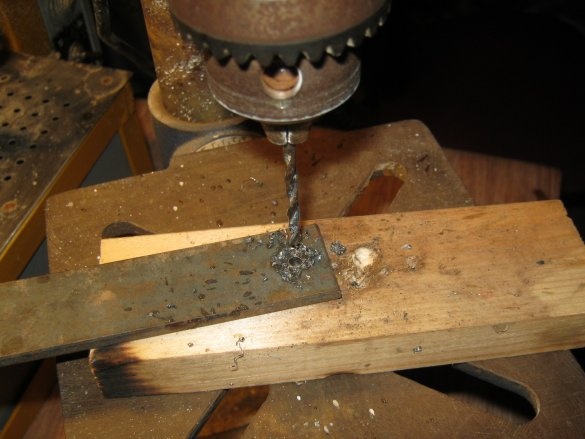
Dull the sharp edges of the workpieces on the sharpener. In the blanks of the brackets, I marked, screwed and drilled holes for self-tapping screws, drilled the holes with a large diameter drill.
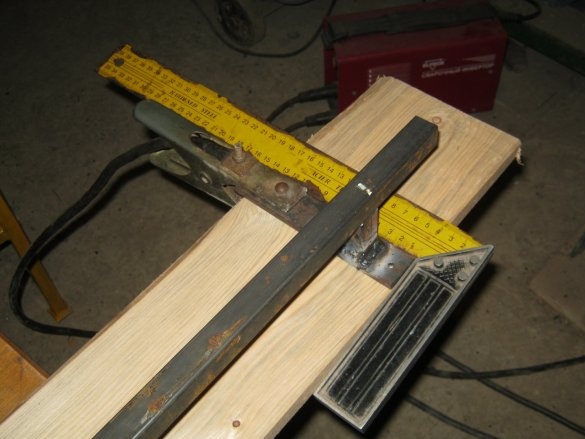
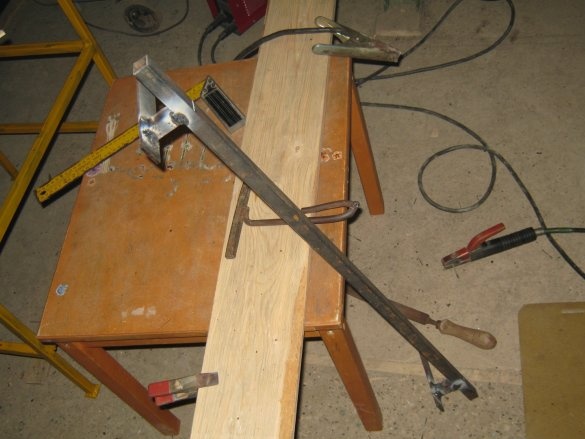
I started assembling the bar. As the basis for the assembly, I used a not very valuable but even board of sufficient length. On it, you can do the assembly of the piece of iron at the tack, and thorough welding, do it on weight. Of course, a welding table and some specialized fixtures for welding, for example, magnetic corners.
I'm not a good welder - I only do this from time to time. For me, the convenient position of the parts to be welded is very important.
The practice of welding thin-walled parts showed that a convenient, sufficiently high-quality and safe method in the sense of burning through is welding from left to right with a strongly inclined, almost lying electrode. The electrodes are OK-46, clearly thin - ø2mm, the polarity is reversed. Welding current 45A. In the normal perpendicular position of the electrode, he made an arc and in a circular motion melted the “weld pool” at the beginning of the seam, then he laid the electrode almost horizontally and led the seam in small circular motions. In this case, the arc pressed mainly not on the thin heated wall of the pipe, but on the end face of the formed weld. The layer of electrode coating did not allow the tip of the electrode to touch the metal and stick at a low welding current. For the most part, when welding such a pipe, the seams were of satisfactory quality, and the holes had to be melted not very often.
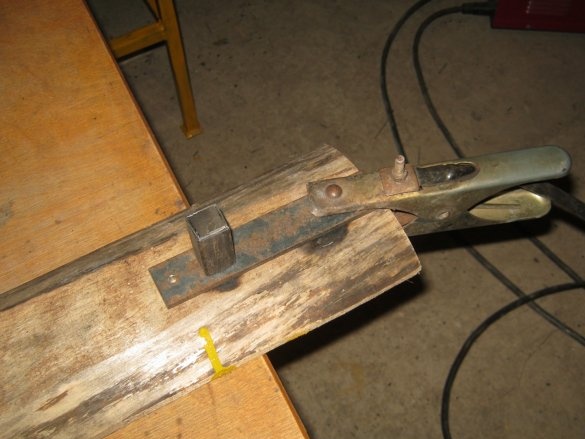
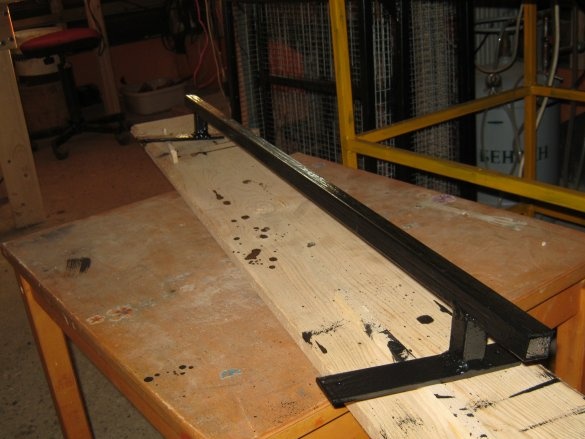
Short racks are welded to the bracket strips. After cooling the welded parts, I assembled all the rod parts. I used the board again so that my brackets fit uniformly and fairly evenly against the smooth brickwork.
I attached a long crossbeam to the brickwork of the slab at the installation site, found suitable places for the brackets, such that the screws did not fall into the clay joints, struck on the pipe finely. I attached the welded brackets to the planed surface of the board as if it were brickwork. The distance between the brackets is according to the marks on the long pipe.Brackets aligned on and perpendicular to the edge of the board, fixed the glands in the position found. He put the pipe, made several tacks, tried on the assembled piece of iron to the wall of the furnace. Boiled the seams.
After cooling, the piece of iron knocked the remaining slag from the seams, cleaned several clumsy ones with a thick abrasive disk.
I painted a piece of iron. I used a silicone-organic heat-resistant enamel like varnish brand KO, black. 3 layers. Although the temperature at the place of screwing does not exceed 50 ° C (the firebox of the plate is lined with chamotte brick flat) and you can apply paint on metal of any type, for example, the same enamel PF-115. The deep black color, however, is a miracle that harmonizes well with the red color of clay bricks. Heat resistance, in general, is also logical and appropriate. All the same, the oven, not khukh-mukhra.
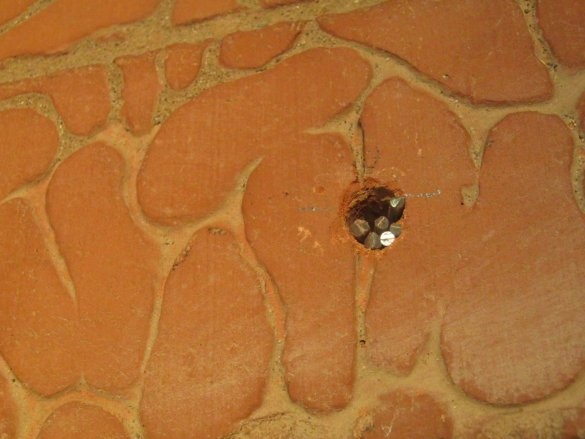
After waiting for complete drying, screwed the handrail into place. I used the usual technique for concrete surfaces - I checked a blind hole, inserted a dowel, and screwed a screw. He marked the places for the holes - put the handrail in place, aligned it with the nearest horizontal seams and along the edges of the furnace, put marks through the holes with a pencil. Holes drilled at low speeds. The same hammer drill works well in drilling mode. Red brick drilled with a standard drill. The slotting mode should not be used - the clay mortar is not so strong, and the brick is drilled satisfactorily.
As dowels, I used packing from segments of a non-thin aluminum wire - a core from an overhead line or a wire with a mono-core cleared of insulation. Aluminum with a zinc coating of self-tapping screws does not form a galvanic pair and works well in the proposed "high temperature" quality.
Conclusions.
As a result of the work done, it became more convenient to use the stove. The bar has a simple structure and mount. Welding of thin metal can be avoided by using a round smooth bar instead of a square pipe.
Babay Mazay, January 2020


