
Similar sensors exist as much as RC generators. But it turns out that you can “teach” how to measure the changing capacitance of a sensor Arduino - software, an external generator is not required for this. And you can make the sensor itself do it yourself - about such homemade tells the author of Instructables under the nickname luismorales-navarro.
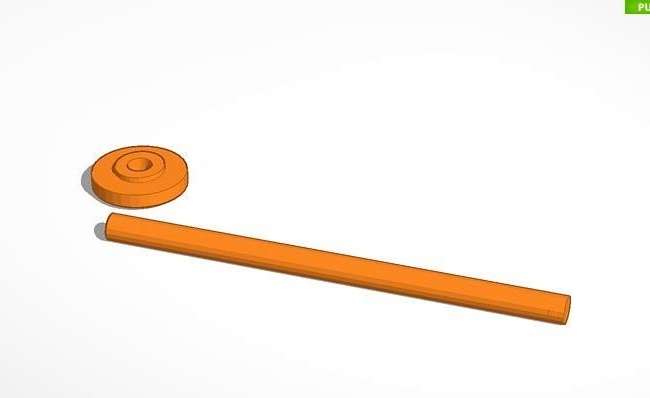
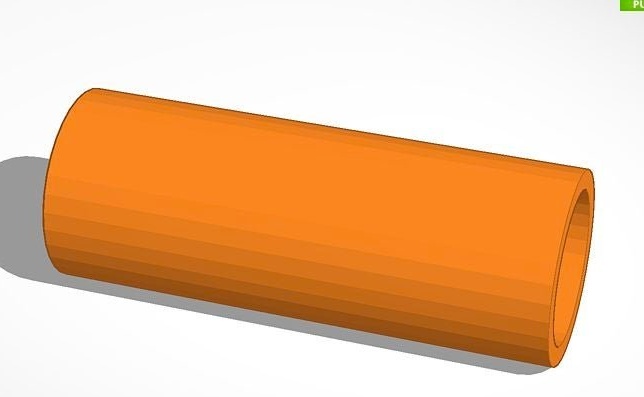
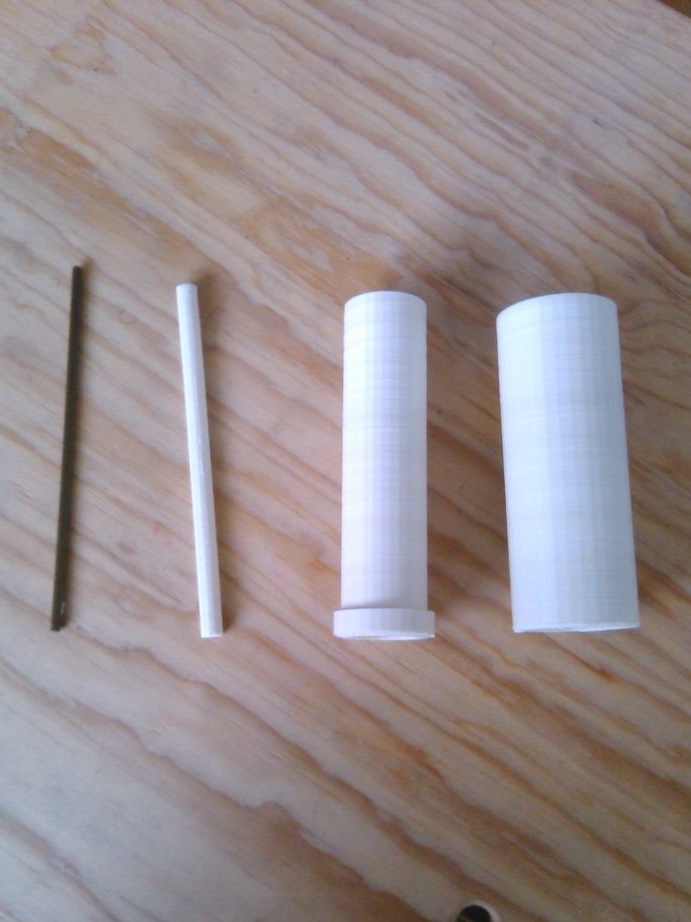
The wizard develops four sensor details and uploads the resulting files to the Tinkercad website: inner tube, her cover, outer tube and her cover. Prints these parts on a 3D printer.
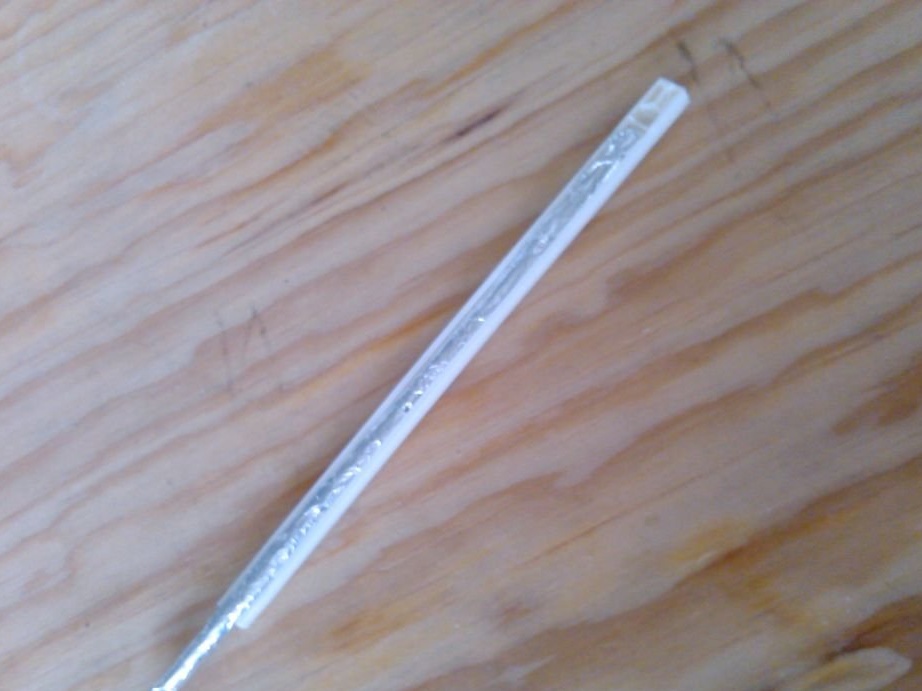
Wraps tubes with aluminum foil, attaches conductors to them. Here, copper to aluminum - you can, well, affect the accuracy, that's all. In power circuits, it’s not possible, even if there are “only tens of milliamps”.
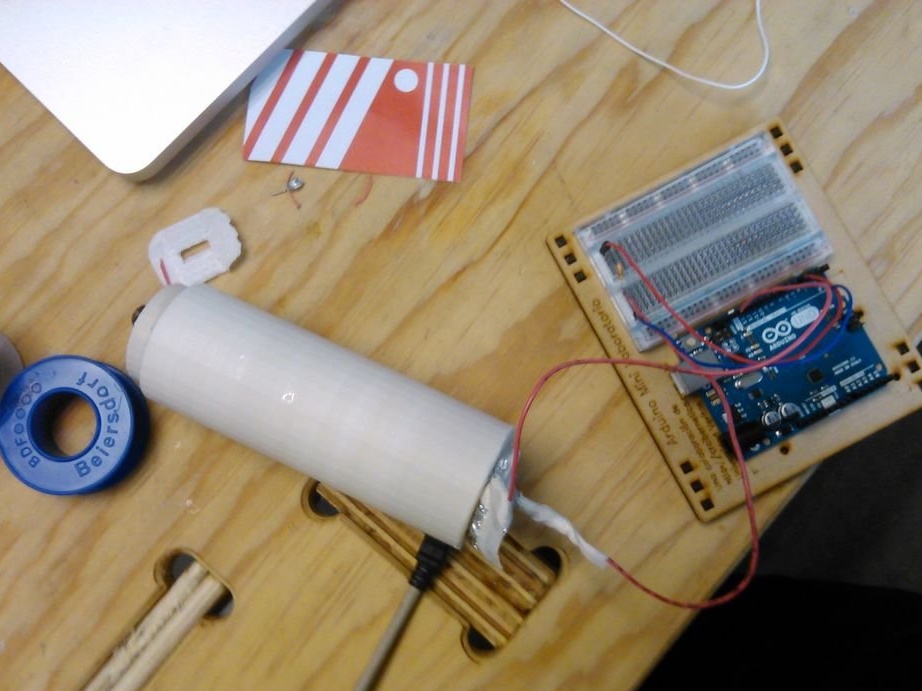
The master collects the sensor, seals it with hot-melt adhesive, makes sure that it does not leak, and the liquid does not come into contact with the foil anywhere. After all, it is required that the sensor be capacitive, and not resistive.

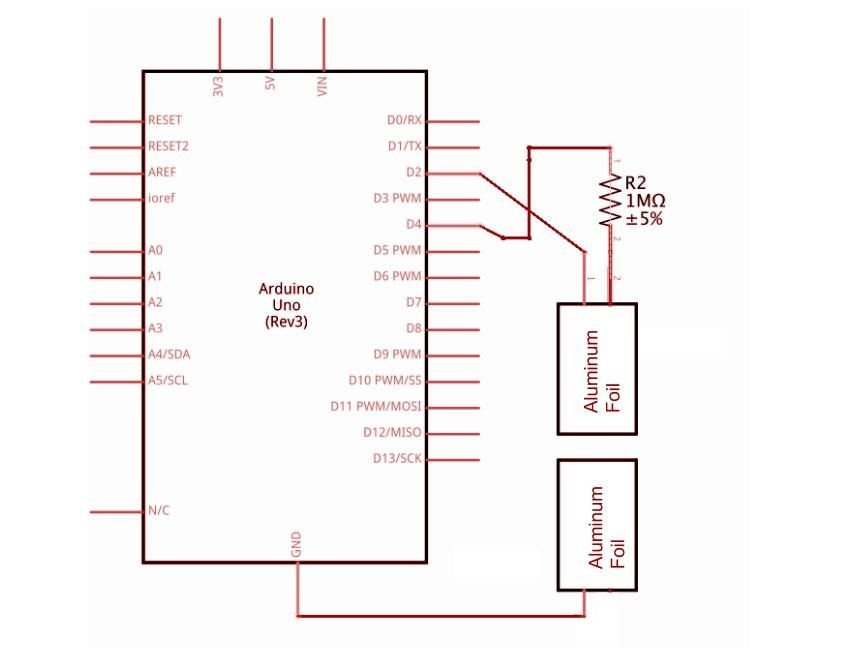
Connects to Arduino as shown below. Of the additional components, only one resistor is required. Of course, the instruction could be entitled like this: “Sensation! Level gauge from one resistor!”, But it’s immediately clear that this is “porridge from an ax”.
The master checks the operability of the sensor with the simplest program that requires the CapacitiveSensing library:
/ * * CapitiveSense Library Demo Sketch
* Paul Badger 2008 * Uses a high value resistor e.g. 10M between send pin and receive pin
* Resistor effects sensitivity, experiment with values, 50K - 50M. Larger resistor values yield larger sensor values.
* Receive pin is the sensor pin - try different amounts of foil / metal on this pin
* /
CapacitiveSensor cs_4_2 = CapacitiveSensor (4.2);
// 10M resistor between pins 4 & 2, pin 2 is sensor pin, add a wire and or foil if desired void setup () {cs_4_2.set_CS_AutocaL_Millis (0xFFFFFFFF);
// turn off autocalibrate on channel 1 - just as an example Serial.begin (9600); } void loop () {long start = millis (); long total1 = cs_4_2.capacitiveSensor (30); Serial.print (millis () - start);
// check on performance in milliseconds Serial.print ("\ t");
// tab character for debug windown spacing Serial.print (total1);
// print sensor output 1 Serial.print ("\ t"); delay (10);
// arbitrary delay to limit data to serial port}Do not be surprised at the lack of line feeds - this is what the original did. Measurement data is sent to the serial port monitor. In the future, the proposed fragment can be integrated into more complex sketches, in which the alarm about too large or low liquid level, control of actuators are implemented.