
Hello! Today in the article we will consider in detail how to make a very interesting homemade from improvised means. Today we will assemble a rice grinder for making rice flour. The thing is actually interesting and can find application in everyday life. Since it will consist of the simplest materials at hand, for some this homemade product will cost at all for free, so almost everyone can repeat it. Well, well, I think you should not delay with a long introduction, they drove.
It should be noted that you can find links to some components of the design at the end of the article.
For a homemade crusher you will need the following:
- A pair of small wooden blocks
- A small piece of plywood
- A little stainless steel and a small piece of steel plate
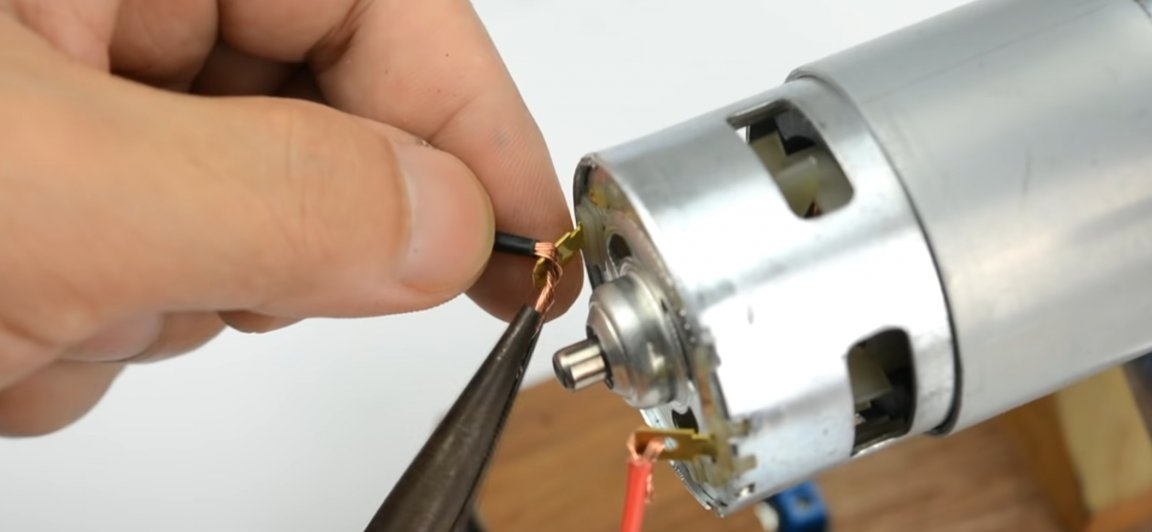
- Brush motor
- "Drill chuck" mounted on the motor shaft
- Metal washers
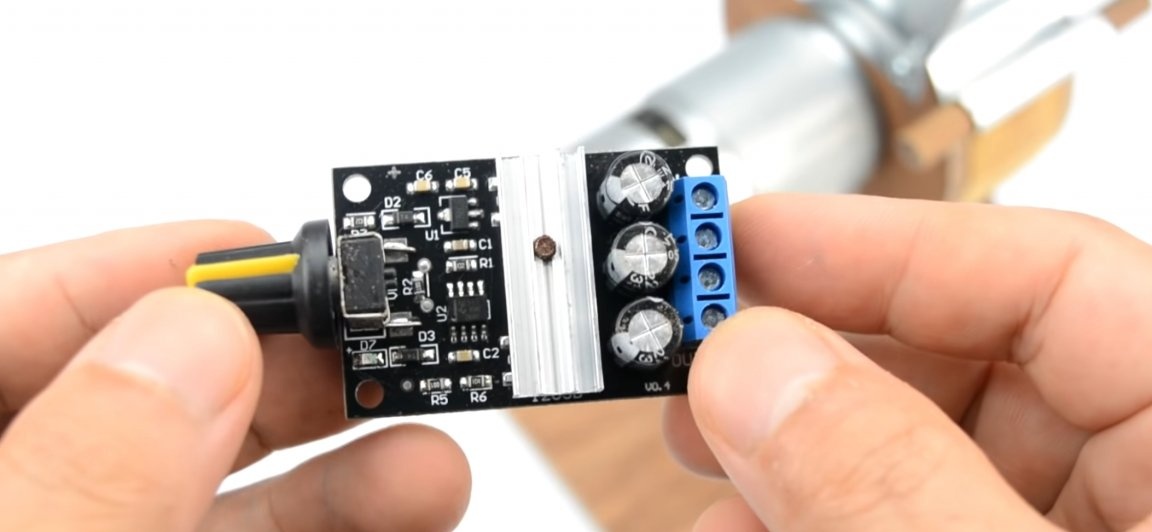
- Engine speed control.
- Power supply 12V-24V DC.
From the tools you will also need:
- Jigsaw
- Ruler
- marker
- Compass
- Drill with drills
- Scissors for metal
- Pliers
- Hammer
- small nails
- screwdriver
- Self-tapping screws
- Screws and nuts for them (M3)
- Drill (optional)
We proceed to the assembly of the crusher.
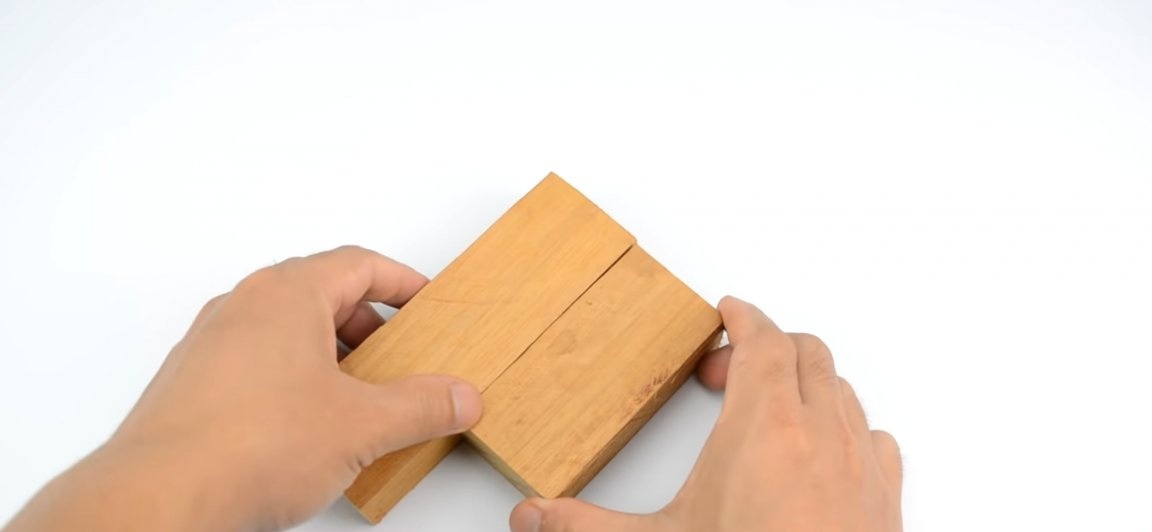
First you need a wooden block or a couple of blocks with a thickness of about 30 mm (see photo below). From these blocks, the main part will be made, inside of which rice will pray. You can use one wider bar, but then you just have to make additional cuts.
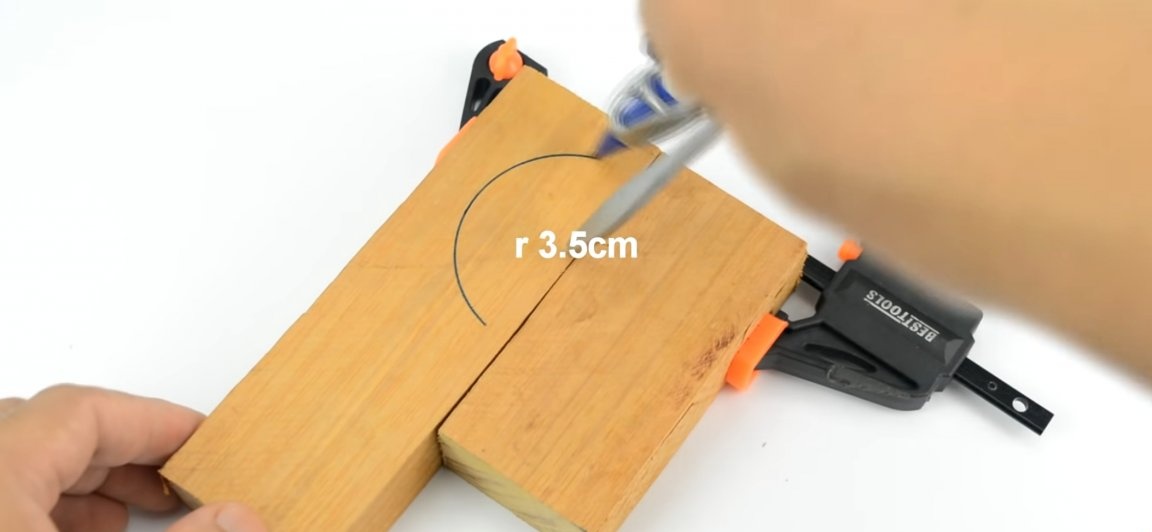
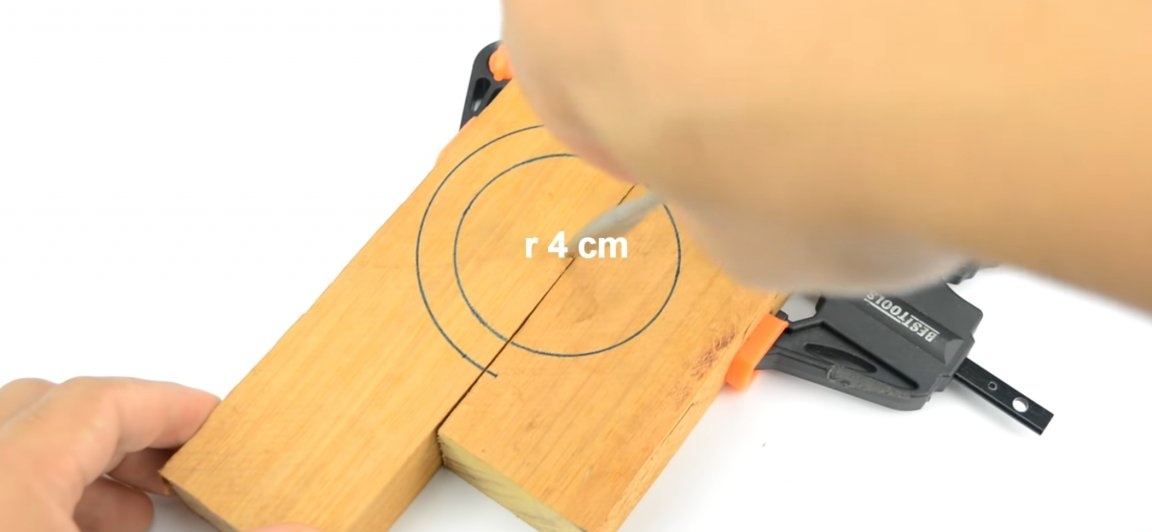
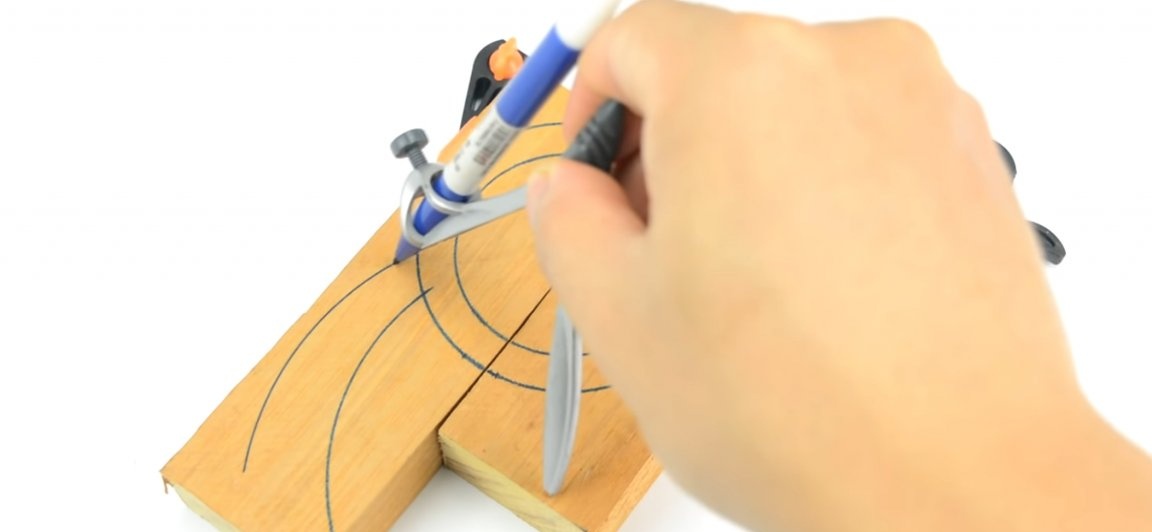
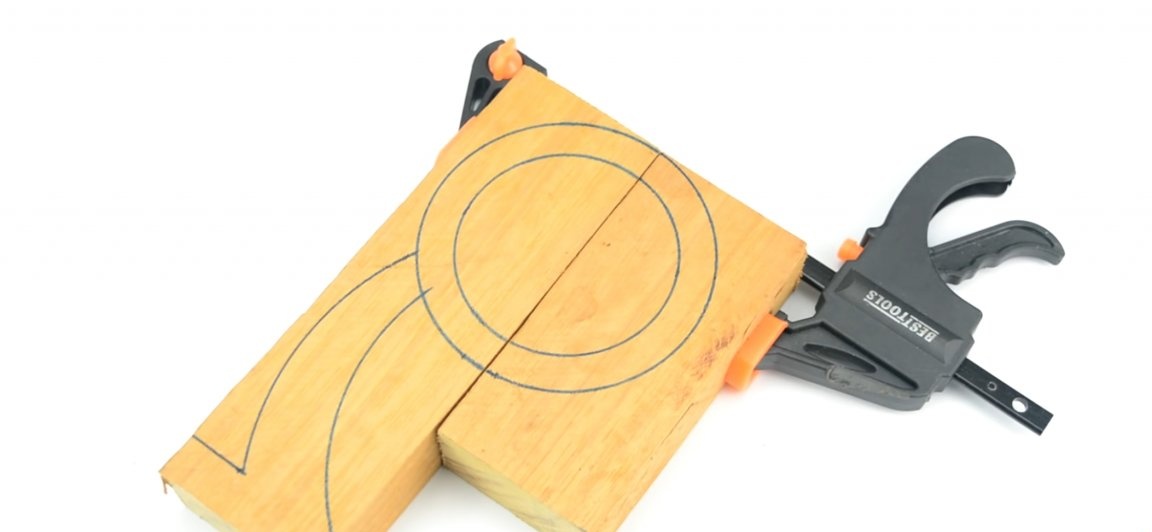
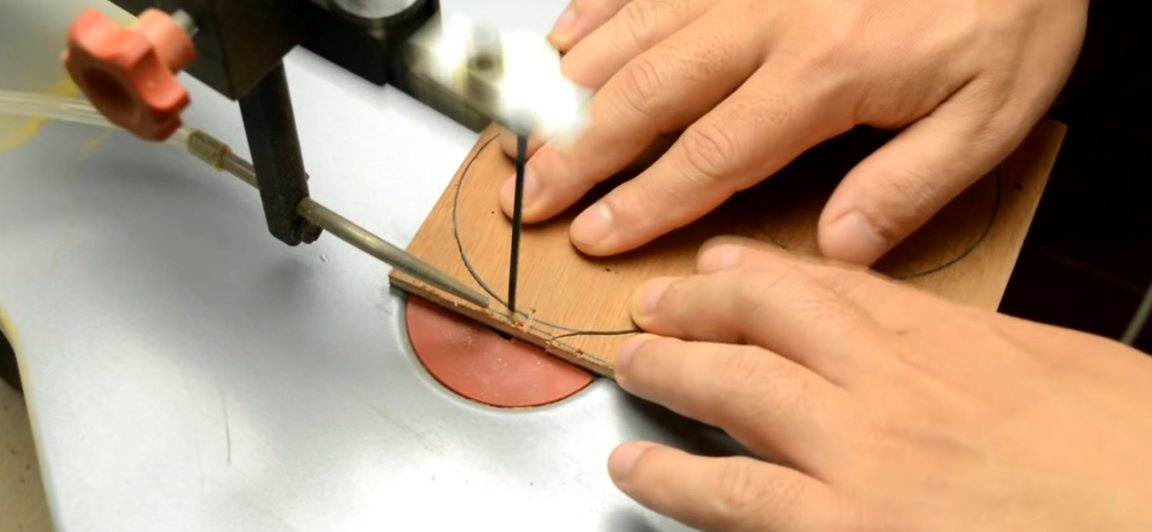
Having decided on the bars, go to the next stage. We connect two bars with clamps, as it is shown below and with the help of a compass in the indicated places we draw two circles, one with a radius of 35 mm, and the second with a radius of 40 mm. Then to the circles just drawn, using the same compass, “draw” a leg (see photo).
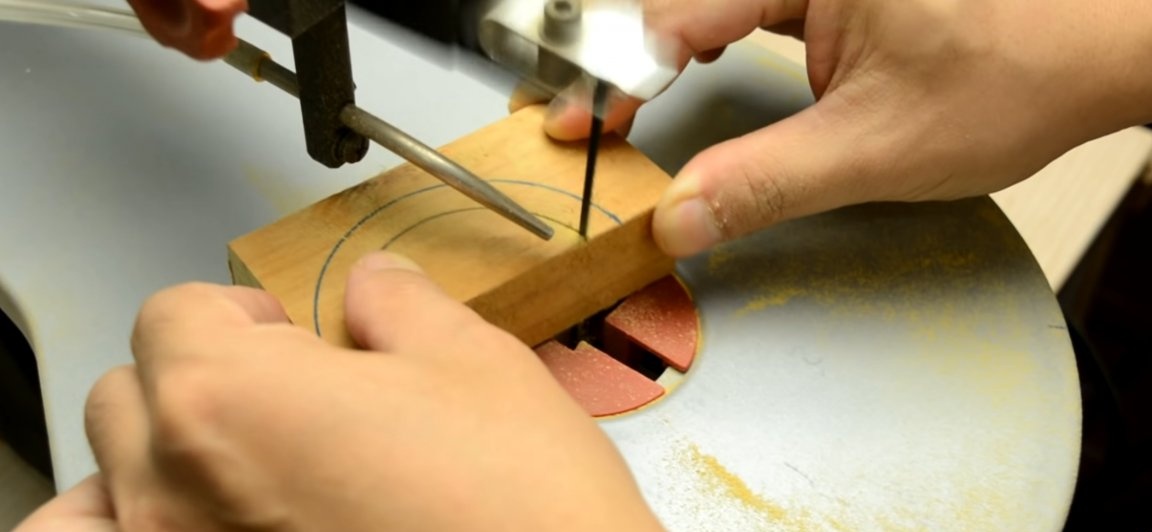
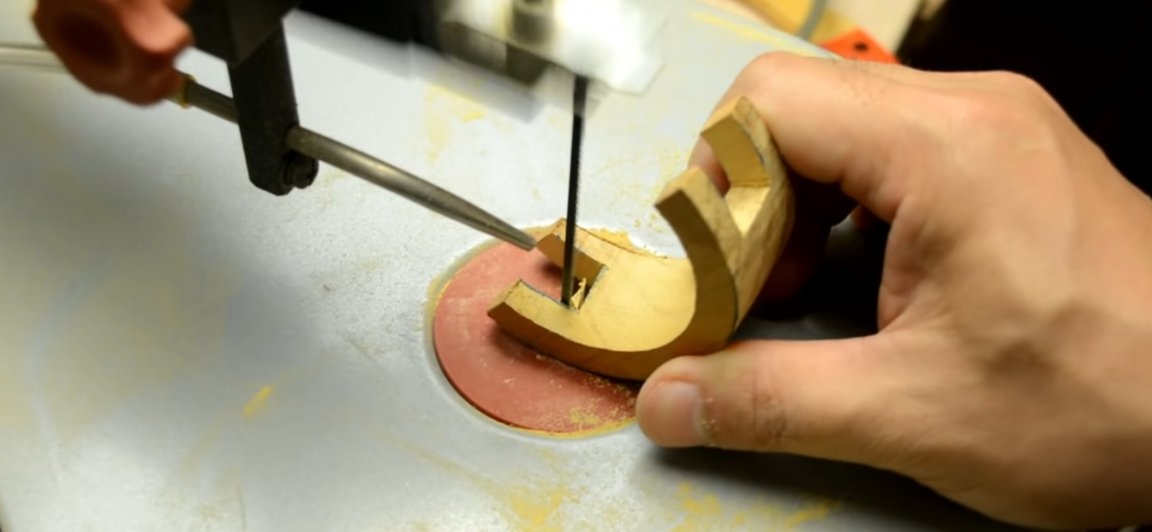
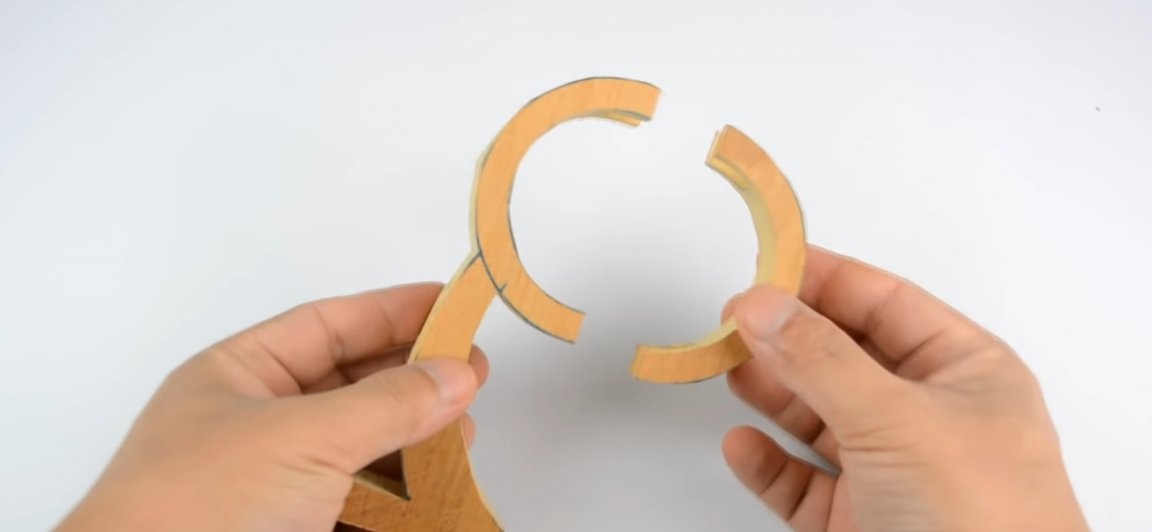
The next step is to cut from the bars of the workpiece strictly according to the office. After cutting the workpieces, two additional windows should be cut out, they should be located in the upper and lower parts of the circle, these holes will serve to enter and exit the product.
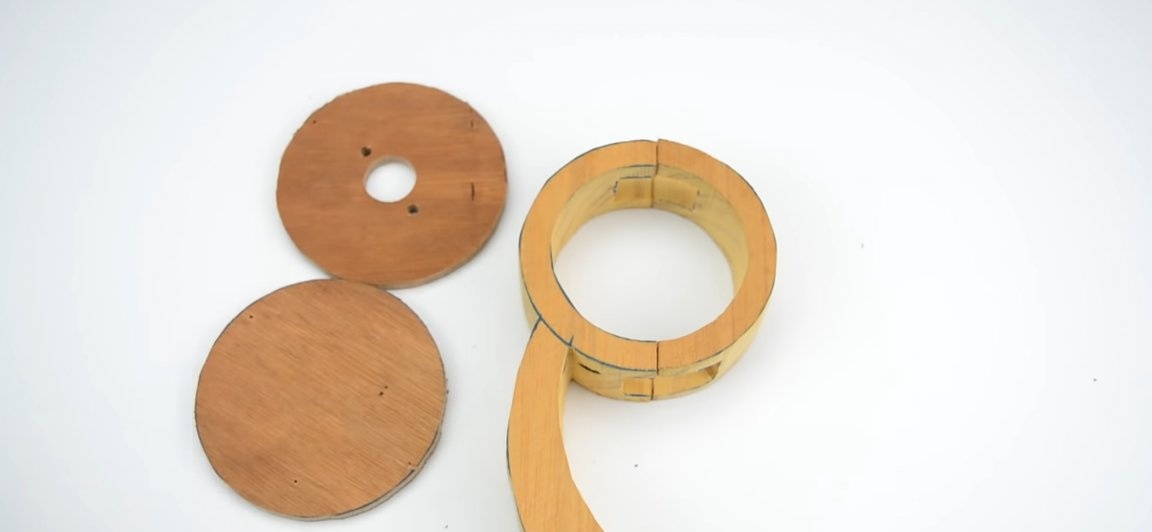
Then you should make a pair of plugs. For this, plywood with a thickness of not more than 5 mm is perfect. On the plywood itself, with the help of a compass, mark out two circles with a diameter of 40 mm and saw them with a jigsaw.
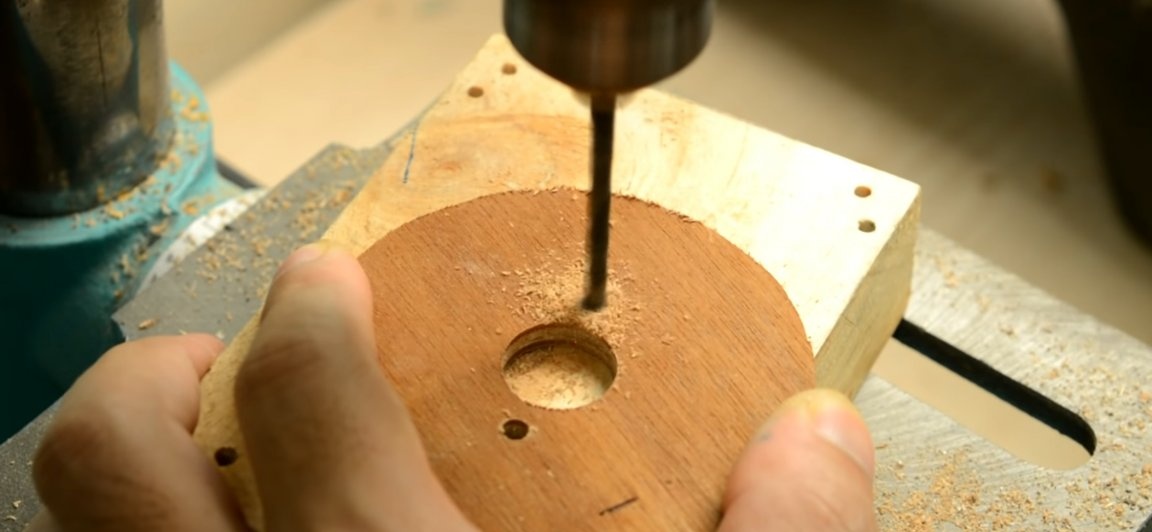
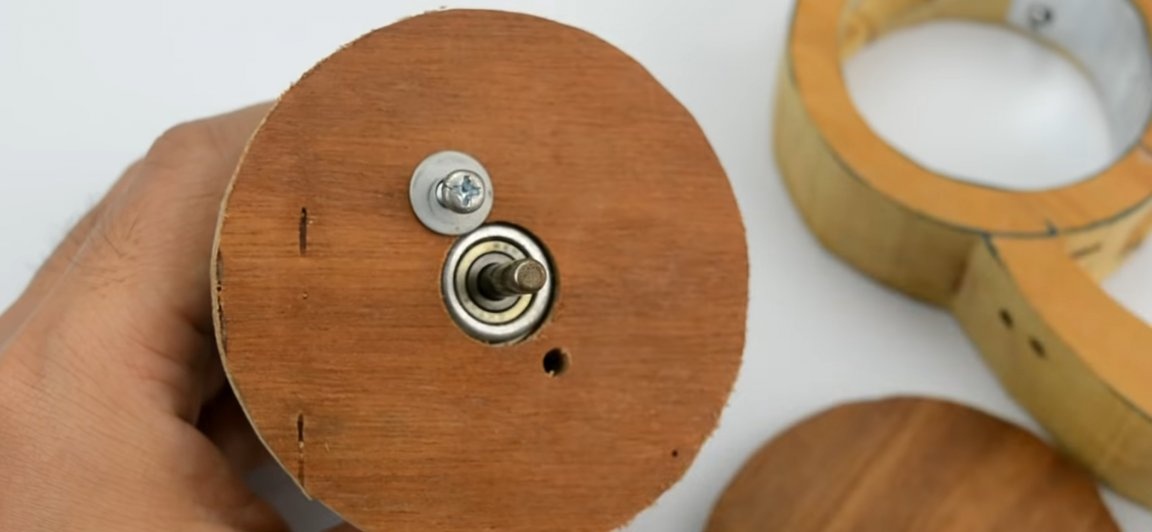
We will use one of the just made plugs as an engine mount for an electric motor. To do this, we make a round hole in the center of one of the plywood billets, with such a diameter that the protruding part of the electric motor can easily pass. This hole is easiest to make with a pen drill. Then, near the just done big round hole, you need to drill a couple of holes at a smaller amount, they are needed to mount the electric motor.
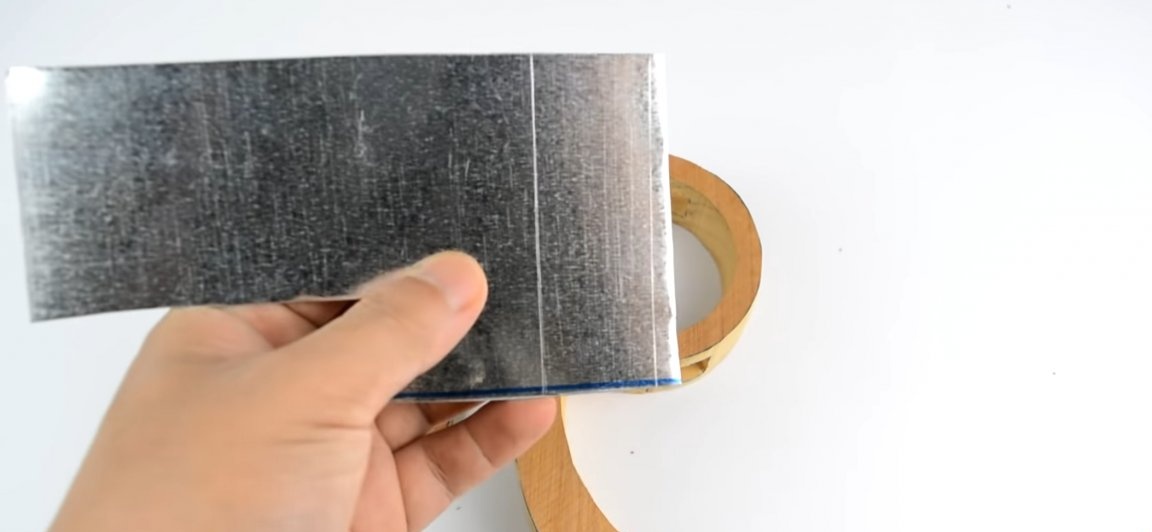
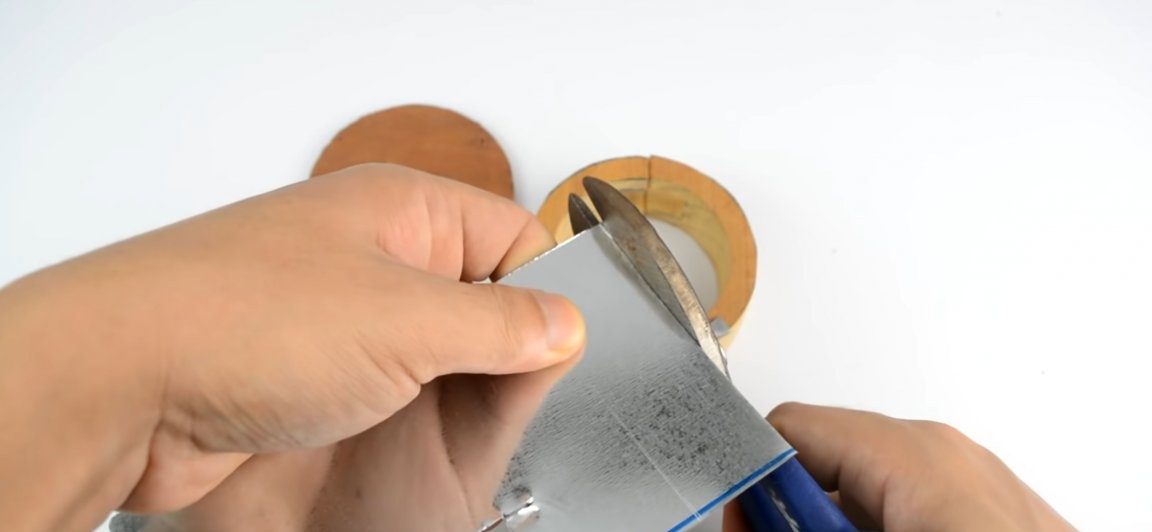
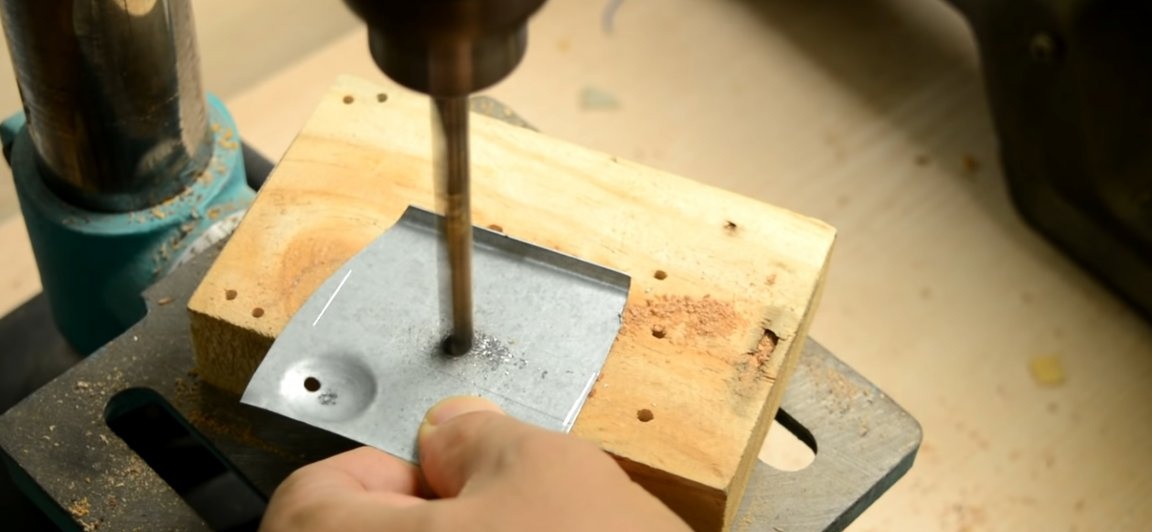
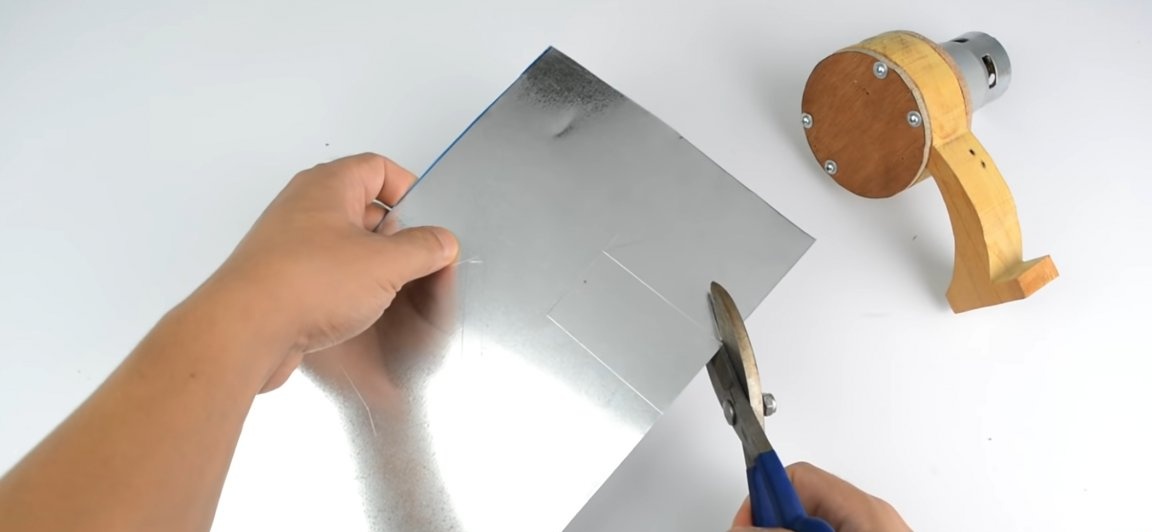
The next step is to take a small piece of stainless steel, from which we cut a rectangle with a width equal to the thickness of the bars and a length of about 50 mm. It should be cut with scissors for metal (or a drill, if any).
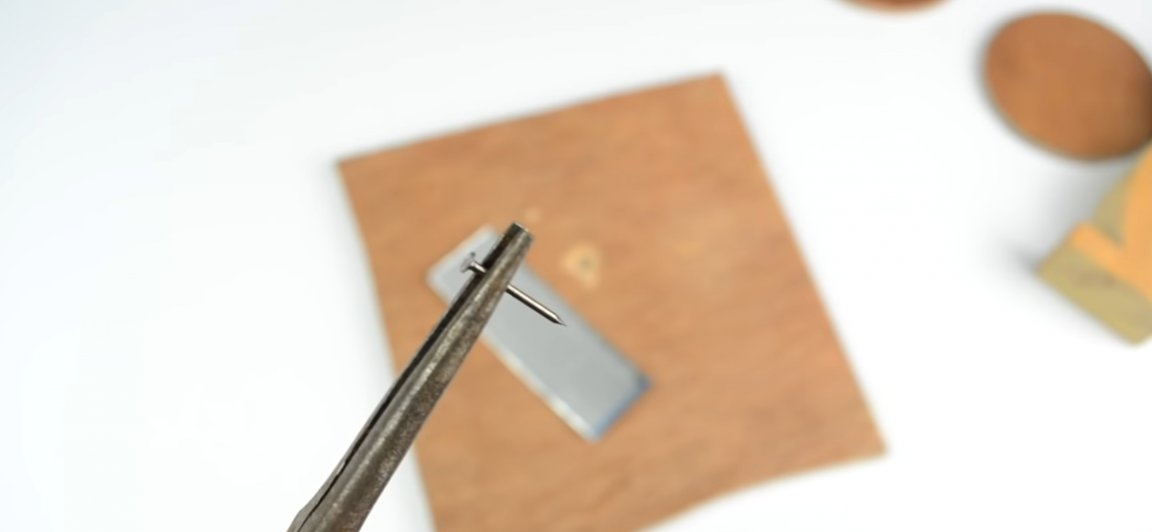
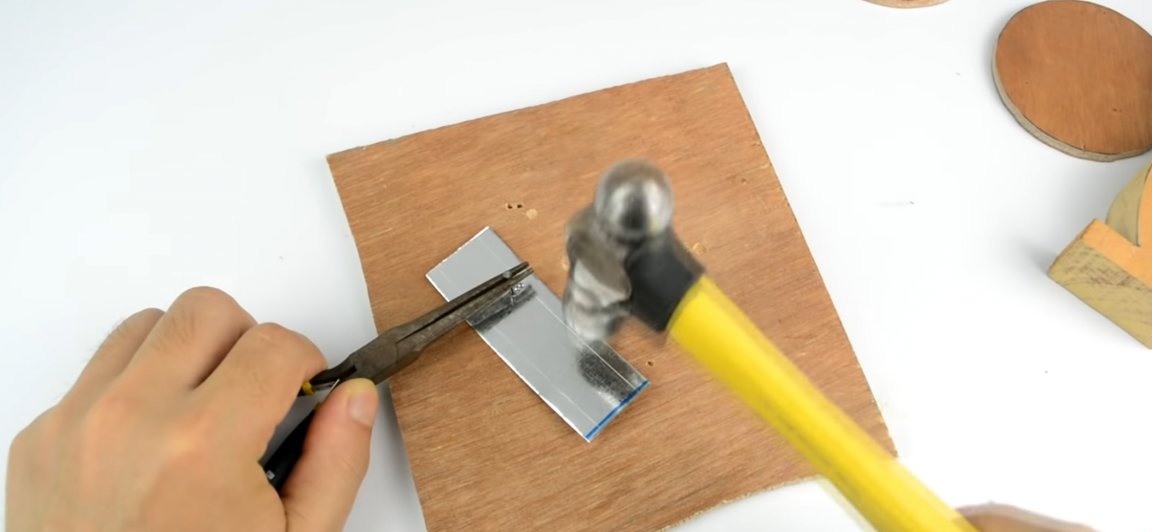
After a metal rectangle has been cut out, a couple of dozen holes should be made in it. The holes themselves should be tiny, as they will serve as sieves, and the granularity of the flour produced directly depends on their size. For making holes, a crushed furniture clove and a hammer are perfect. We put the plate on the unnecessary plywood, and with the help of a hammer and clove we make holes in the center of the plate, in the part where, after installing the plate, the outlet will be located in place (see photo).

Then, we just install the plate that we just made in its place, namely, inside the circle by matching the holes on the plate with the outlet on the circle. The plate itself should be fixed using small screws. We also connect the second half of the circle with the first (see photo)
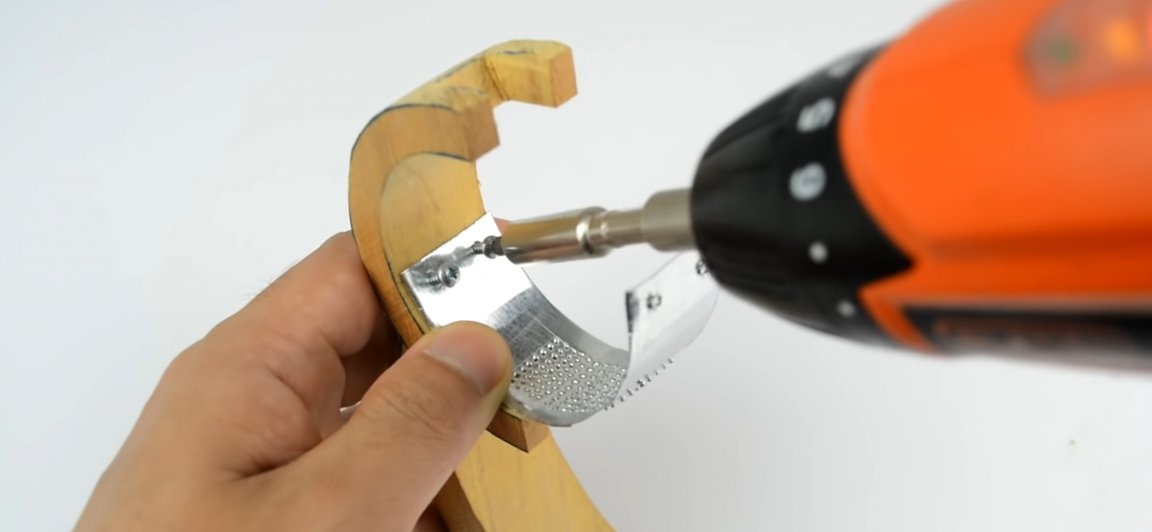
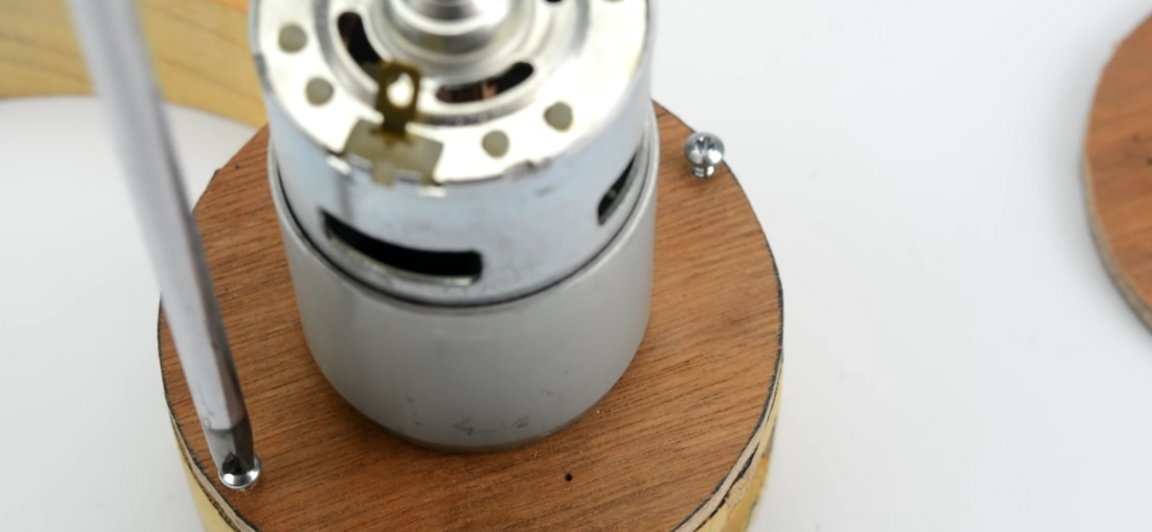
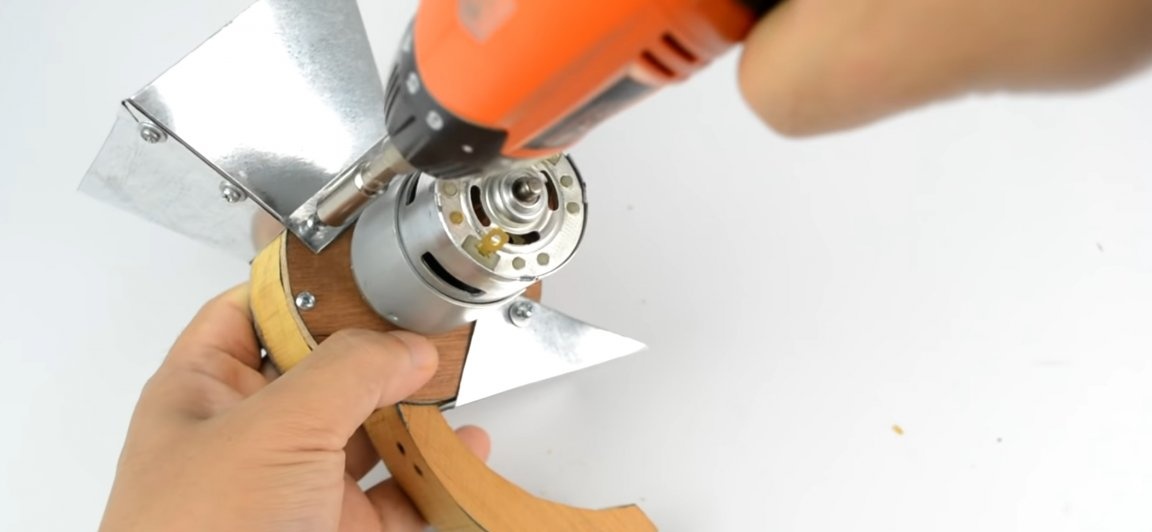
Then install the plywood plugs in their place. But before that, on one of the plugs it is necessary to fix the electric motor. To do this, install the engine in its seat and fix it with suitable screws, and in order to make this connection more reliable, we put metal washers under the screws.
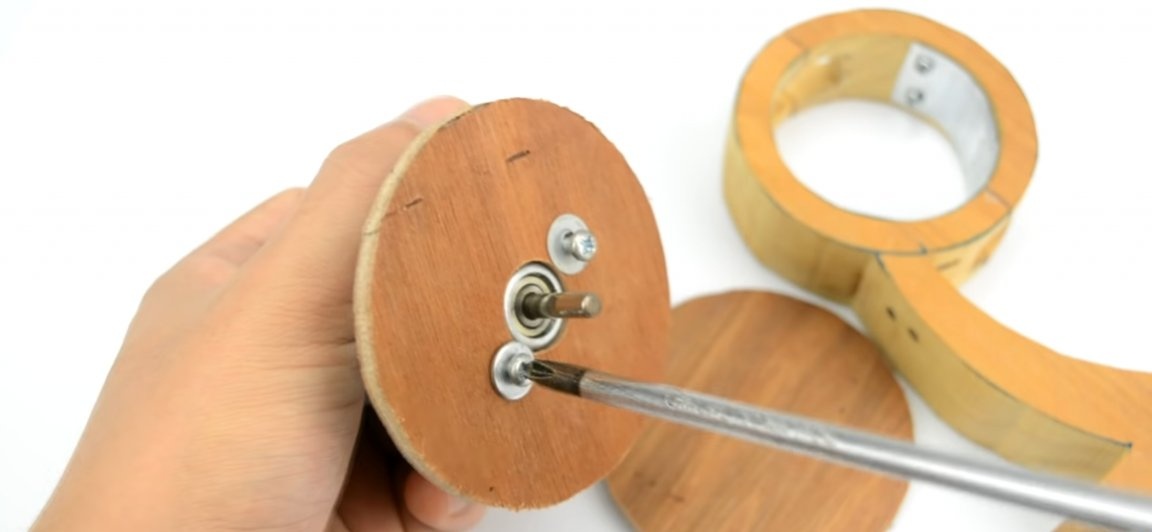
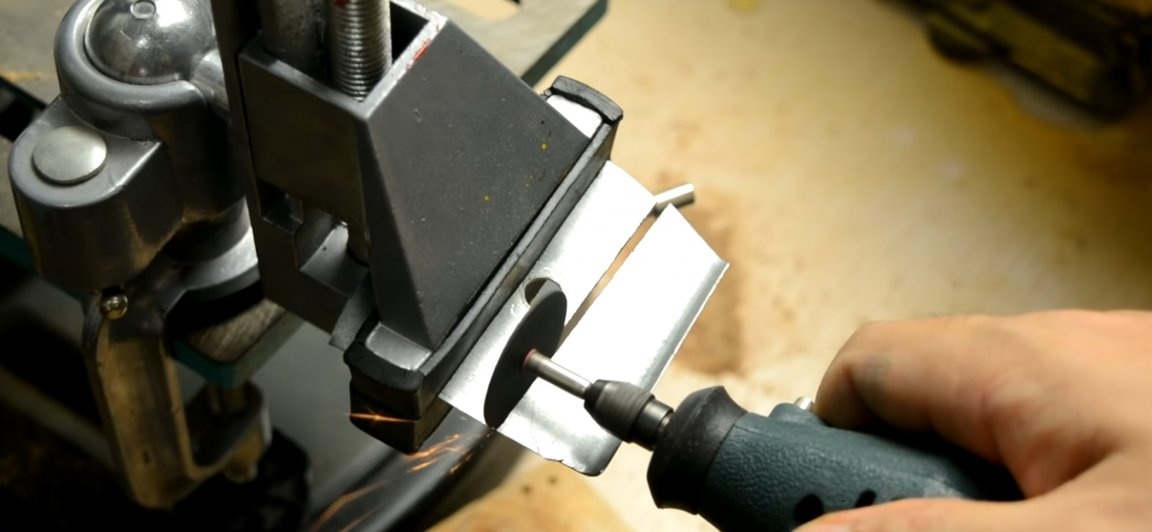
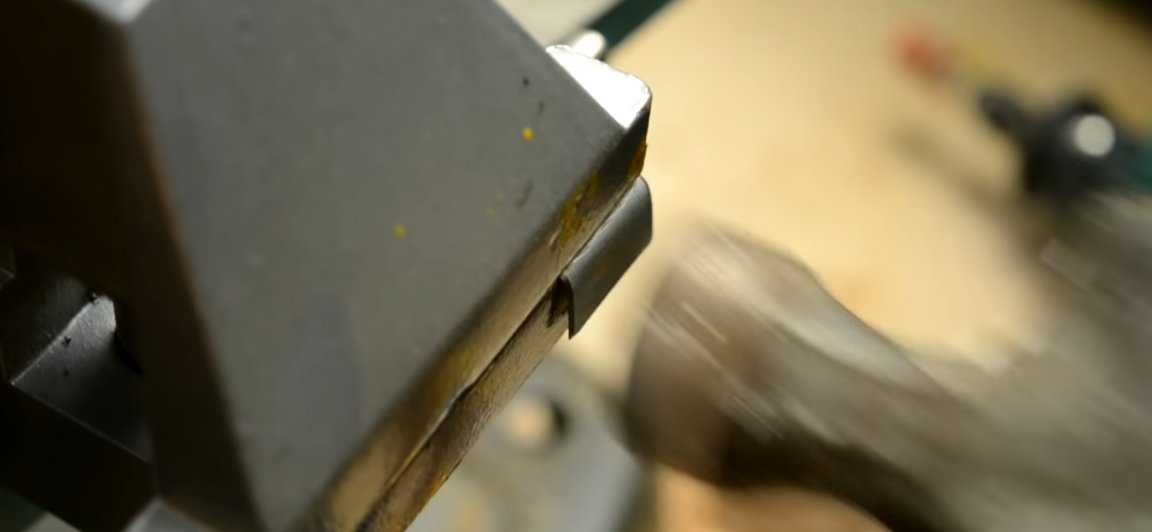
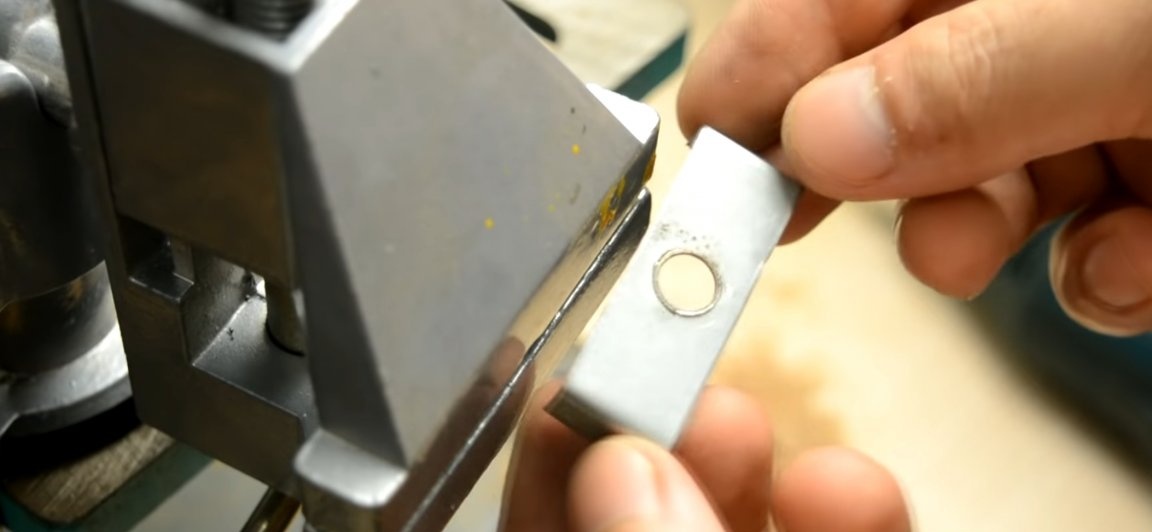
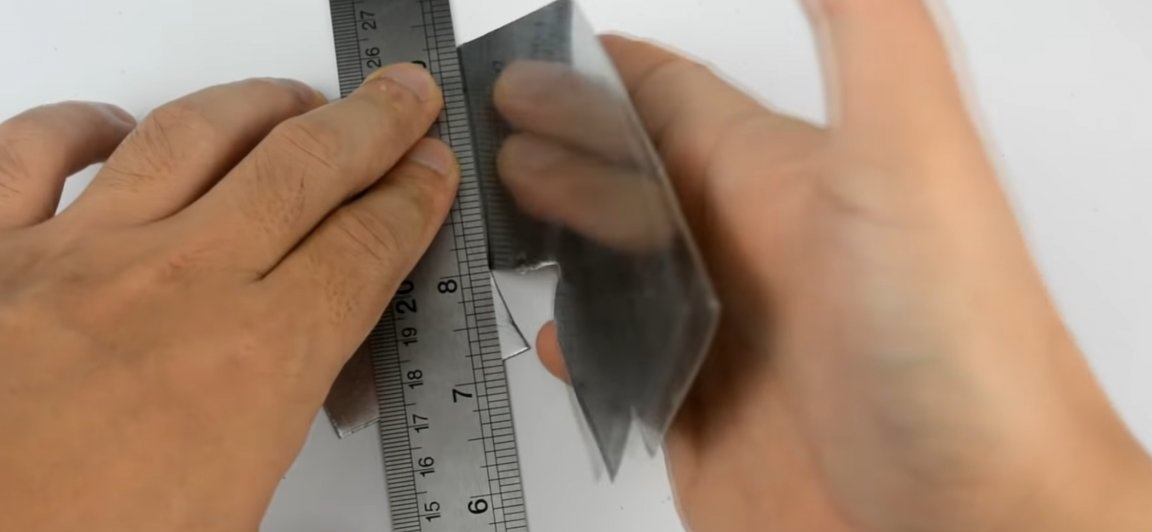
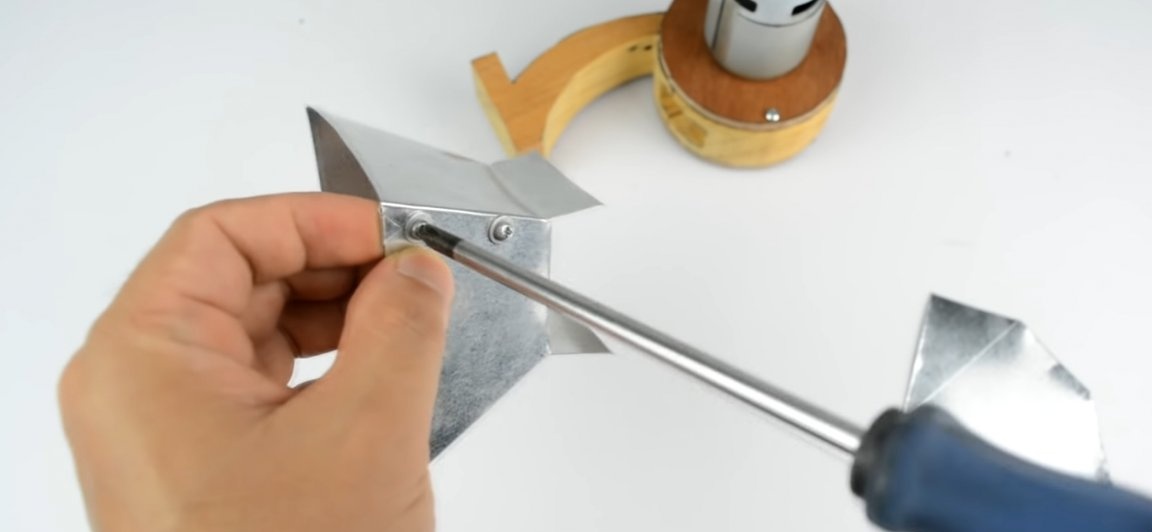
And immediately, in order not to return to the power part of the structure, we will produce a rice-grinding knife. To do this, you need a metal plate from which we cut a rectangle about 10 mm wide and about 50 mm long. This plate should be sharpened using a grinding knife or using a drill and a special nozzle for this. And exactly in the center of the plate, make a hole with a diameter equal to the diameter of the cartridge, on which it will be fixed.
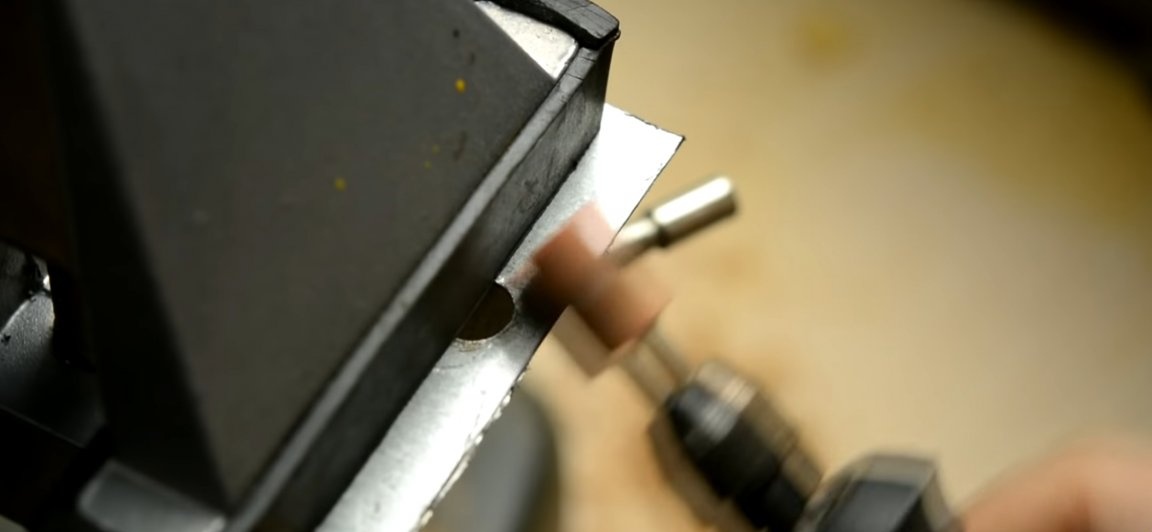
Next, the ends of this plate with a pair of pliers or a hammer should be bent to one side, just as shown below. Then we fix the plate in the cartridge, while in the connection, we use metal washers for a large contact area and, therefore, a more reliable connection. Then we install the cartridge with the knife on the motor shaft, tightening the fixing screw securely (preferably using the thread lock).
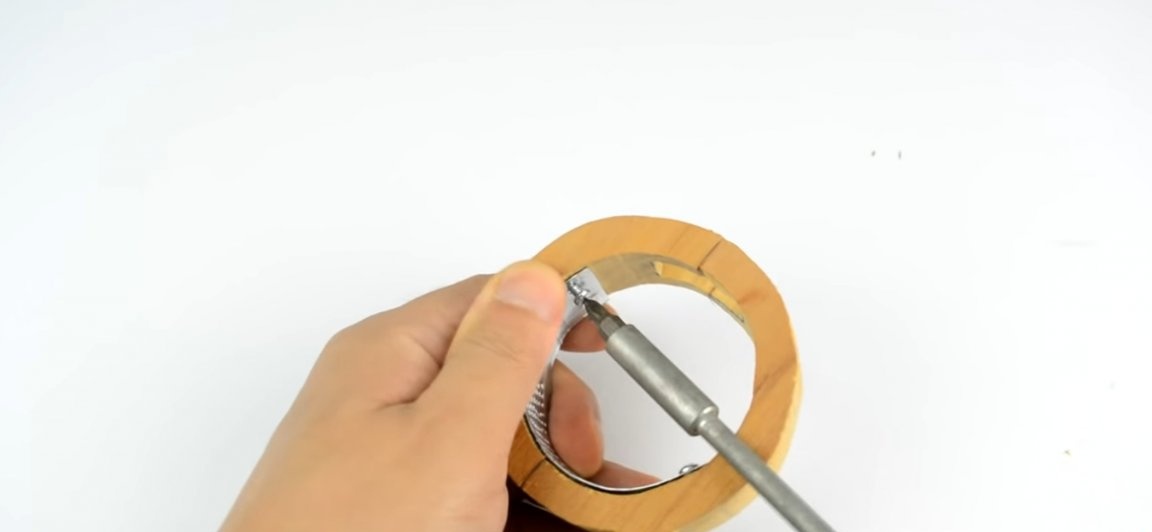
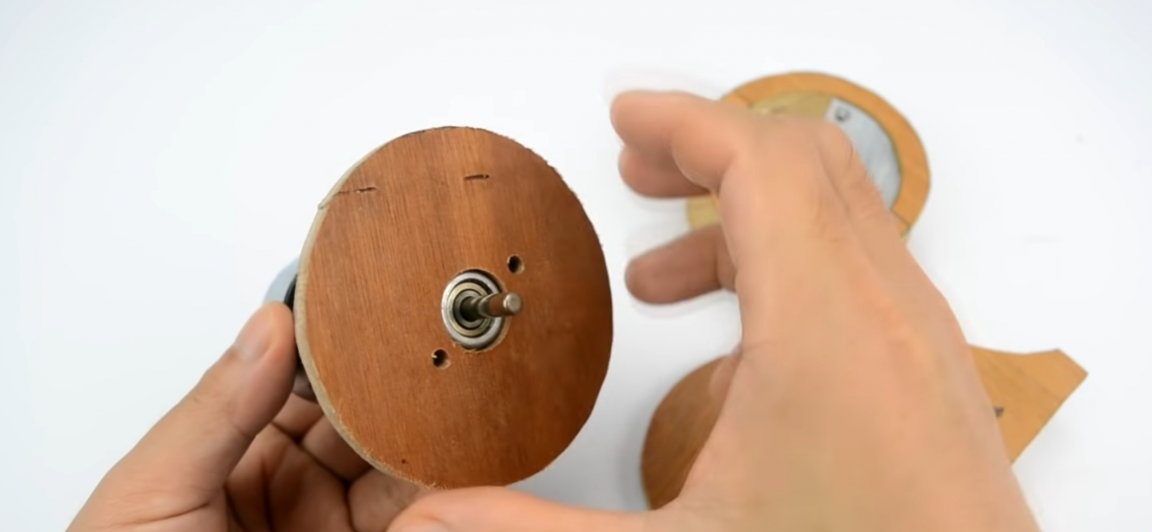
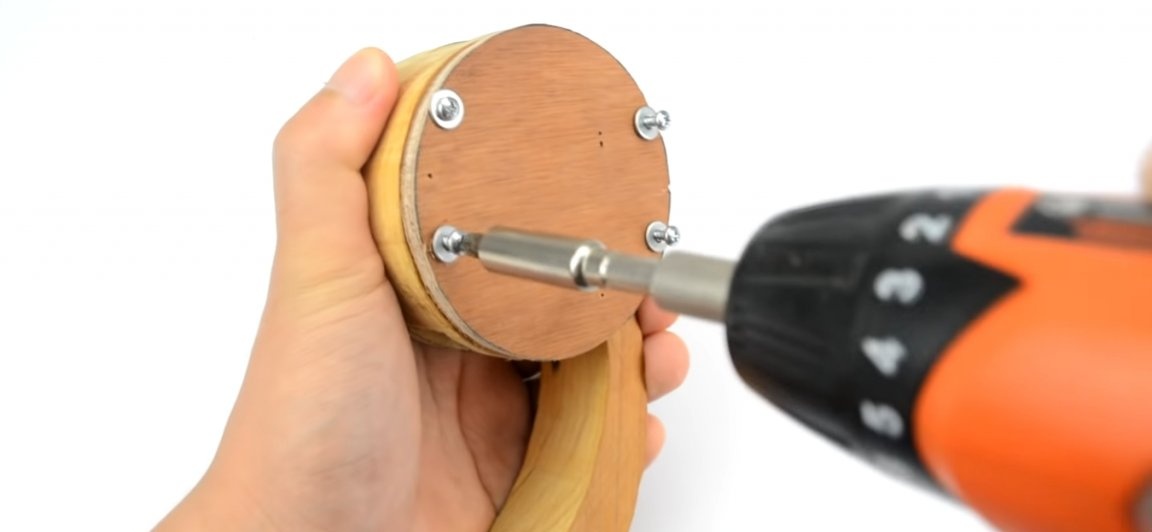
Now, we are now precisely installing the plugs in place. But first, a workpiece with an electric motor should be installed so that its centering relative to the camera is visible. Plywood plugs should be secured with screws and metal washers.
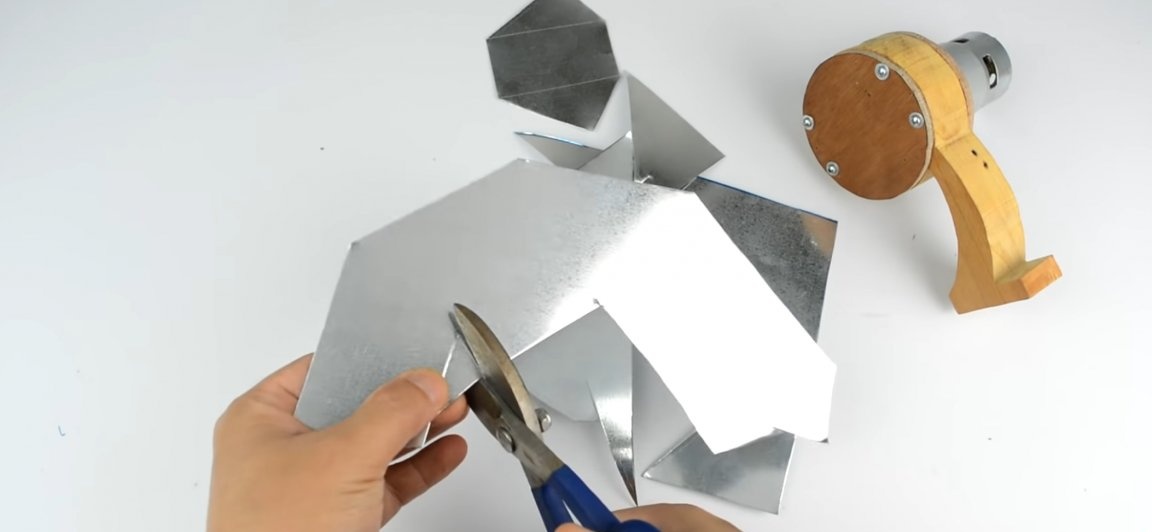
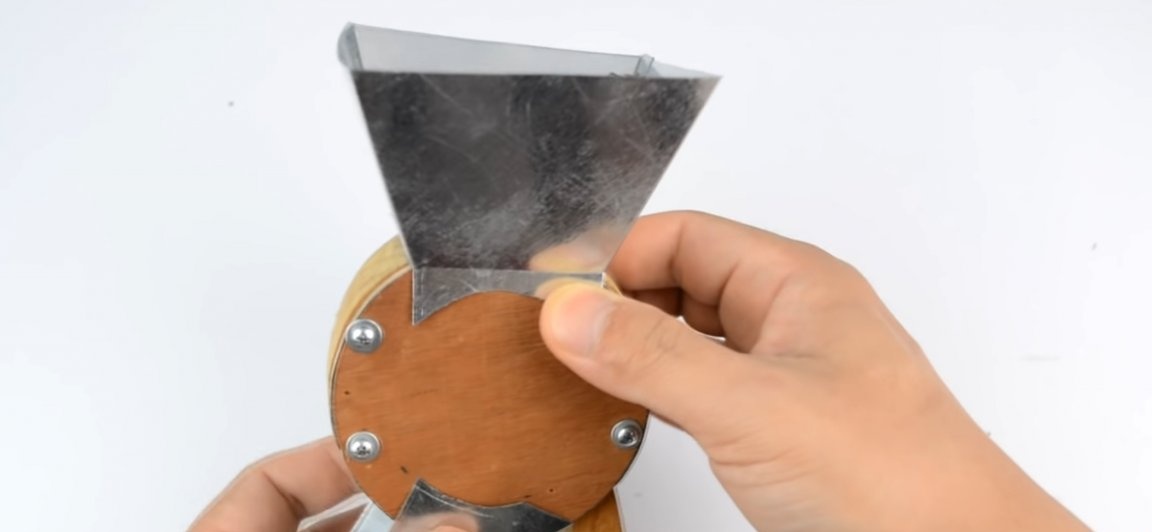
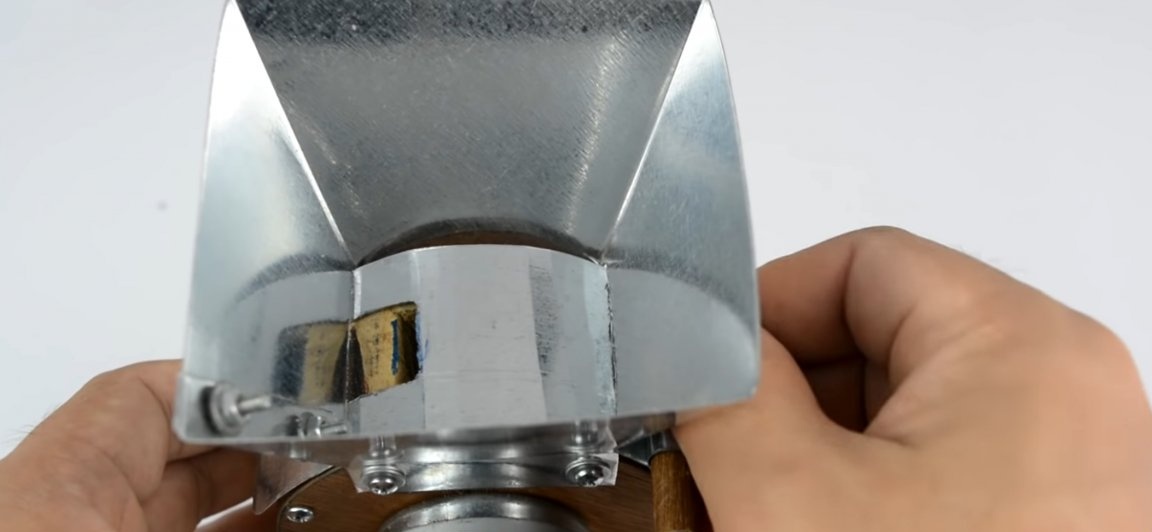
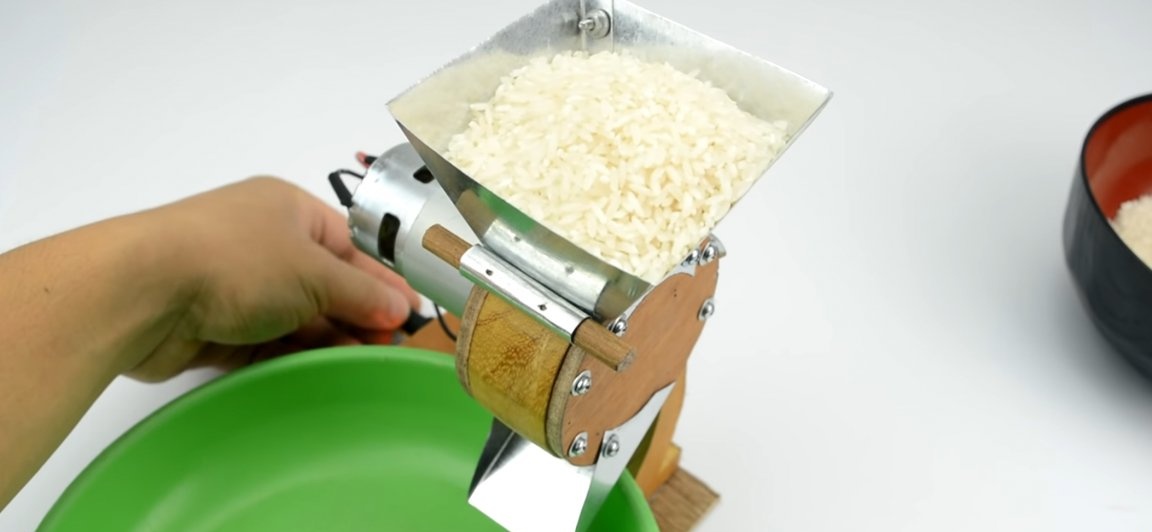
The next step is to make a "hopper" into which rice will be poured. To do this, take a sheet of stainless steel and scissors for metal. We must get the part in the form of a truncated pyramid, you can easily find its scan on the Internet. According to the template, we mark the scan of the truncated pyramid on the stainless steel, but any two parallel sides should be slightly elongated, since it is precisely on these sides that the “hopper” will be attached to the crusher.
Having cut out the reamer from the stainless steel, we will assemble it, bending the workpiece strictly along the lines, and fasten it with screws and nuts (for which through holes should be made in diameter suitable for the diameter) in the end you should get exactly the same as in the photo below.

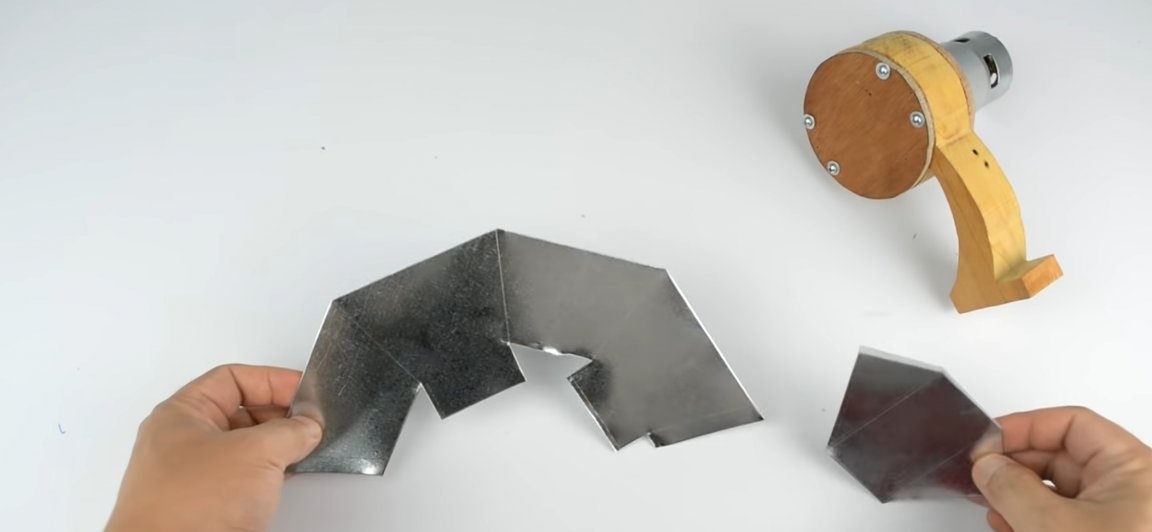
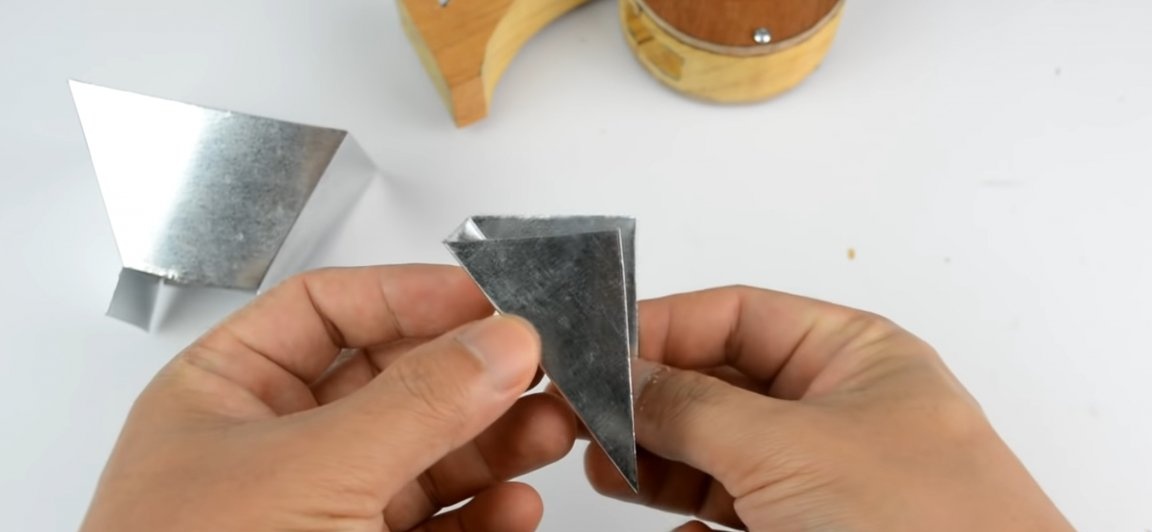
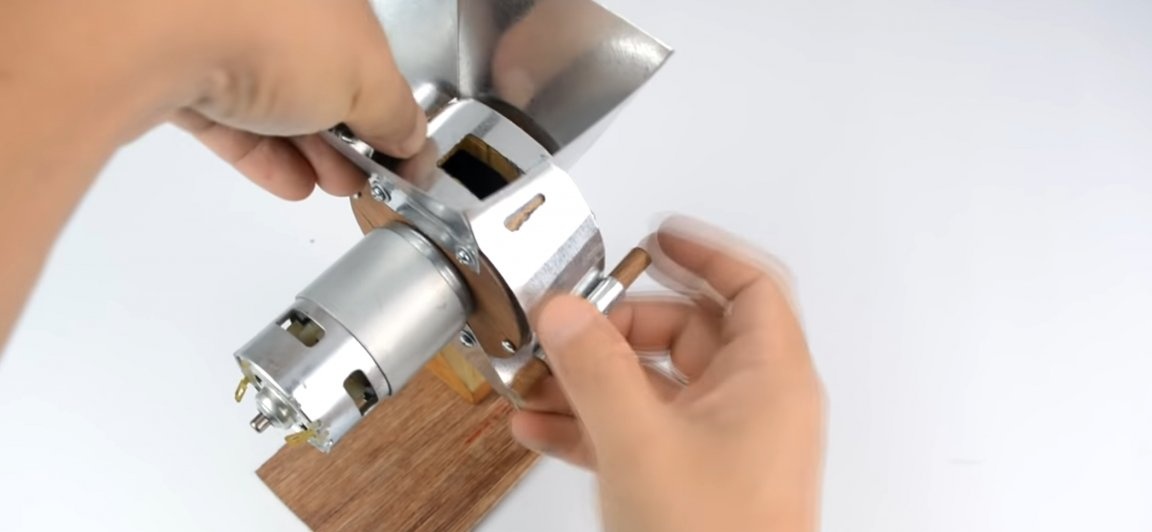
Also, a part in the form of a rectangle should be cut from the same stainless steel, along the long sides of which two triangles protrude (see photo). We bend these triangles in the same way as the author did. This part will serve as a screw for us, through which flour will pour from the outlet to the plate.
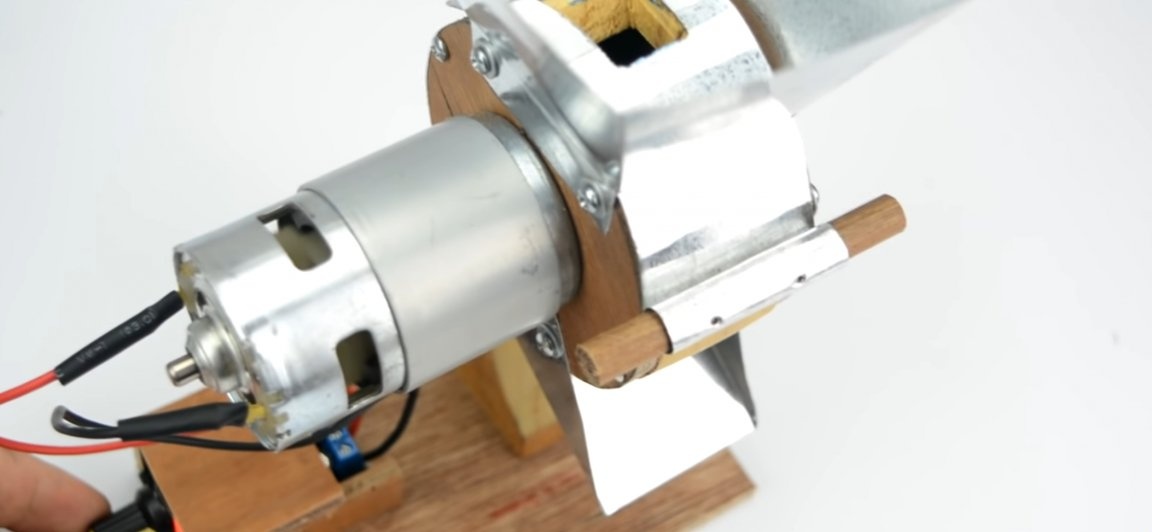
We install the hopper and auger in the indicated places, and fix them using self-tapping screws, laying metal washers.
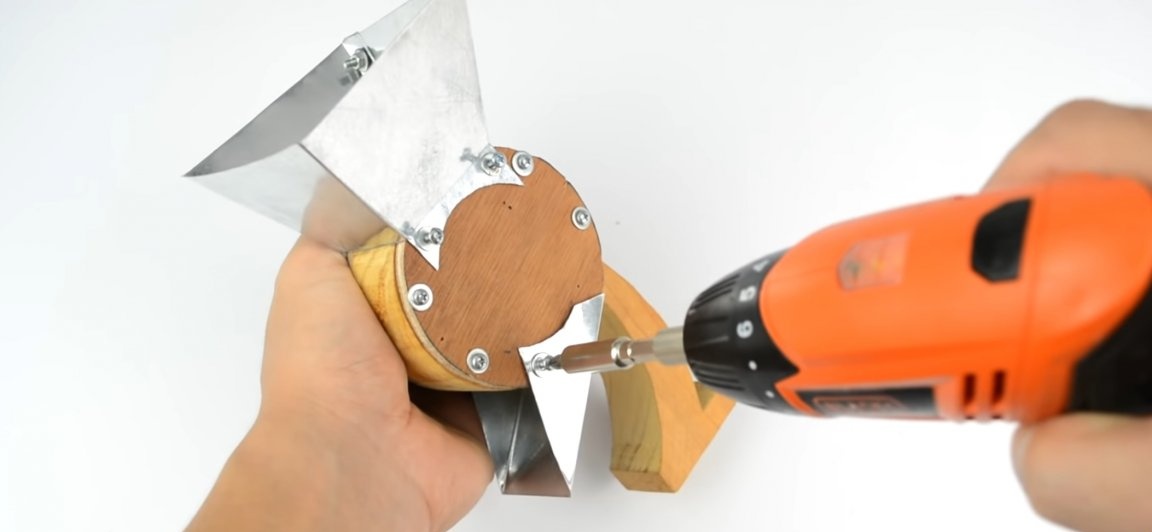
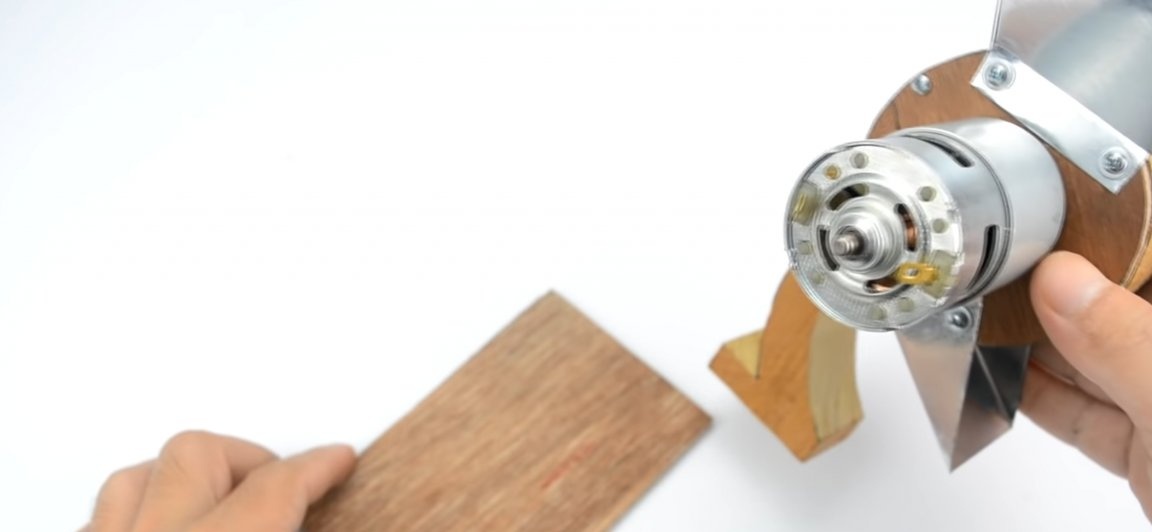
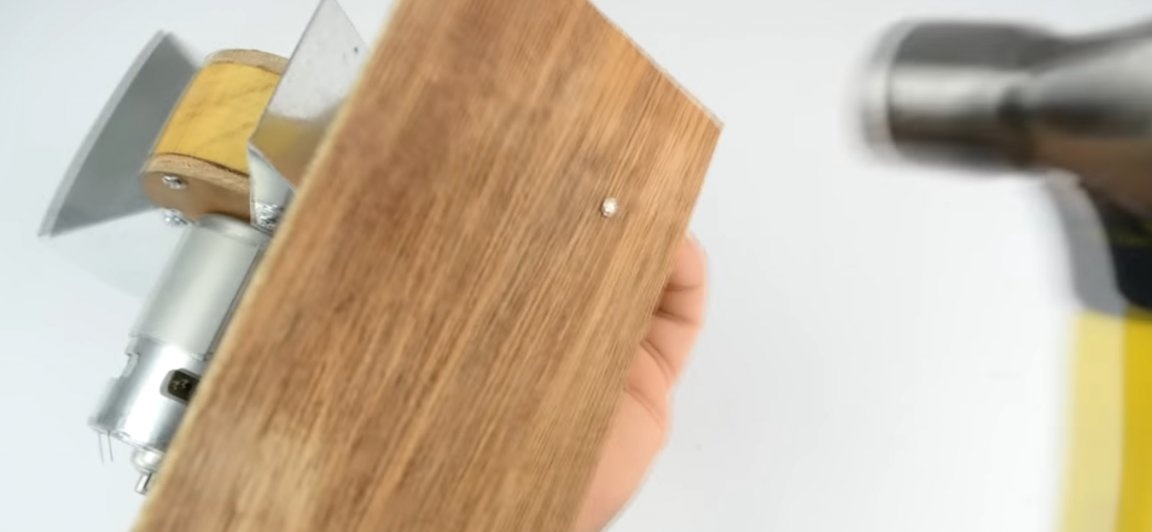
Next, you need a base to which the structure will be attached. For this we can use the same plywood. From a sheet of plywood, cut a rectangle with dimensions of about 100 mm by 150 mm. We fix the structure to the edge of this base, we will fix it with the help of small nails, driving them from the back side.
From a sheet of the same stainless steel, we cut out a plate with the help of which it will be possible to dose the flow of rice into the thresher (see photo).
On the mechanical part of homemade work, we are already ready. Go to e parts. To adjust the engine speed, you will directly need a speed controller. We install it on the case and connect a power supply of 12v-24v to its input, and the electric motor itself to the output.
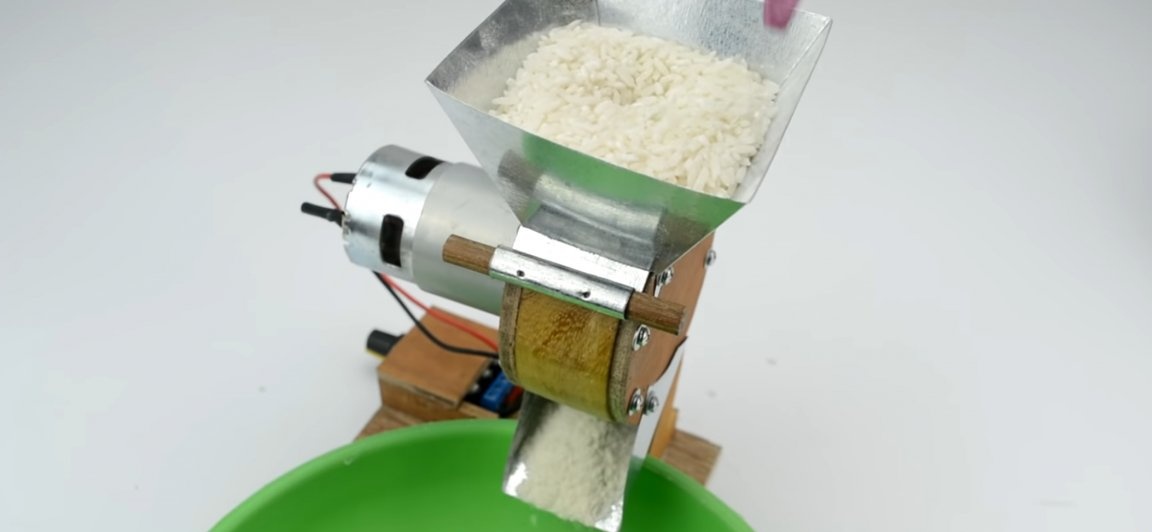
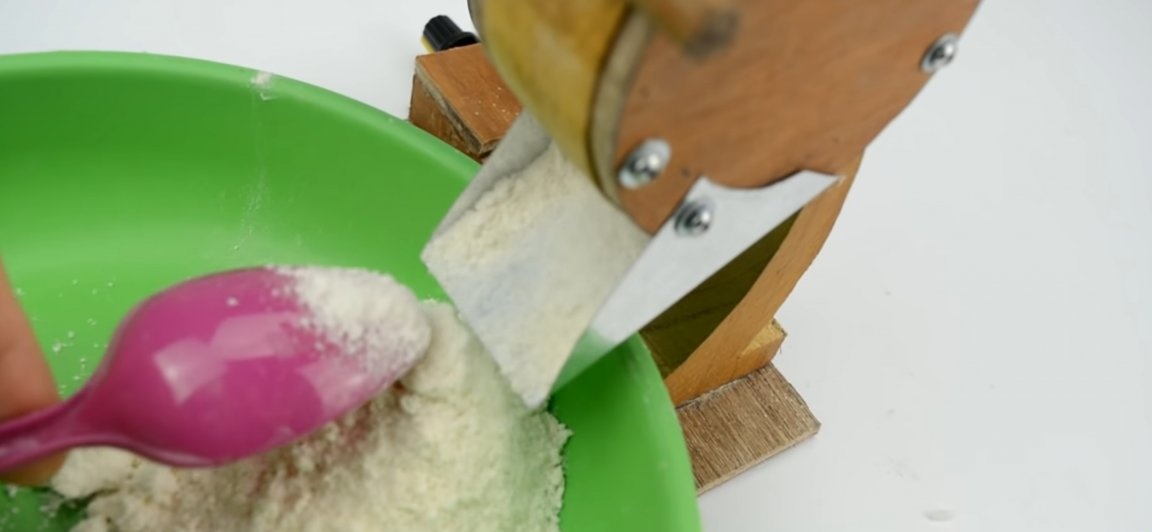
All is ready! We can proceed to the tests. Pour rice into the hopper, accelerate the engine and open the rice supply. By adjusting the feed and engine speed, you can achieve maximum productivity.
You can purchase accessories that can be useful for assembling this homemade product here:
Electric motor
Drill chuck
Speed control
Here is a video of the author of the homemade:
Well, thank you all for your attention and good luck in future projects, friends!