
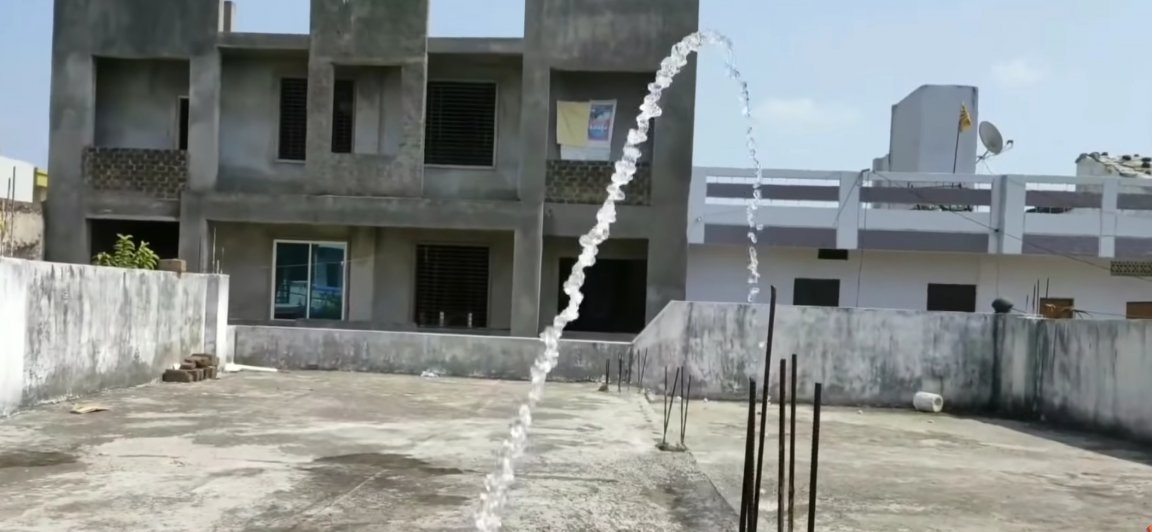
Hello everybody! Today we will take a closer look at how to make a miniature water pump (pomp). The main feature of this homemade lies in the fact that with a relatively small size, it has great productivity and when used without a collector motor, we achieve maximum efficiency. This pump can be used both for pumping water out of the aquarium (i.e. home purposes) and for pumping water from puddles or irrigation tanks. So also this pump will be with remote control that will allow you to remotely control its operation and you can come up with a variety of scenarios for its use. This pump will have excellent characteristics for its cost. Well, well, I think you should not delay with a long introduction, they drove.
It should be noted that you can find links to some components of the design at the end of the article.
For a homemade compact water pump you will need
- Brushless motor (airplane type)
- Speed controller for brushless motors
- Receiver and transmitter for pump control
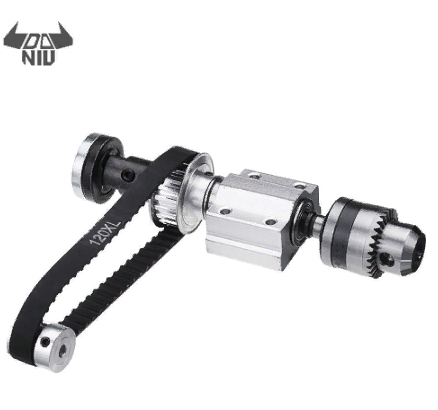
- Sleeve with two bearings for mounting the shaft
- Metal shaft (on which the impeller will rotate)
- Driven and pinion gear (for belt drive)
- Suitable size belt
- Two brass nuts (they will serve as washers)
- A pair of wooden blocks and a piece of plywood
- PVC fittings
- bearings
- Metal plate.
From the tools you will also need:
- Drill with drills
- screwdrivers
- Soldering iron with soldering accessories
- Self-tapping screws
- Scissors for metal
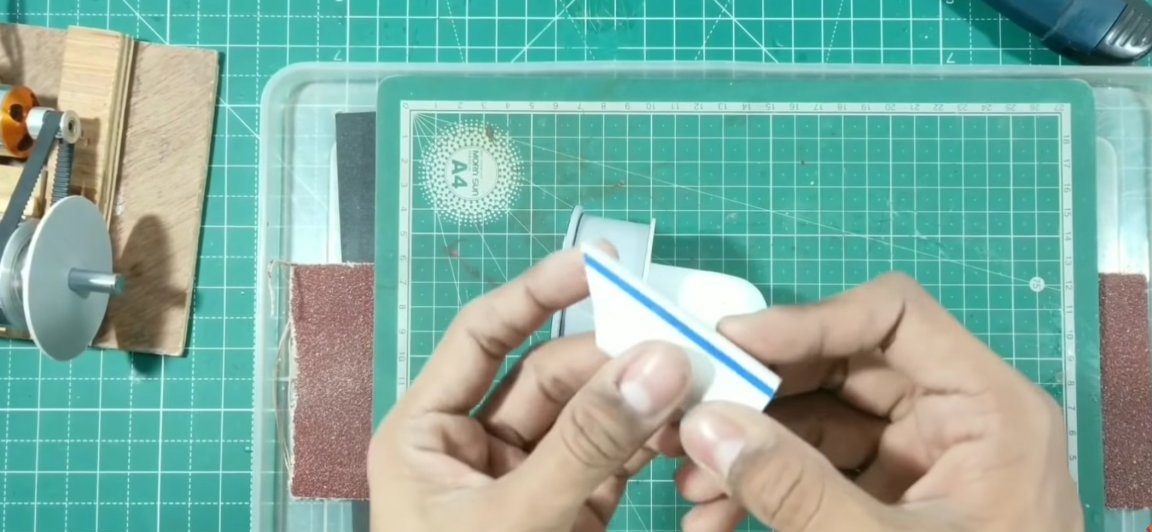
- Sandpaper
- Super glue
- Compass
- marker
- Ruler
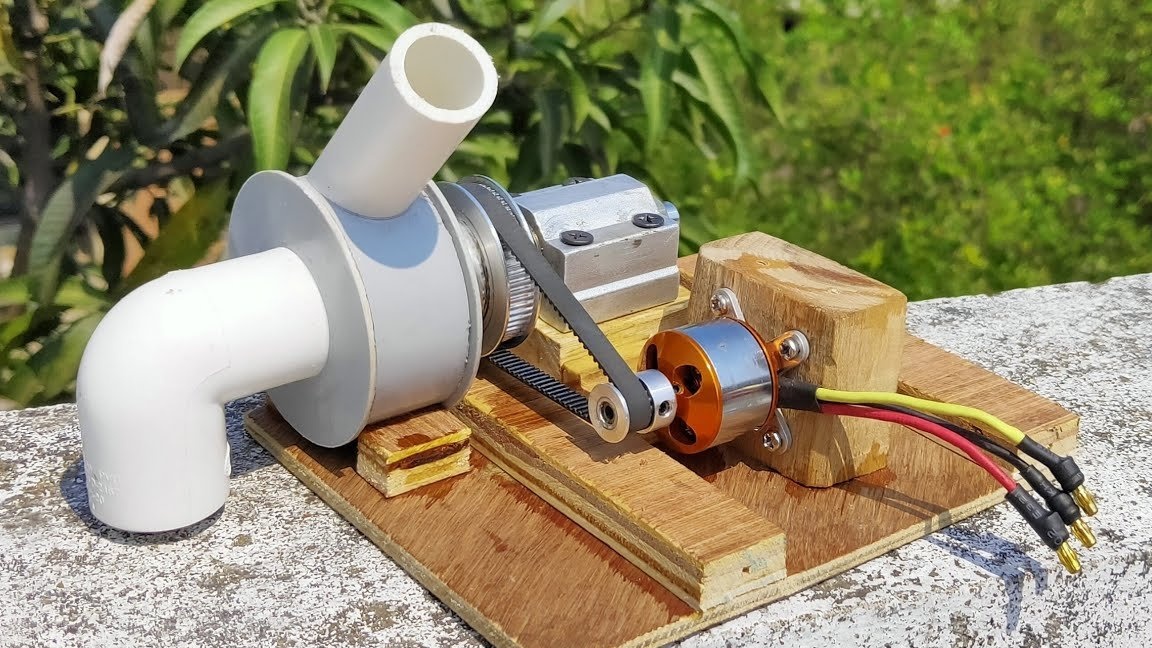
Production of a compact pump.
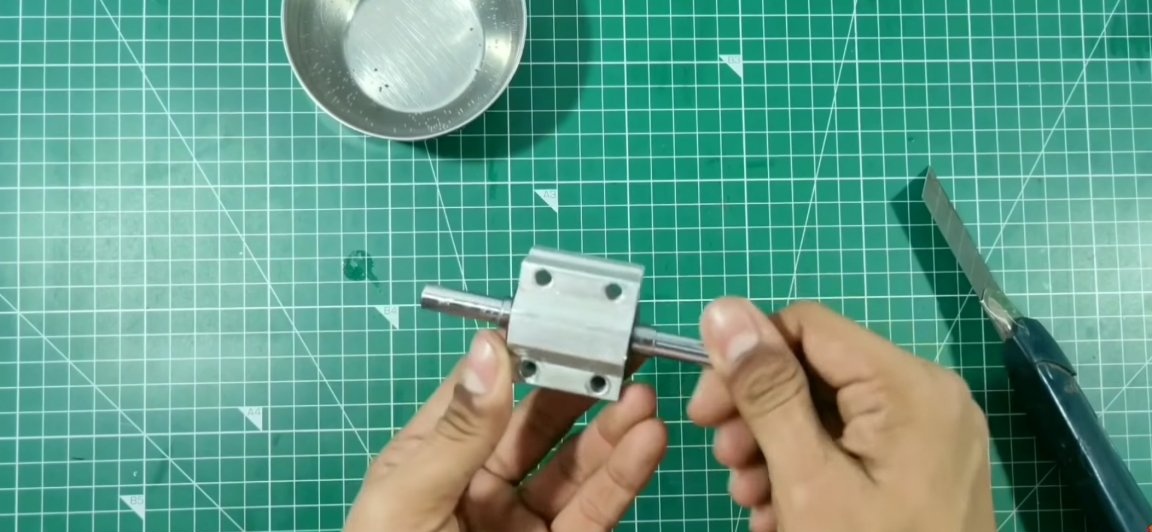
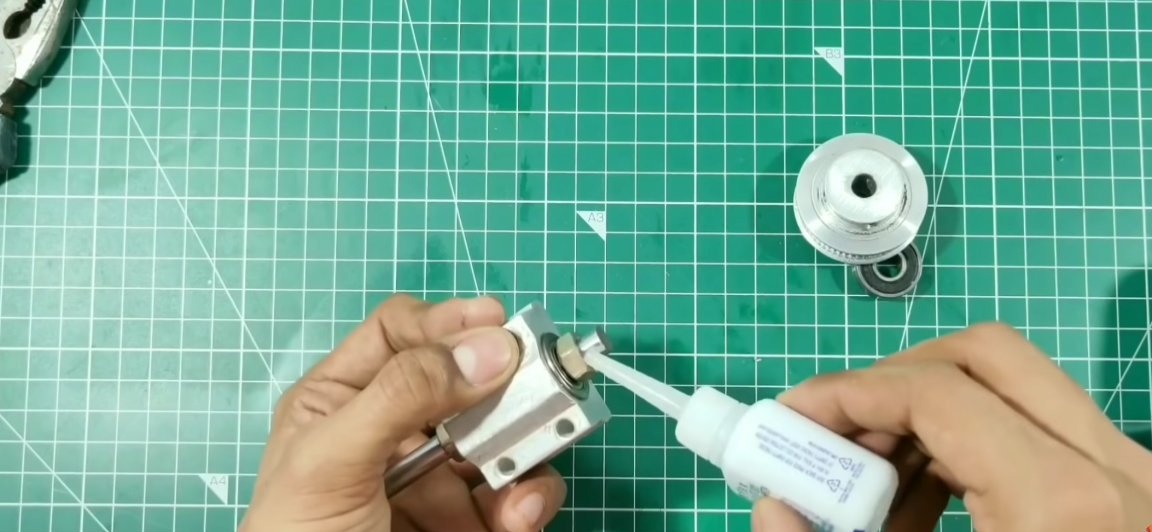
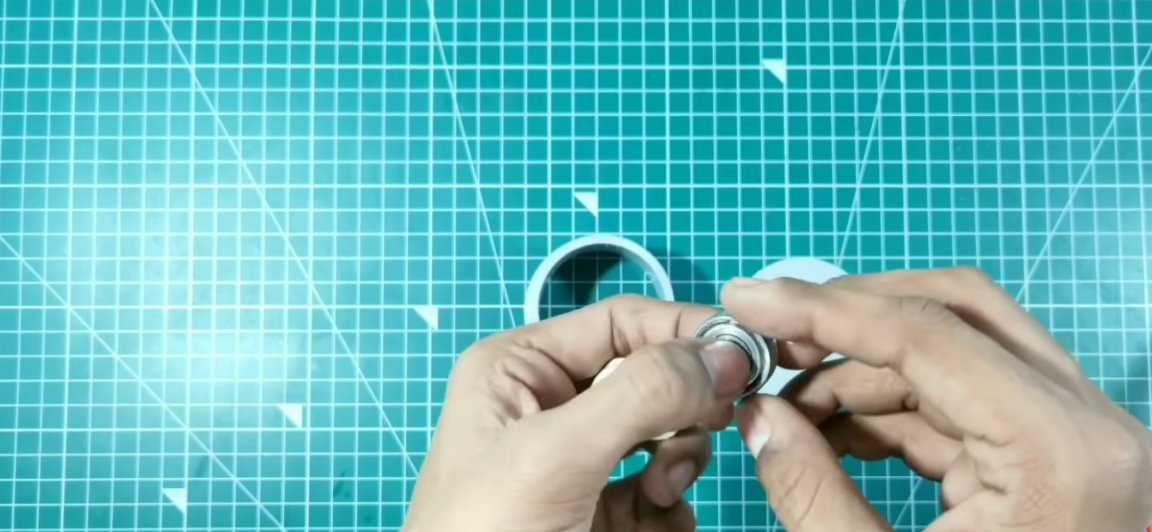
First, let's figure out the main shaft on which the impeller will rotate. To do this, the Chinese already have a ready-made solution in the form of a special KIT set for a circular saw, from which you will need the sleeve itself with two bearings (it is sold separately). You should also find a suitable shaft on which you can pick up bearings.
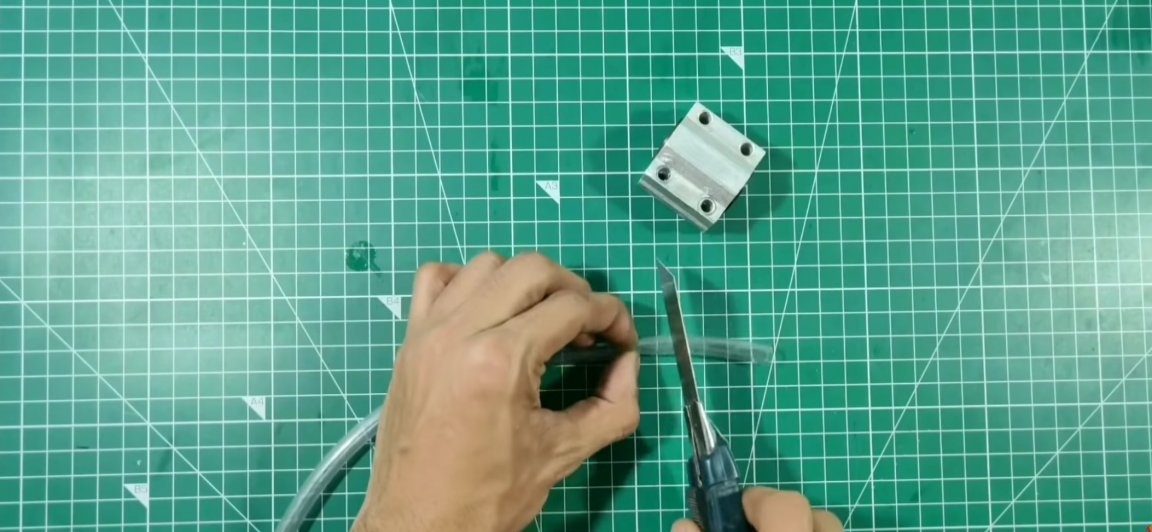
It turned out that the shaft selected by the author is less than the diameter of the bearings on the sleeve.Therefore, you have to make it wider so that the shaft can sit reliably in its place, for this, a silicone hose of slightly smaller diameter than the shaft itself is perfect. In order to put such a hose on the shaft, the hose should be warmed up in boiling water and quickly tensioned. And we press the shaft already with a piece of hose into place. Such an adapter in the form of a hose will damp excess vibration, which is a small plus.
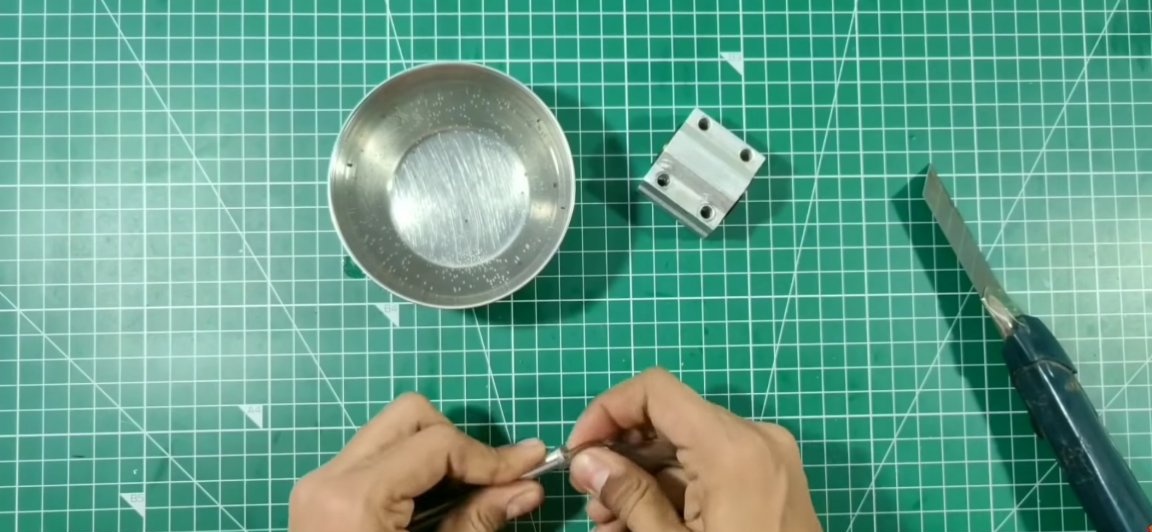
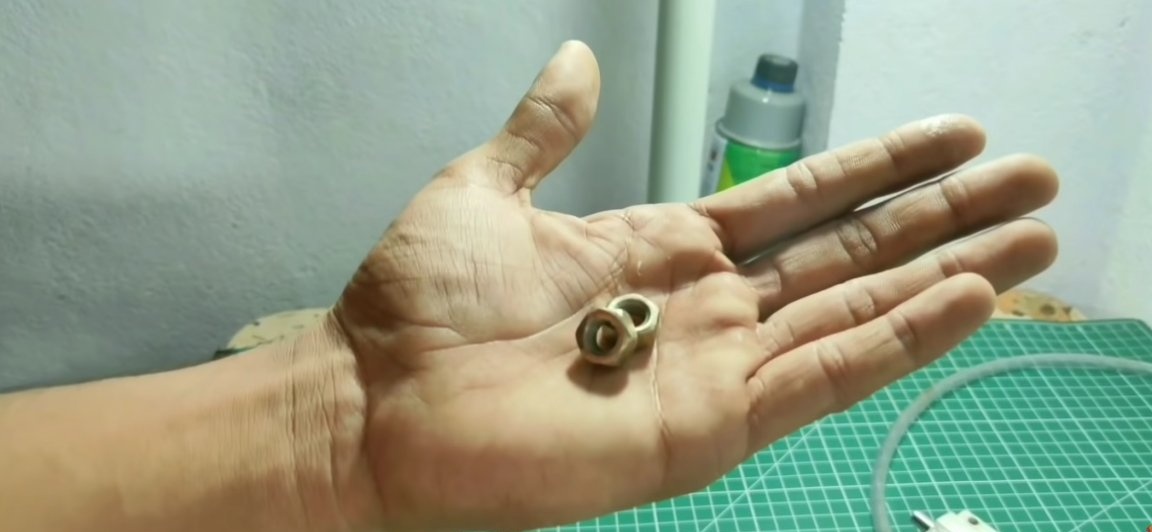
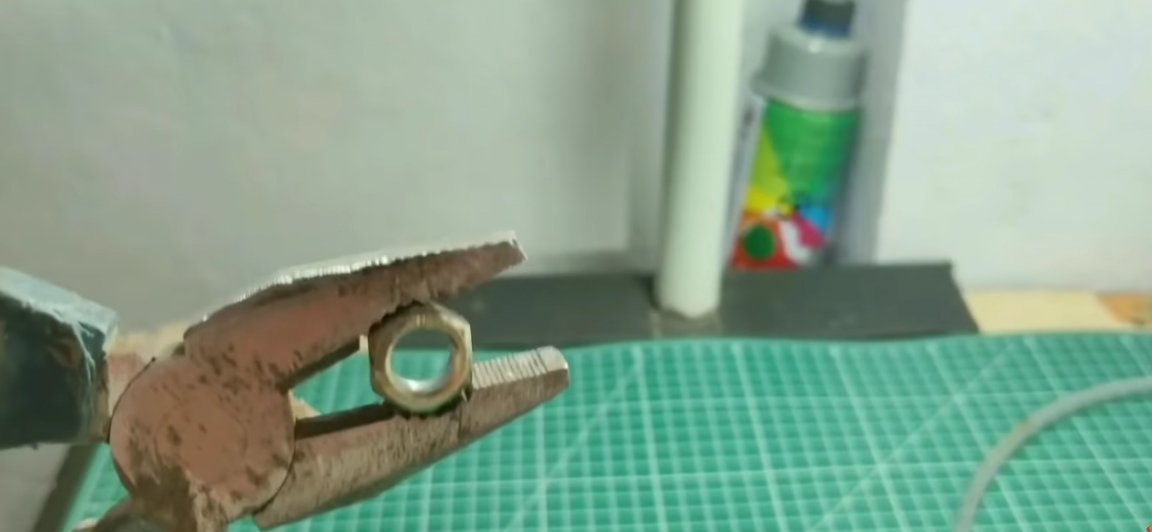
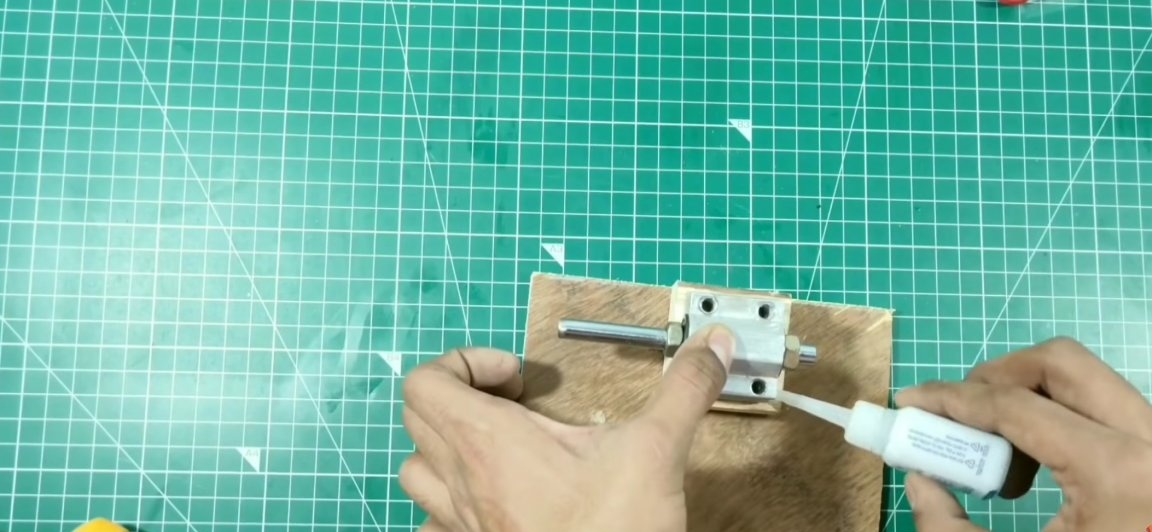
Next, you need to make sure that the shaft is securely in place and has no longitudinal movement. To do this, you need to take brass nuts of a suitable size (so that the outer size of the nuts must exceed the outer diameter of the shaft). The internal holes of these nuts should be expanded so that they fit tightly on the shaft. We press nuts on the shaft on both sides of the sleeve and fix them with superglue.
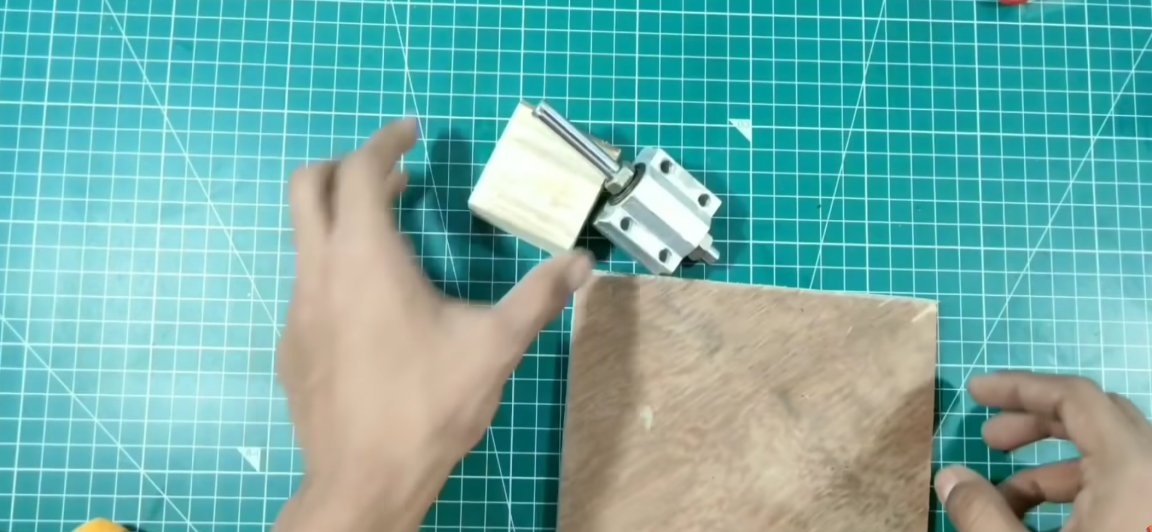
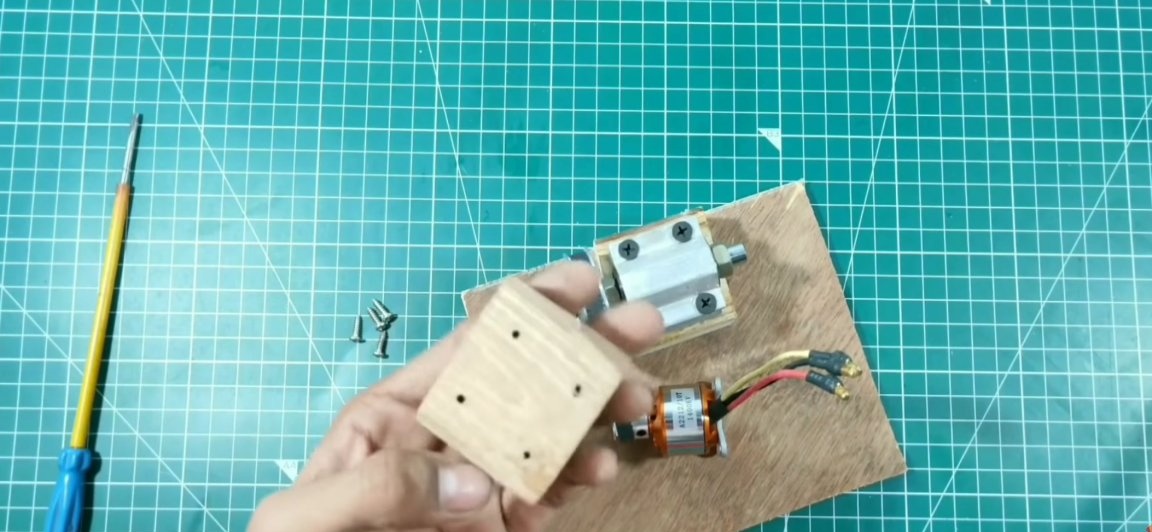
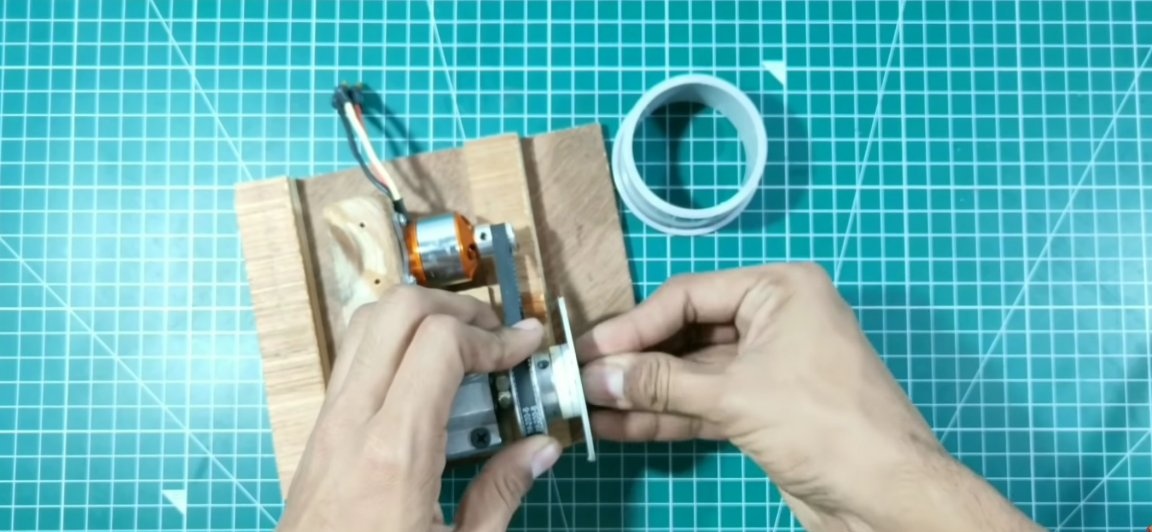
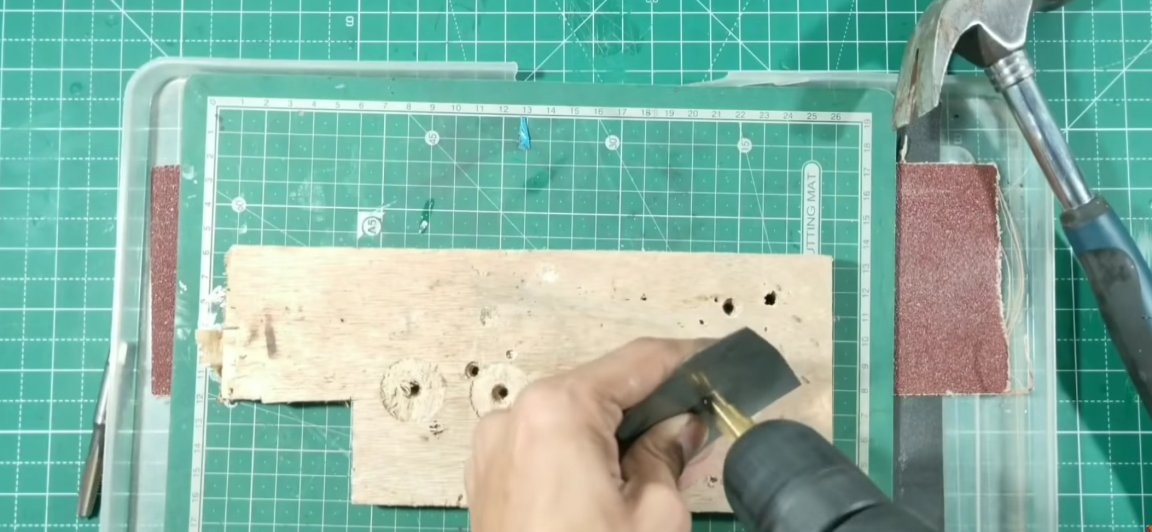
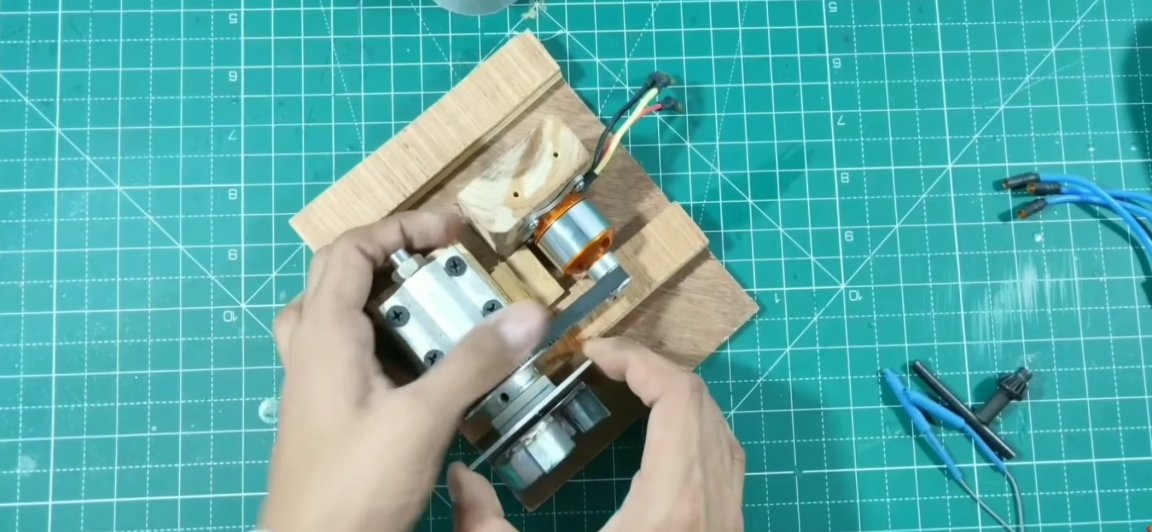
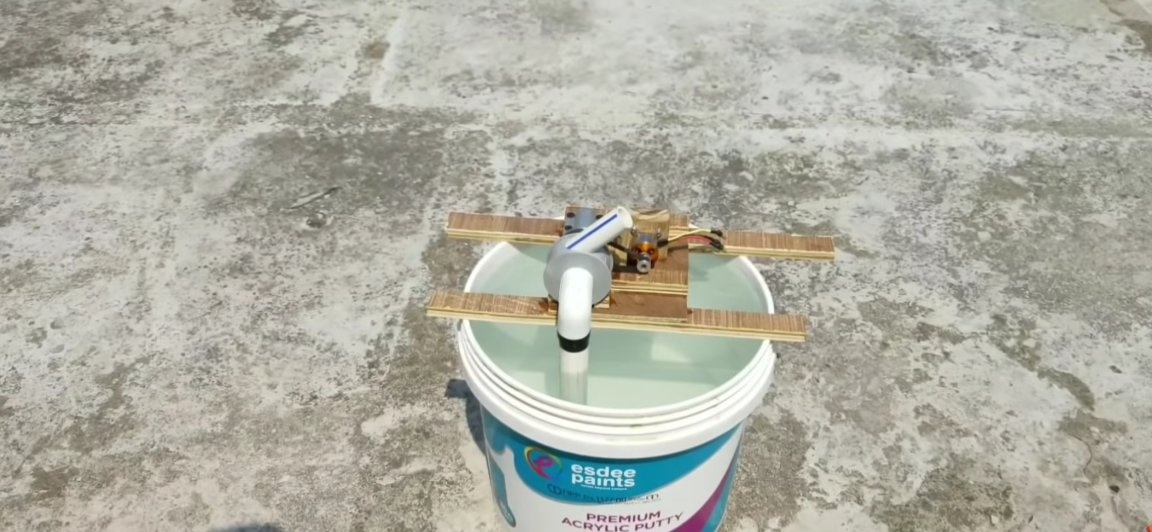
The next step is to make a base on which the shaft and electric motor will be mounted. Ordinary plywood is perfect for this. It is worth noting that we work as if not with water and in order for plywood to last longer, it should be treated with special protective compounds. We cut a quadrangle from plywood on which our components can be placed
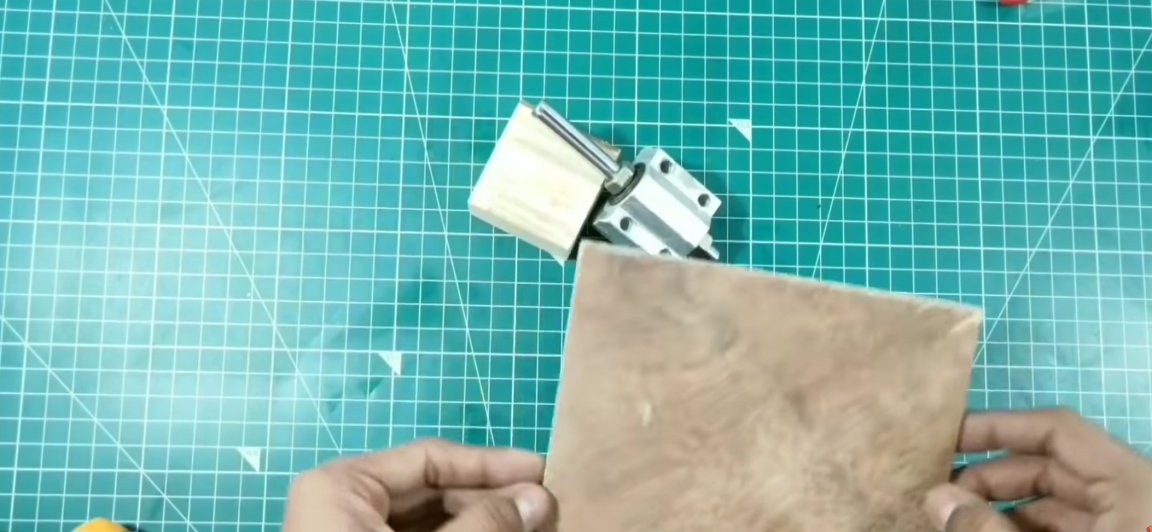
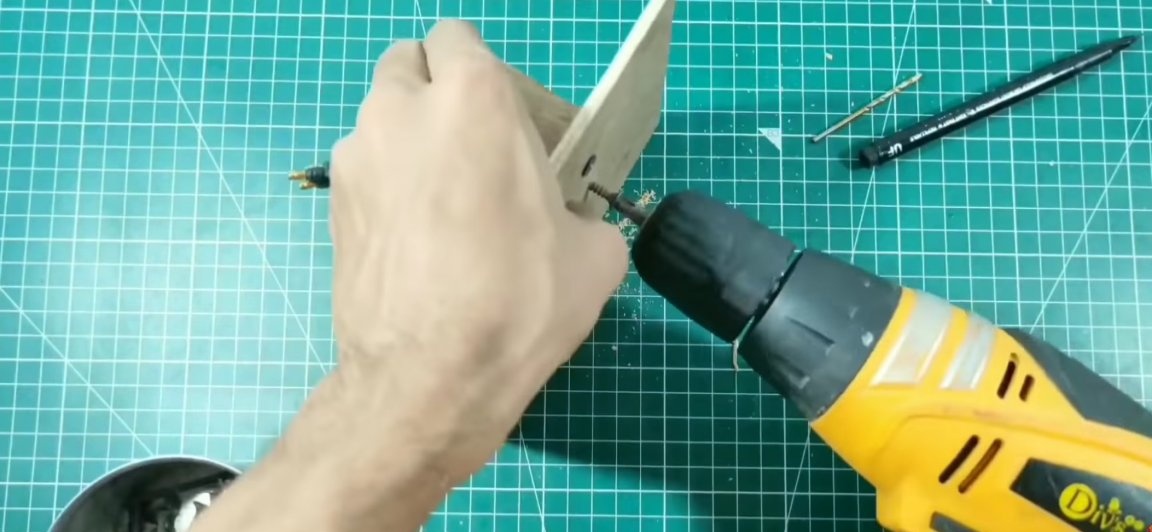
We position the shaft on the newly cut plywood base. The shaft itself should be secured through a block so that the impeller can be installed. First, we bait the components with superglue, and then finally fix them with self-tapping screws.
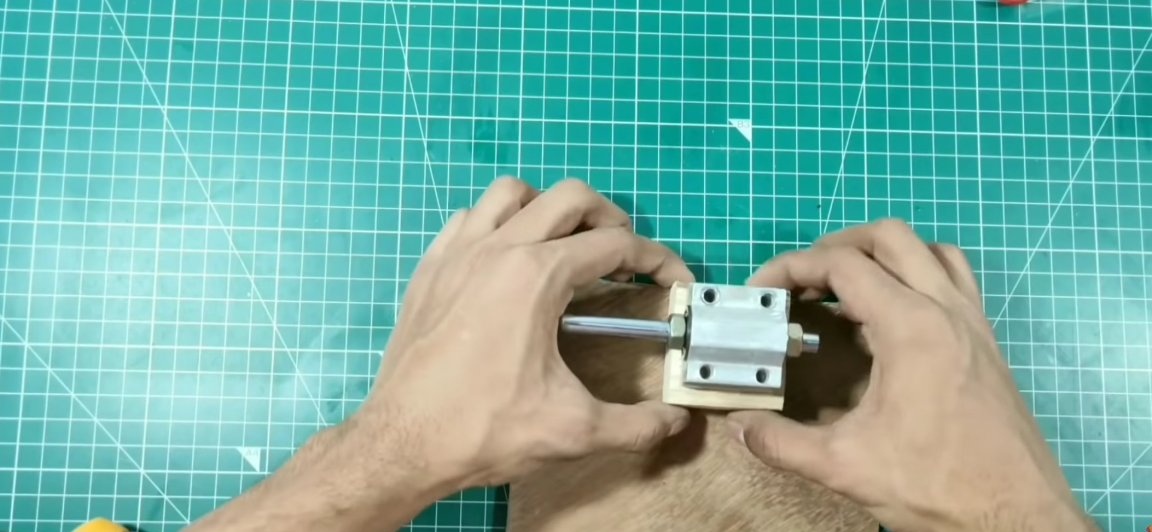
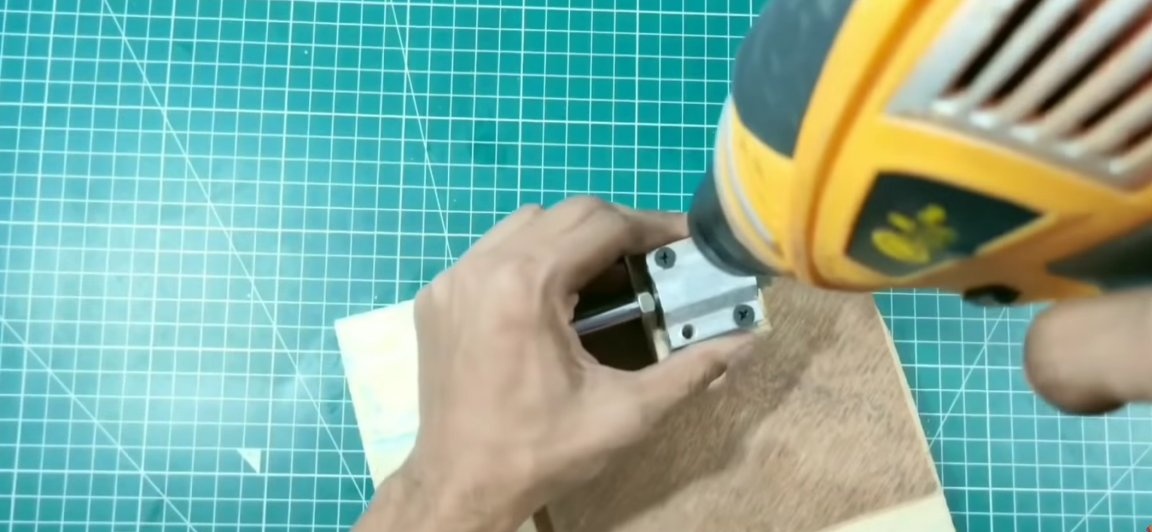
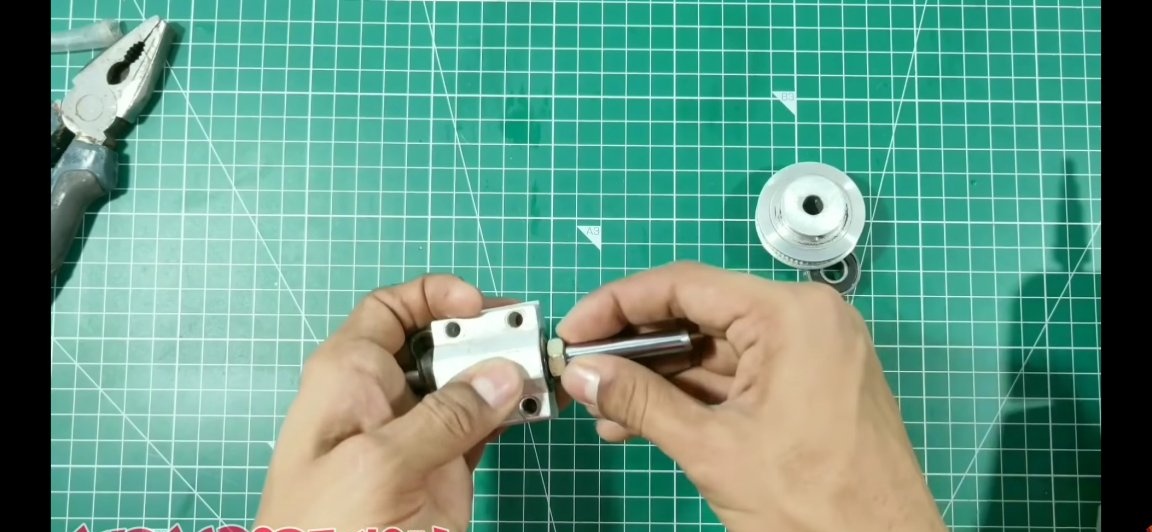
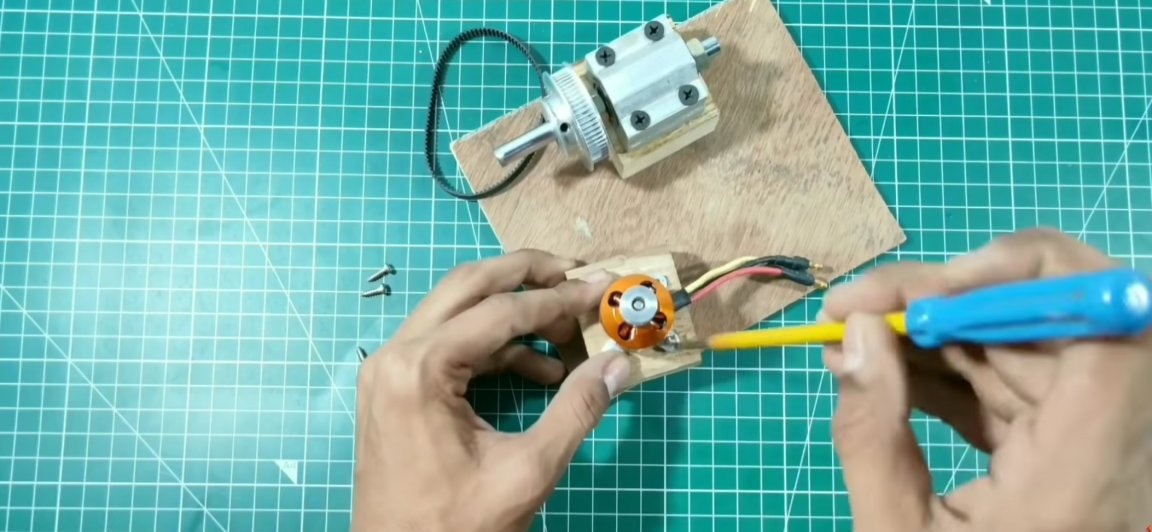
Having fixed the shaft in its place, we install a large driven gear on it, securely fastening the fixing screw (it is advisable to use a thread lock).
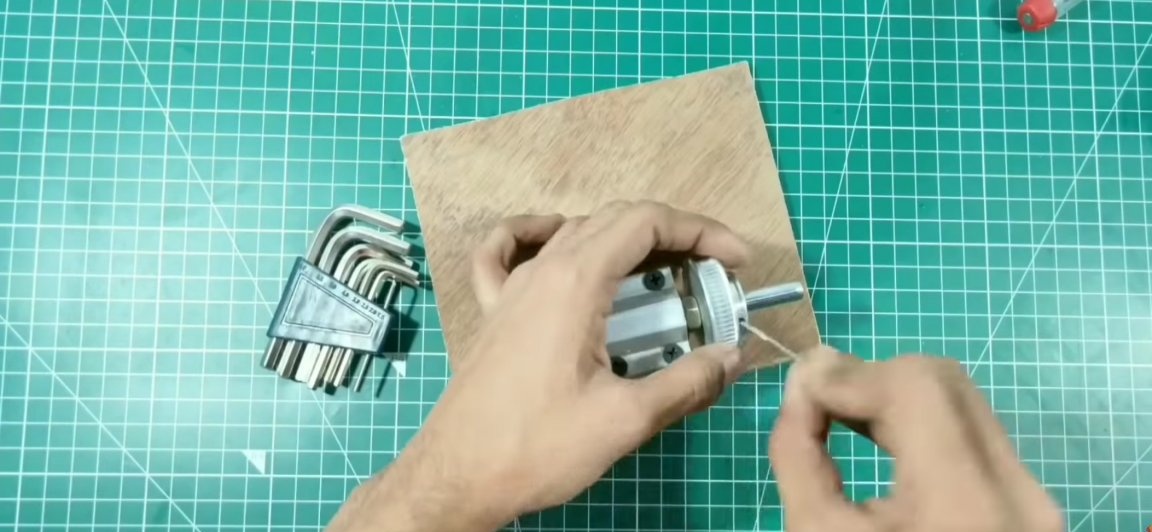
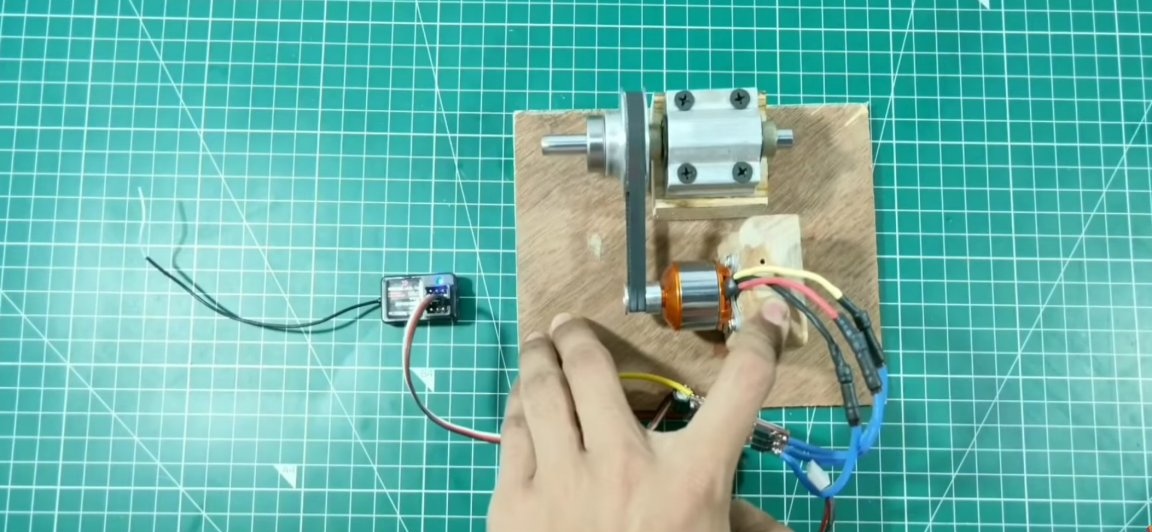
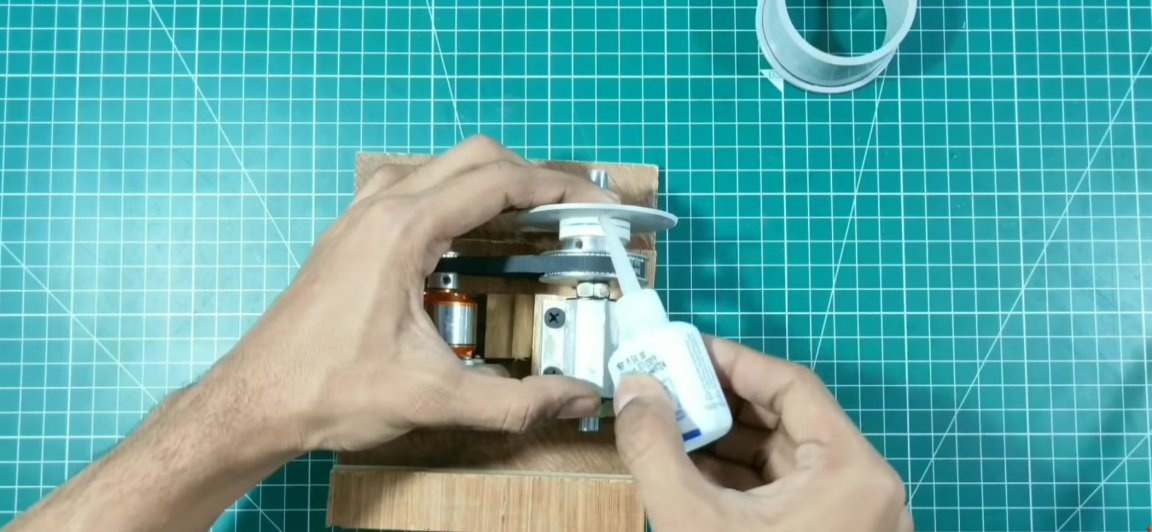
Next, we fix the electric motor itself, it needs to be mounted on a special engine mount. But we will save on it and fasten the electric motor to the bar, which in turn will fasten it to the plywood base. It is important to note that before installing the engine on the base, the leading small gear should be fixed on its shaft. This is necessary in order to install a non-driven belt, and the drive gear, and immediately when installing the engine, adjust the belt tension.
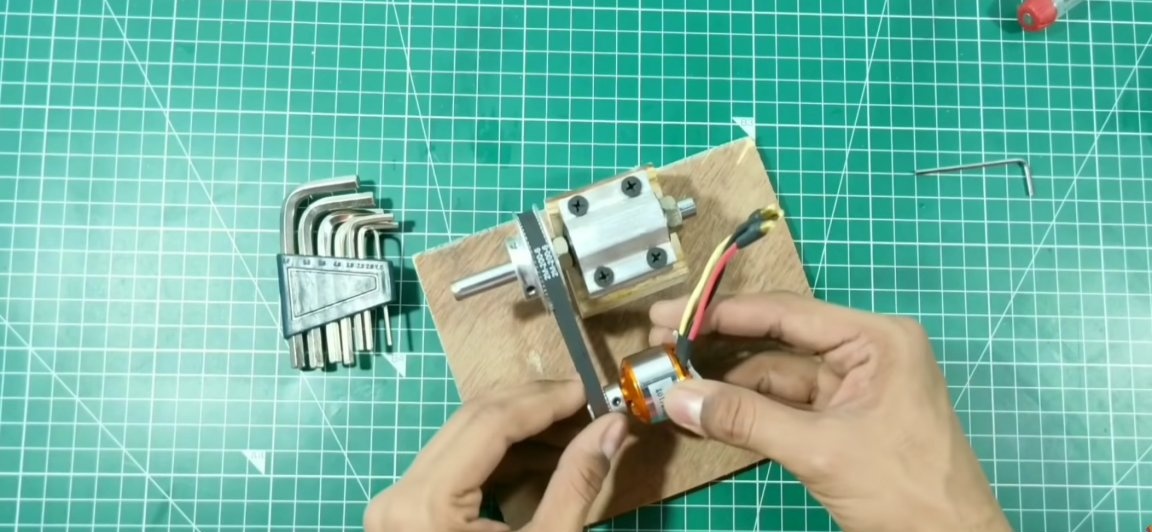
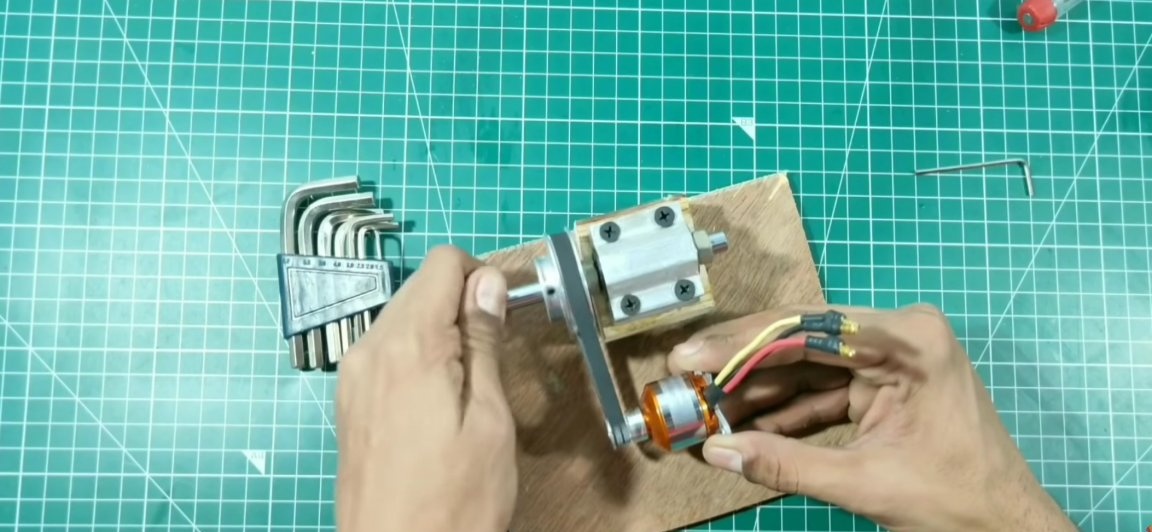
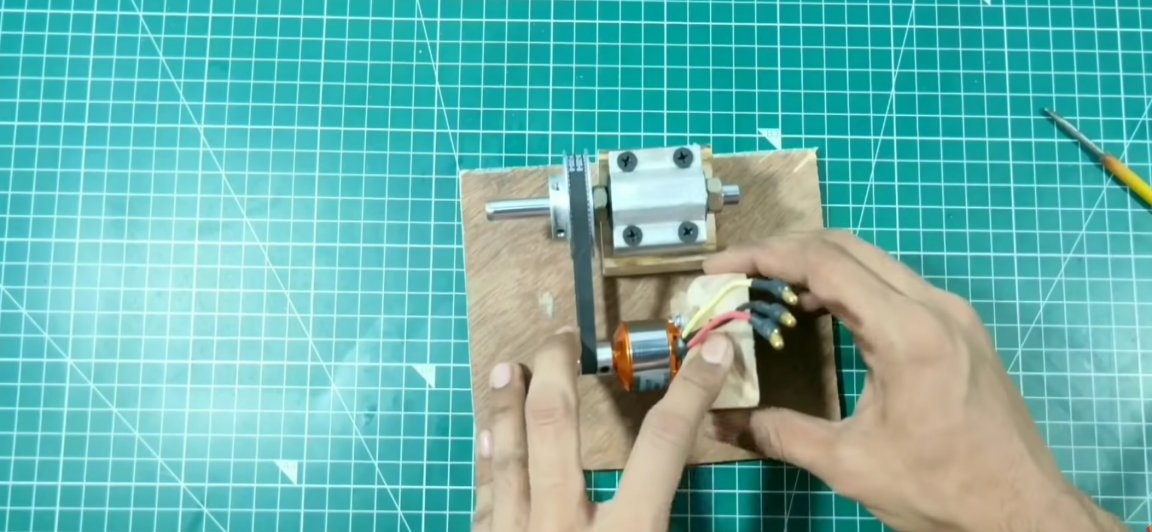
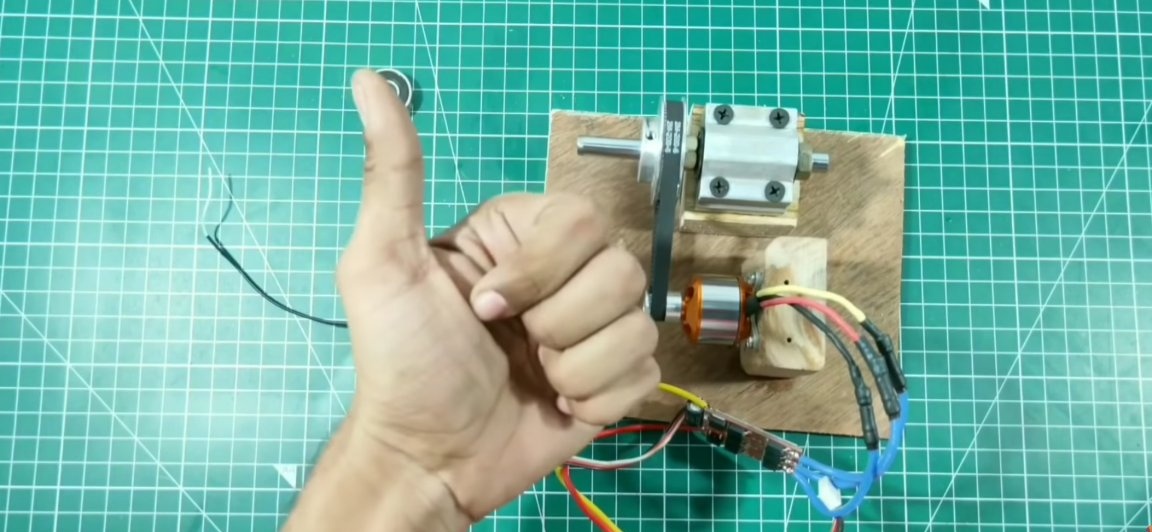
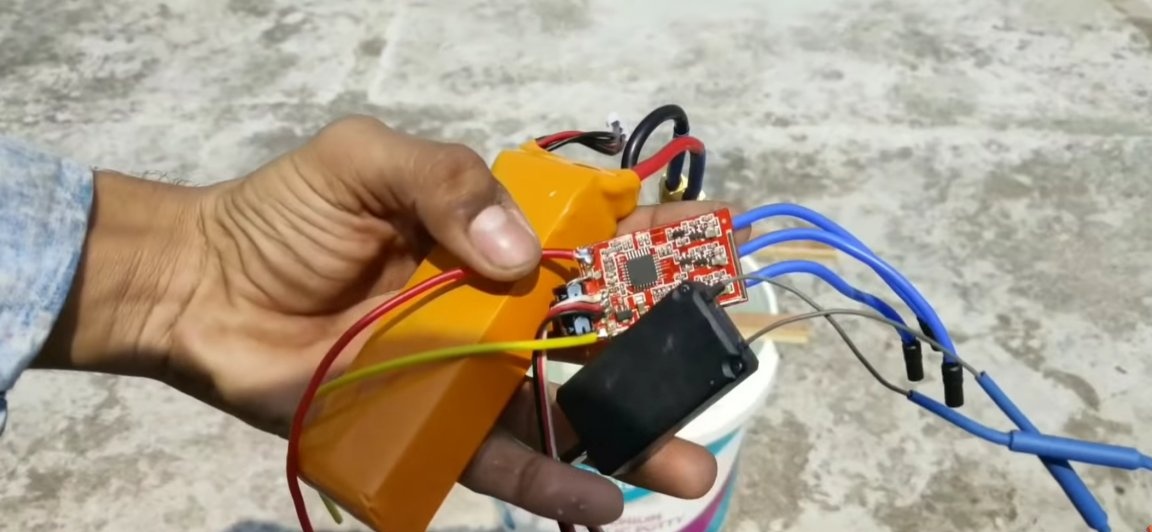
Then it is necessary to check the operability of the structure and connect the regulator, receiver and battery to the engine. It is important that the belt does not fly off during engine rotation.
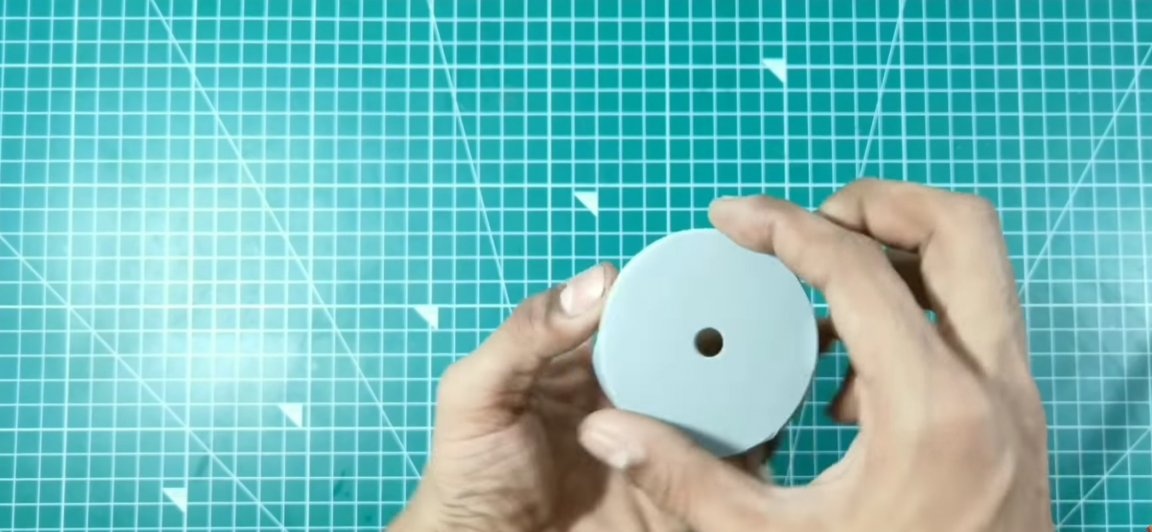
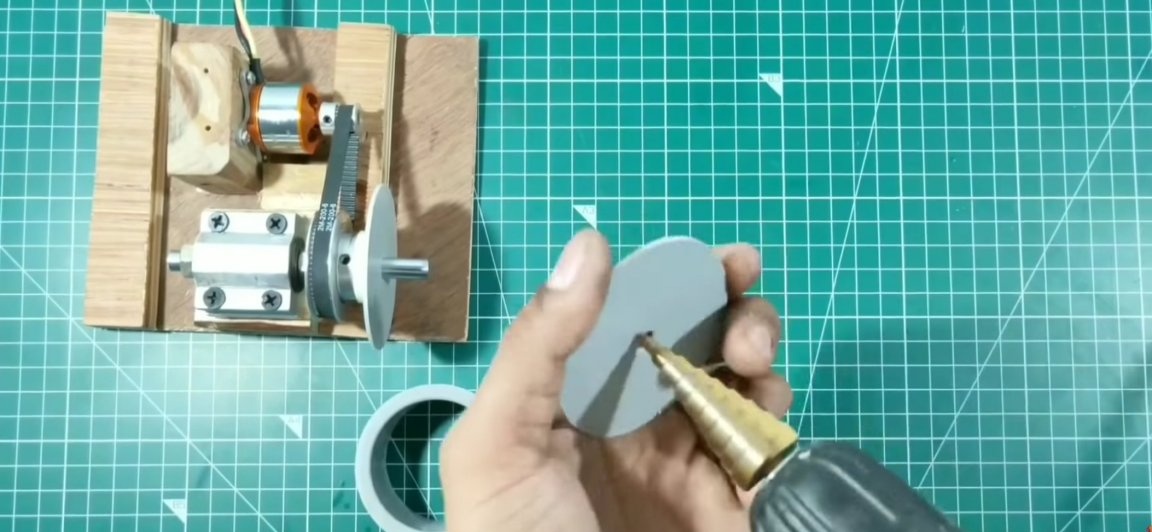
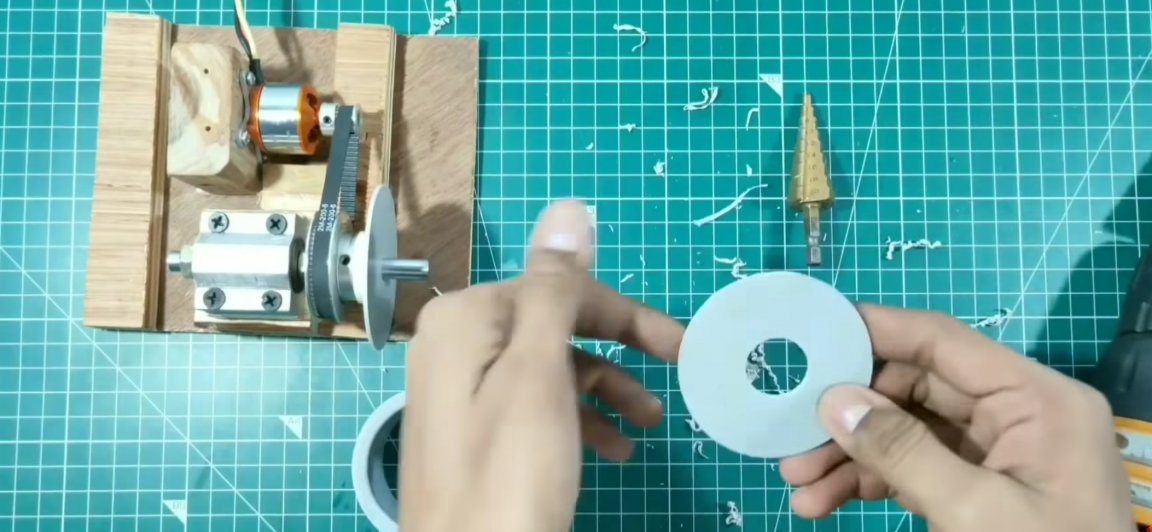
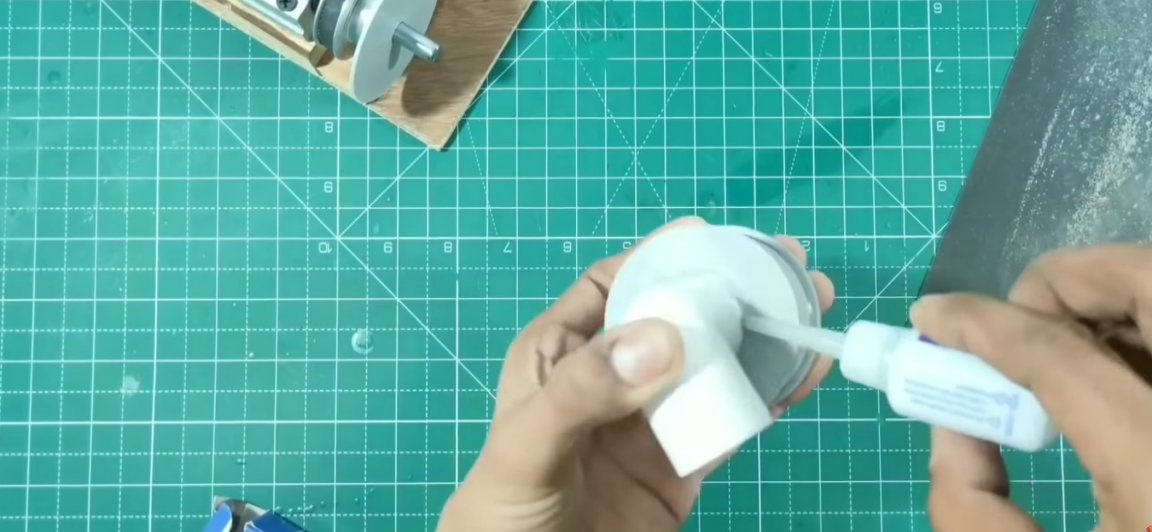
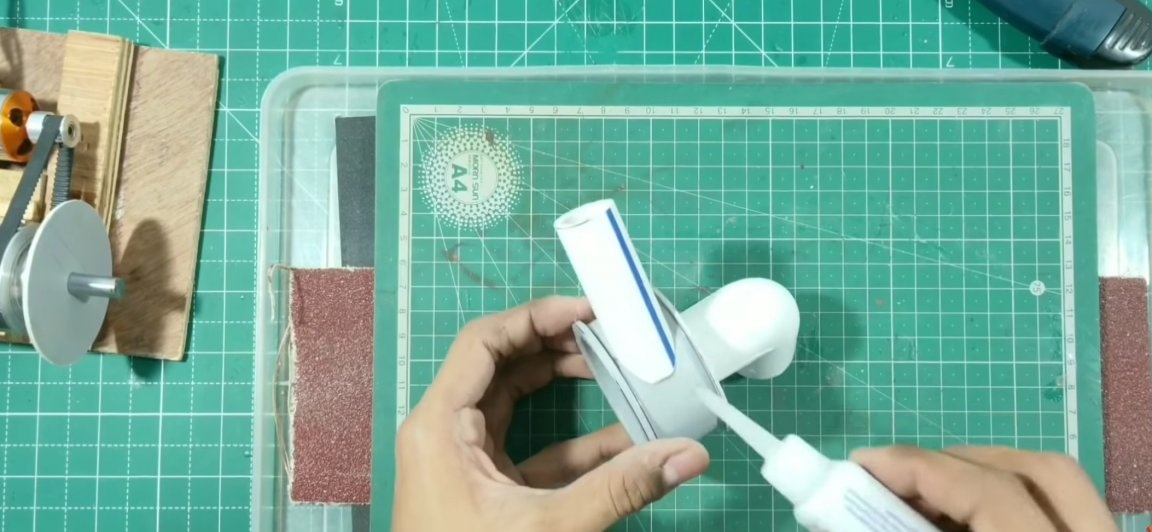
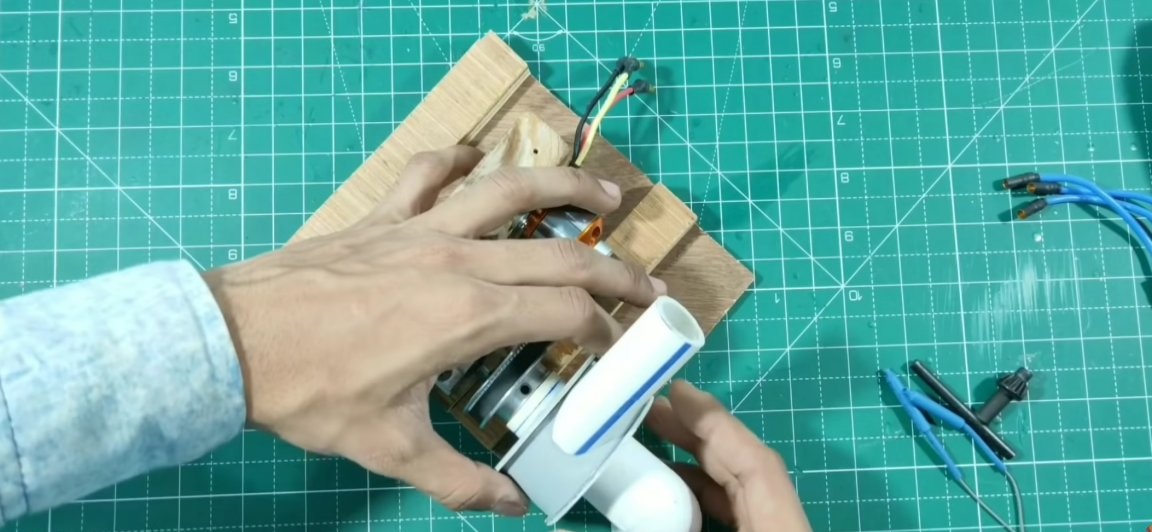
After checking the operability of the structure, we proceed to the next step. It is necessary to choose a bearing on the shaft, put a sleeve on this bearing. Next, we cut out a circle from the sewer plug, such as in the photo below and glue it to the sleeve mounted on the bearing. For a more reliable connection, slightly sand the plastic blank and the sleeve, and only then glue it. As a result, you should have it so that the main shaft rotates independently of this module with a plastic circle.
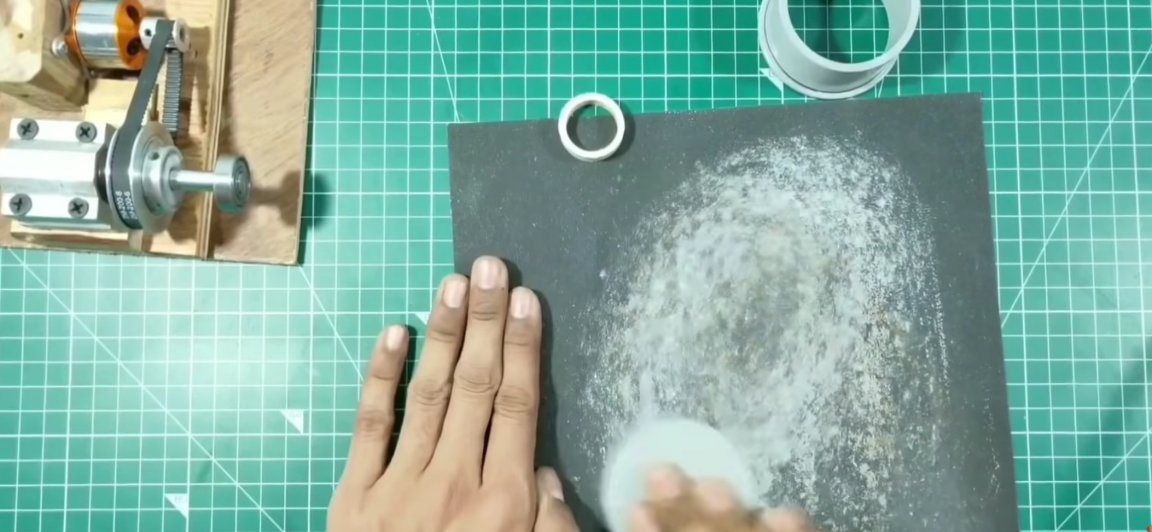
We cut the second same plastic circle. But in this workpiece we will make a large central hole (20 mm), water will pass through this hole. We also sanded this glue and glue it with a piece of sewer pipe, suitable in diameter and about 30-35 mm long.
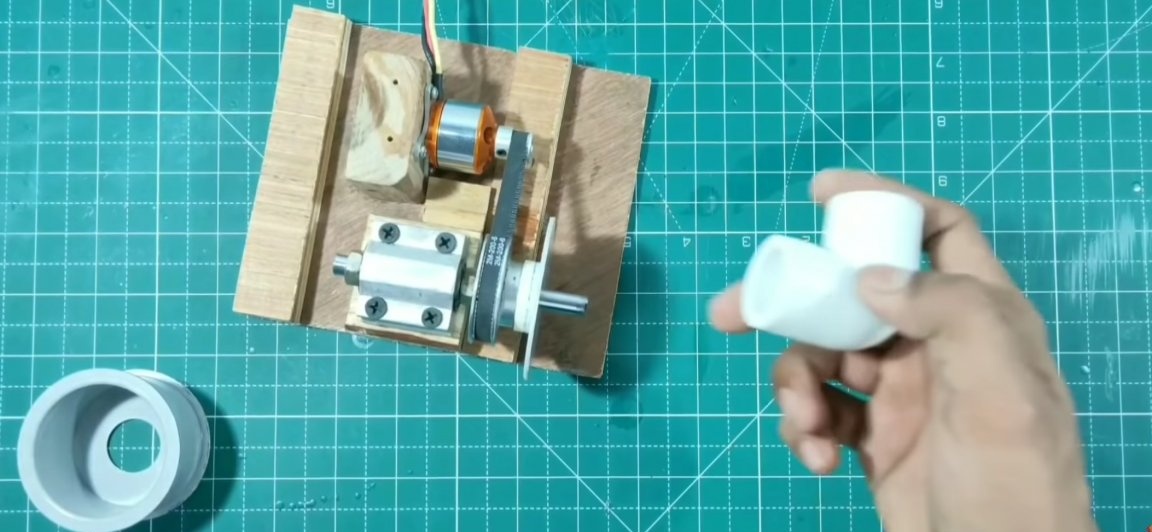
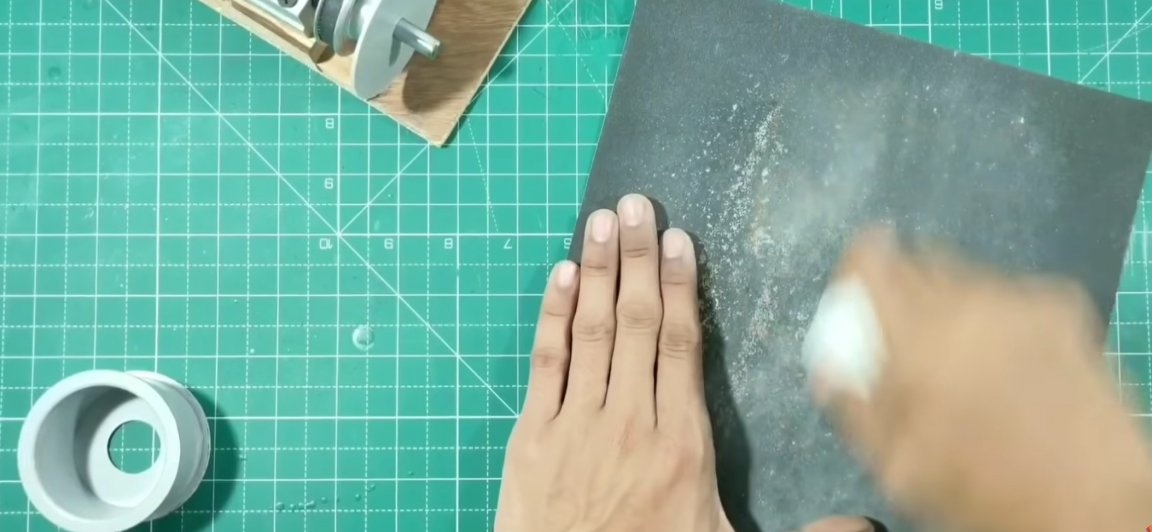
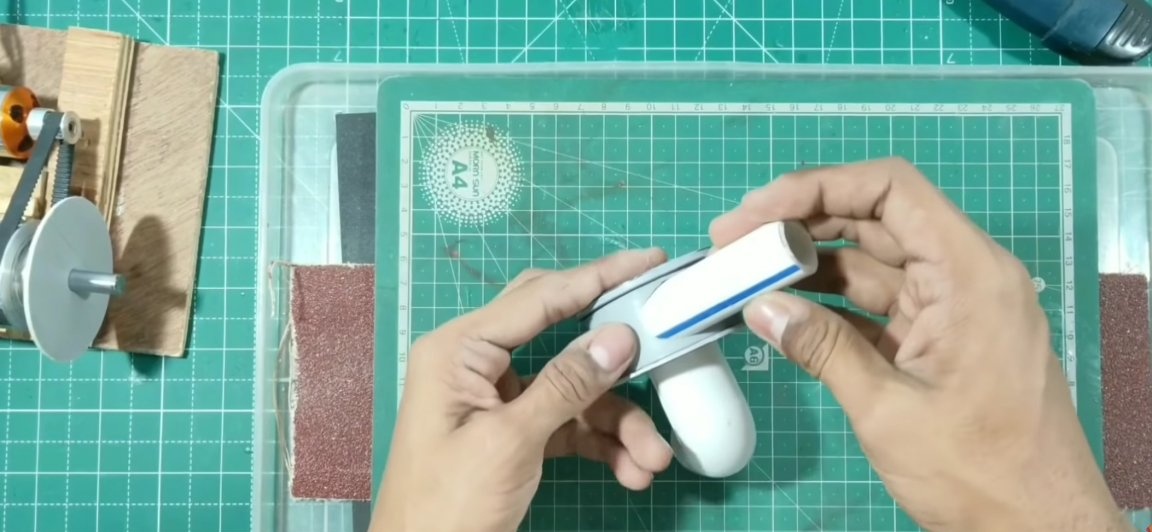
Then we glue a PVC corner (diameter 20mm) to the newly made workpiece. The corner itself is also exactly sanded with sandpaper before gluing.
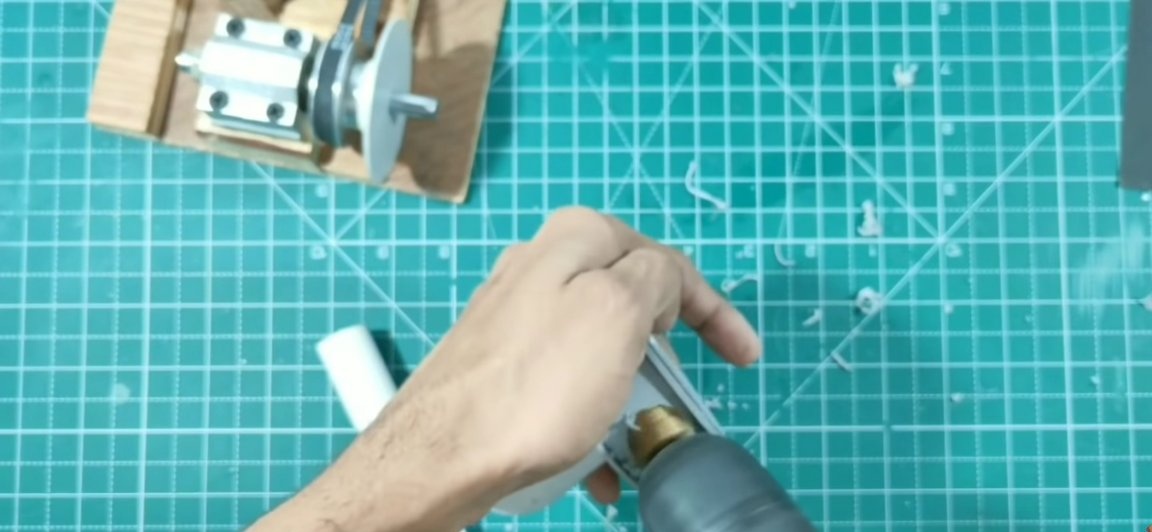
Then it is necessary to make a hole for the exit of water. To do this, take a stepped drill and drill a hole with a diameter of 20 mm at an angle on the side of the sewer pipe. Next, take the PVC pipe itself with a diameter of 20 mm, cut a segment of no more than 10 cm from it and cut one of its ends at an angle so that it can fit snugly to the just cut hole (see photo). And glue the elements together.
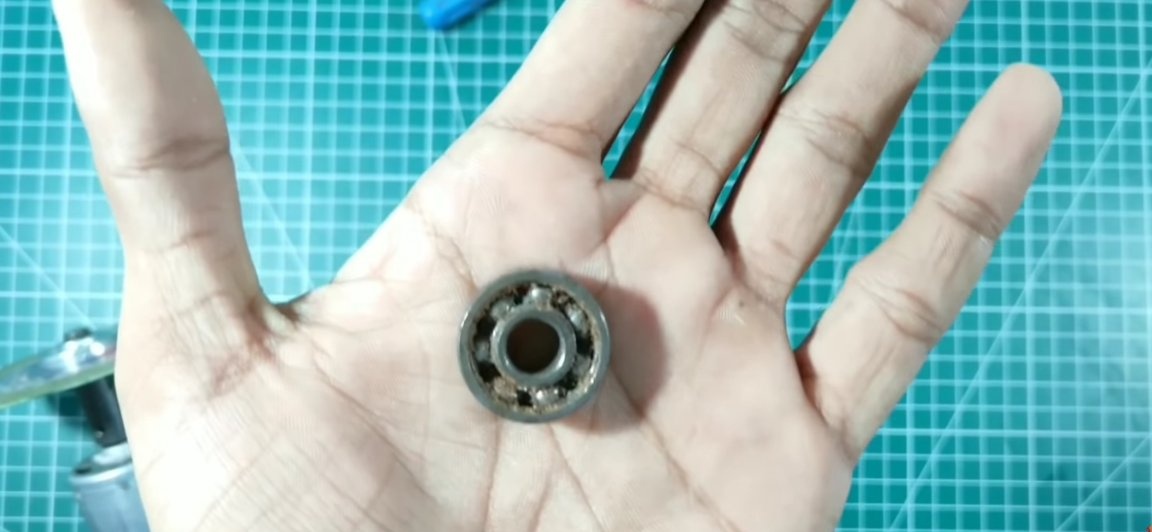
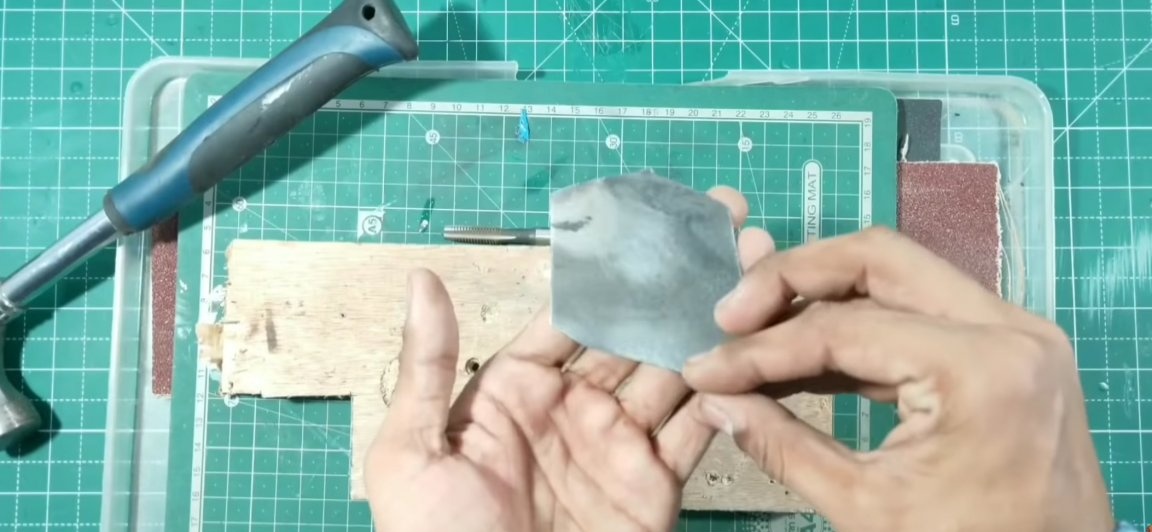
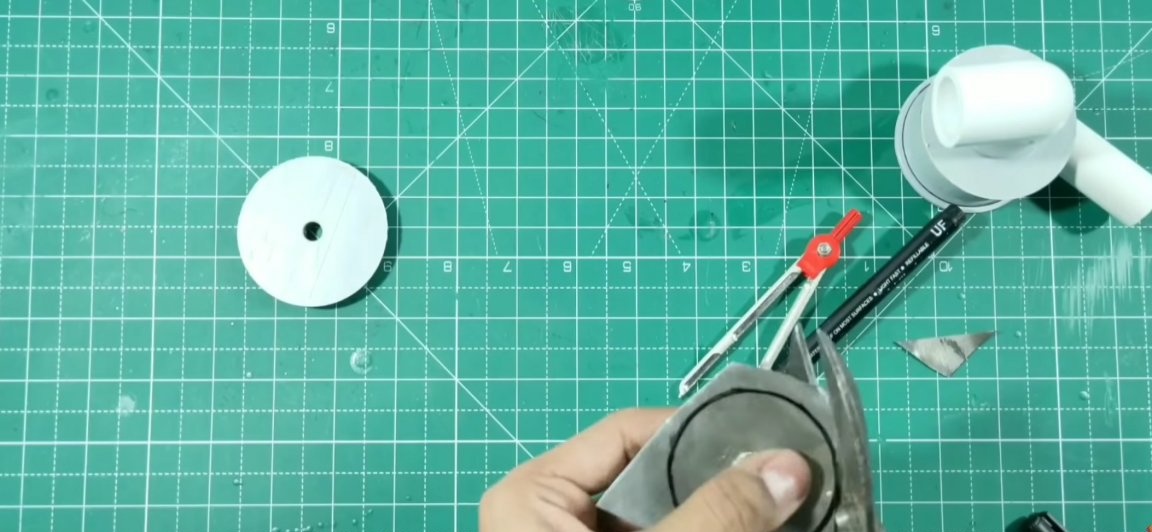
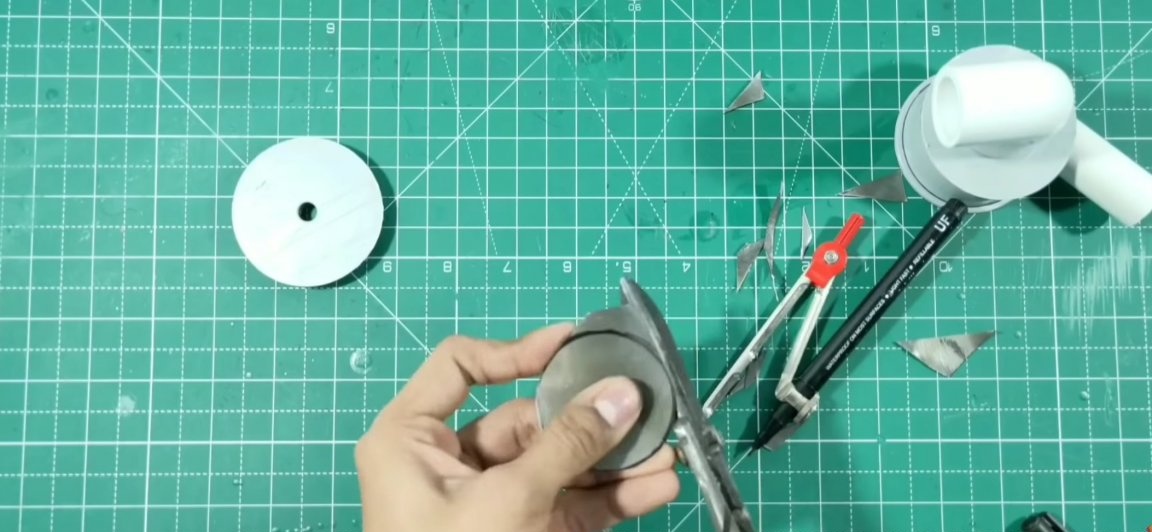
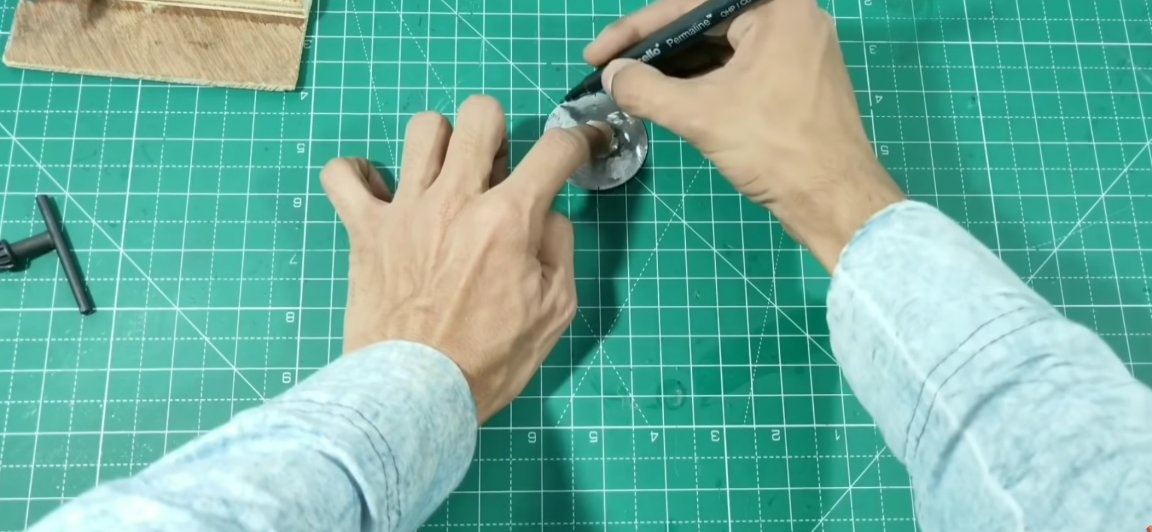
We turn to the manufacture of the impeller. First you need to take the bearing under our main shaft.The bearing can be used old and not even functioning, since only its inner ring is useful.
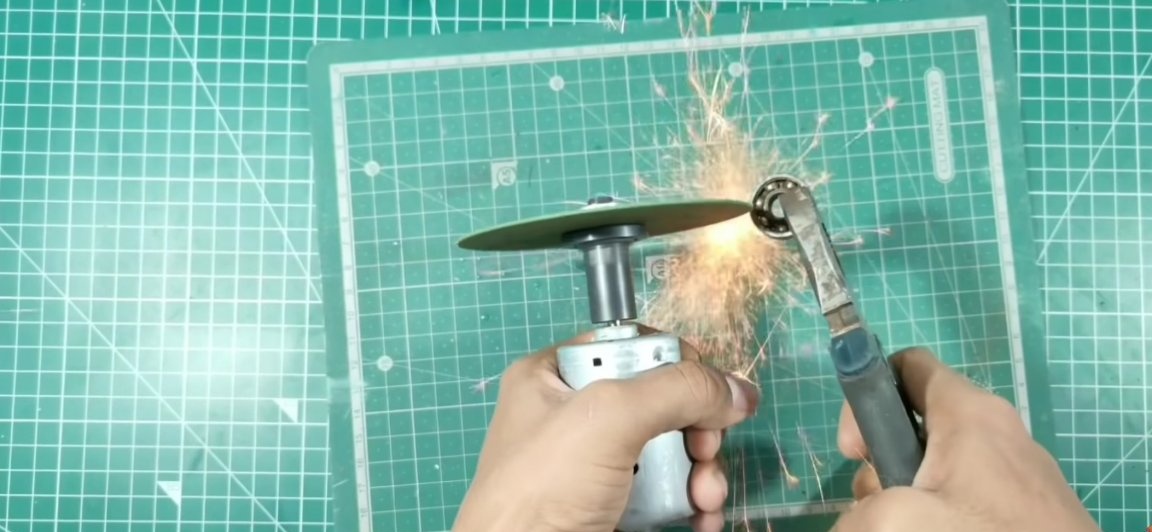
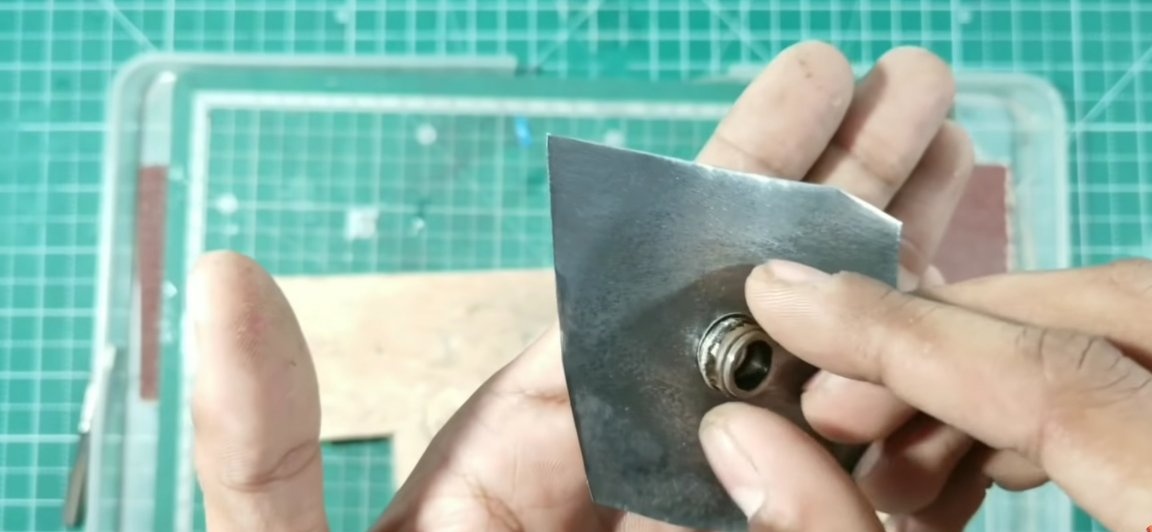
Then take a metal plate. In the center of this plate, make a hole with a diameter equal to the diameter of the shaft. Then, a ring from the bearing should be soldered to this hole using a soldering iron. In order to make things easier and solder for us, the plate itself and the ring should also be sanded to remove corrosion.
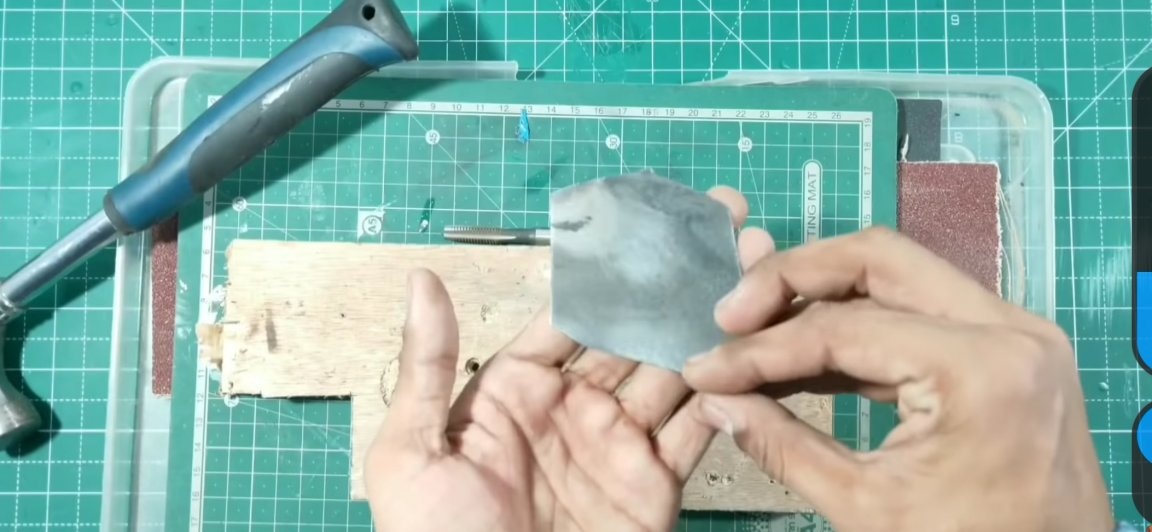
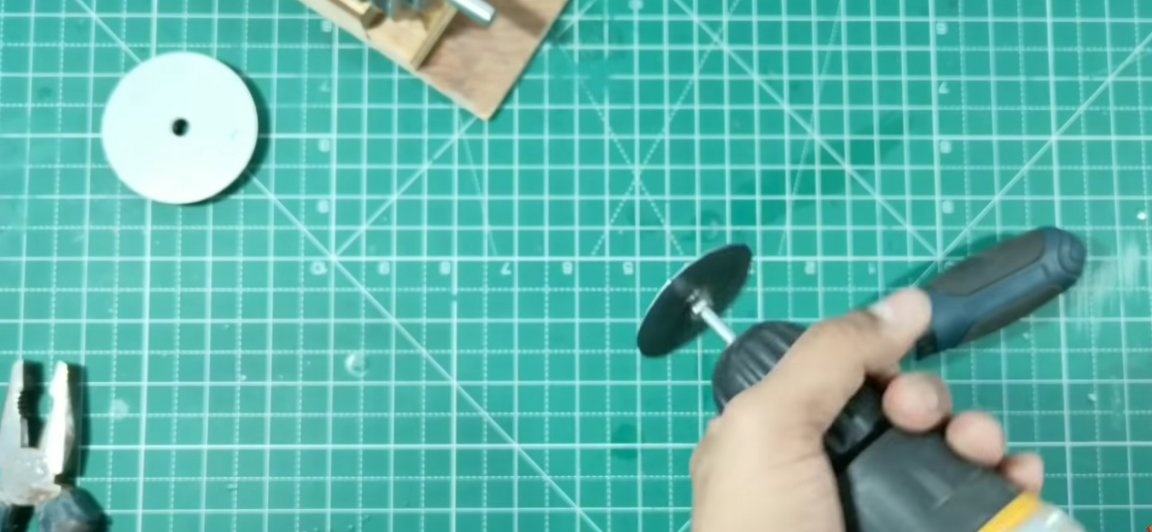
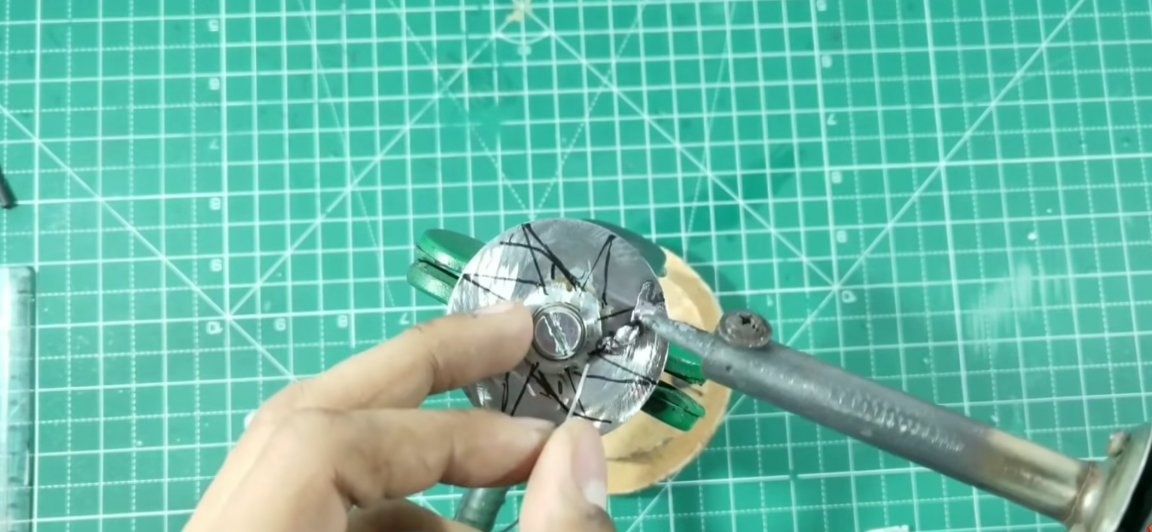
Then we draw a compass on this plate with an even circle so large that our workpiece fits as tightly as possible into the plastic workpiece and does not touch it. The smaller the gap, the greater the water pressure. Cut the circle around the office.
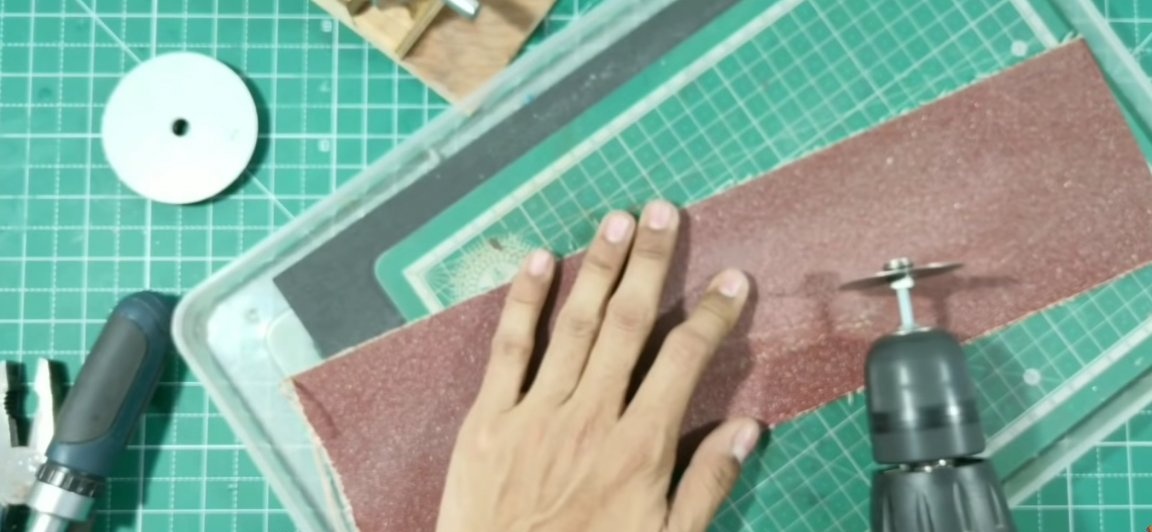
To reduce the runout and make the circle more “ideal”, with the help of a bolt and nut we put our circle on the drill and process it, as it is shown in the photo below.
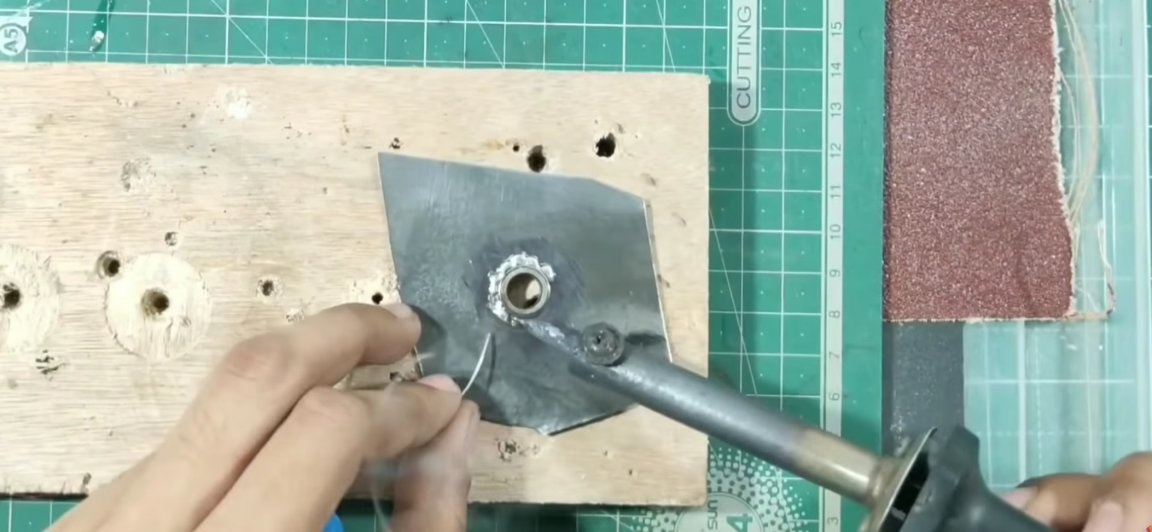
Then, using a ruler and marker, divide the circle into eight identical parts. And we finish our drawing, just as the author did. The blades should be soldered to those bends. The blades themselves are cut out of the same metal plate. For more convenient soldering of elements, I recommend separately tinning the circle and the blades, only then all the elements should be soldered together.

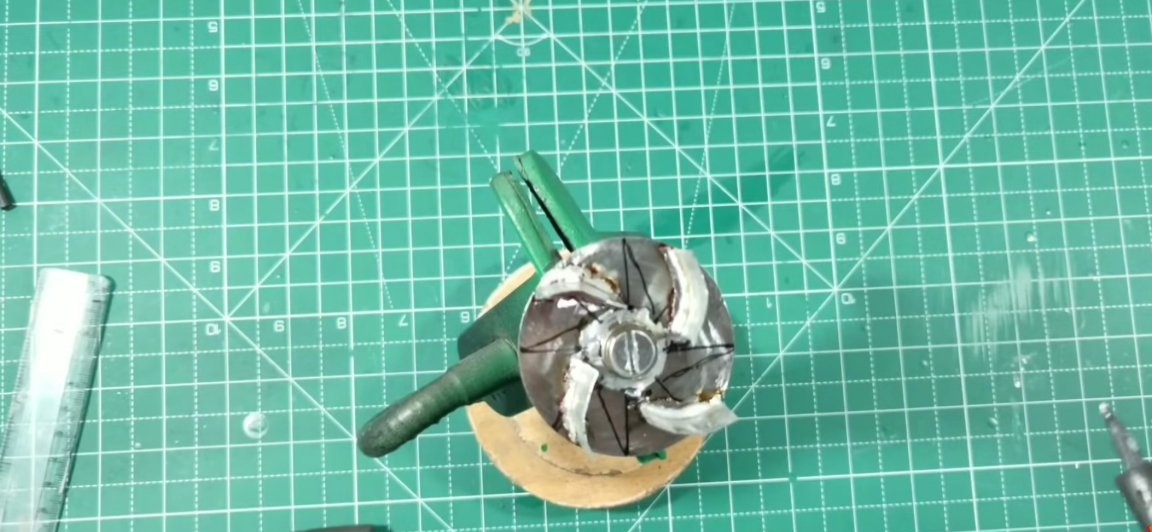
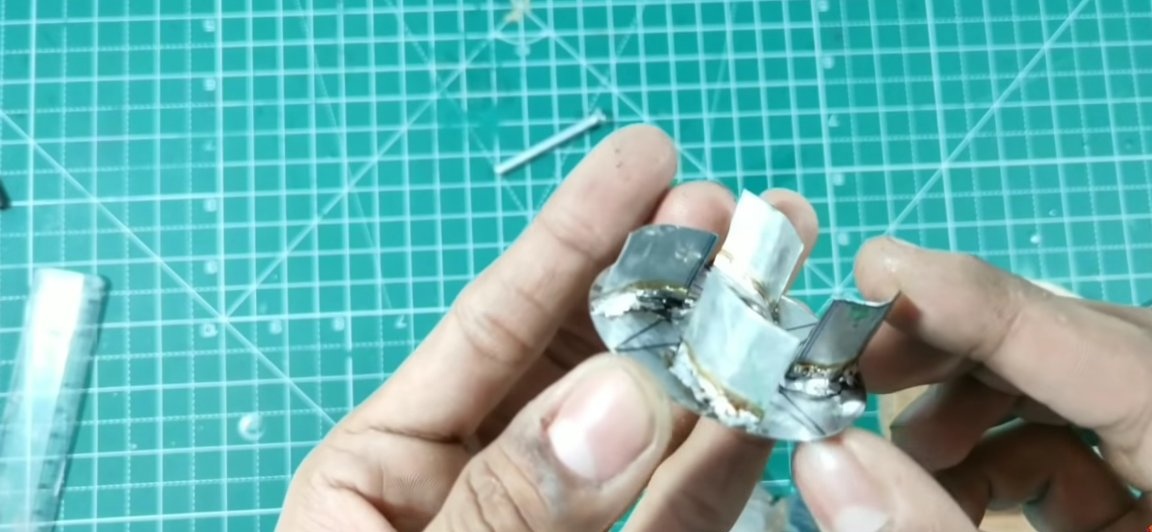
Then we install the impeller on the shaft and securely fix it with superglue. Next, we install the plastic blank in place so that the impeller does not touch it. By
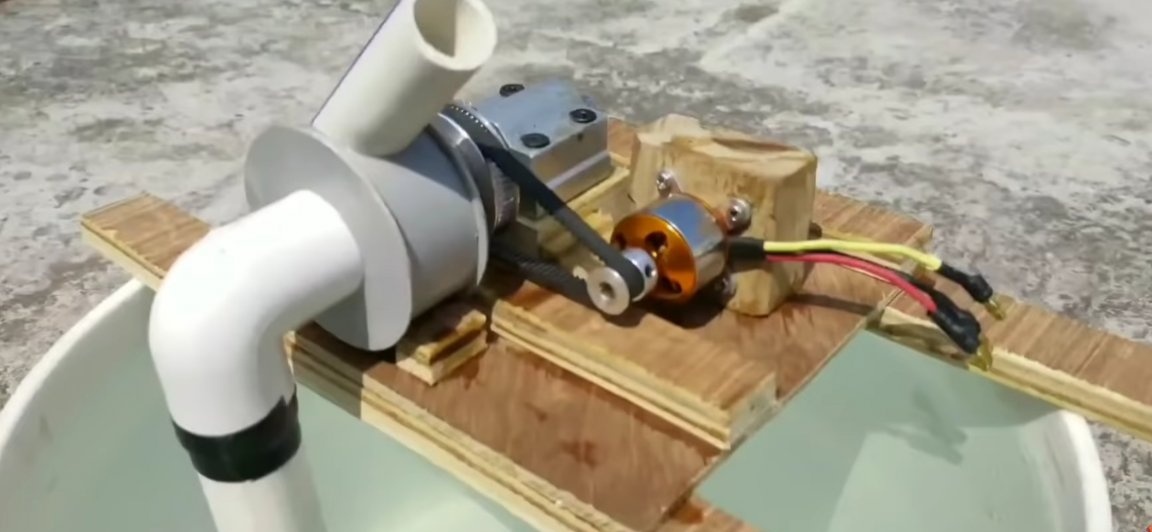
All is ready! We pass to tests of our pump. To do this, connect all electronics the motor according to the designation to the regulator, the battery and receiver are also connected according to the instructions.
You can purchase accessories that can be useful for assembling this homemade product here:
Brushless motor
Speed control
Receiver and transmitter (cheapest)
Battery
KIT kit from which some components are useful.
Here is a video of the author of the homemade:
Well, thank you all for your attention and good luck in future projects, friends!