
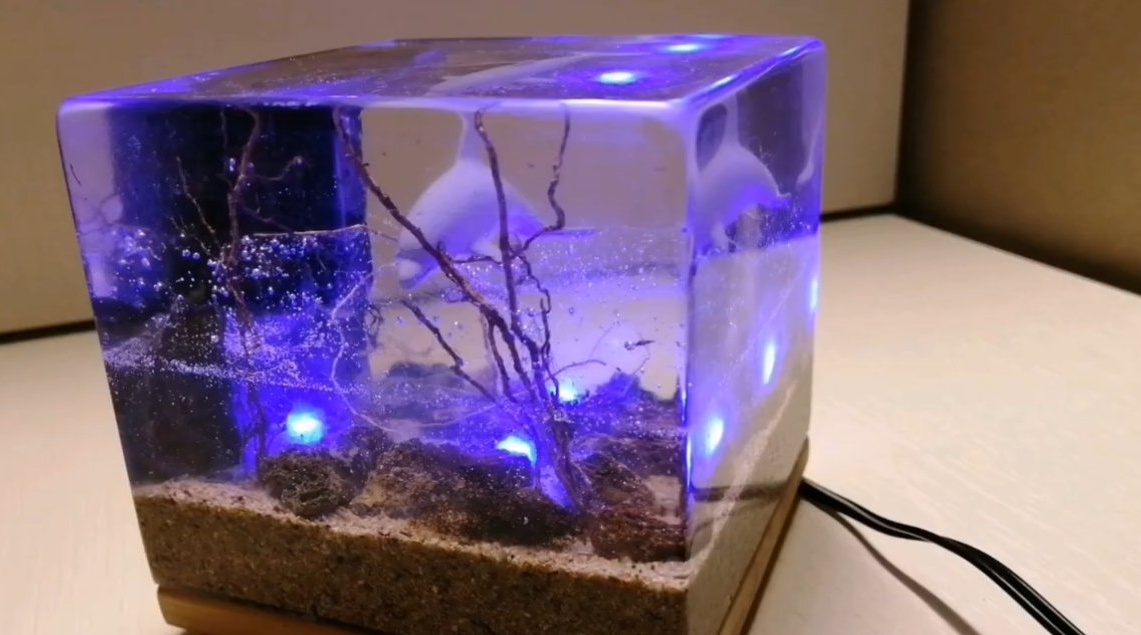
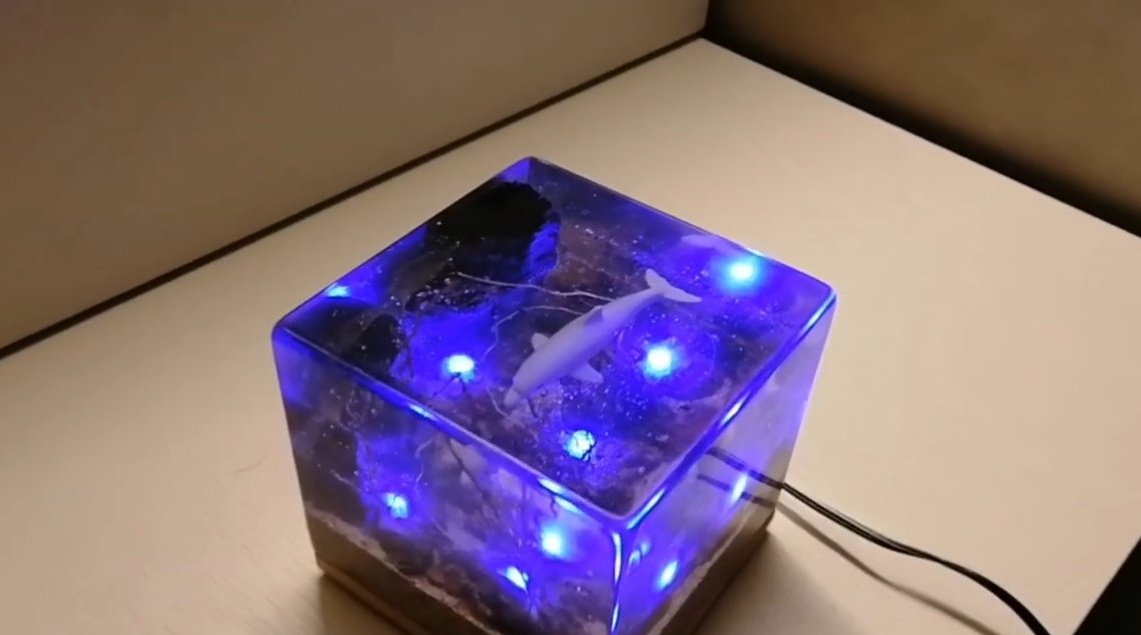
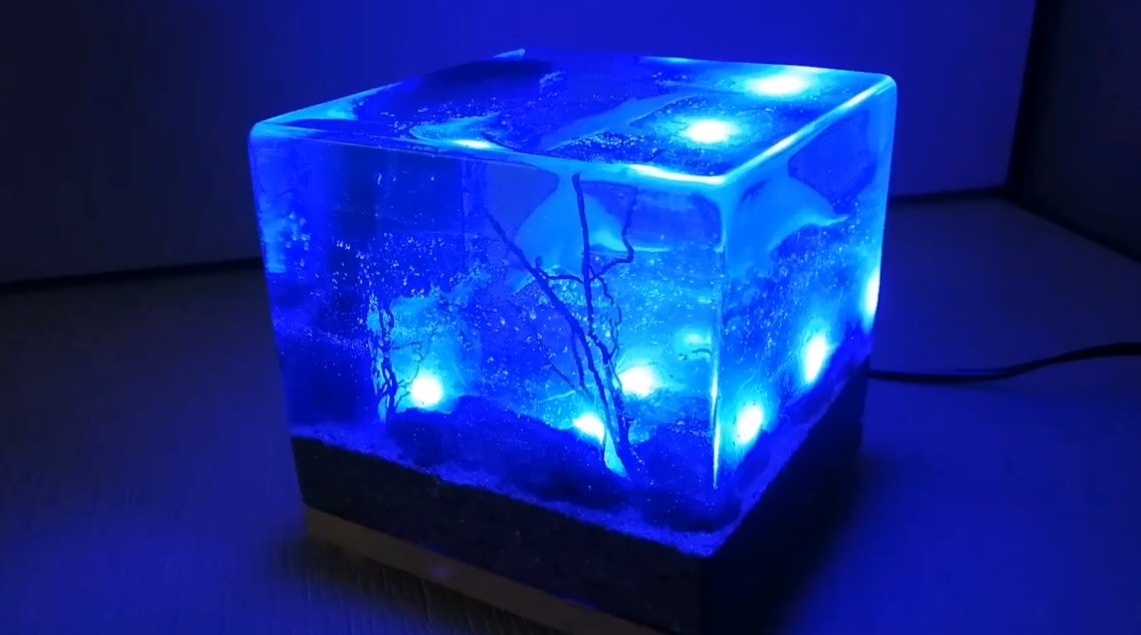

I welcome all fans to craft, I propose to consider instructions for making an interesting epoxy nightlight do it yourself. The author decided to depict the ocean, and inside the picture you can even see a dolphin. The light source is the LEDs from the garland, which the author has built into the base. In assembly homemade not complicated, but everything looks interesting, you can easily create your own composition using this technique. If the project interests you, I propose to study it in more detail!
Materials and tools used by the author:
Material List:
- epoxy resin for pouring;
- dolphin or polymer clay for its manufacture;
- paints;
- pebbles and sand;
- charred wood;
- roots;
- a piece of board for the base;
- LEDs;
- cable;
- a suitable power source;
- plexiglass.
Tool List:
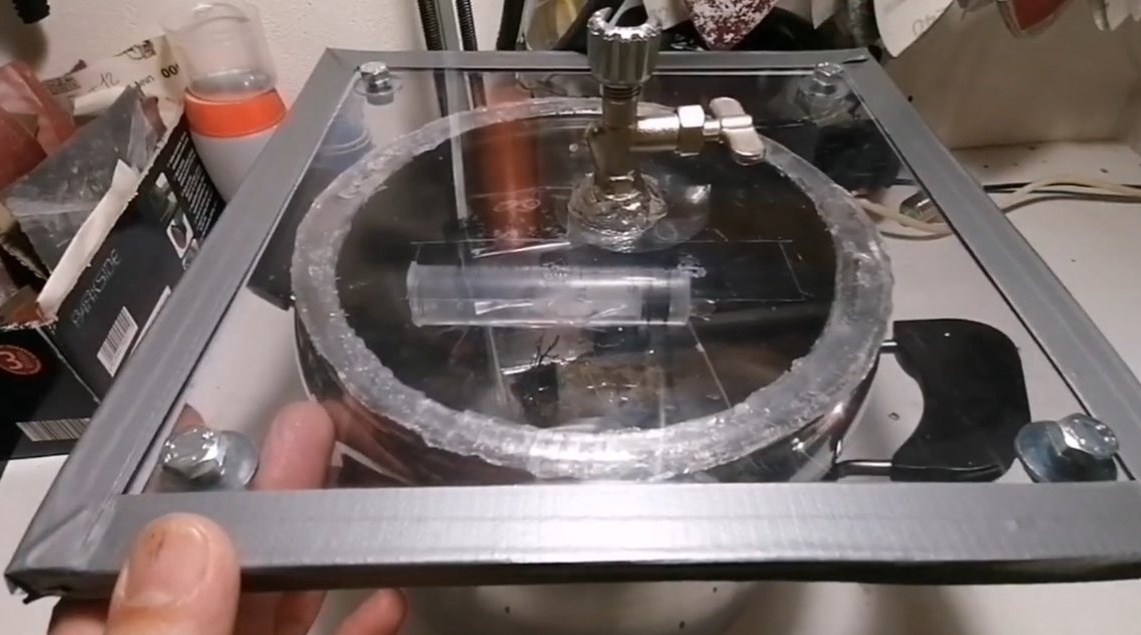
- a vacuum chamber;
- glue gun;
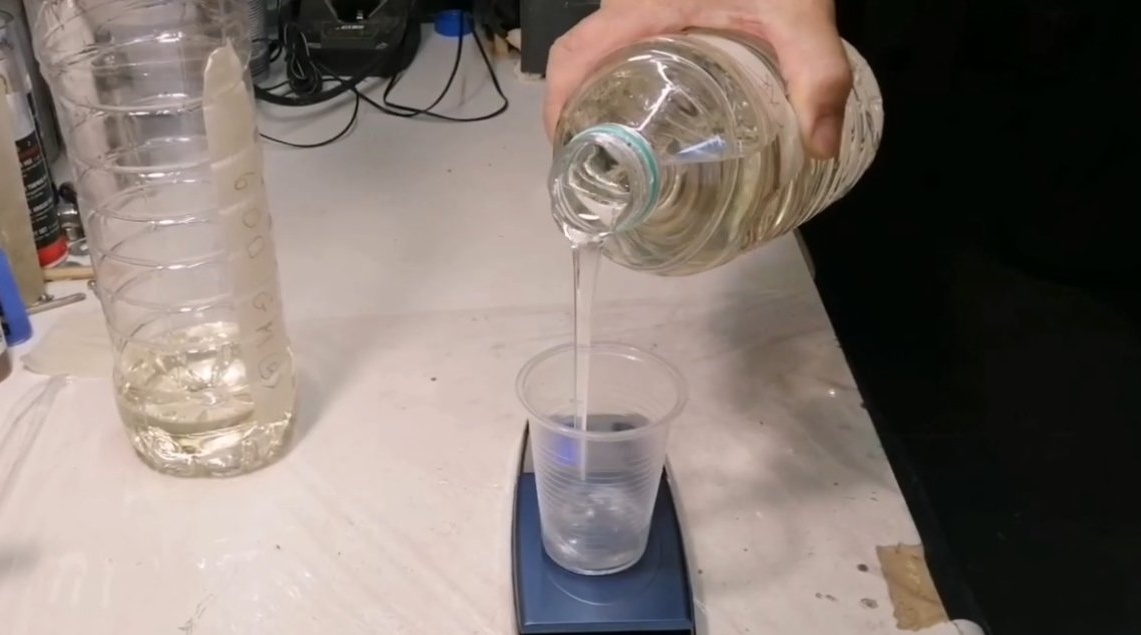
- electronic Libra;
- stationery knife;
- sandpaper;
- grinding and polishing machine;
- drill;
- renovator (optional).
Homemade manufacturing process:
Step one. Preparing for resin casting
First of all, we need to prepare the formwork for pouring epoxy resin. We will make formwork from acrylic; epoxy resin does not stick to it. You can use other materials, and so that the resin does not stick, the formwork can be glued with tape or coated with a separating wax.
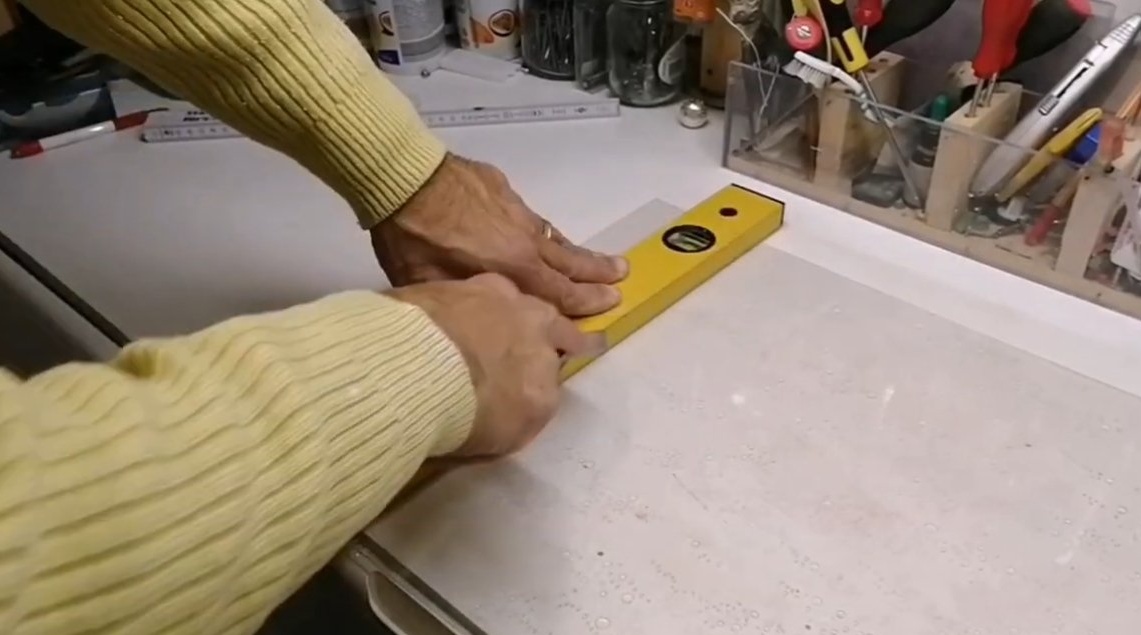
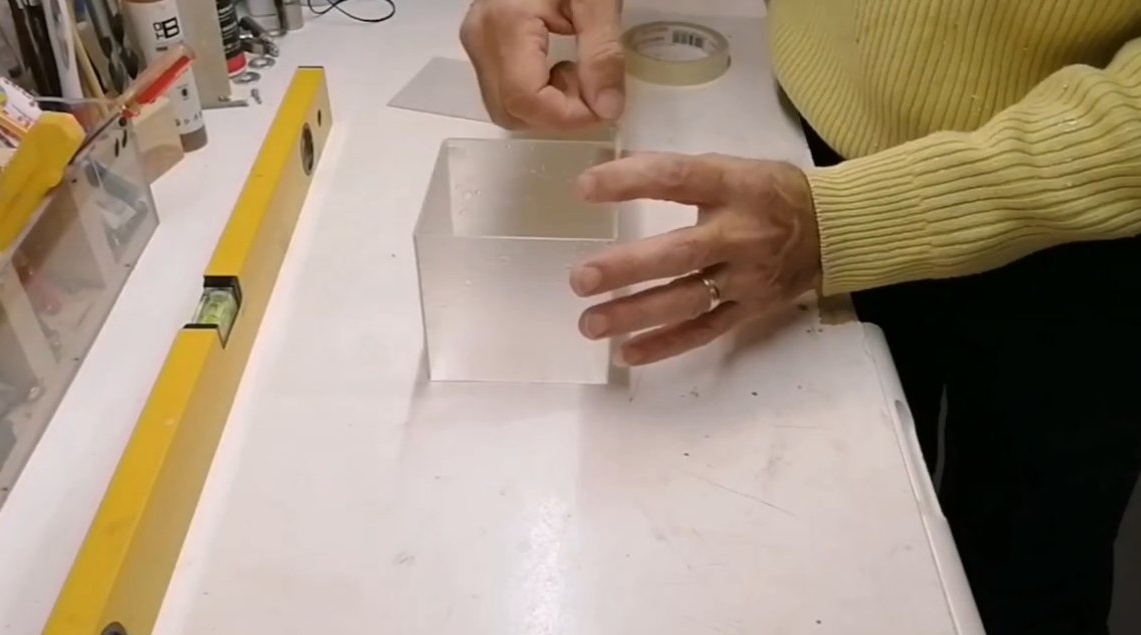
As conceived by the author, the lamp should be a cube. We assemble the formwork on hot glue, the joints of the formwork can be glued with tape. Be careful not to leave gaps, otherwise the resin will immediately leak.
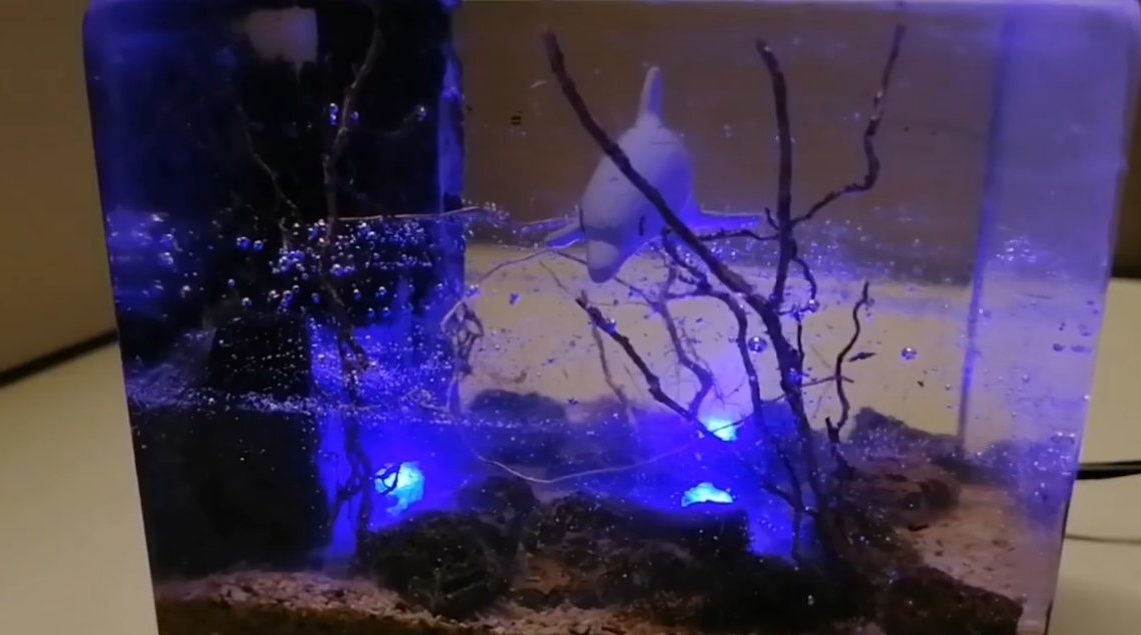
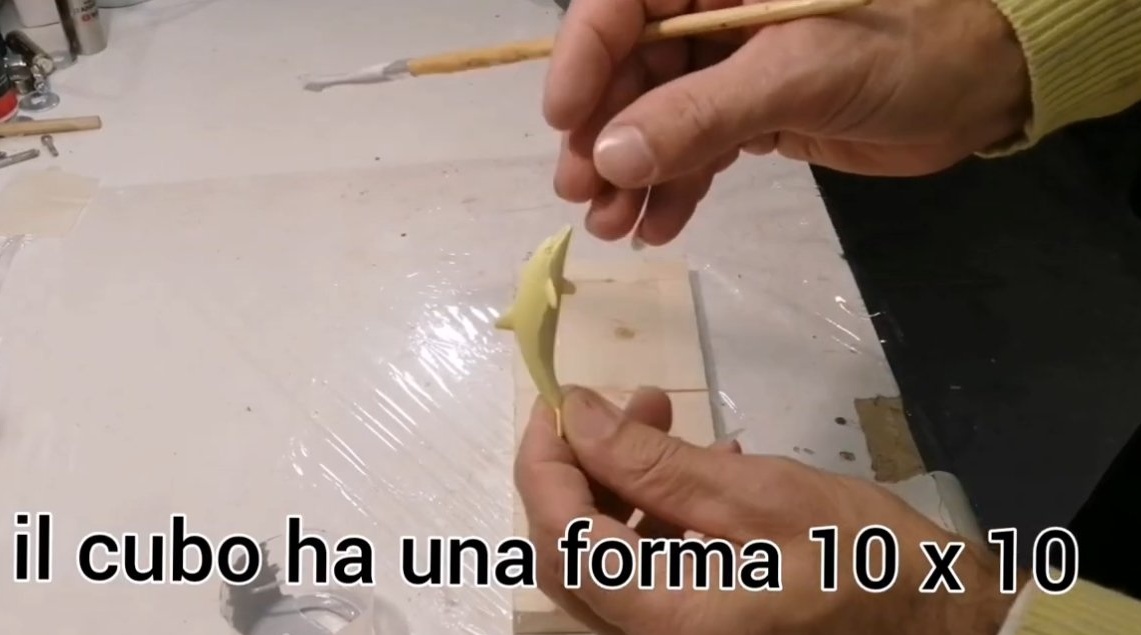
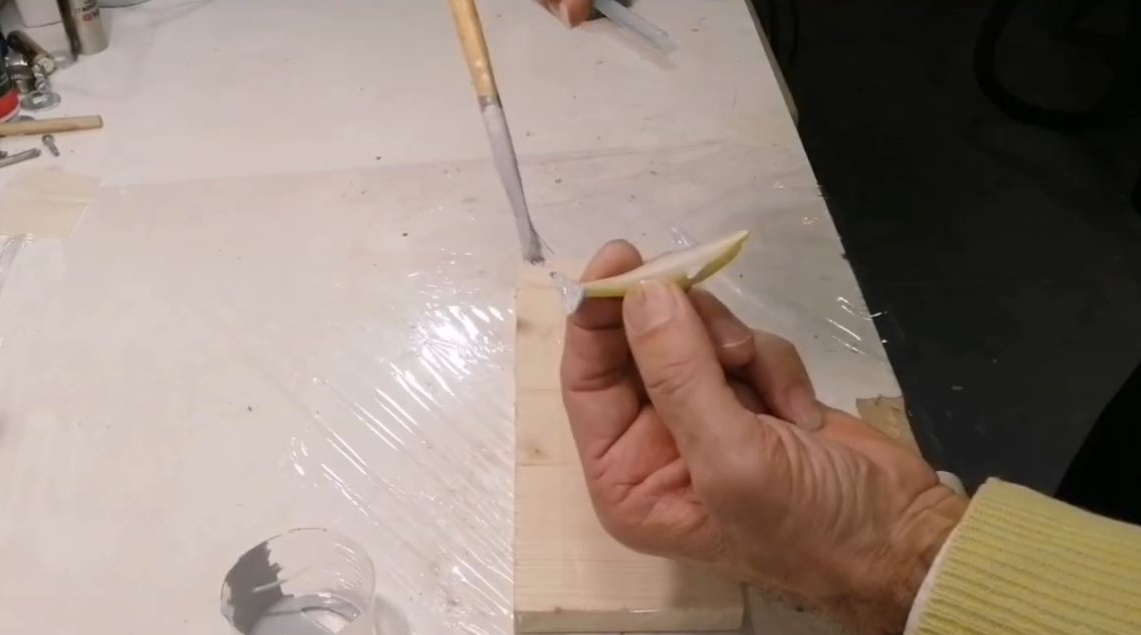
We also prepare the dolphin in advance - an integral part of the night lamp, it can be made of polymer clay or even ordinary dough. We paint the dolphin so that everything looks realistic.
Step Two Fill the first layer
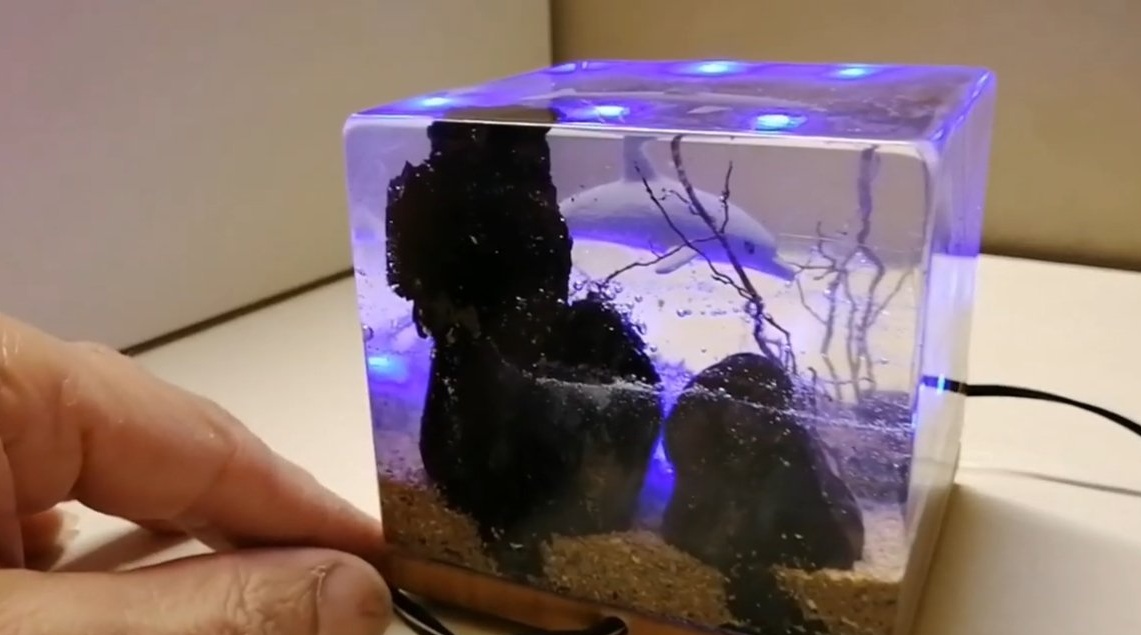
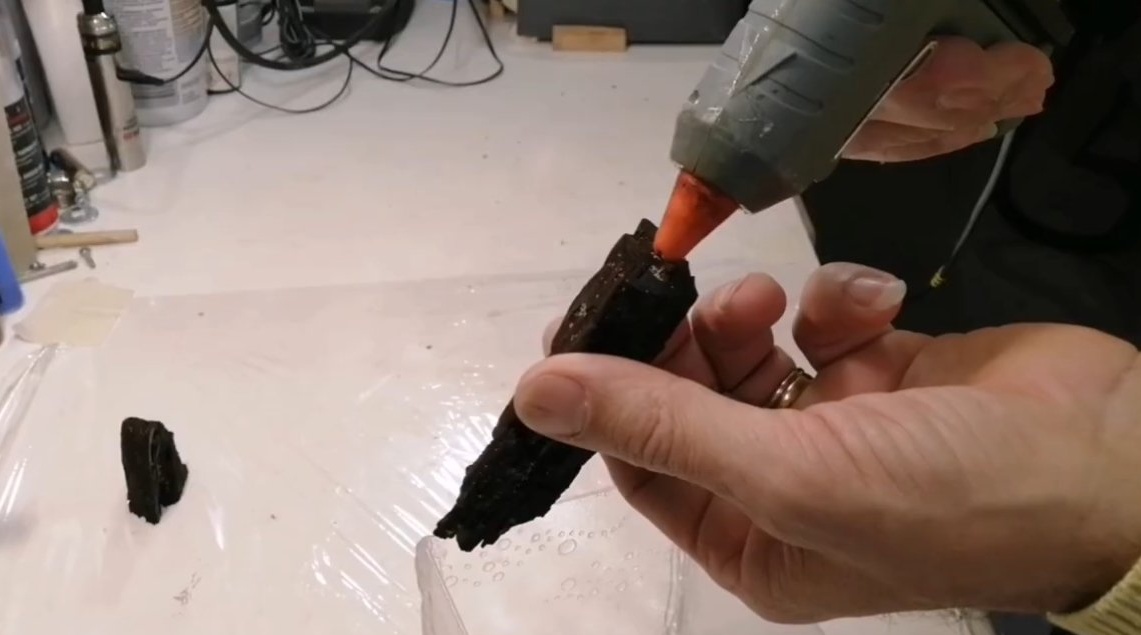
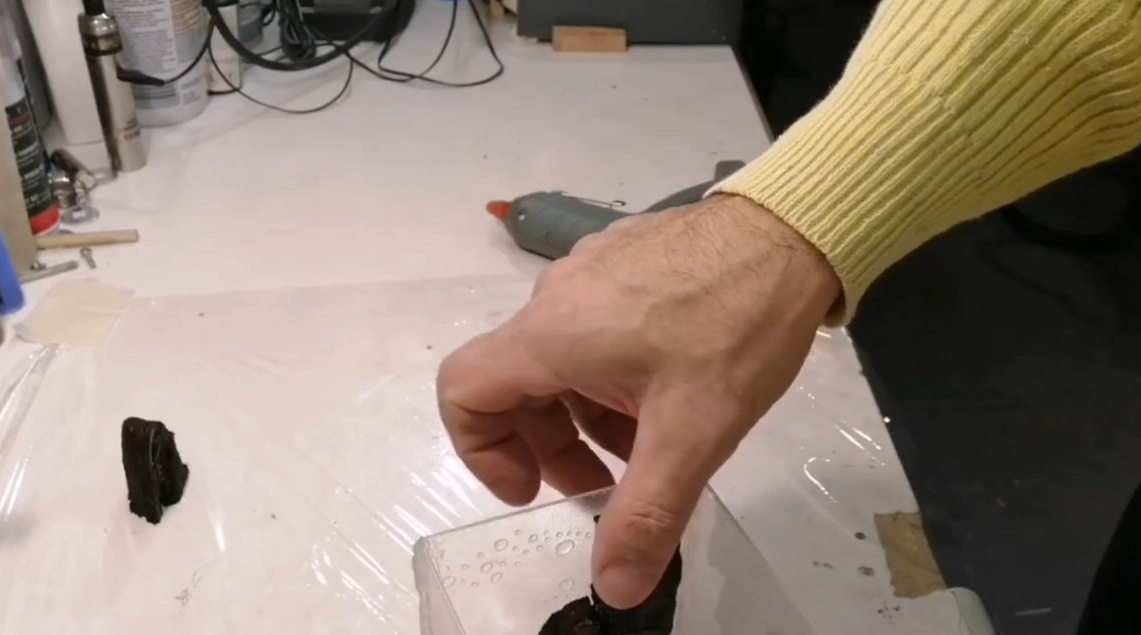
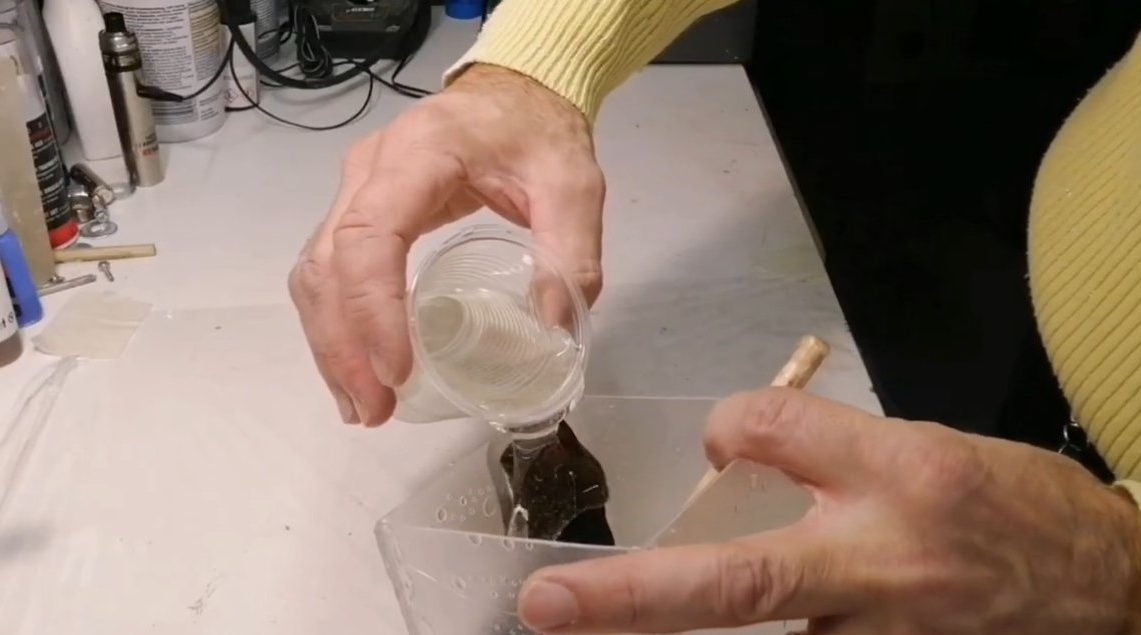
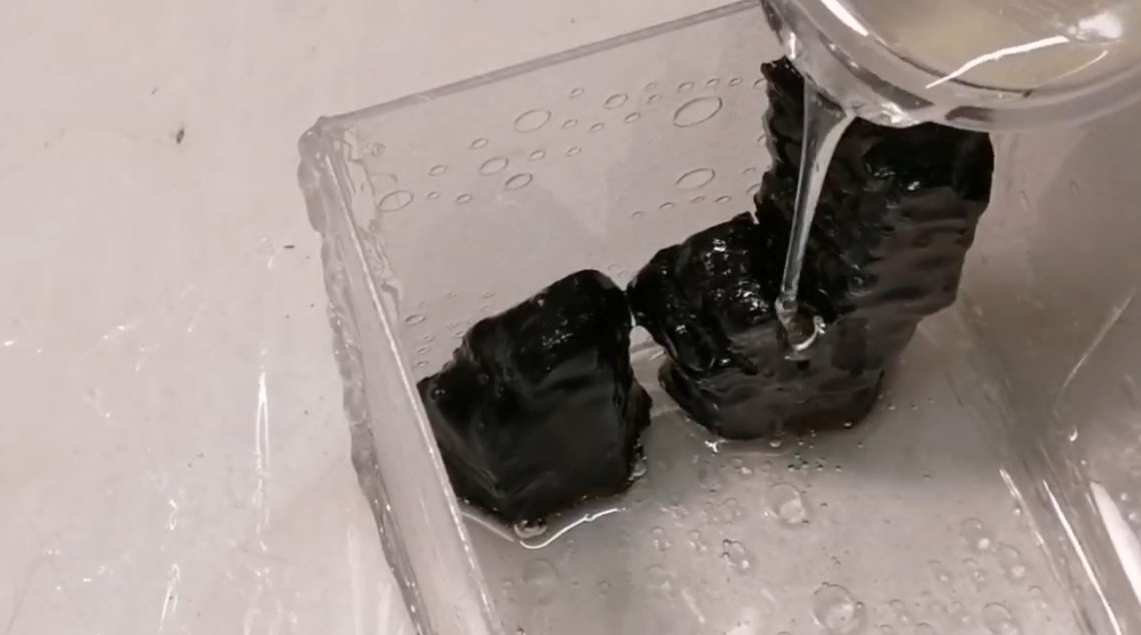
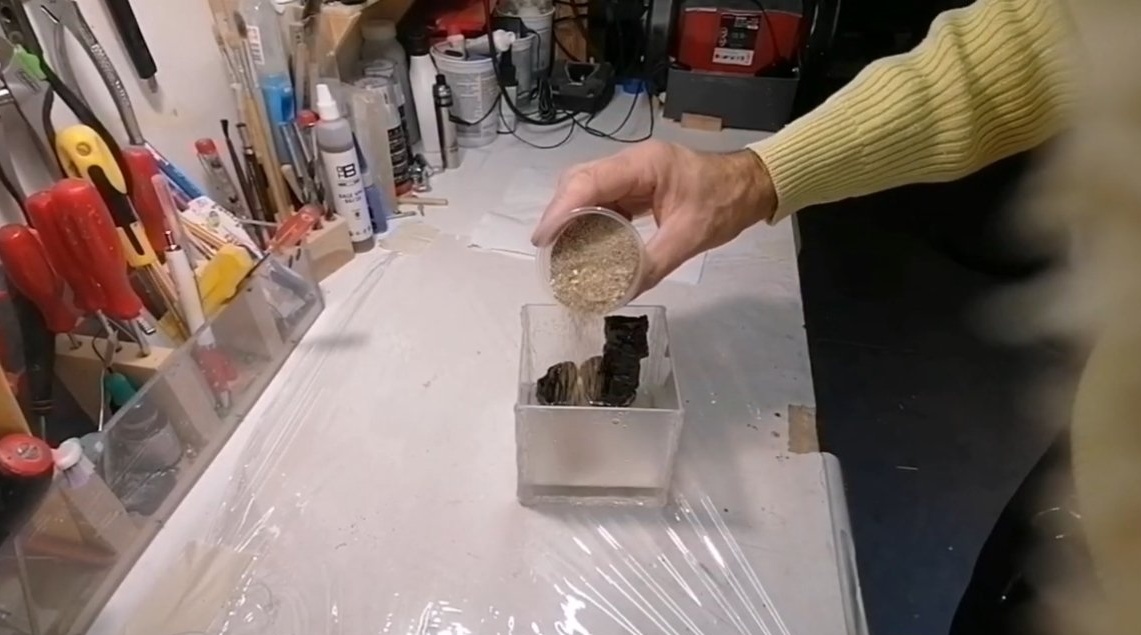
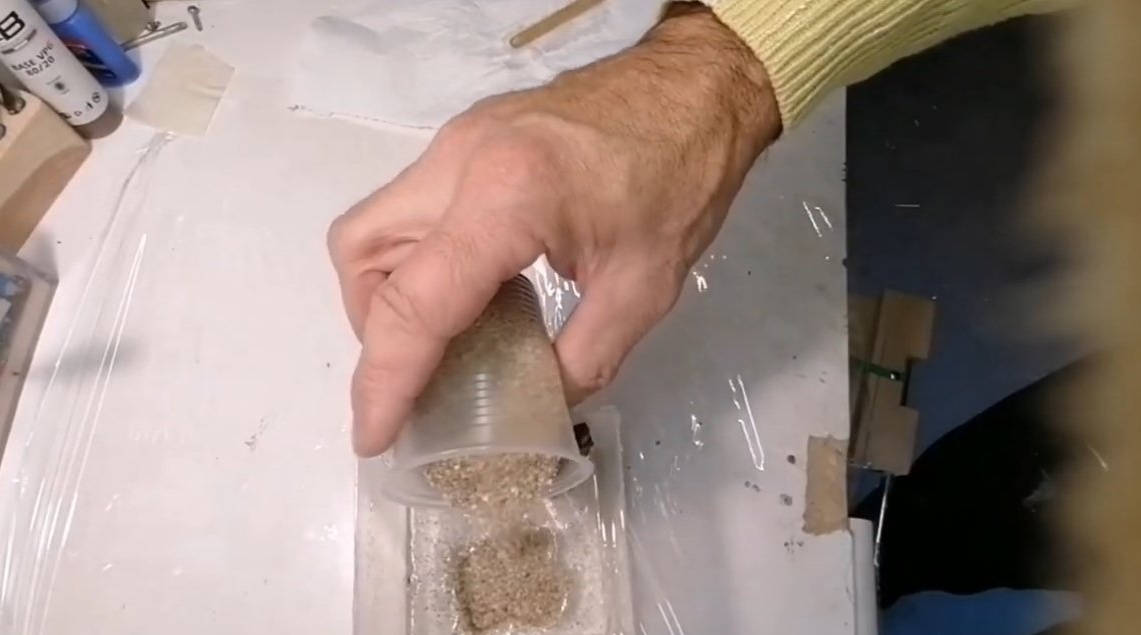
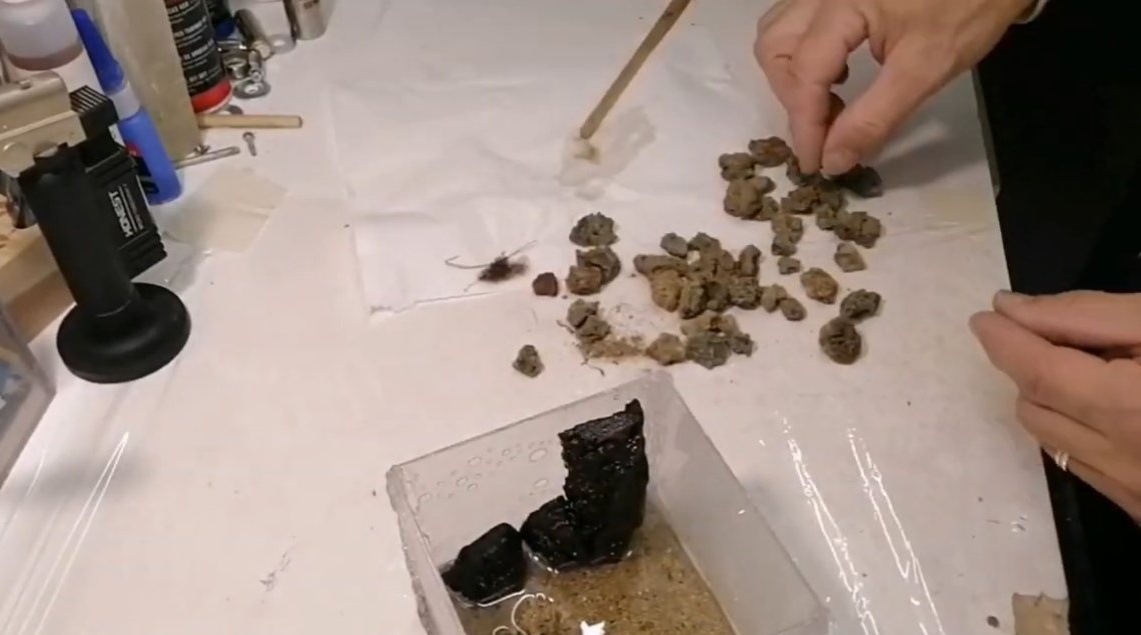
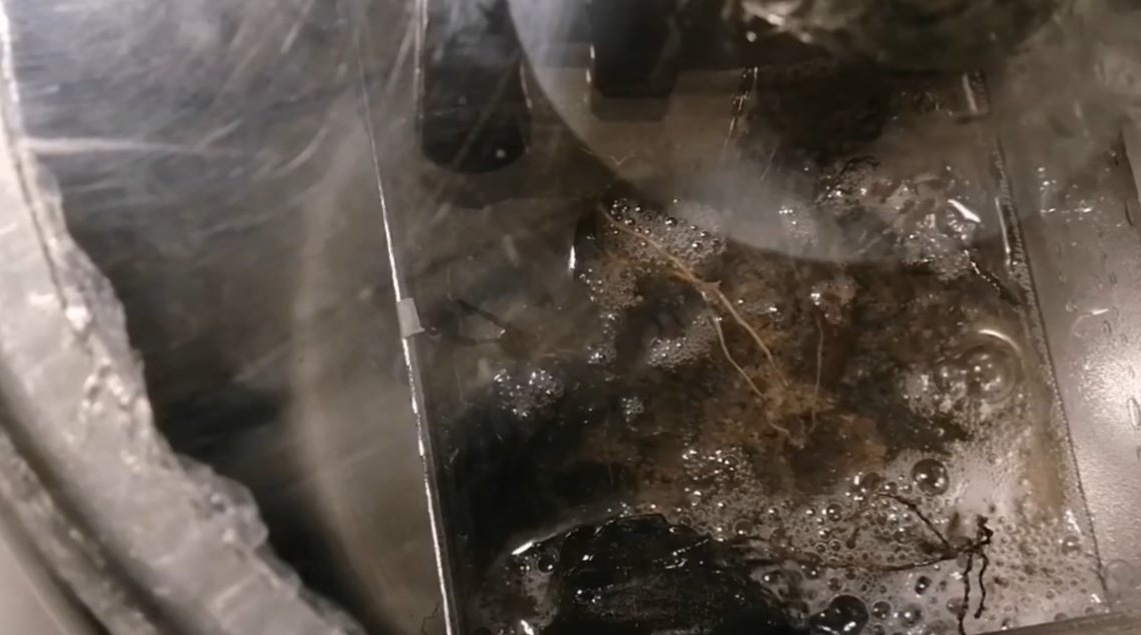
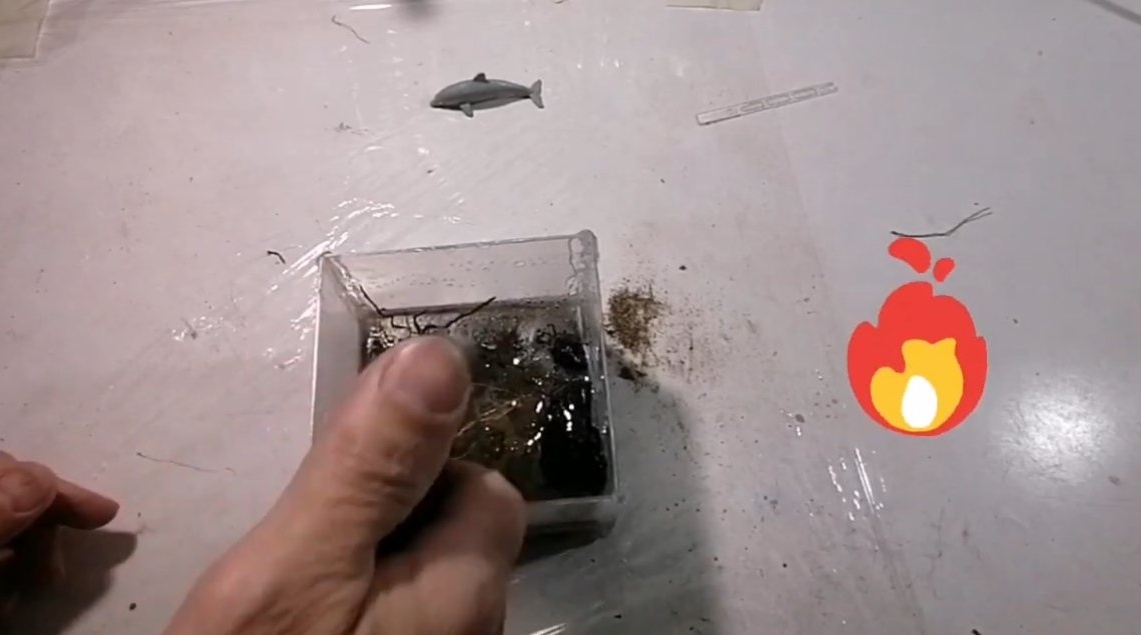
We prepare washed river sand, as well as roots and carbonized wood, which will imitate rocks or stones. We fill the sand at the bottom of the formwork, fill it with resin on top.We also install carbonized wood, it can be temporarily fixed with hot glue.
We also lay on the bottom of the pebbles, install the roots and other details.
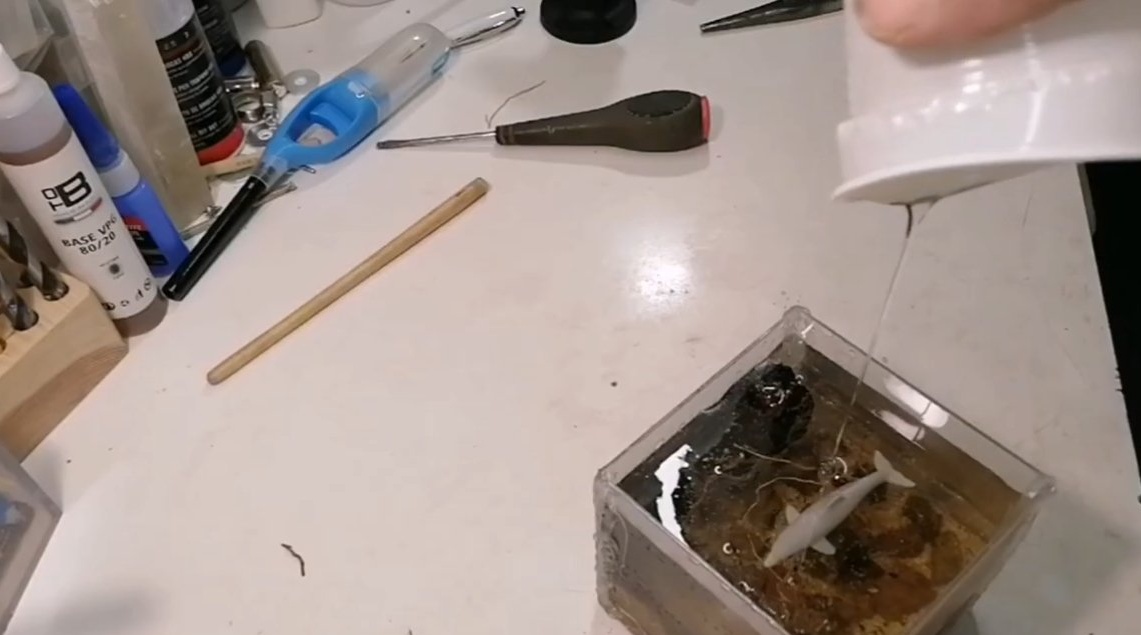
Step Three Second layer of resin
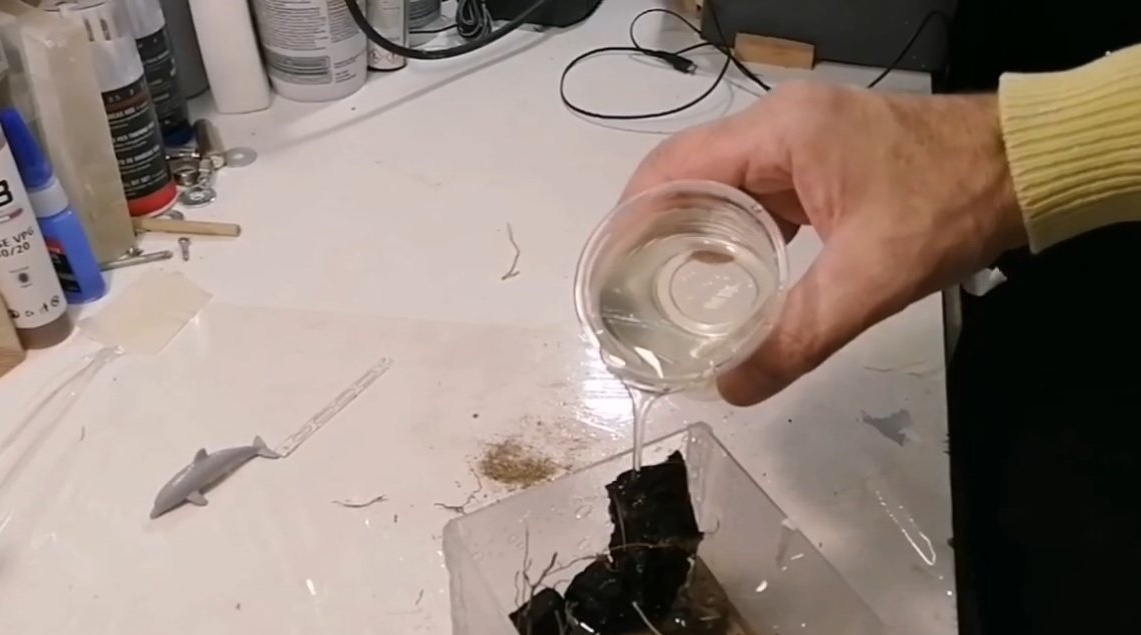
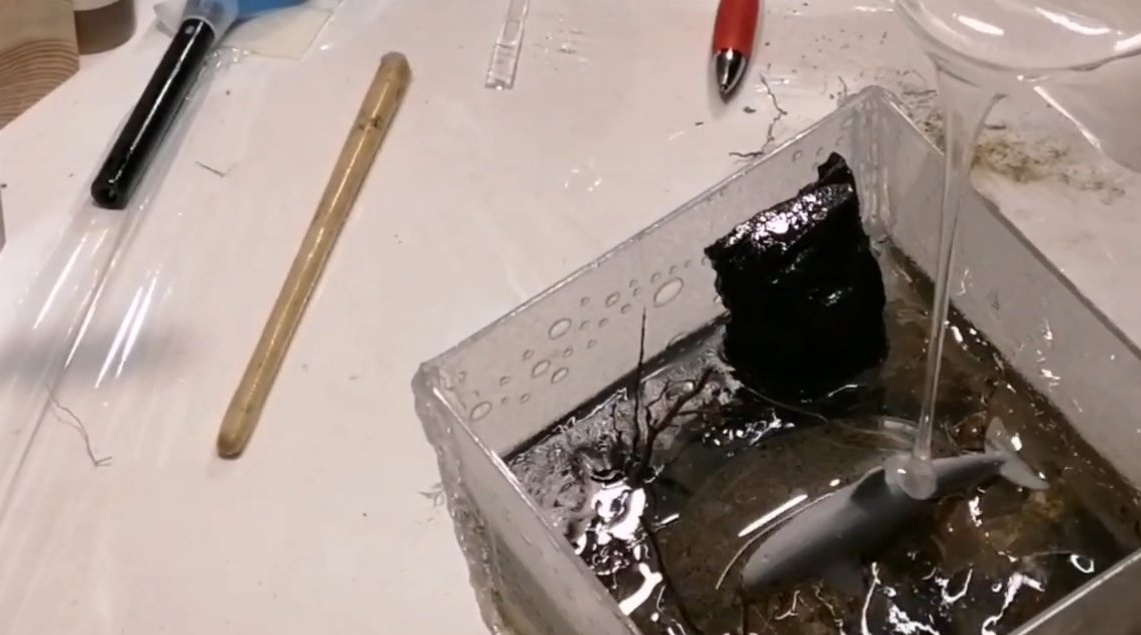
Filling each new layer of resin, it would be nice to wait until the previous one has completely hardened, well, or fill it with one layer at once. The author pours the second layer to about half the formwork, then a dolphin will be installed on top of it.
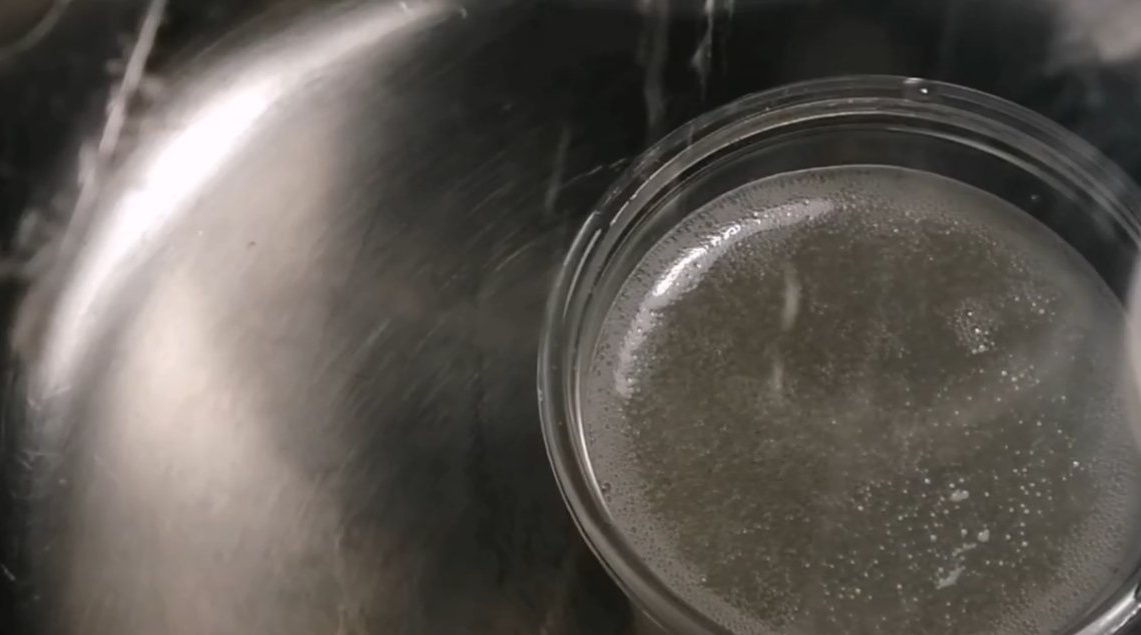
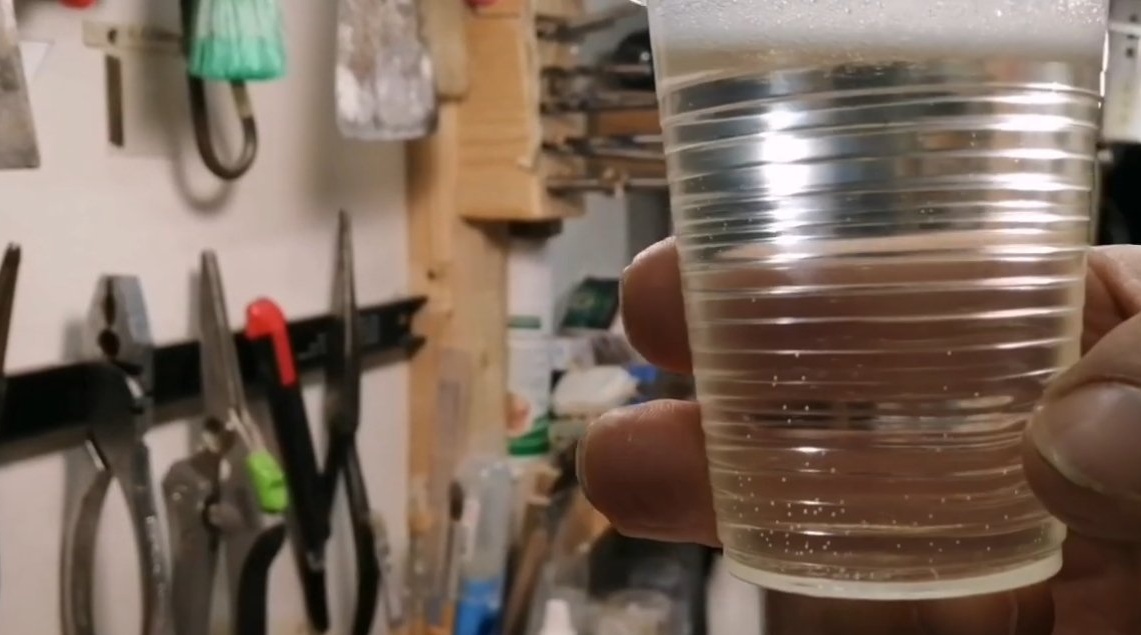
This layer, according to the author’s idea, should be crystal clear. To expel air from the resin, the author placed a glass of resin in a vacuum chamber. After pouring, we destroy air bubbles with a gas burner. We are waiting for this layer to fully harden.
Step Four Third, final layer
We install dolphin in the formwork, it can be fixed with a drop of superglue. Fill the last layer of resin, it can already be filled with bubbles, so the picture will look more realistic. We remove the bubbles from above with a burner and wait for the resin to completely harden.
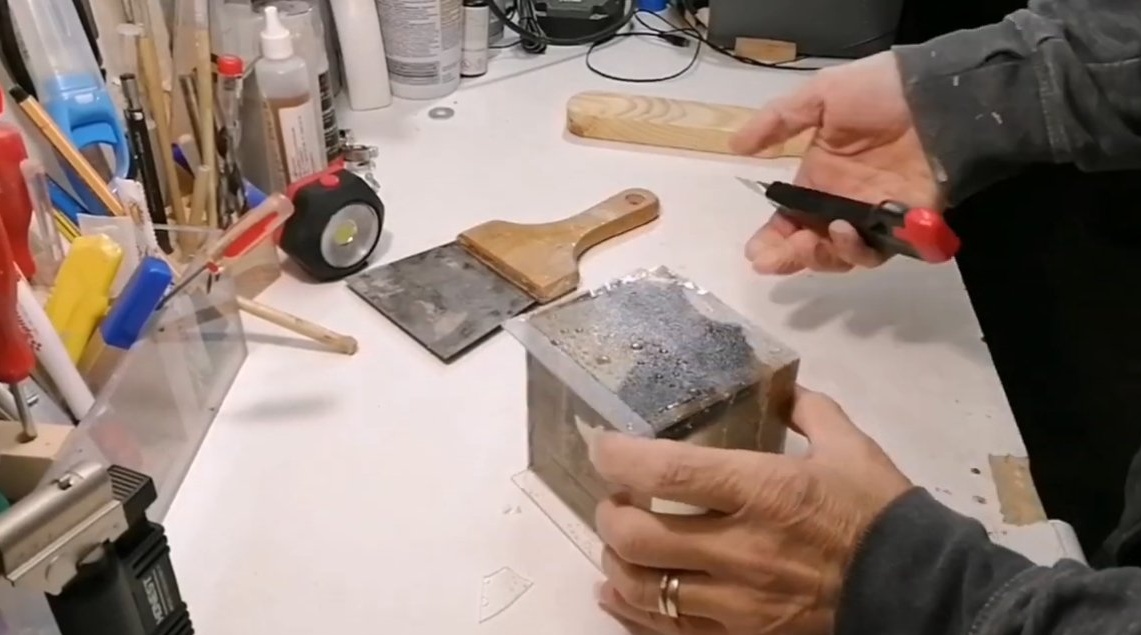
Step Five Resin processing
When the resin completely hardens, carefully remove the formwork. If acrylic does not lag behind, it can be heated with a construction hairdryer. Next, the author aligns the workpiece with rough sandpaper.
As soon as the cube is leveled, it proceeds to finer grinding, then the author has already used the “ironing” vibration grinder.
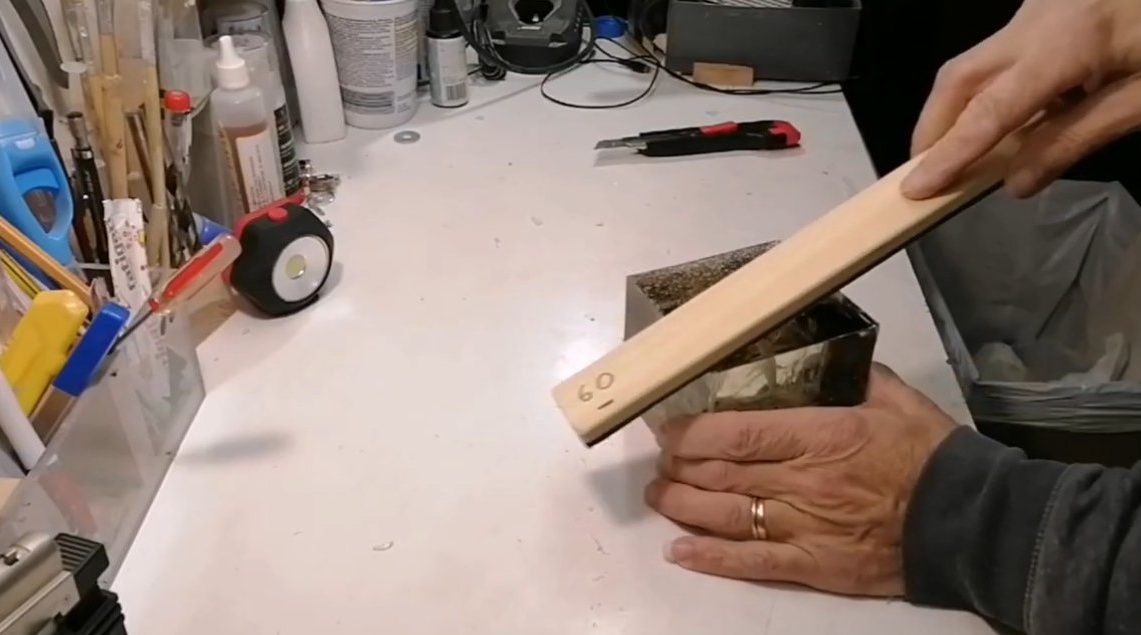
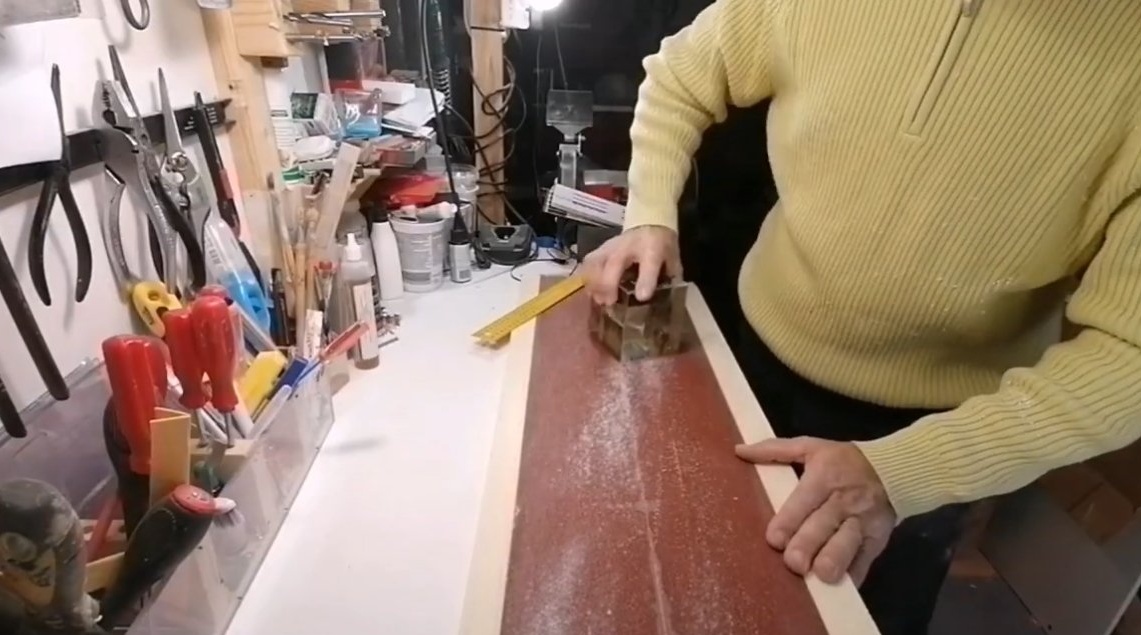
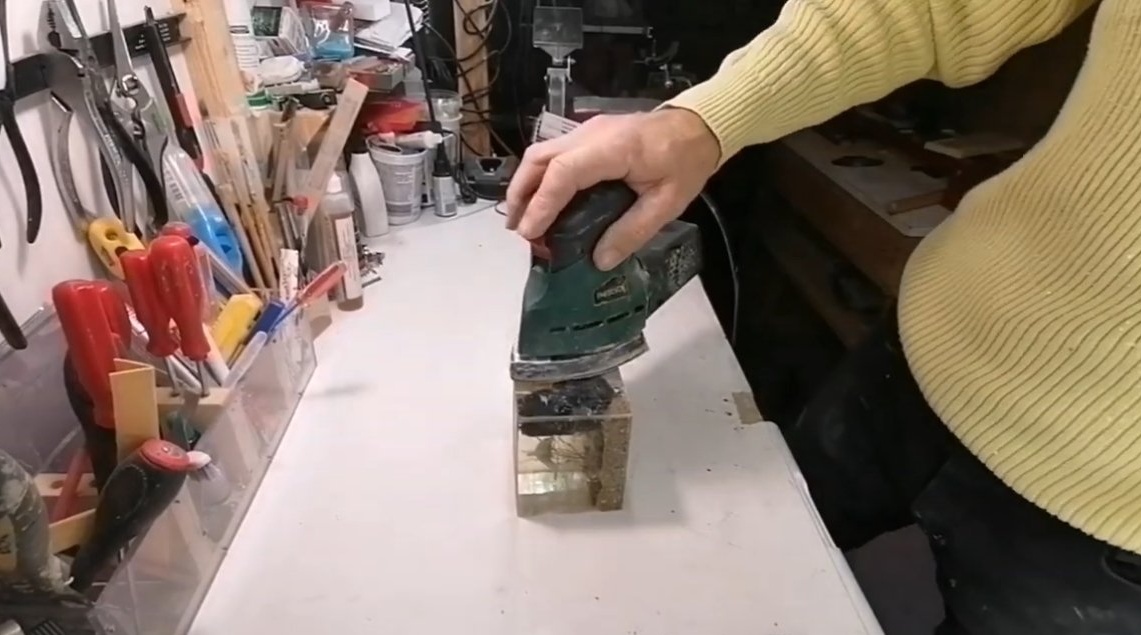
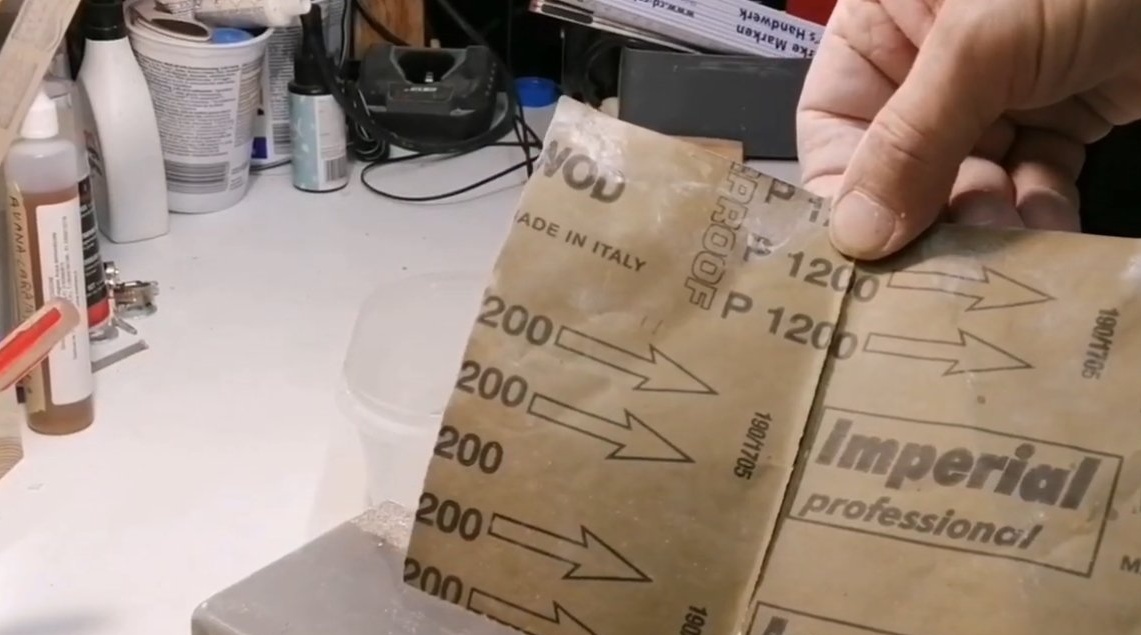
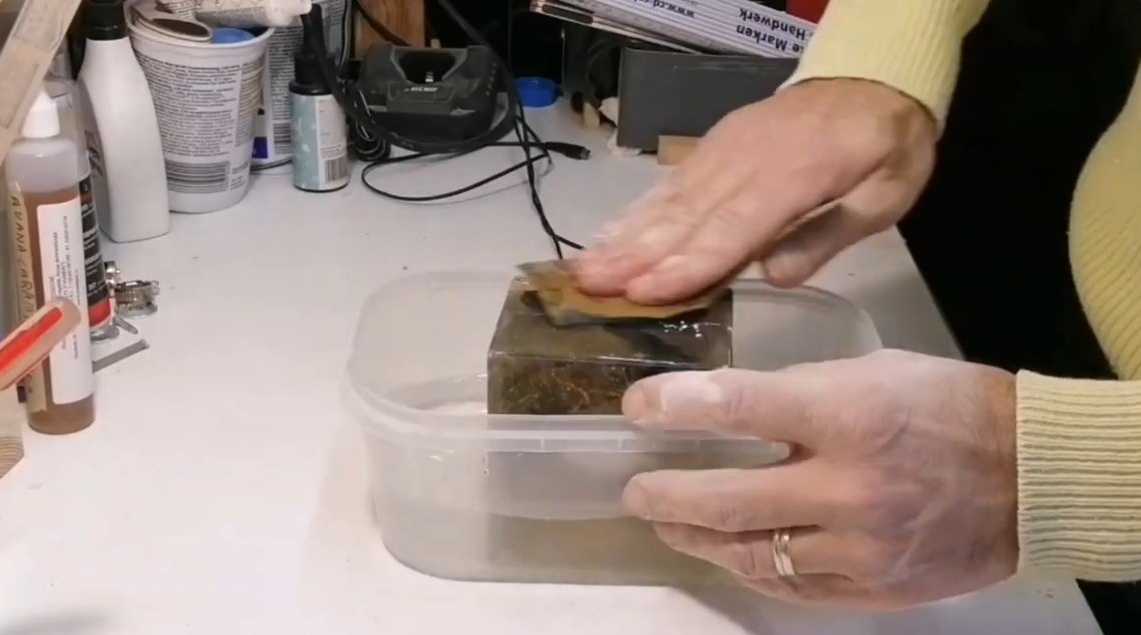
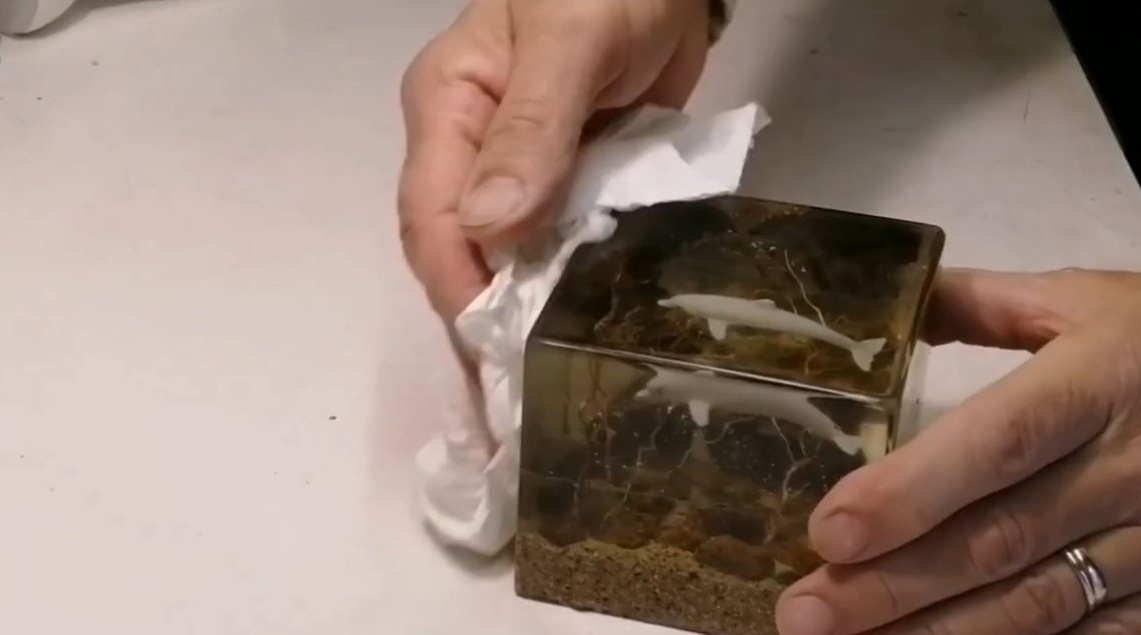
In order for the epoxy to become transparent again, it must be carefully sanded and then polished. Gradually reducing the grain of sandpaper, the author used sandpaper by 1600 units. So that such paper can be effectively sanded, we put the cube in water, with water the paper will be cleaned of dust.
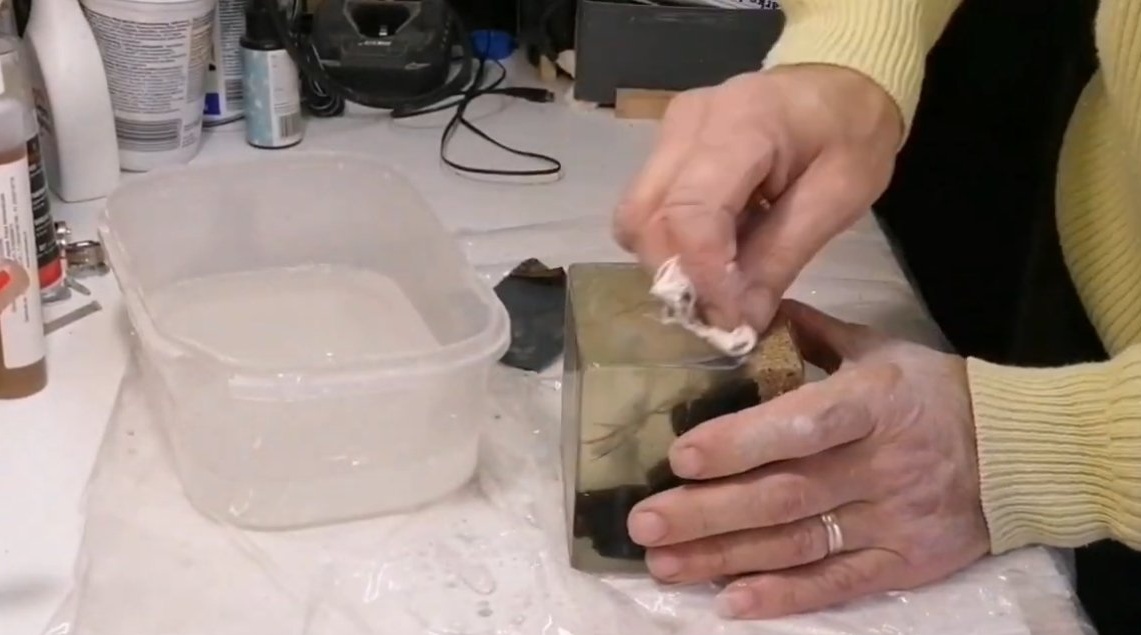
At the end, we polish the resin with polishing paste and varnish if desired.
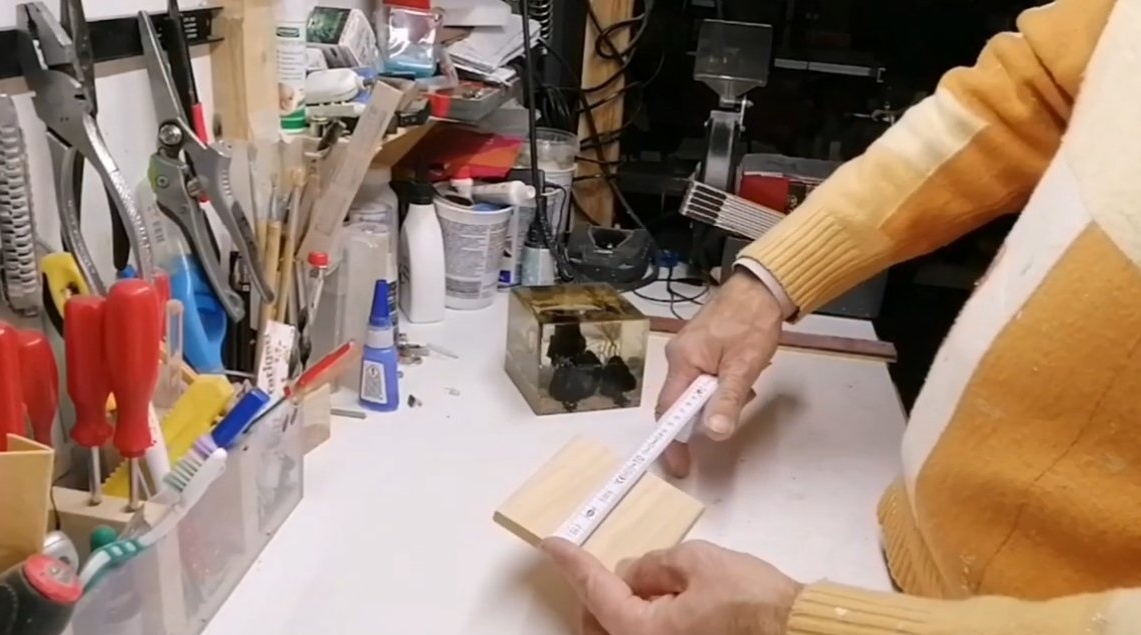
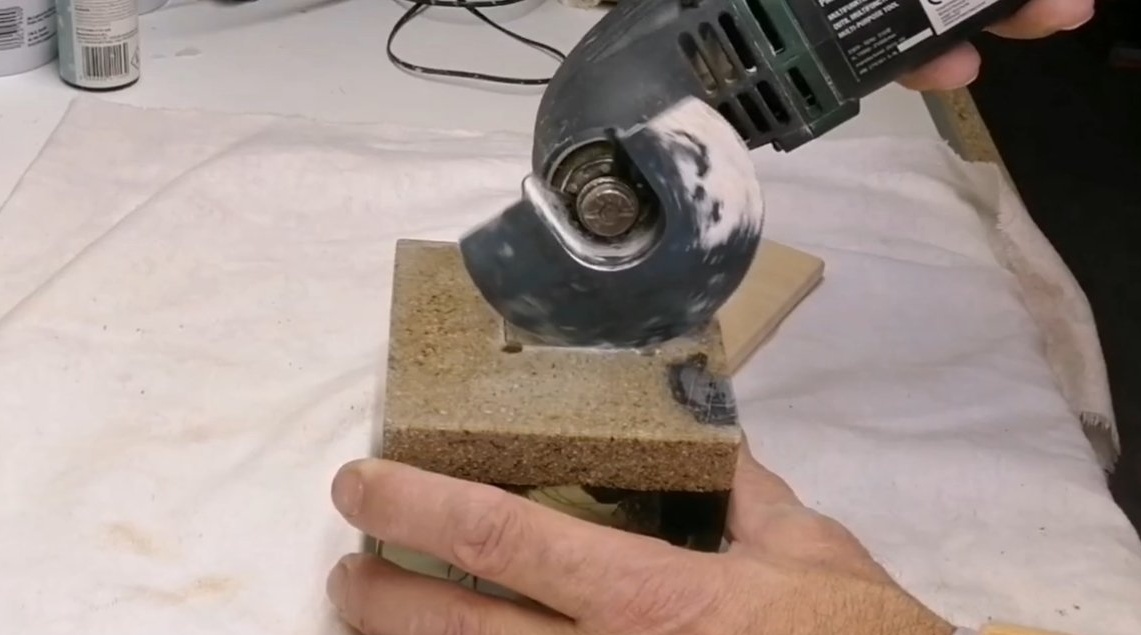
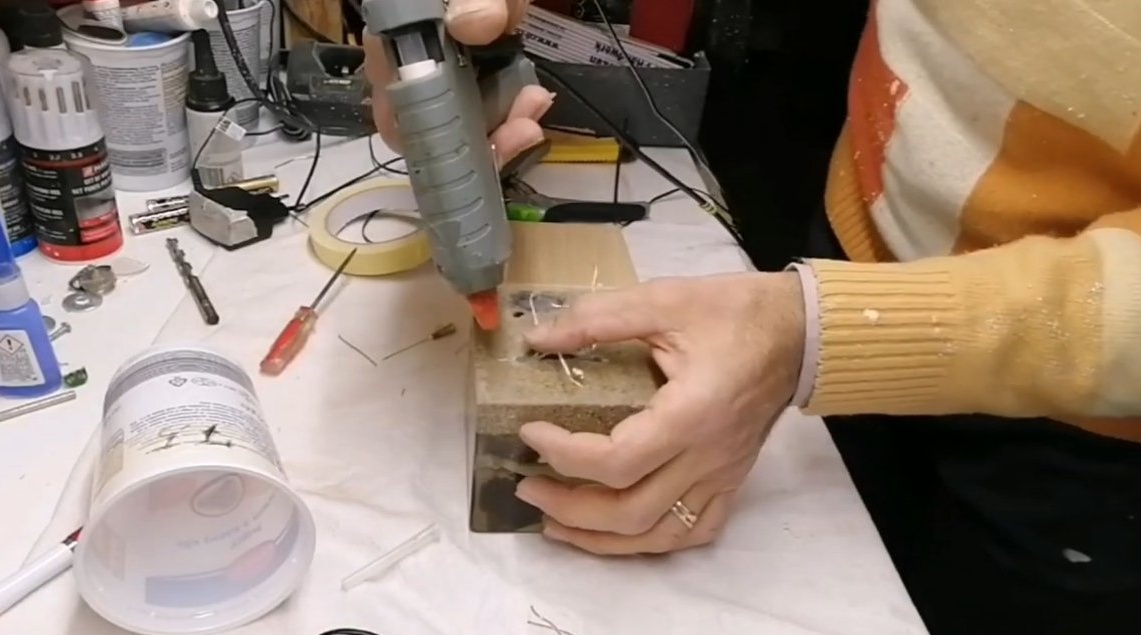
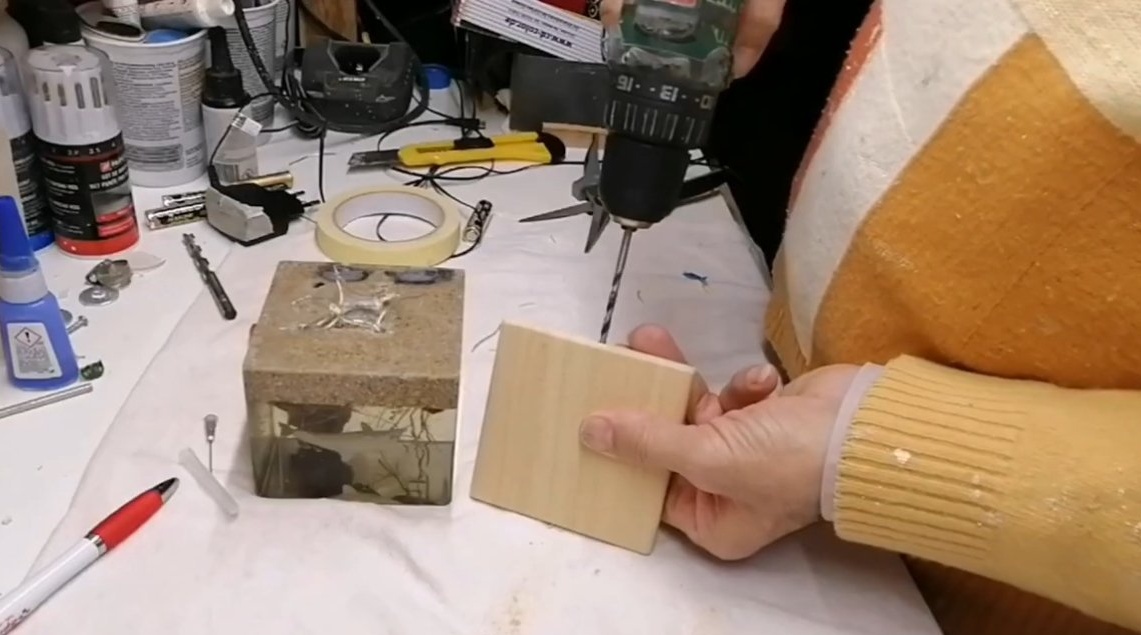
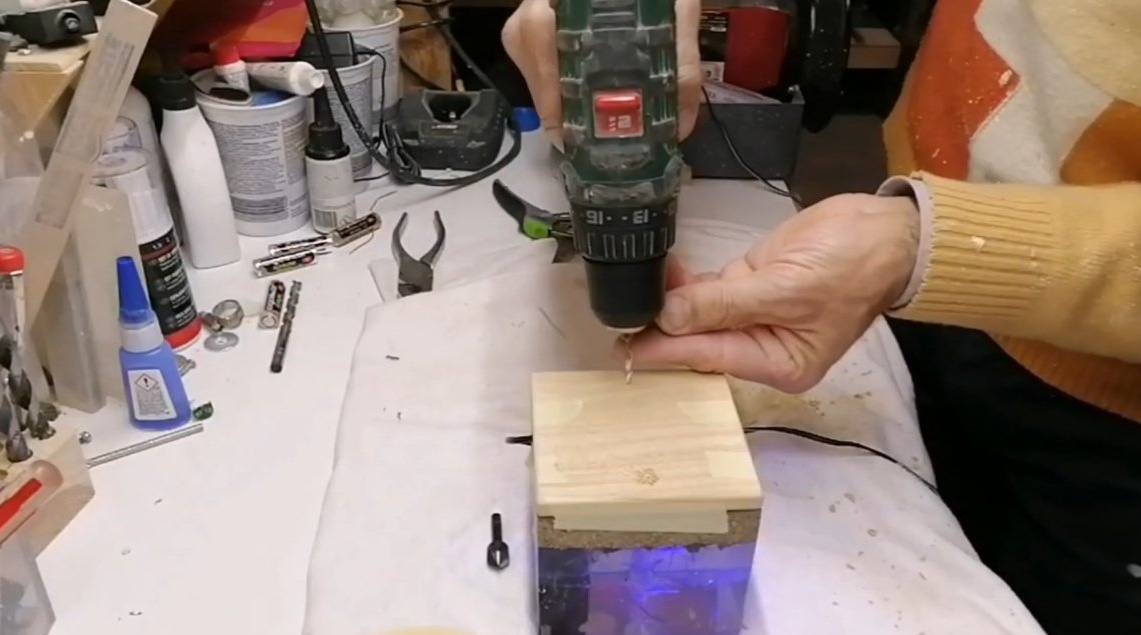
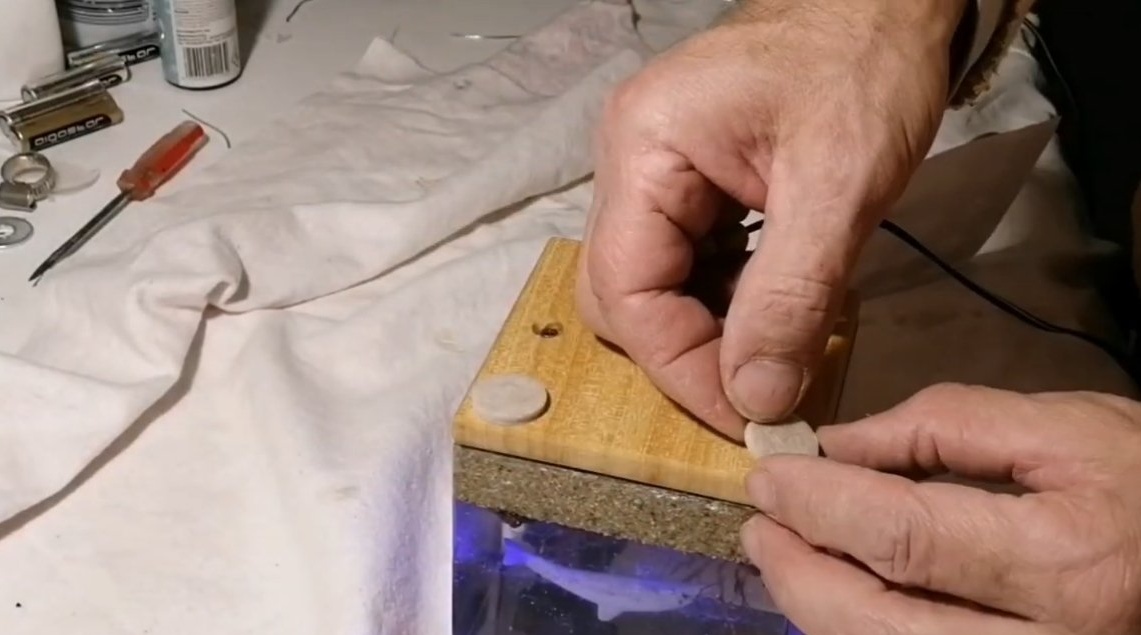
Step Six Base fabrication and installation
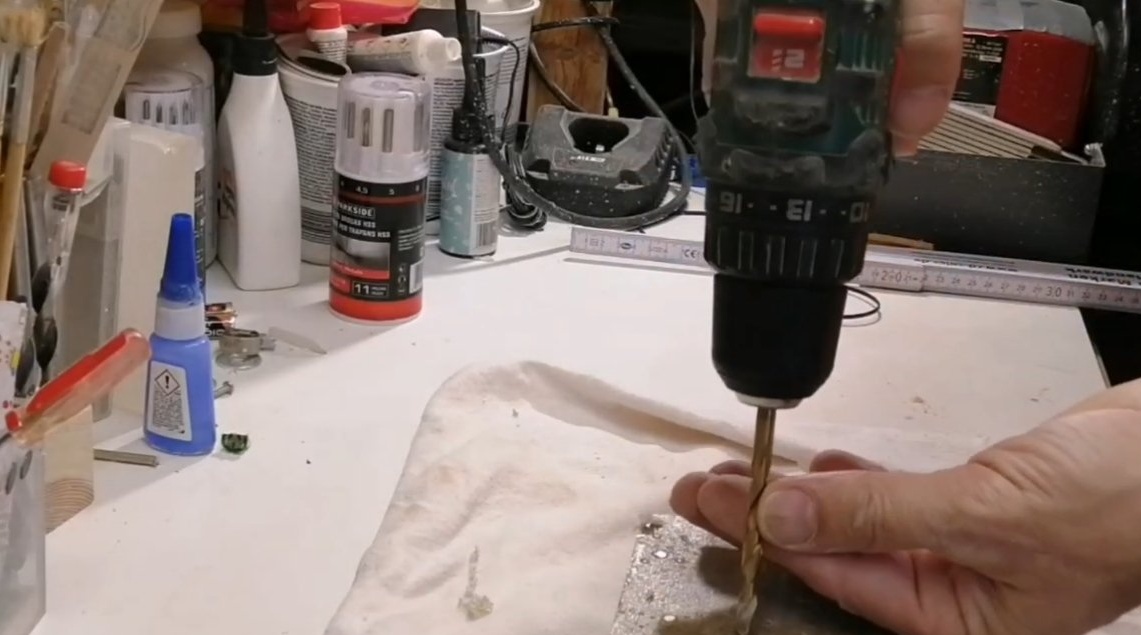
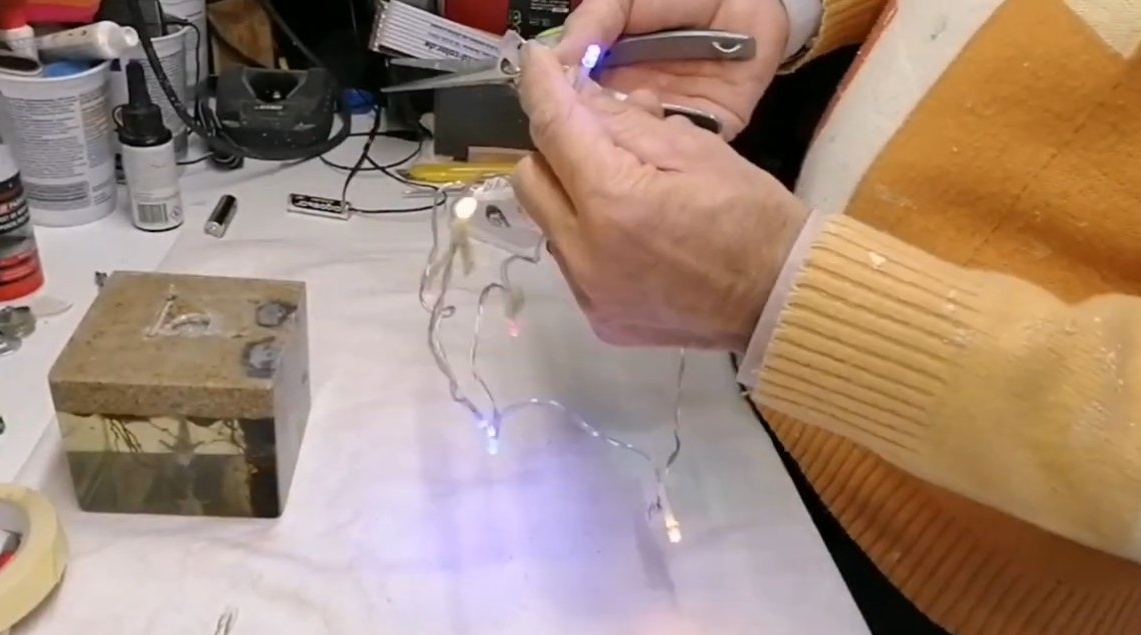
We cut out the base for the night lamp from wood, you will need a piece of board or plywood. The author attached legs to the base. In the bottom of the cube, we drill holes for the LEDs, and for the wires, the author made the grooves with the renovator.
As for the LEDs, their author used from a garland on batteries. Do not forget to select the appropriate resistors for the LEDs, otherwise they will quickly burn out.
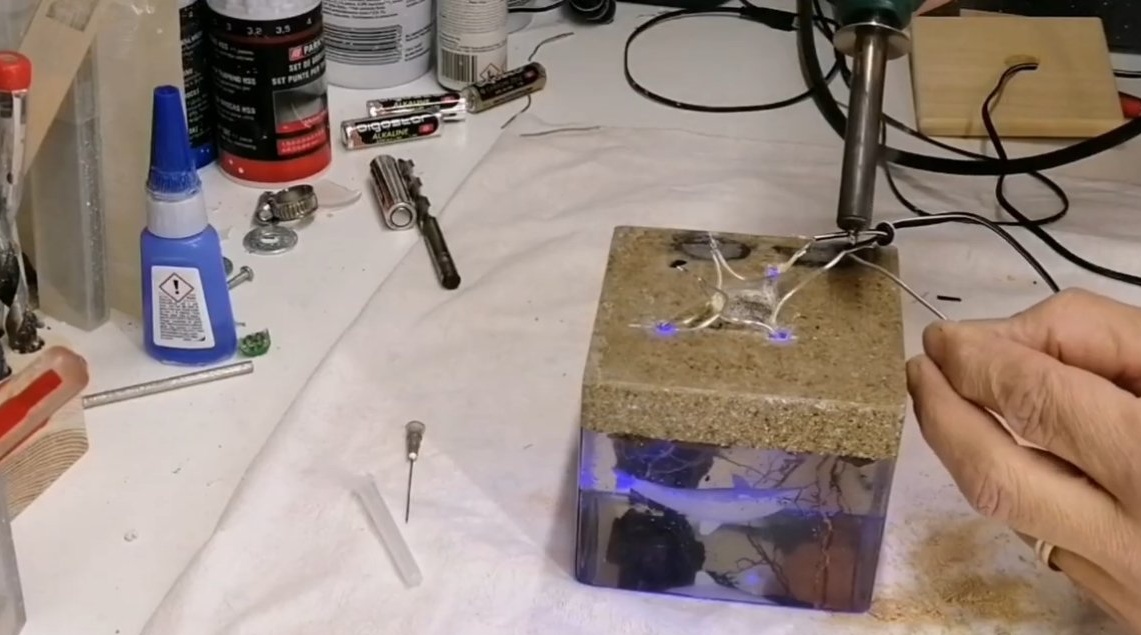
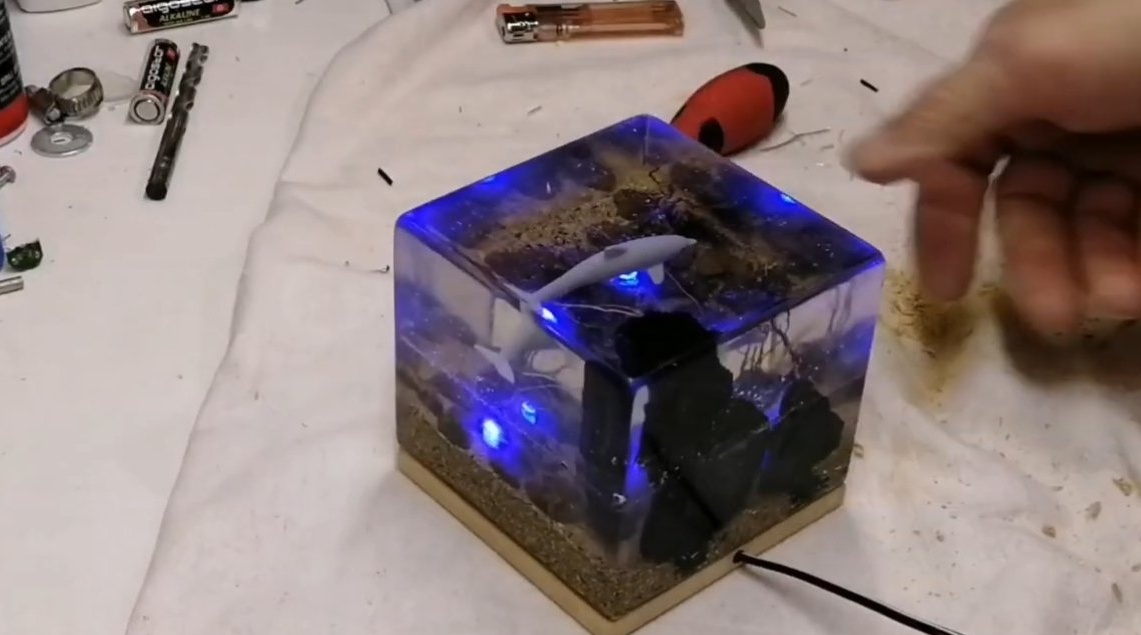

Everything is ready, glue the base and apply power to the LEDs. Everything looks fine, now going to bed with such a night light will be much nicer.
The project is completed on this, I hope you liked the homemade work, and you found useful thoughts for yourself. Good luck and creative inspiration, if you decide to repeat this. Do not forget to share your ideas and homemade things with us!