
Surely many of you are very often met with the process of grinding parts of various shapes.
In this article, the author of YouTube channel “Ohyo56” will tell you about the design of the grinding block, which he made, and very often uses it.
it device has several different uses.
Materials
- Hardwood boards
- Clear spray lacquer
- Wood screws
- Sandpaper.
Instruments, used by the author.
— Screwdriver
— Clamps
— T-Track Clips
— Manual frezer
— Radius Mill with Thrust Bearing
- Marking surface gage, ruler
- Drilling machine
— A circular saw
- Hand planer, awl, knife, mallet, carpentry vise, pencil, tape measure.
Manufacturing process.
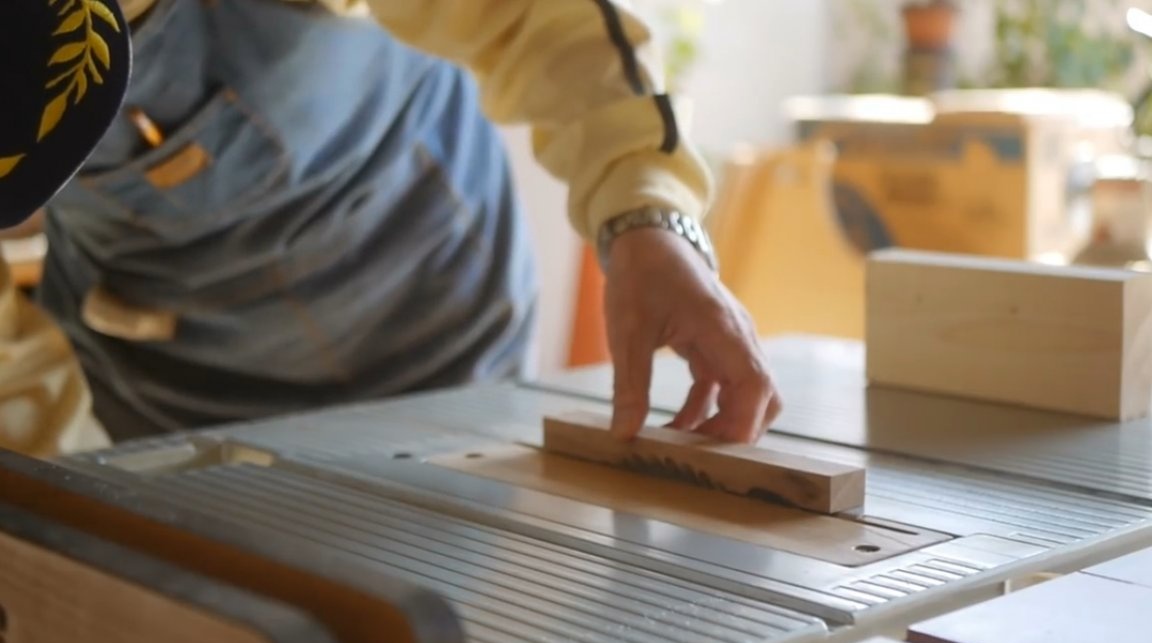
For the block body, the master chose a pine board with dimensions 20X40 mm. First of all, he aligns her butt.

Then he needs to cut a workpiece with a length of 200 mm. This will be the basis of the device.
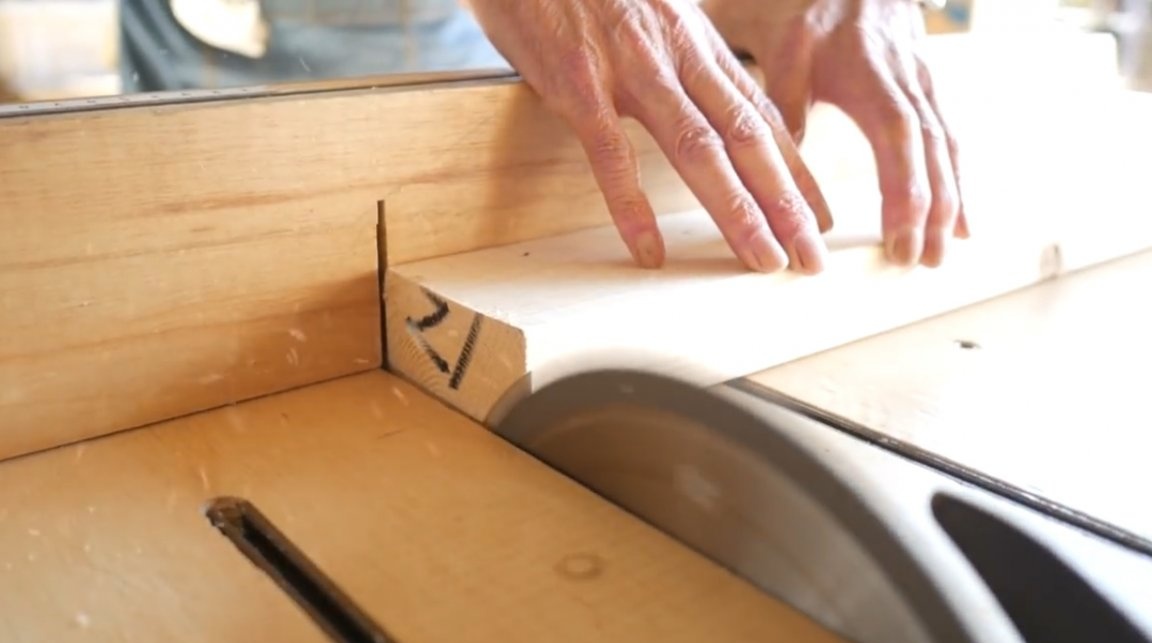
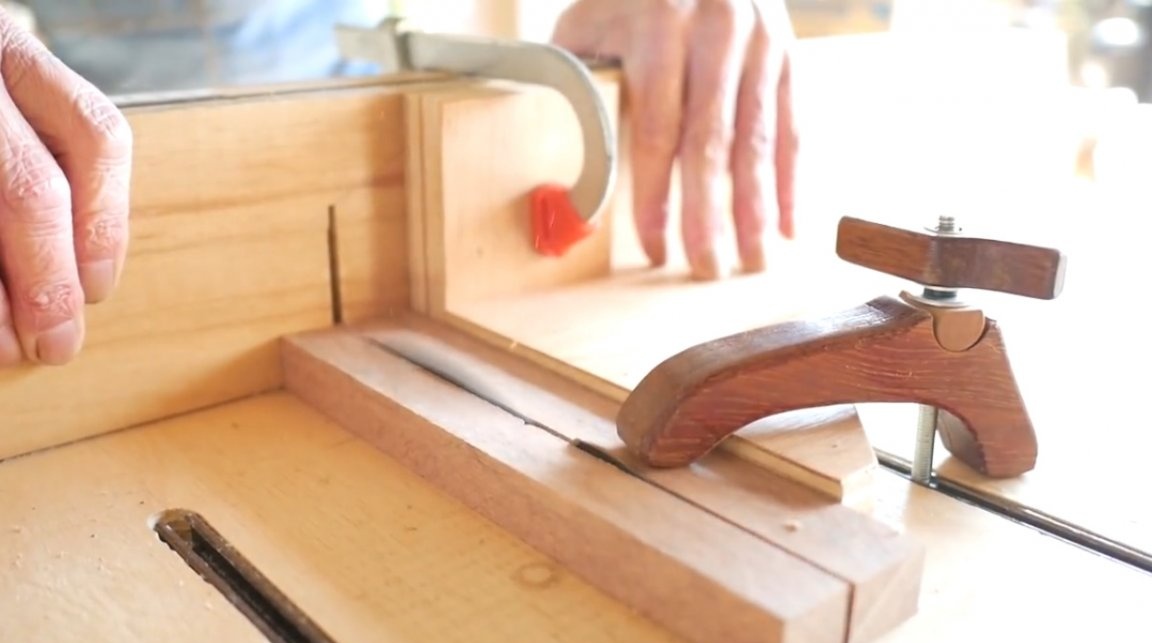
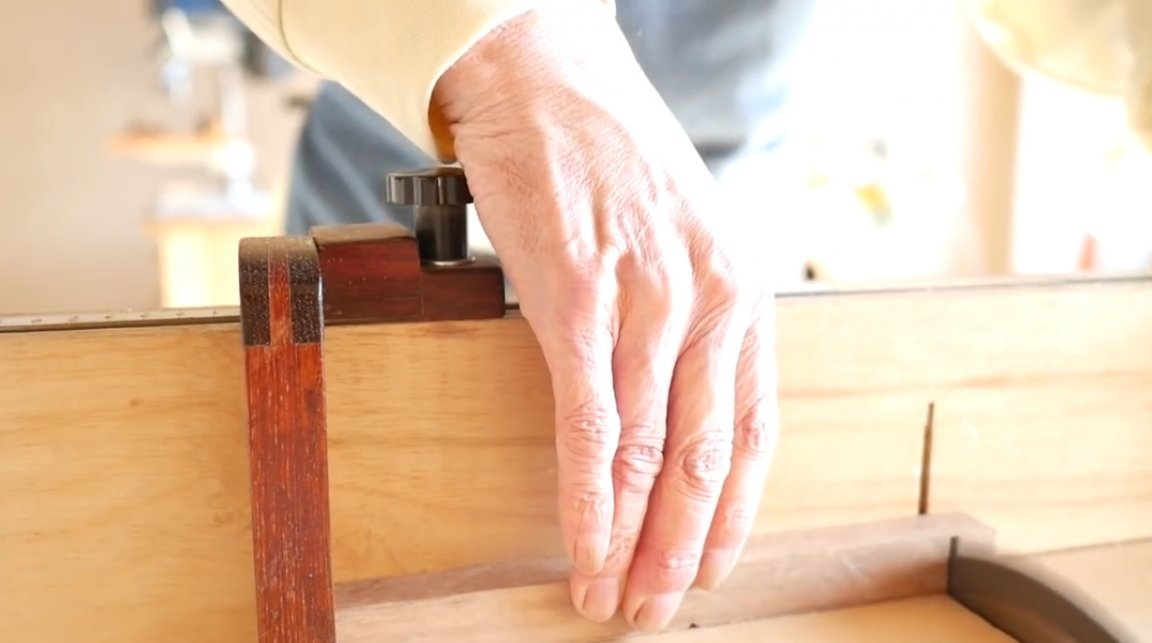
As a clamp, a bar from a hazel board with a diameter of 10X10 mm is suitable. The master uses the carriage to cut it, and the workpiece itself is rigidly fixed on it with an angular stop and a clamp for the T-track.
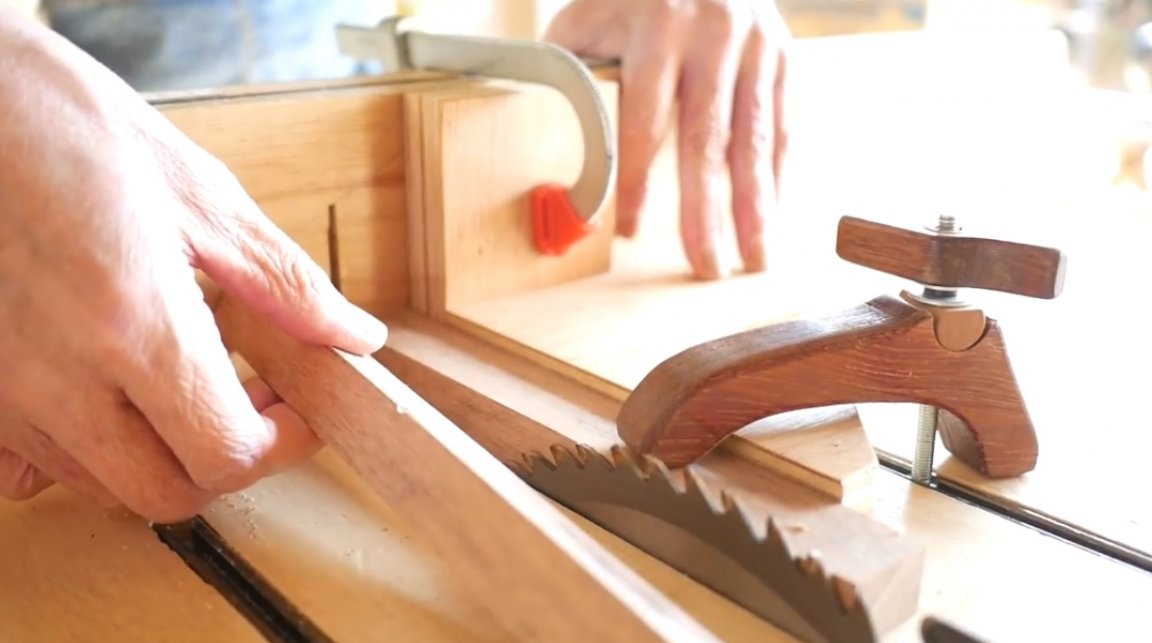
In order for the second bar to turn out exactly the same as the first, first an emphasis is set on the size of the first, and then a cut is performed.
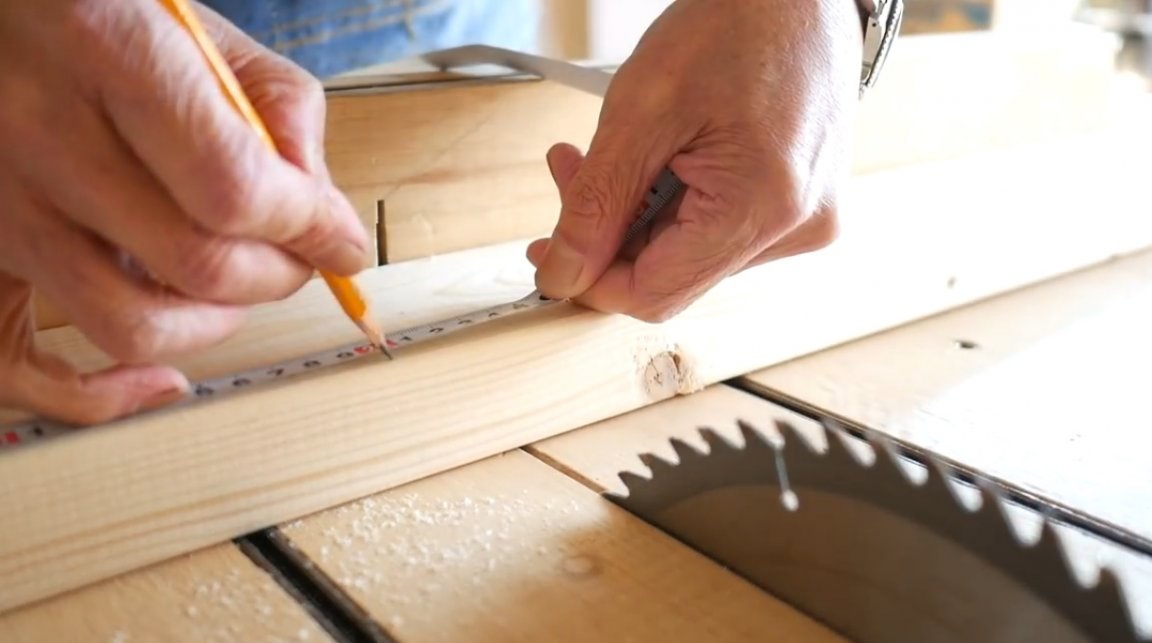
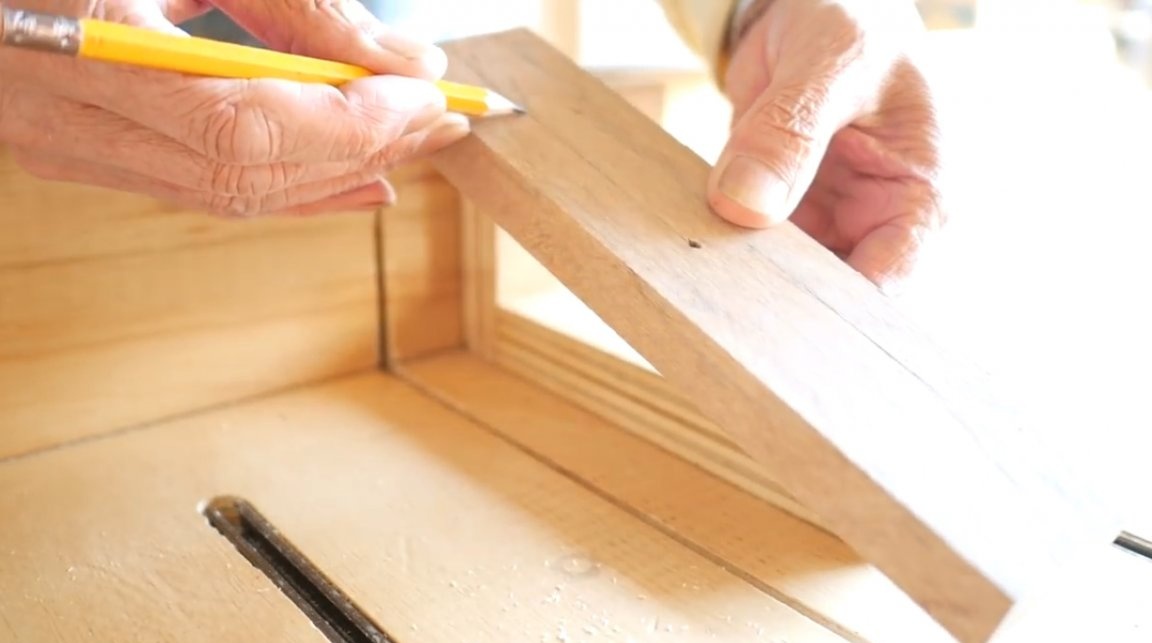
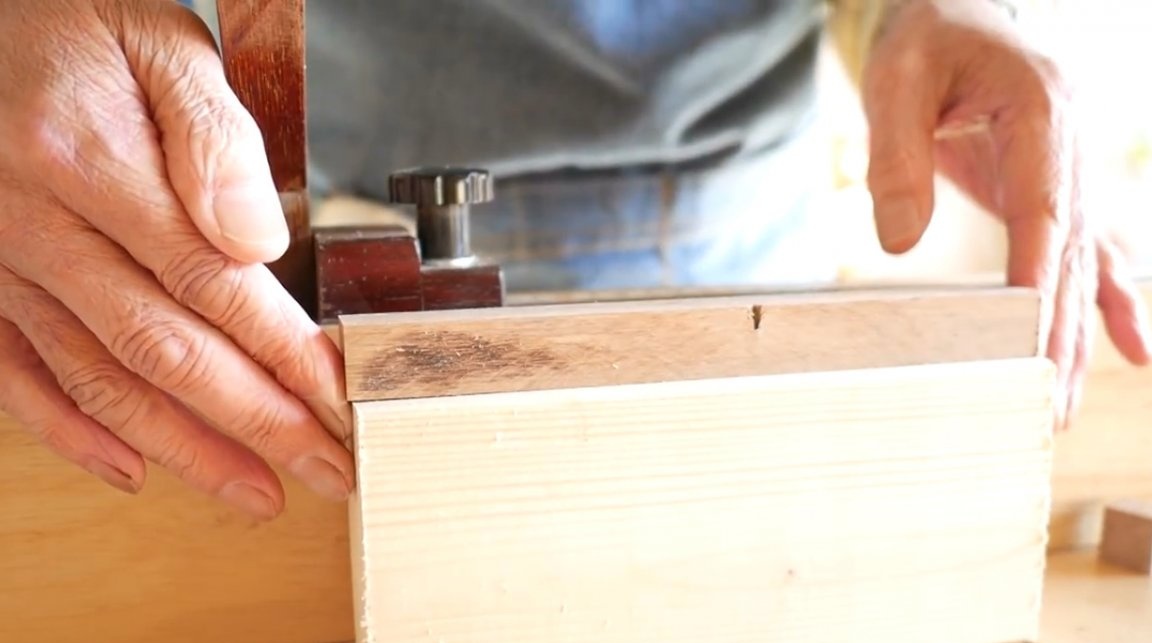
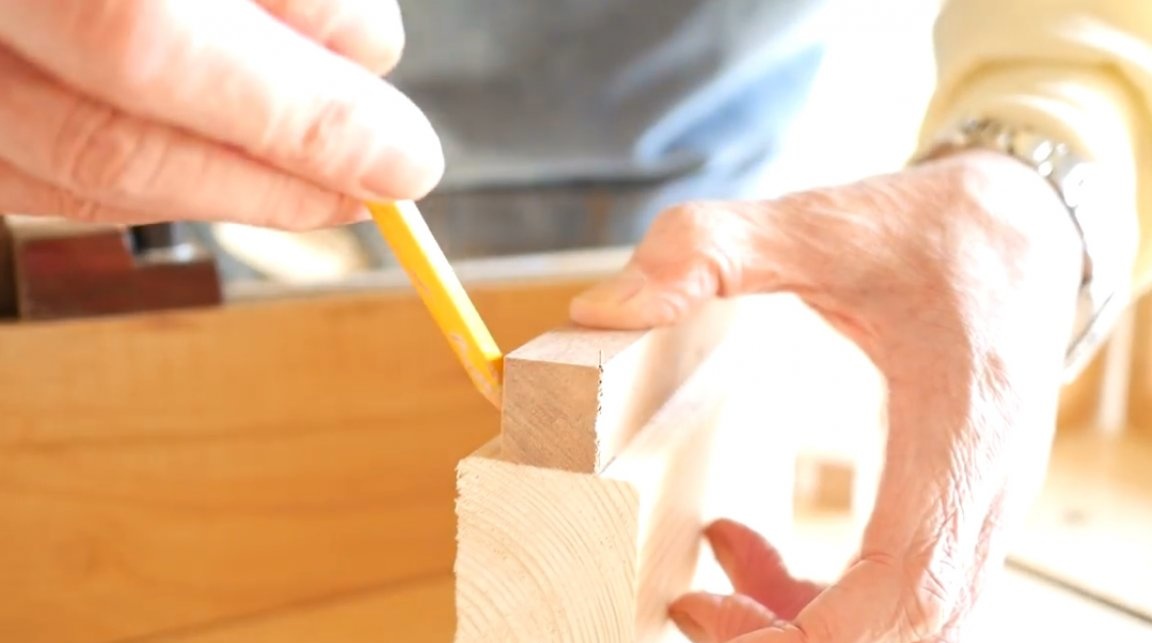
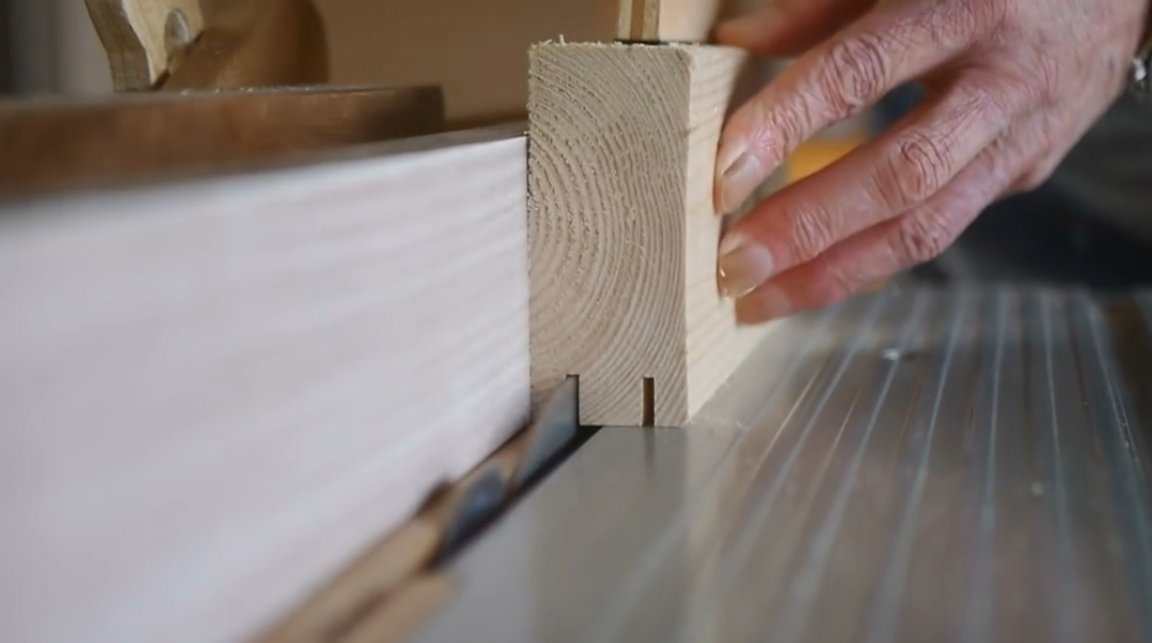
As a result, the master received two pieces of equal length. The bar is pressed to the base, and the necessary marking of the future groove is applied.
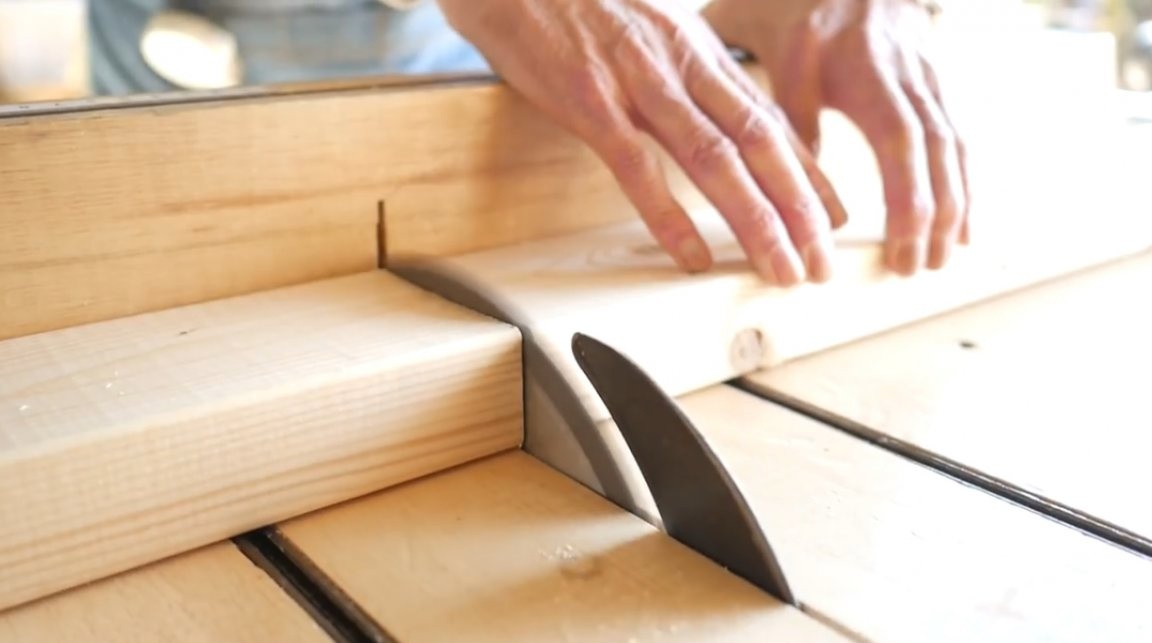
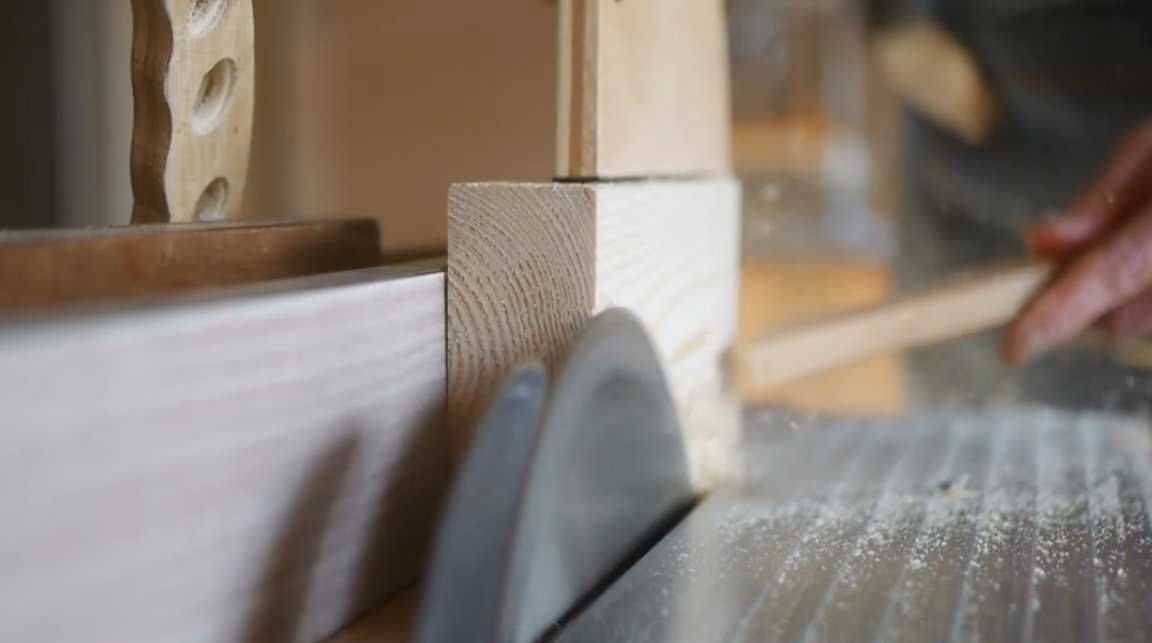
Next, the wizard sets the desired height of the saw blade.
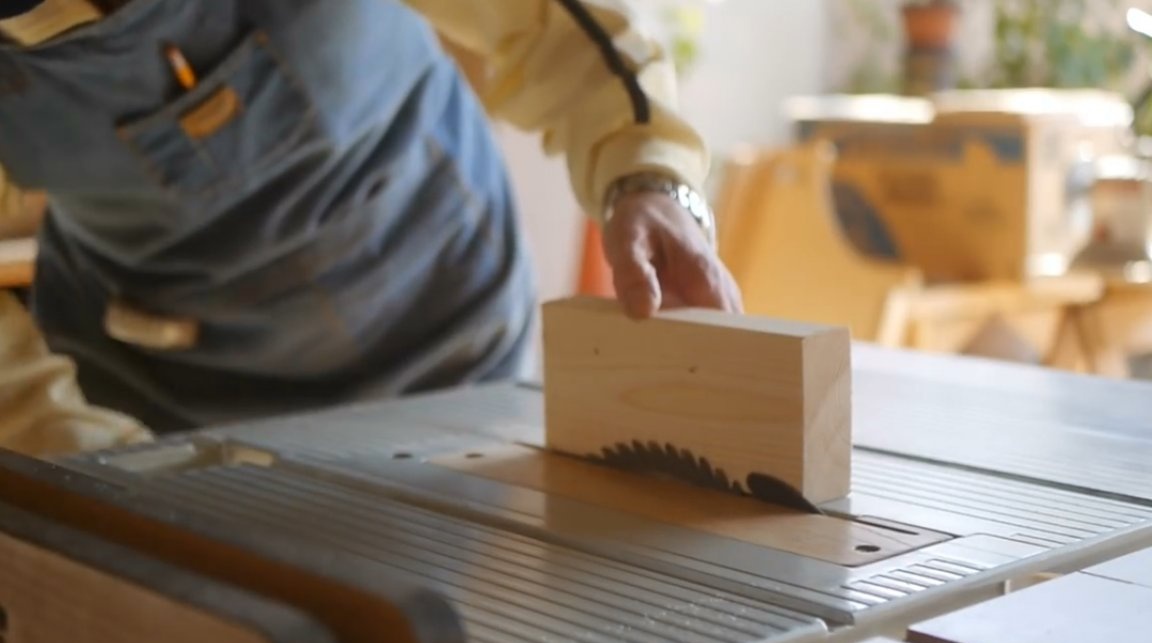
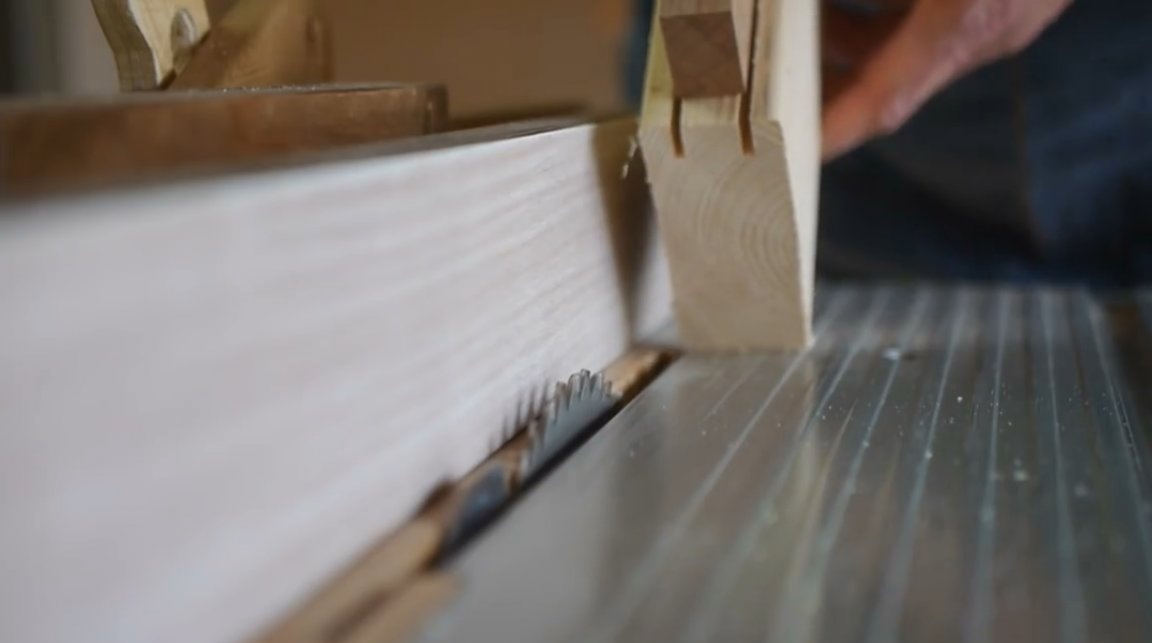
On the basis, two cuts are made according to the marking. He then checks the accuracy of the groove width, and removes all remaining material in a few passes. In this case, it is much better suited. DADO grooving adjustable saw blade. It allows you to make a groove of the desired width and depth in one pass.
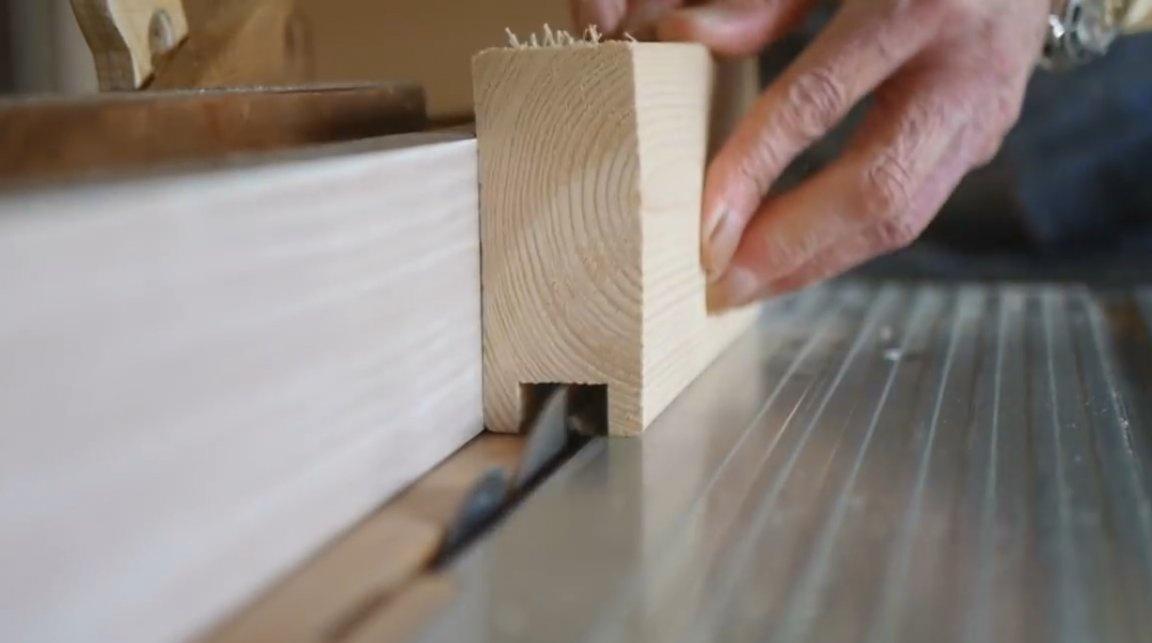
Since the outer surfaces of the base were not processed, the master removes a thin layer, removing chips and defects.
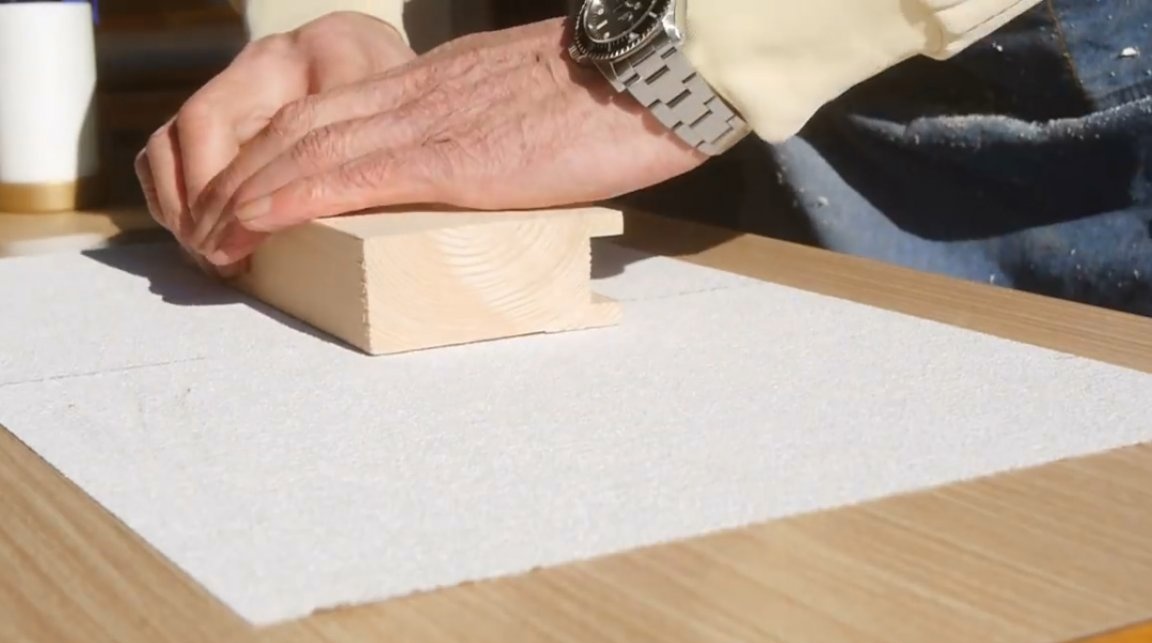
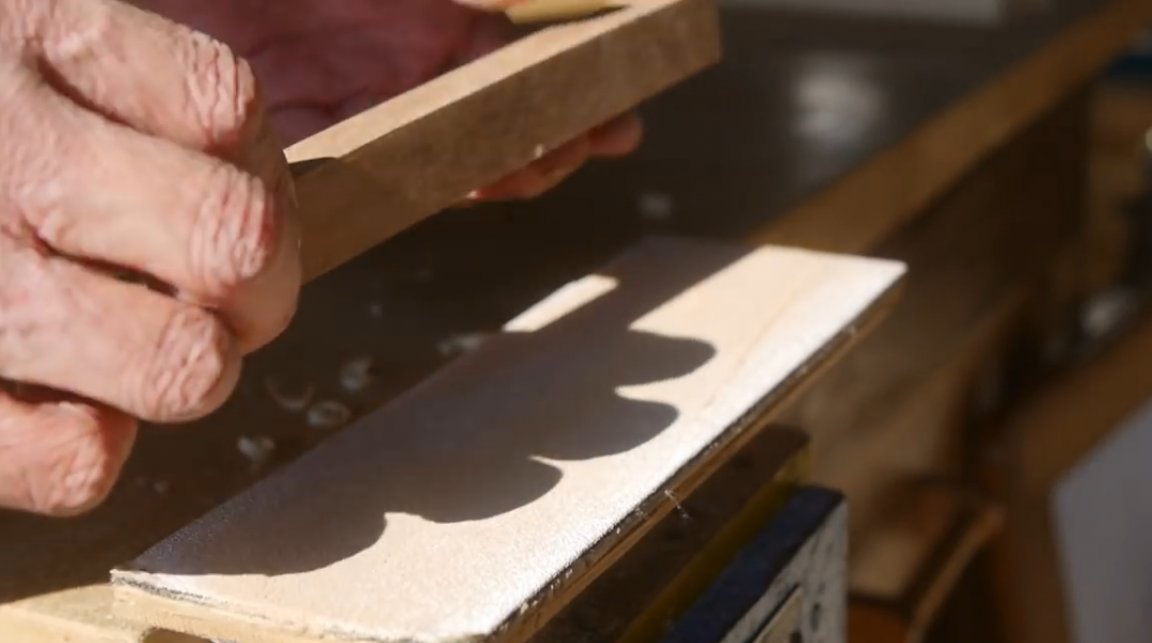
Next is grinding the block on a table with sheets of fine-grained sandpaper glued to it.
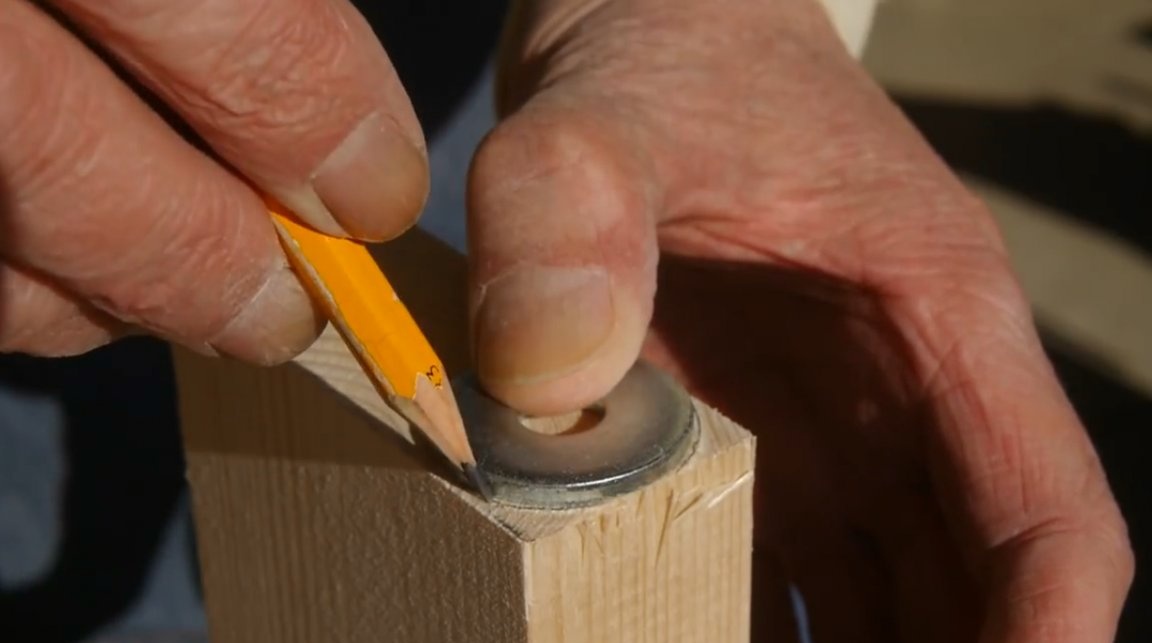
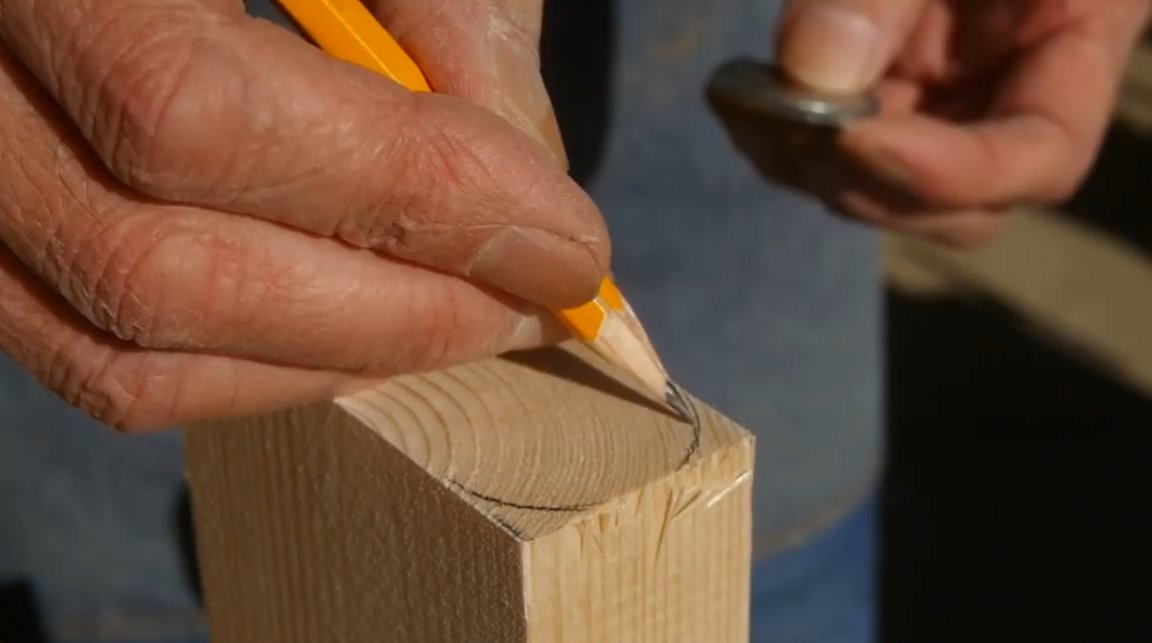
Using a washer or compass, you need to mark the radii at two ends.
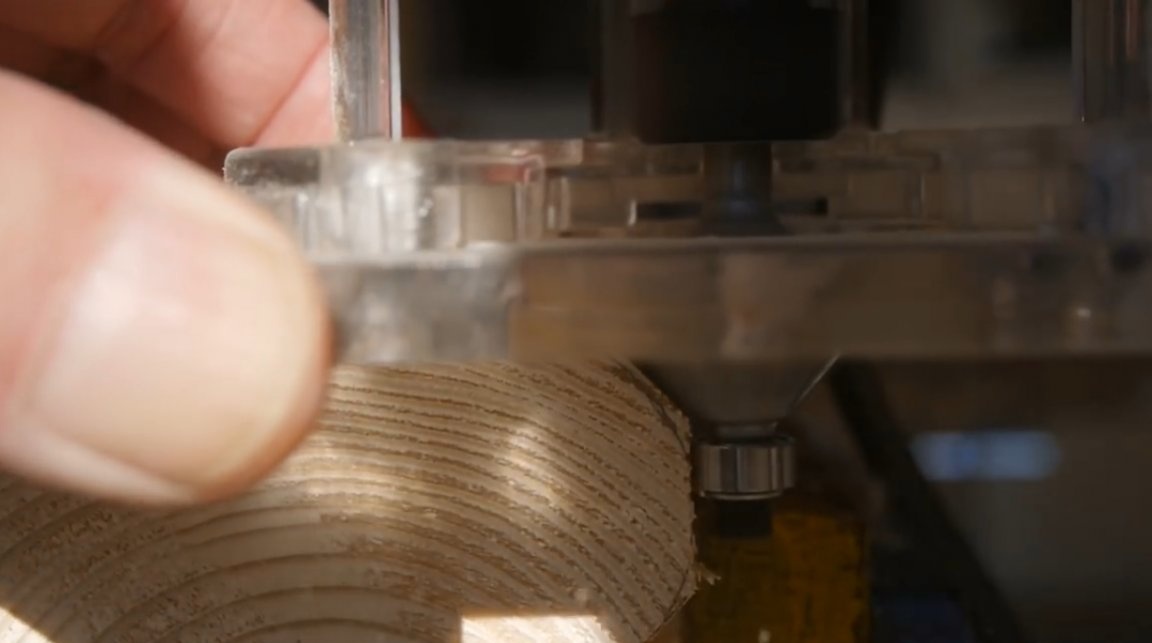
The master roughly removes excess material with a manual milling cutter with a radius mill with a thrust bearing.

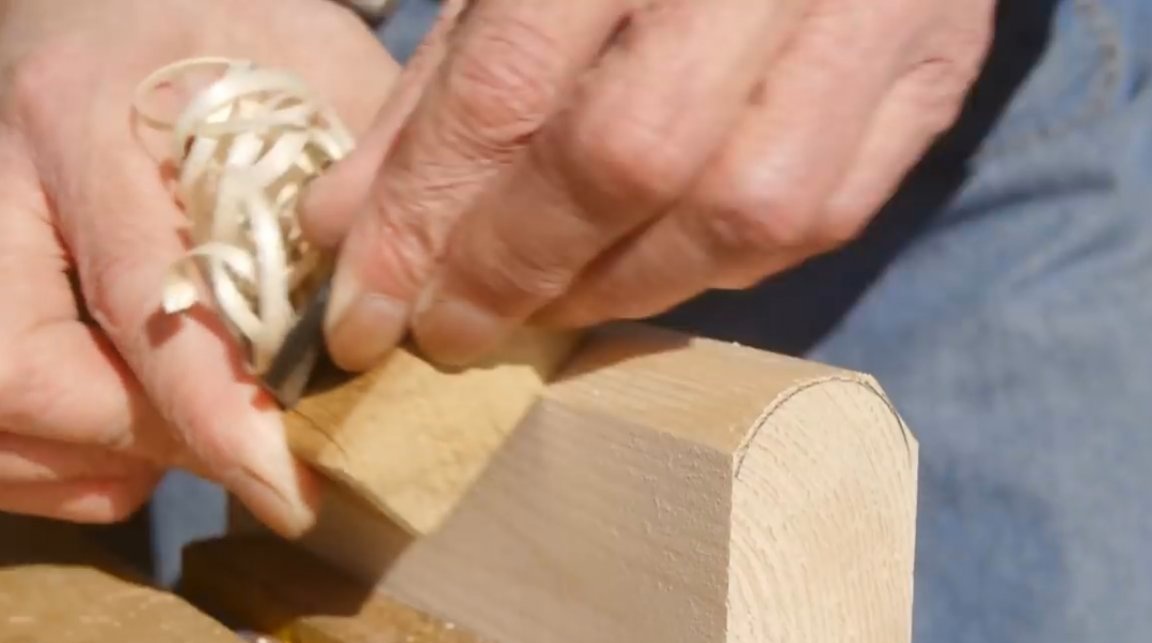
A more accurate obtaining of a rounded surface is performed by a planer.
The final fine-tuning is ordinary grinding.
All sides of the pressure block are also ground, and its edges are slightly rounded.
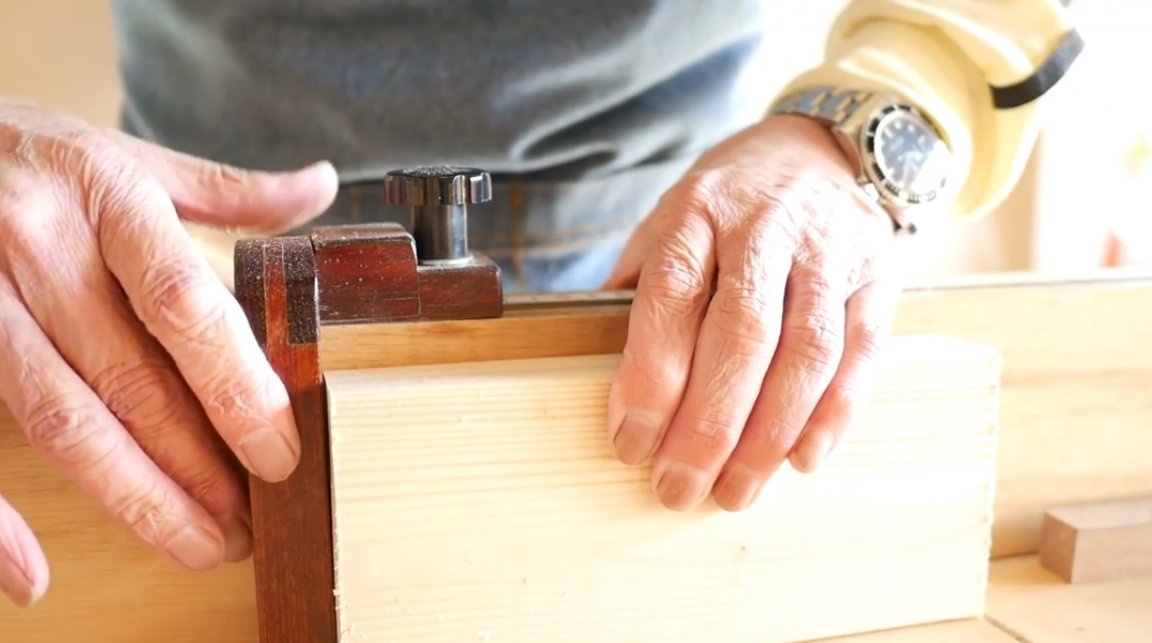
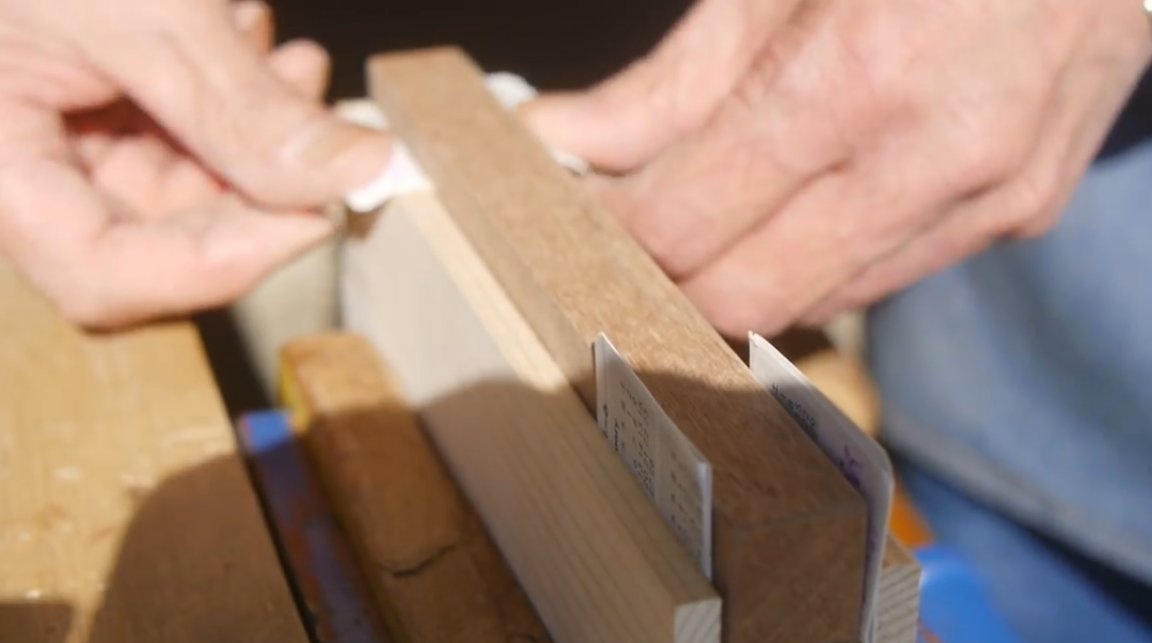
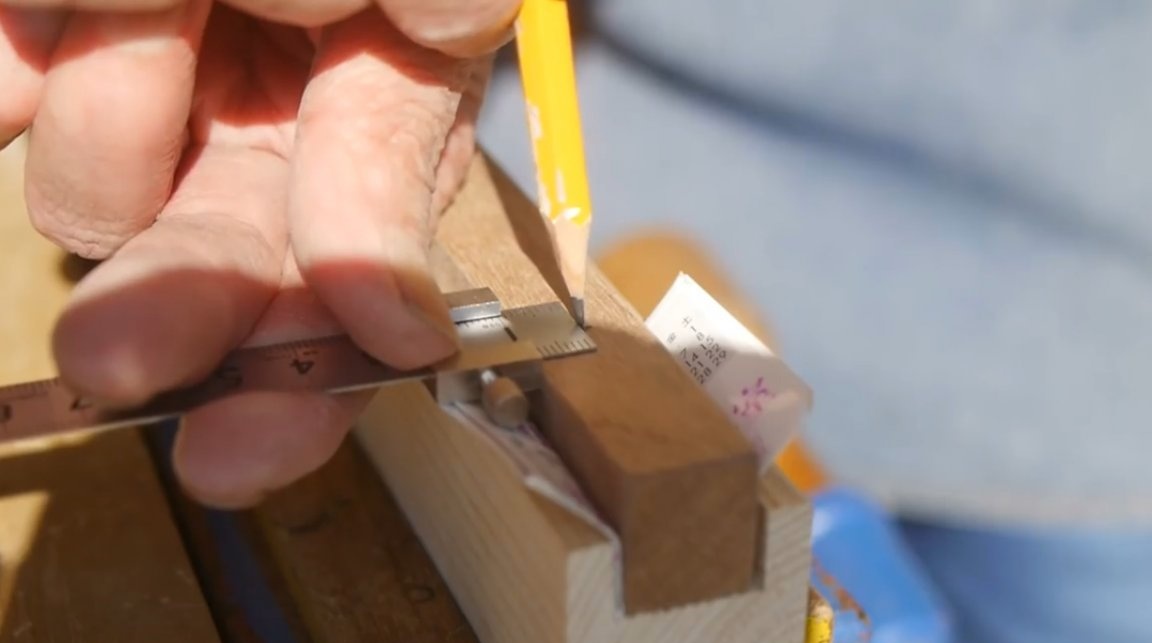
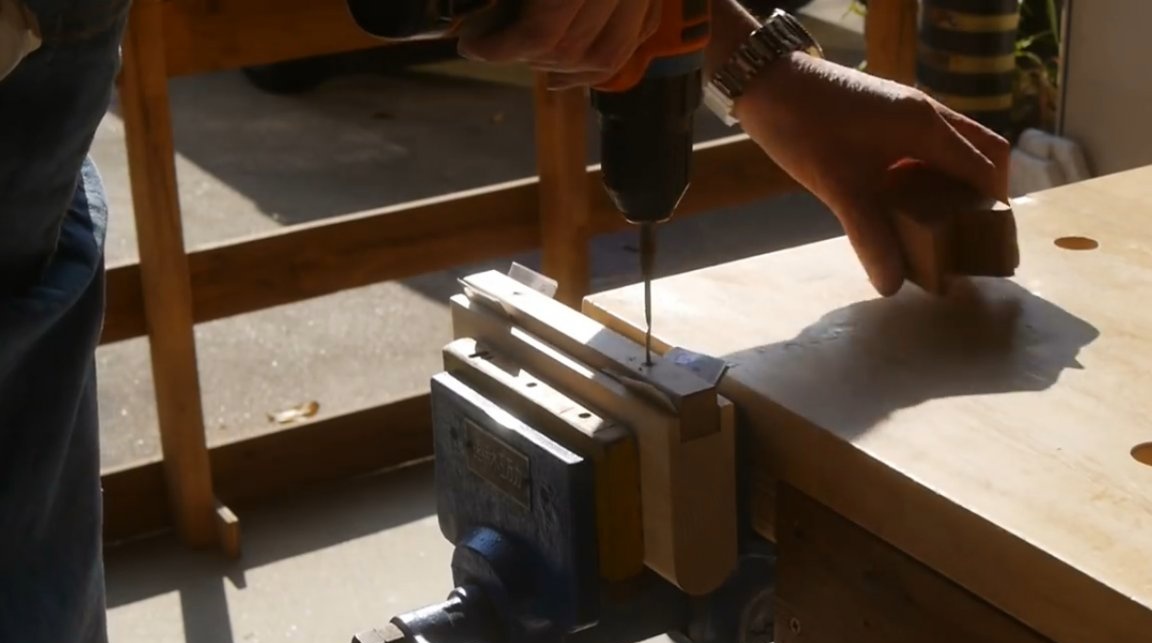
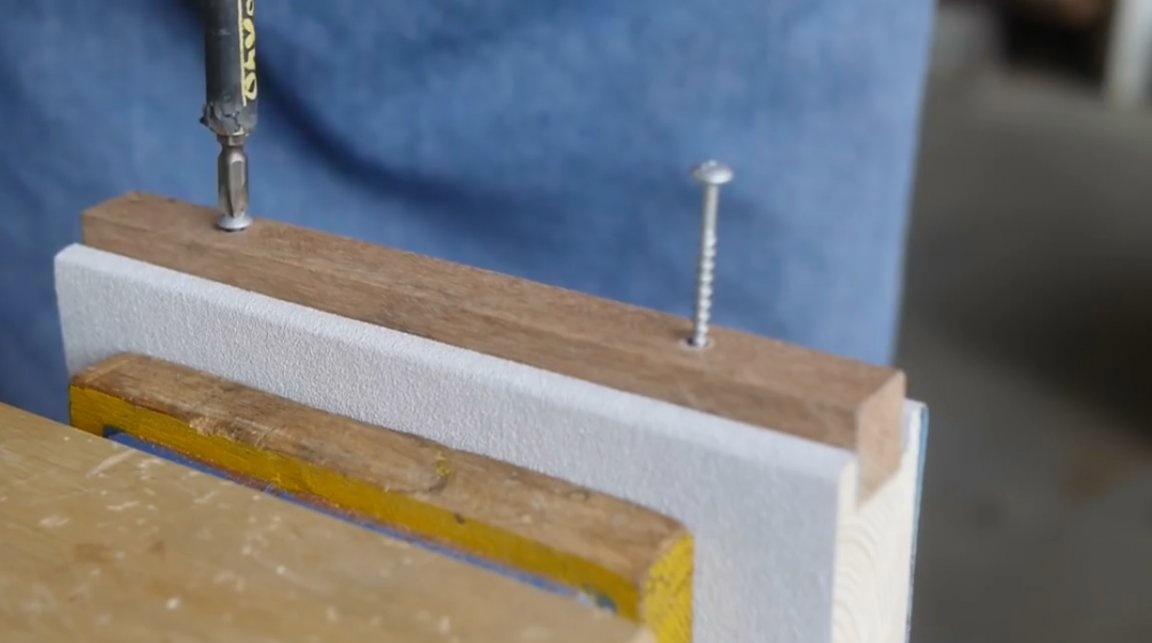
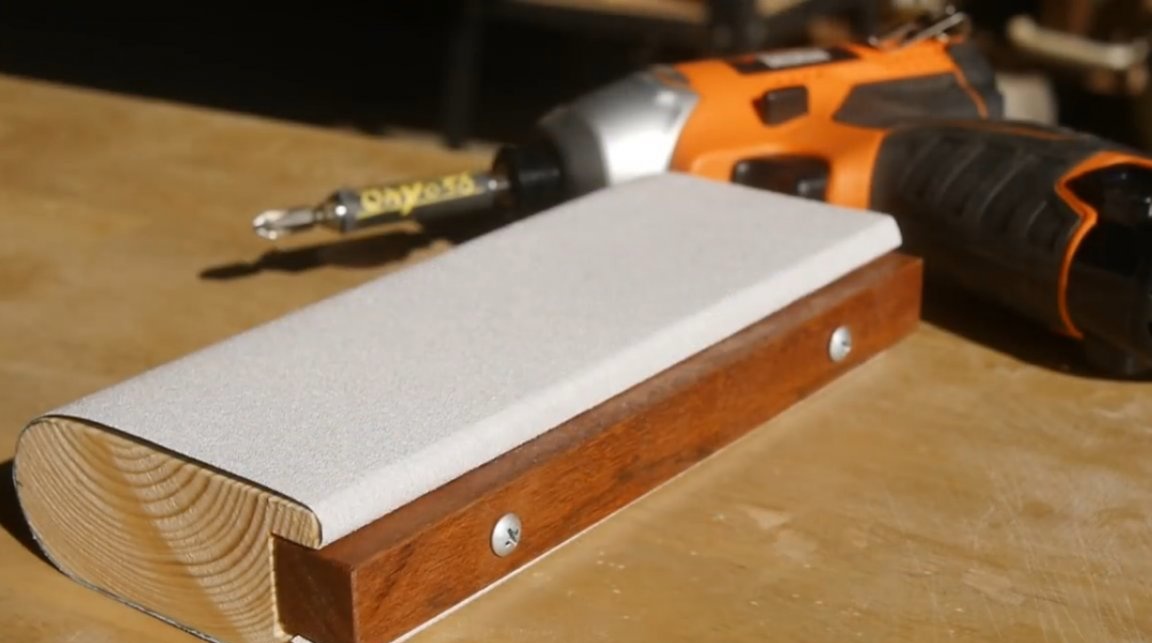
Having installed the clamping block in its place, and fixing it on all sides with paper of the same thickness, the author needs to mark out two holes for the clamping screws.

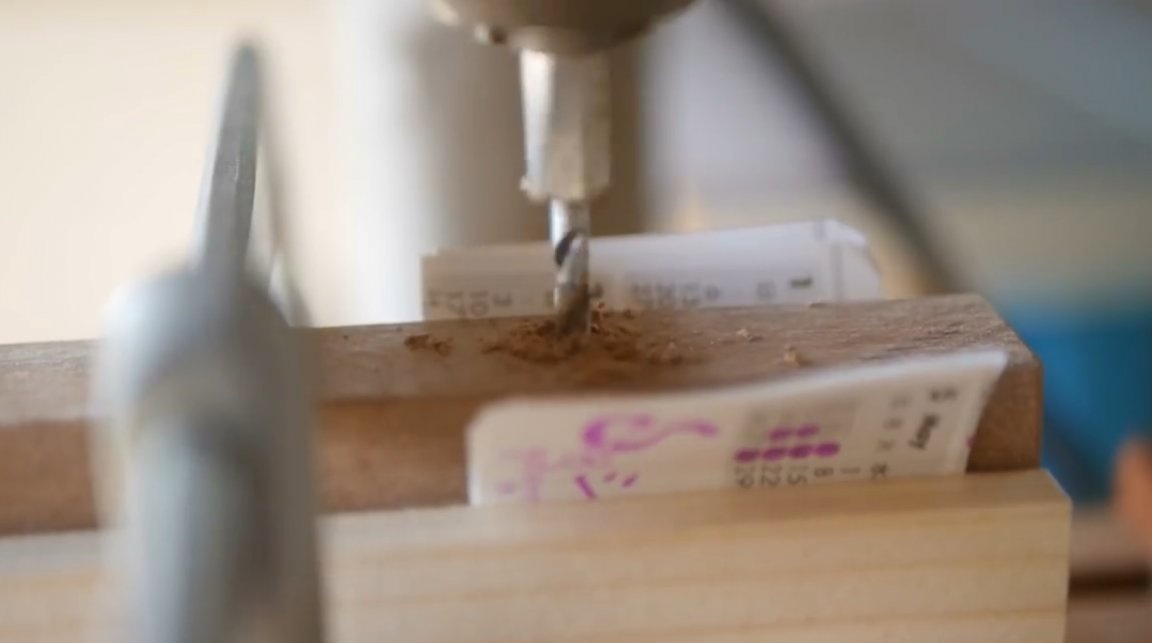
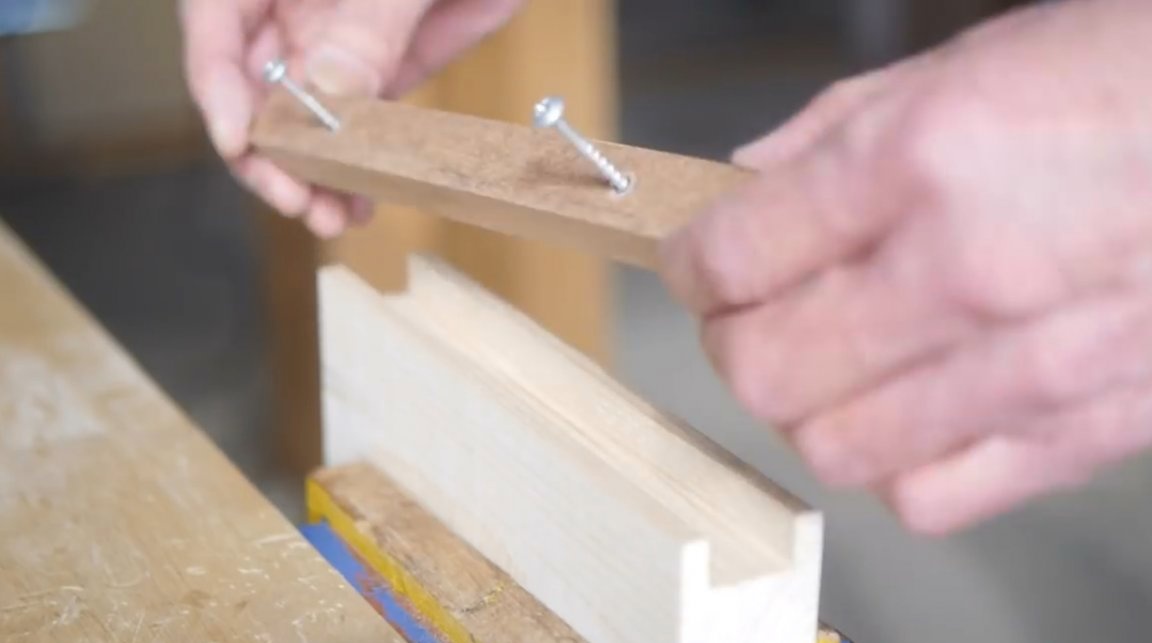
A hole is drilled on a drilling machine a thickness slightly less than the body of the self-tapping screw, only in the clamping unit. Then pilot holes are made for self-tapping screws.
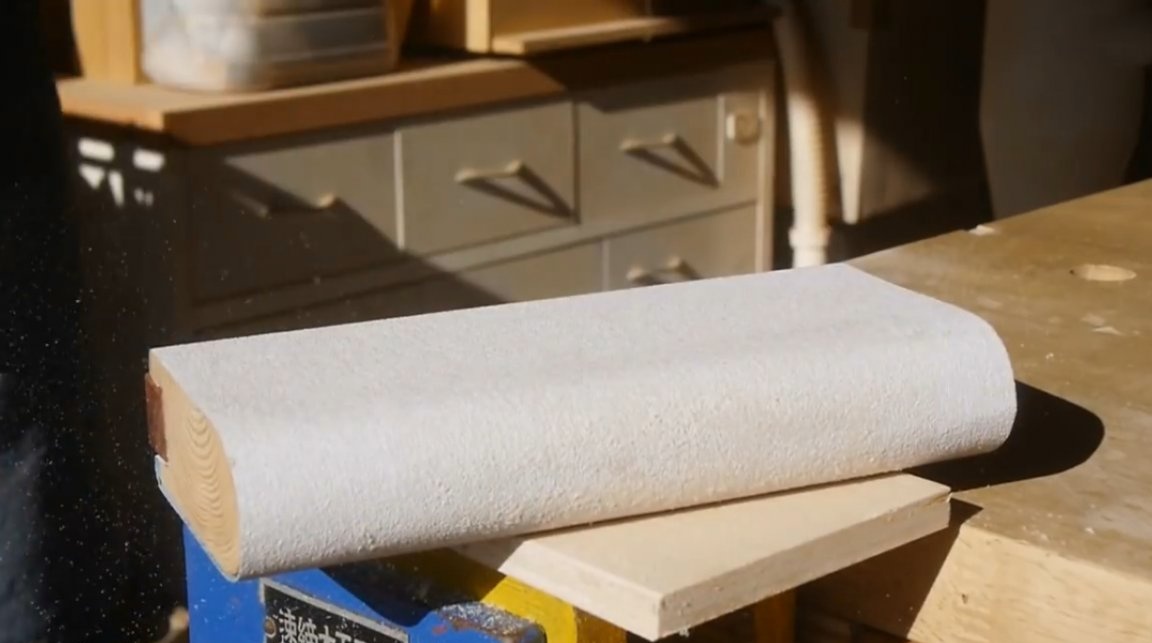
Both parts are almost ready.
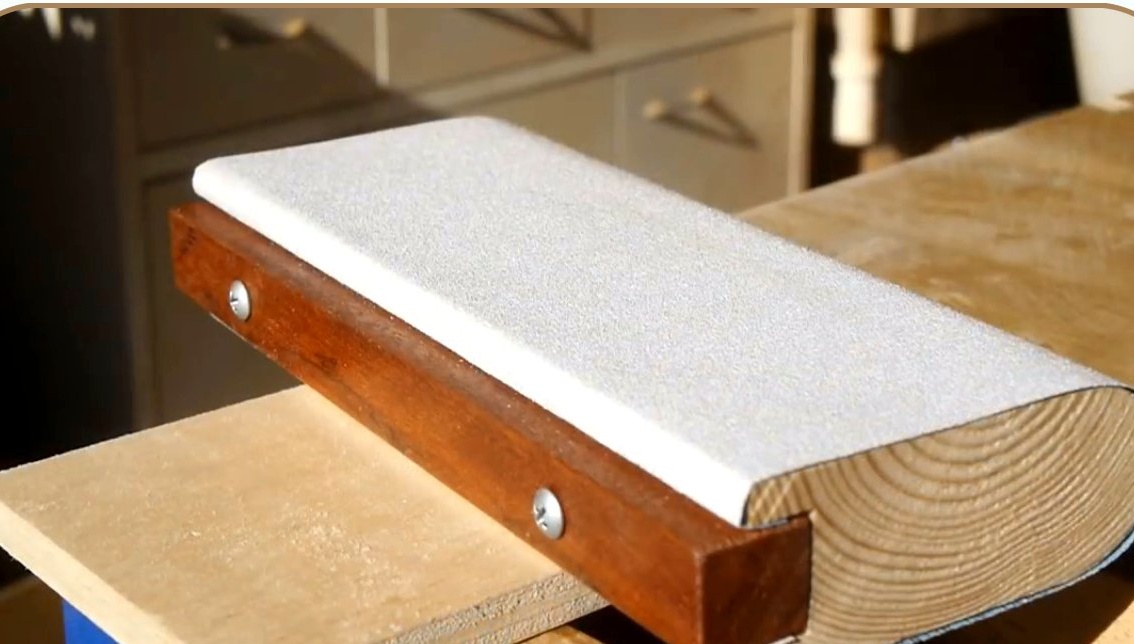
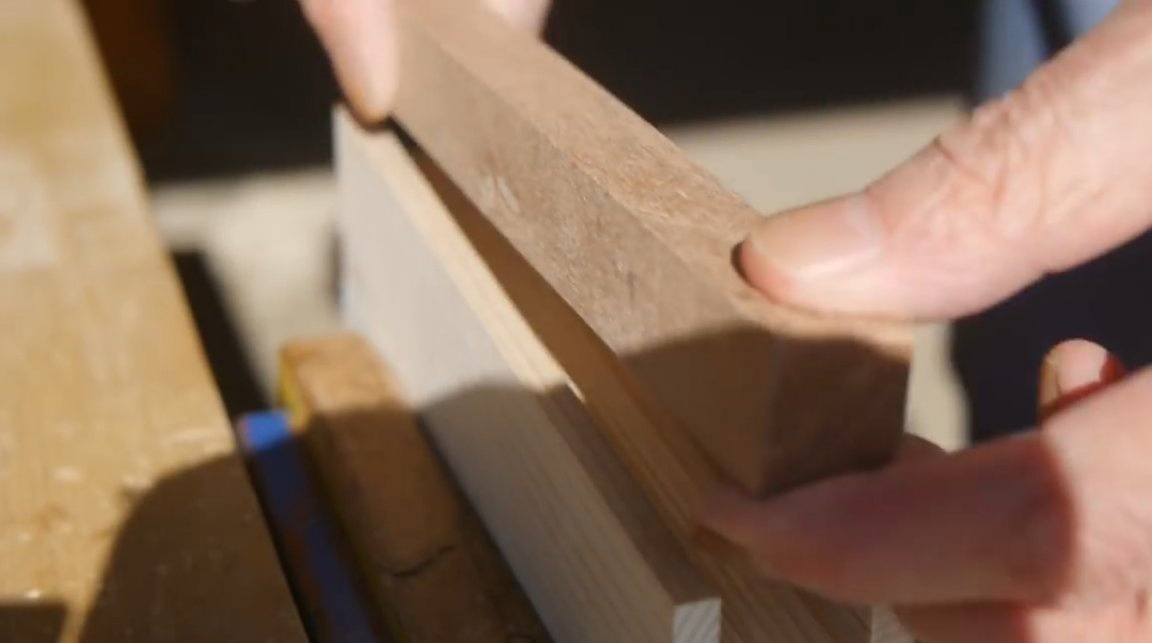
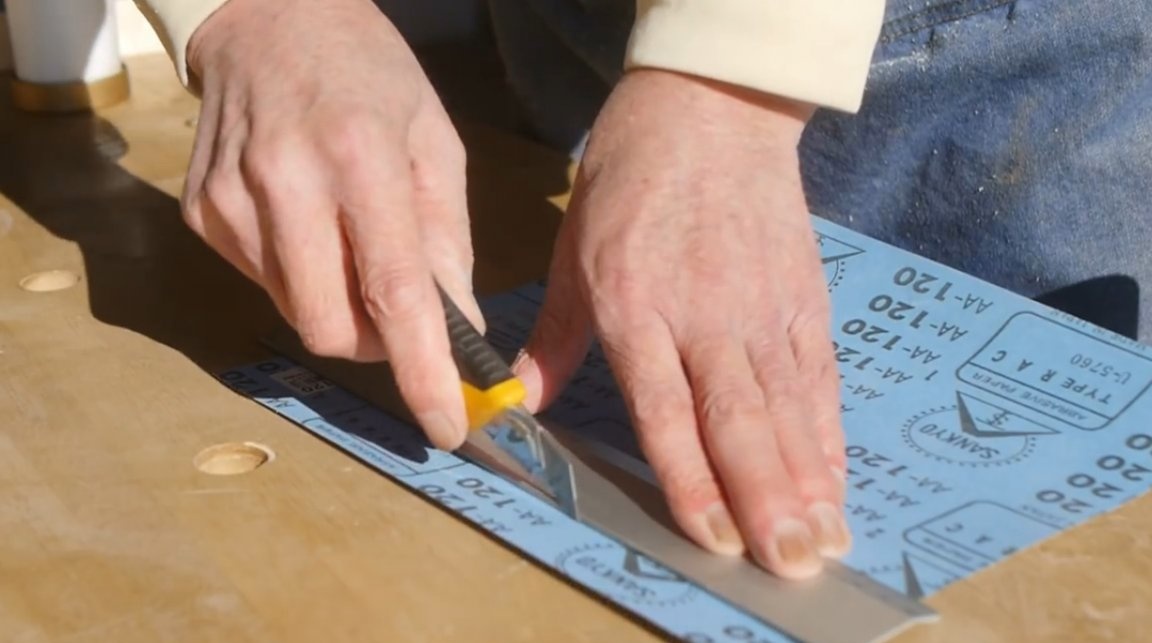
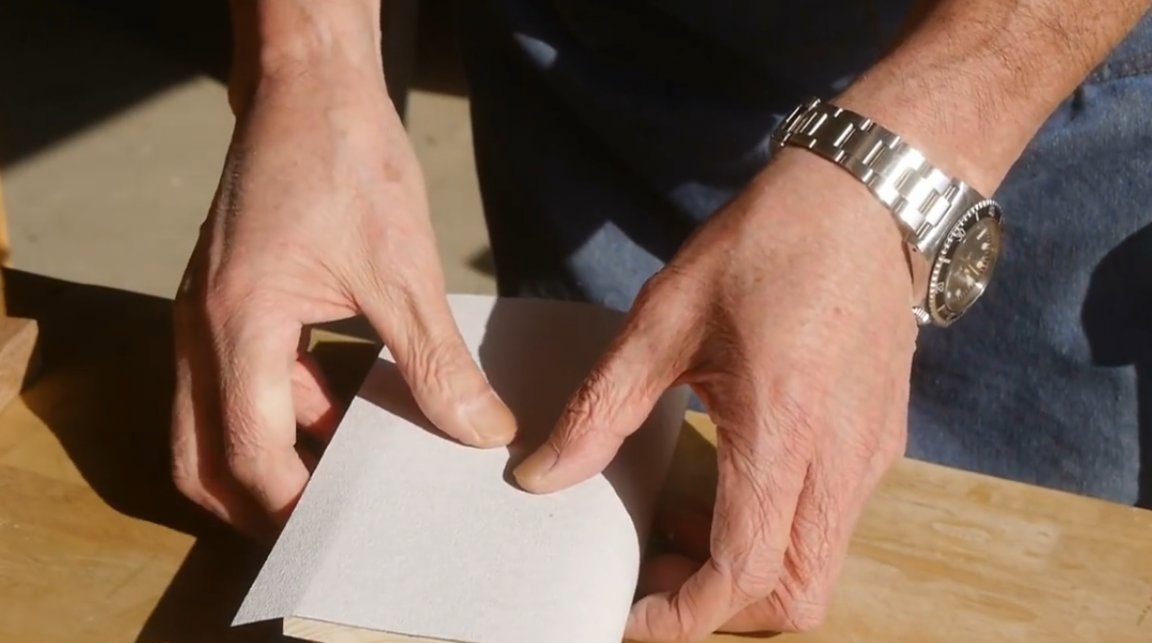
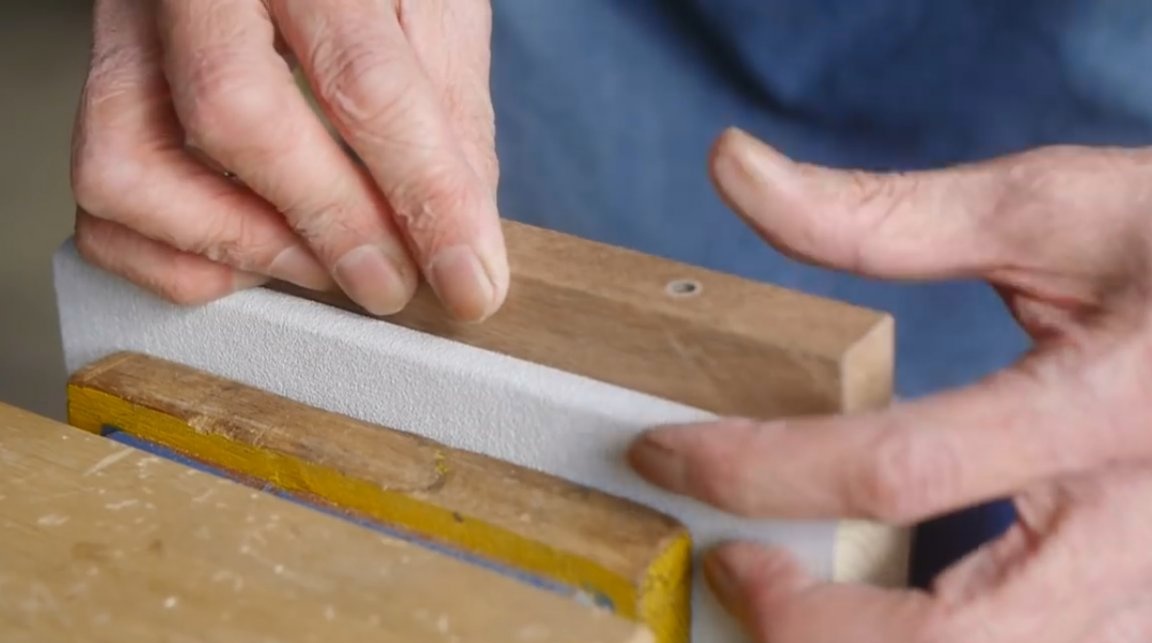
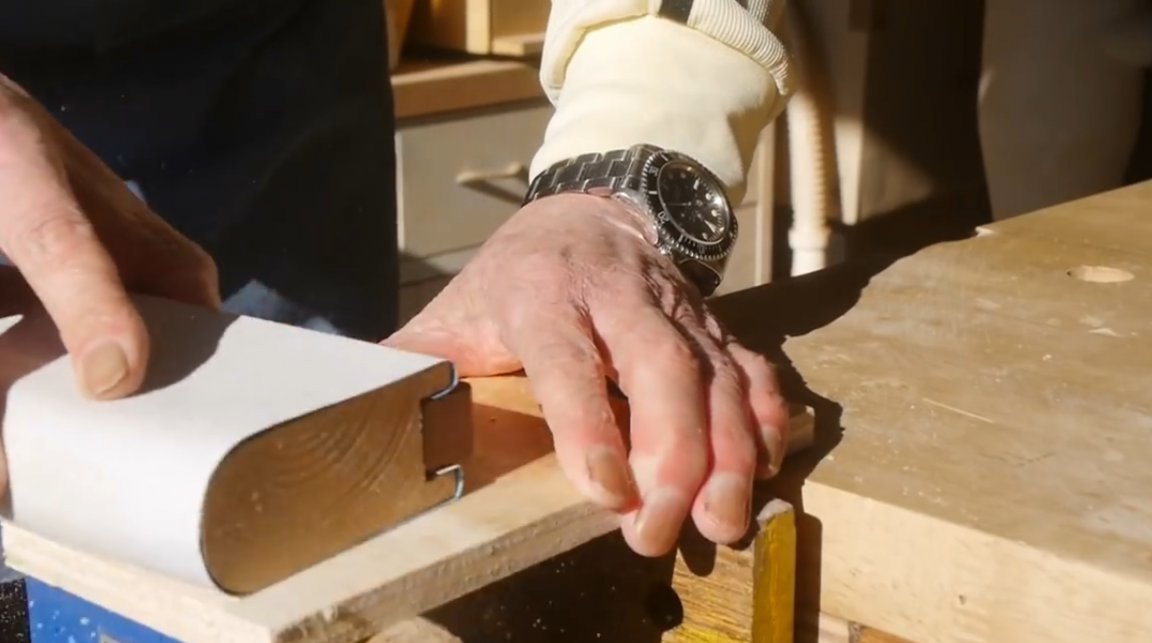
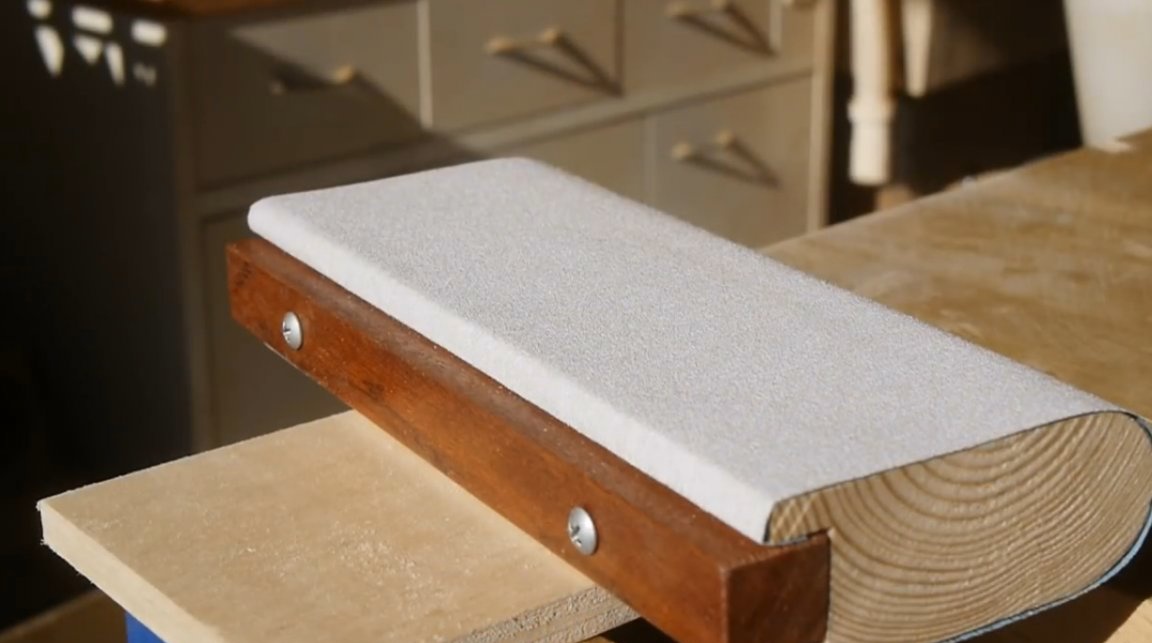
Having placed the emery paper facing the workbench, a strip of the desired width is cut. Now the main unit is wrapped in paper like a cover on a book or notebook.
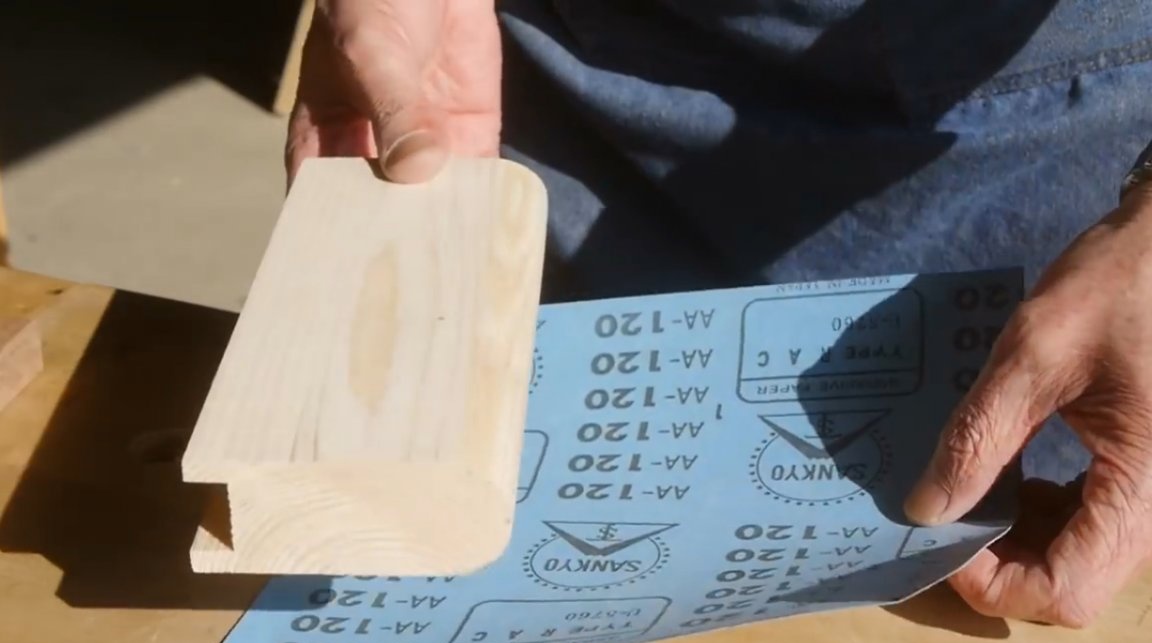
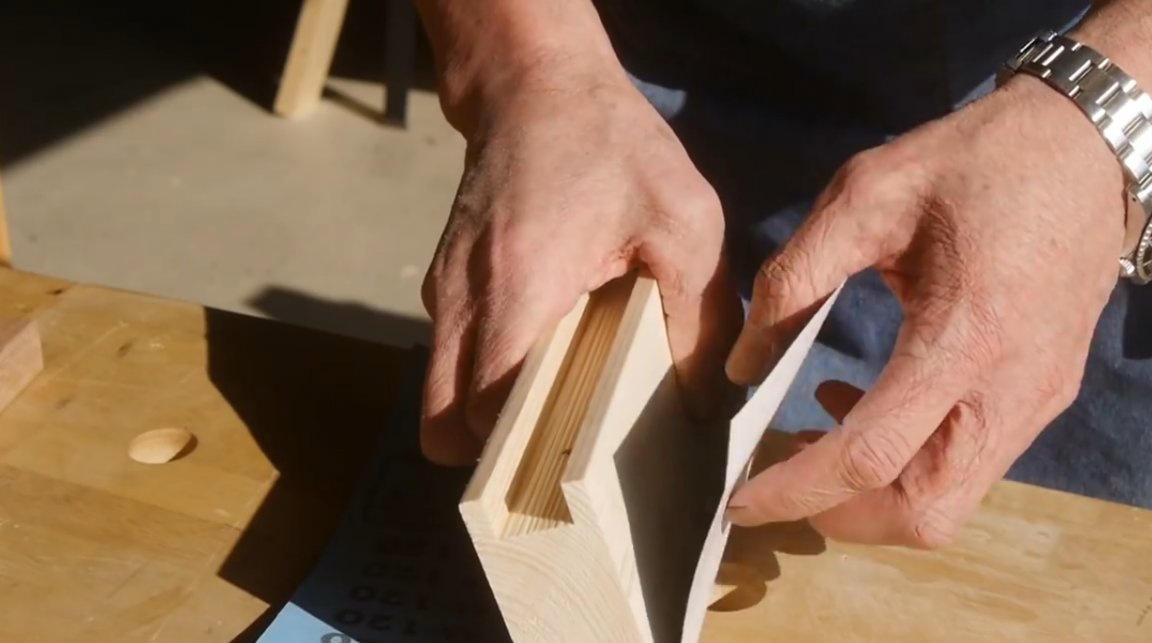
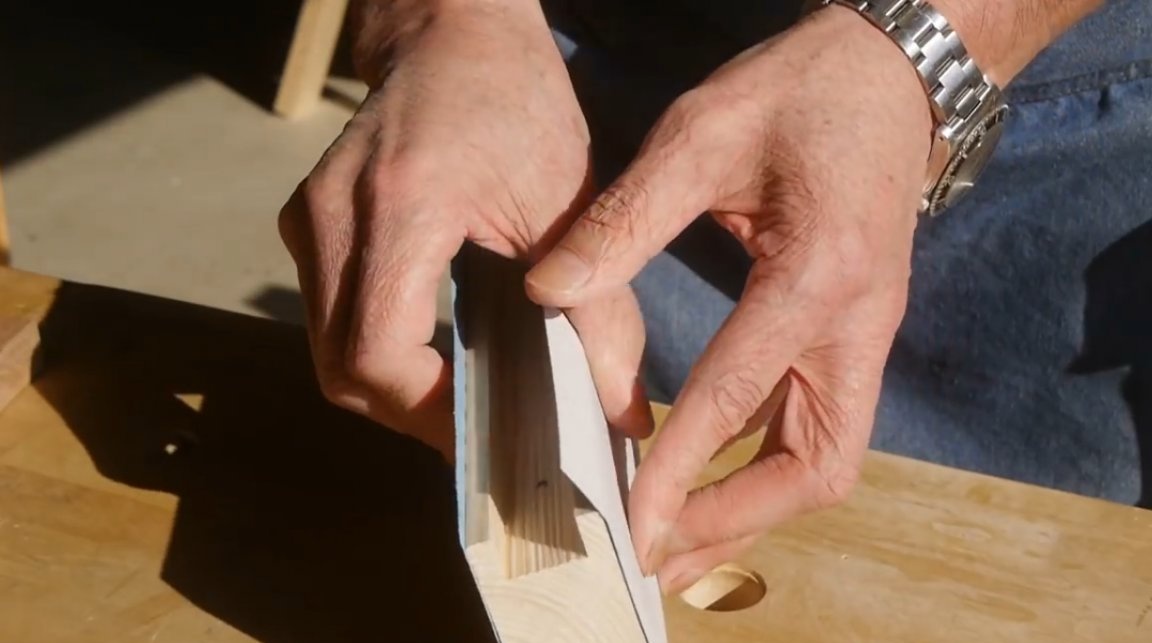
This is followed by pre-assembly, checking the paper tension, and the reliability of fixing.
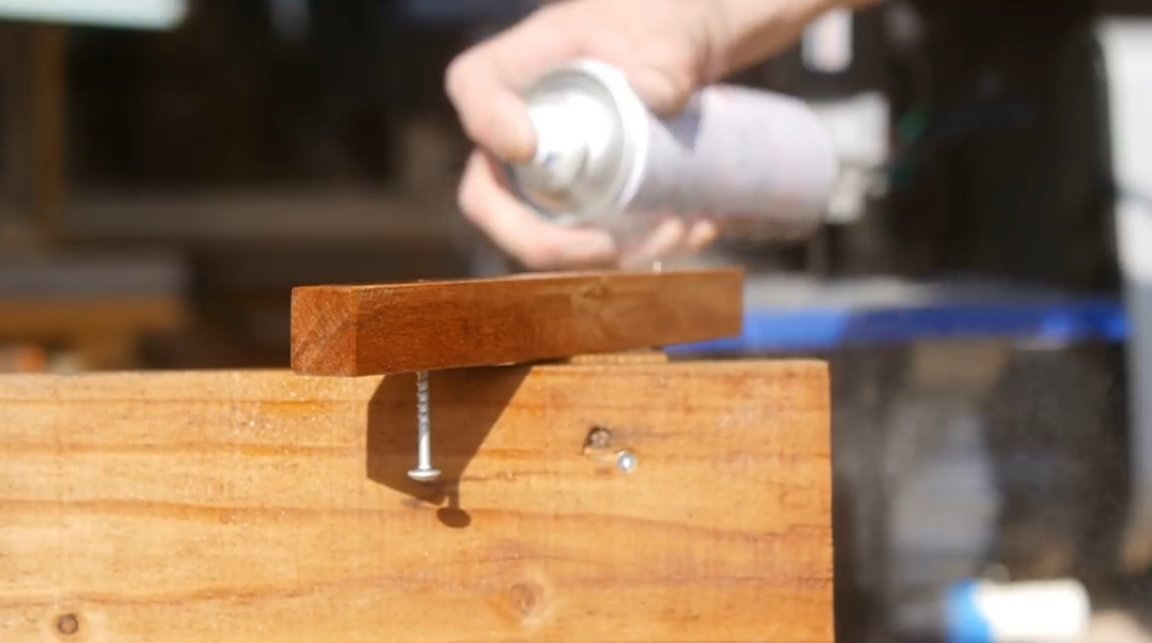
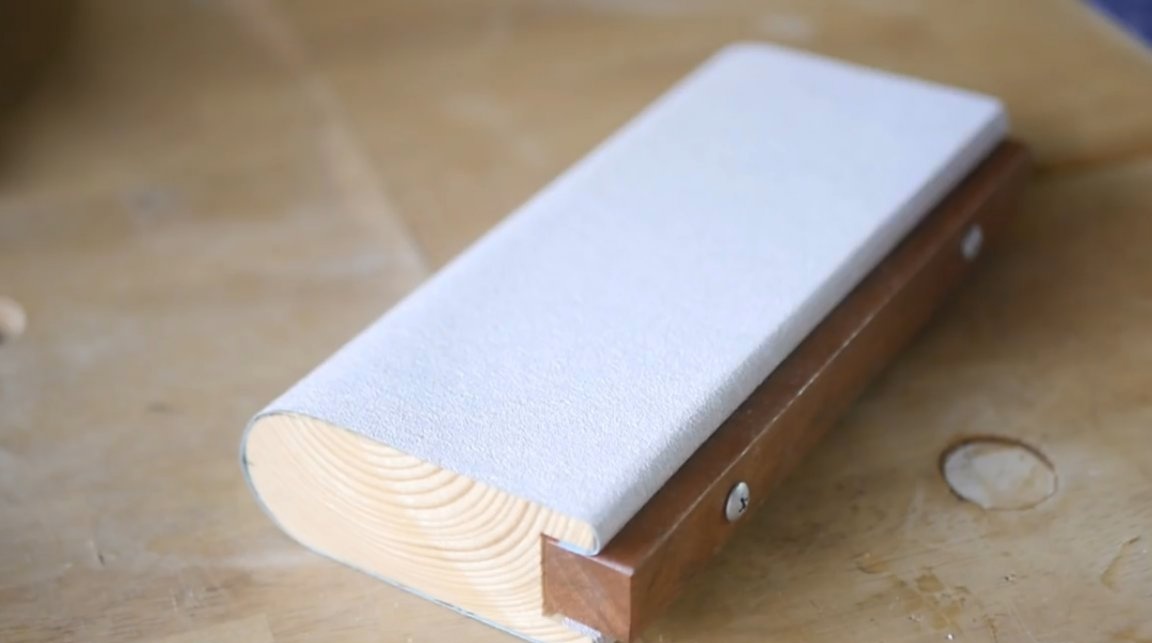
The author decided to cover the pressure block with a layer of transparent aerosol varnish.
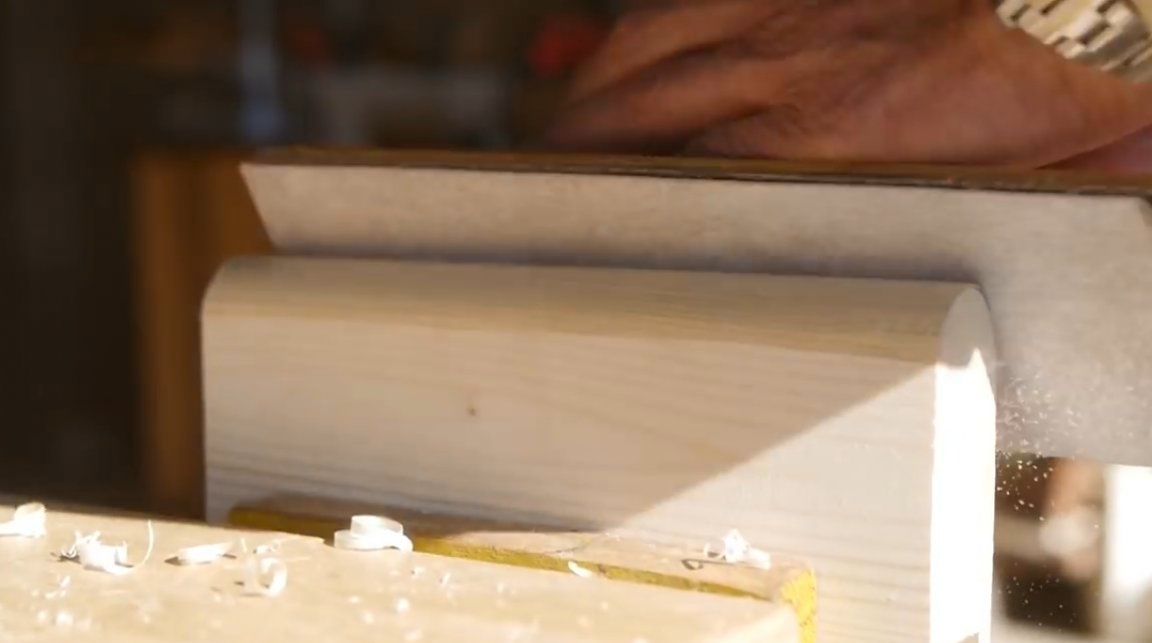
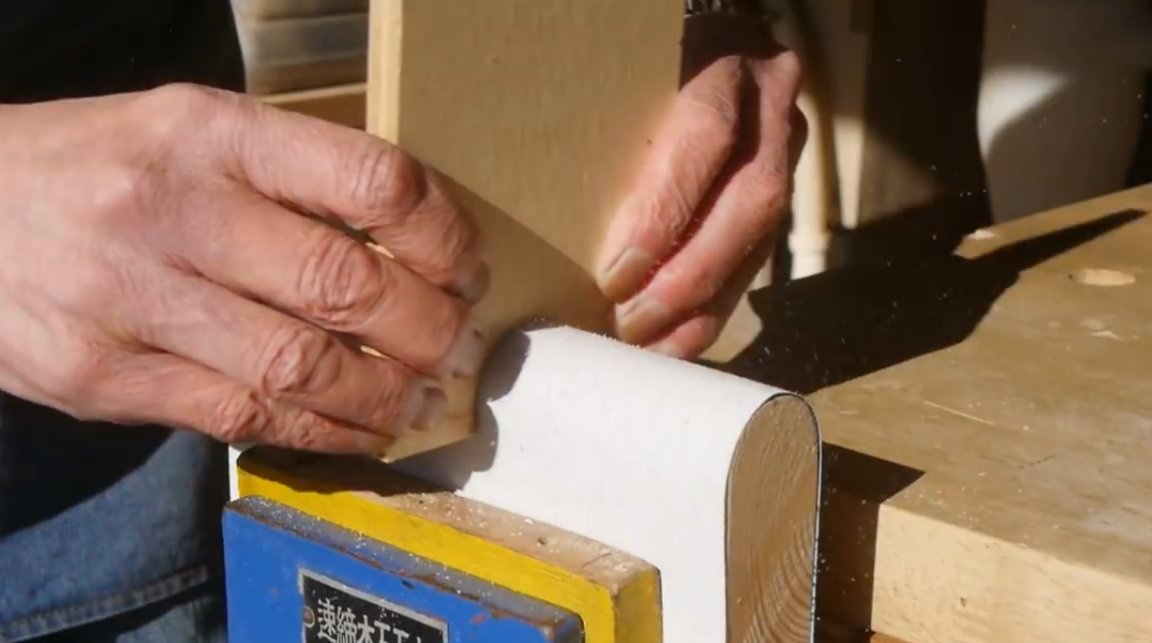
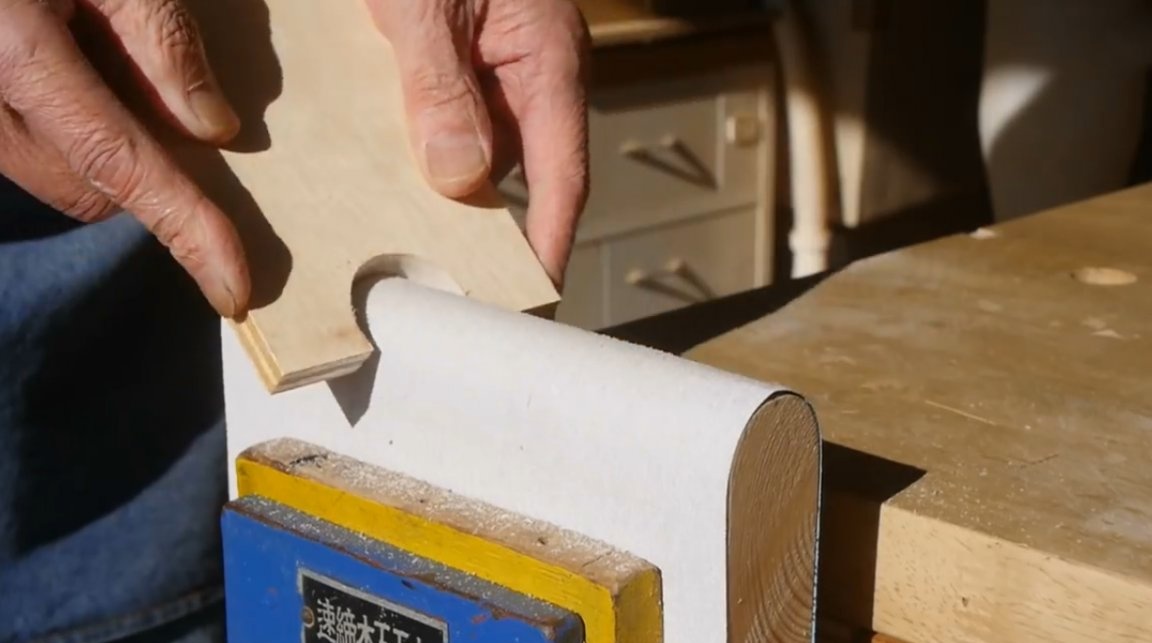
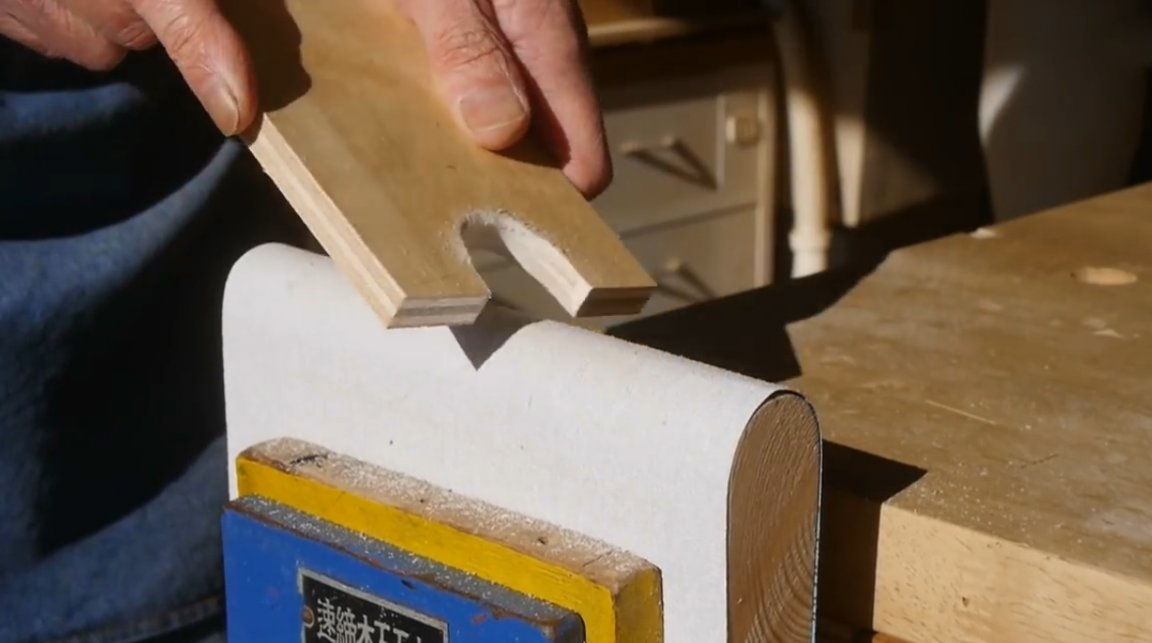
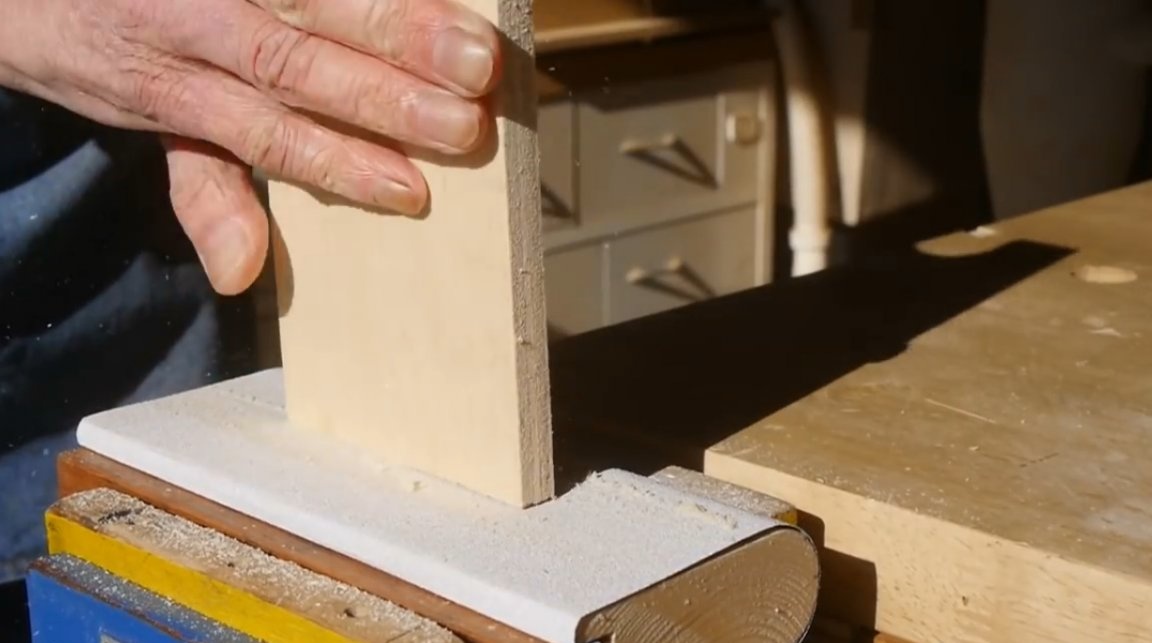
Everything is ready for testing. The rounded side of the block is very convenient to handle various radius elements.
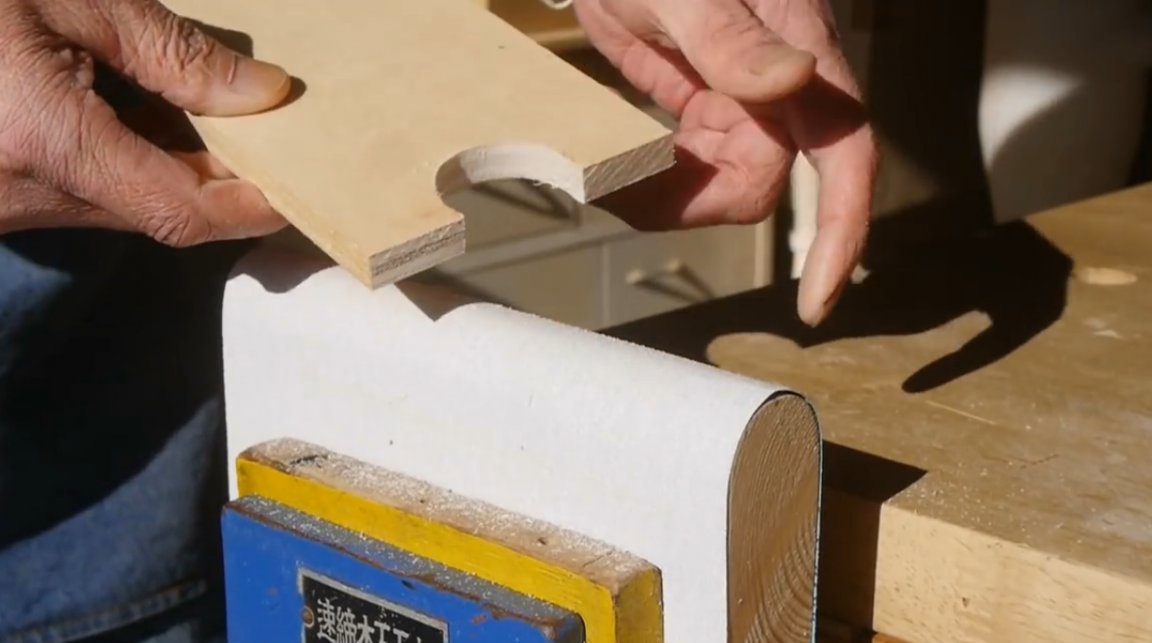
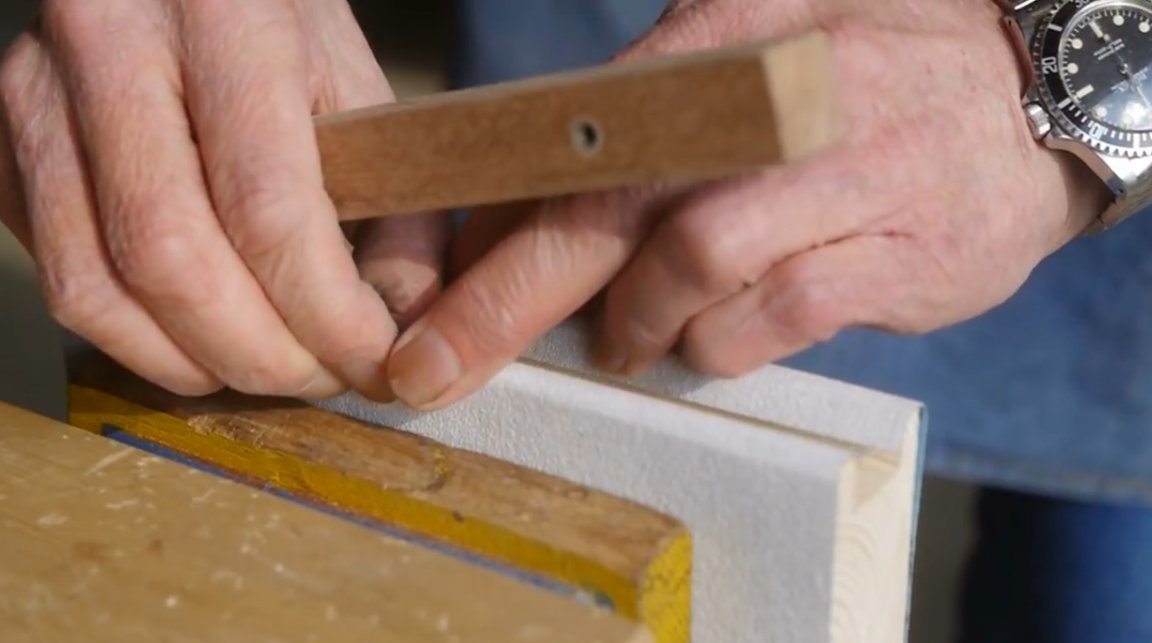
By expanding the device in a vice at 90 degrees, the author processes the ends of the workpiece.
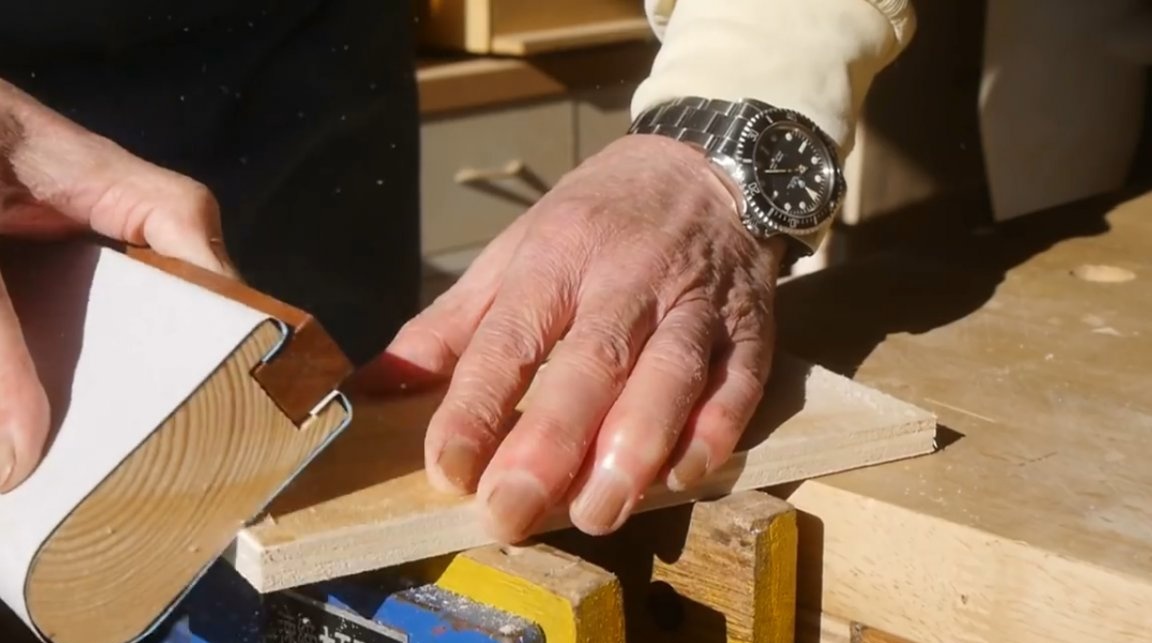
It can also be used for large flat surfaces.
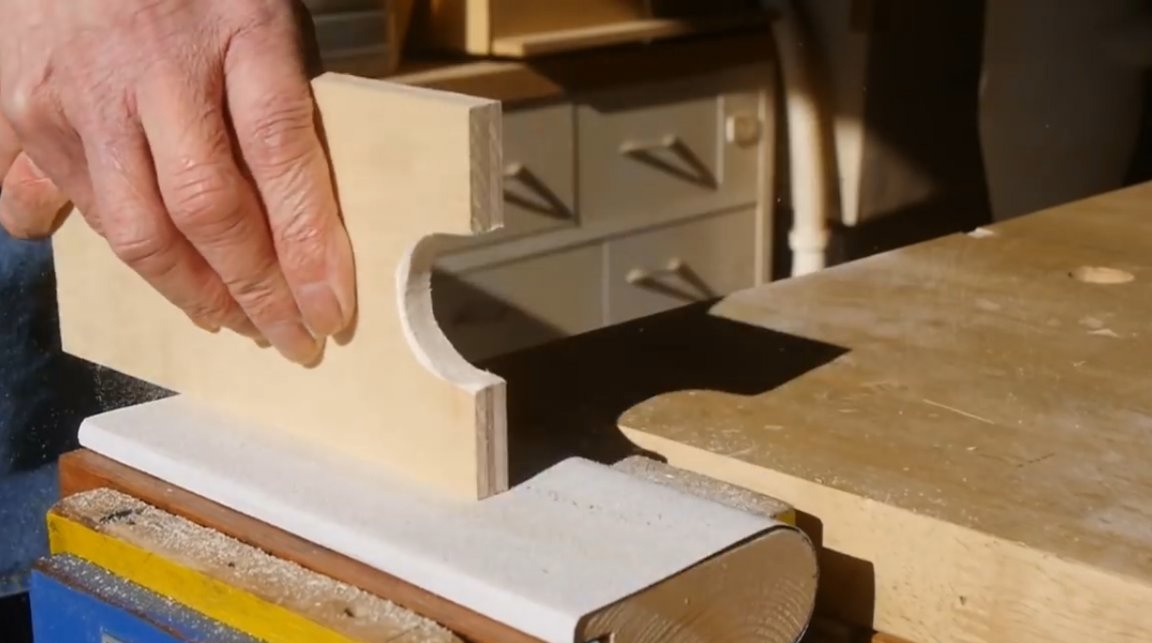
And, of course, round off and process sharp edges.
On this device, replacing the paper will take just a few seconds. So changing the paper to a larger or smaller one is a simple matter. It is enough to unscrew the two screws.
I thank the author for a simple but useful tool for the workshop!
All good mood, good luck, and interesting ideas!
Author video can be found here.