

Today we will make a box for a screwdriver and basic tools from an old car kit.
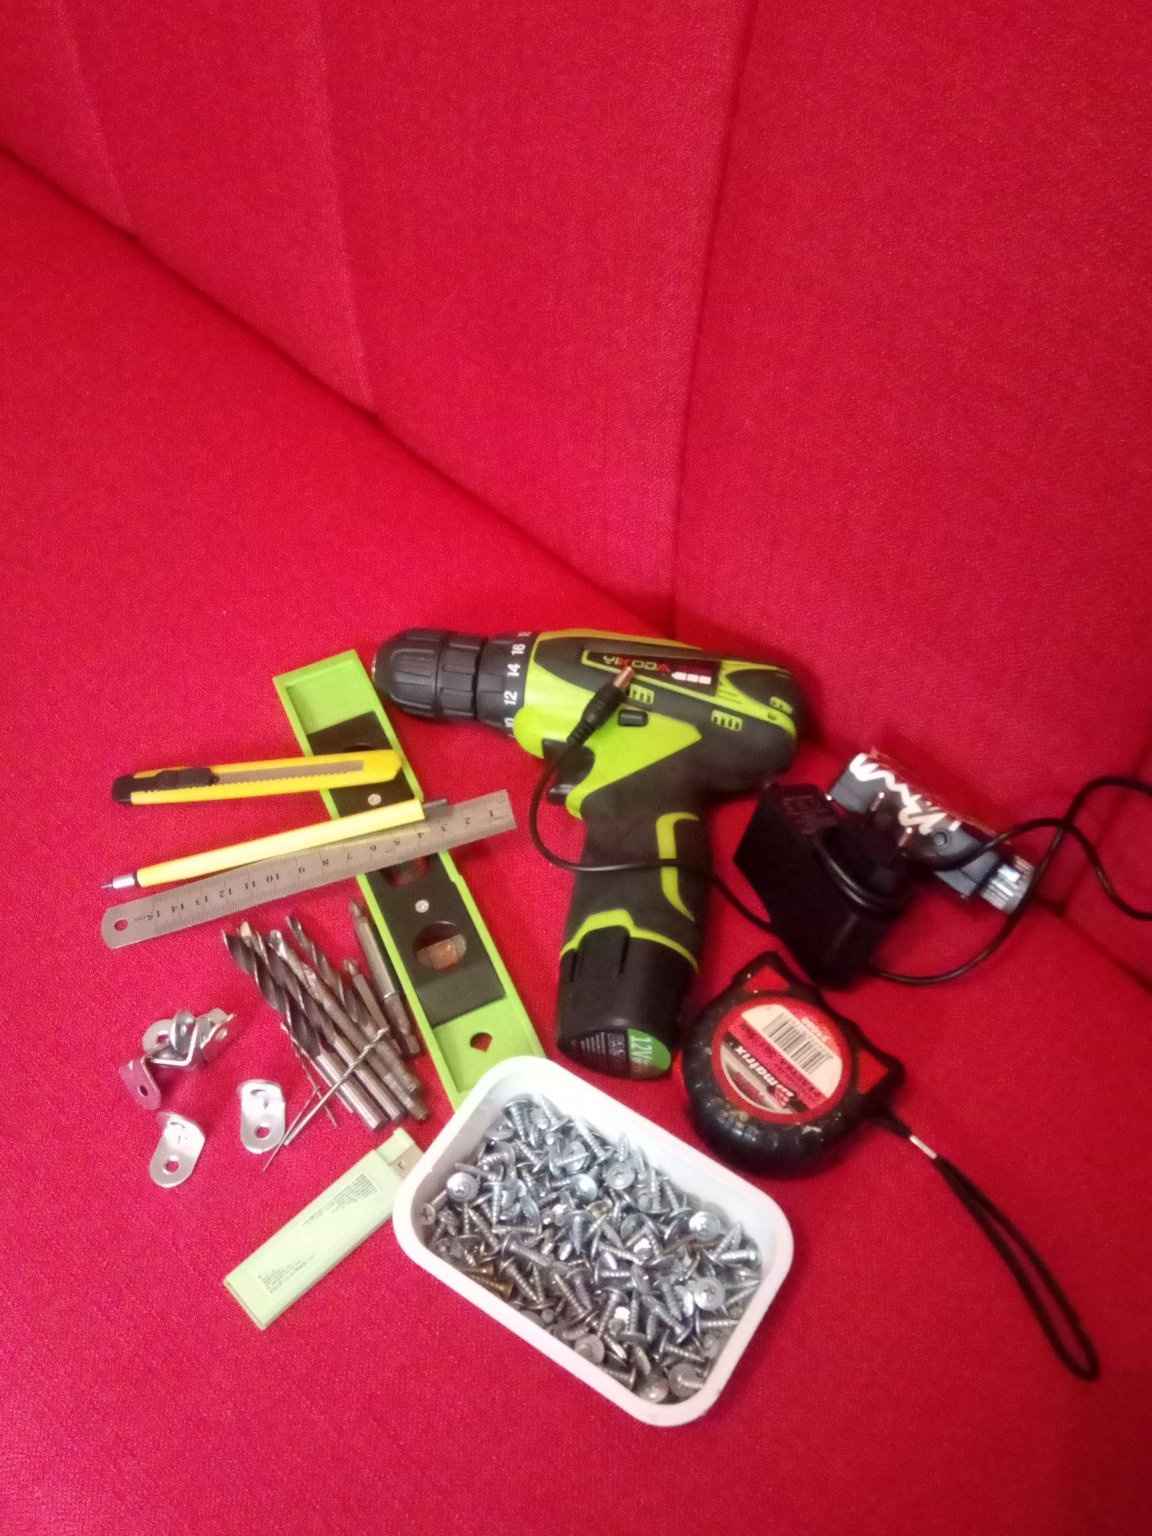
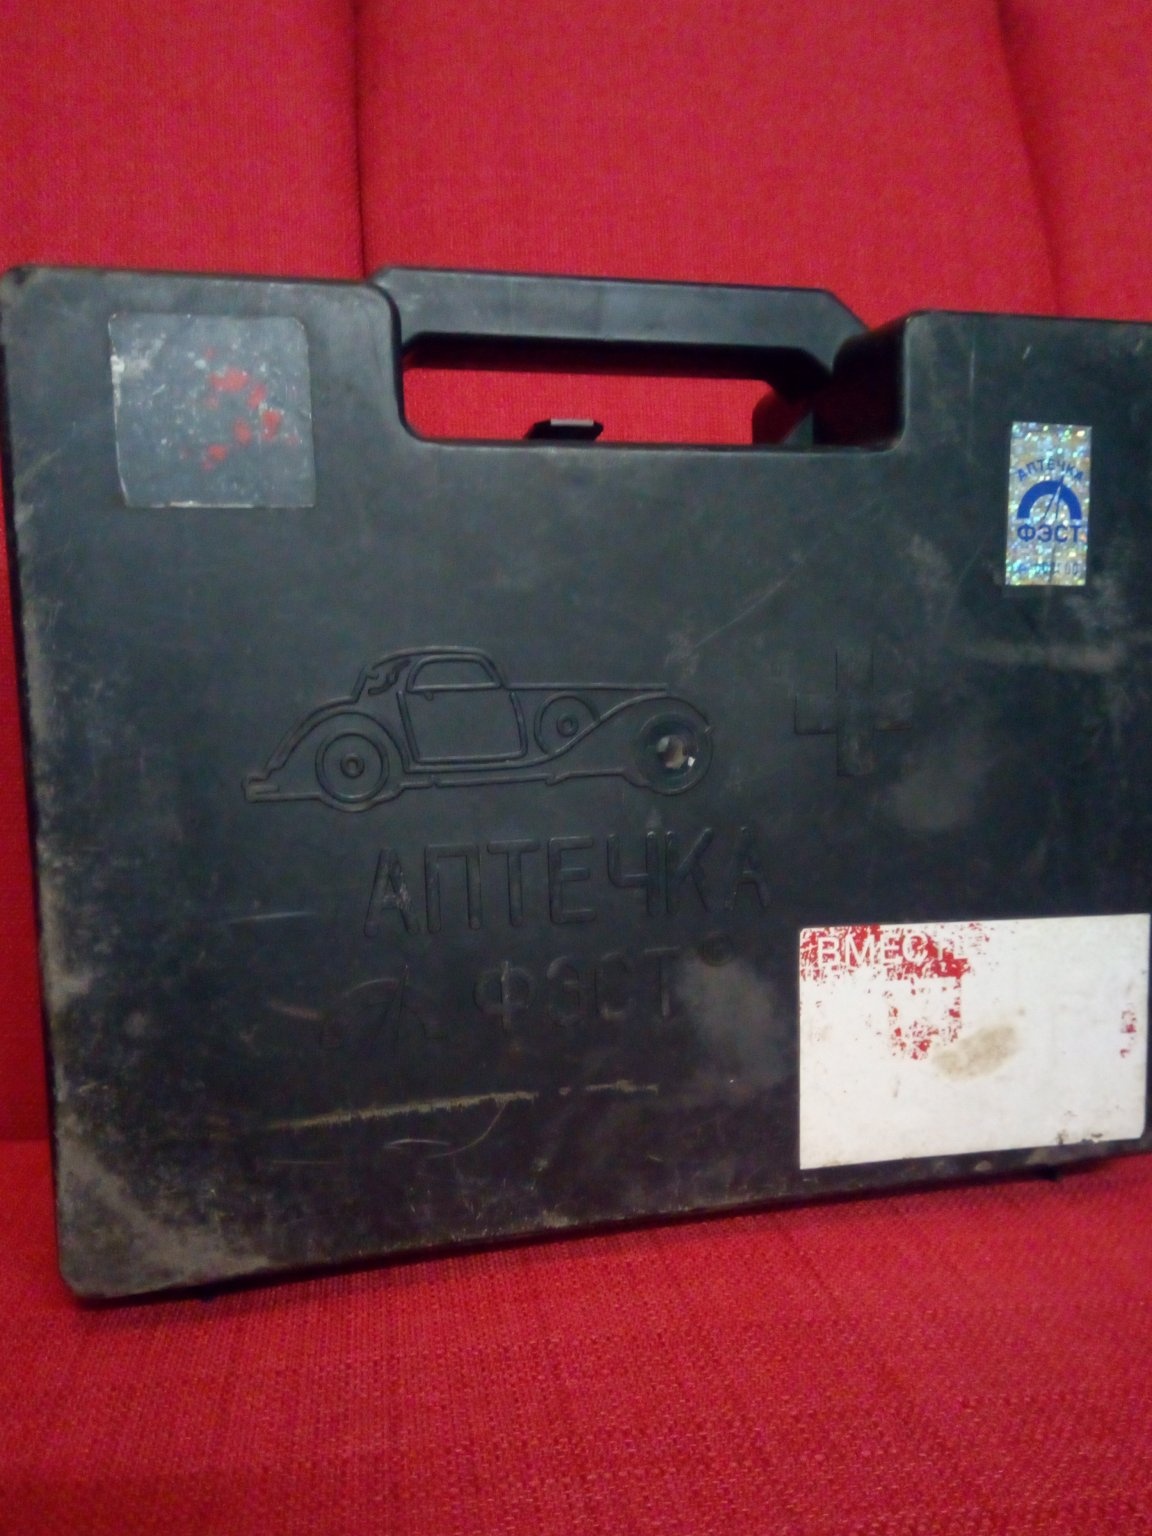
It all started with the fact that it became necessary to transport a screwdriver and basic tools (fasteners, drills, bits, tape measure, flashlight, level, etc.). Somewhere at the same time, an old automobile first-aid kit caught my eye, which was lying idle on the balcony. how
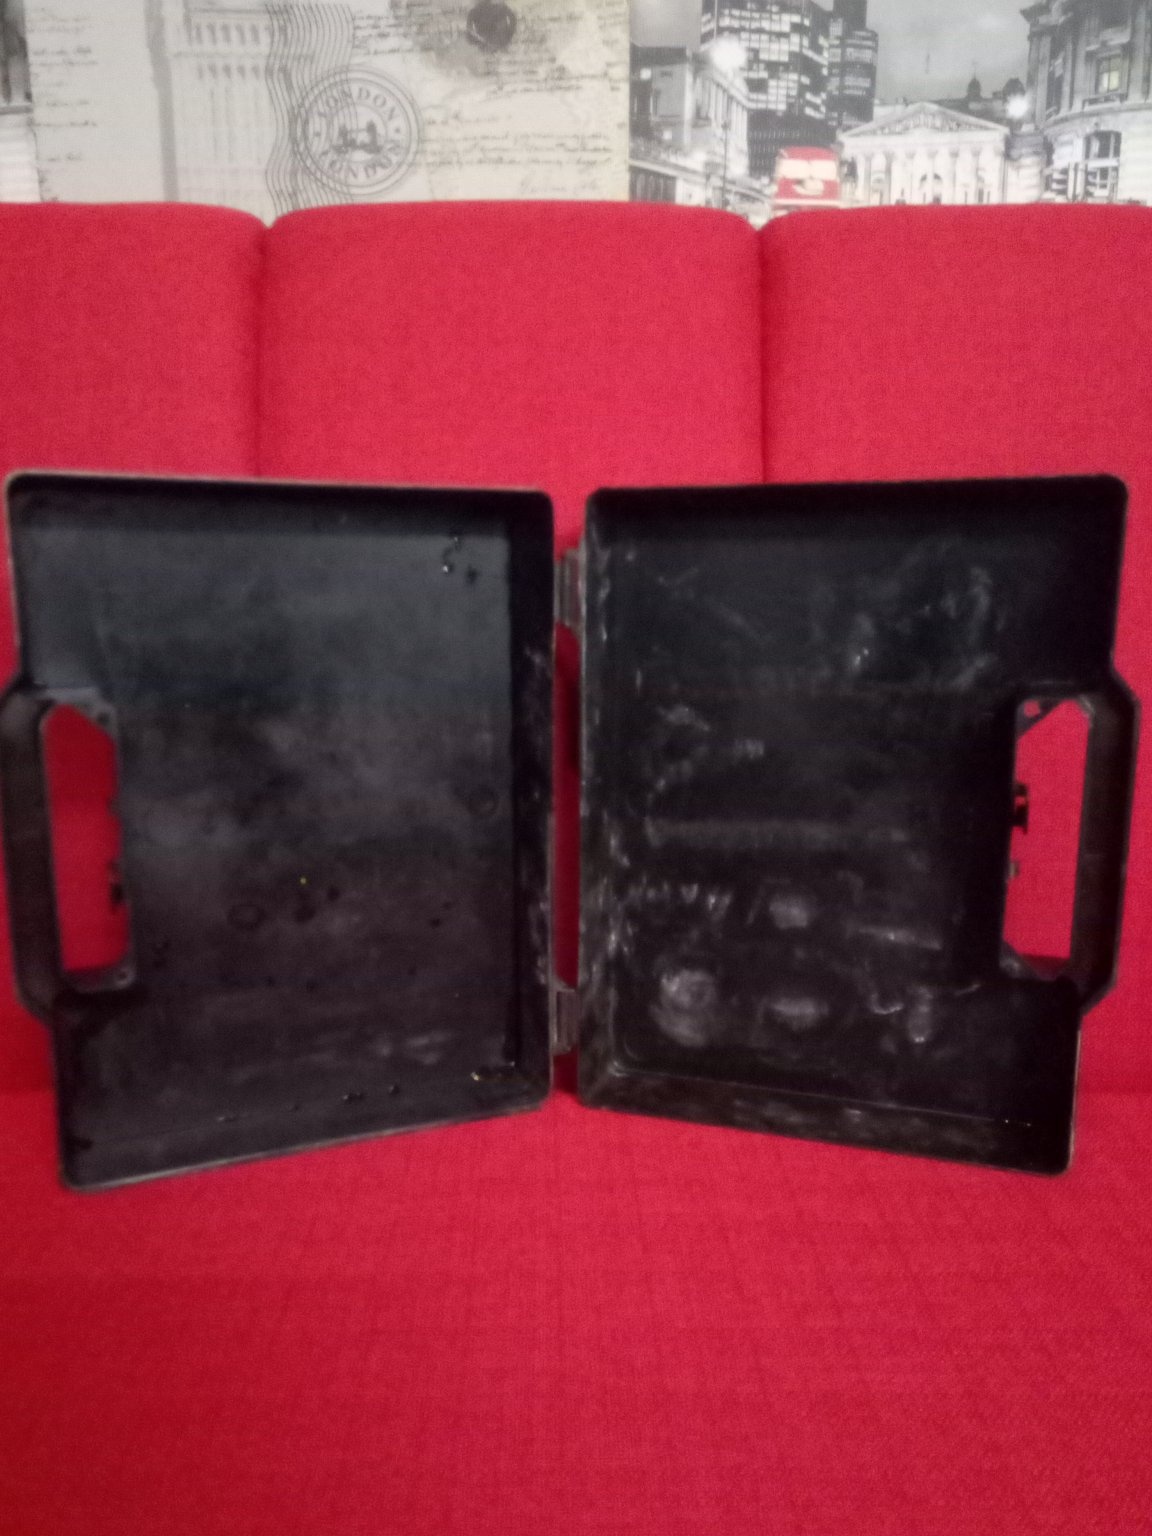
we know the meaning of a first-aid kit is that it takes up little space, but it was possible to place as much payload as possible in it. I realized that these facts did not come together for nothing, and I was obliged to make myself a convenient box and not to carry a screwdriver in a bag along with the rest of the tool and fasteners. The dimensions of my box are approximately equal to 20cm * 24cm * 8cm. And in these dimensions it was necessary to fit the most necessary tools. I started from the fact that in this box there was everything that was needed to unscrew, fasten, mark, drill something and there was a place for fasteners. Naturally, there will be a screwdriver and charging from it, just as practice shows, it would be nice to have a flashlight with you, so that he will also be among the favorites.
For marking, in my opinion, you need a tape measure, a ruler and a pencil. We also place a small level in the box and figure out how to fix the drill bits and bits inside. Leave two compartments for fasteners. That's it. Tools selected left to place them.
We will need
1. Tools
screwdriver
hot glue gun
2. Materials
-plywood
-car kit or any other box
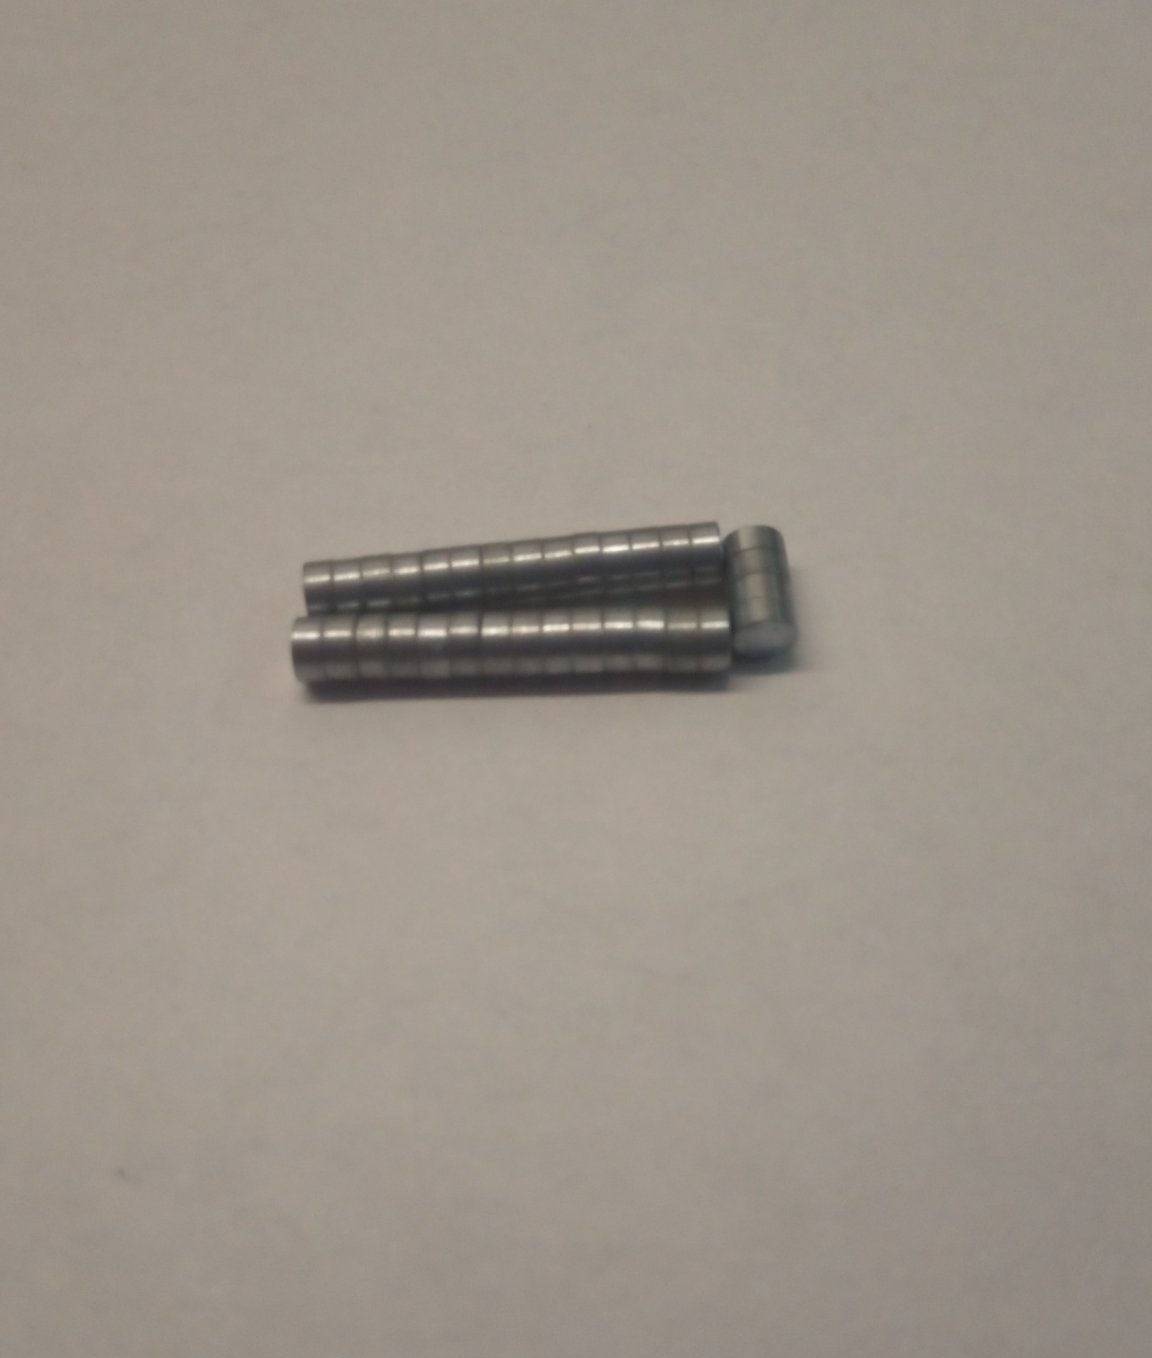
-Magnets and magnets (then you will understand what I meant)
0.5mm rubber
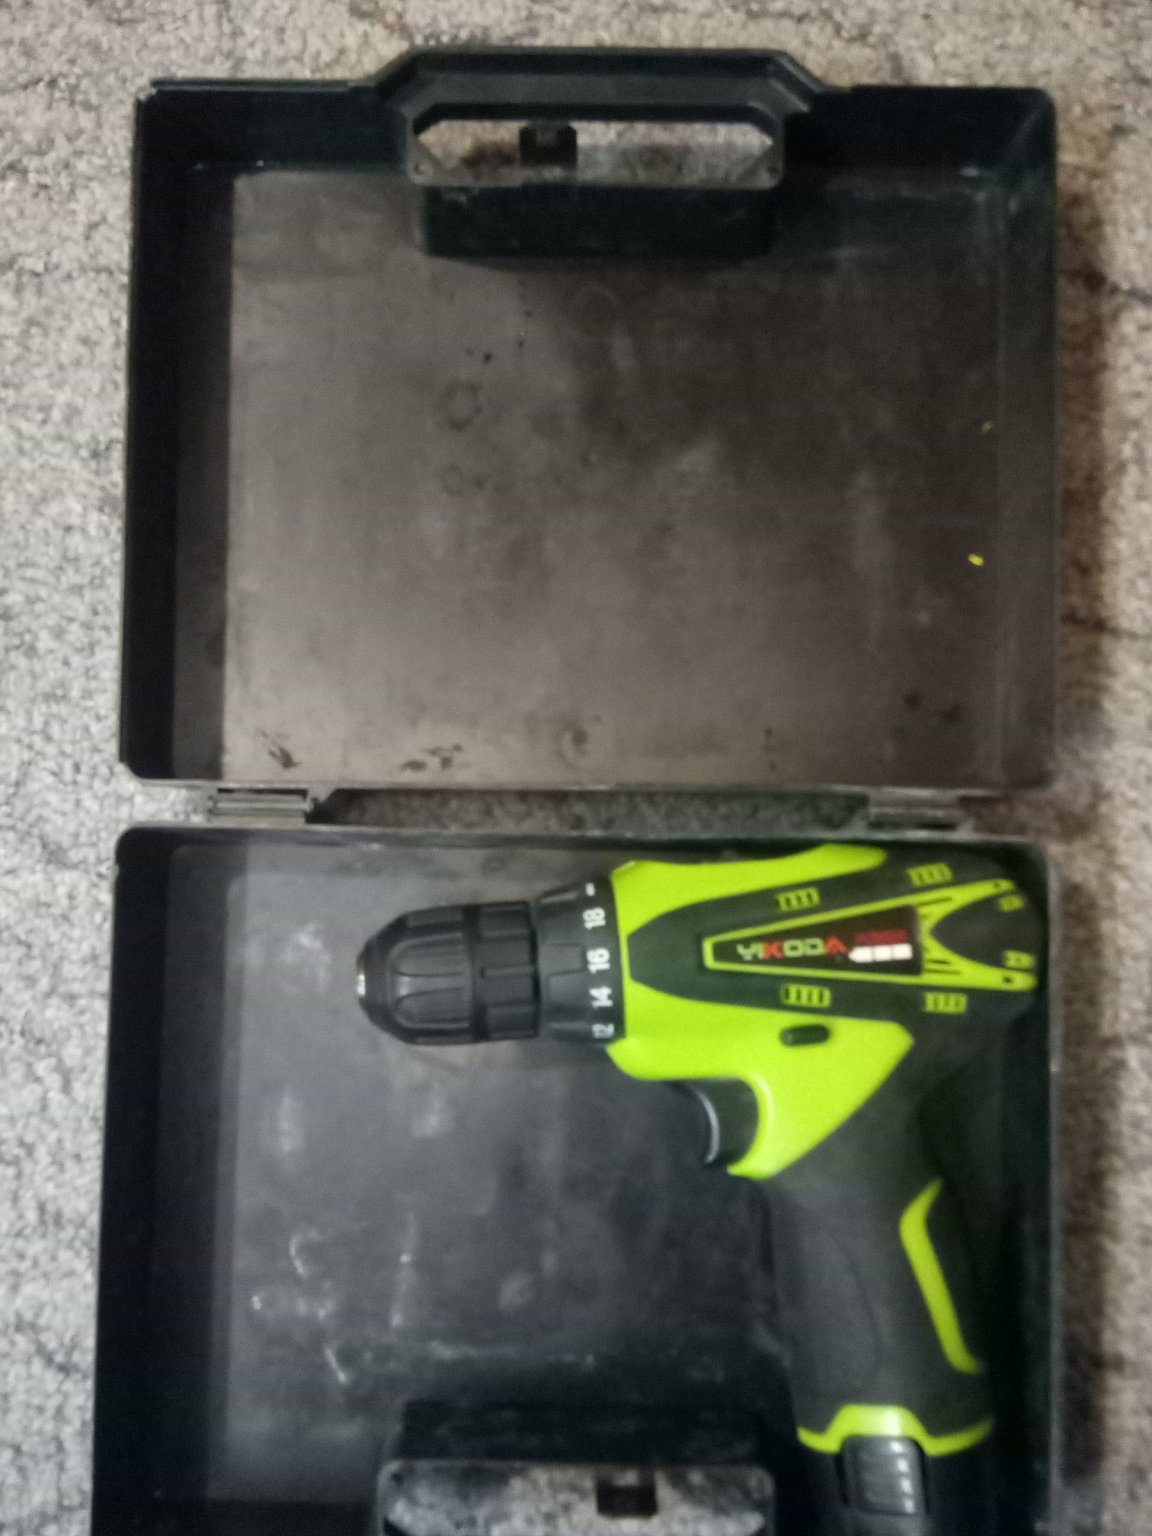
1 step
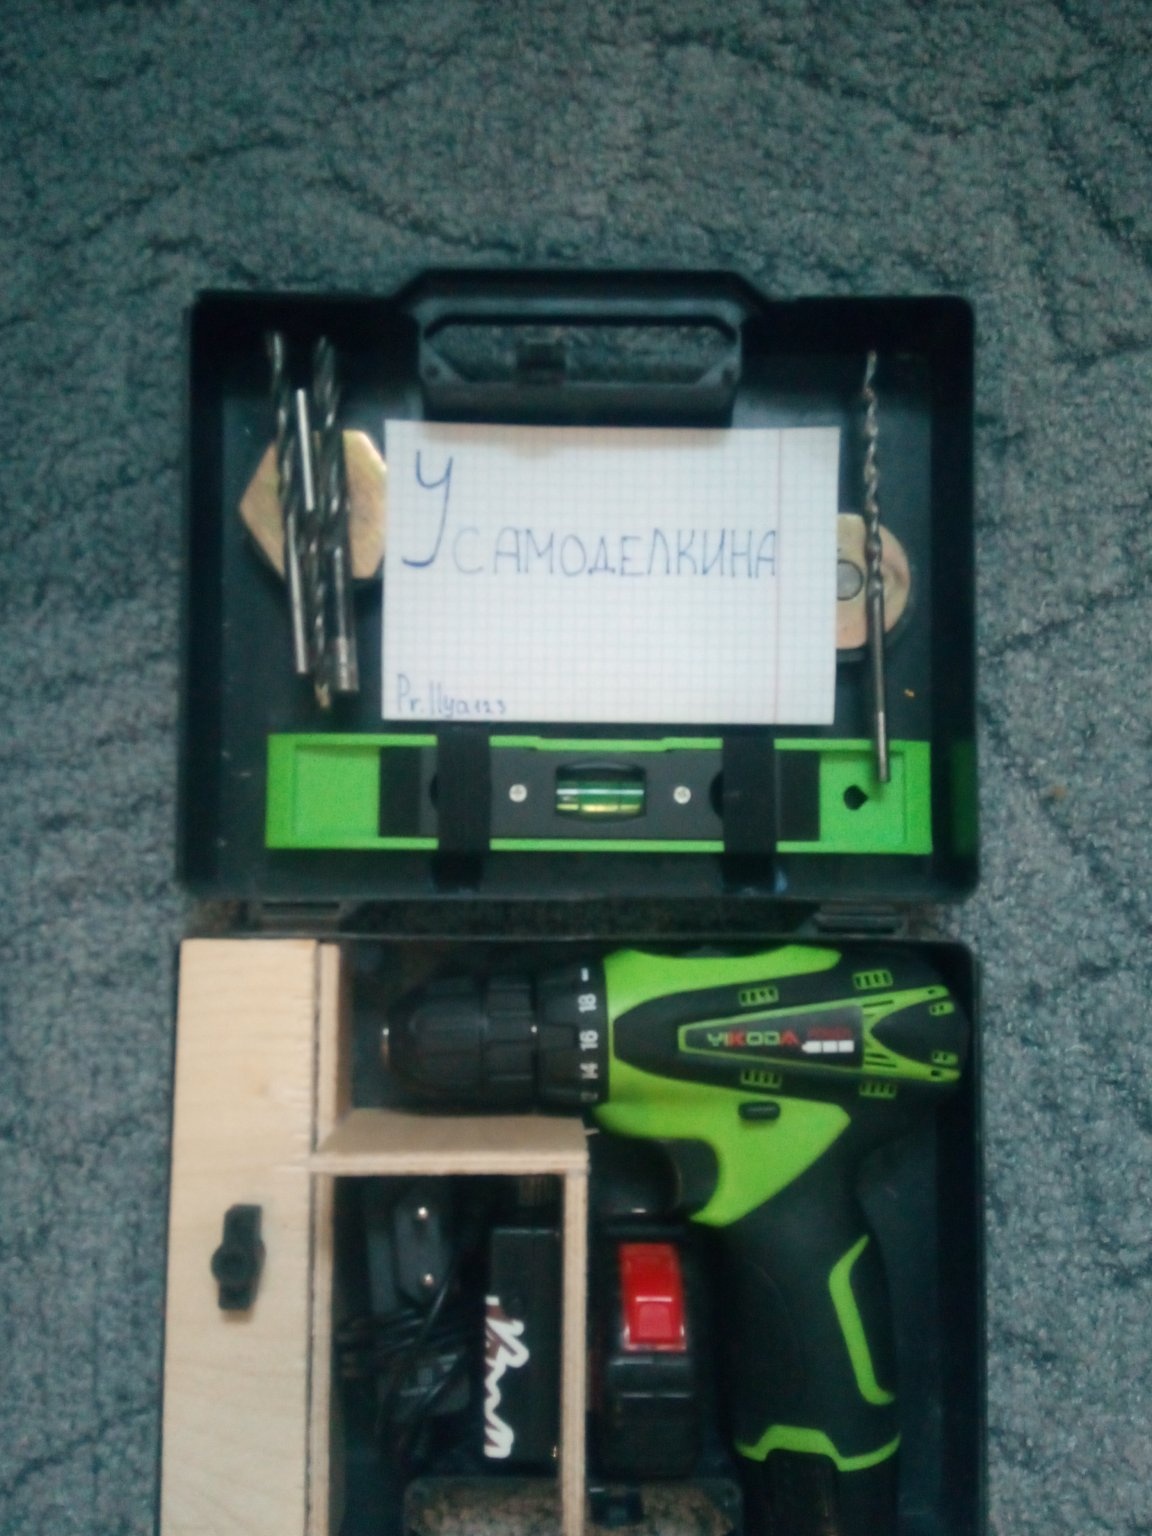
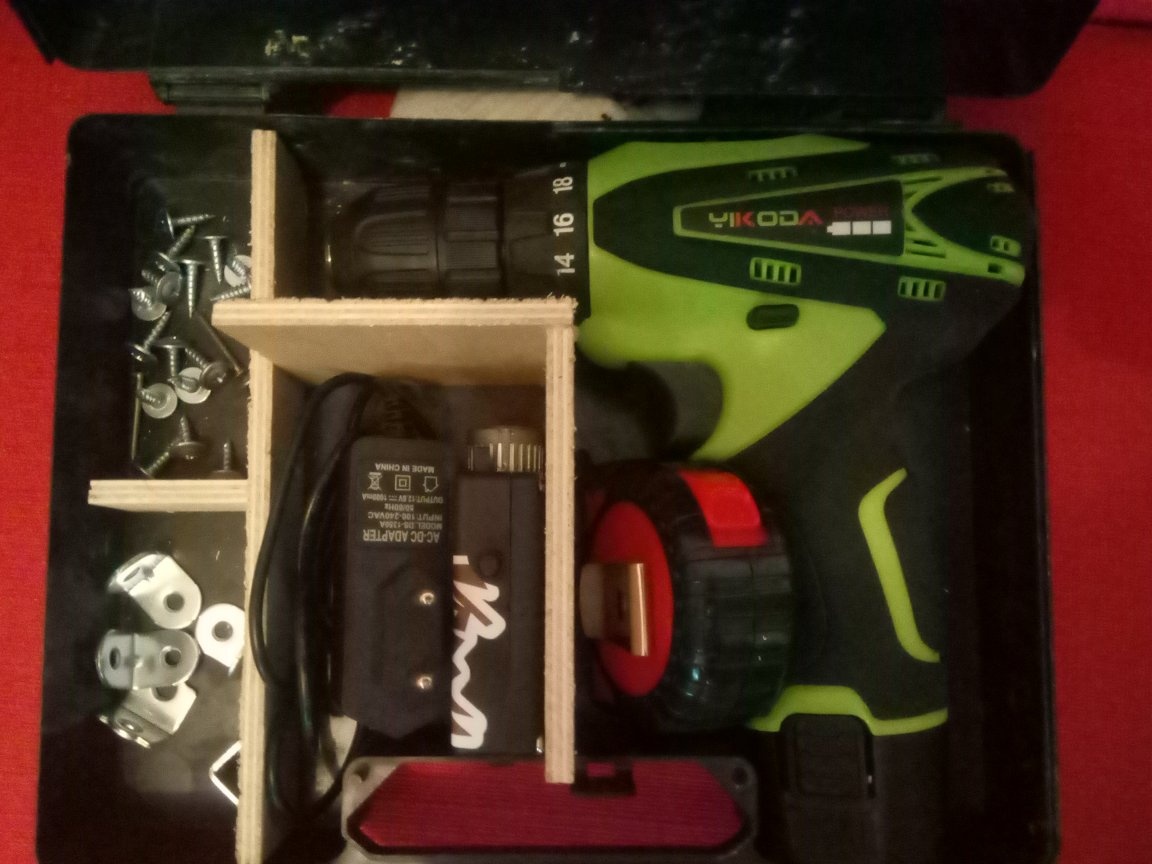
The first thing you need to figure out is how to place the largest and most basic tool, my screwdriver. He almost perfectly gets up in the drawer. The screwdriver must be placed so that it has as many support points on the box walls as possible. This is necessary so that he confidently kept his place, and in this case he will occupy a minimum of space.
2 step
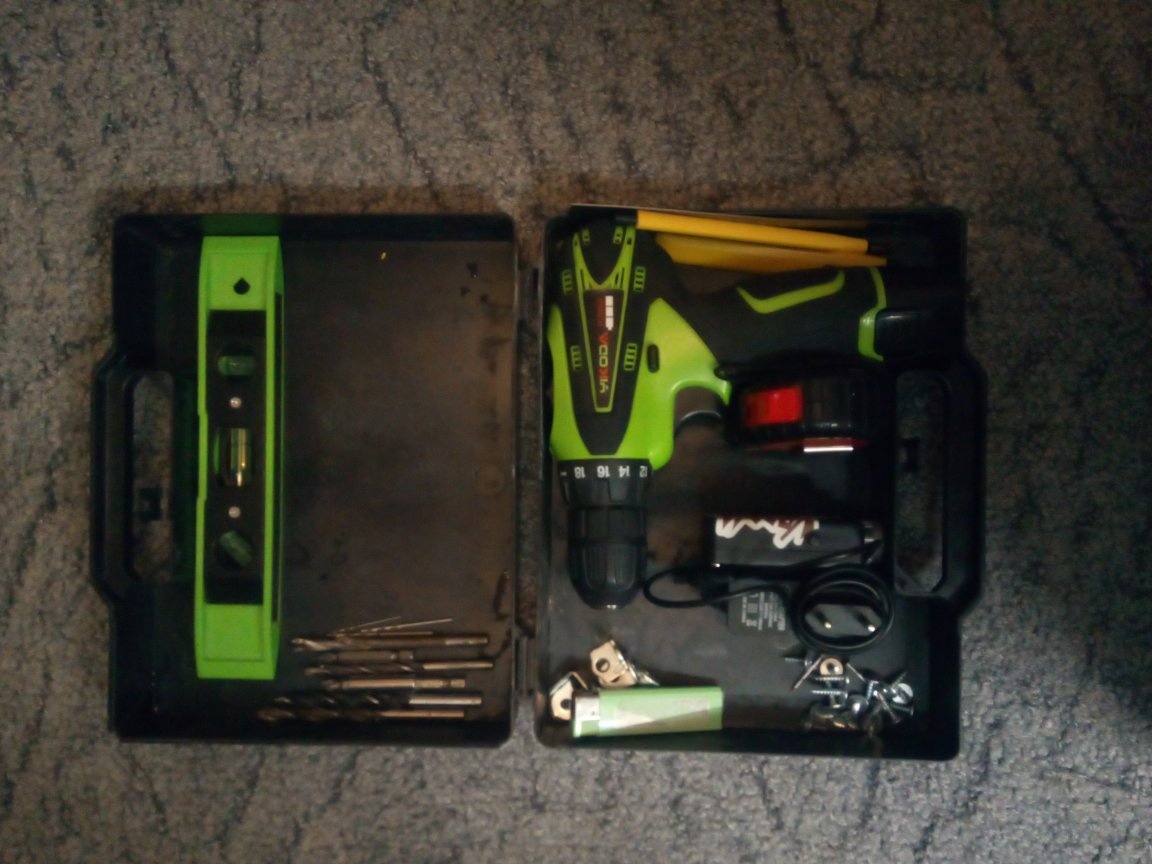
Now let's decompose all the other tools. Due to the unusual shape of the screwdriver handle, there is a lot of free space. I decided to lean the tape measure against the handle of a screwdriver.
The compartment wall will move slightly, but the place will be used more efficiently. A pencil and a ruler can be thrown into the compartment with a screwdriver, since they do not take up much space.Due to the similarity in size, charging and a flashlight are also placed in one compartment.
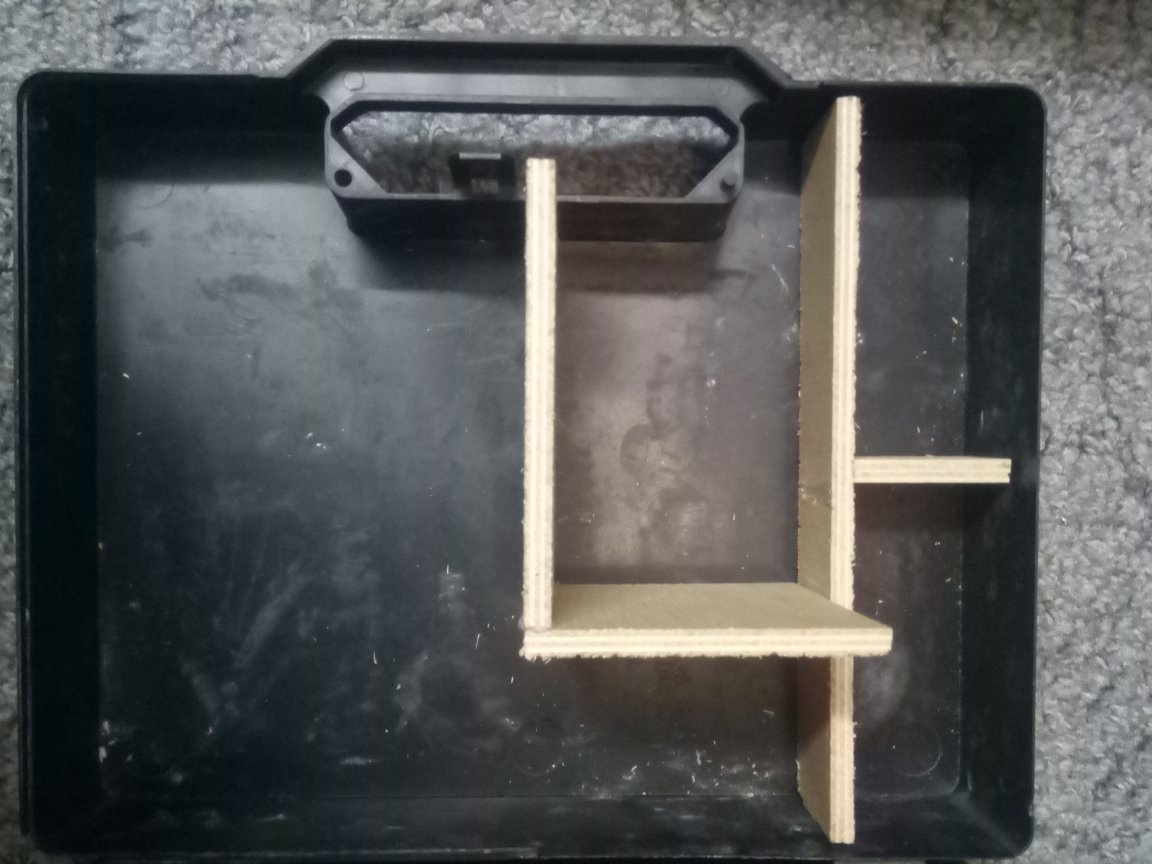
On the side there is a place for fasteners. Divide it into two compartments. Still need to put the level and drill bits. The place has ended on this side, but due to the height of the drawer, we can place a low tool on the other side. But more on that later.
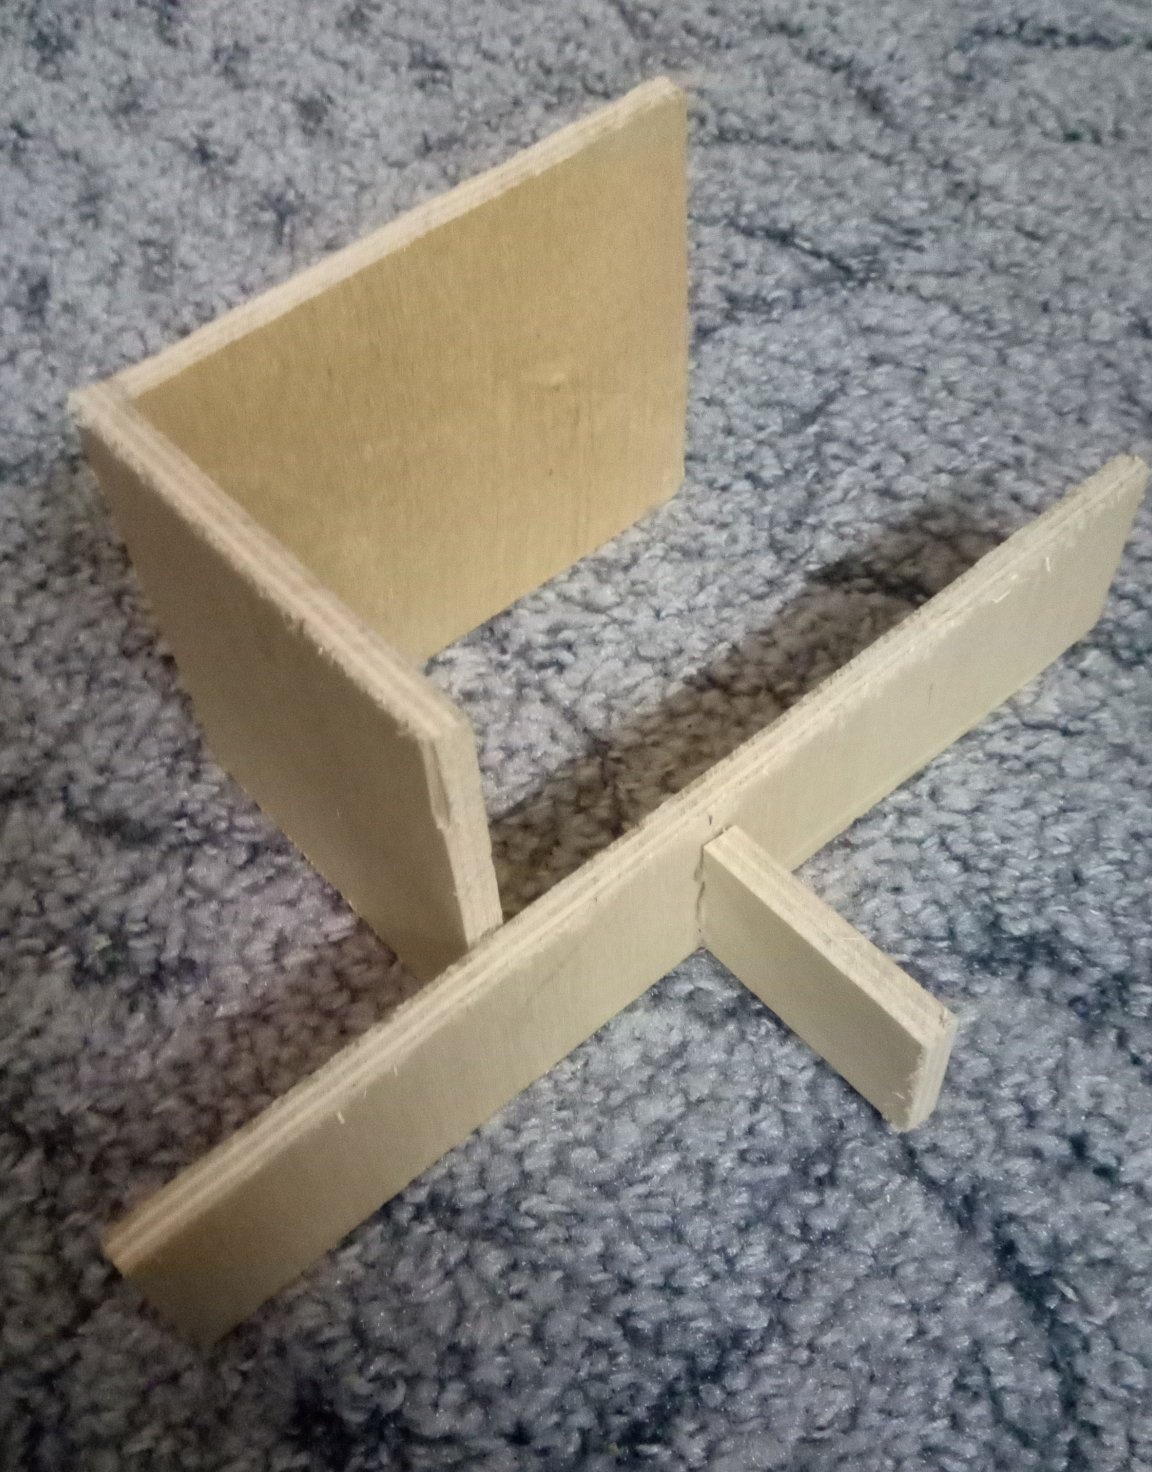
3 step
Now let's make the walls between the compartments. To be honest, I reworked these walls several times, since I did not take into account some factors. Be sure to keep in mind the overall height of the box so that the tools do not fall out of their compartments. You also need to consider that on the other side you also have tools for which you need to make cuts.
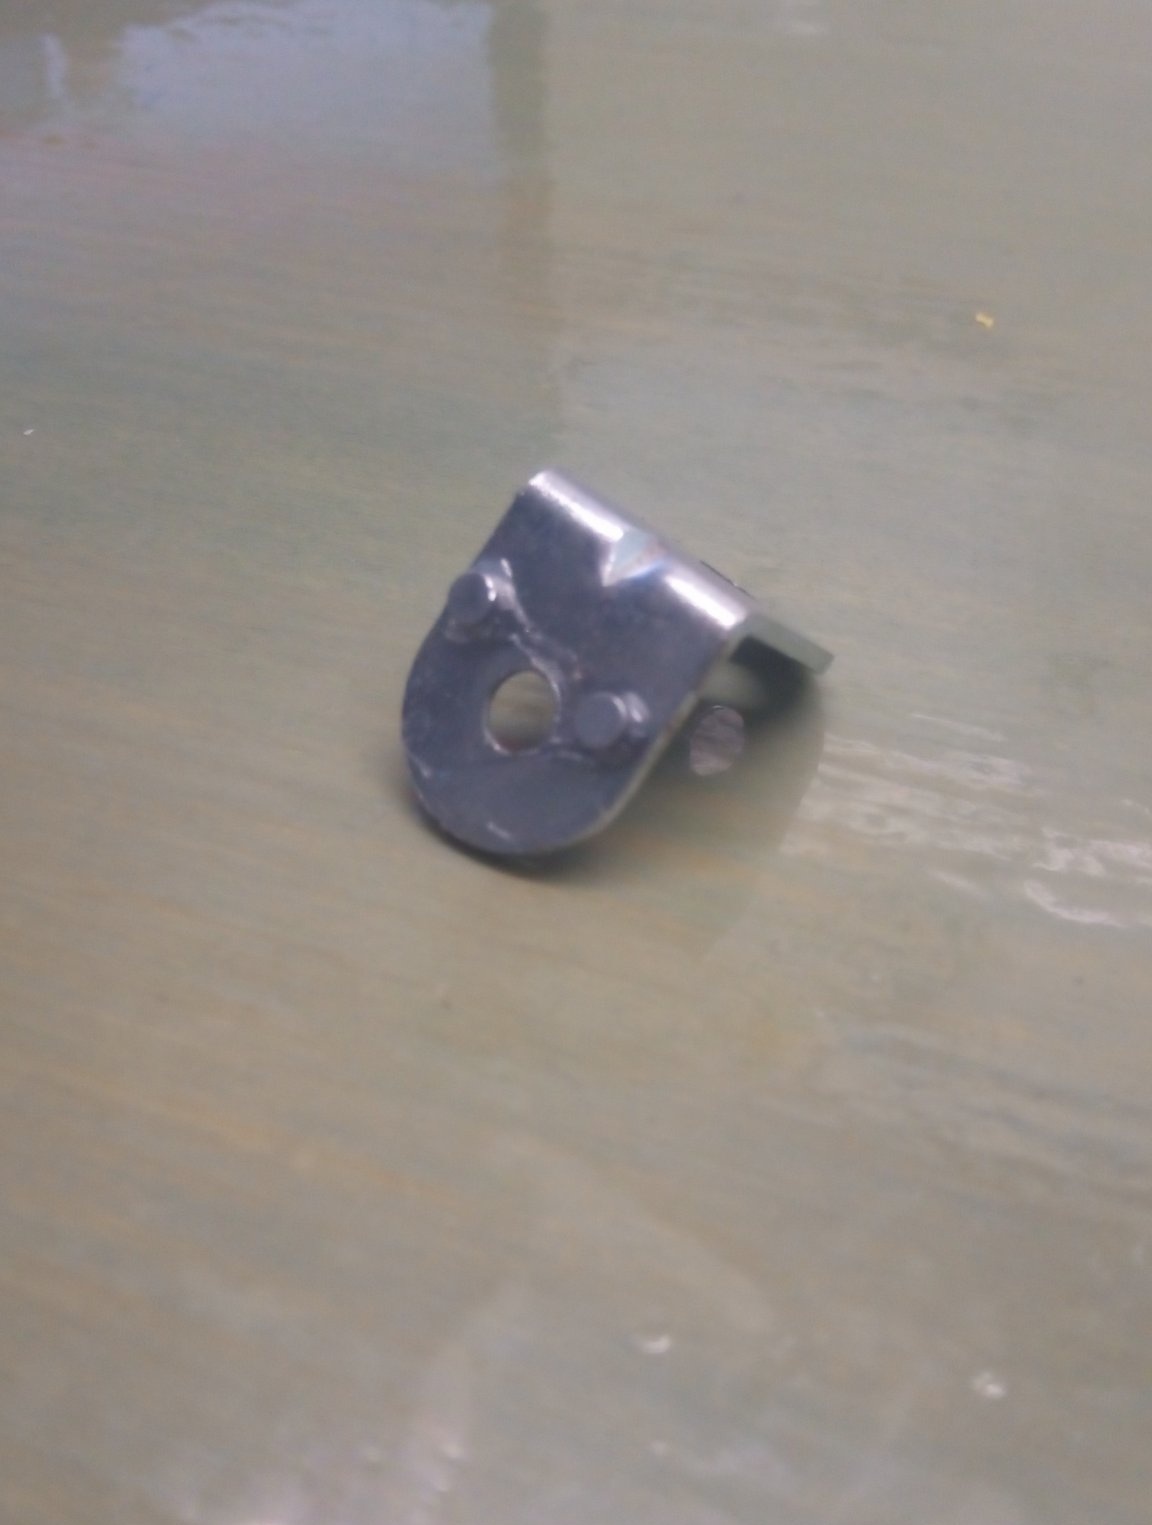
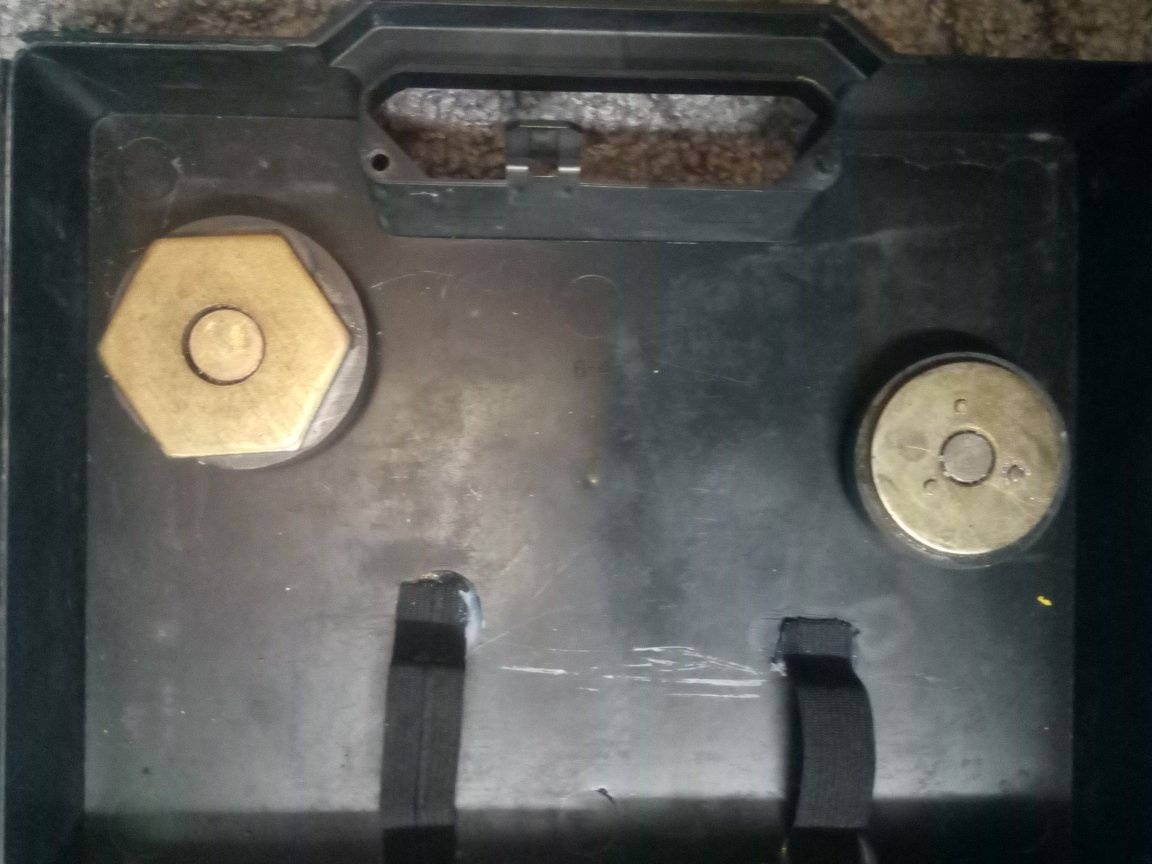
And do not forget about usability. Namely, the compartments for fasteners I made half the height of the drawer. This was done in order to make it easier to get small fasteners. And so that he did not get enough sleep on the ends of the walls, I glued small magnets. And first I glued corners to the walls of the box, and on them, in turn, magnets. I glued magnets to the lid too. By the way, not a big life hack! To place the magnets on the lid in the same places as on the walls, smear the magnets on the walls with paint (gouache) and attach the lid. In places where points appeared, we attach magnets.

4 step
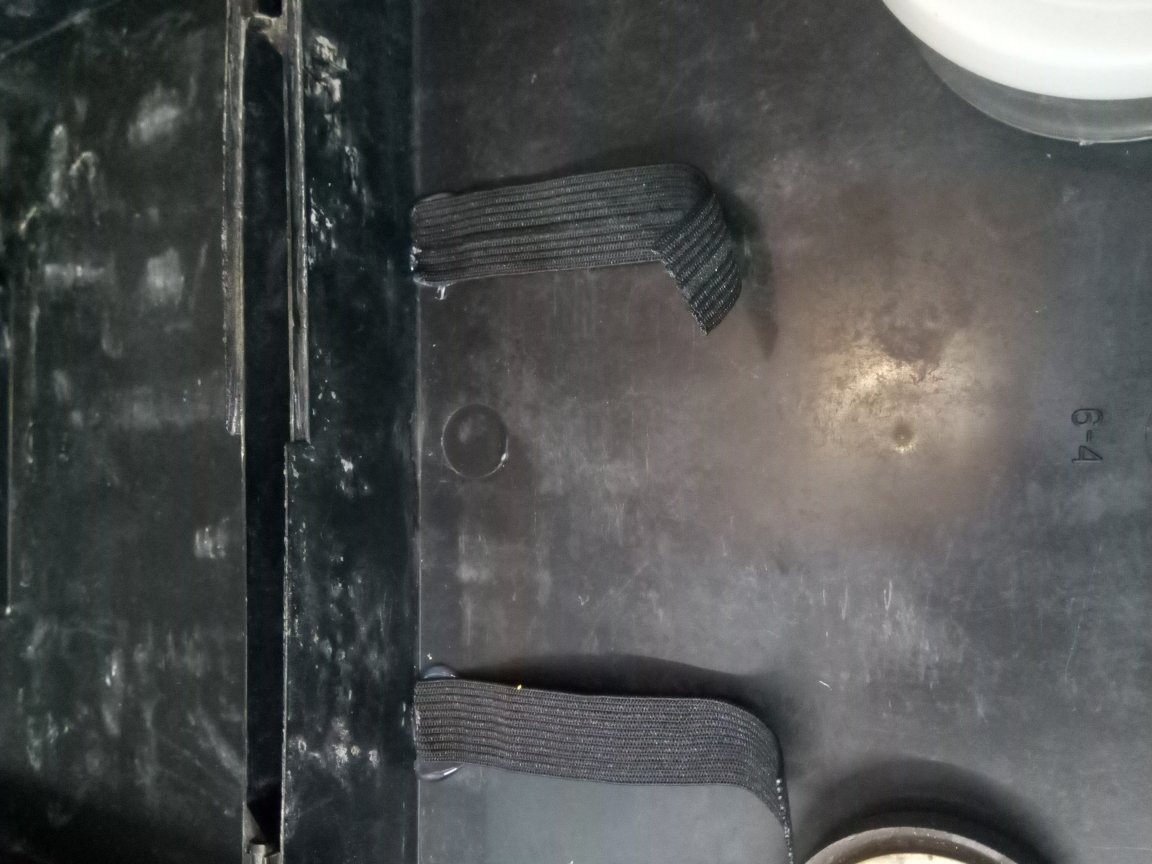
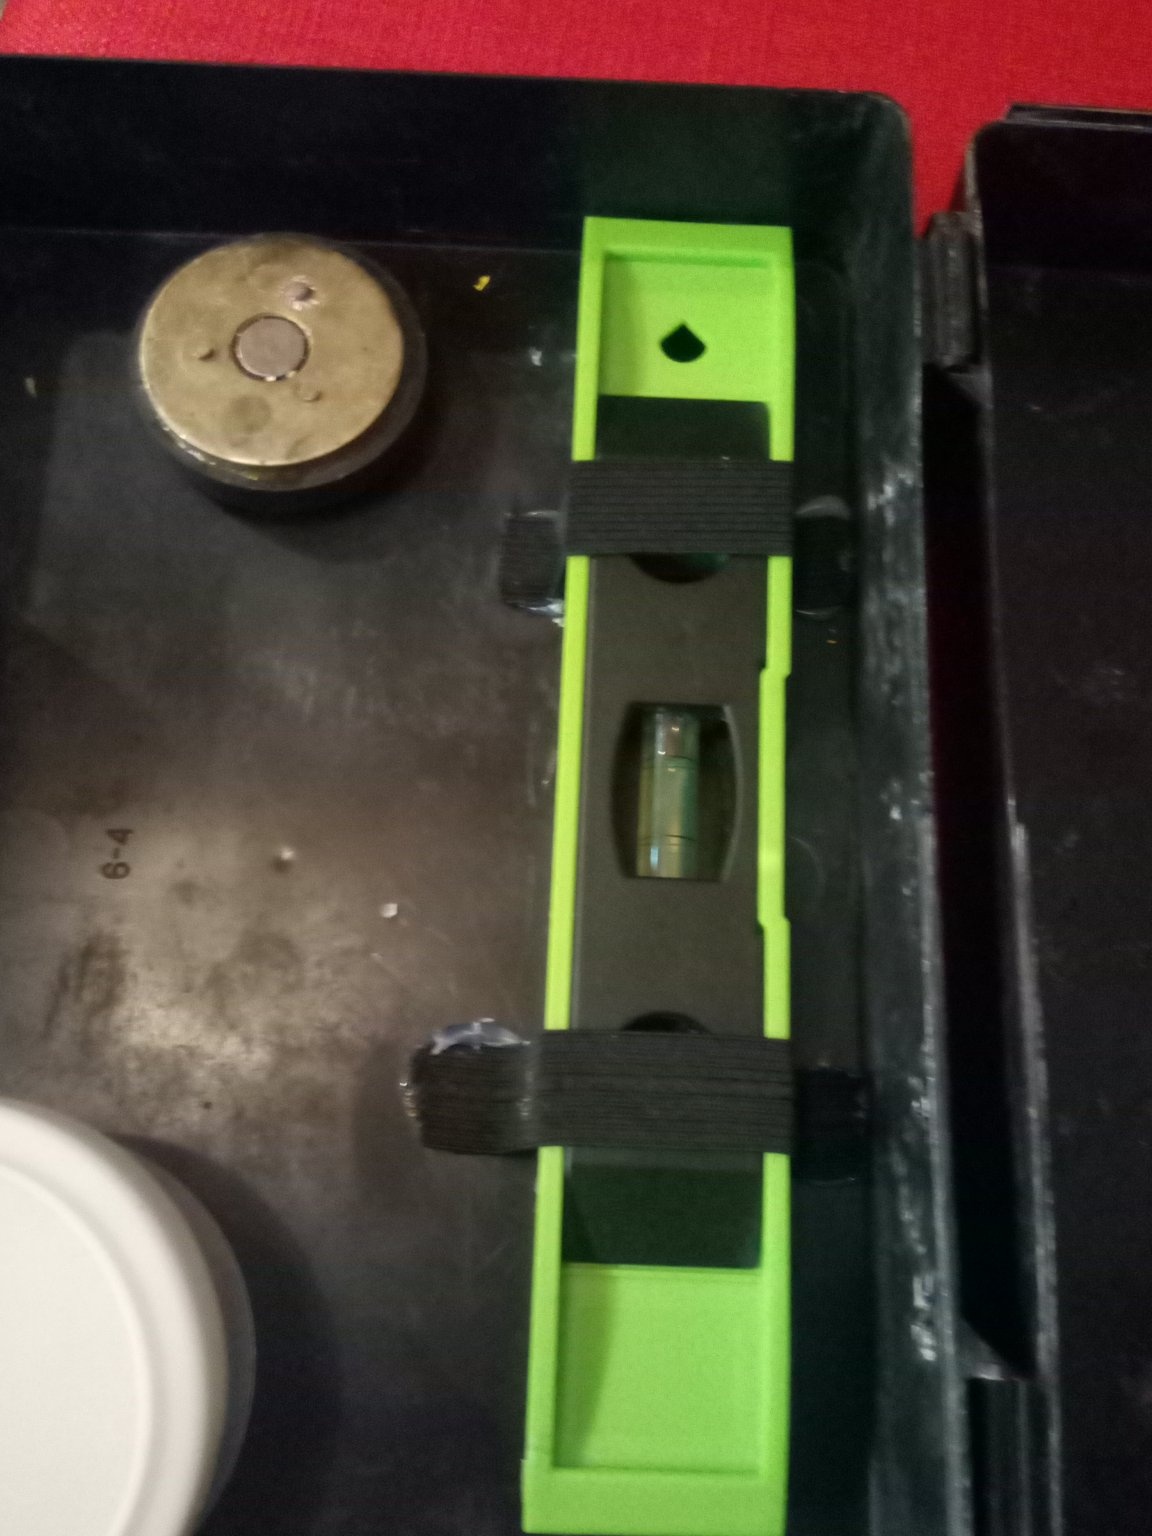
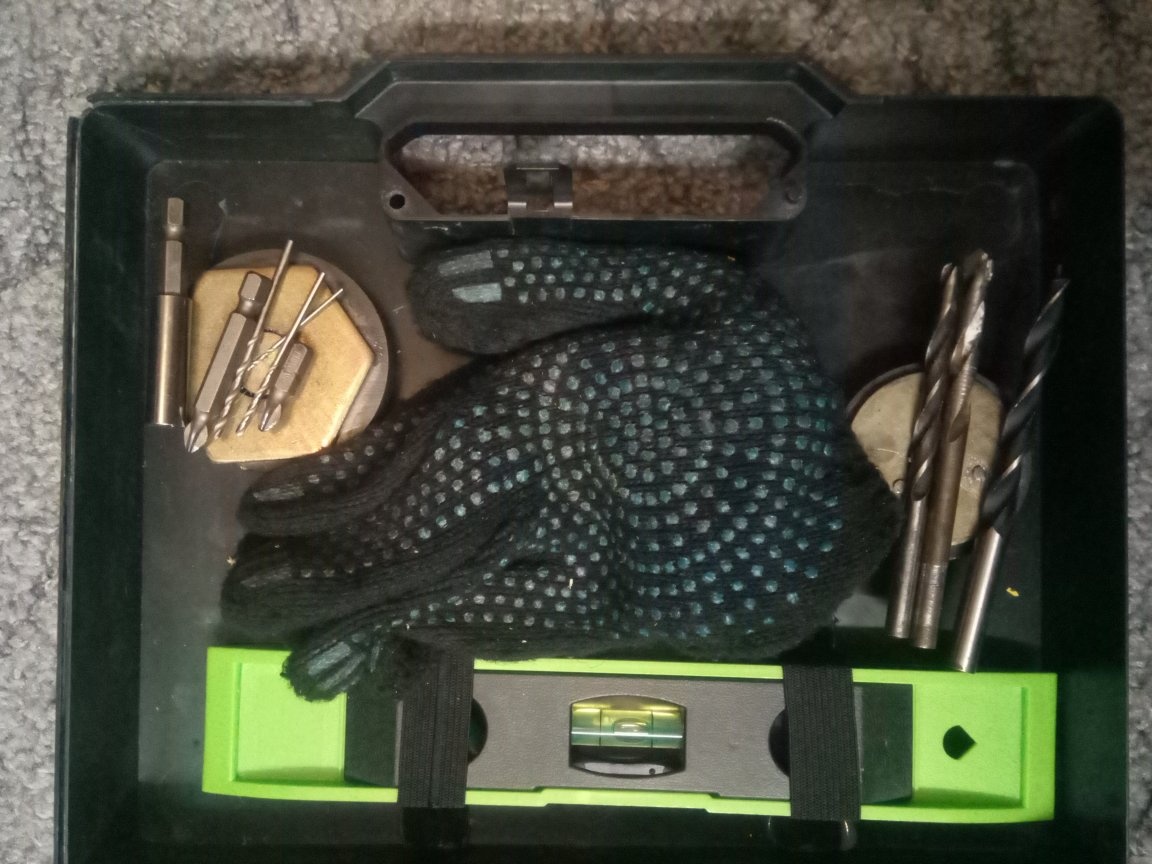
Let's deal with the second side of the box. On it I want to put a level and drill bits.
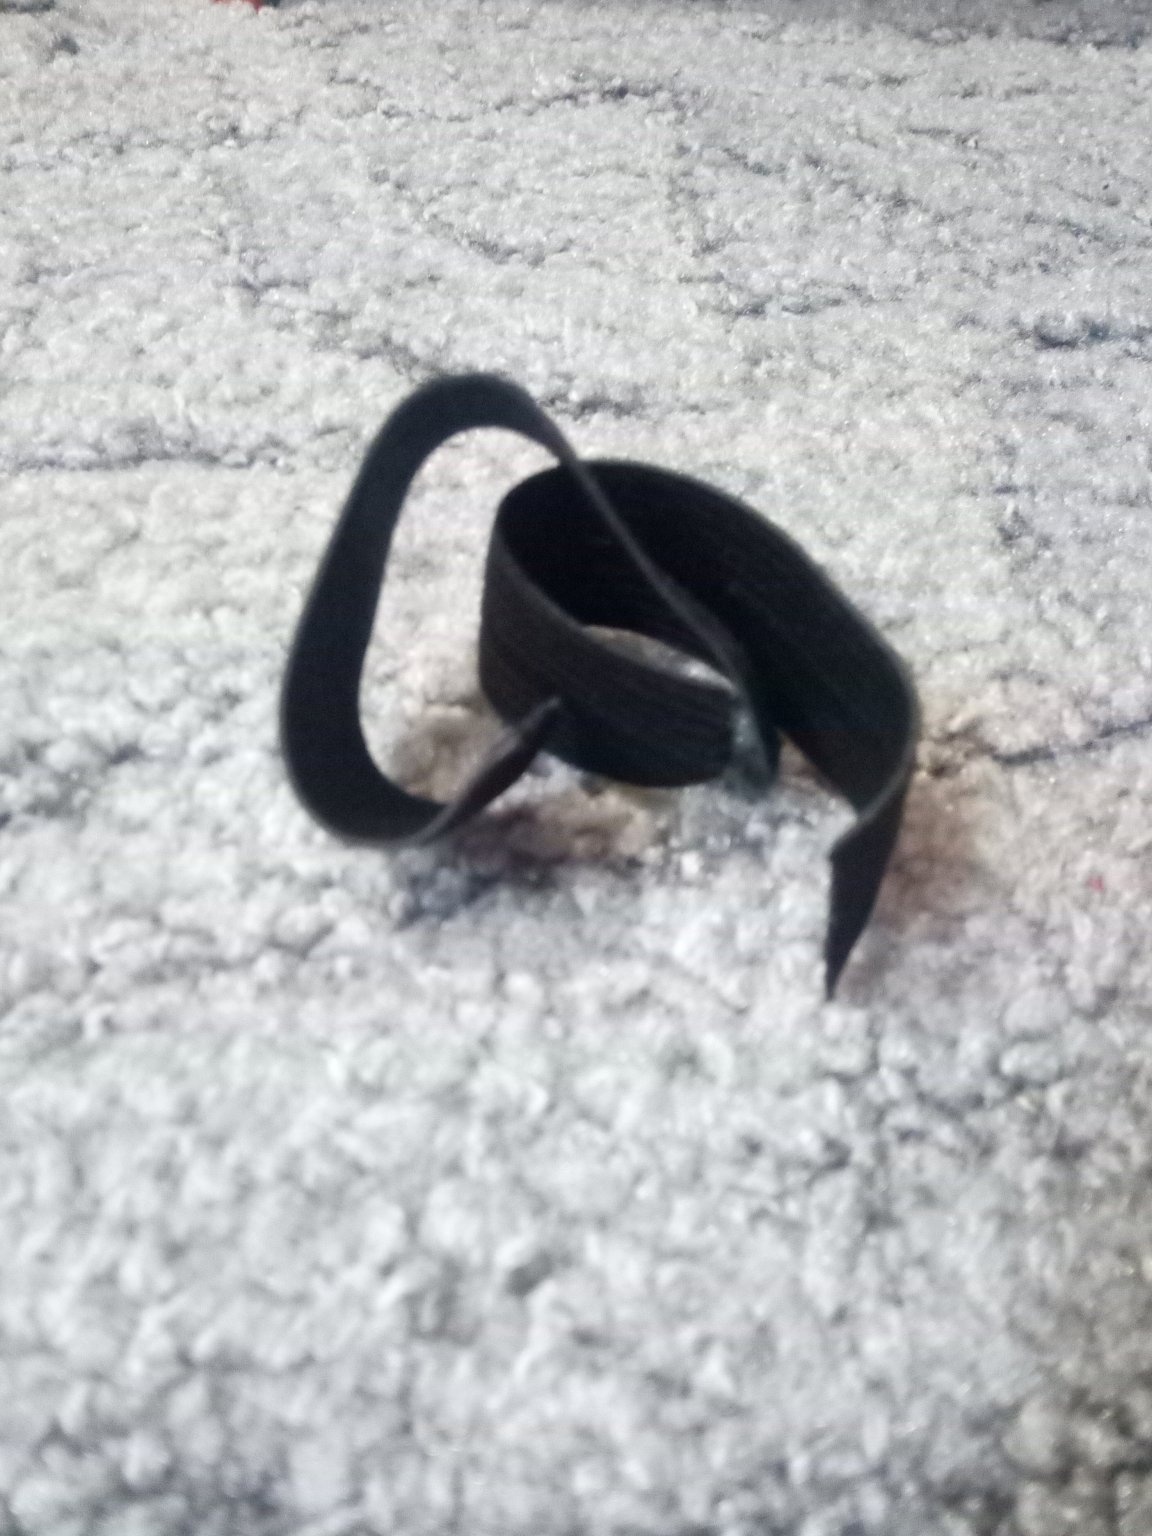
First, fix the level. Cut two pieces of gum. Moreover, one so that it pressed the level against the wall and could be pulled up another 10-15 mm. And the second one is slightly longer so that it can be pulled back by 30-40 mm, but at the same time it is pressed against the wall. And we glue them on both sides so that the level can be easily reached and at the same time so that it does not stagger. Gum must be glued to fasten the level again, given the walls and level height.
5 step
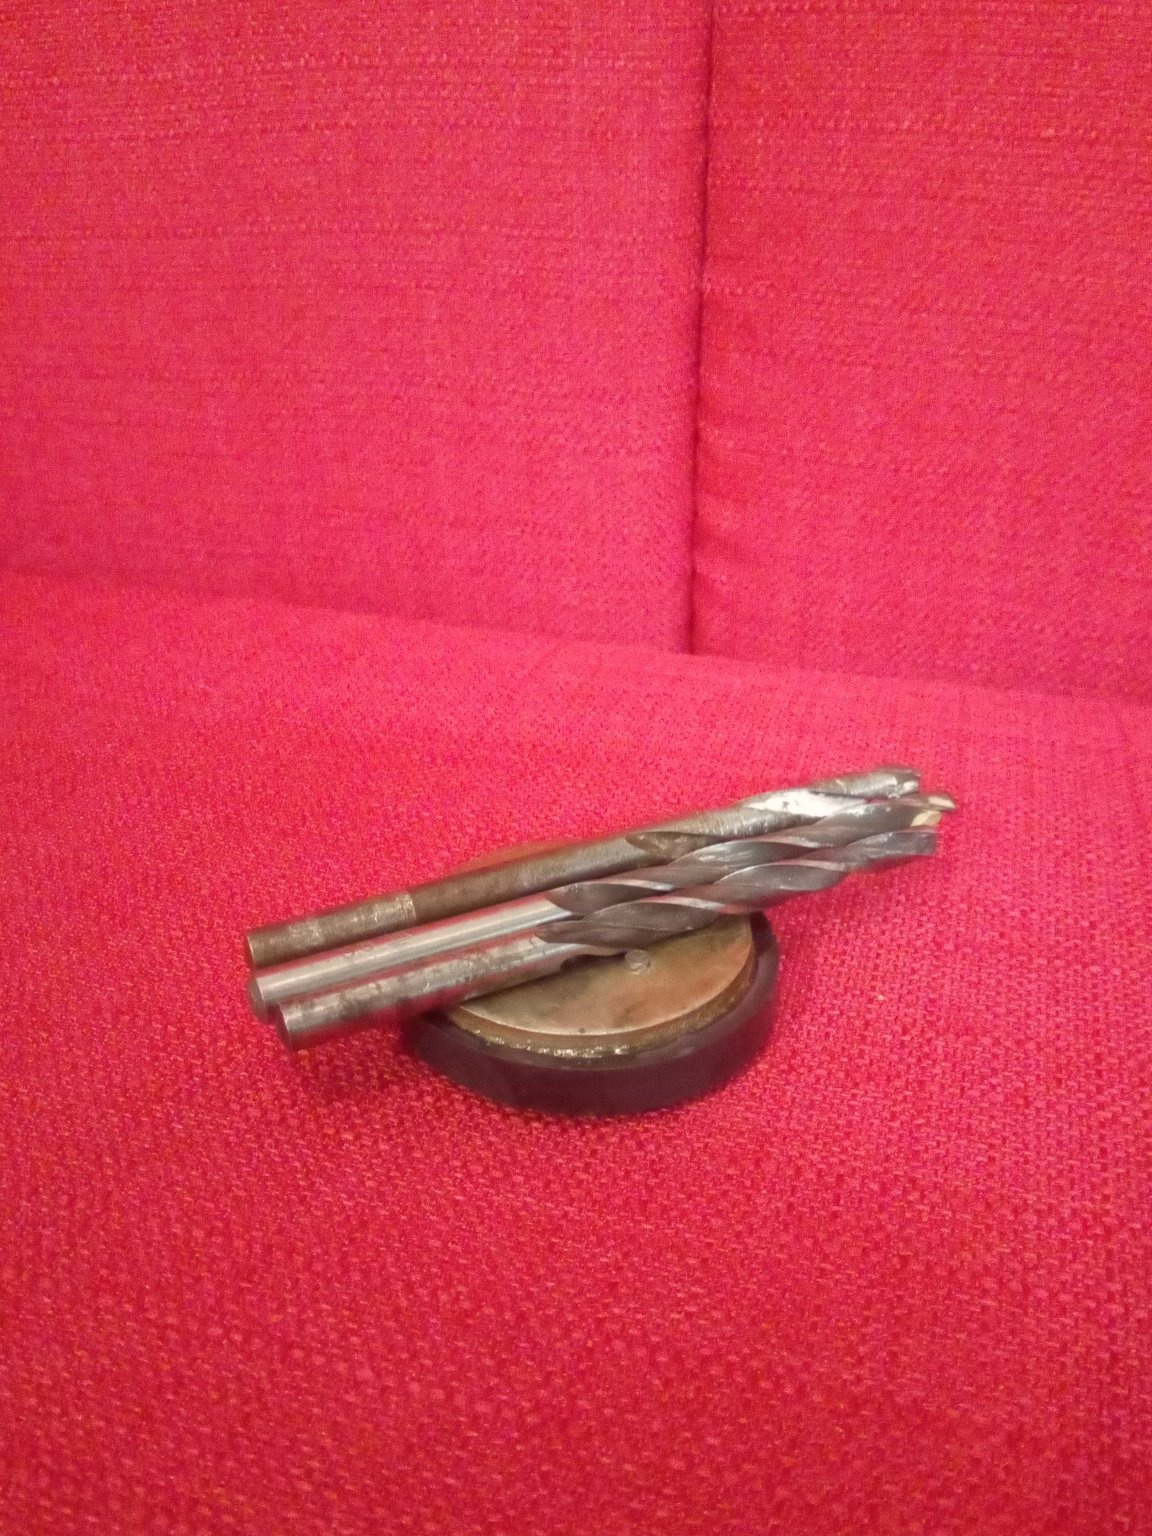
It remains to fix only bits and drills. I attached them with magnets. It seems to me that it is better to fix bits and drills on different magnets for the sake of greater aesthetics. I use magnets from malfunctioning speakers simply because I had them, and it's better to use magnetic holders for kitchen knives, they are lighter and fit more on them.
The main thing is to take such holders so that they not only hold the drill, but also give it with difficulty, so that during the shaking everything remains in place.
All! The box for the screwdriver is ready. Of course, it could still be painted, signed, etc.
But I was too lazy to do this. Perhaps, during the operation, something will change, add or redo. This is a matter of time.
Good luck to everyone who is going to do something like that.
After creating the box - it can be painted and varnished. This will help a site with a wide selection of paints and varnishes, you can study the catalog here.