
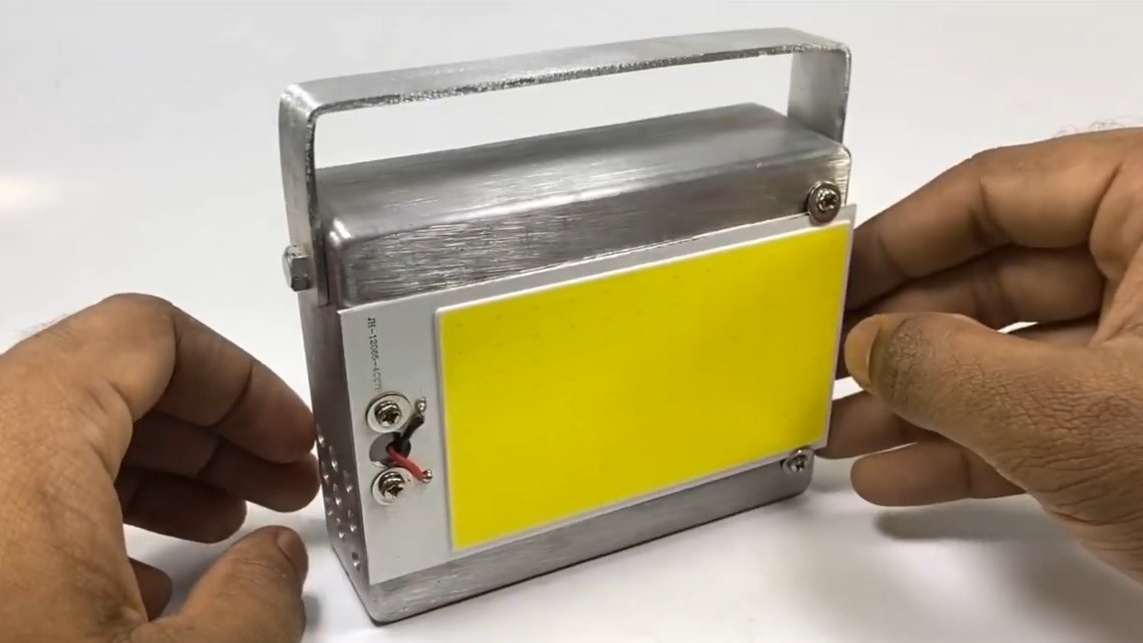
I welcome all fans to craft, I propose to consider instructions for the manufacture of a powerful flashlight do it yourself. Dignity homemade in that the lantern has a solid aluminum housing, it is also a radiator for the LED matrix. In the cold season, you can easily warm your hands on the body of such a lantern. The flashlight is powered by 6 18650 batteries, their author connected via BMS, the batteries are easily charged. The author’s LED matrix is 12V / 30V, the light is bright and surround. If you are interested in the project, I propose to study it in more detail!
Materials and tools used by the author:
Material List:
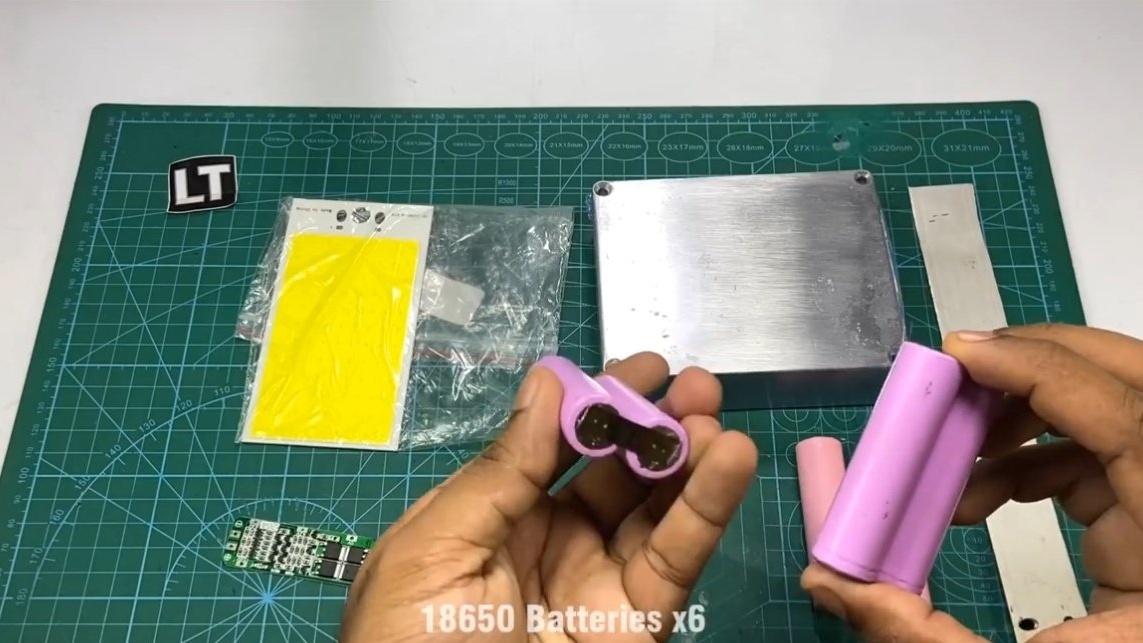
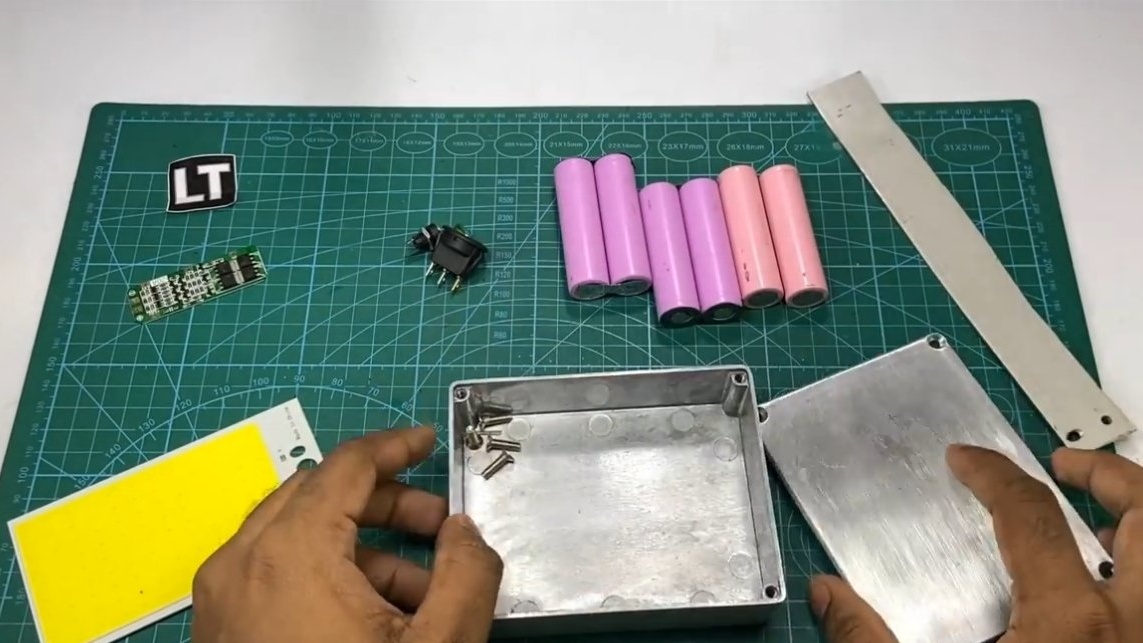
- 6 cells 18650;
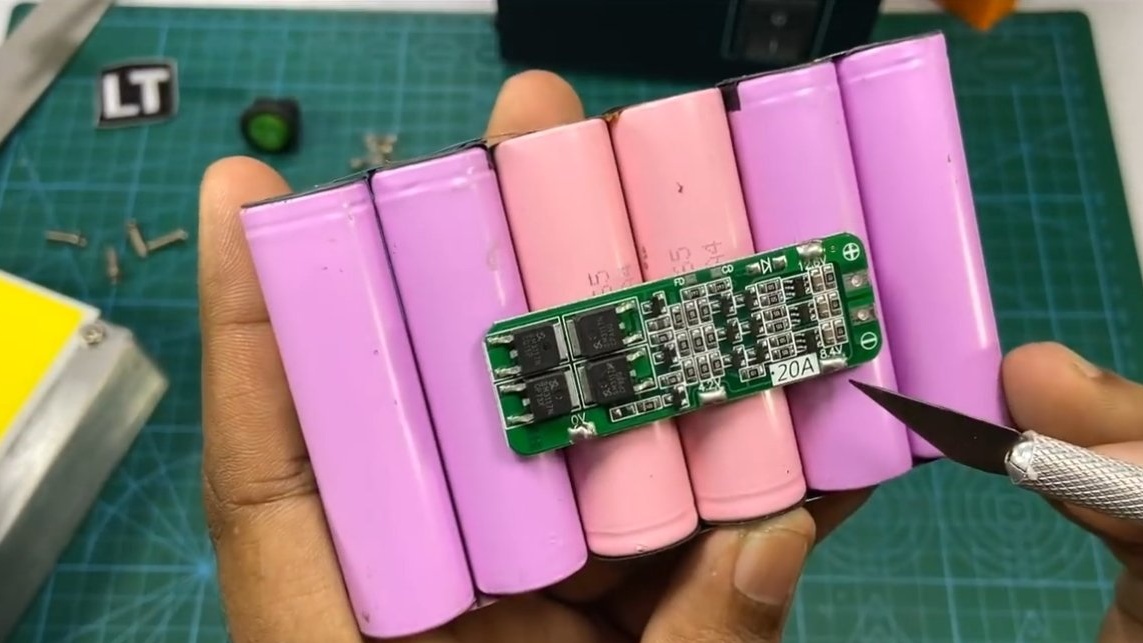
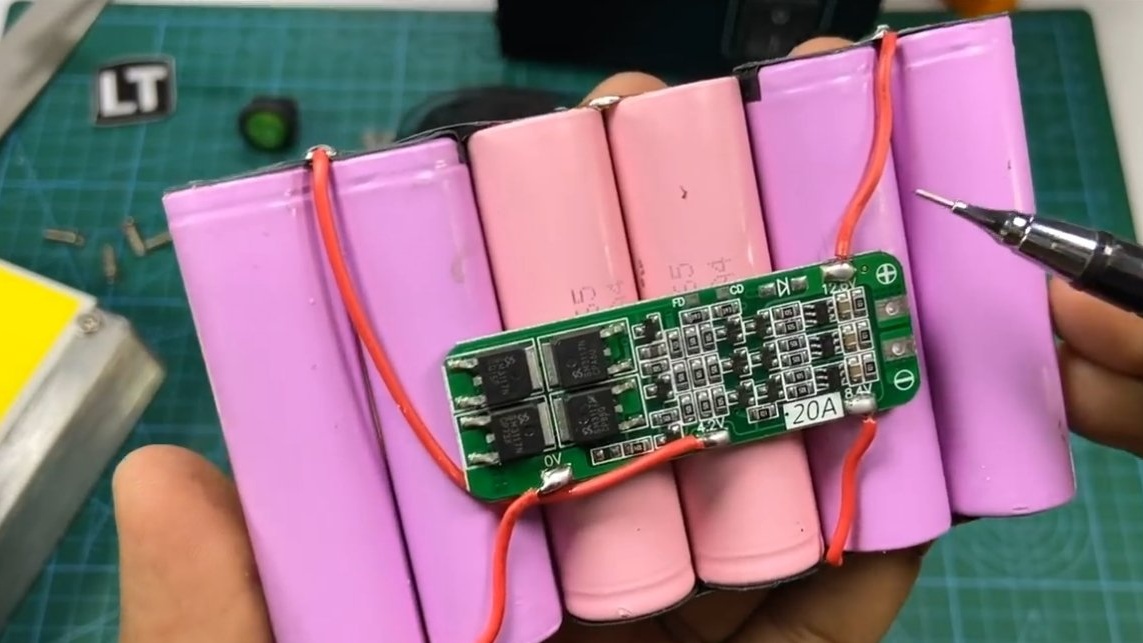
- protection board BMS 3S / 20A;
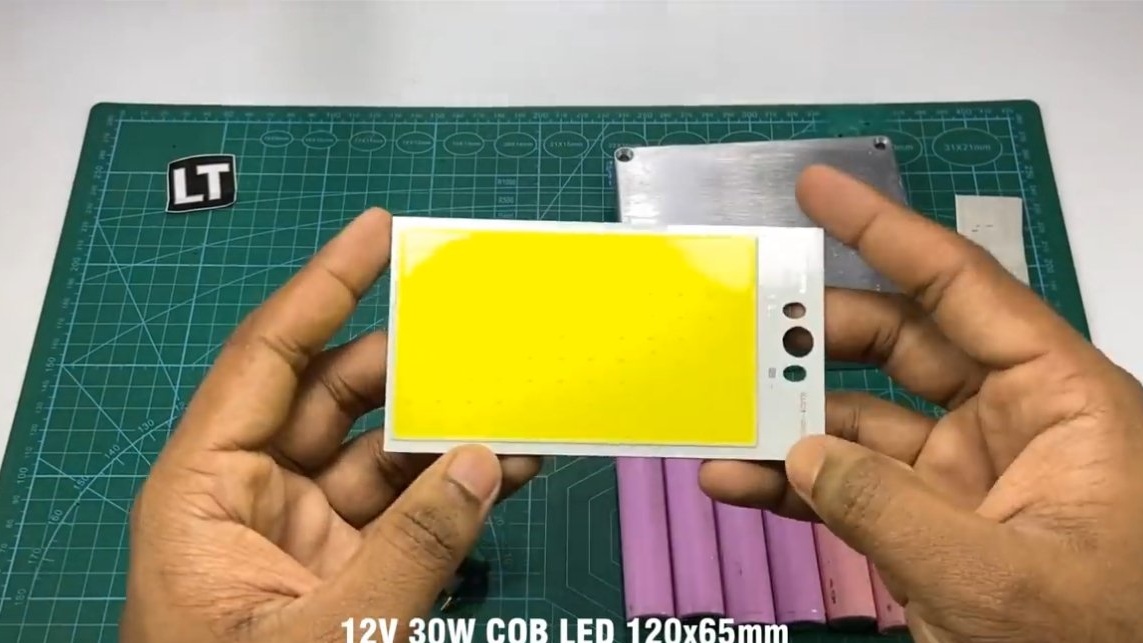
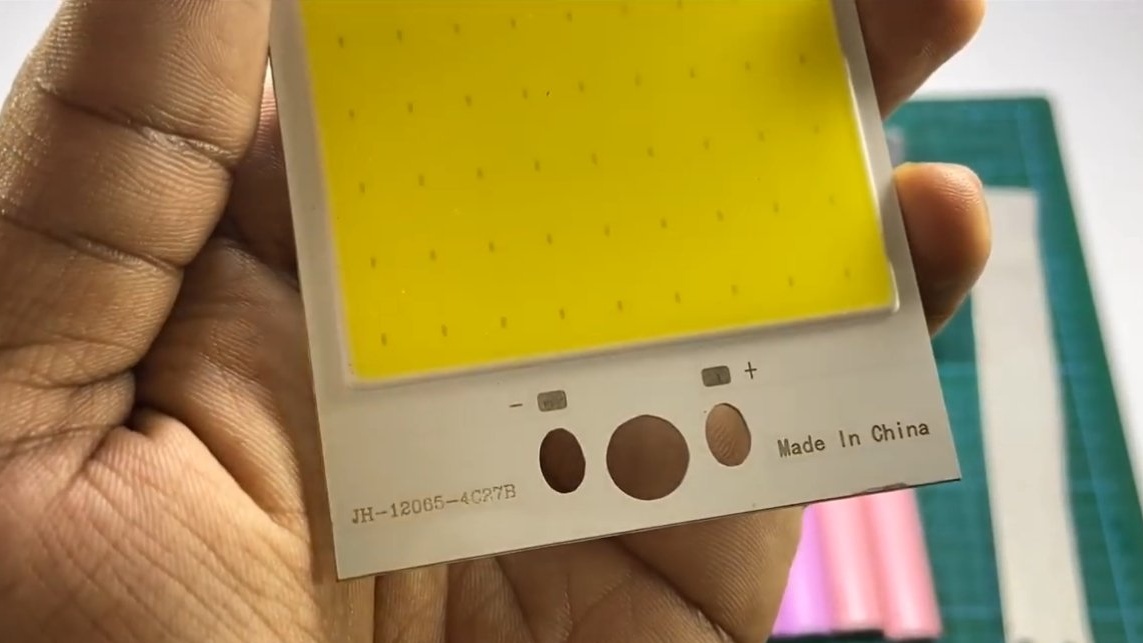
- LED matrix 12V / 30W;
- Charger;
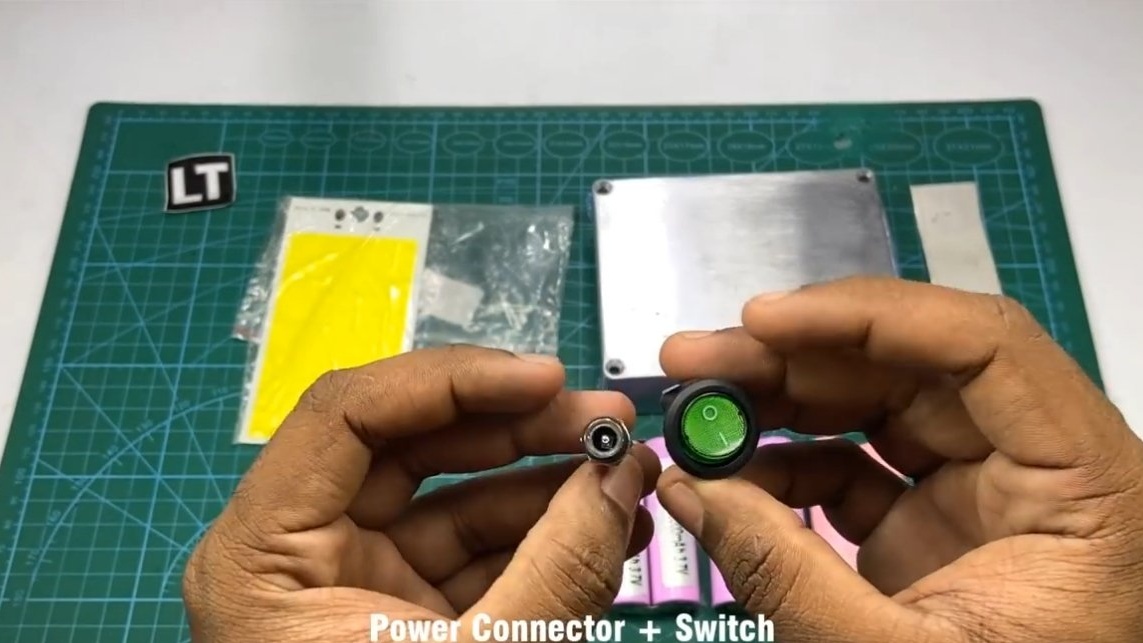
- a socket for connecting a charger;
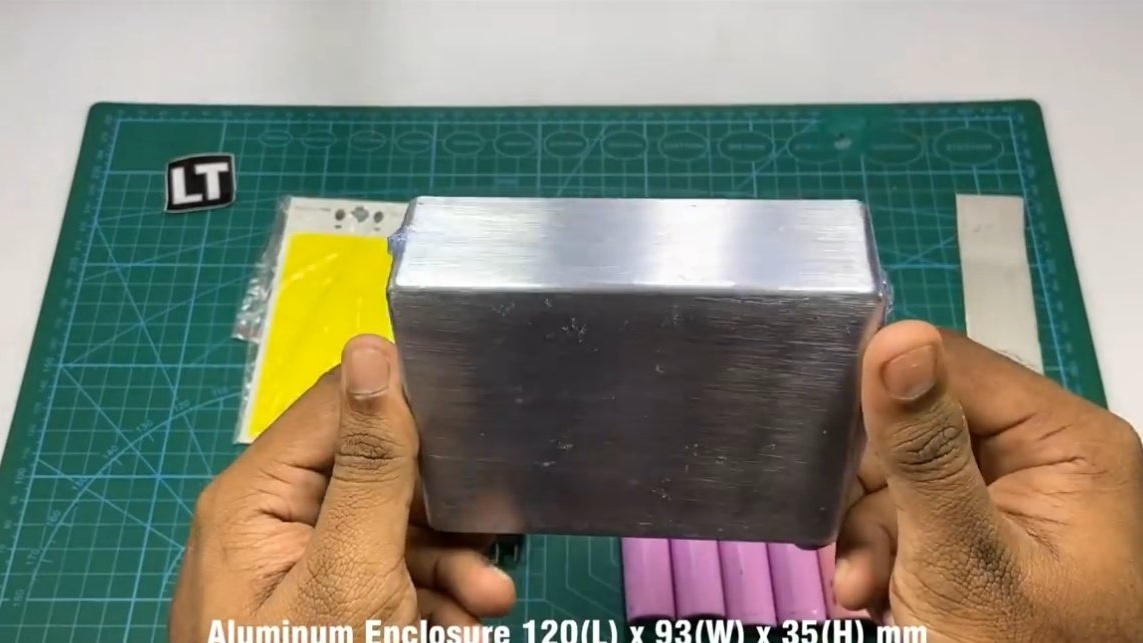
- aluminum box;
- switch;
- screws, washers, nuts;
- brake paste;
- Double-sided tape;
- wide heat shrink.


Tool List:
- soldering iron;
- drill;
- screwdriver;
- marker, ruler;
- spot welding machine;
- building hair dryer.
Homemade manufacturing process:
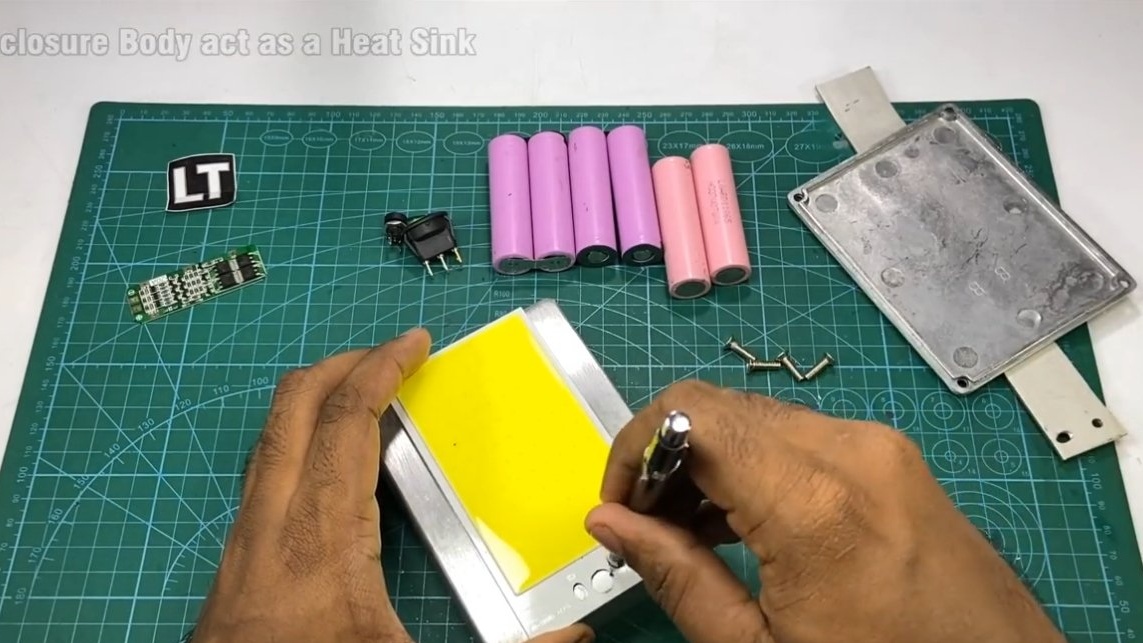
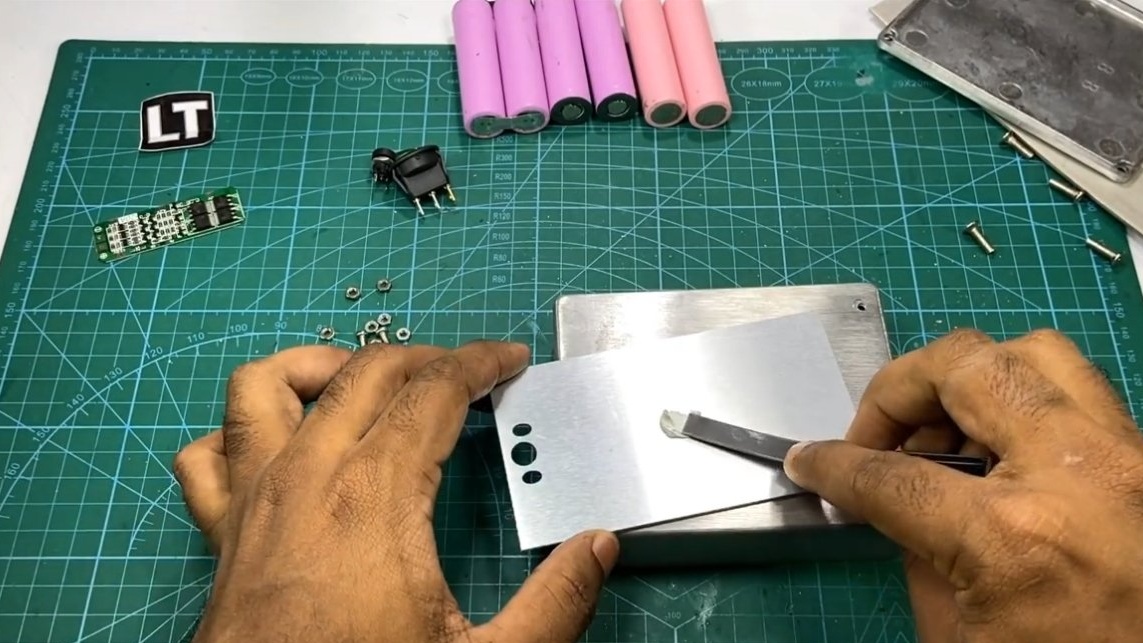
Step one. LED Matrix Installation
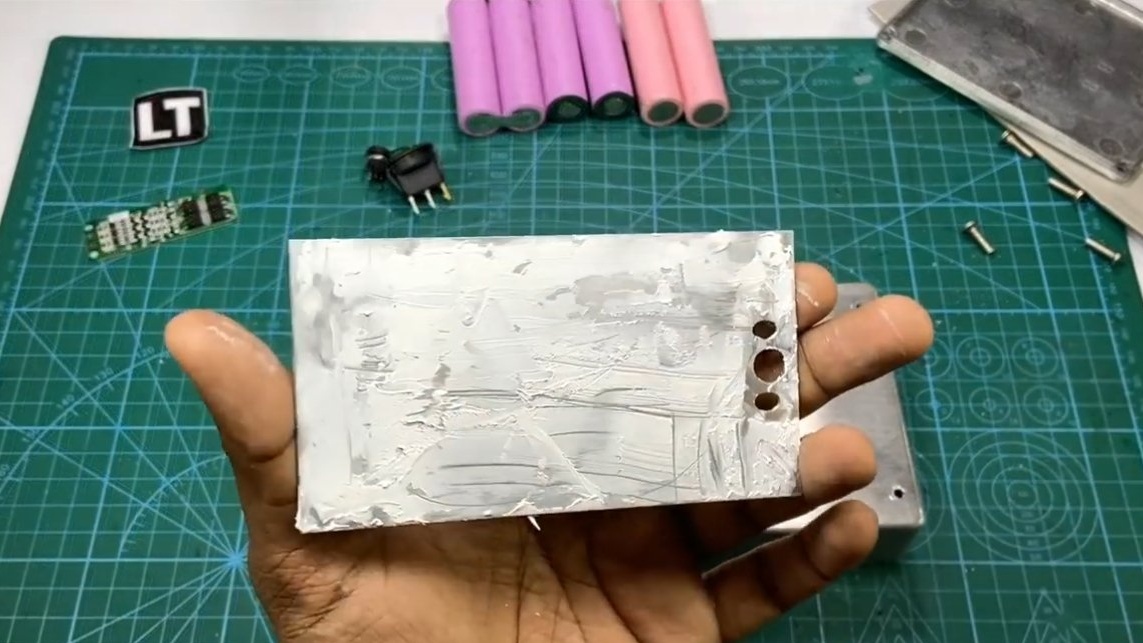
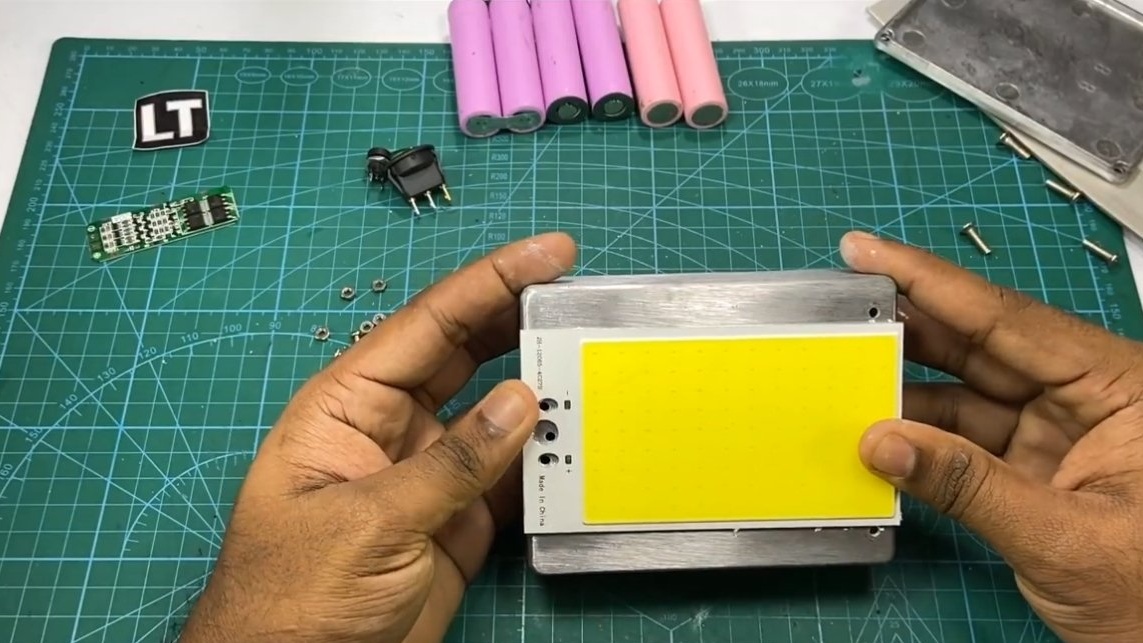
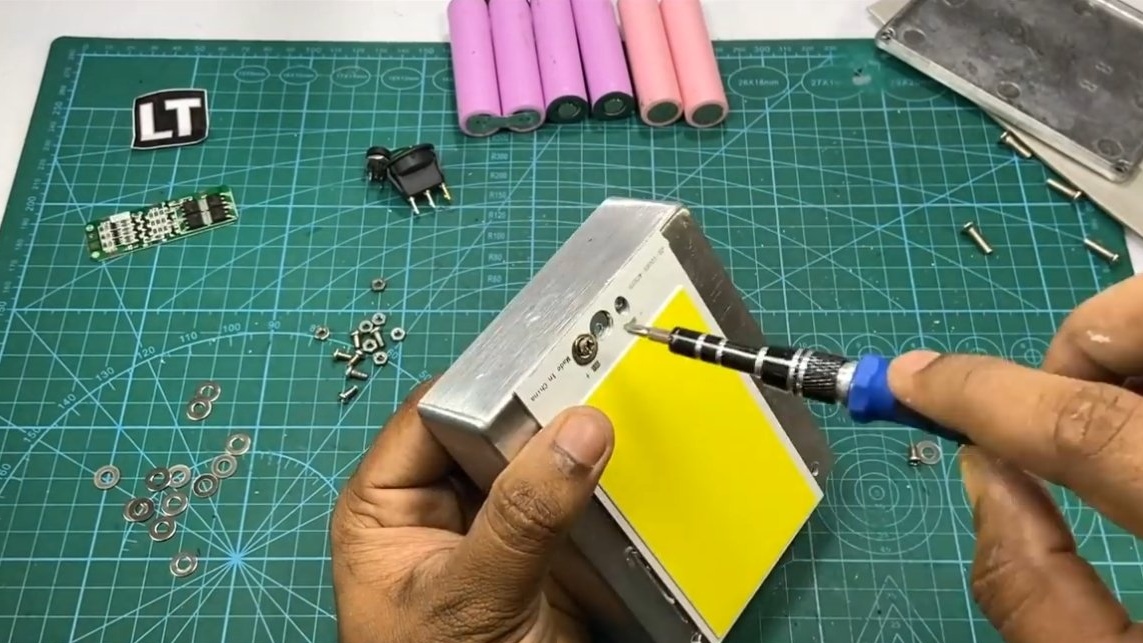
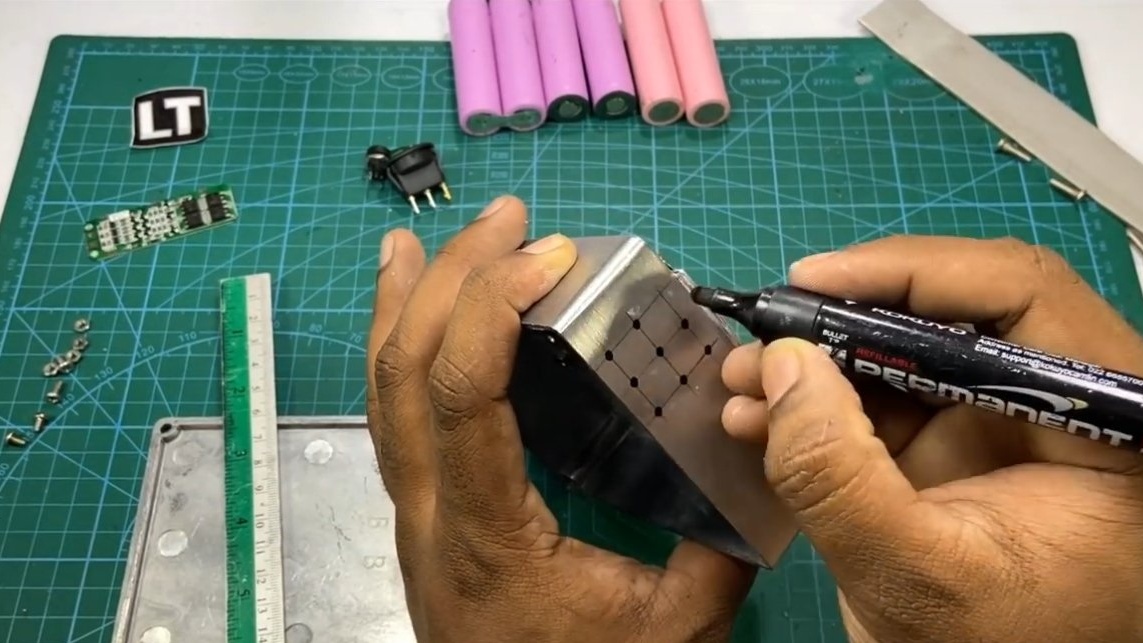
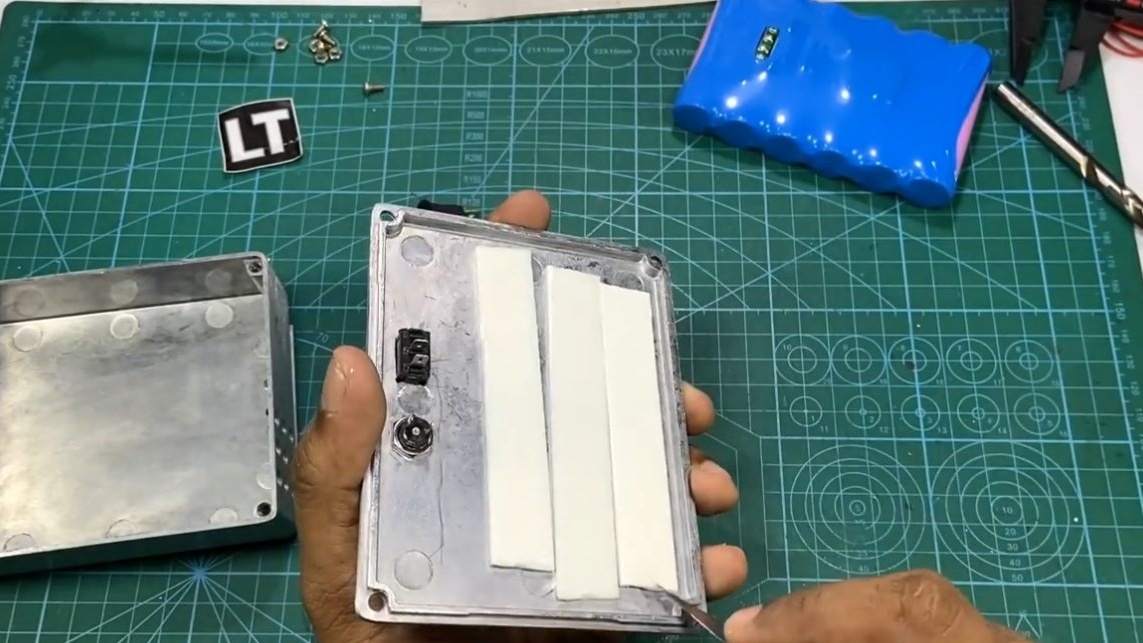
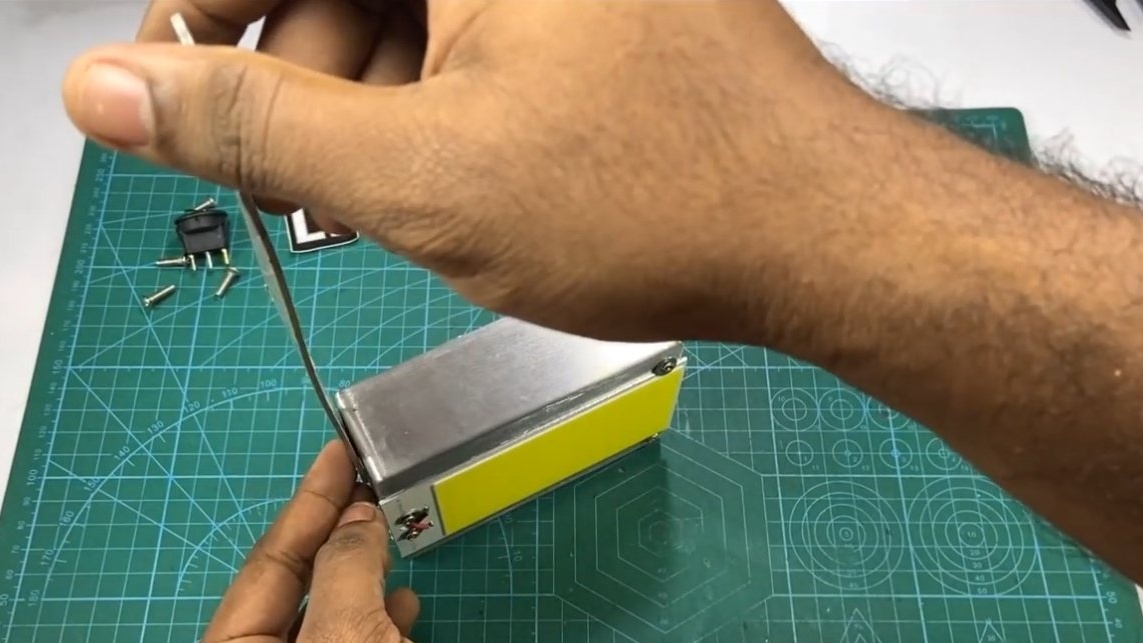
First of all, we install the LED matrix on the casing, the author bought a finished aluminum casing. Since the panel will not heat up slightly, it needs a good heat dissipation; the author uses an aluminum case as a heat sink. We mark the places for screws and drill holes in the housing. Next, the panel is attached to the body with screws with nuts and washers. To ensure good thermal contact, be sure to evenly coat the back side of the panel with heat-conducting paste. Gently press the panel to the body and fasten with screws.

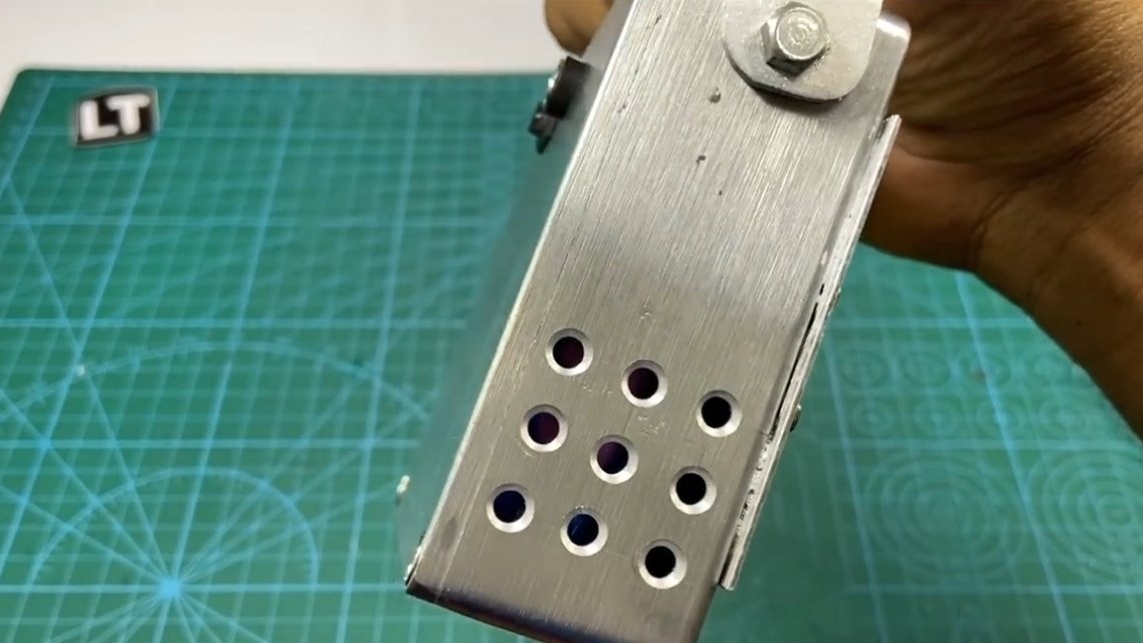
Step Two Ventilation
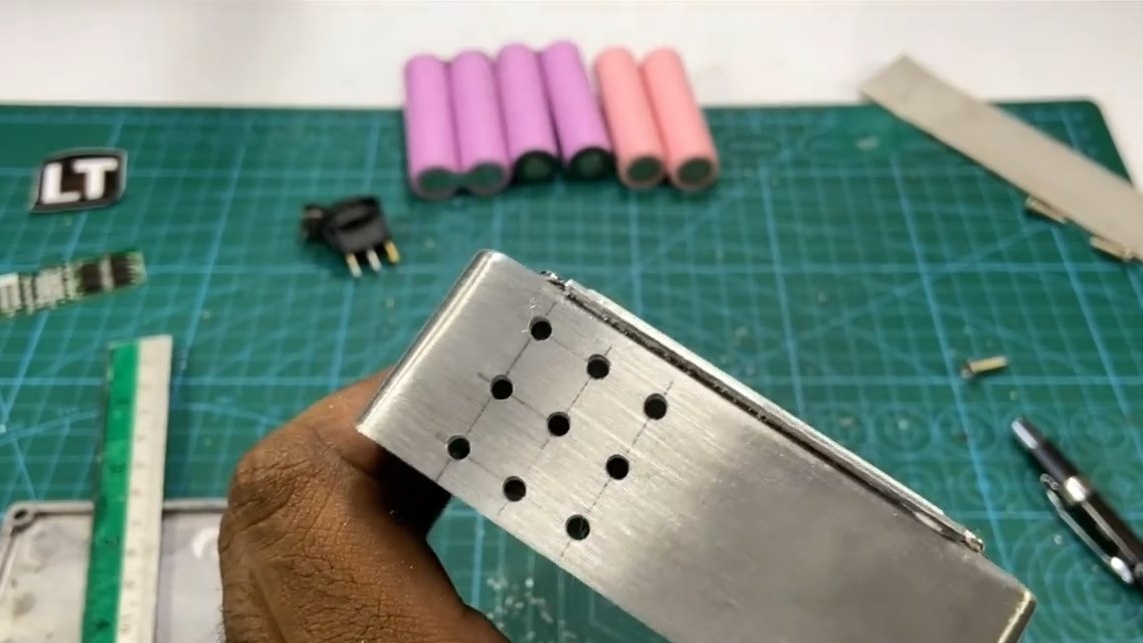
The case inside must be cooled, for this the author drilled rows of holes for air circulation. Of course, the choice of places for drilling was not very suitable, you need to drill rows of holes from the bottom and top so that air can circulate through the body.
If there is too much heat, a fan can be placed inside for active heat removal, there is enough space there.
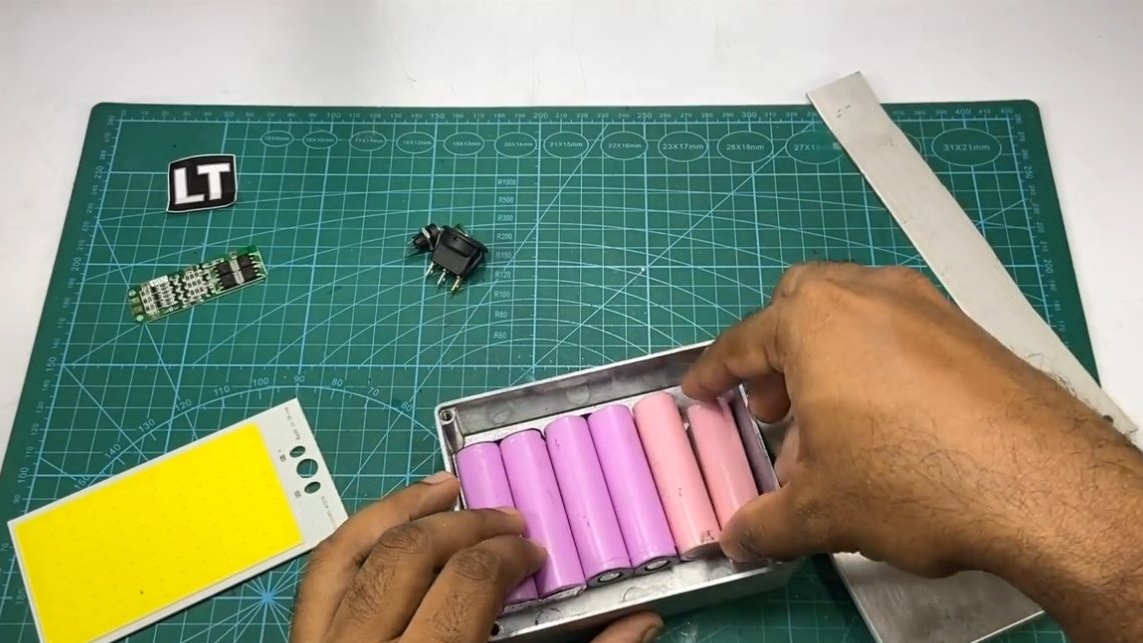
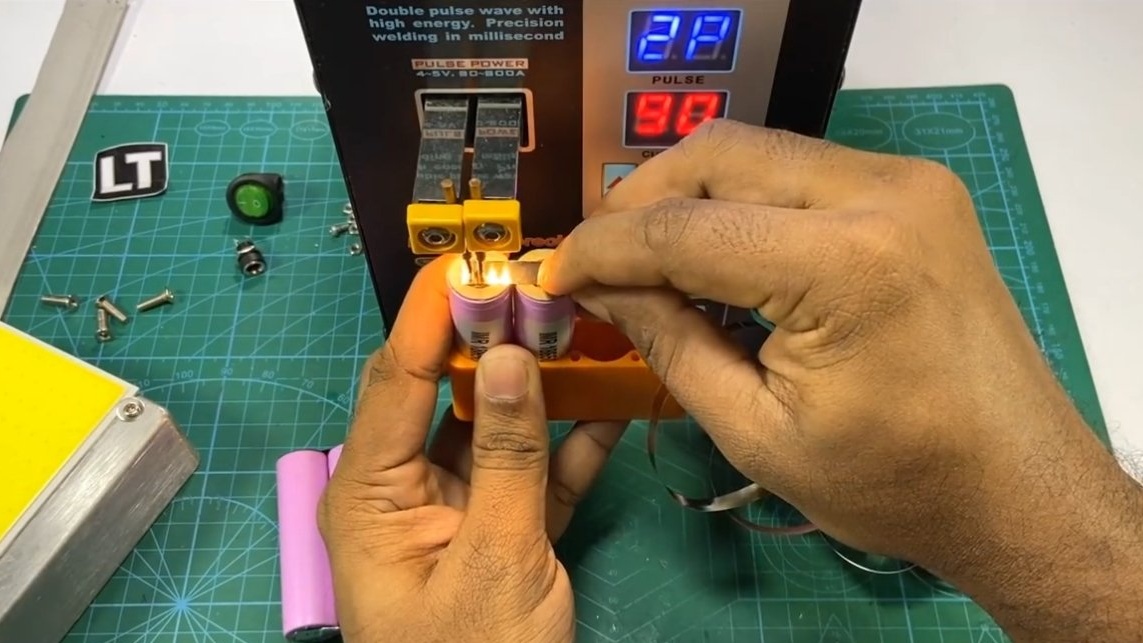
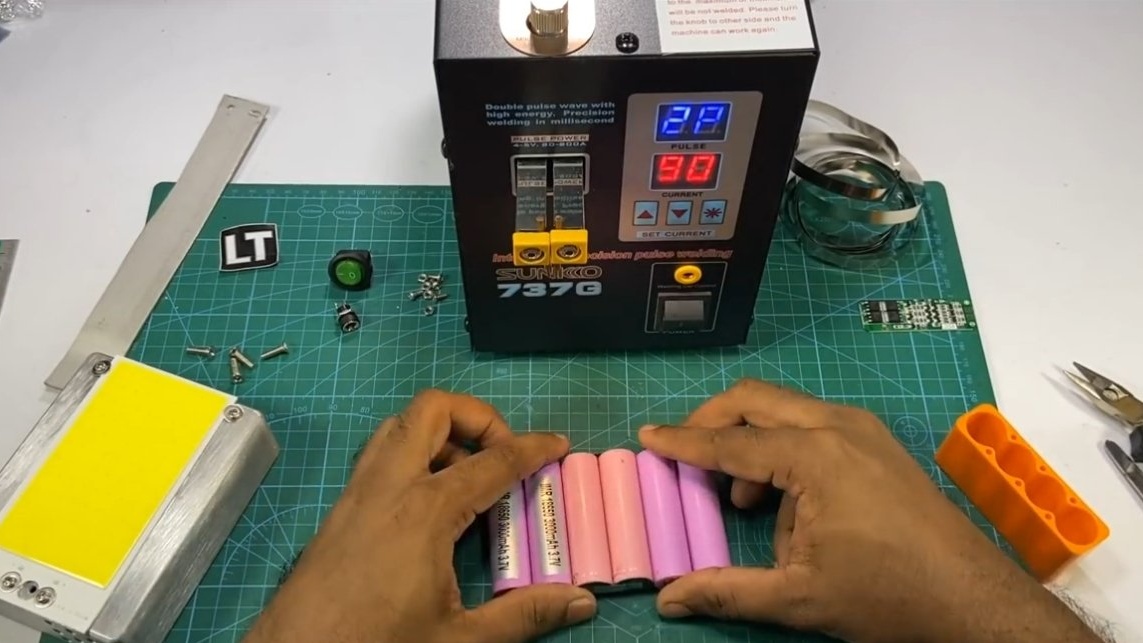
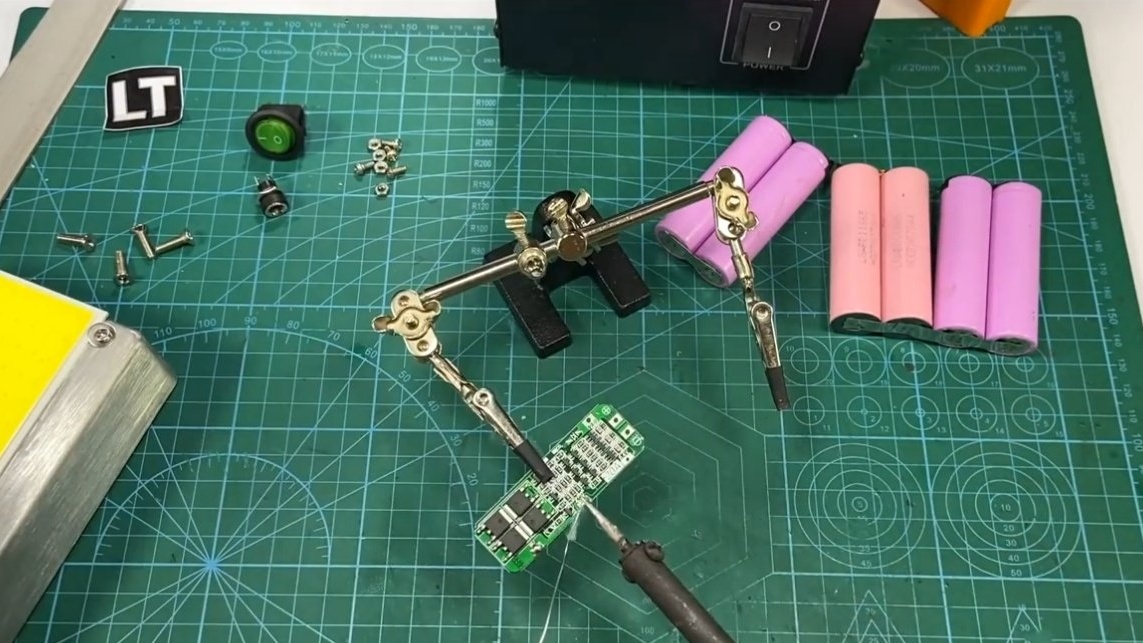
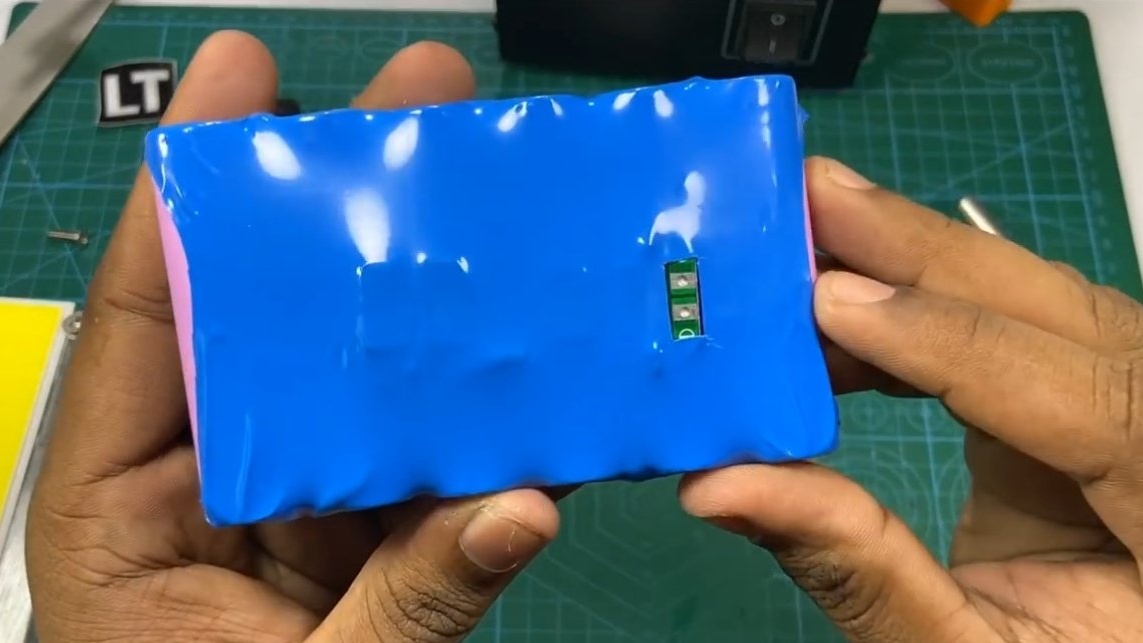
Step Three Battery assembly
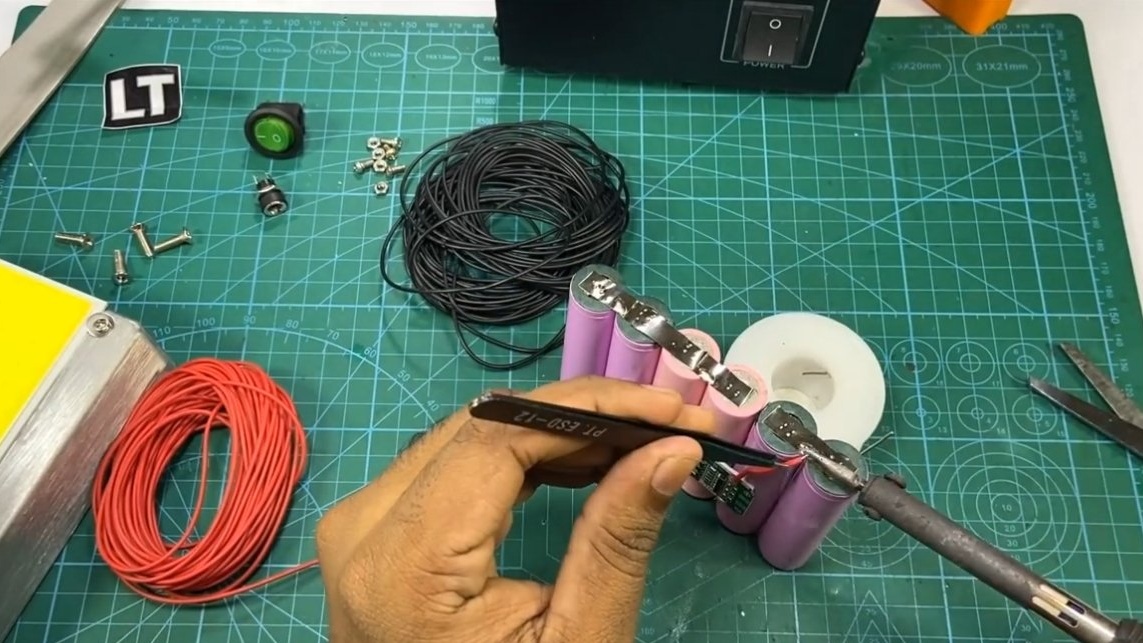
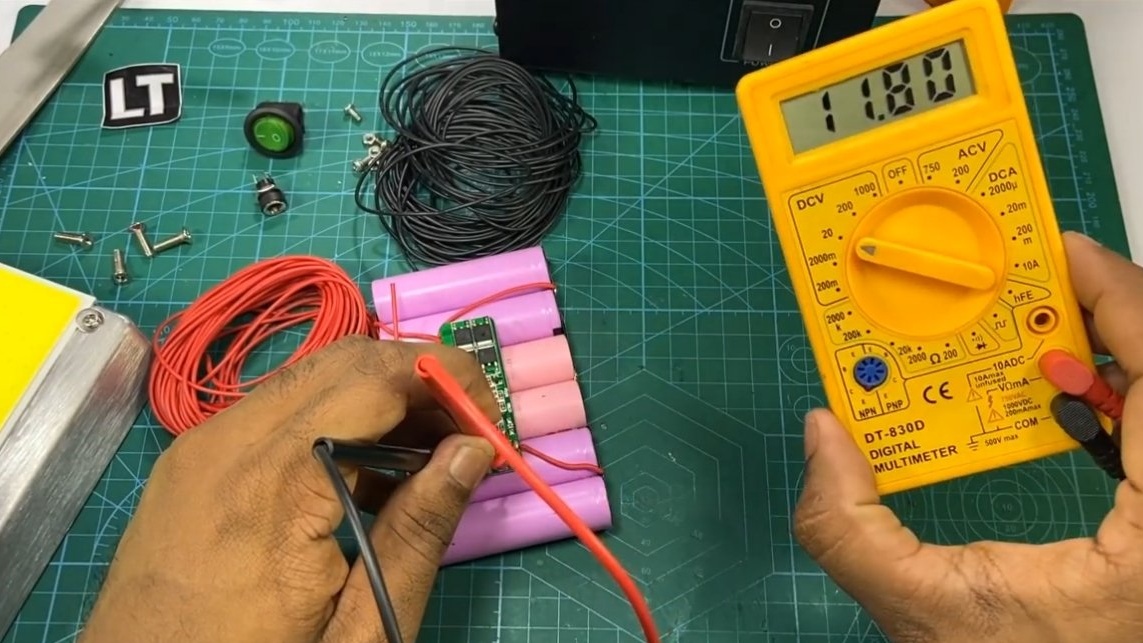
We are assembling the battery; in total, three pairs of 18650 are needed, which are connected in series. The author welds the battery contacts by contact welding.
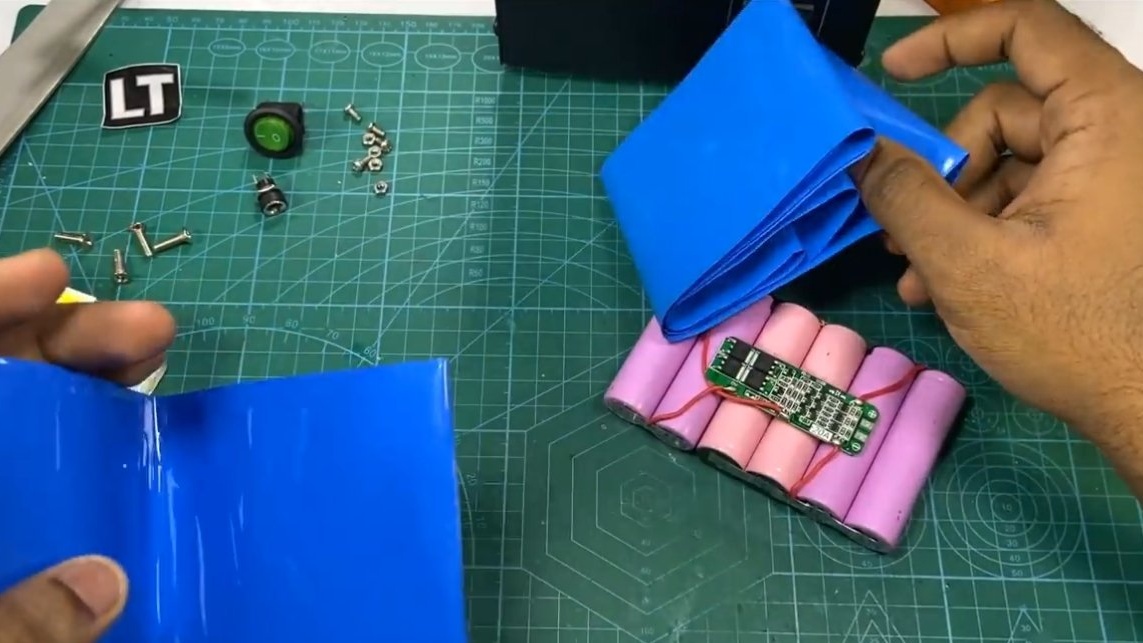
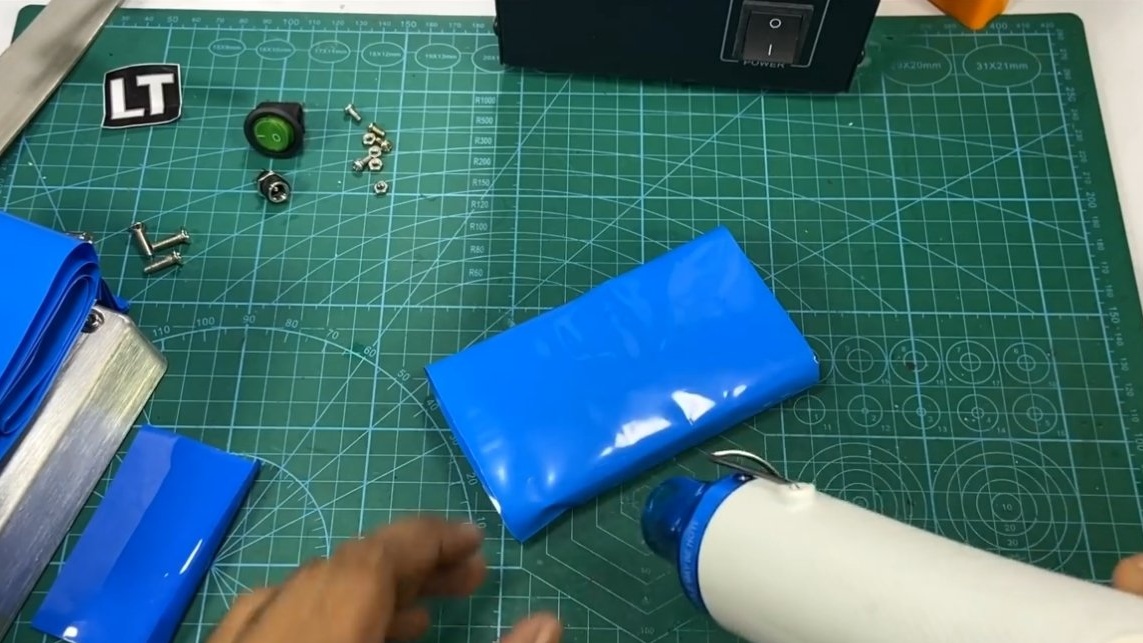
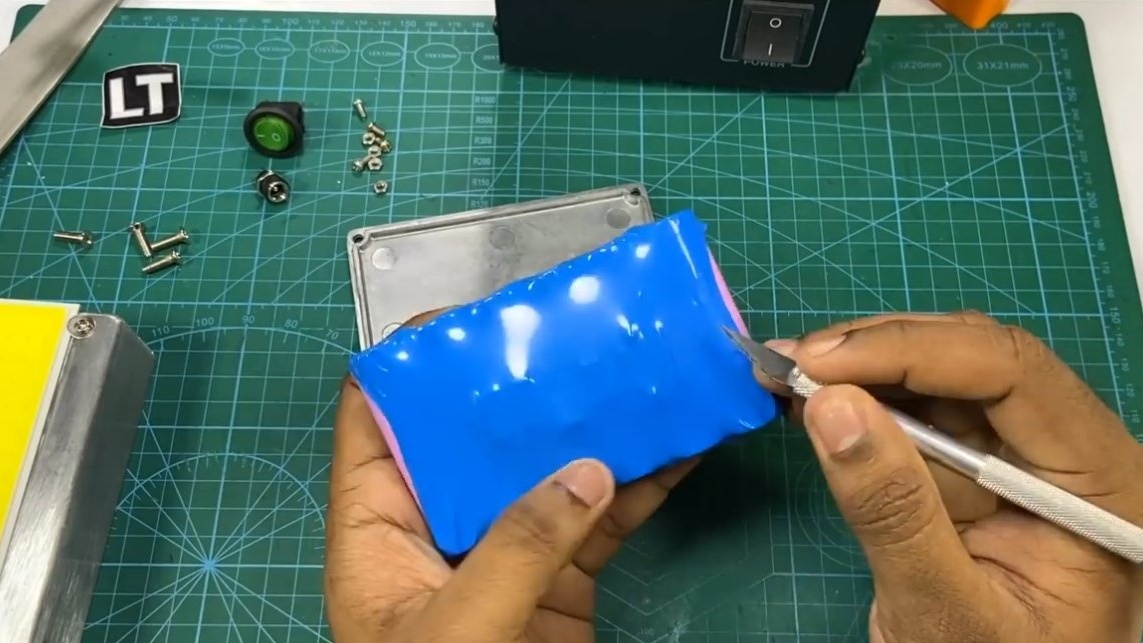
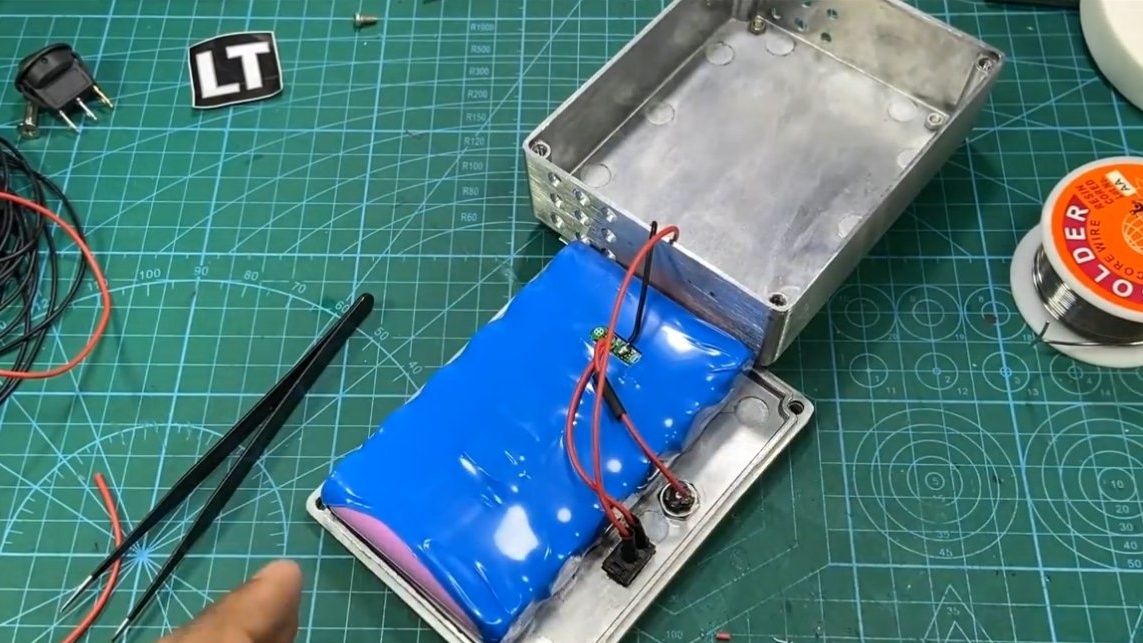
Be sure to put a suitable BMS on the battery, since in the case of deep discharge the batteries will almost immediately fail.Soldering the wires into place, glue the BMS board with double-sided tape. Further, the author installs a heat shrink on the battery and a rather strong design is obtained.
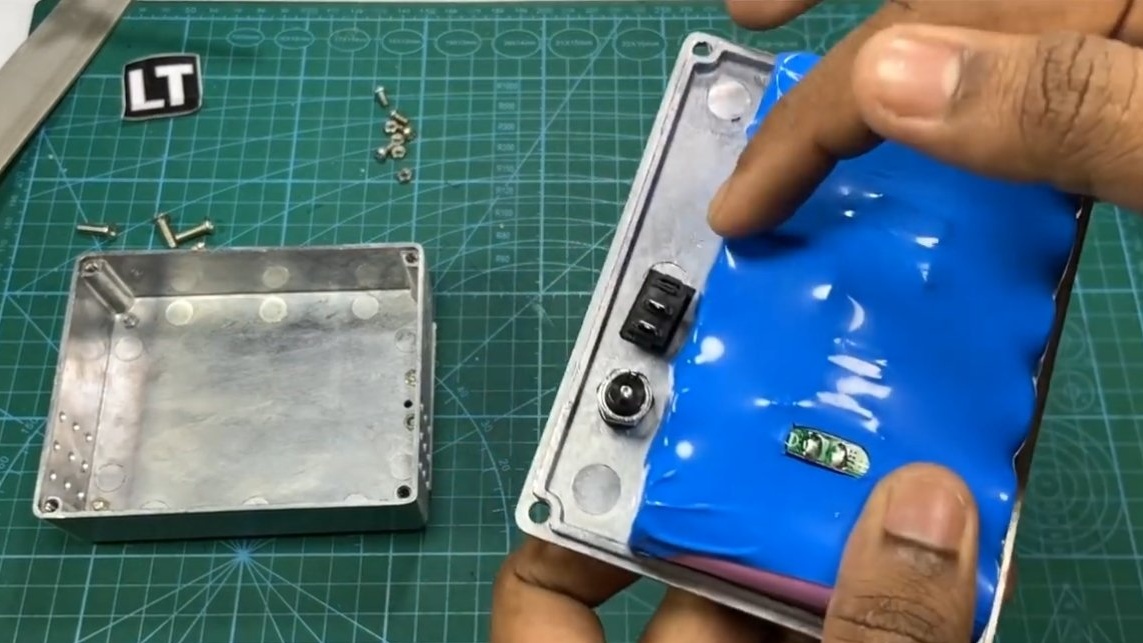
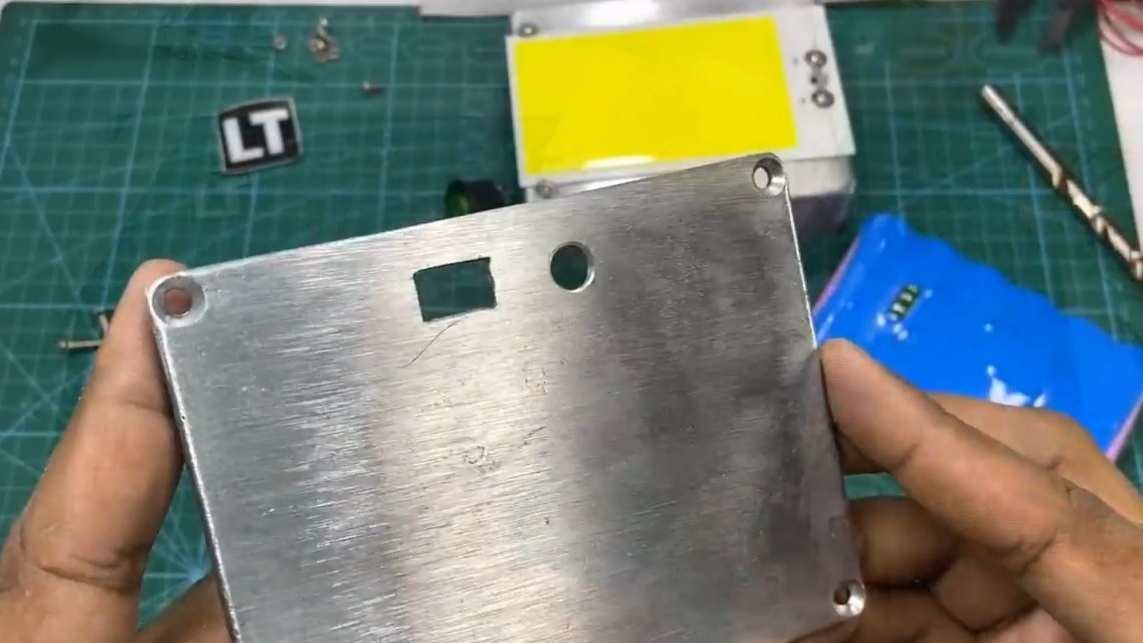
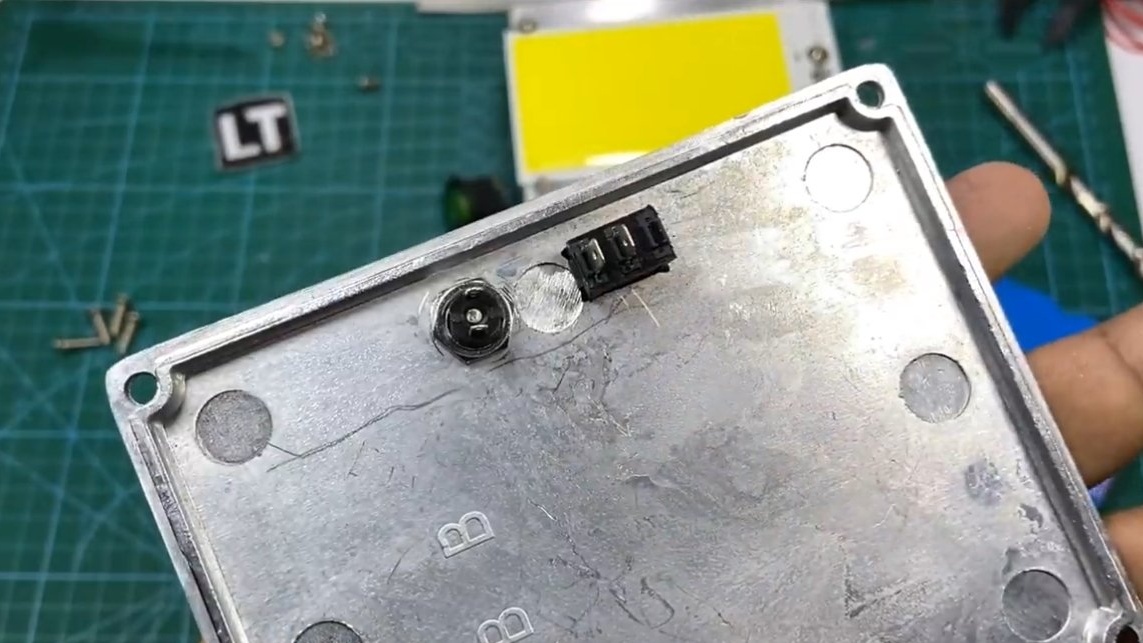
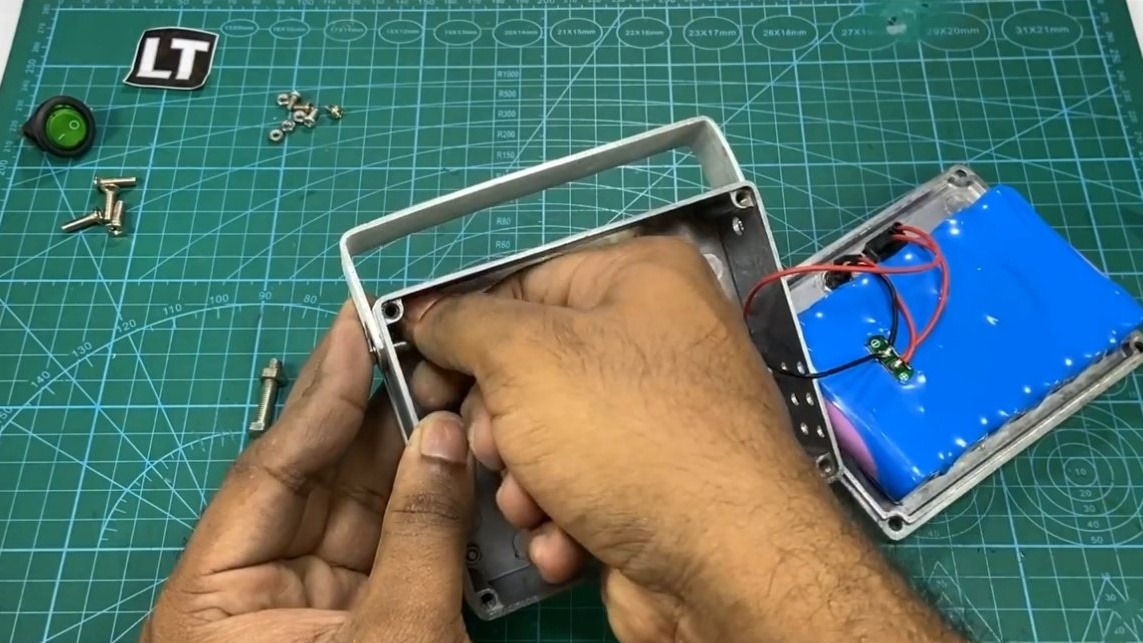
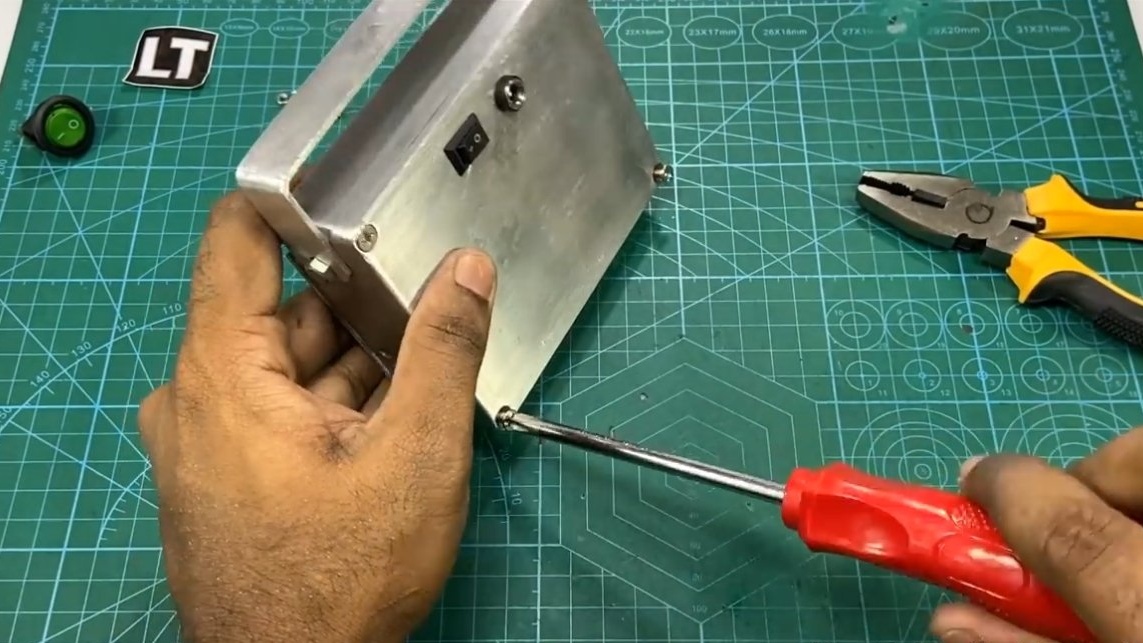
Step Four Assembly
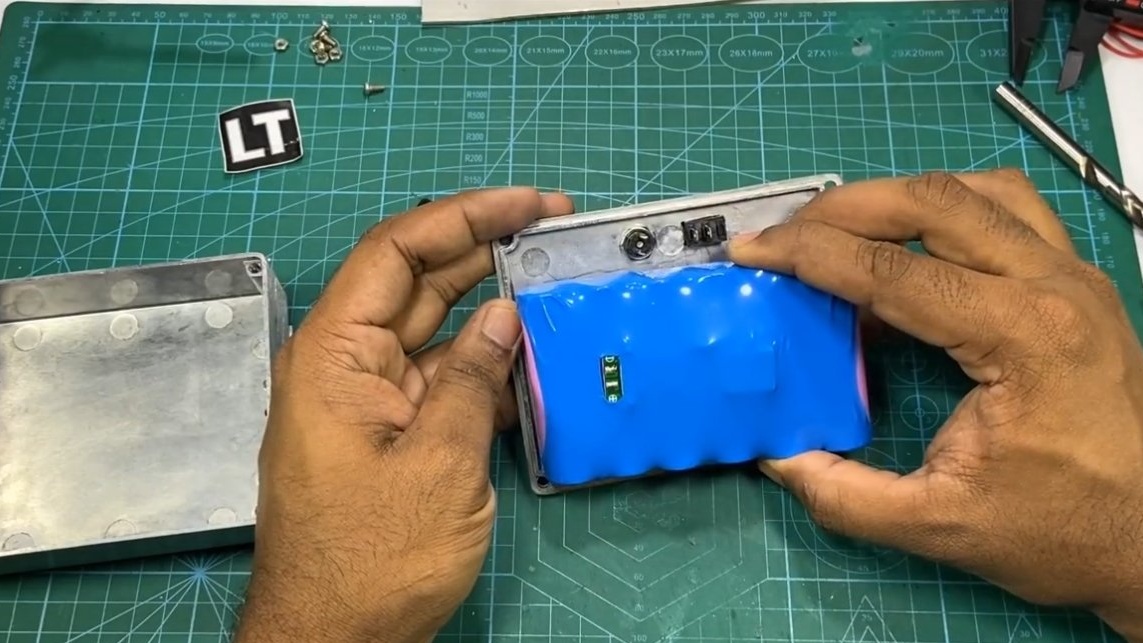
All elements of the lamp are placed on the back cover, the battery is glued to double-sided tape. Do not forget to drill holes and put in place the switch, as well as the socket for connecting the charger. Soldering the wires, you can screw the cover into place.

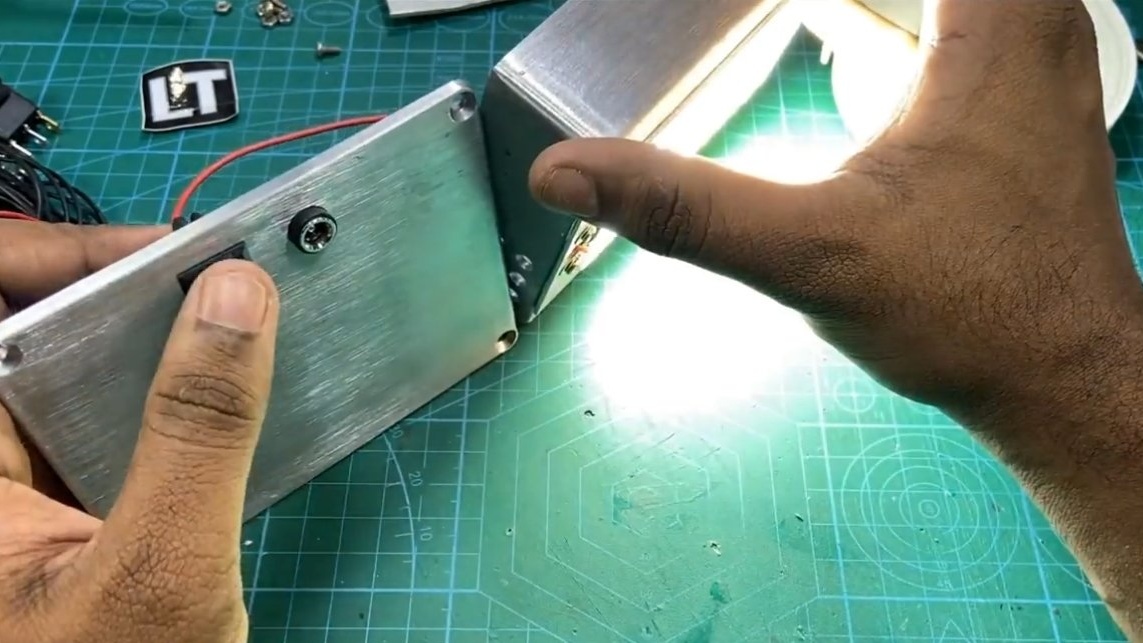
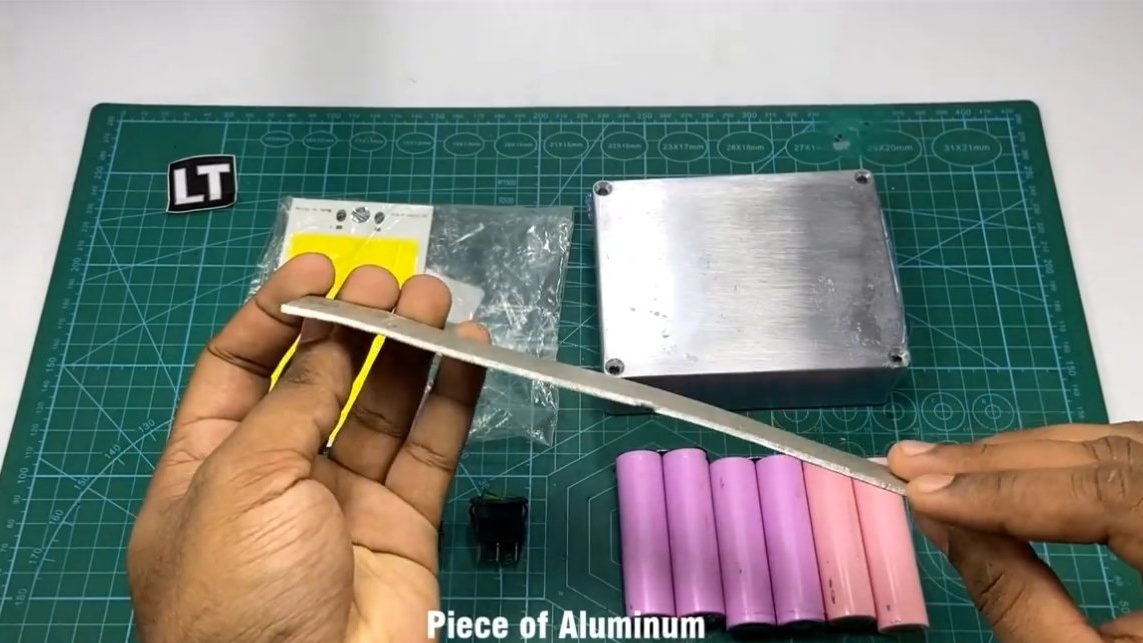
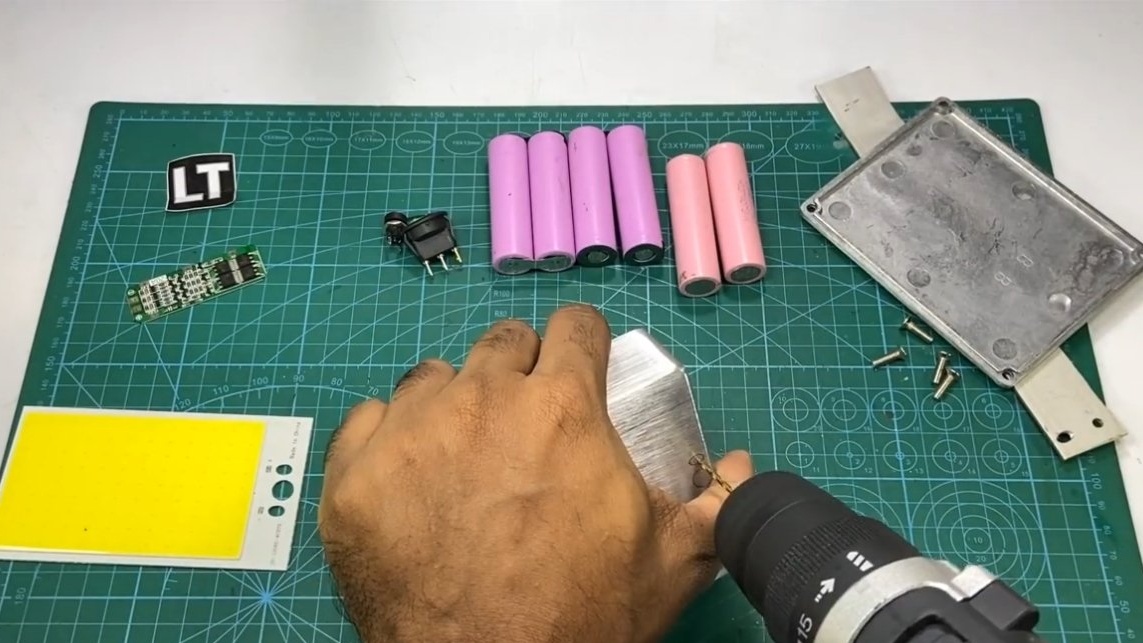
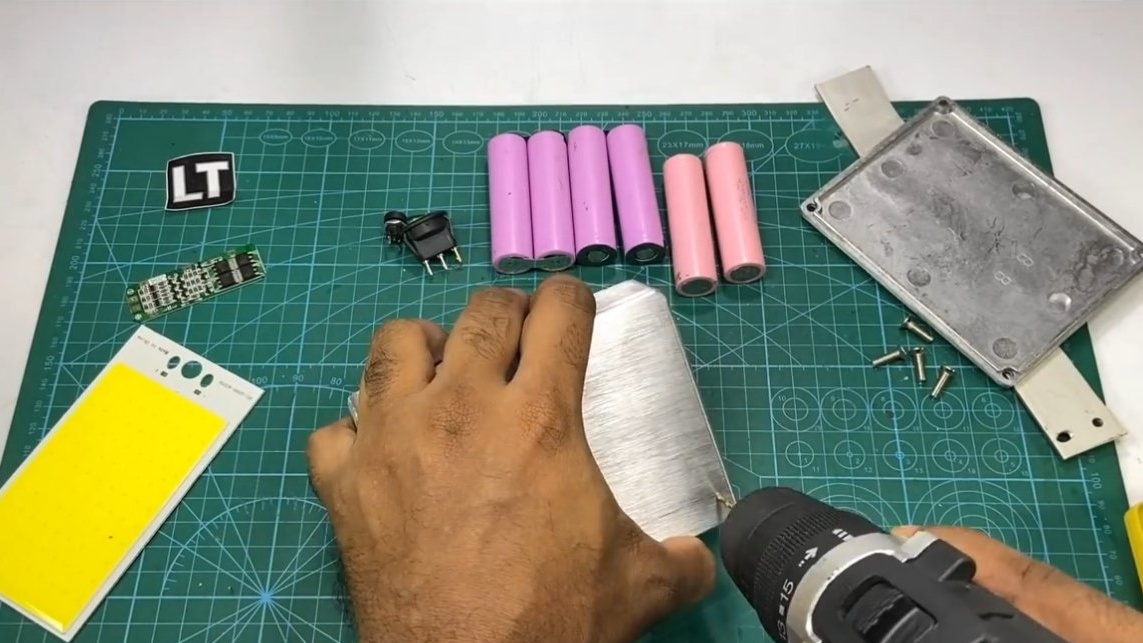
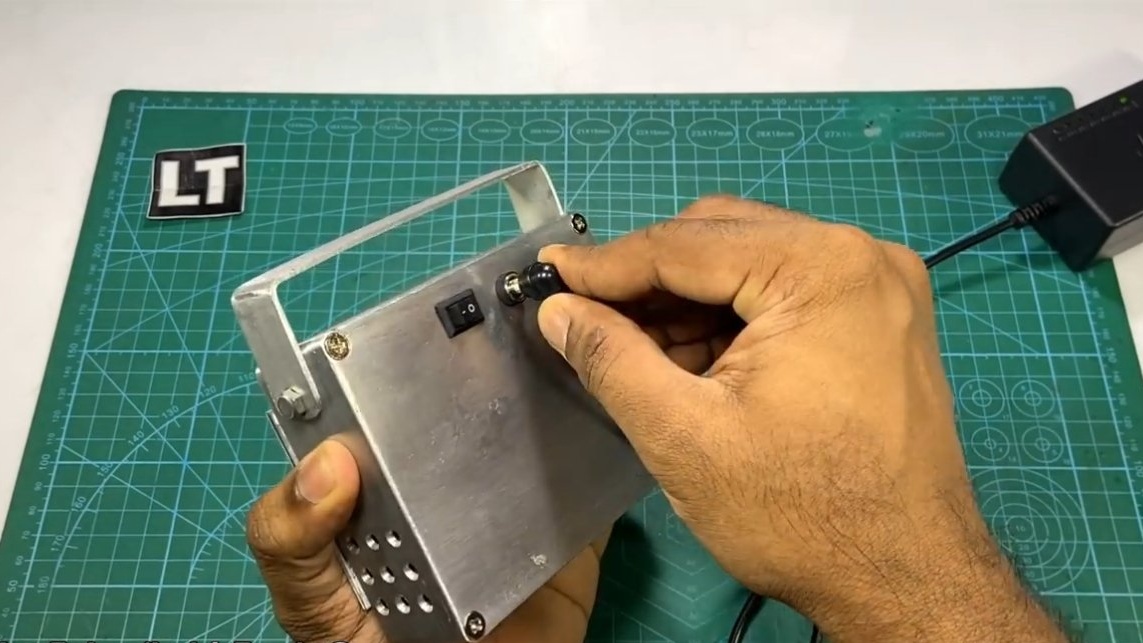
Step Five Pen and test
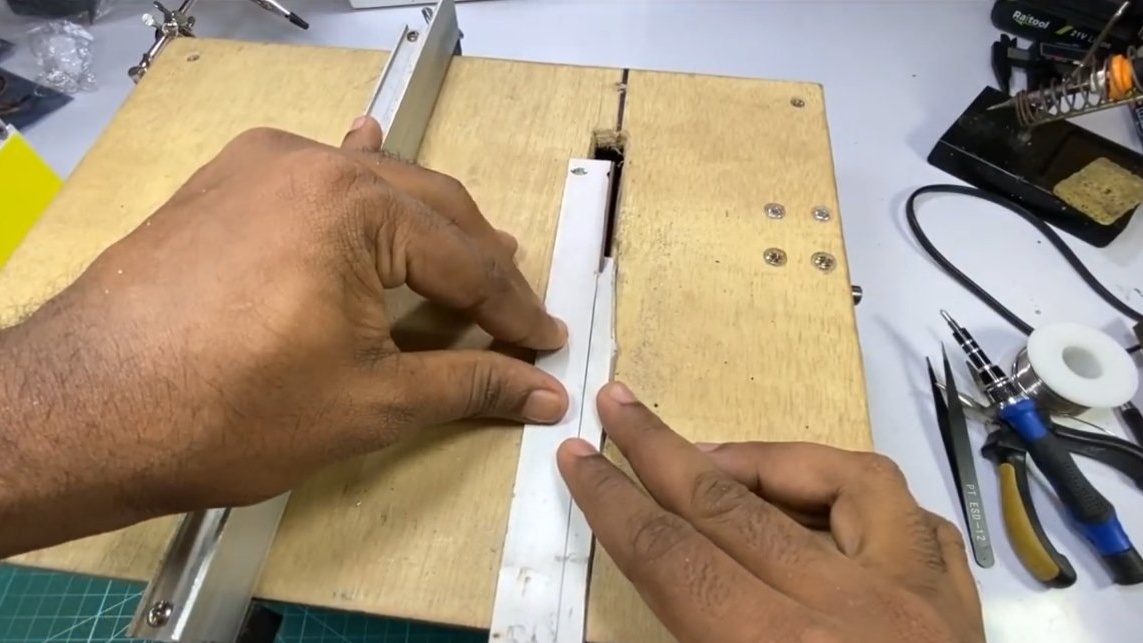
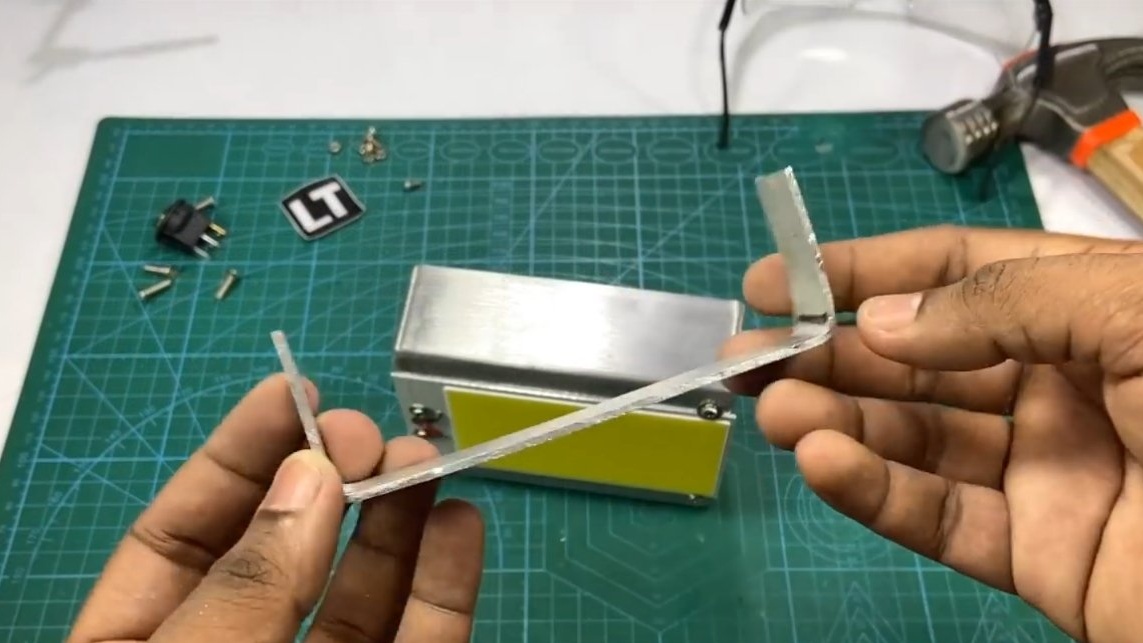
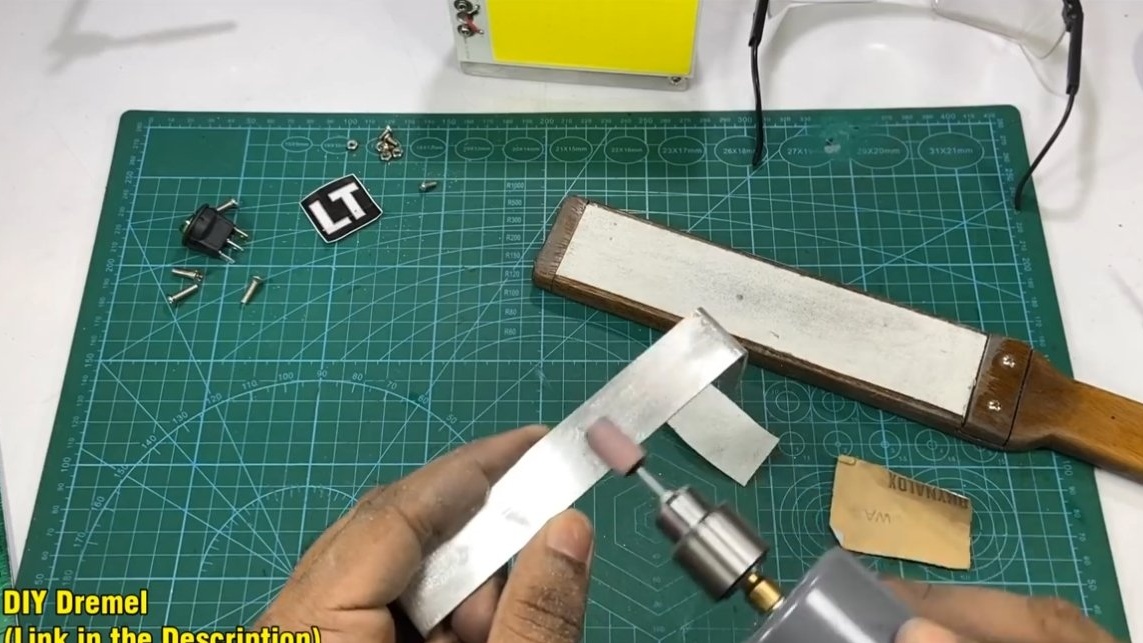
For the lantern, the author made an aluminum handle from a strip of metal. The handle can be secured with screws and nuts. The lantern can be tested, it shines very brightly at night, everything can be seen as during the day, but how much charge is enough remains a mystery. Of course, it would be nice to feed such light sources through pulse converters, then the battery charge will last for a much longer time.

There will also be a voltmeter to control battery charge levels. There will be no superfluous indicator that will light up when the charger is connected.
The project is completed on this, I hope you liked the homemade work, and you found useful thoughts for yourself. Good luck and creative inspiration, if you decide to repeat this. Do not forget to share your ideas and homemade things with us!