
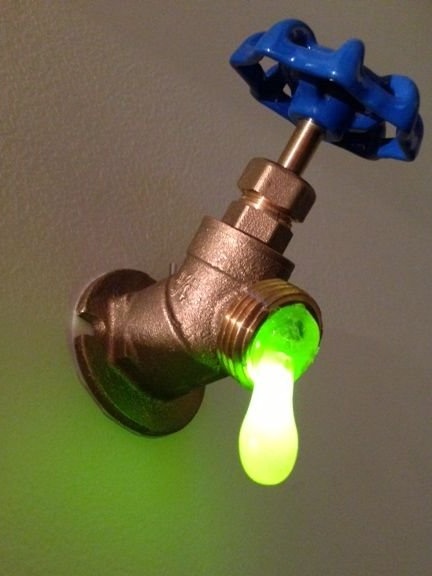
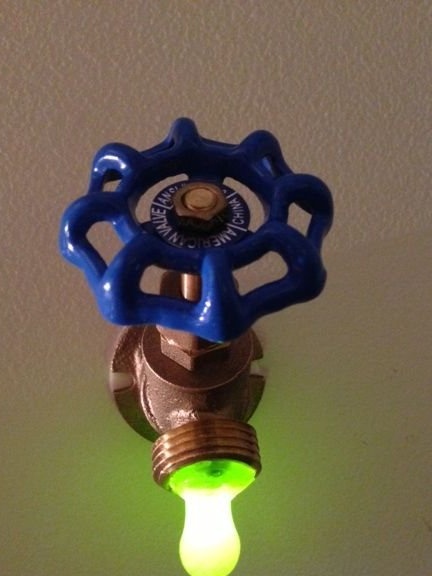
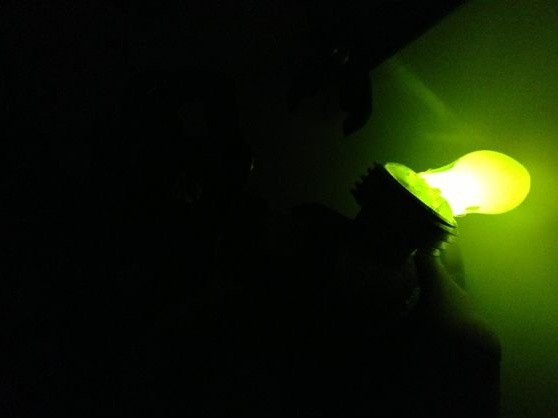
My little cousin found on the Internet a photo of a night lamp in the form of a crane that plugs into a wall outlet. He really liked this idea, and he wanted this for himself. He showed me a photo of a night lamp and asked to do the same for him. But he has no sockets nearby with a bed, so I decided to make such a lamp from a diode.
I found in the house those simple parts that are needed for this project, and created a small miracle for my brother. He like it very much!
I hope you enjoy it as much as he does.
Step 1: Materials
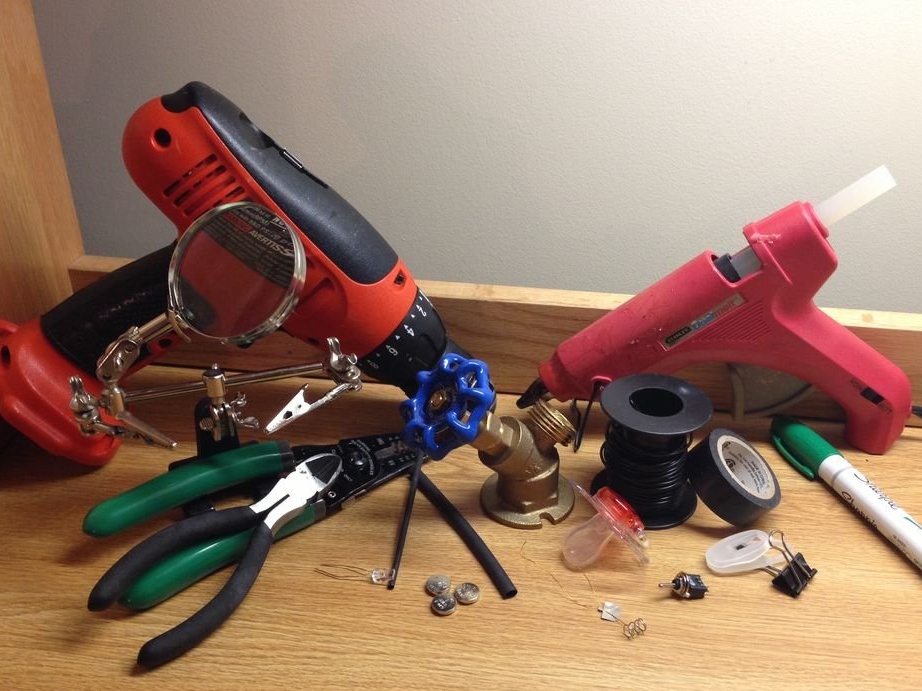
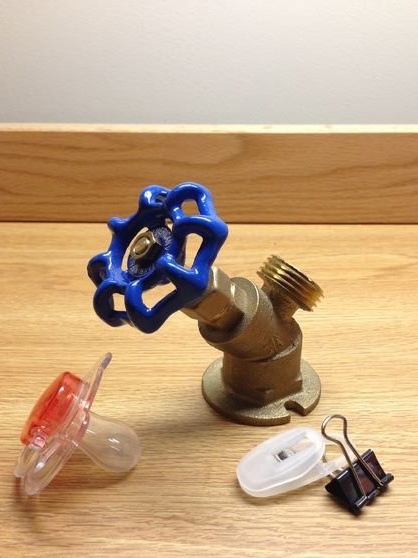
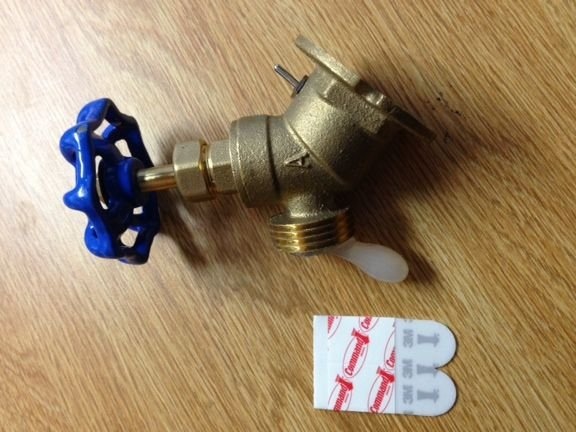
¾ inch valve
- baby nipple
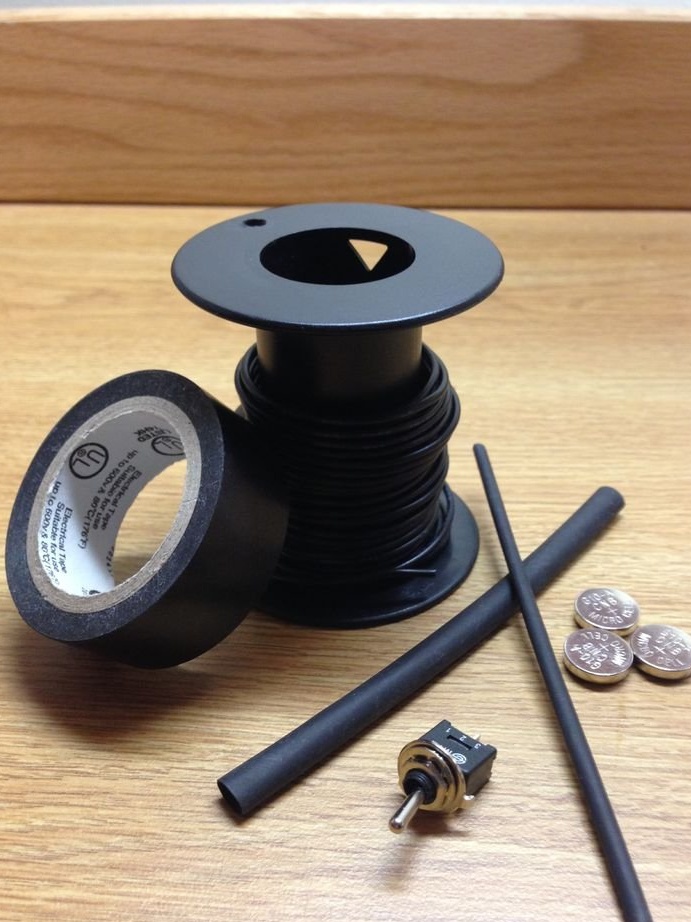
- (3) small G10-A 1.5V batteries
- single pole microswitch
- green rectangular diode
- electrical tape
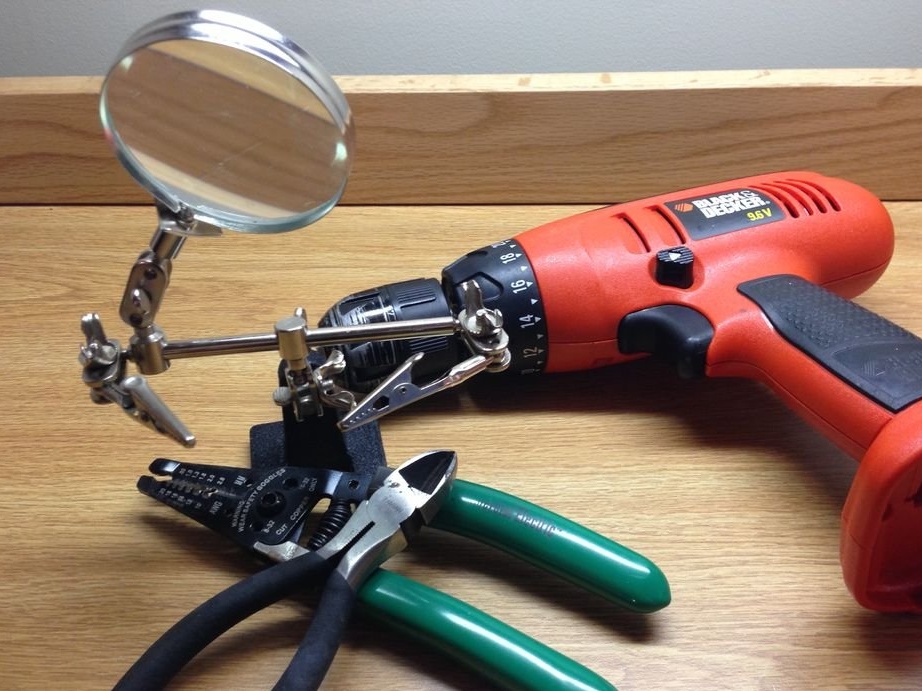
- hot glue gun
- soldering iron
- heat-shrink tubing
- wires
- drill
- pliers for removing insulation or nippers
-
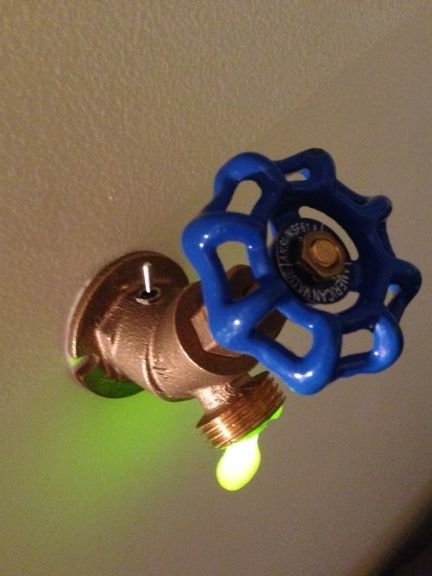
Step 2: simulate a nuclear waste leak


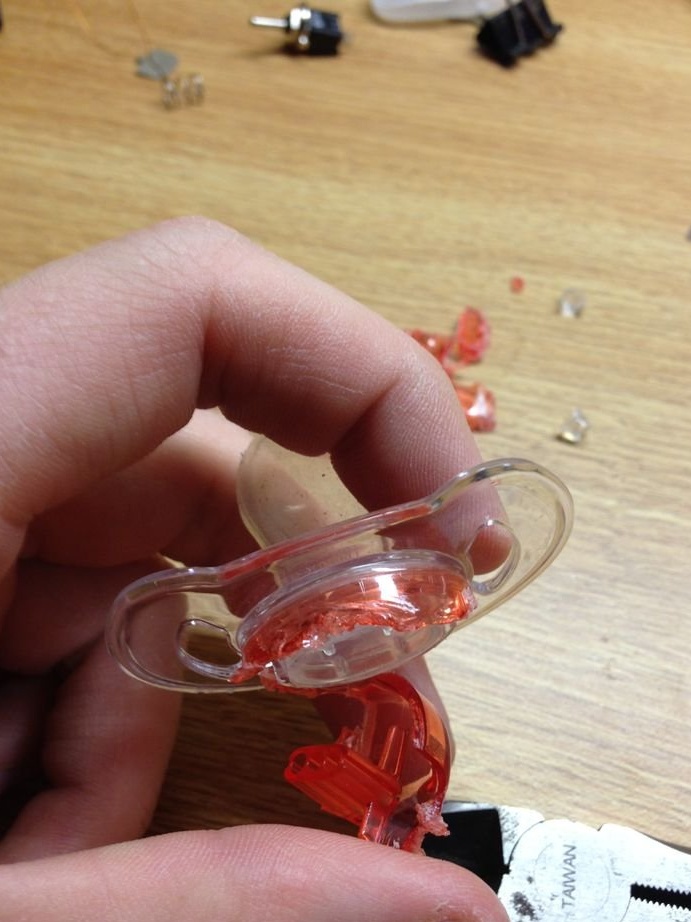
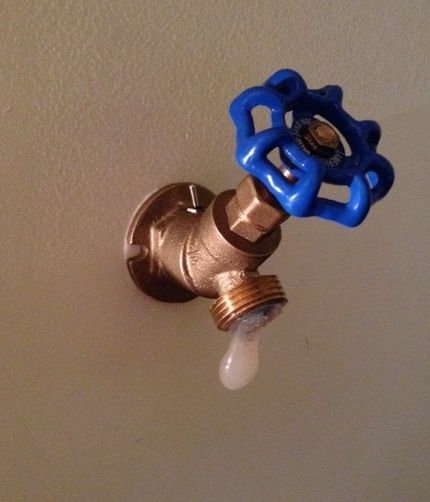
Start by breaking the nipples in any way you need. I used wire cutters and my multifunctional tool. It will take a lot of time and patience - now the nipples are doing on conscience! As soon as the teat gum itself is disconnected, make a cut on the side to fill the internal cavity with hot glue. Pour glue inward gently and squeeze the sides of the cut. Part of the glue will come out, but it’s not scary - you can always cut off the excess later. Then you need to quickly insert the diode into the nipples and let it harden.
It is necessary to lengthen the contacts of the diode by soldering wiring to them.
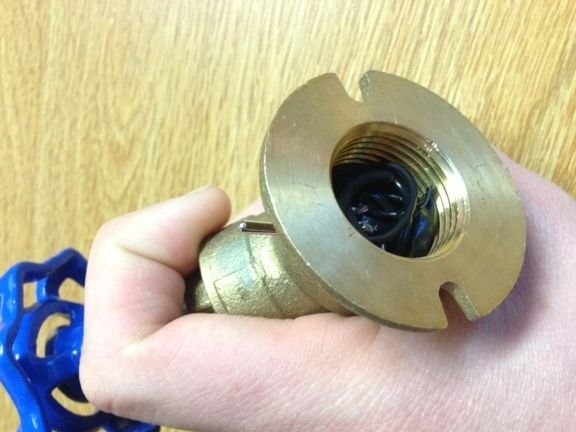
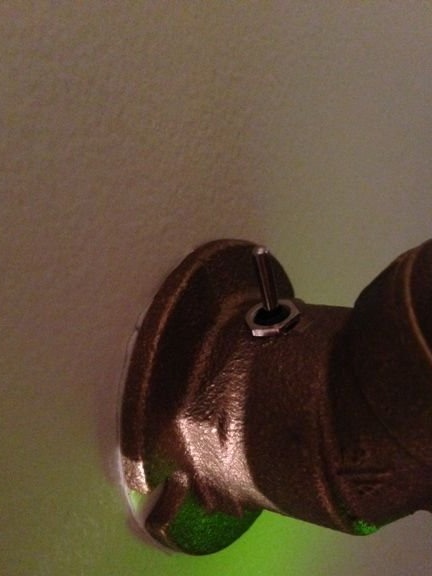
Step 3: Drill
On the faucet, mark the place where you want to drill a hole, and drill with a smaller drill than the desired diameter of the hole. Then take a larger drill bit (large enough to fit a switch in the hole) and drill a larger hole.
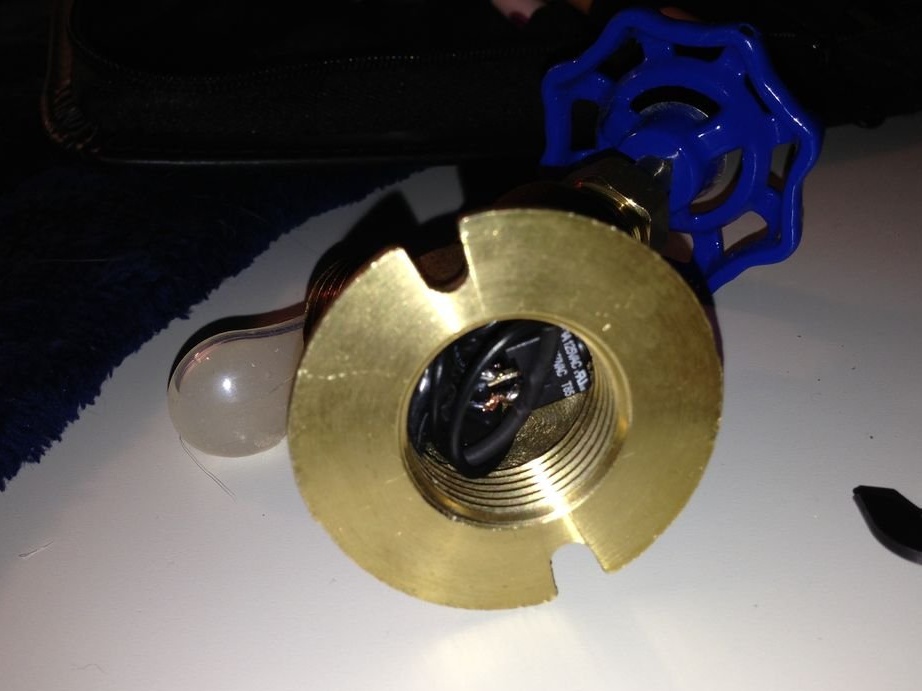
Step 4: Wiring
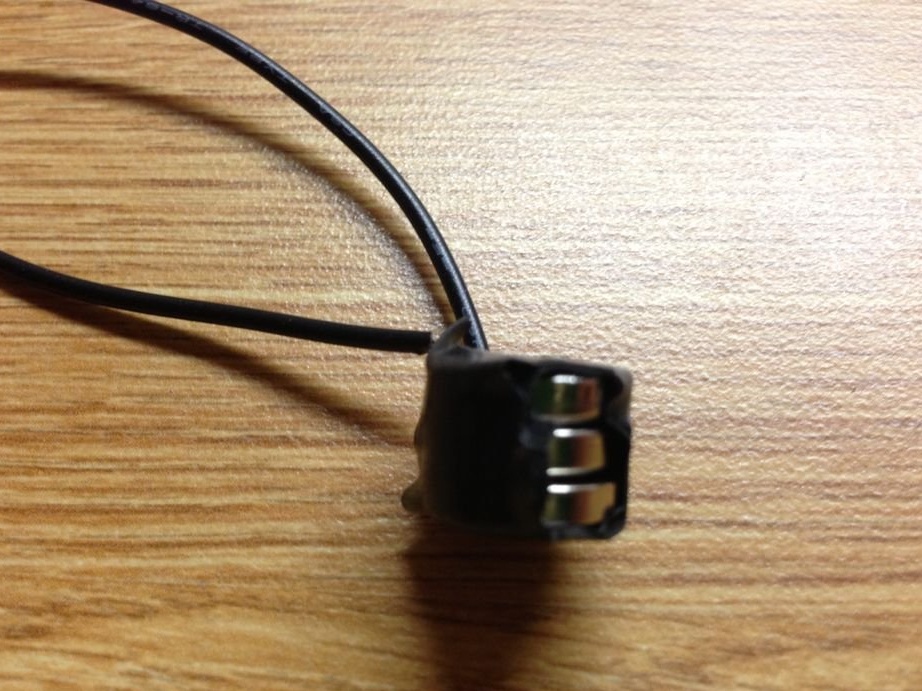
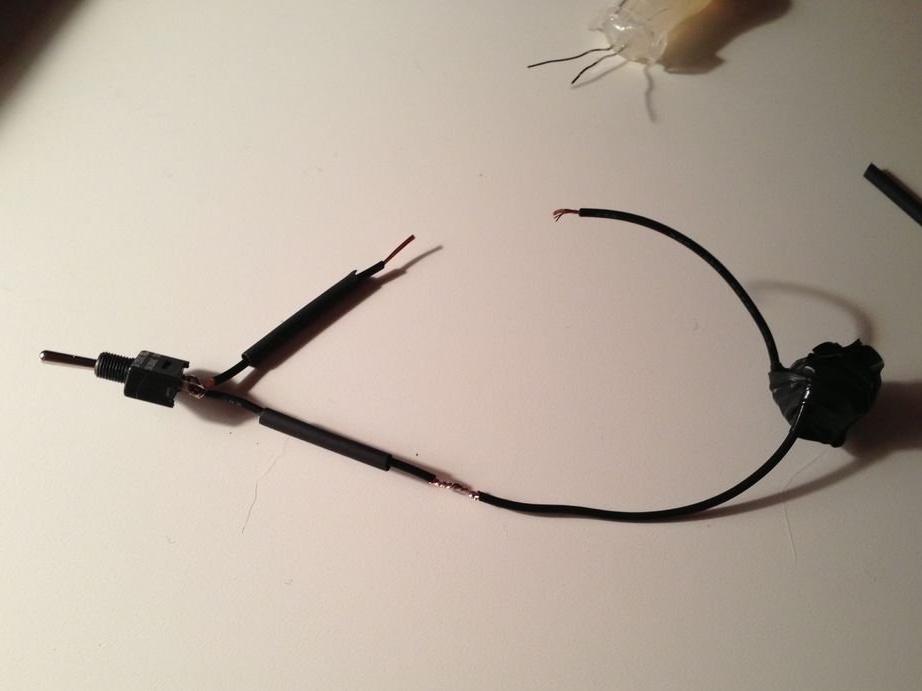
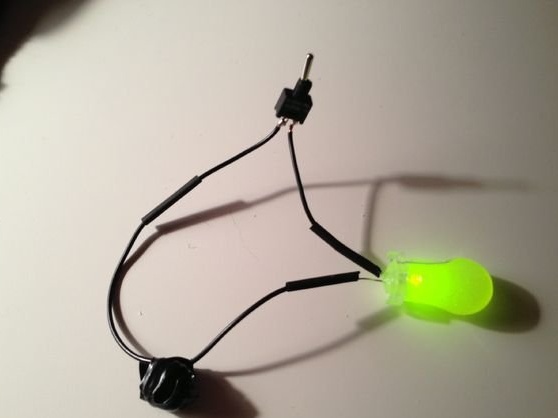
First you need to make a battery by placing batteries on top of each other and connecting them using wires from above and below, tightly wrapping insulating. Connect one of the battery contacts to the switch. Insert a drop into the faucet before you finish soldering, otherwise it will not work to fit all the elements as it should. Then connect the other contact of the battery with the diode, the first contact of the diode is soldered to the switch.
To prevent short circuits, use a heat shrink tubing or electrical tape for all exposed wires.
Step 5: Final touches


This is the most annoying part of me - we need to combine everything together. First you need to put the battery inside so that the switch holds it inside. Then insert the switch and fix it in place with a nut.
Then stick a strip of double tape on the back side so that you can install the lamp on a wall or any other surface. It is better to take adhesive strips that do not leave marks on the surface, I had such 3M production