Hello dear readers!
Over time, any master needs more and more different tools, including clamps. They are designed to fix and hold parts. They can be used both in carpentry and metalwork, and will be useful to any master. Their shape allows you to reliably press the workpieces for subsequent fastening, for example, to glue individual parts or for fixing metal parts when welding frames and so on. It is impossible to underestimate the importance of this tool in situations where you simply cannot do without them.
Factory models are usually produced from cast iron, which, as you know, is not very durable and can burst from excessive force. The steel casing makes it possible to exert more compression force without fear of breaking it, but they are more expensive and not always available.
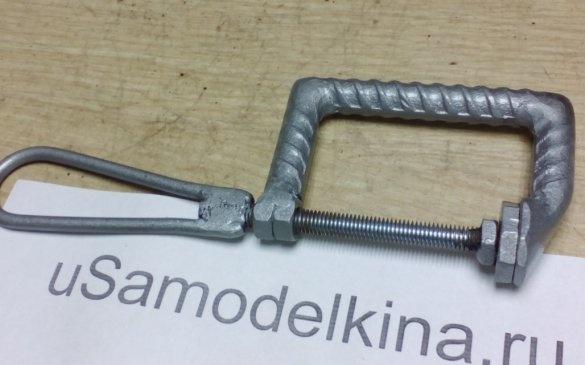
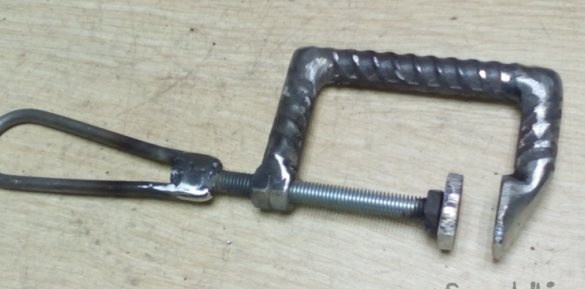
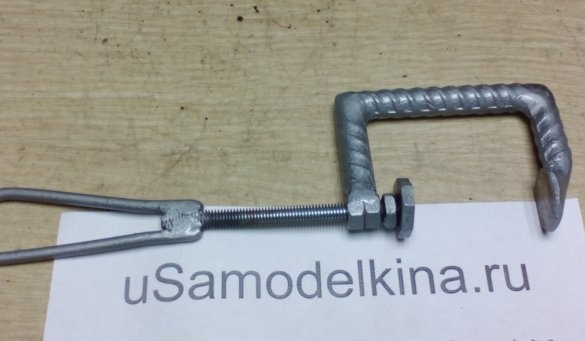
Here is an option on how to make a convenient and reliable G-shaped clamp do it yourself from scraps of reinforcement. A homemade tool is good in that it can be made of the required size and shape that are required to perform the necessary tasks. In addition, at the same time it will be possible to save on a purchase, especially if you need several clamps, and it’s just always great to work with an instrument of your own manufacture. Only a little free time is needed, trimming reinforcement, pieces of sheet steel of suitable thickness, and other small things that accumulate over time in any workshop, which it is a pity to throw out and there is no particular benefit. The manufacturing process is not complicated, but of course some experience with welding and metal skills are required.
Necessary materials:
- Trim trim
- Sheet steel or plates
- Steel stud or bolt of the required length
- nuts
- If necessary, spray paint
Tools and consumables used in the manufacture of:
- Welding machine, OK-46 type electrodes
- Bulgarian with cutting and cleaning discs
- Drill, metal drill
- Vise
- Ruler, square
- Marker, punch
Clamp manufacturing process:
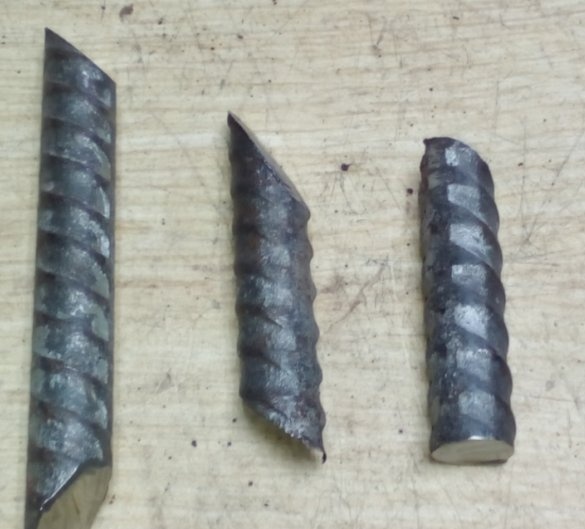
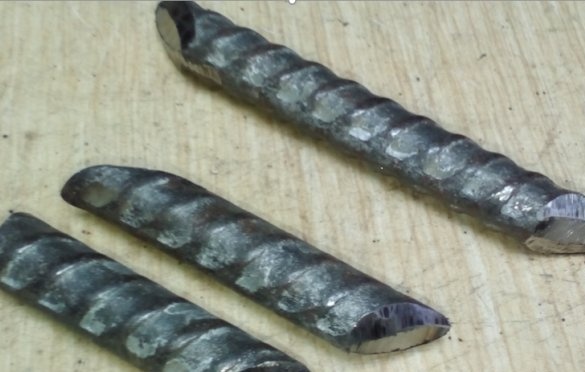
From a suitable reinforcement bar diameter with a grinder with a cutting disc, we cut the parts of the clamp body as in the photo in the places of welding at an angle of 45, in the place of fastening of the screw at 90.
For good penetration in the places of welding and reliable connection of parts, we remove the chamfer.
Welding is easier to carry out using rutile-coated electrodes.
Having fixed the parts with a clamp, we gradually weld the parts of the clamp body.
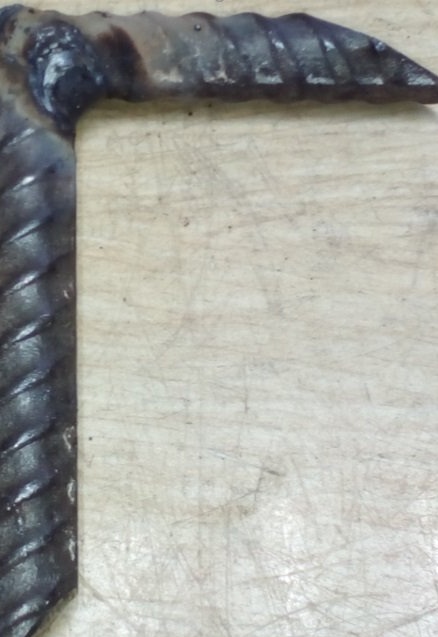
When welding, it is important that all parts are in the same plane, observing right angles whenever possible.
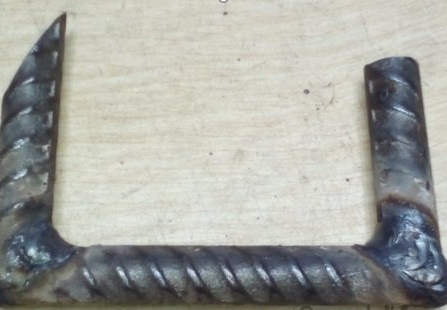
The main building is ready. It is necessary to weld the stop, which is made of a steel plate of suitable thickness using a grinder with a cutting disc.
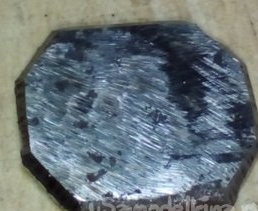
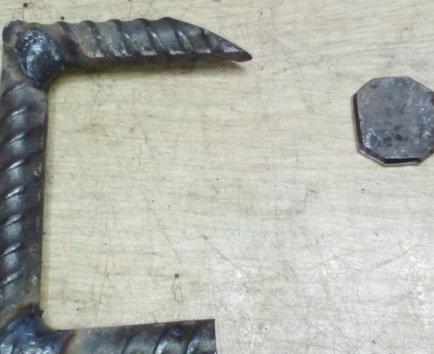
Weld the stop to the body. It is necessary to observe perpendicularity to the lower part of the body. This is easier to achieve using a vice or clamps, fixing the parts and making welding tacks. Having fitted the part with light strokes, we weld it finally.
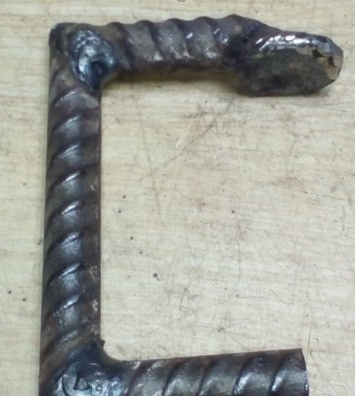
The main building is ready
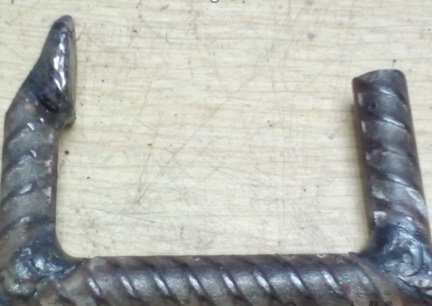
Since then it will be difficult to perform stripping, it is better to perform it at this stage, using a grinder with an abrasive or blade disc.
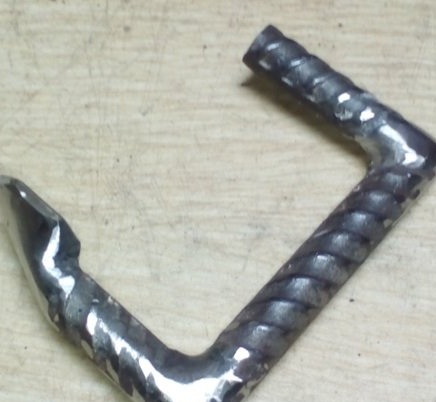
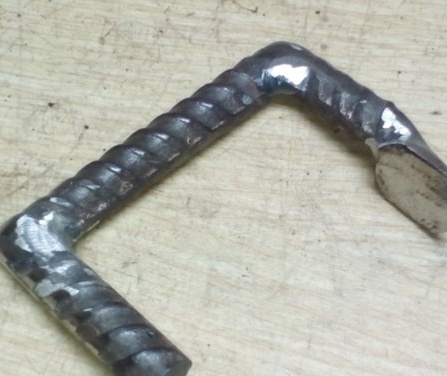
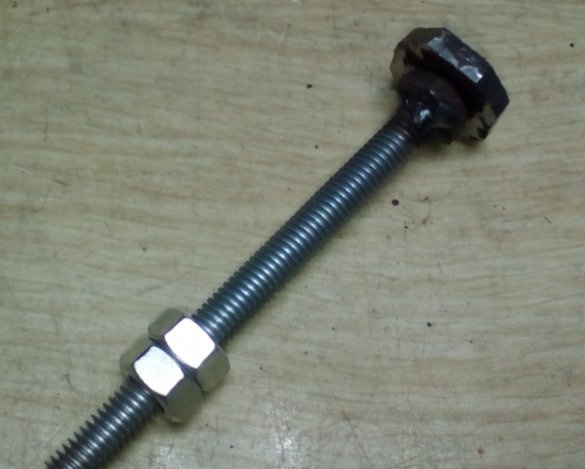
Now you need to make a clamping screw, a steel stud is suitable for this purpose, a bolt of the required length, or a finished screw.
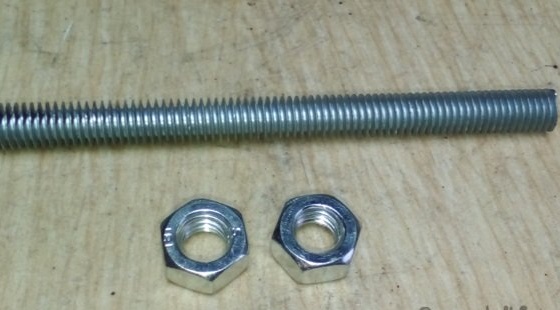
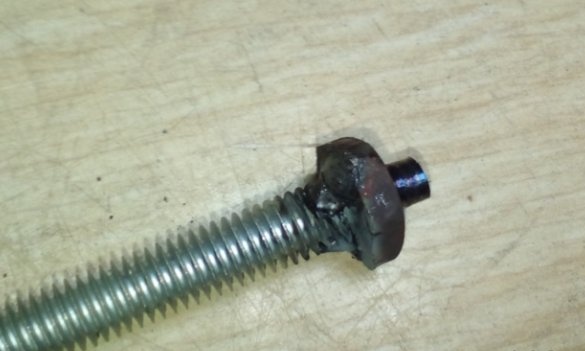
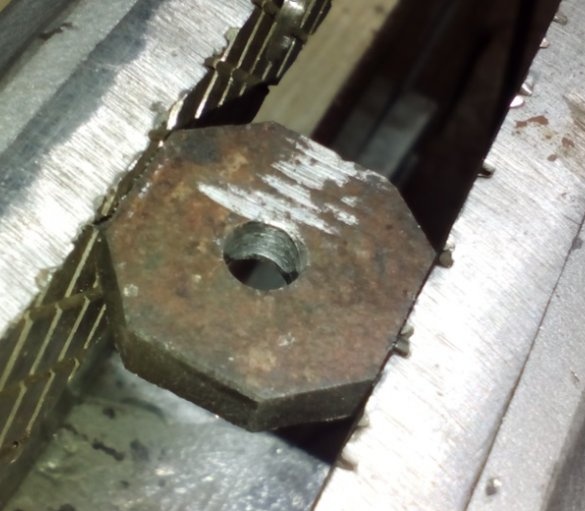
The screw stop can be made of a thick washer or cut out of metal with a thickness of at least 4-5 mm. Of course, a lathe would greatly simplify the task, but not everyone has the opportunity to use it.
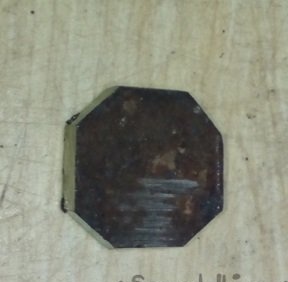
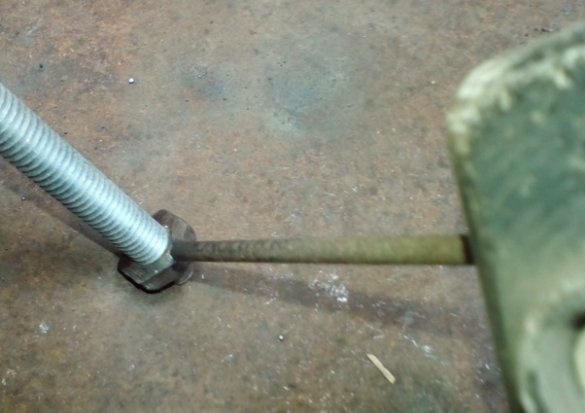
So that the emphasis can rotate on the screw and at the same time have a reliable base, we will probably screw the nut on the screw and sharpen the thread under the stop washer.
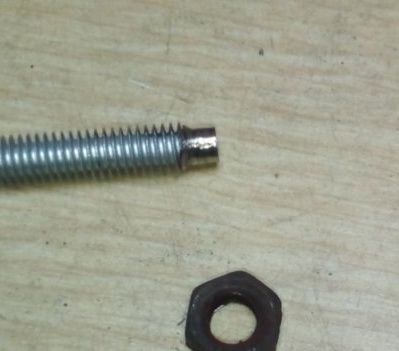
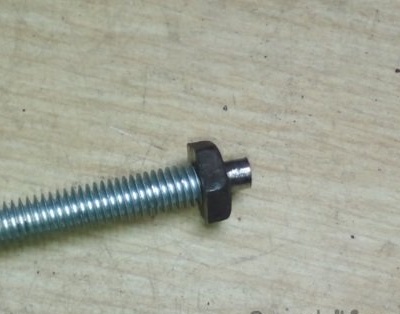
Fix the nut on the screw with welding points, which will prevent it from turning away.
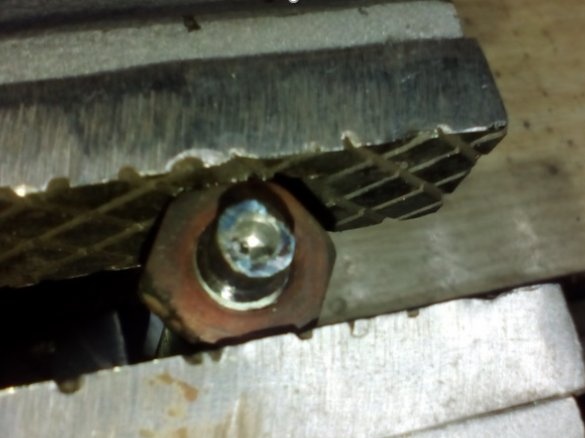
We will clamp the screw in a vice and drill a hole in the end so that it can be further riveted.
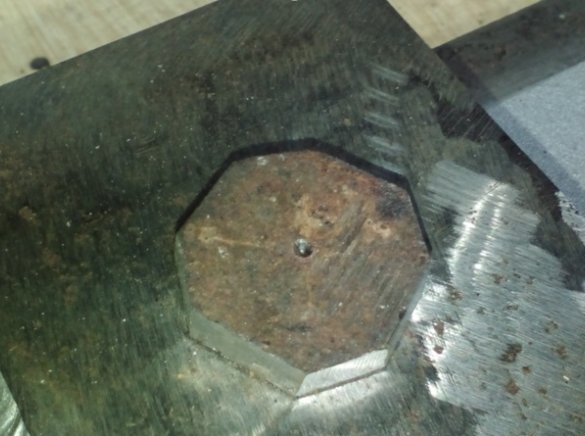
In the prepared emphasis, we outline the future hole in the center
And drill the diameter of the turned part of the screw.
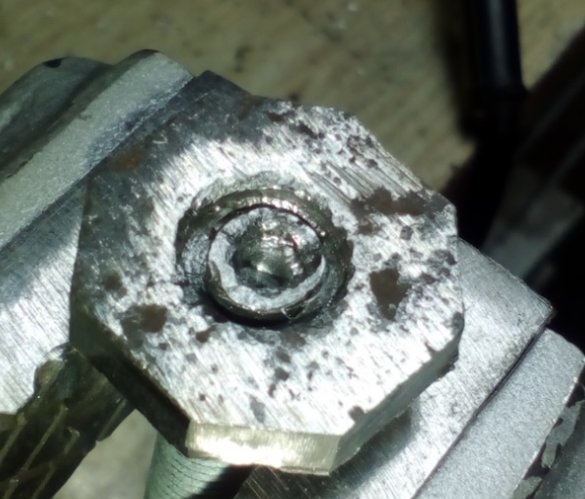
So that the riveted screw rotates freely and does not protrude beyond the washer, drill a hole at half the thickness of the workpiece.
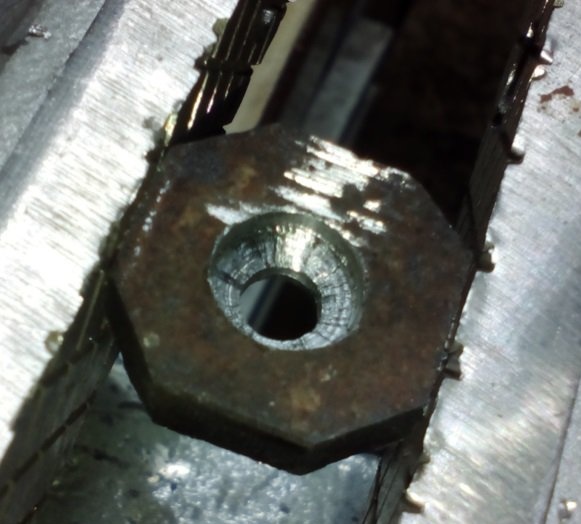
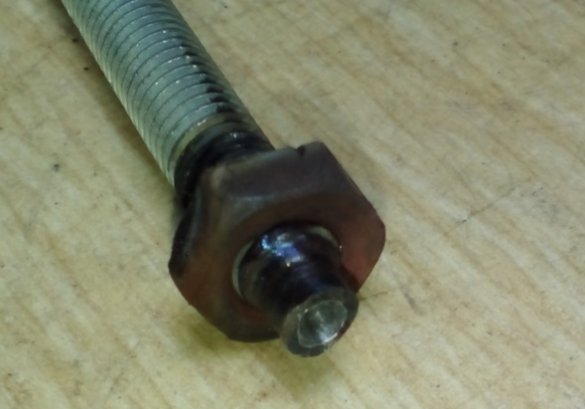
Now it remains to install the washer on the screw and rivet so that it rotates freely, but the riveting does not protrude beyond the washer.
The screw is now ready to be installed on the housing.
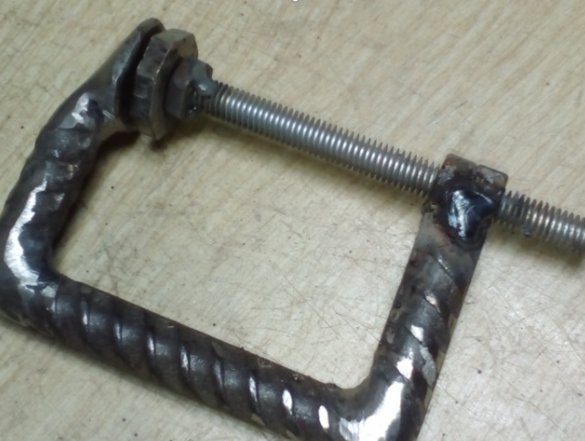
After the nuts have been screwed in, the screw must be fixed without distortion with clamps and the parts welded by welding.
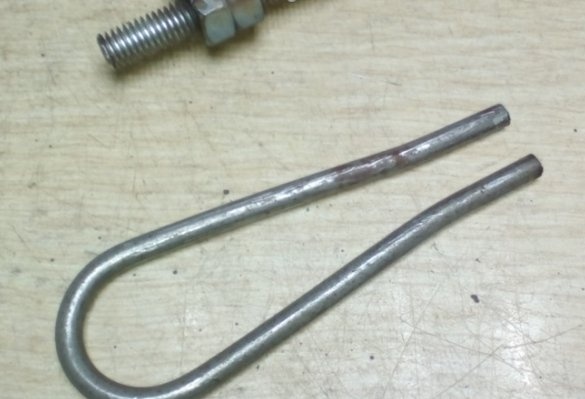
The clamp is almost ready it remains only to make the handle. There are different options with knobs, lamb, handles. Can be made with a pen in the shape of a darling. Give the steel rod the desired shape and weld to the screw.
Clamp ready hope you homemade I liked it, and you found something useful for yourself.
Do not forget that working with a power tool is dangerous and you must follow safety precautions and use protective equipment.
This material is provided for educational purposes only.
Good luck and creative inspiration! Share your ideas and homemade products.


