True, I already did. But it’s still being put on another source of fire, such as a barbecue, and only then does it work. And I wanted to make it completely autonomous. All searches for ideas on the internet came down to a smoke generator-cigar. To a manual one, similar to a blowtorch, or as a separate module from which smoke enters the main chamber, where products are smoked. I wanted an even more compact version.
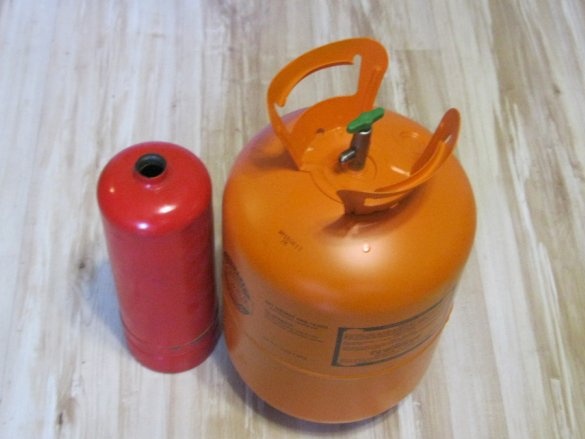
I did not think about the idea of what to do from: empty cylinders from a fire extinguisher and from under freon (well, I love them, and use for homemade regularly) were. And although the latter is small (as it seemed to me),
the absence of a firebox at the very bottom should level this problem. The first fitting showed that it is.
Active blowing
But it seemed to me not enough to make a passive smokehouse, for it needs active blowing. Experience wasshowed himself sumptuouslybut need power adjustment. And since even soldering the corresponding rail with power adjustment for me is more difficult than complicated, I began to look for another option.
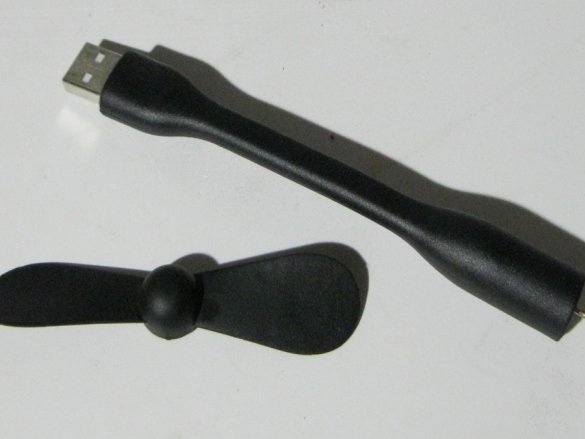
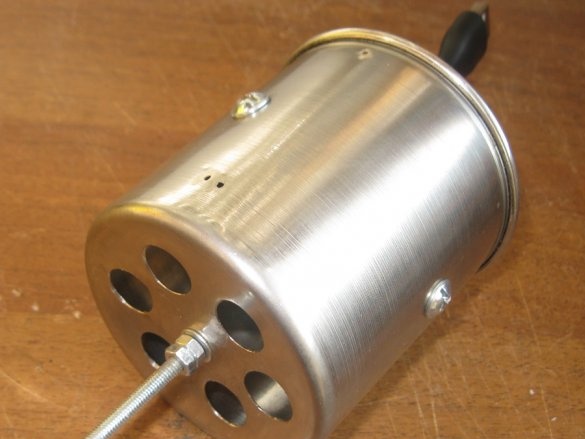
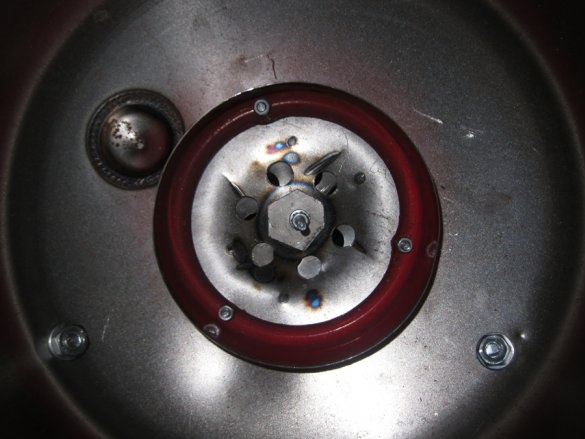
The solution was found by itself: not a cooler for cooling the desktop system units, but a small fan chose the source of the boost. The one that laptop owners plug into the usb port in the summer when they work indoors without an air conditioner. To at least a little more comfortable.
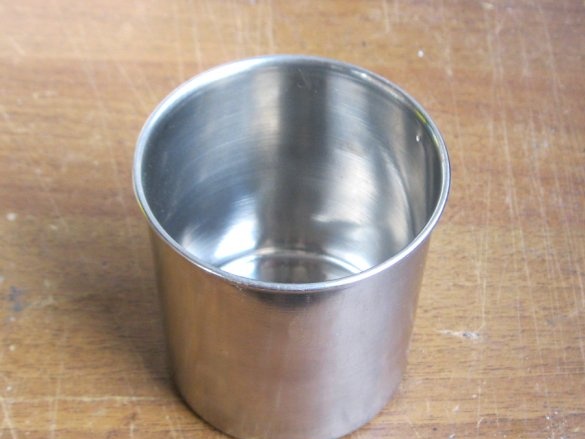
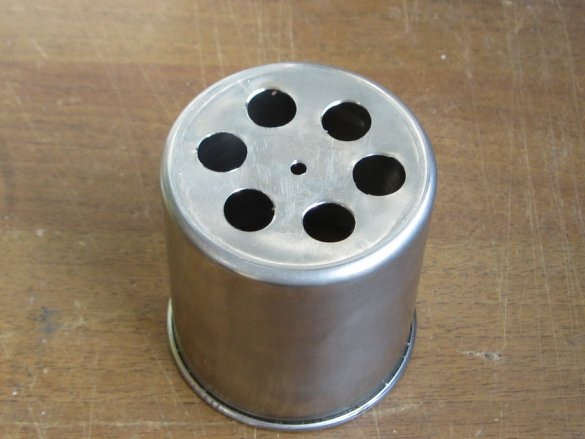
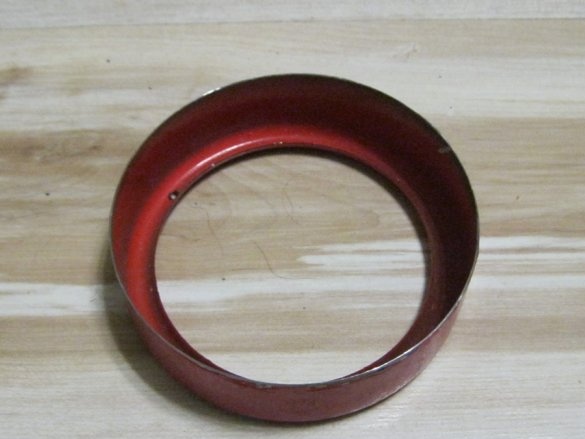
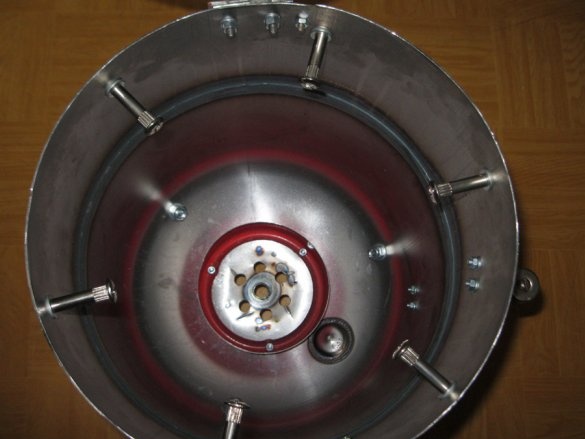
And I will mount it in a stainless steel cup with a volume of 350 ml.
So it will be protected as much as possible, and you can easily adjust the air flow. Only mechanically.
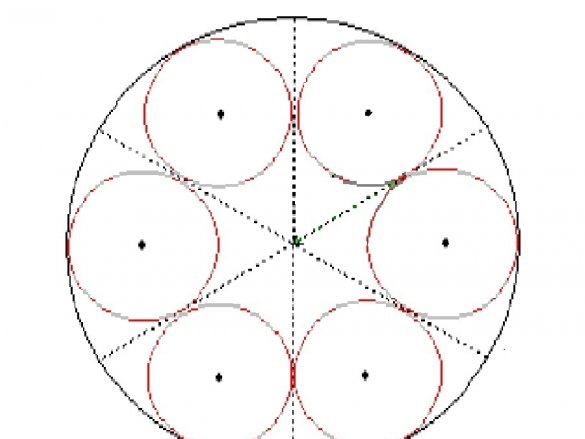
To do this, I print out TWO identical (why two understand further) pictures of the diameter of the bottom of this same circle.
I drill six holes, and then I drill them. At the same time, their diameter should be no more than the distance between the holes: I just got 12 mm.
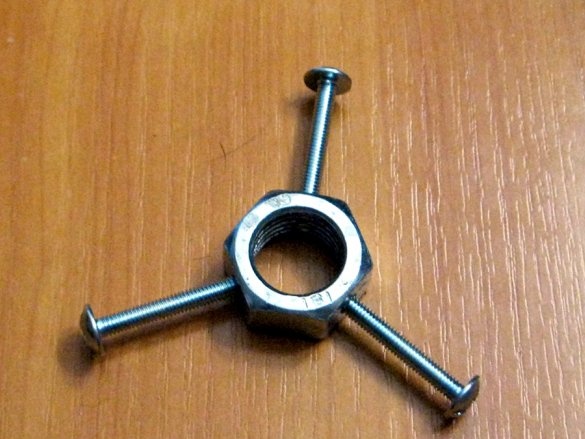
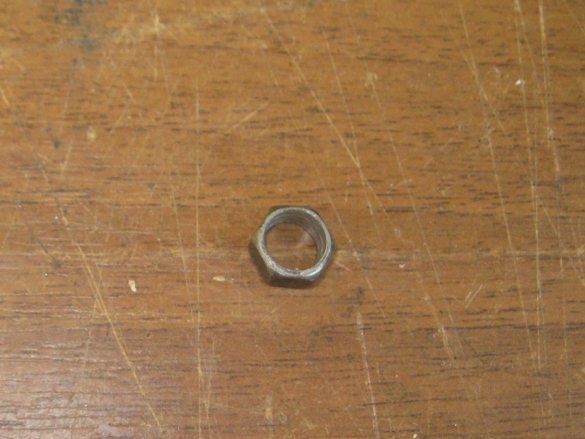
Big nut M16. Sawed up the inner hole a little, so that the fan itself entered the interference. I drilled 3.5 mm holes at three ends and cut the M4 thread.
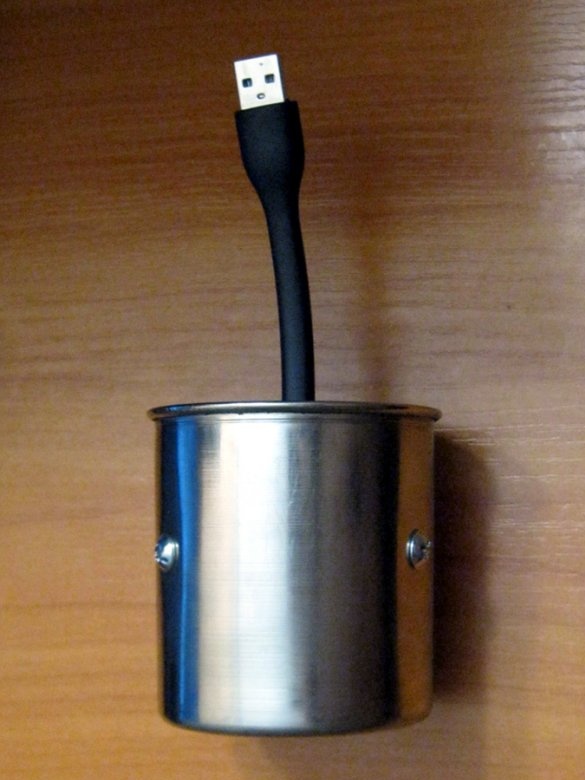
He also drilled three 4 mm holes in the mug approximately in the middle of the height and at an equal distance from each other.
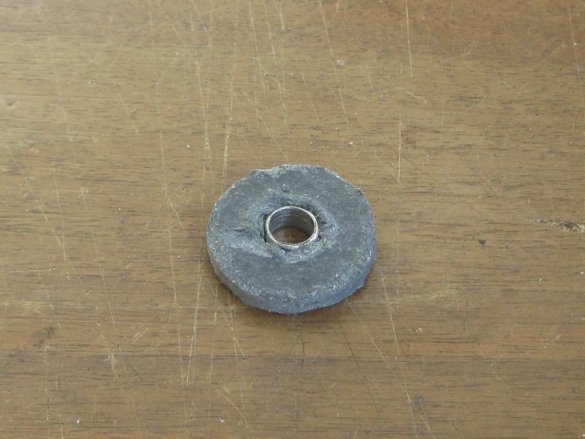
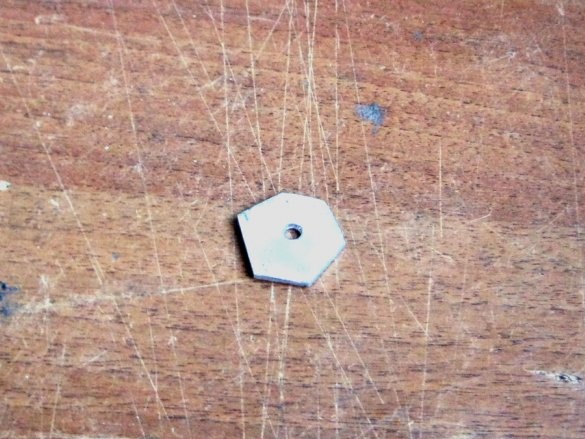
We begin to assemble the “Lego”: insert the screw into the mug, then put the washer on it from the inside, screw two M4 nuts. So - two more times.
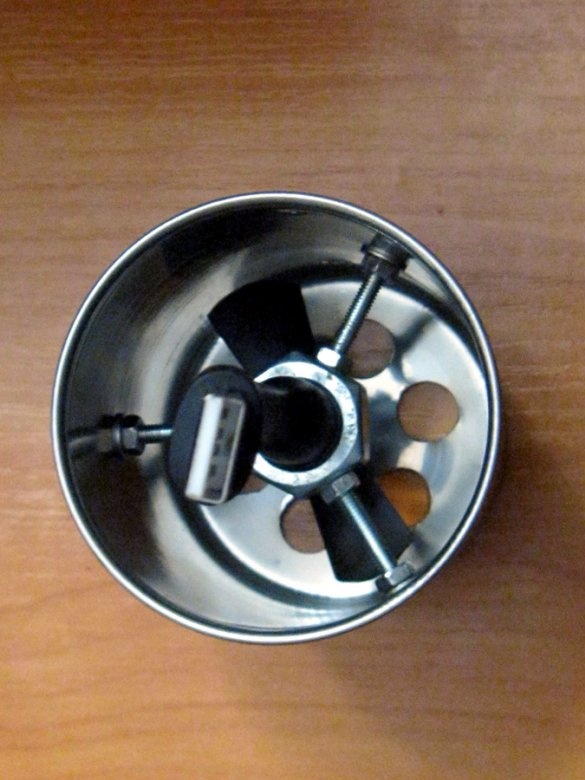
We insert the fan into the main nut, put on a nozzle with blades (they need to be cut so that they freely enter the mug), and twist. Slightly, the fan casing is soft, and too much tightening can jam it.
Then put the M4 nuts on the screws, clamp the structure: three - we press it to the axial nut, and three more - to the walls of the mug.
Now the finished monolithic design, once again making sure that everything works, put aside.
External housing
It will require a little more detail:
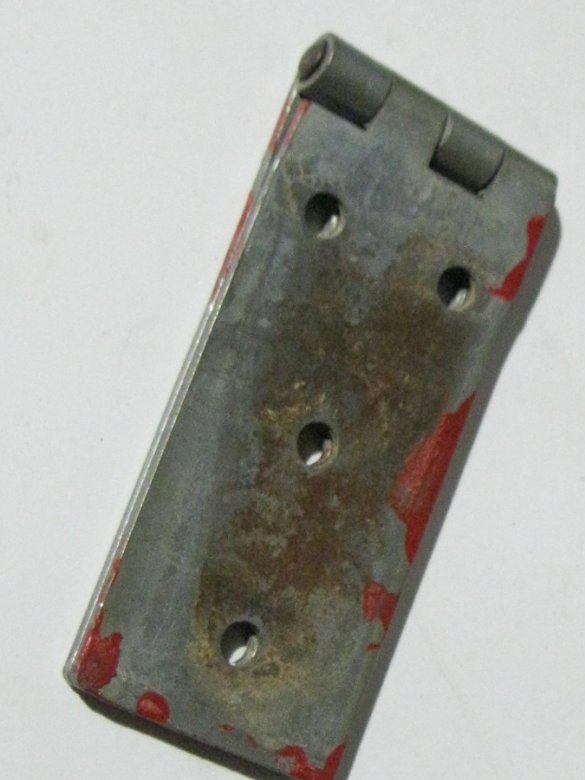
• loop (it had to be cut);
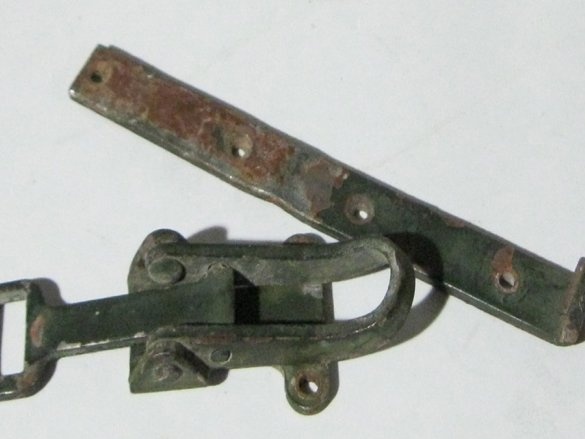
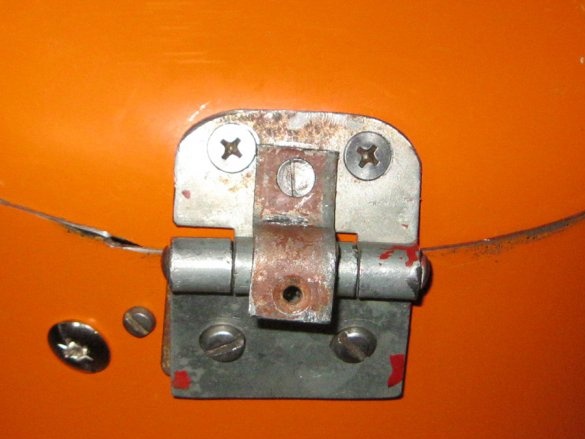
• frog castle from some army box;
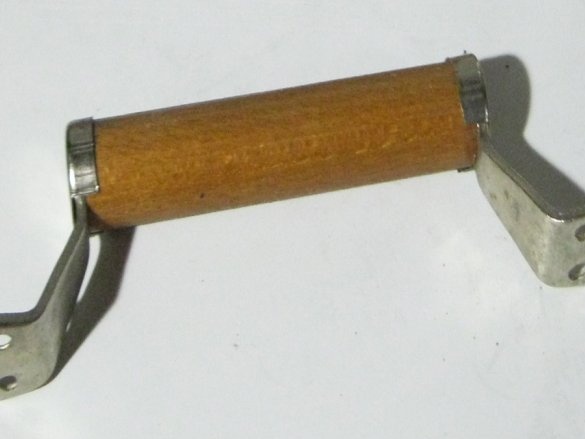
• full-sized door handle;
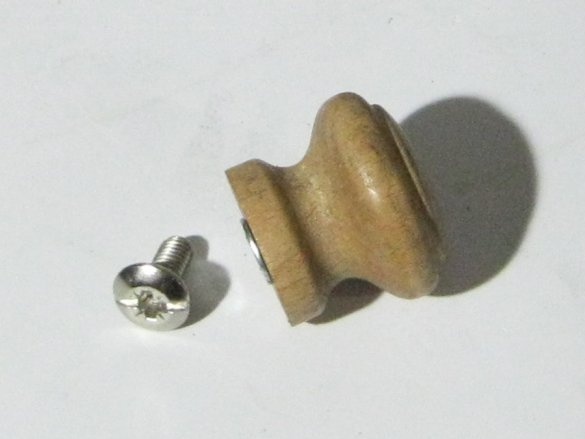
• and a small furniture handle-mushroom;
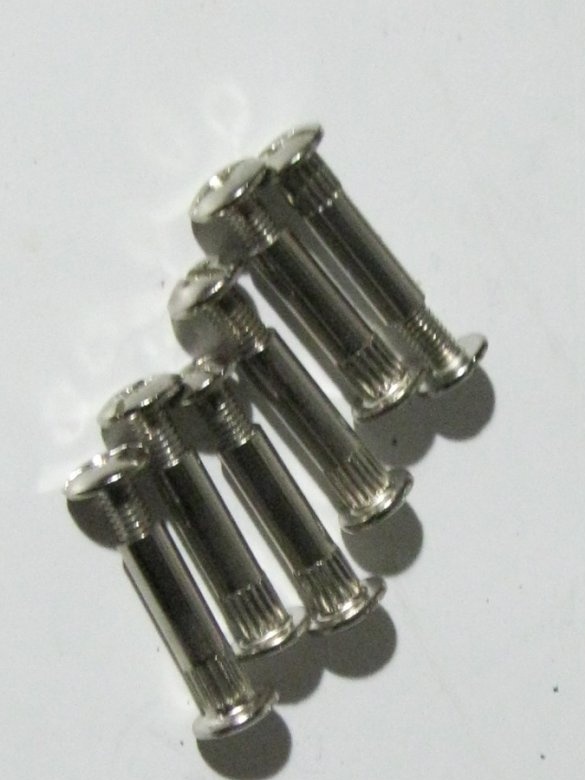
• 6 furniture bolts-couplers;
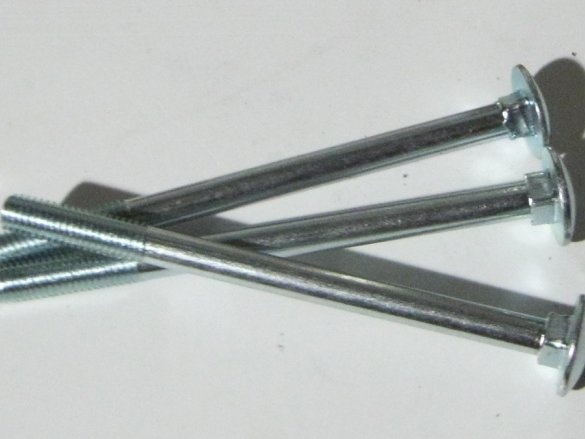
• and three furniture screws M8, (they will act as legs), also with nut washers.
Plus countersunk screws M4 and M 5 with a length of 10 mm with nuts.
Yes, from the cylinder from the fire extinguisher it is necessary to cut off the lower part-leg: it will be needed.
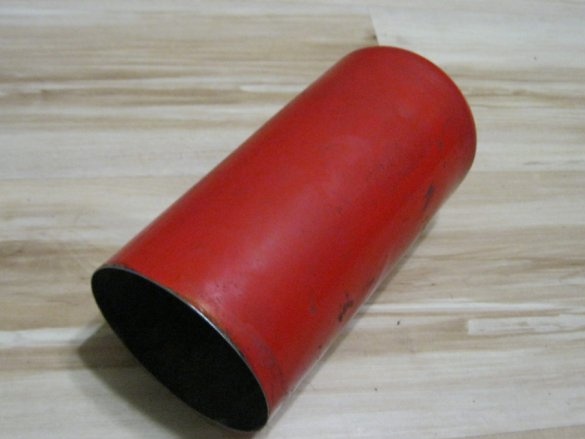
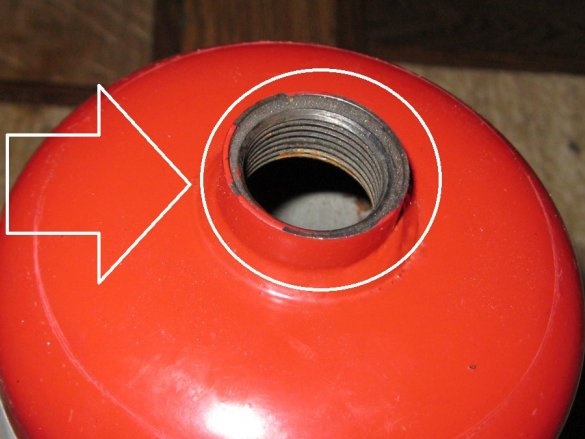
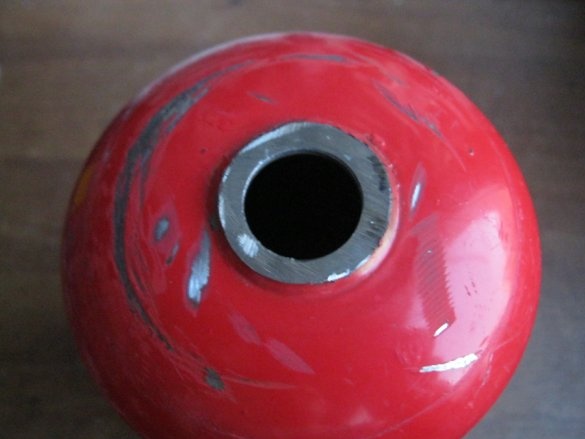
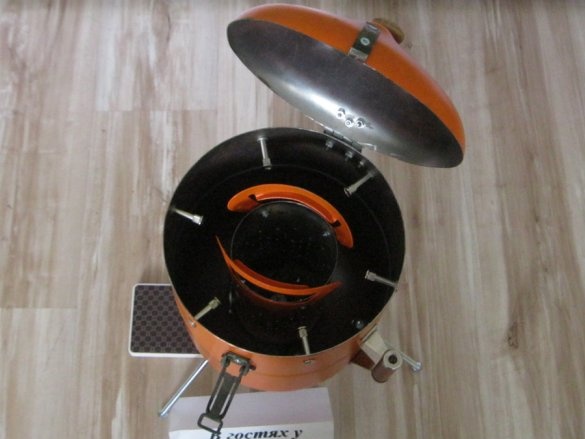
Bleed the rest of the freon in the cylinder. Now, having drilled more than three dozen different holes, making a corner-stopper from the frog part (however, any other piece of metal is also suitable), separating the handles from the balloon (they will still be needed) and cutting off the valve, we cut the bottom. Now it will become a “cap”: the cylinder must be turned over.
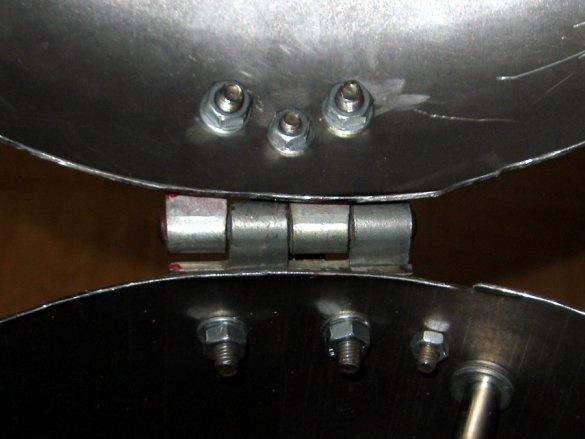
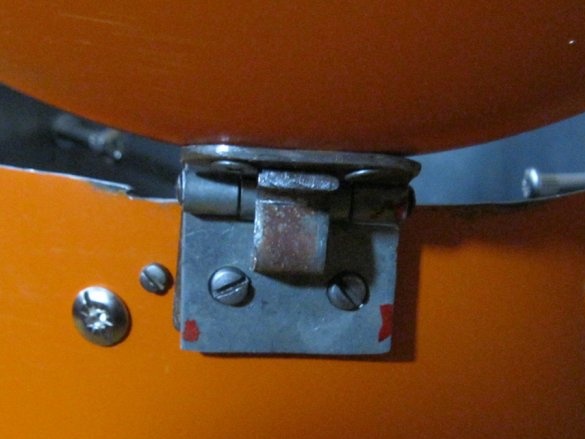
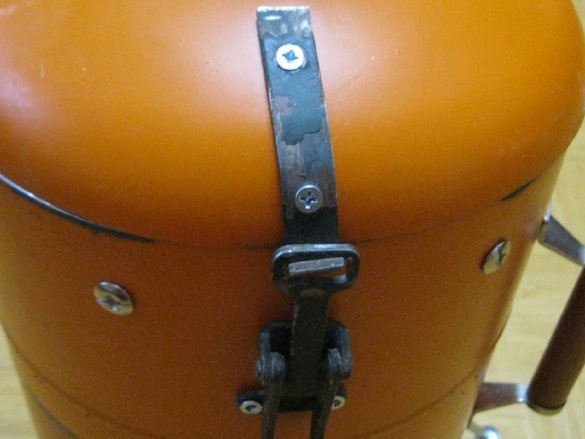
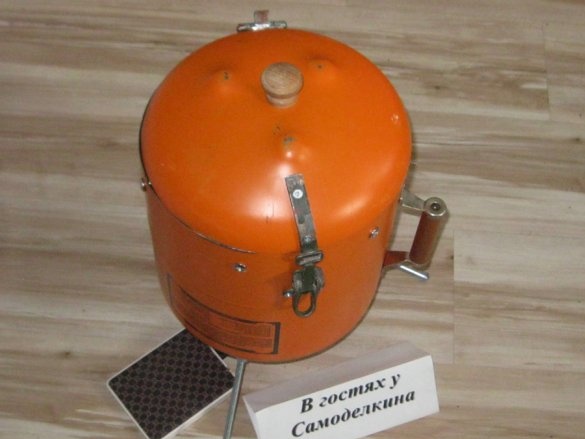
We fasten everything on it. And this is a loop fastening the lid with the main part of the smokehouse.
Moreover, we also attach a stopper to it: in the closed position it does not interfere,
while in the open - the lid leans back only 90 degrees.
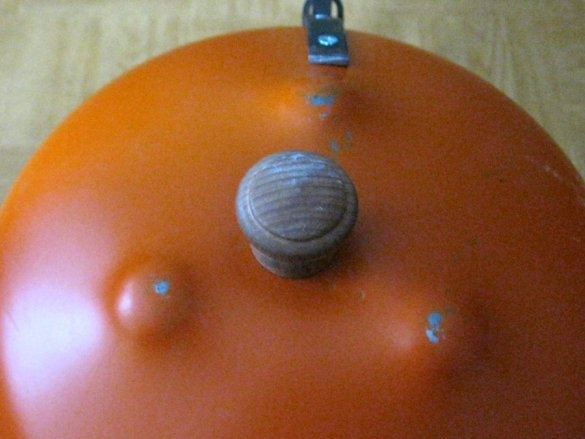
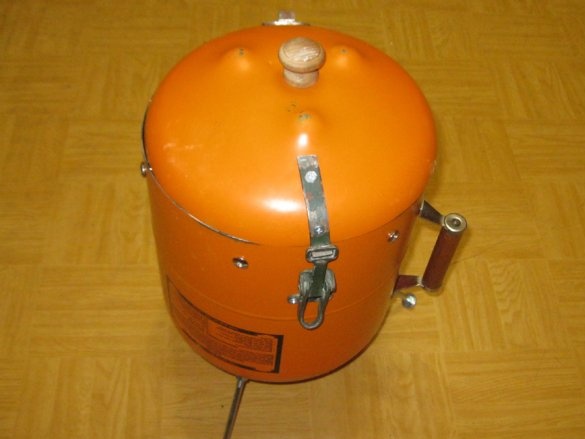
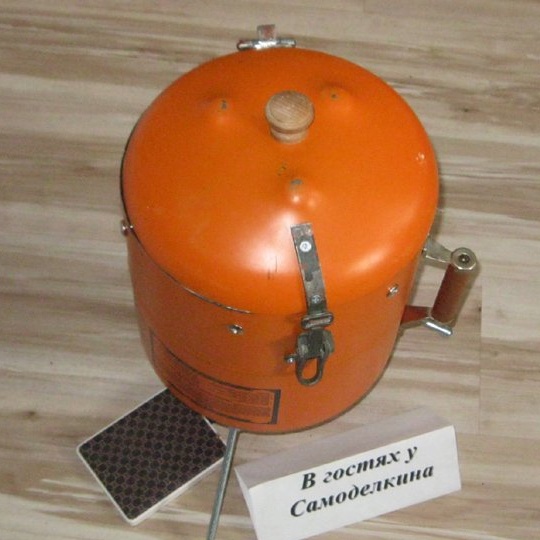
A small wooden mushroom is on the lid;
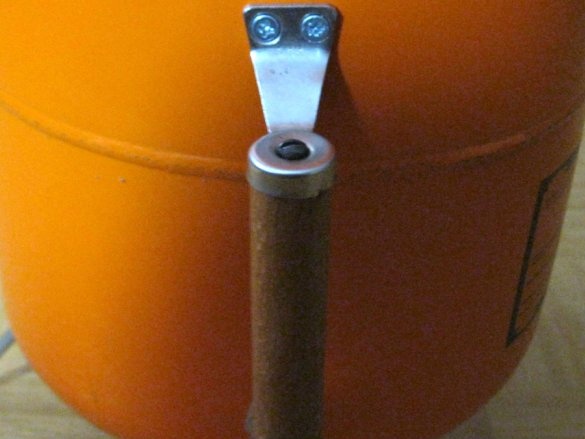
and the large door is just on the side: it’s convenient to wear and put behind it.
The lid will be closed on the frog, so mark the holes so that it is "tightened".
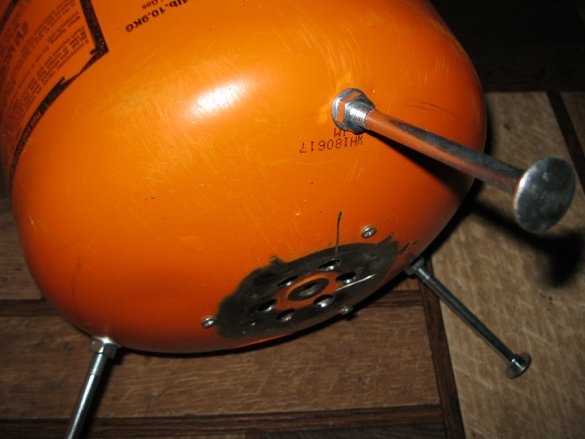
It remains to screw the legs:
now externally the smokehouse is very similar to stove for cauldron. But - only outside.
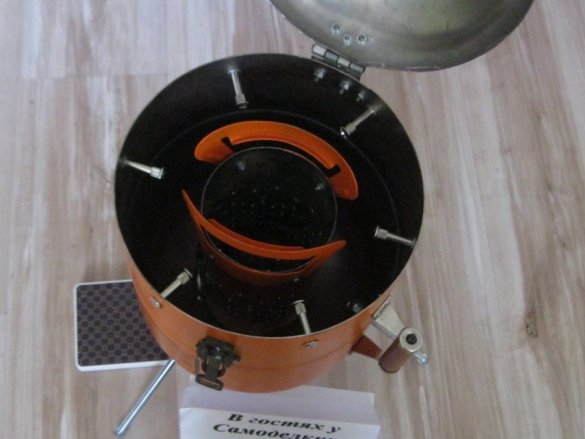
To the bottom from the inside, we screw the previously prepared part from the fire extinguisher,
and six furniture ties. On them we will hang a variety of products that we will smoke: therefore, the holes for them should be drilled as high as possible.
Everything, now you can proceed to the third component.
Directly smoked
It is the simplest part: in fact, you don’t have to do anything. Since cutting the bottom of the fire extinguisher for the outer case of the smokehouse, you will certainly cut it:
I did so.
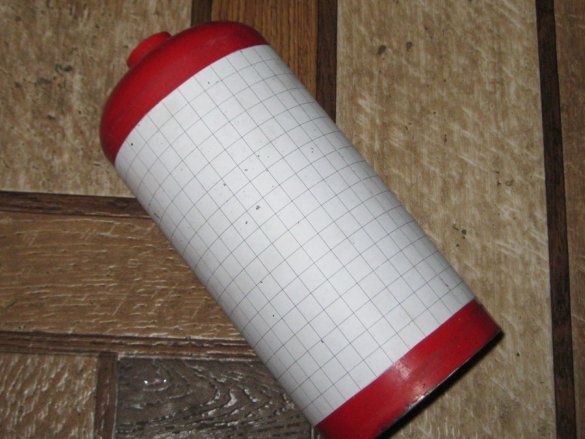
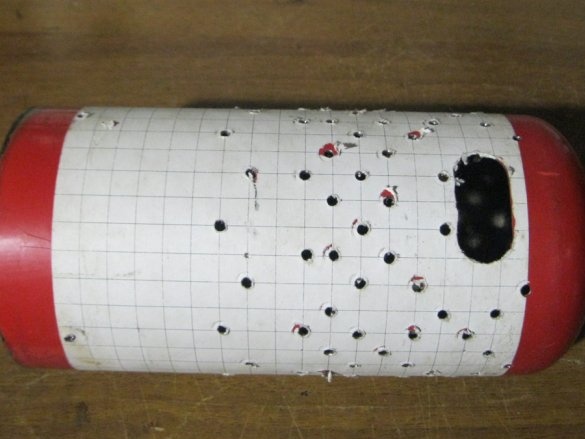
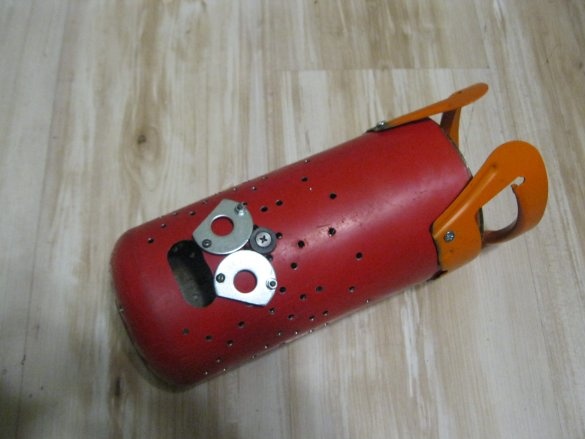
And in order not to mark a lot of holes manually, I simply drew a table with a 1 by 1 cm cell in the Word, printed two sheets, and simply pasted it with double-sided tape.
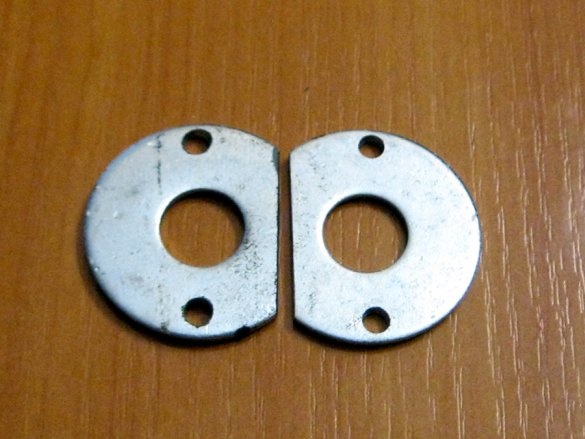
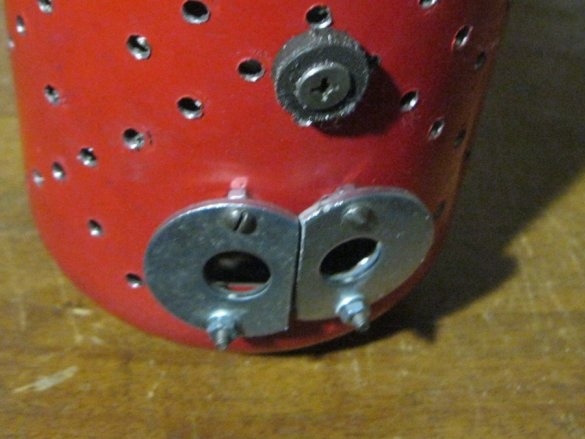
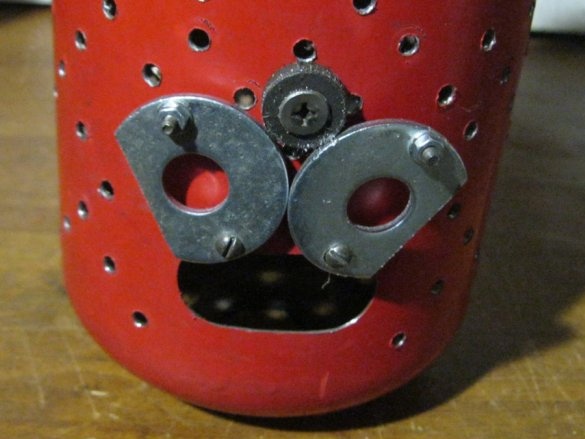
But any stove, even if it does not burn, but smolders of charcoal-granules for a long time, should have a small firebox. Therefore, I’ll do it at the very base: and so that it closes during combustion, from two large washers, an external diameter of 36 mm, make these doors:
The first fitting showed: interferes.
Therefore, just cut off this nose.
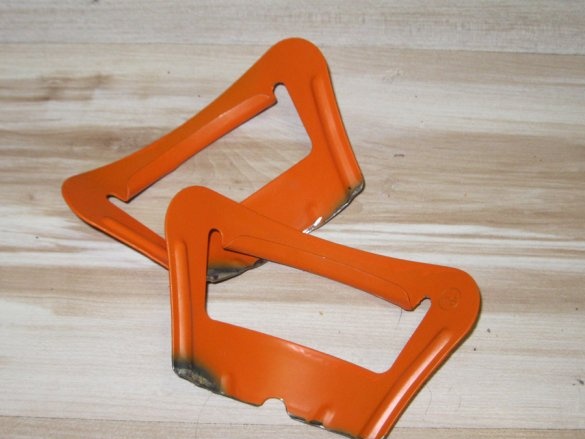
By the way, handles from a freon cylinder: we cut them
and drill a couple of holes in each, to then fasten.
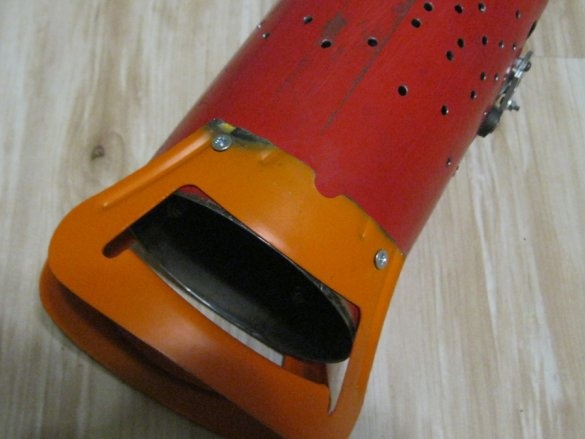
I cut an oval firebox, openings for doors and smoke. Naturally core, and drilled with a drill 4 mm.
I screwed the doors
and so that they were fixed in the upper position - a small magnet took from some headphones and also screwed it in place.
Pens. It was necessary to screw them last, but oh well.
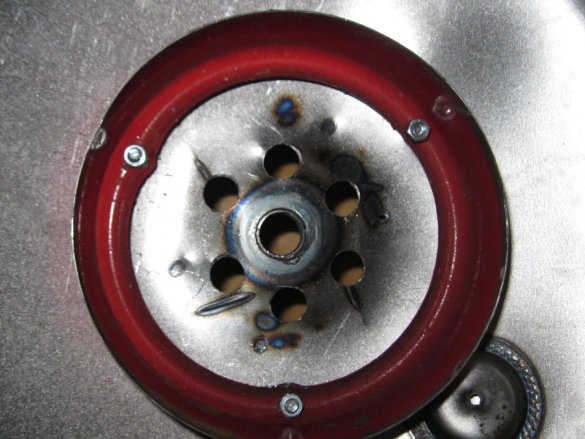
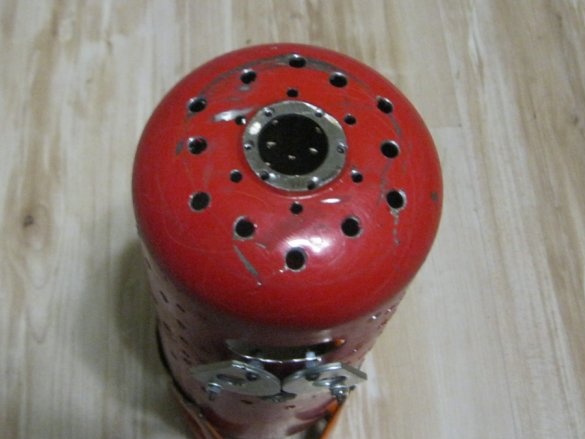
Also drilled holes for blowing from the bottom. Moreover, the largest, in the center, overlaps during assembly.
So you won’t even have to figure out how to close it.


