
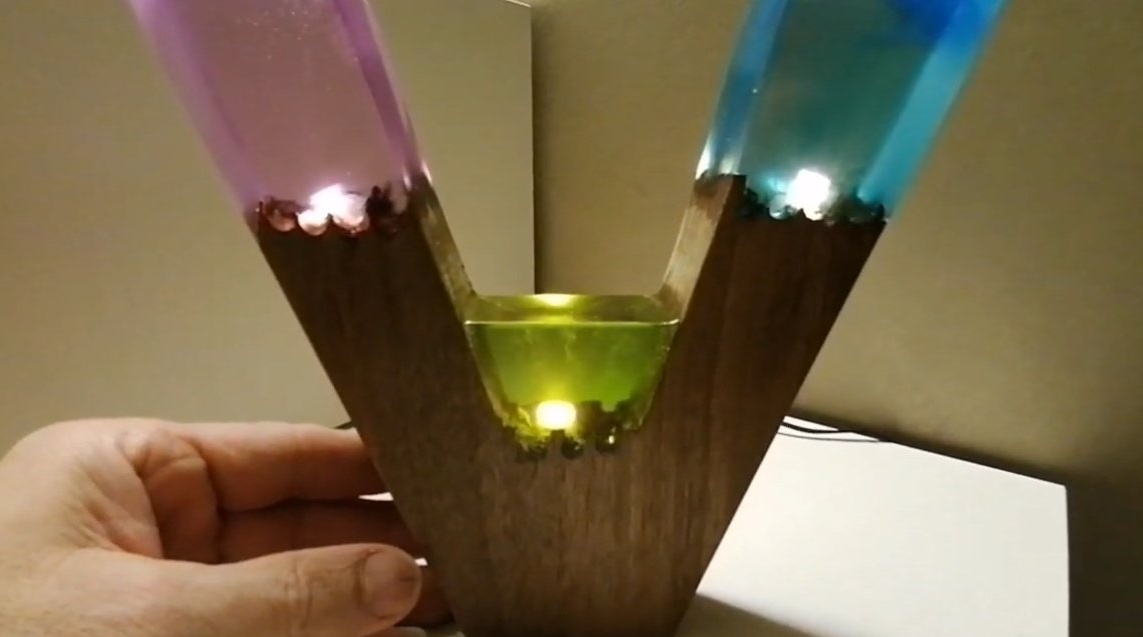

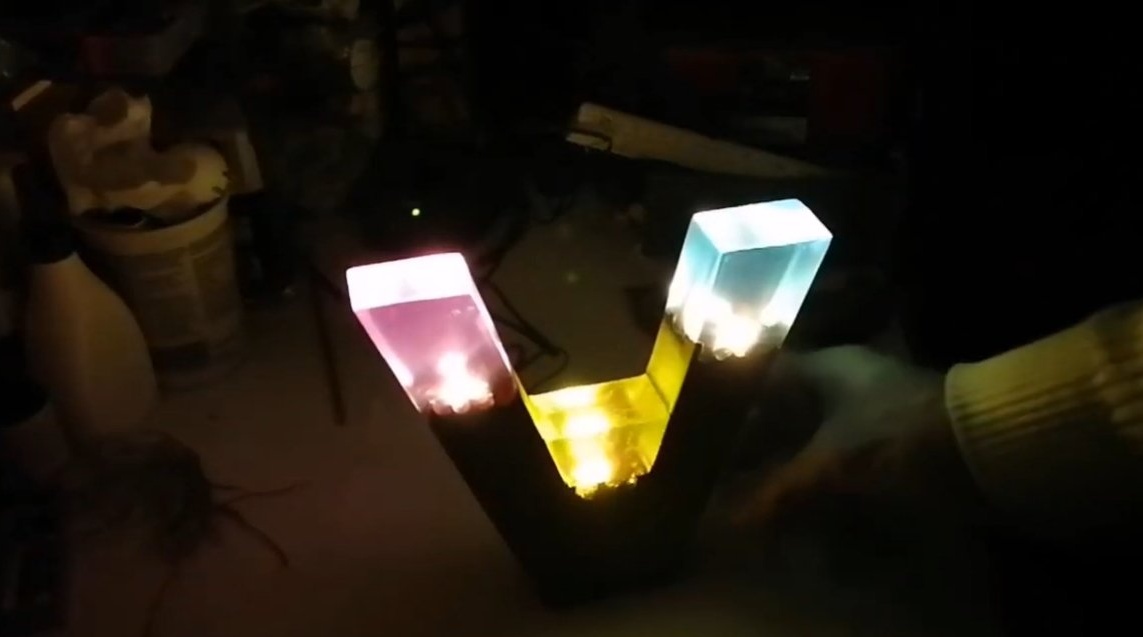
I welcome all fans to craft, I propose to consider instructions for making an interesting night lamp made of epoxy resin and wood do it yourself. The light source is LEDs, the night light consumes little current, and in the dark it shines quite brightly and beautifully. In manufacture homemade not complicated and you will not need special equipment. If you are interested in the project, I propose to study it in more detail!
Materials and tools used by the author:
Material List:
- a piece of a large width board;
- sheet acrylic for formwork;
- epoxy resin and dye;
- 3V LEDs;
- wires;
- a suitable power source.
Tool List:
- tape cutting machine (or other cutting tool);
- drilling machine and drill;
- paper, pencil, ruler;
- glue gun;
- Grinder;
- sandpaper;
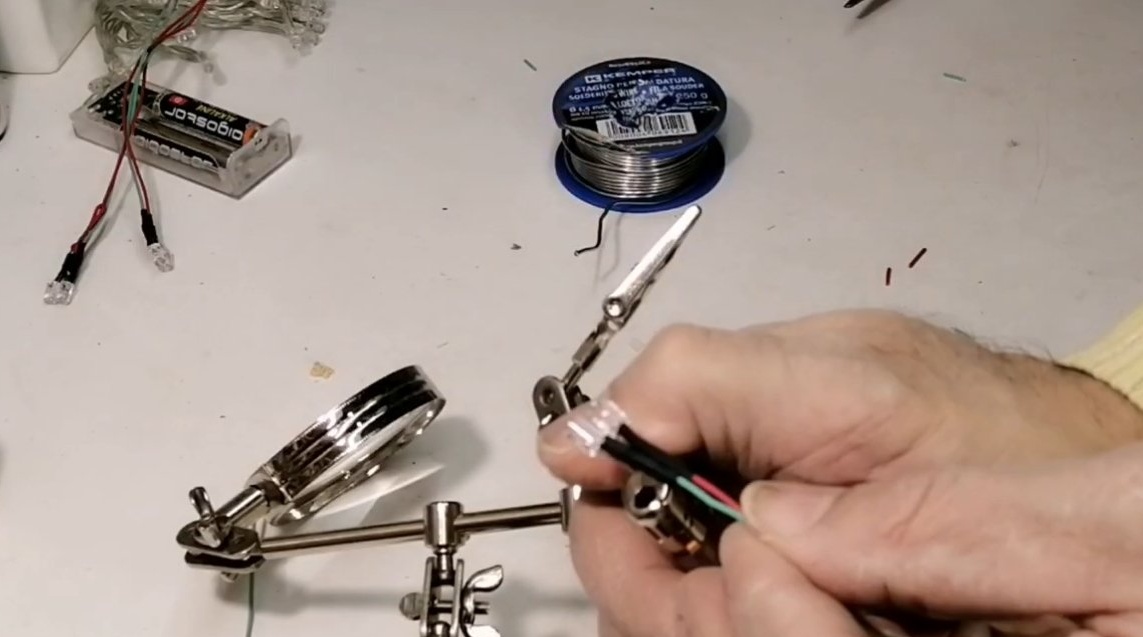
- soldering iron;
- spray can of acrylic varnish.
Homemade manufacturing process:
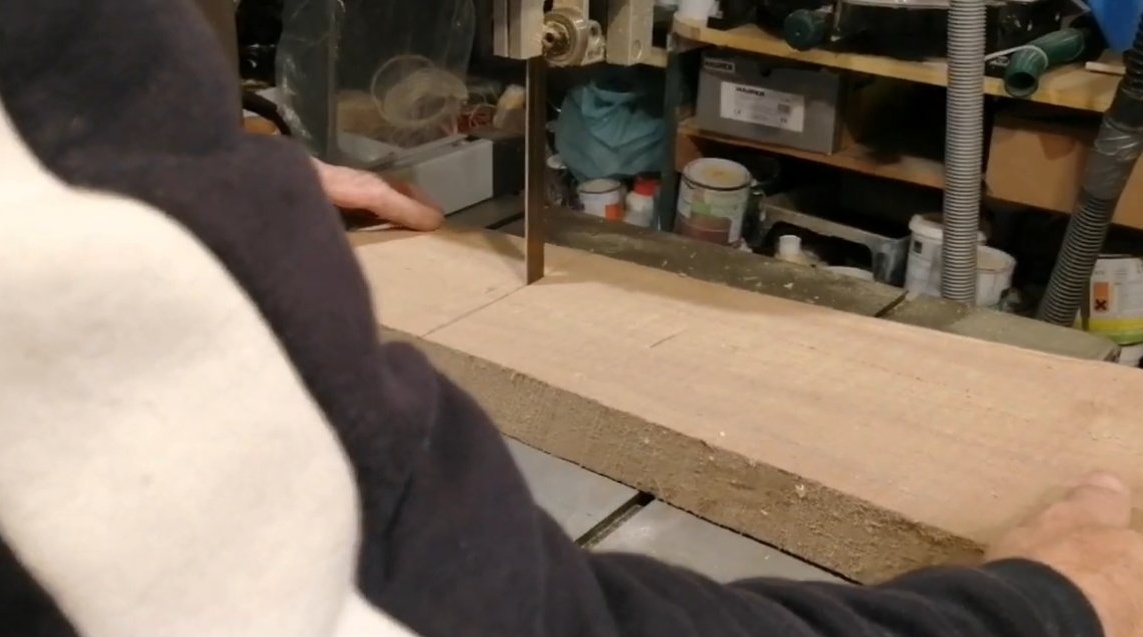
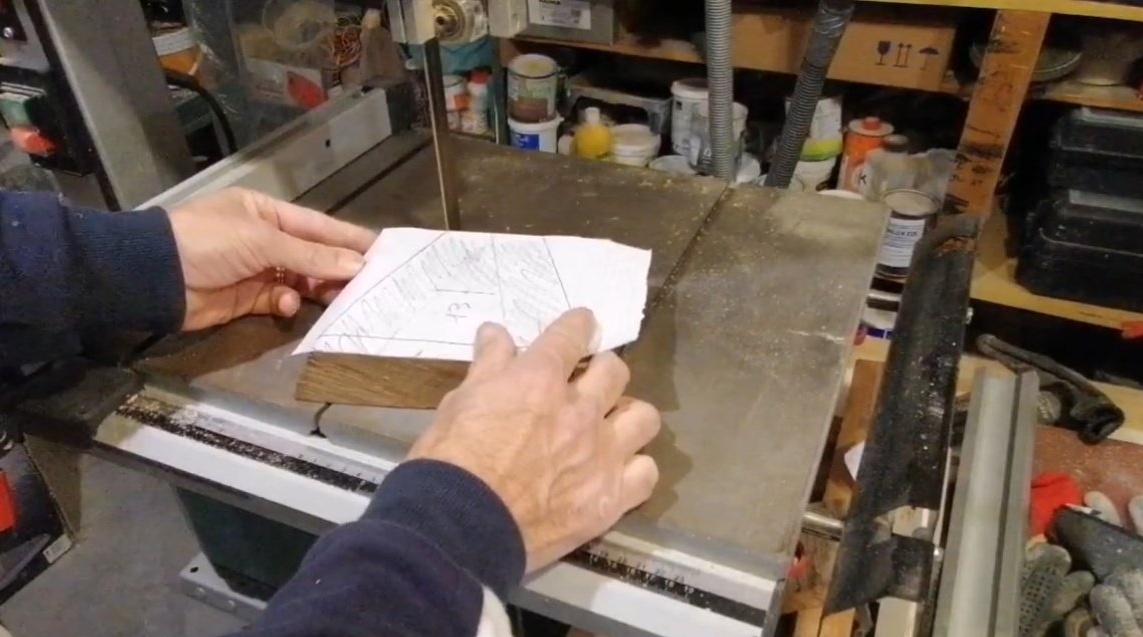
Step one. Cut out the base
First of all, we will make a template for the project. We draw everything on paper, cut out and glue the template to the tree. Further, the author cuts the workpiece from the board, it is useful to have a tape cutting machine for this, but you can also handle the jigsaw.


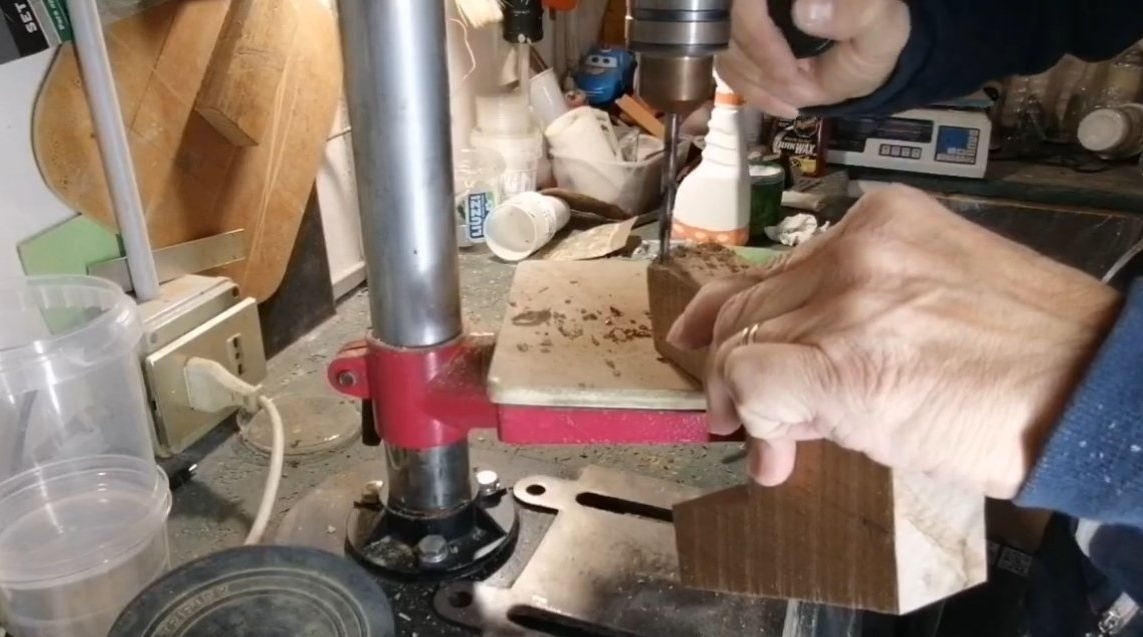
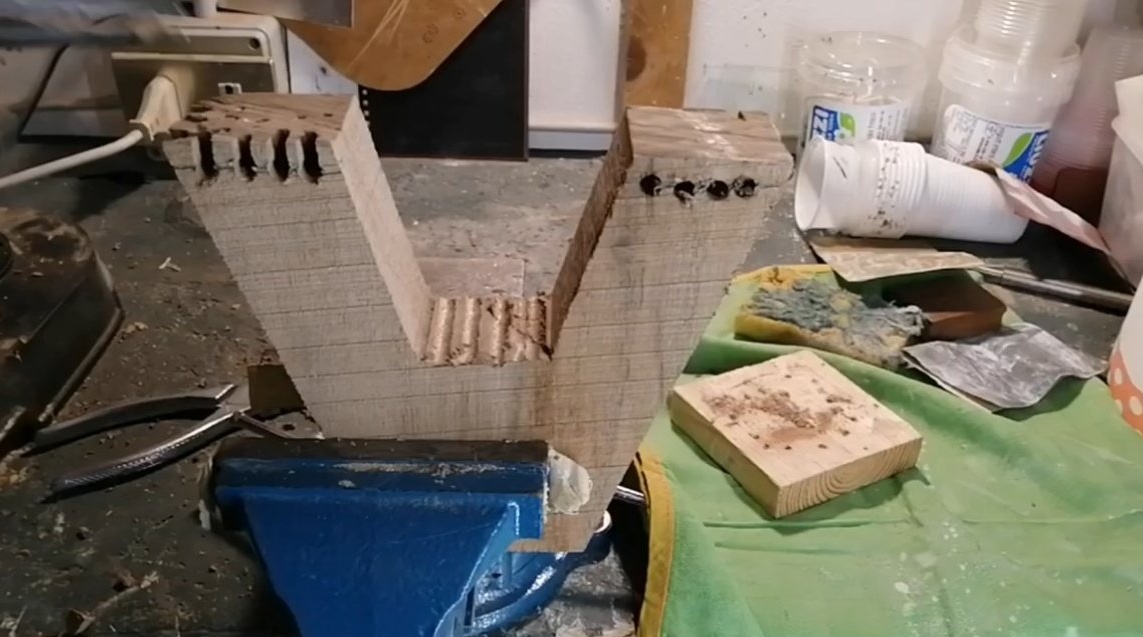
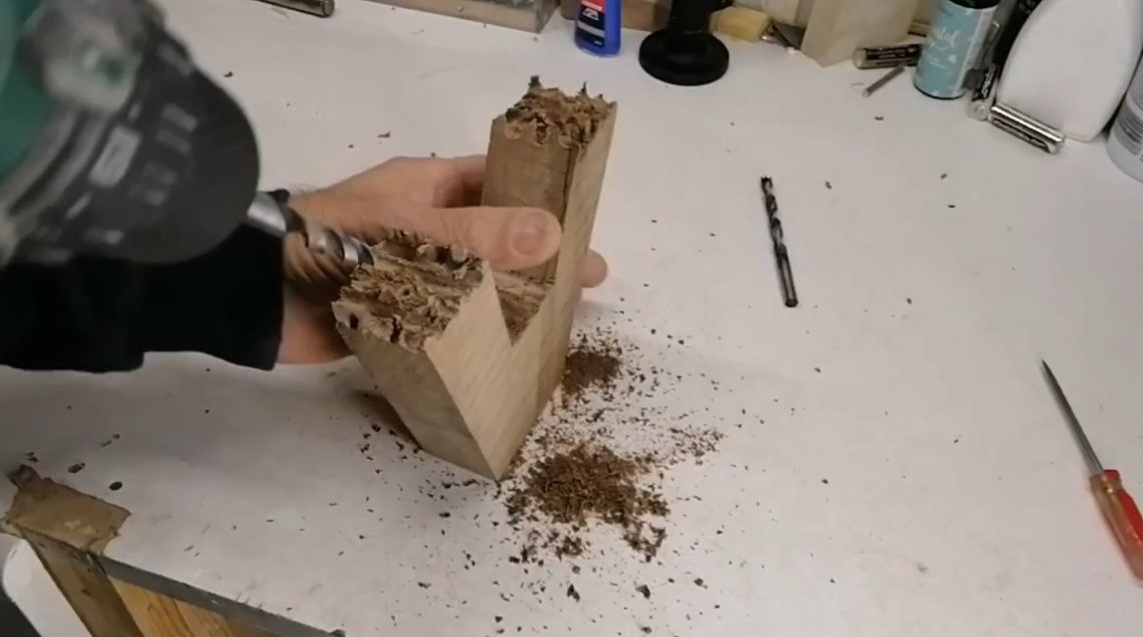
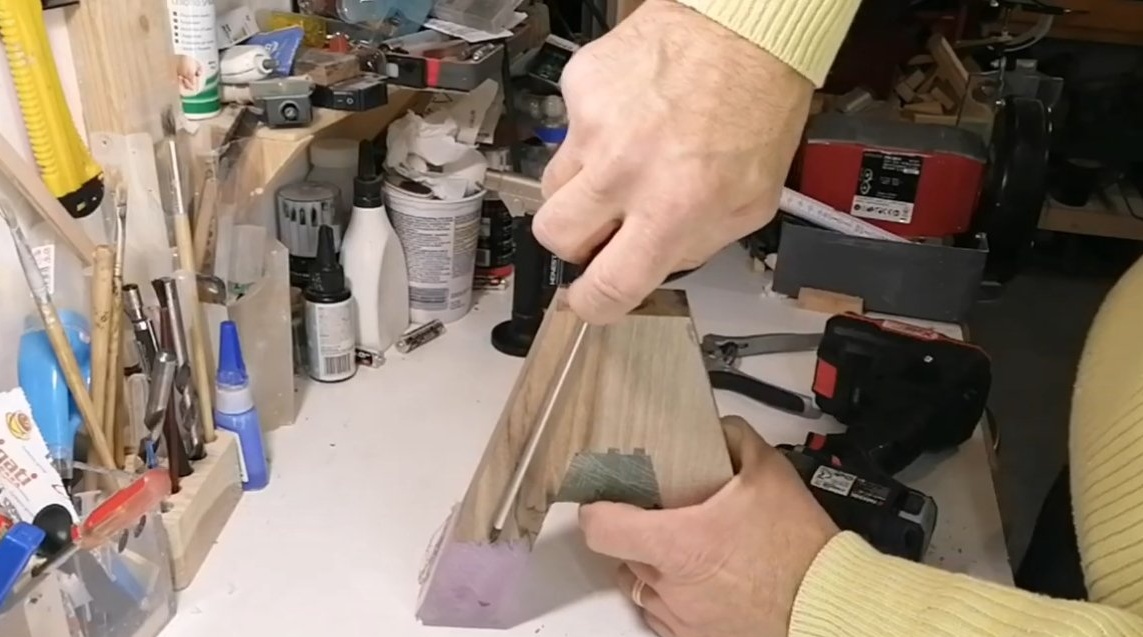
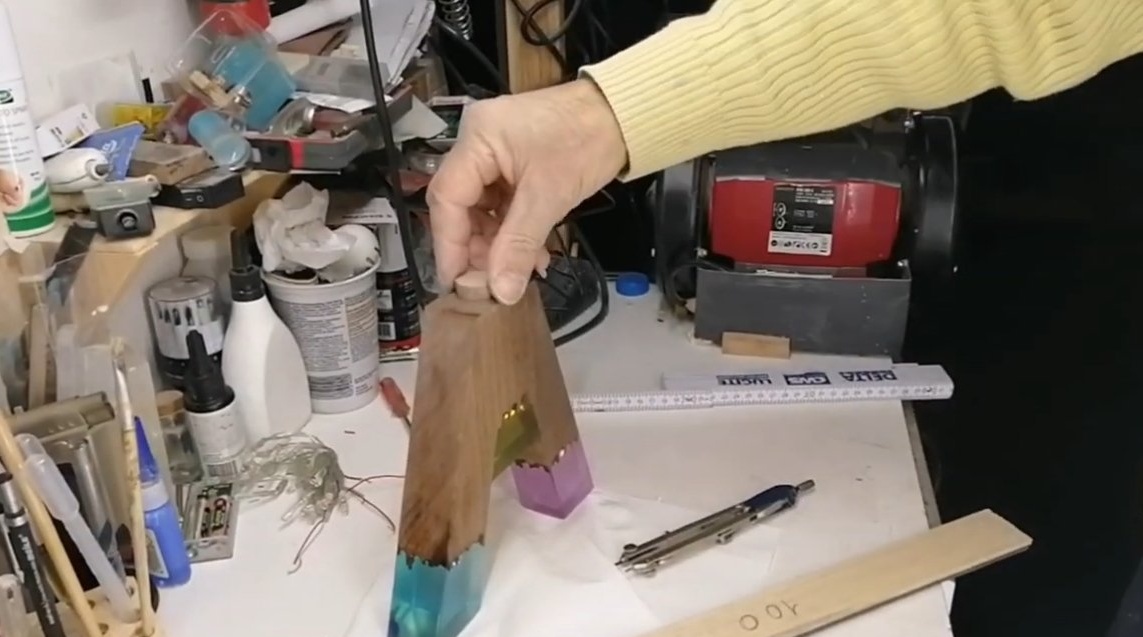
Next, you need to process the edges of the workpiece so that they have a torn appearance. To solve this creative problem, we drill holes in different directions, and then with the help of a hammer and a chisel, we edge the edges. As a result, we get torn edges that will look great in epoxy.
Step Two Pour resin
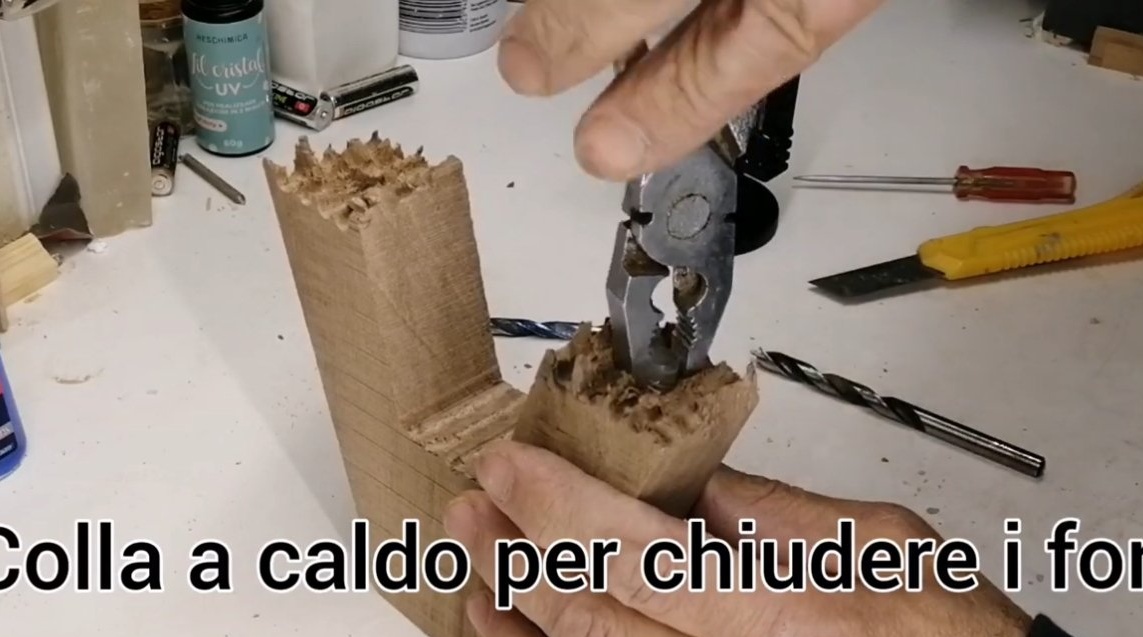
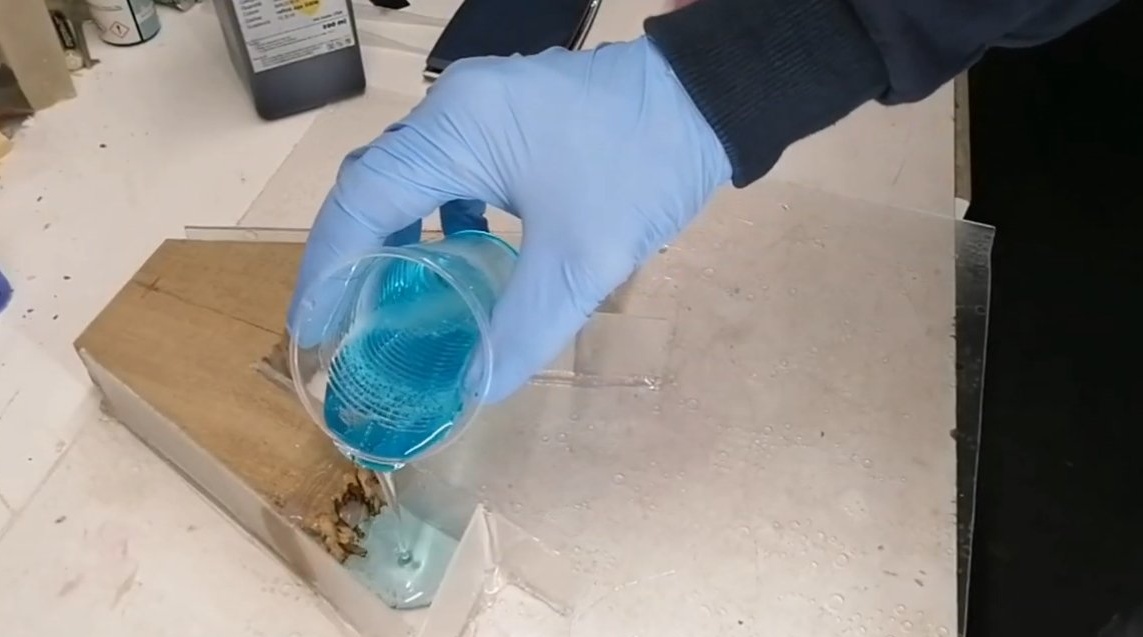
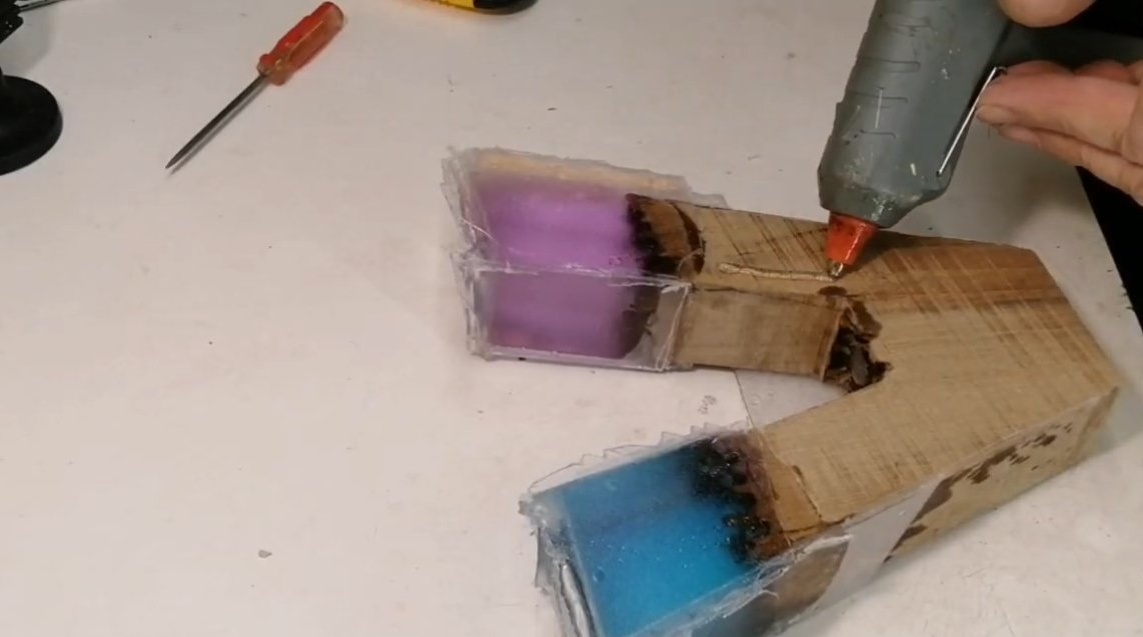
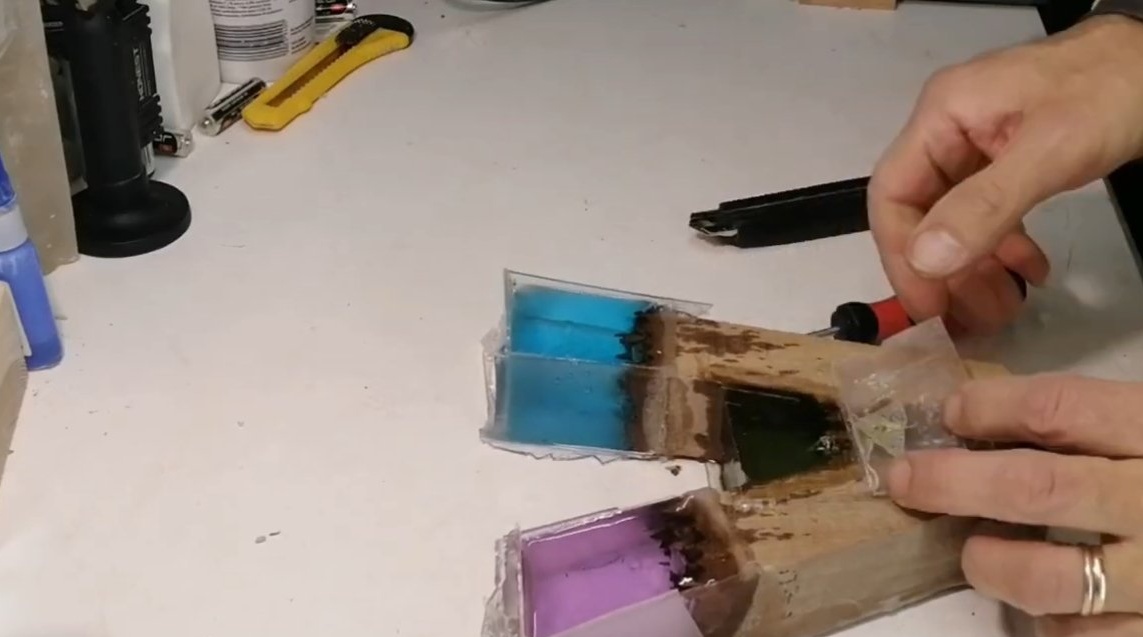
You can start pouring the resin, to begin with, pour the resin into the upper ends of the workpiece. We lay the product flat and glue the formwork of sheet acrylic. Everything can be glued with hot glue, glued carefully so that there are no gaps anywhere through which the resin can leak.
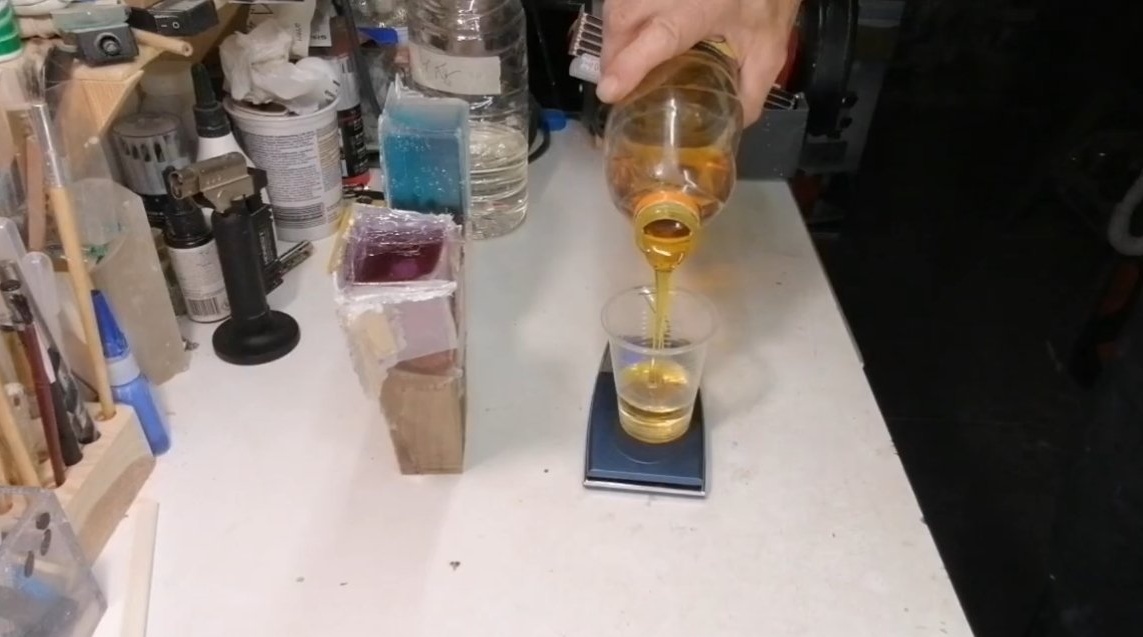
Add dye to the resin, mix with the hardener and fill. From above, the bubbles can be blown off with a gas burner or a building hairdryer, but with internal bubbles everything will look even more interesting.
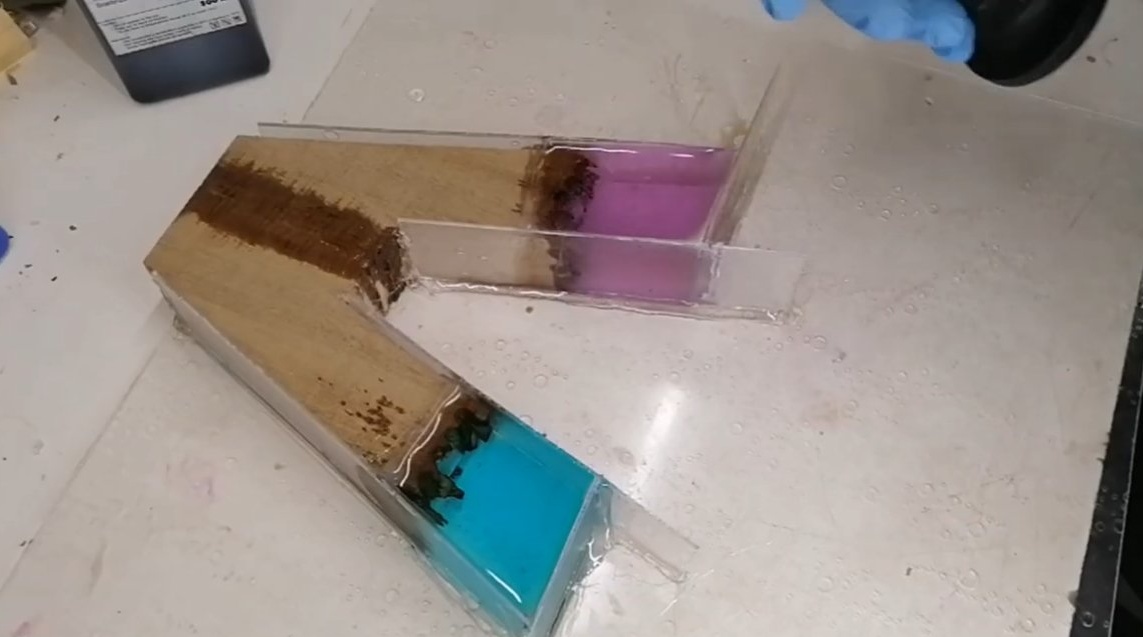


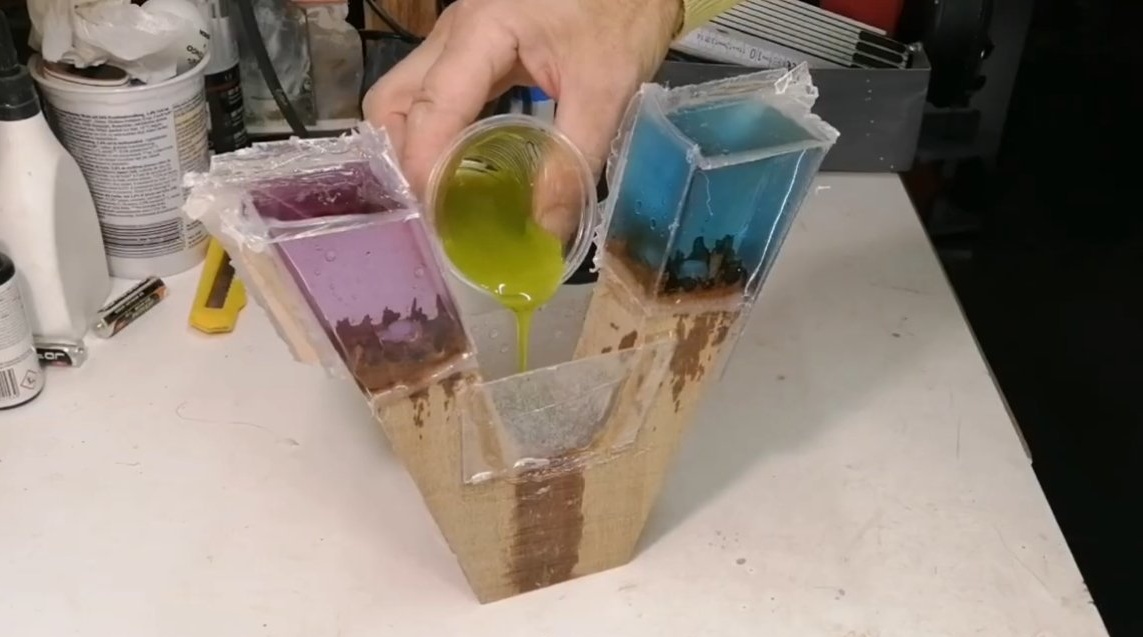
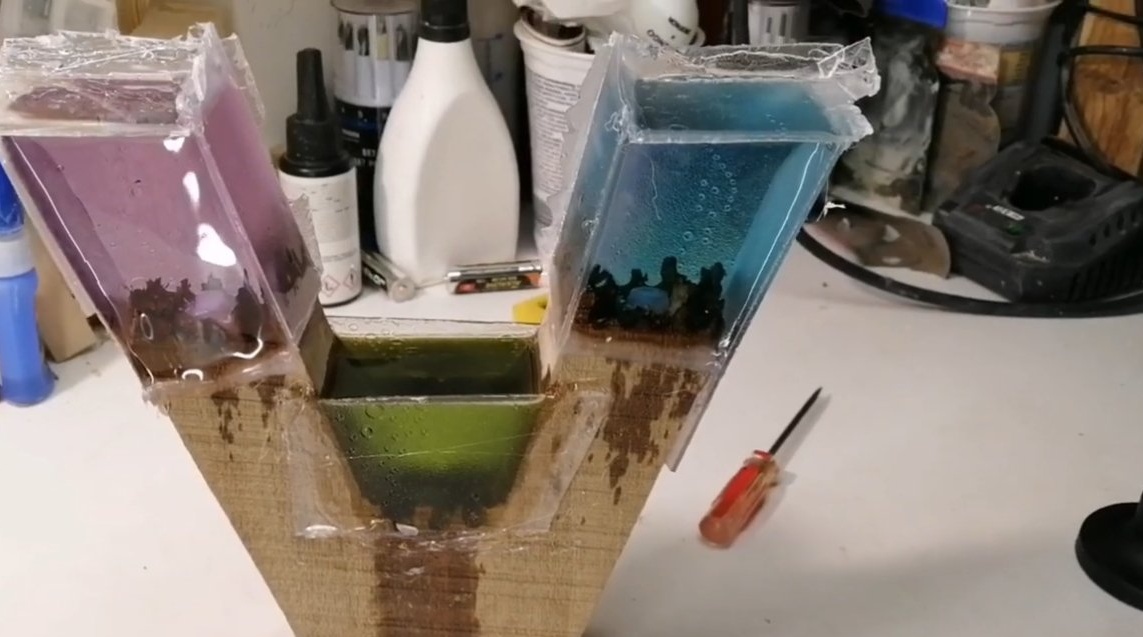
When the resin sets, put the workpiece vertically and fill the central part by gluing the appropriate formwork. Now it remains to wait until the resin has completely hardened, only after that it can be polished.
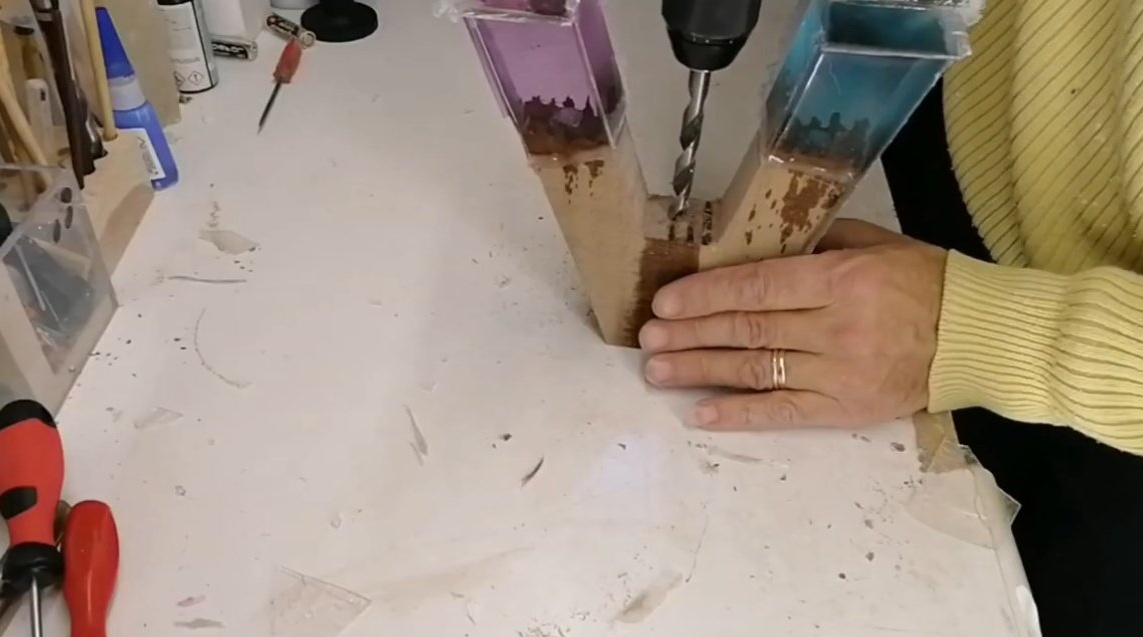
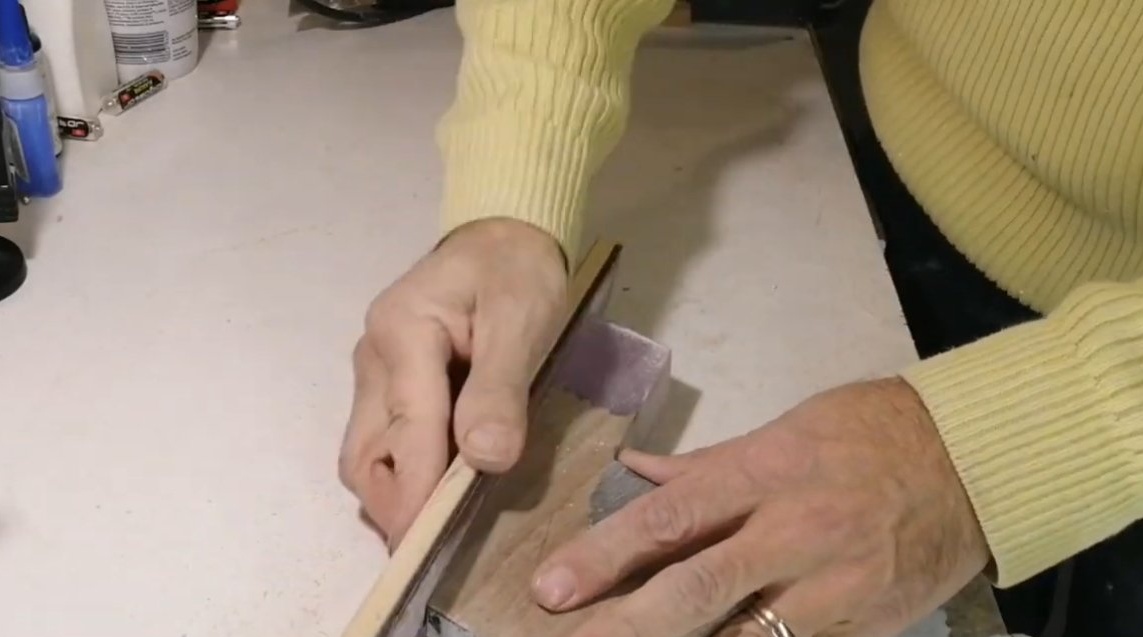
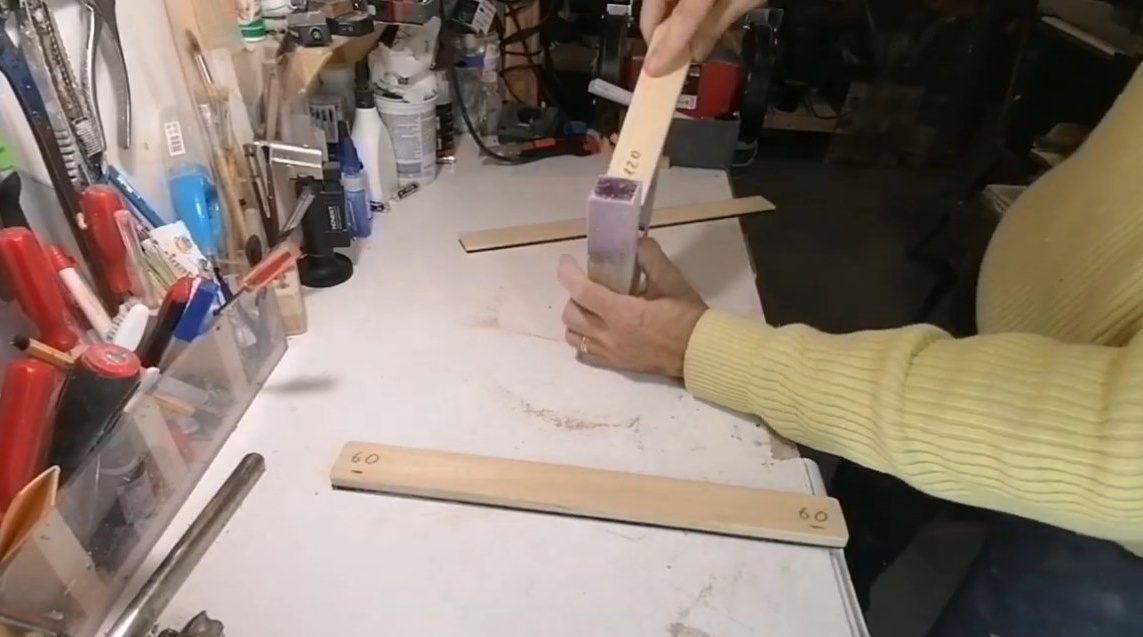
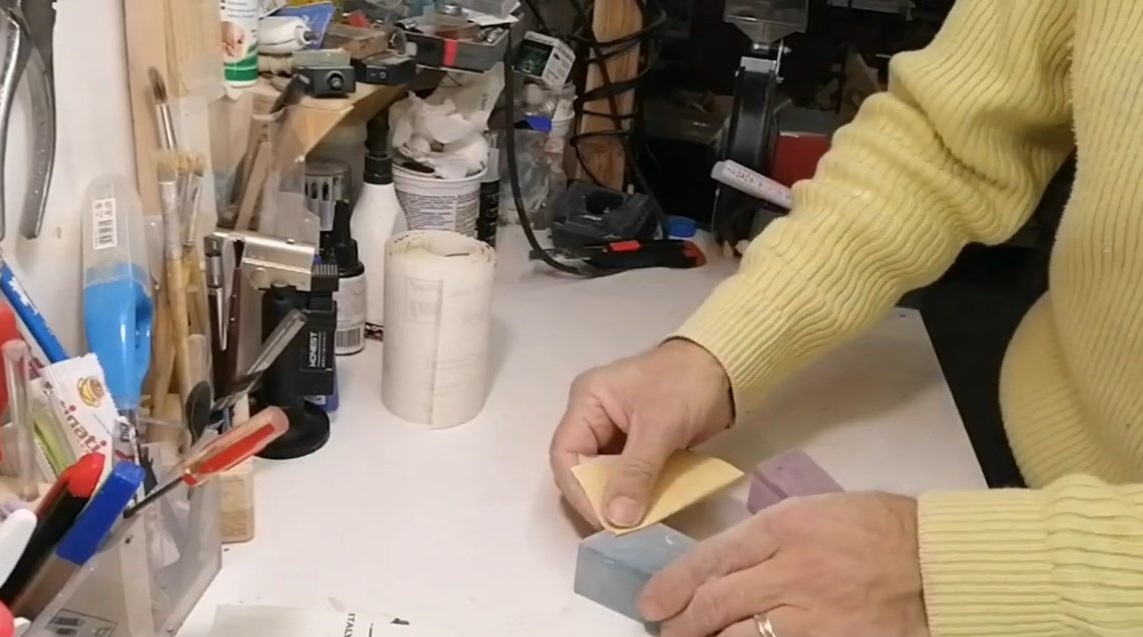
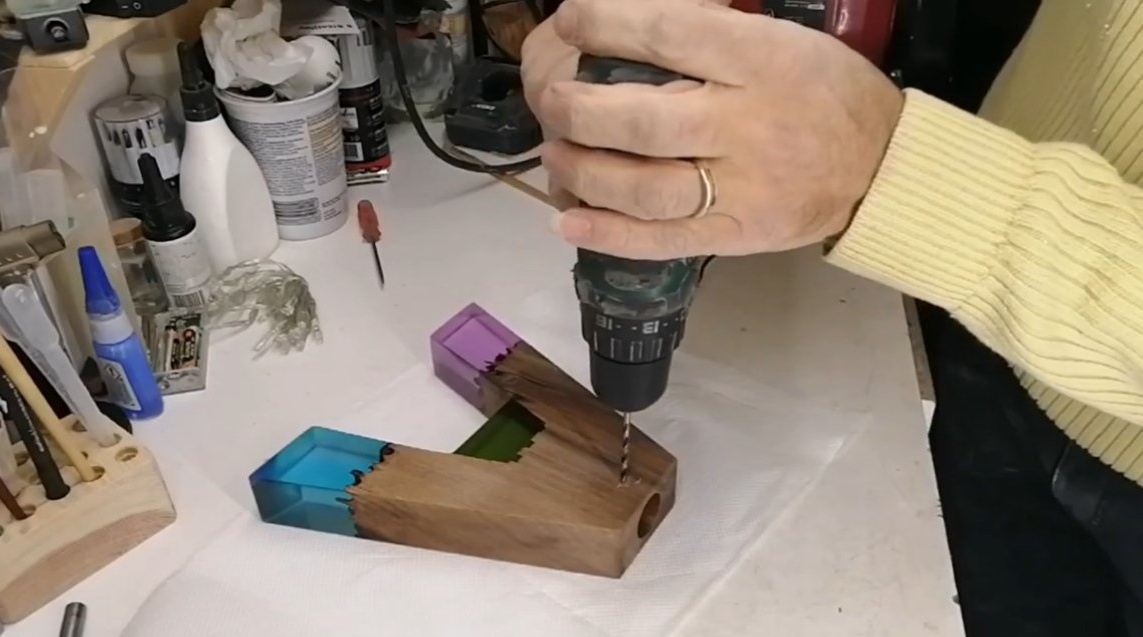
Step Three Grinding and holes
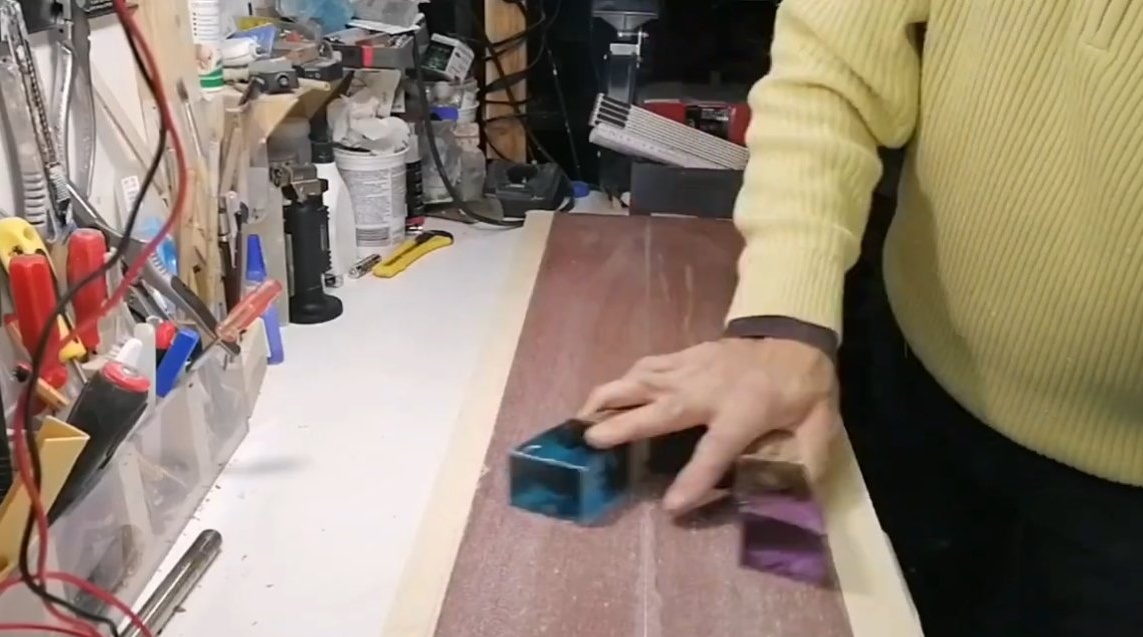
When the resin hardens completely, the formwork can be removed, to simplify the task, you can work with a building hair dryer.
Now we align the product planes by grinding. You can fix a sheet of sandpaper on the table to drive homemade work on it.

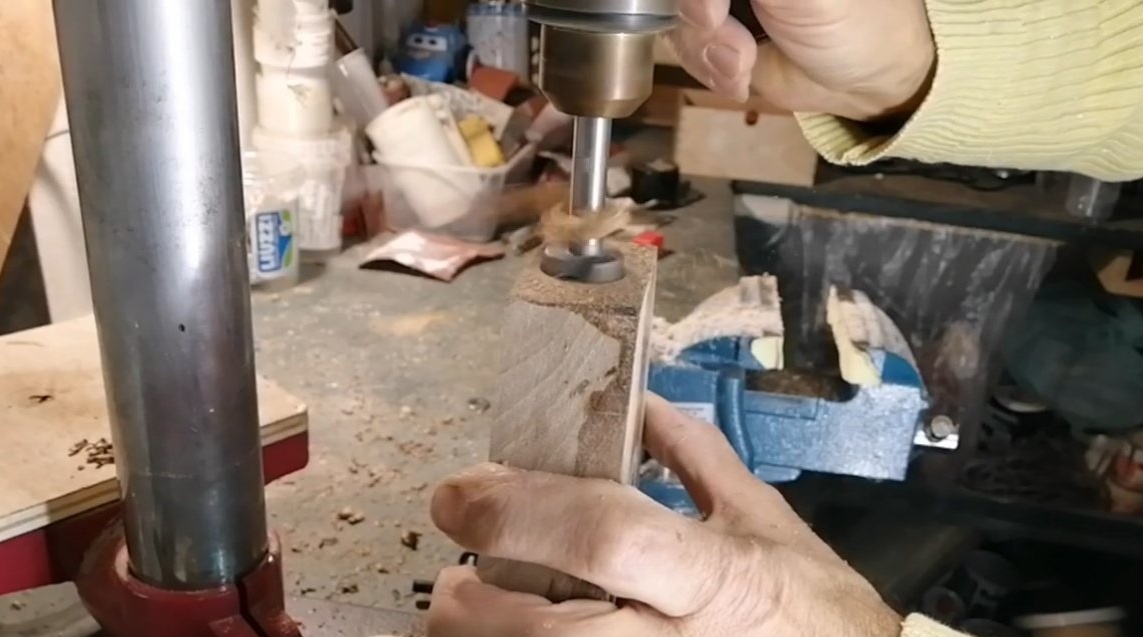
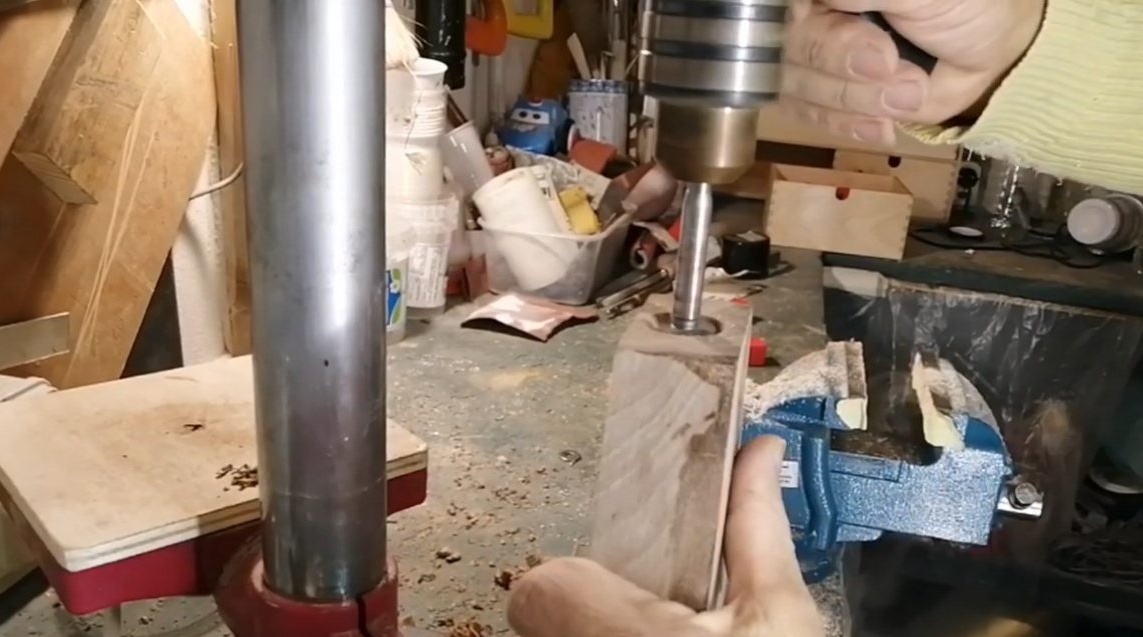
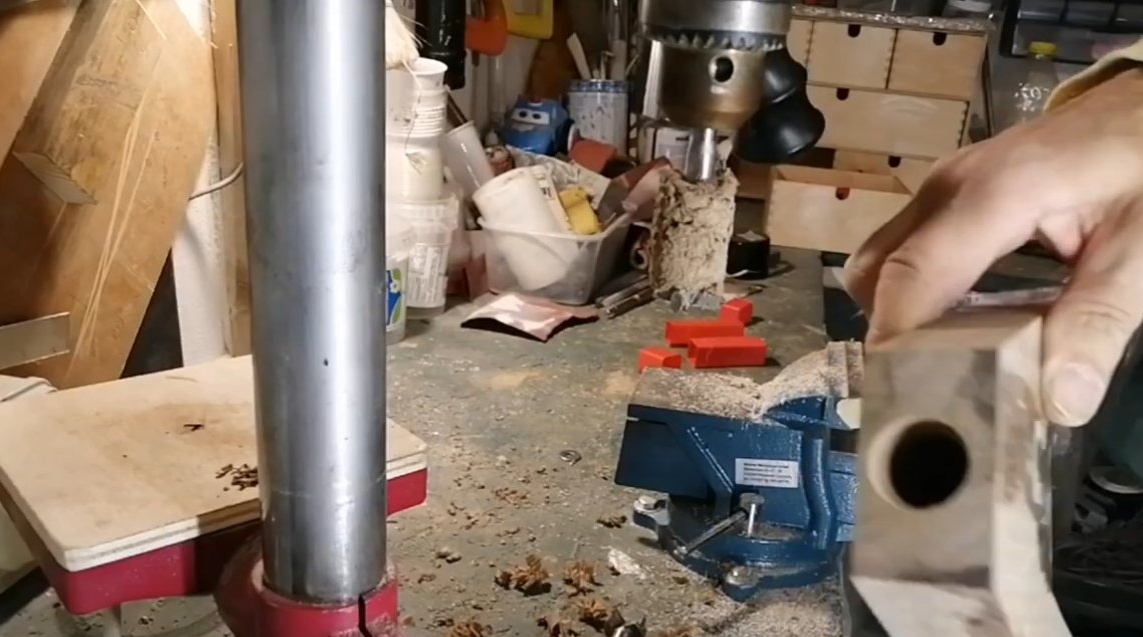
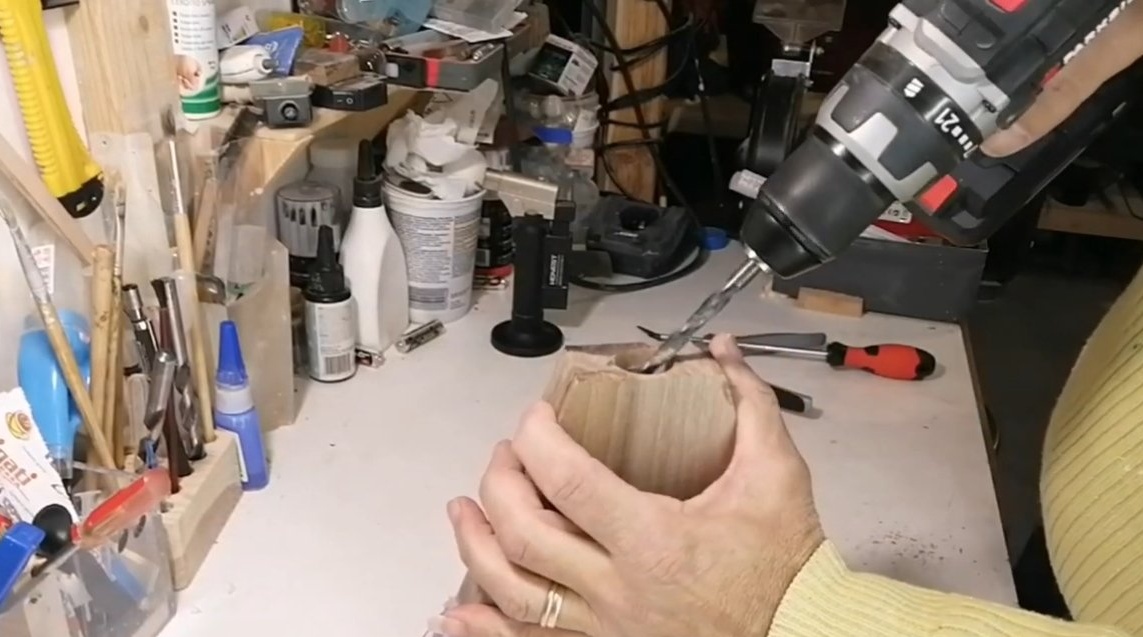
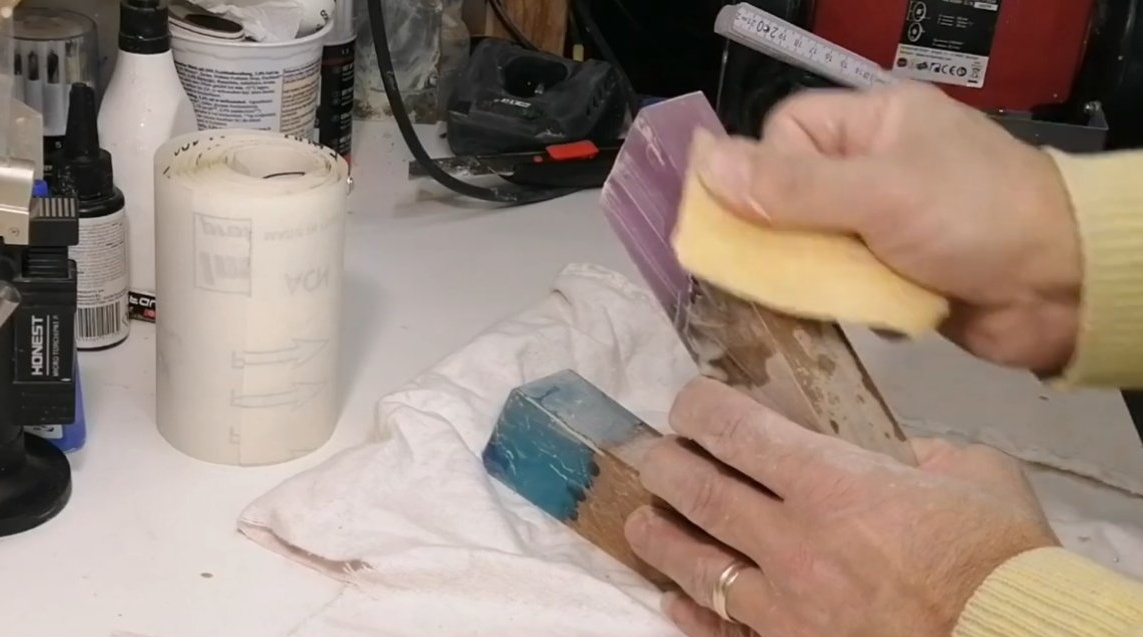
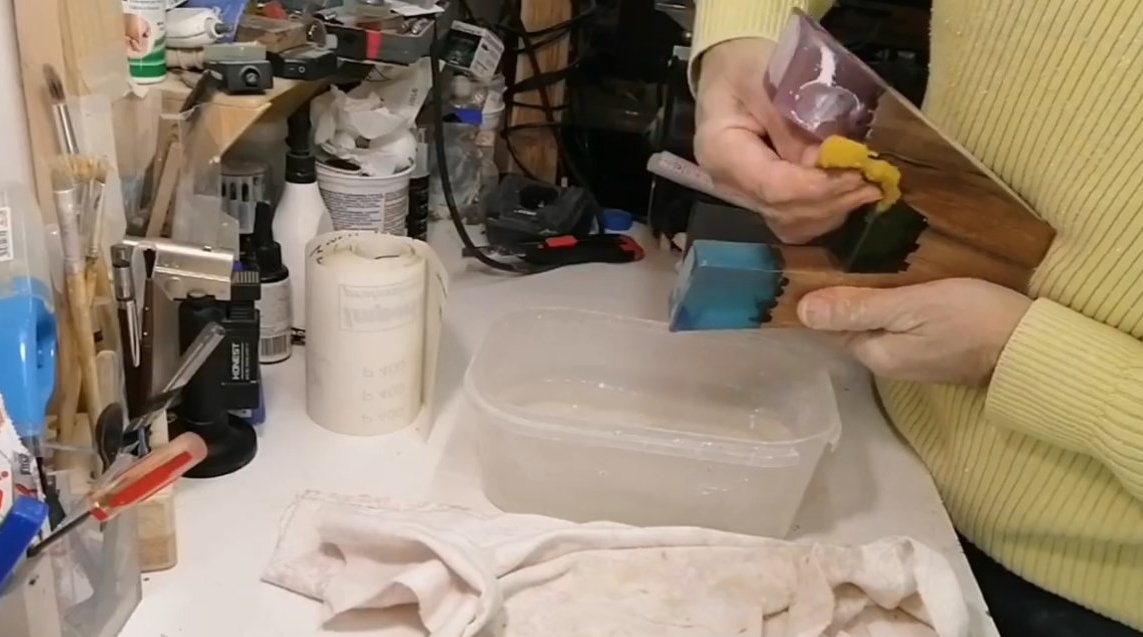
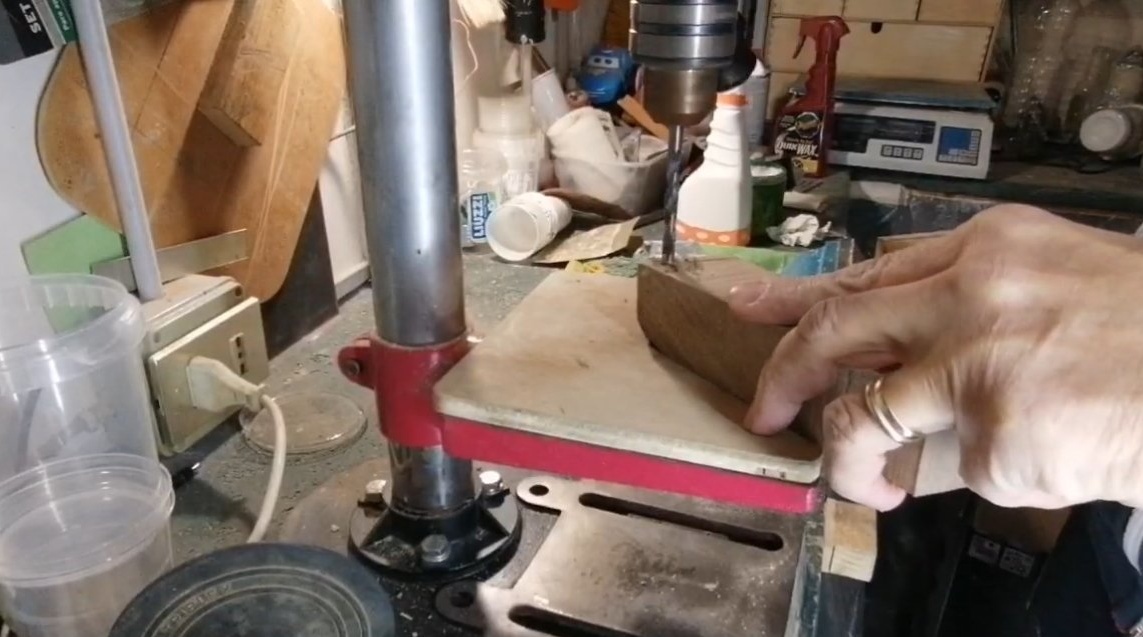
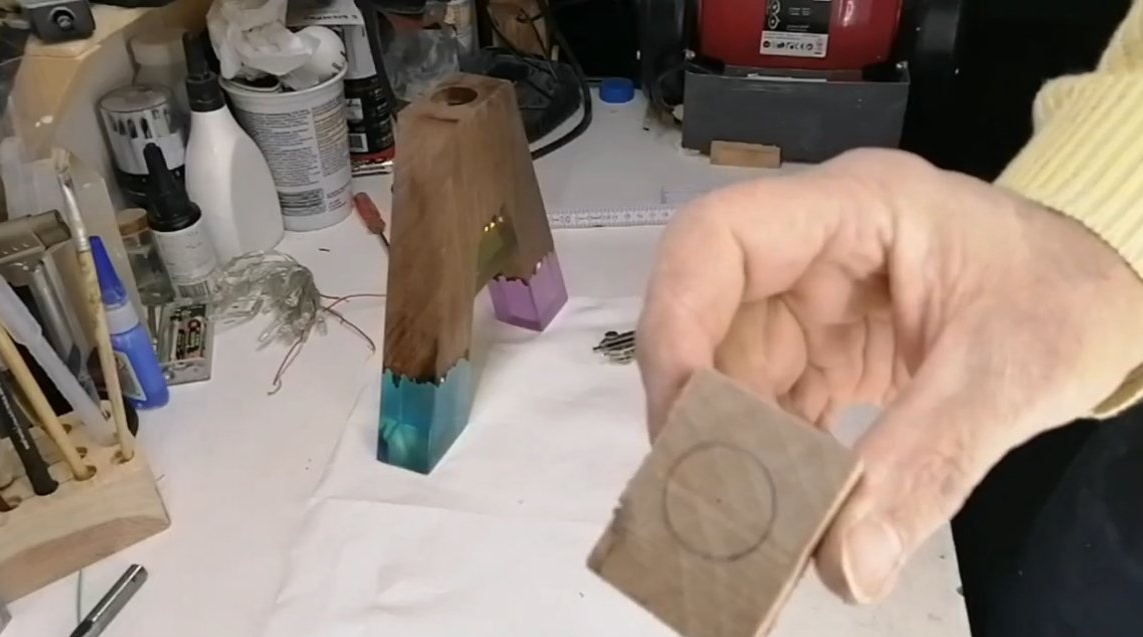
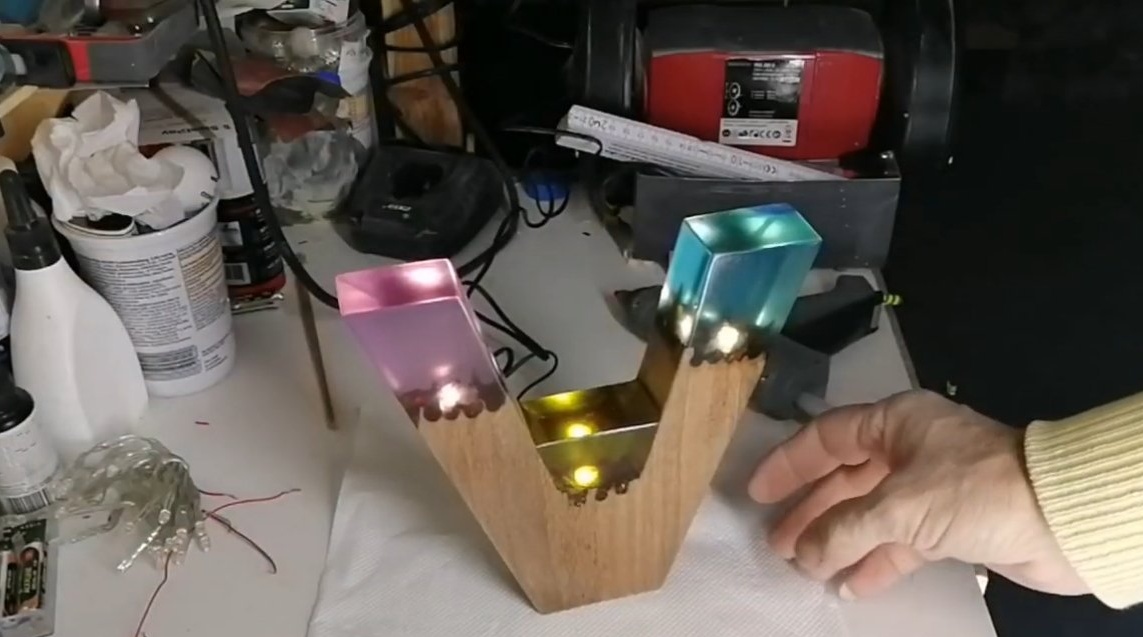
The author also drills a large diameter hole in the lower part, and already in it he drills the channels with a drill for LEDs. It is important not to miscalculate and drill to the level of epoxy. Then it remains to finally polish the product to a perfectly smooth state. The author finishes polishing with water.
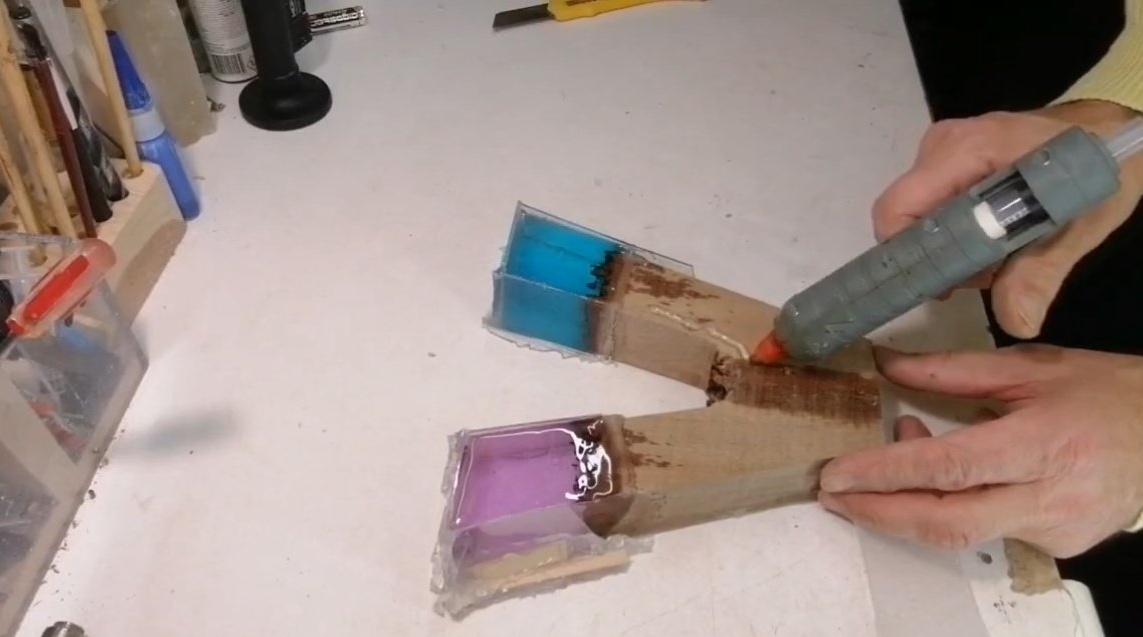
At the end of the step, we dry the homemade product and cover it with acrylic varnish from a spray can, now everything looks great.

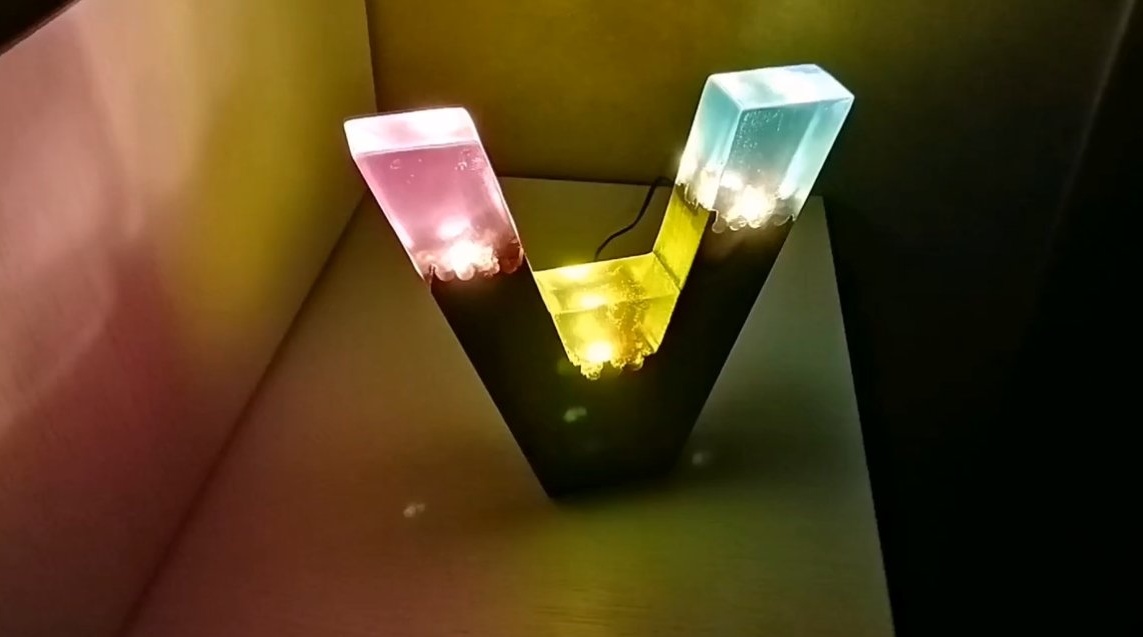
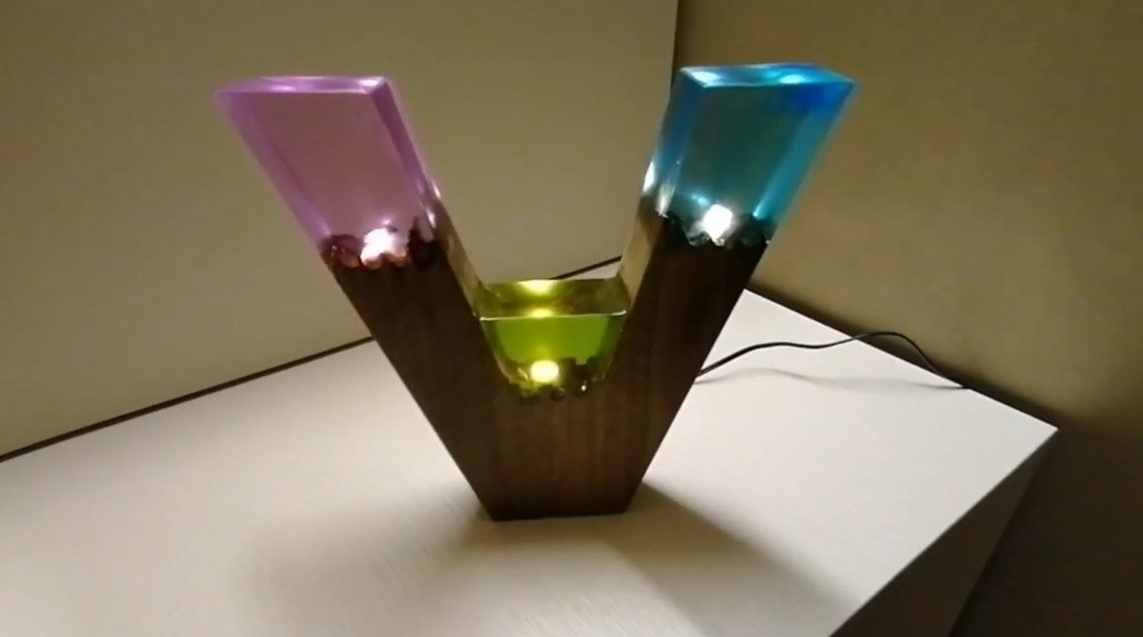
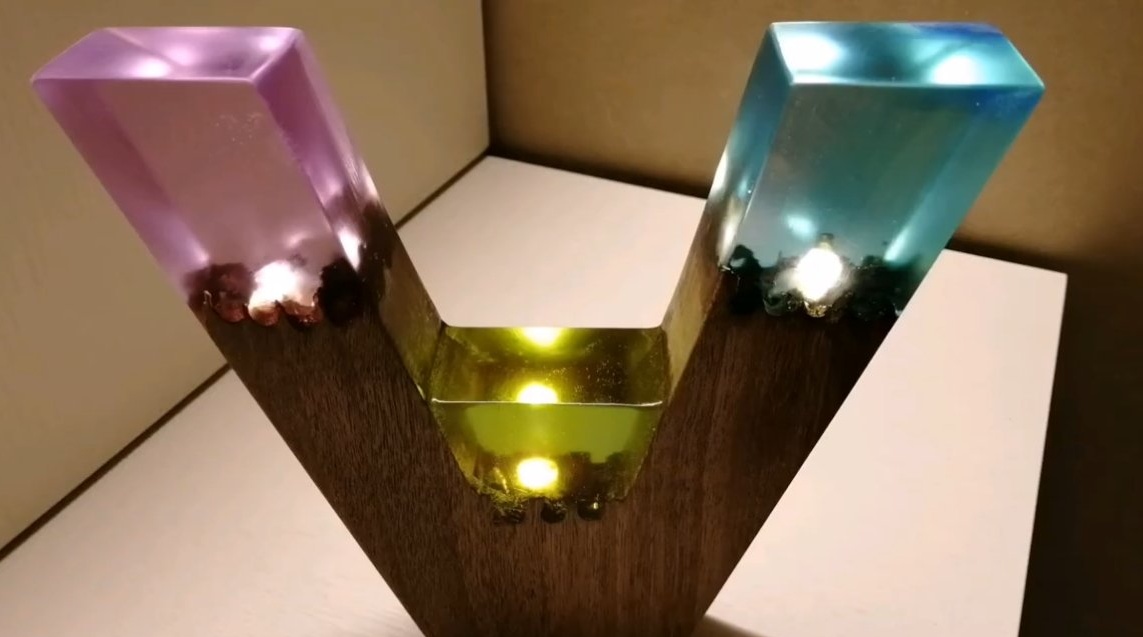
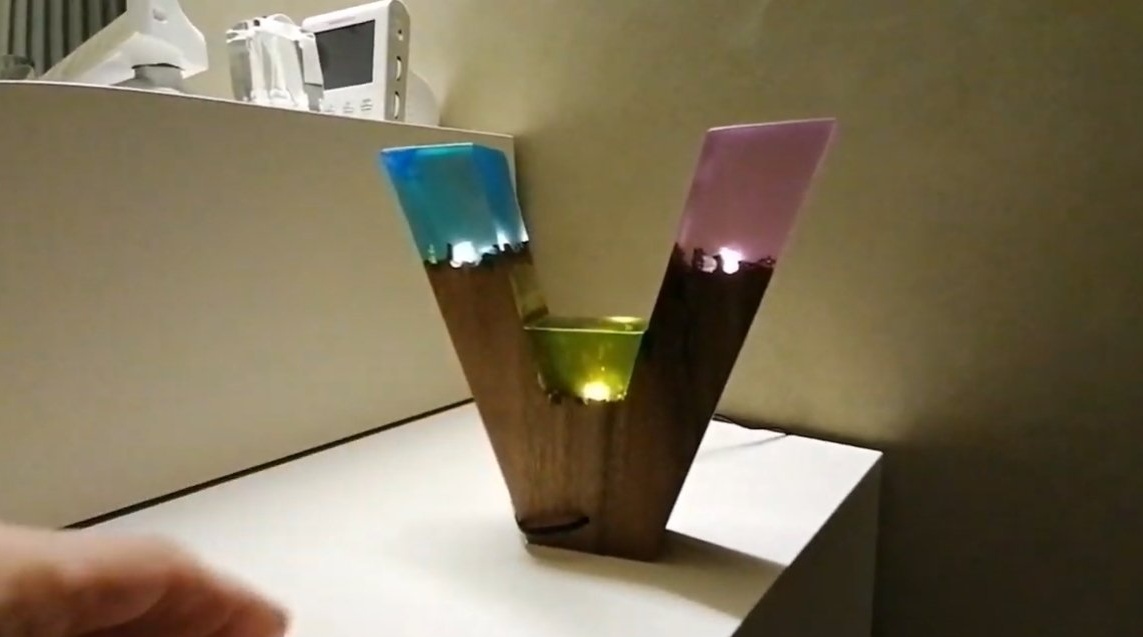
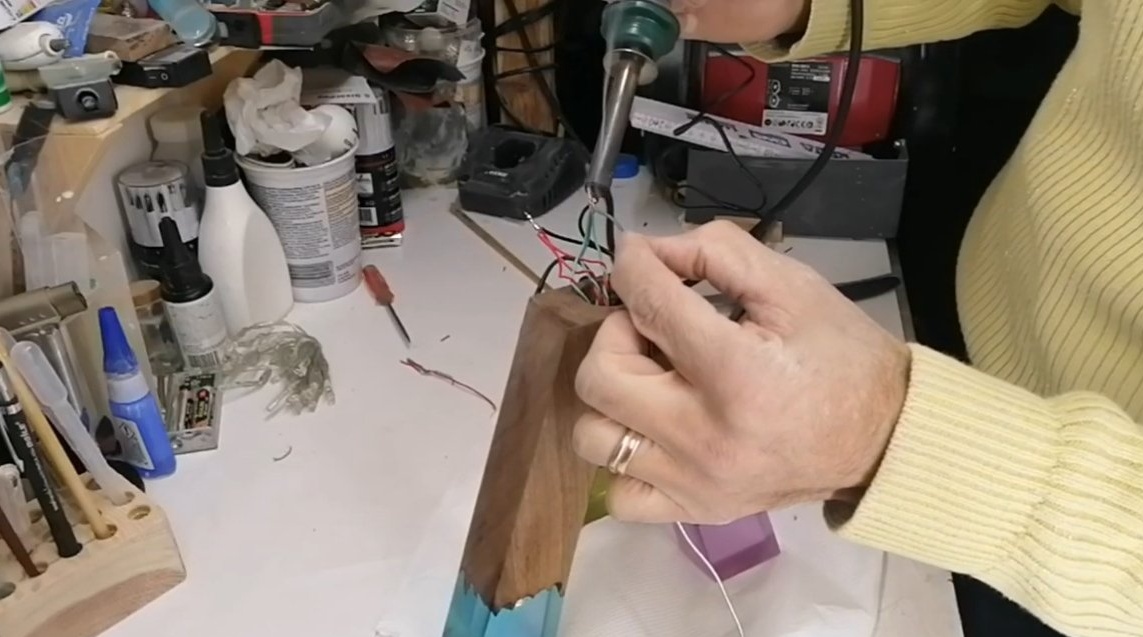
Step Four Install the LEDs
To get enough light, the author puts two 3V LEDs in each place. After soldering the wires, we put a stub out of wood and you can connect the power supply. Do not forget that the LEDs will not last long without resistors, so we select their value depending on the operating voltage and the current consumed by the LED.


The project is completed on this, I hope you liked the homemade work, and you found useful thoughts for yourself. Good luck and creative inspiration, if you decide to repeat this. Do not forget to share your ideas and homemade things with us!