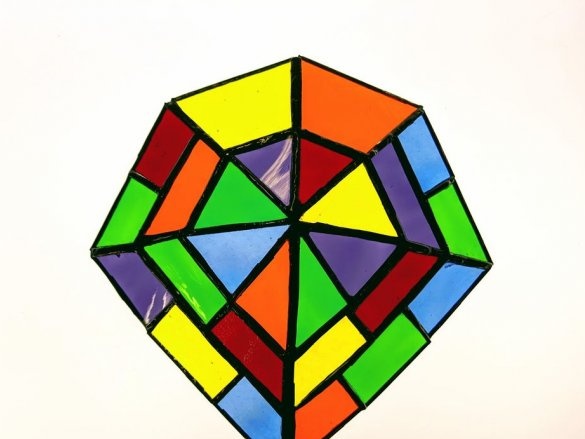
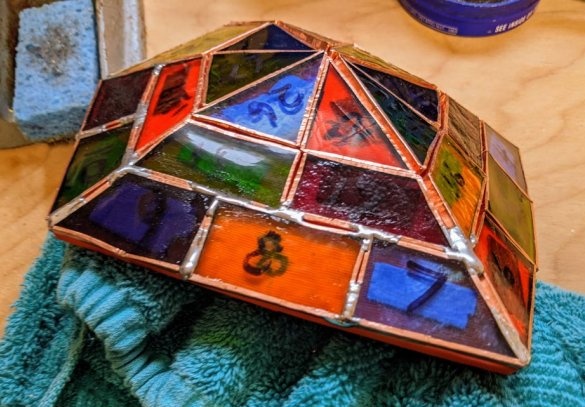
In this article, a master who enjoys stained glass will introduce us to his experience in manufacturing three-dimensional stained glass models.
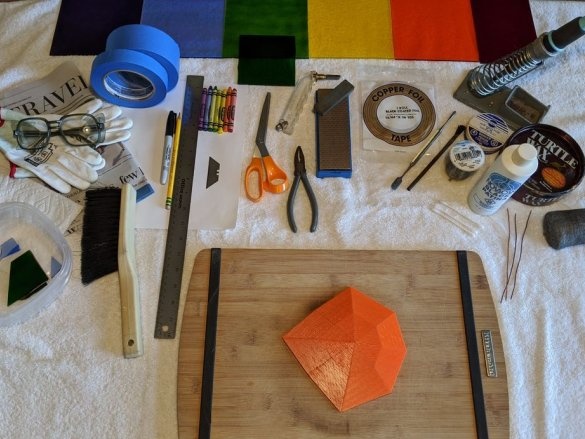
To work, he will need the following
Tools and materials:
-Gloves;
-Protective glasses;
-Brush;
-3D printed pattern;
-Insulation tape;
-Pencil;
-Paper;
- Colored crayons or pencils corresponding to the colors of the glass;
-Rule;
-Knife;
-Stained glass;
-Glass glass cutter;
-Nippers for glass;
- Diamond stone or glass grinder;
-Dishwashing liquid;
- Means for patination;
-Paper towel;
-Copper tape with a sticky layer;
-Scissors;
-Soldering accessories;
- Cotton bud;
-Karnauba wax;
-Copper wire;
-Wire sponge;
Step One: Template
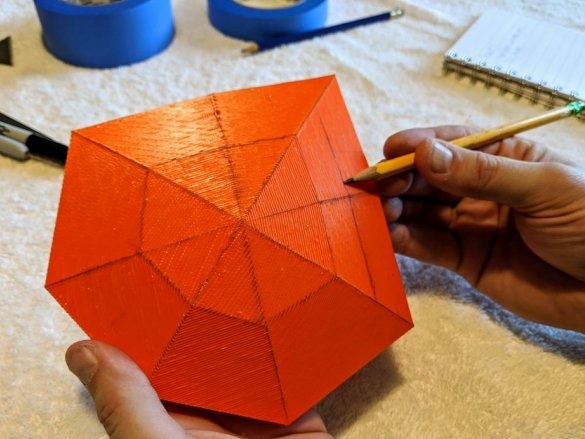
Before you begin to manufacture a three-dimensional stained-glass window, you need to make a template. The master printed it on a 3D printer, but you can make it from paper or cardboard.
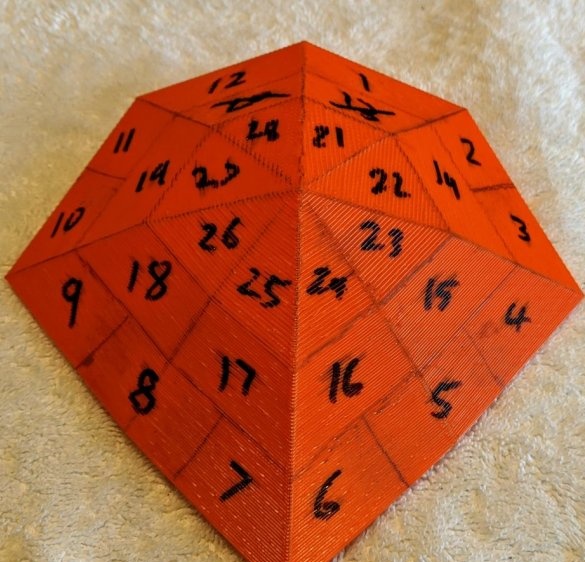
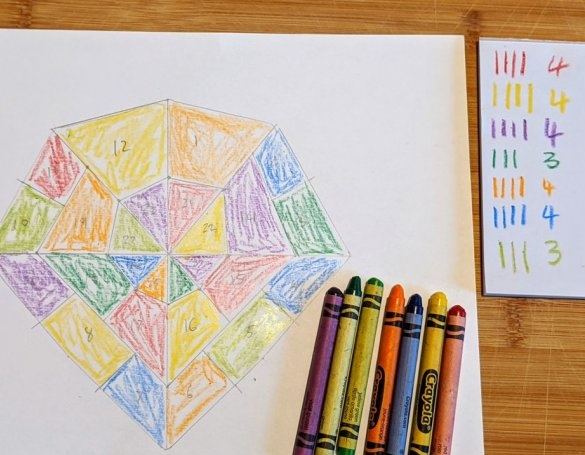
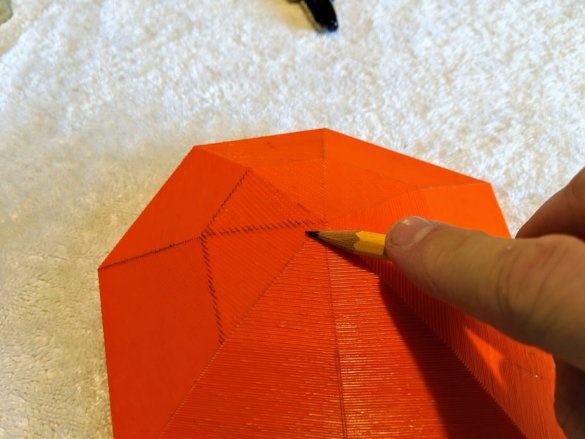
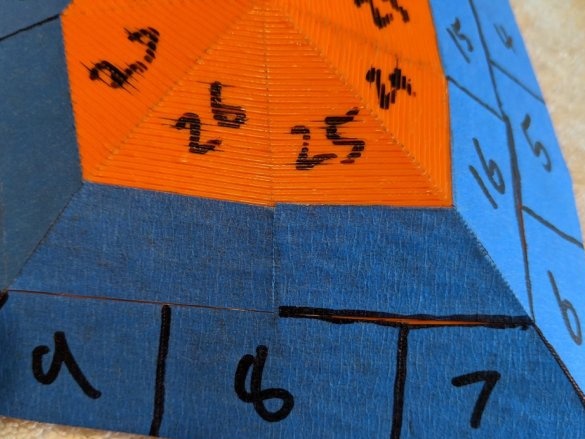
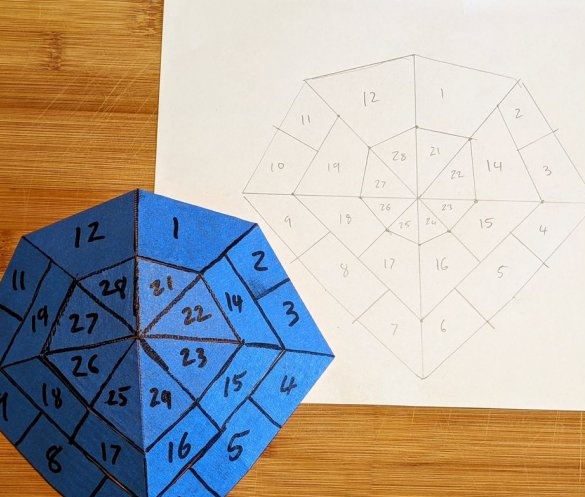
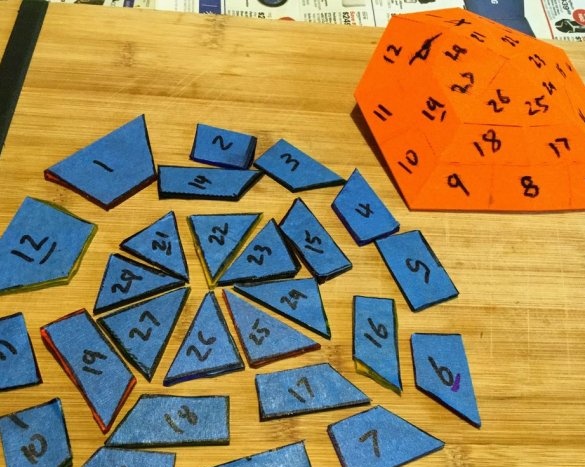
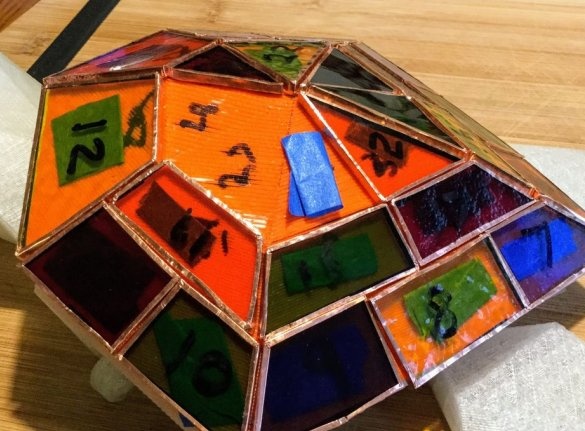
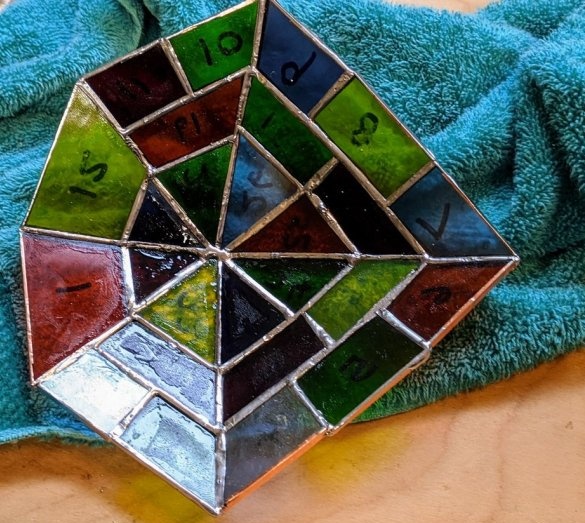
With a pencil, the master highlights the faces of a three-dimensional model. Then each part of the model is numbered. A sketch of a model draws on a sheet of paper. Paints each part in the corresponding color. Numbered.
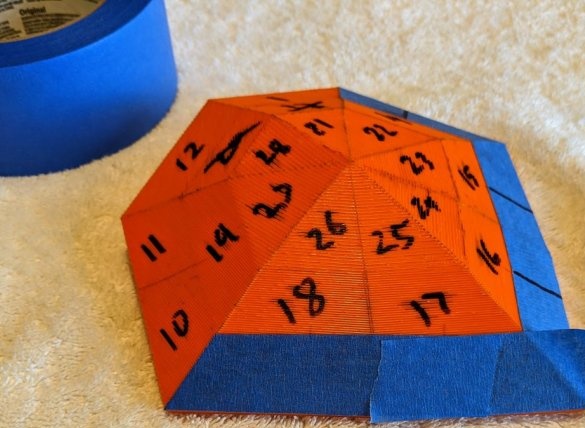
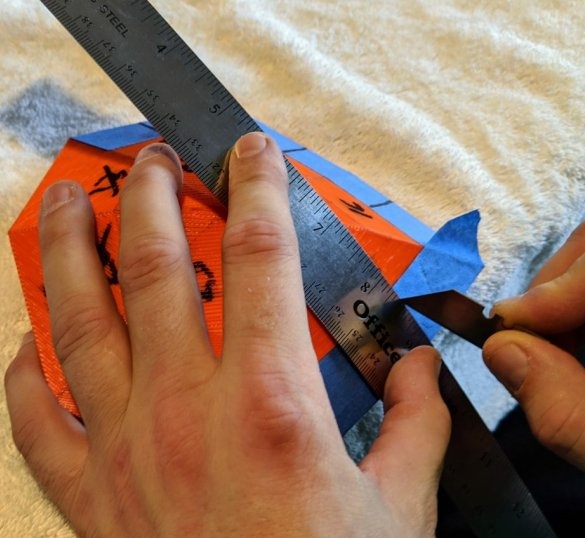
On each part sticks a piece of electrical tape. It is necessary to precisely cut the electrical tape along the edges.
Step Two: Glass Cutting
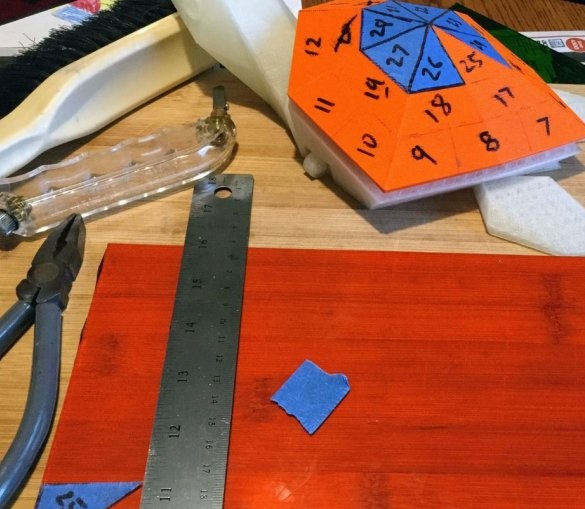
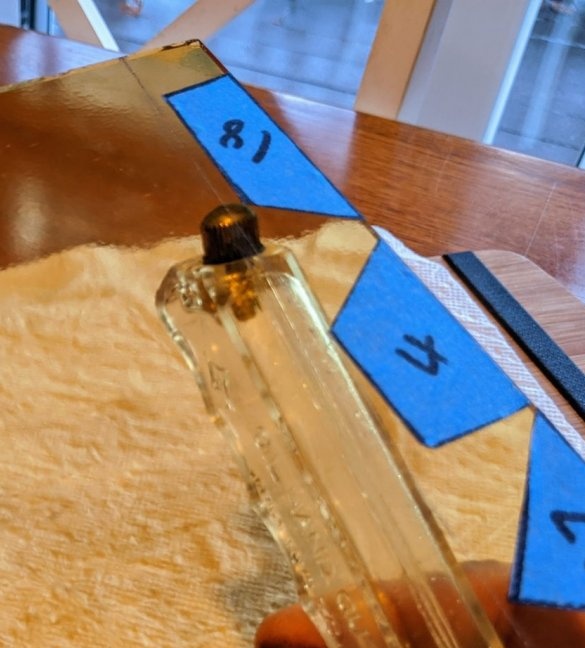
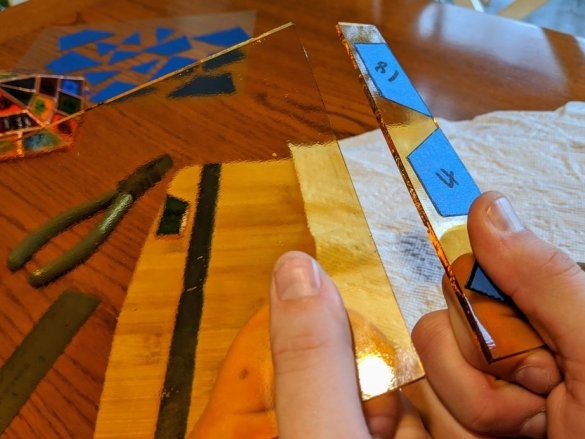
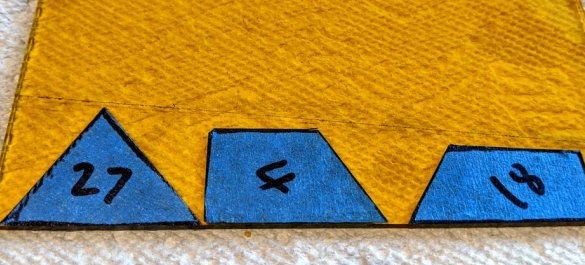
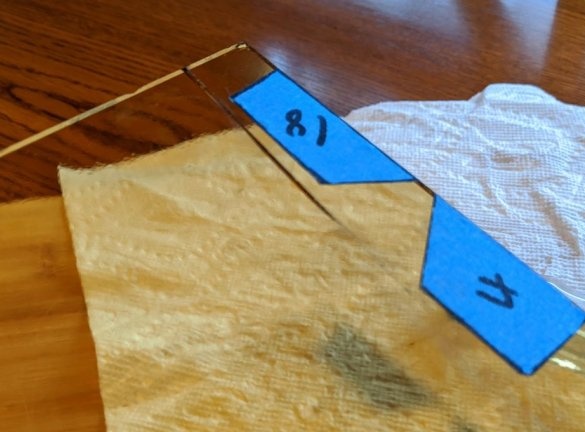
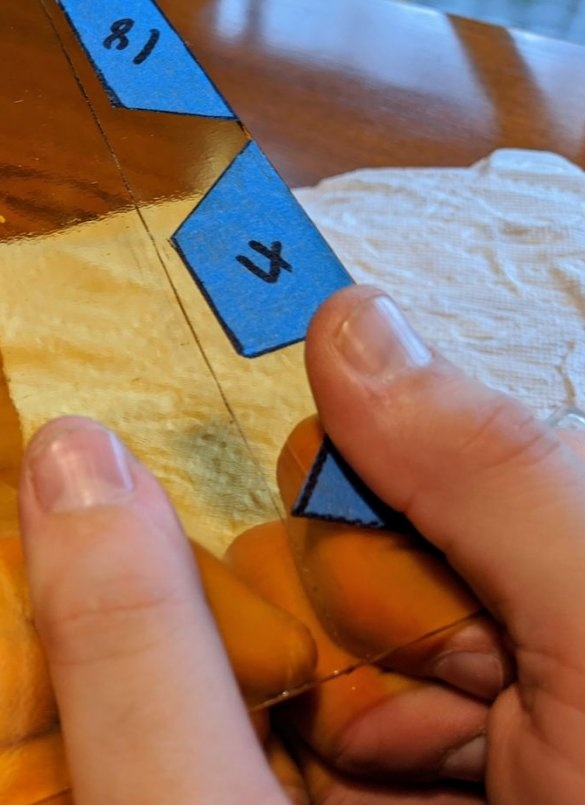
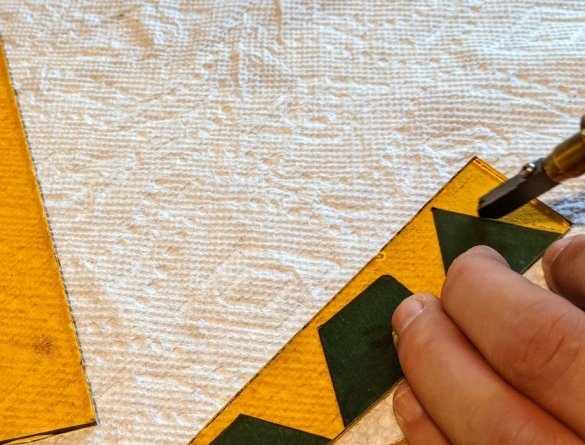
Then the master unsticks the numbered pieces of electrical tape, glues them to the glasses, according to the colors, and cuts them out.
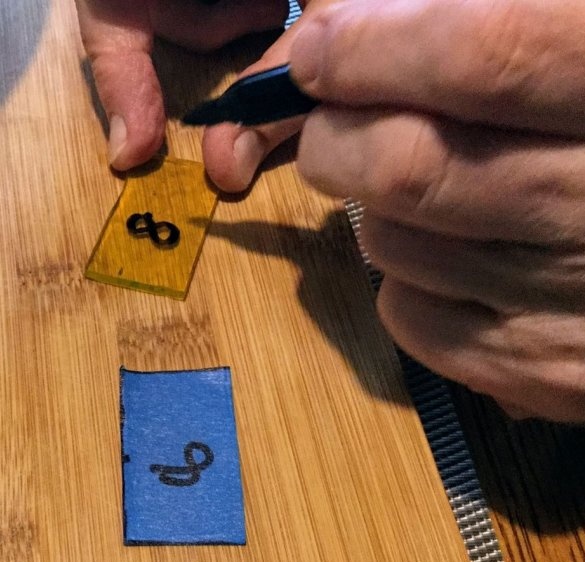
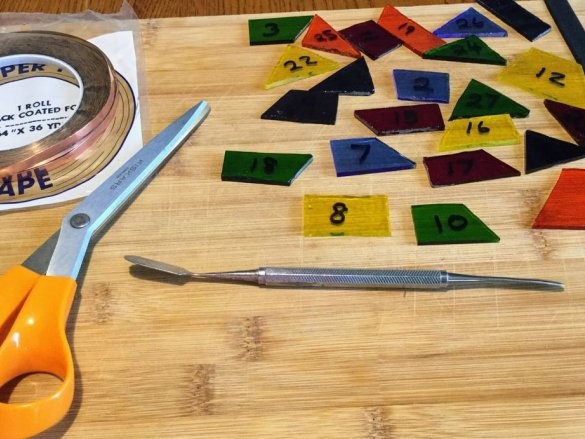
Turns the cut glass and marks the number with a marker. Removes electrical tape.
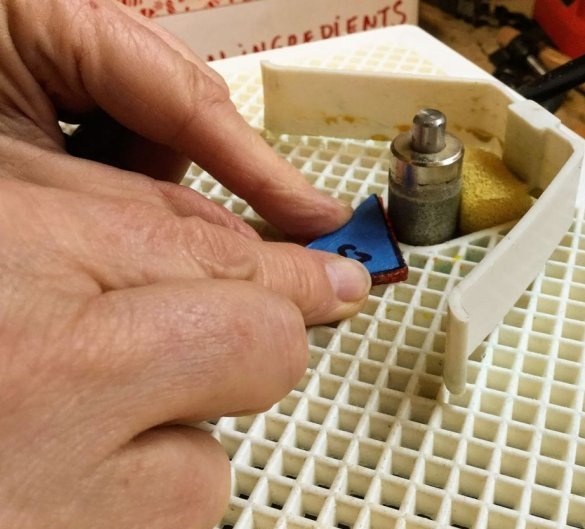
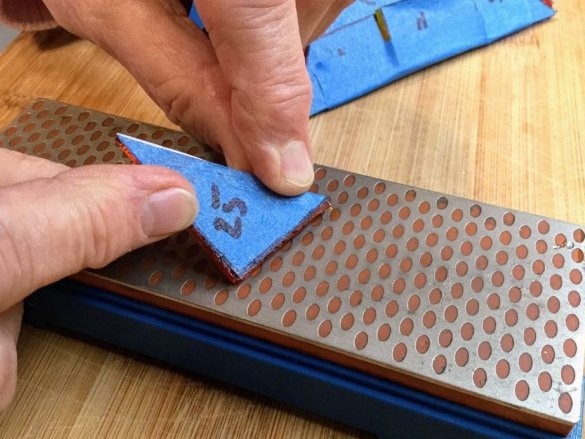
Glass edges are sharp and the master polishes every detail. Then glues them to the template using double-sided tape. This is for verification. If the parts do not fit, then they need to be sanded. The gap between the glasses should not be more than 3 mm.
Step Three: Copper Foil
To connect the glasses in a three-dimensional form, the master will use soldering. But the glass does not braze and you need to make a framework of copper foil.
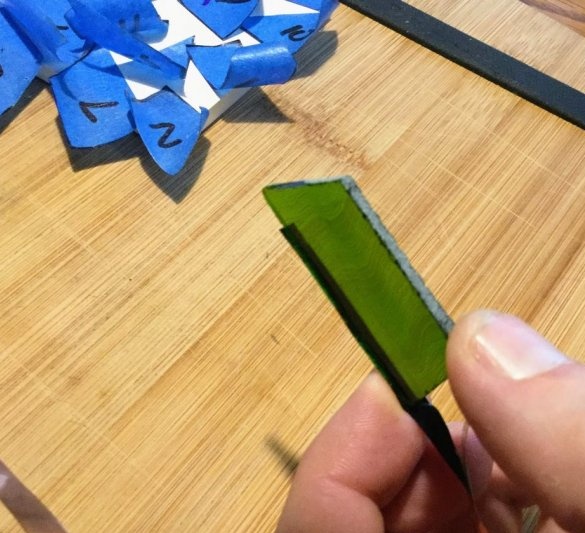
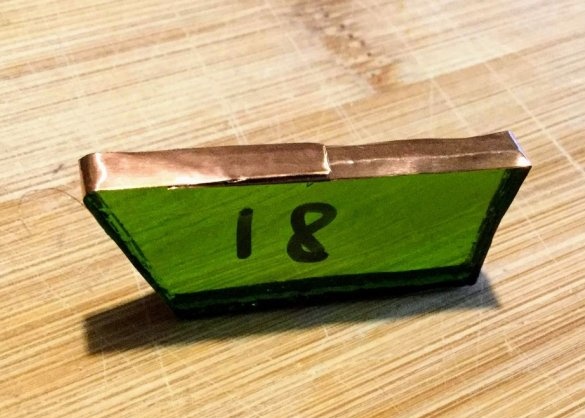
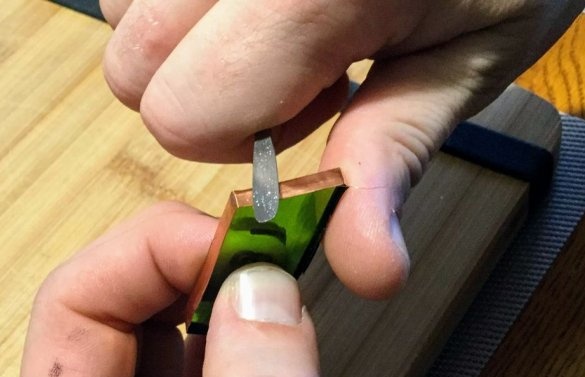
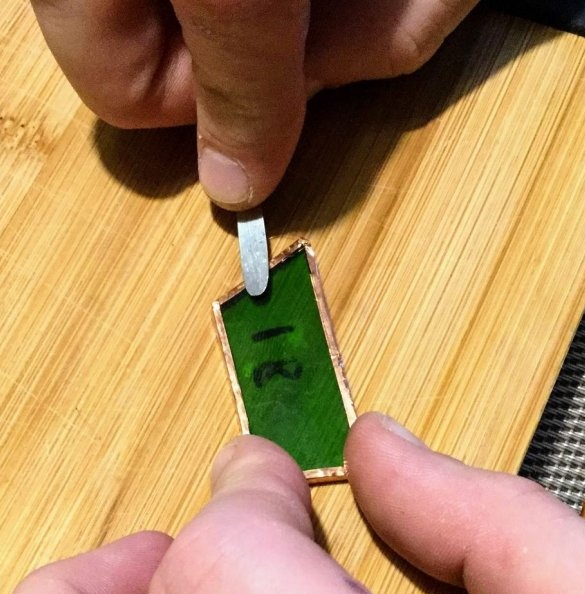
First you need to wash the glass with detergent well and dry. Then a copper tape is glued to each piece of glass, from the end. It is necessary to press the foil well against the end of the glass and smooth it. Then wrap the edges of the foil and smooth again.
Step Four: Soldering
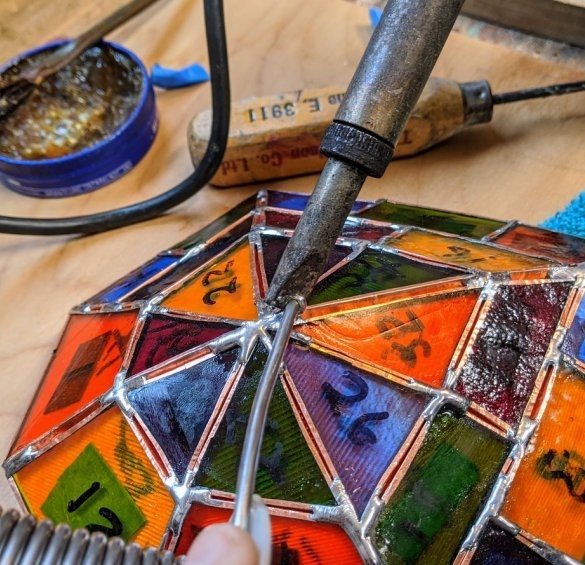
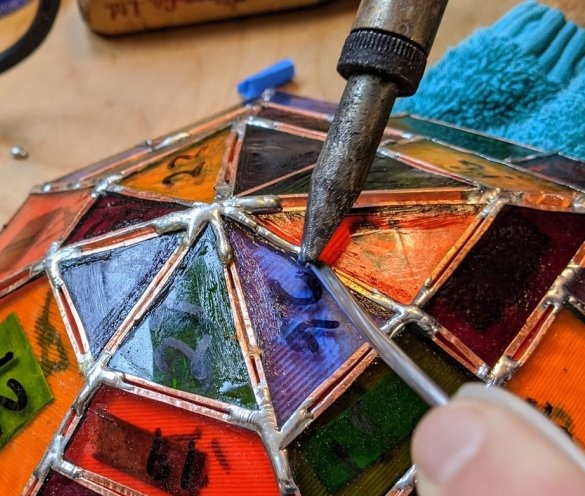
Now you need to fix the details of the stained-glass window on the template. It is important to orient and place each detail correctly. Then the master applies flux to the copper tape and solders the parts, fills all the seams with solder.
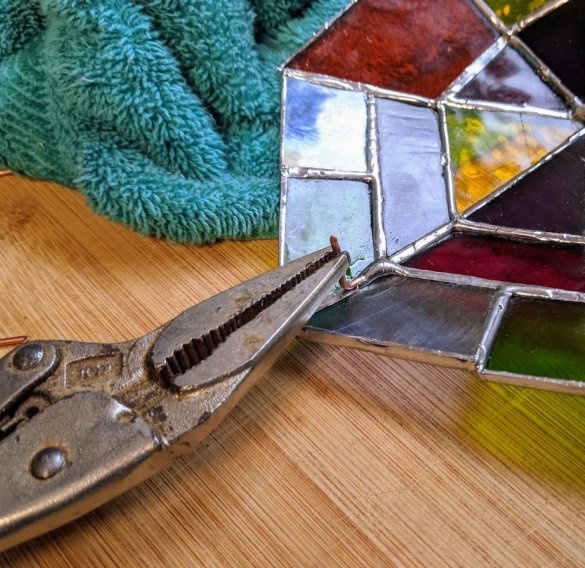
Then flips the stained glass window and solders the seams from the inside. Solder copper wire to attach the shell to the turtle.
Step Five: Patination
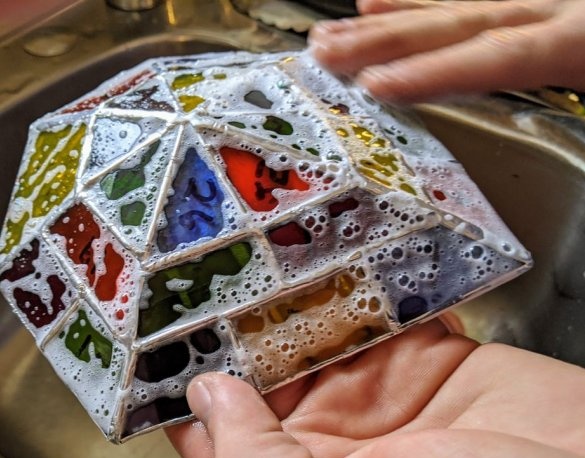
After soldering, thoroughly wash the product from the flux with water and dishwashing detergent. Then thoroughly wipe and dry.
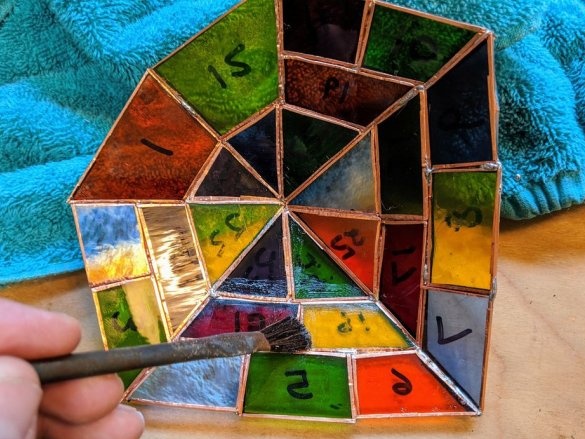
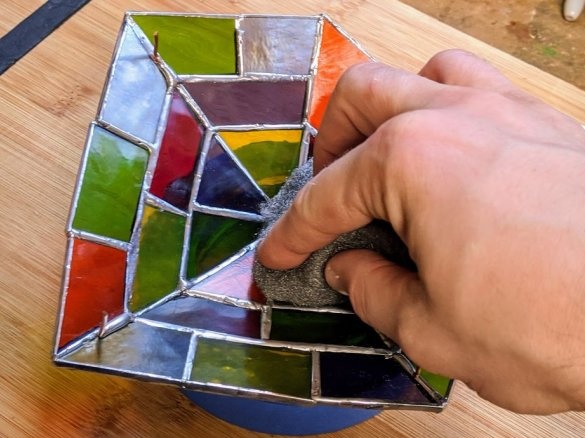
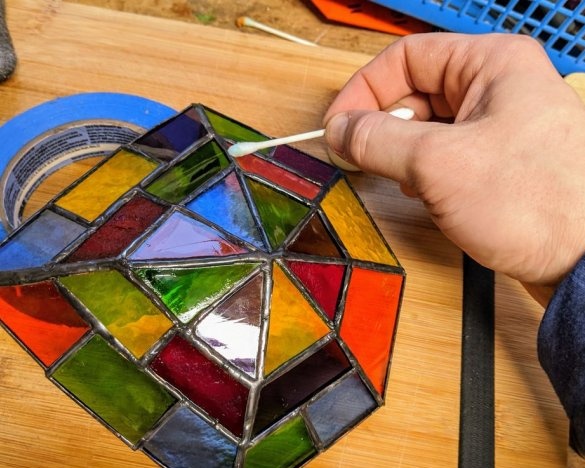
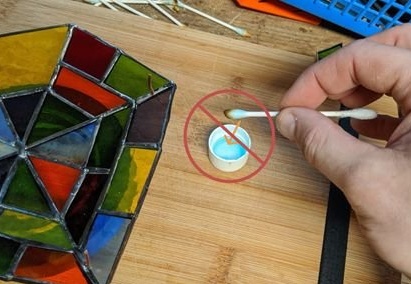
After drying, the master with a cotton swab applies a patinating agent on the metal parts of the product.
All is ready. Try it and you will succeed too.

