Hello dear the inhabitants of our site and just those who decided to go to this site!
Once again, I want to bring to your attention my work, tell and describe in detail the process of its production - from ideas to implementation in life. This homemade product in terms of complexity can be attributed, probably, to the average, although nothing difficult is expected in the process of its manufacture.
For work, I used the following tools:
Electric jigsaw
- a screwdriver and drills of different diameters,
-UShM with a petal disk for rough cleaning of wood and a grinding machine, already for more thorough grinding,
-chisel.
-hammer,
ax and clerical knife, measuring tool.
Fastenings of all parts of the product were made using wood screws and aquarium sealant.
A little bit about the idea of occurrence. A neighbor near the house hung a feeder, on which quite often it was possible to notice a variety of birds. Walking with the child, he constantly led me to this place to look at the birds if they were there. But since it is not always possible to walk calmly because of the weather, and it is problematic to explain this to a small child, it is impossible to look at the birds he loved so much. Therefore, I decided to make my feeding trough and place it in such a way that it was clearly visible from the windows of the house. Accordingly, in any weather, the baby has the opportunity to observe the behavior of birds and examine them.
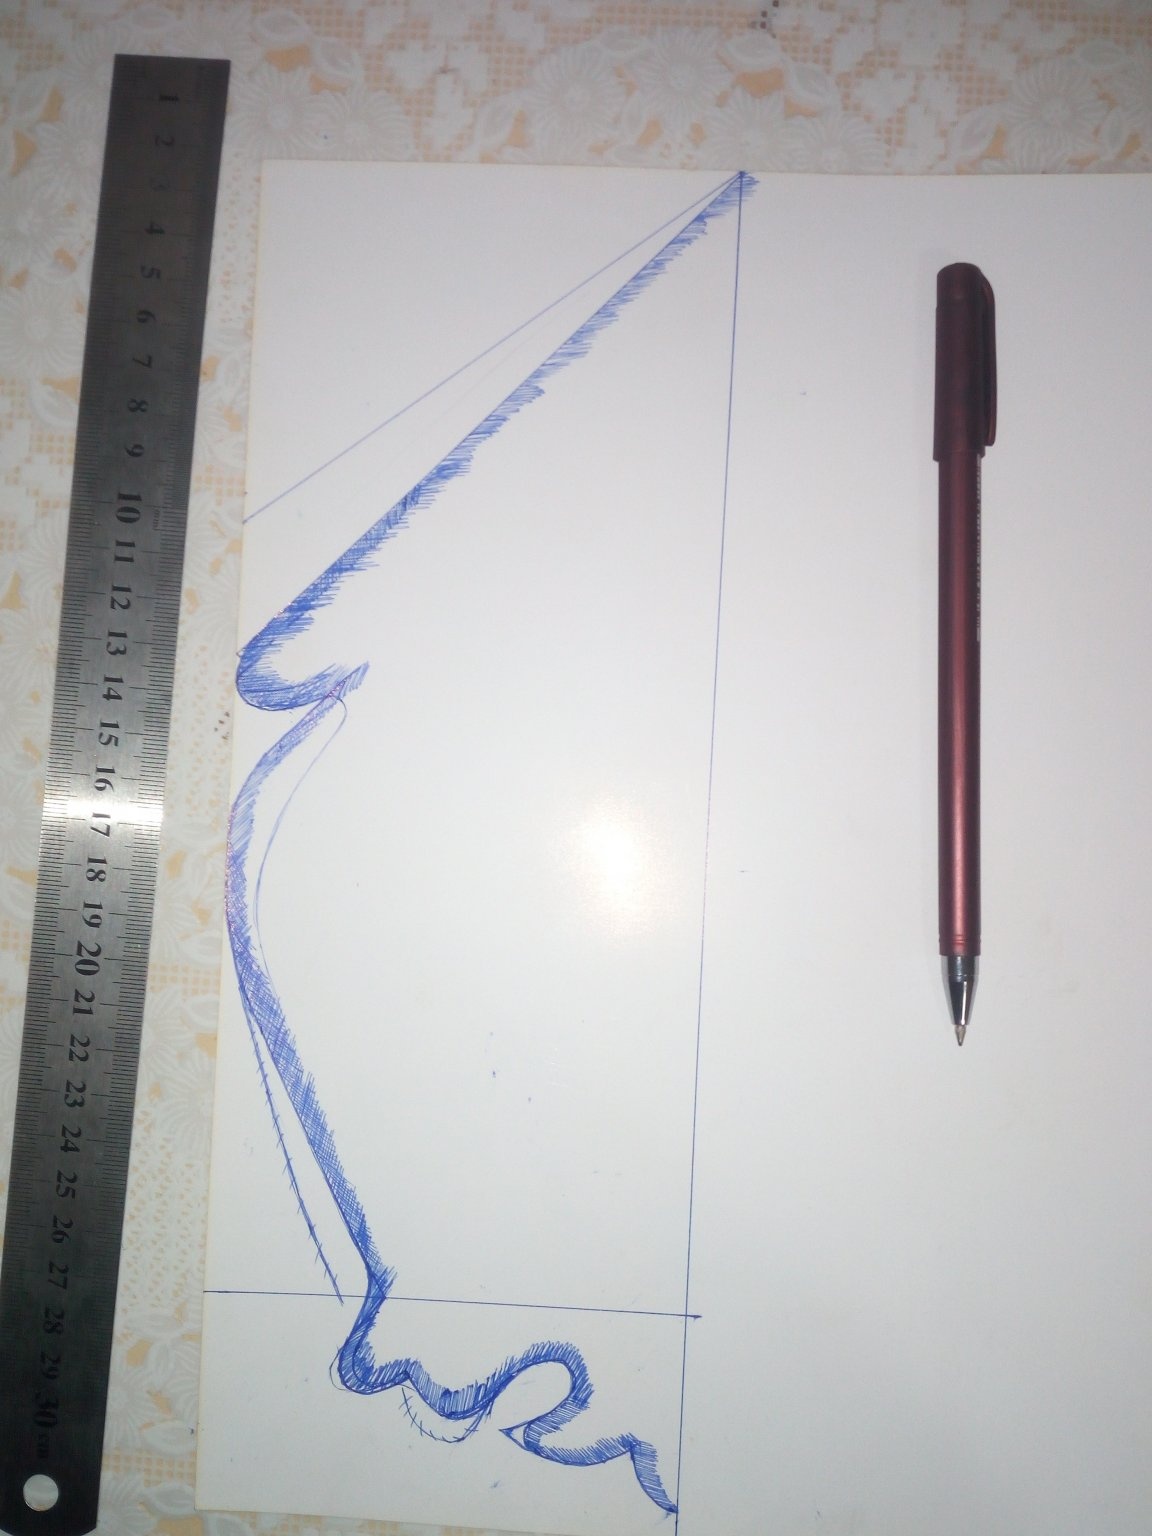
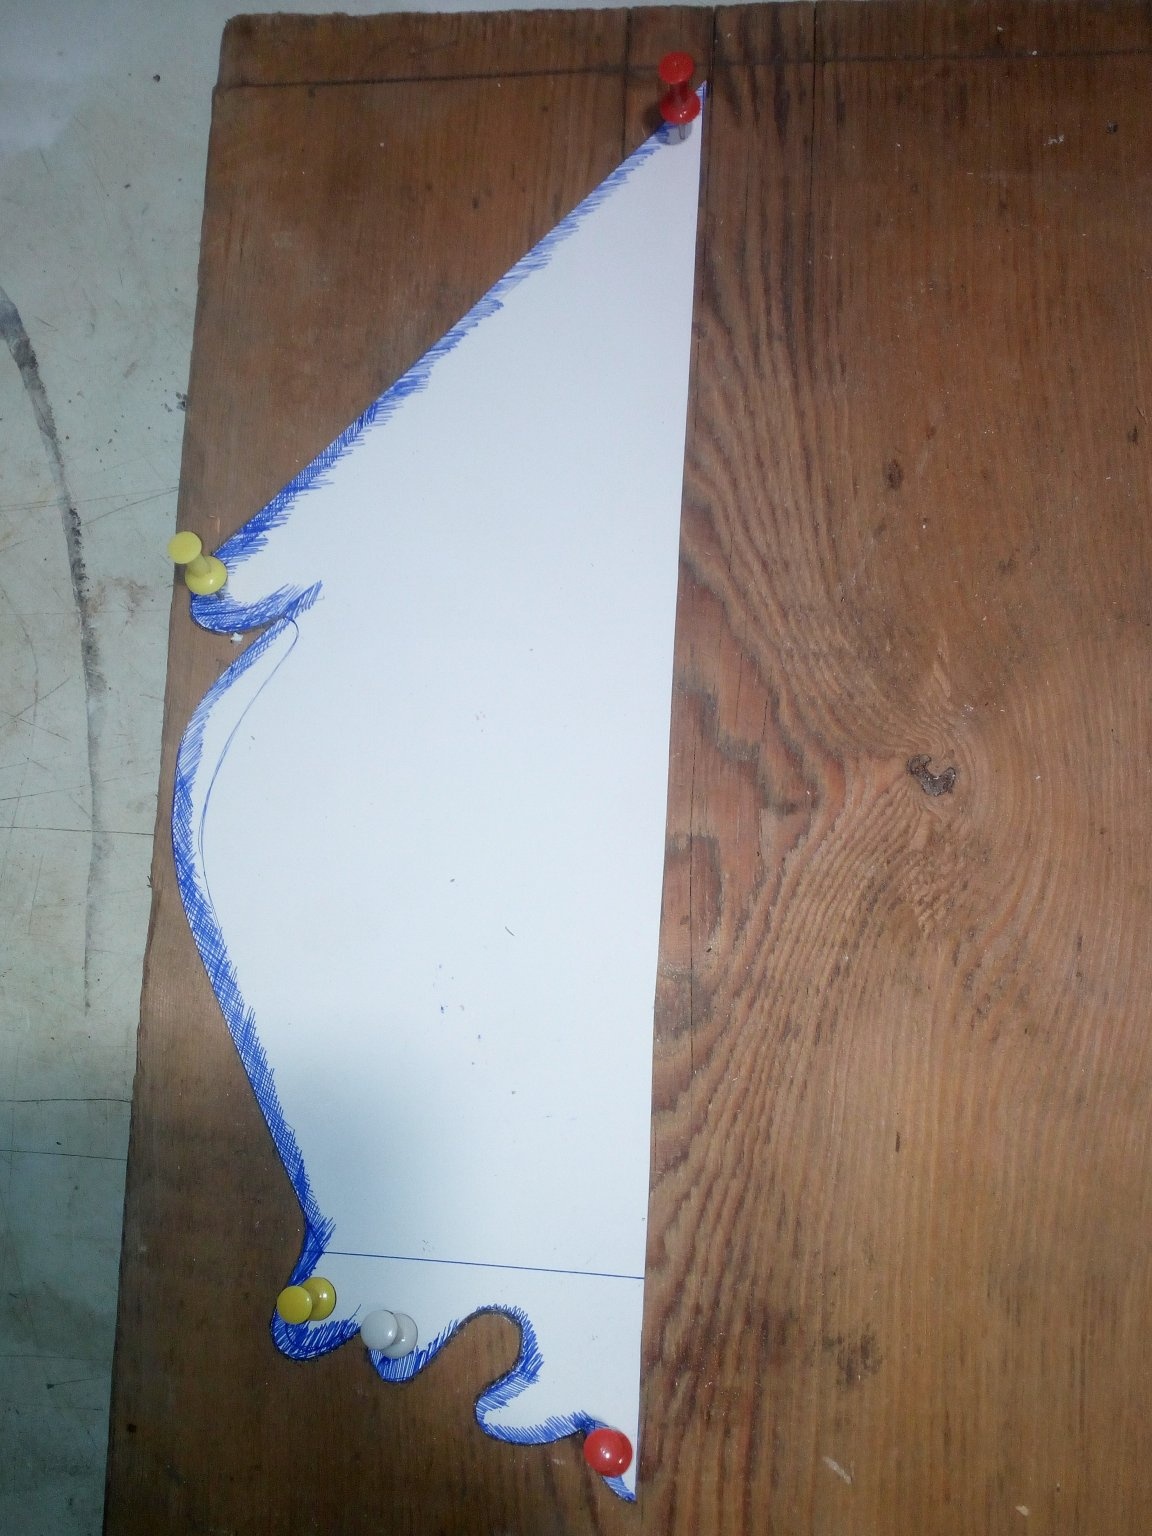
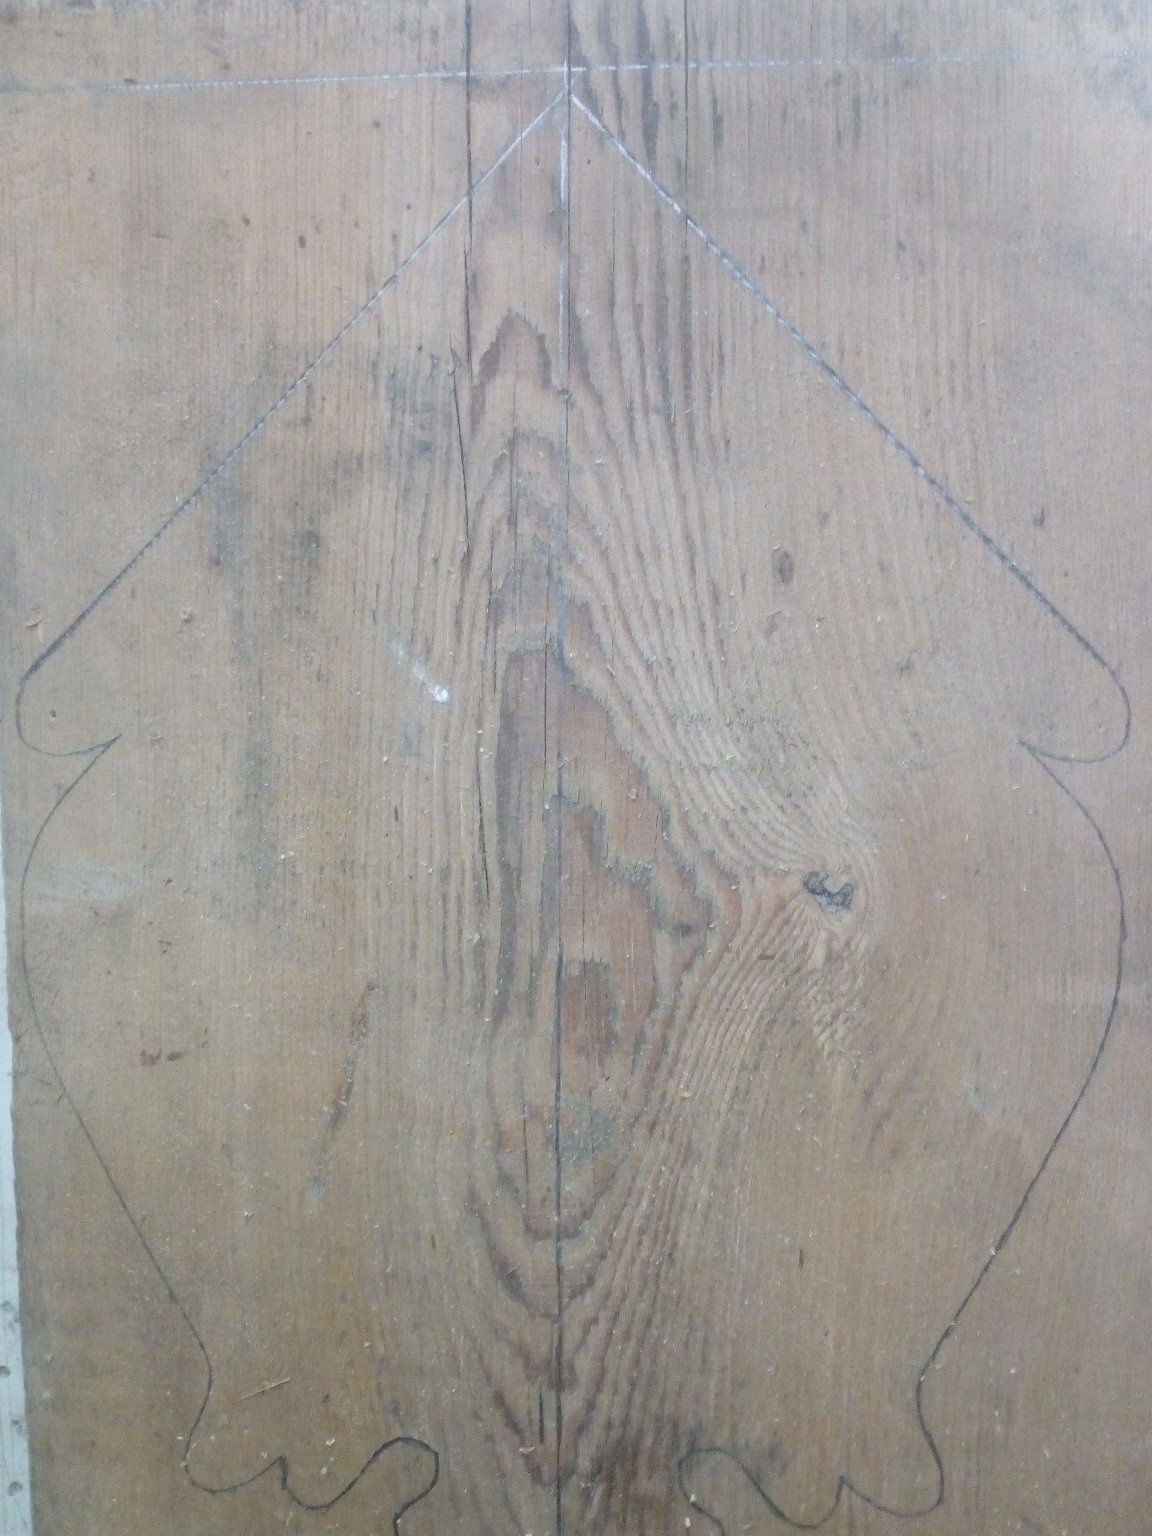
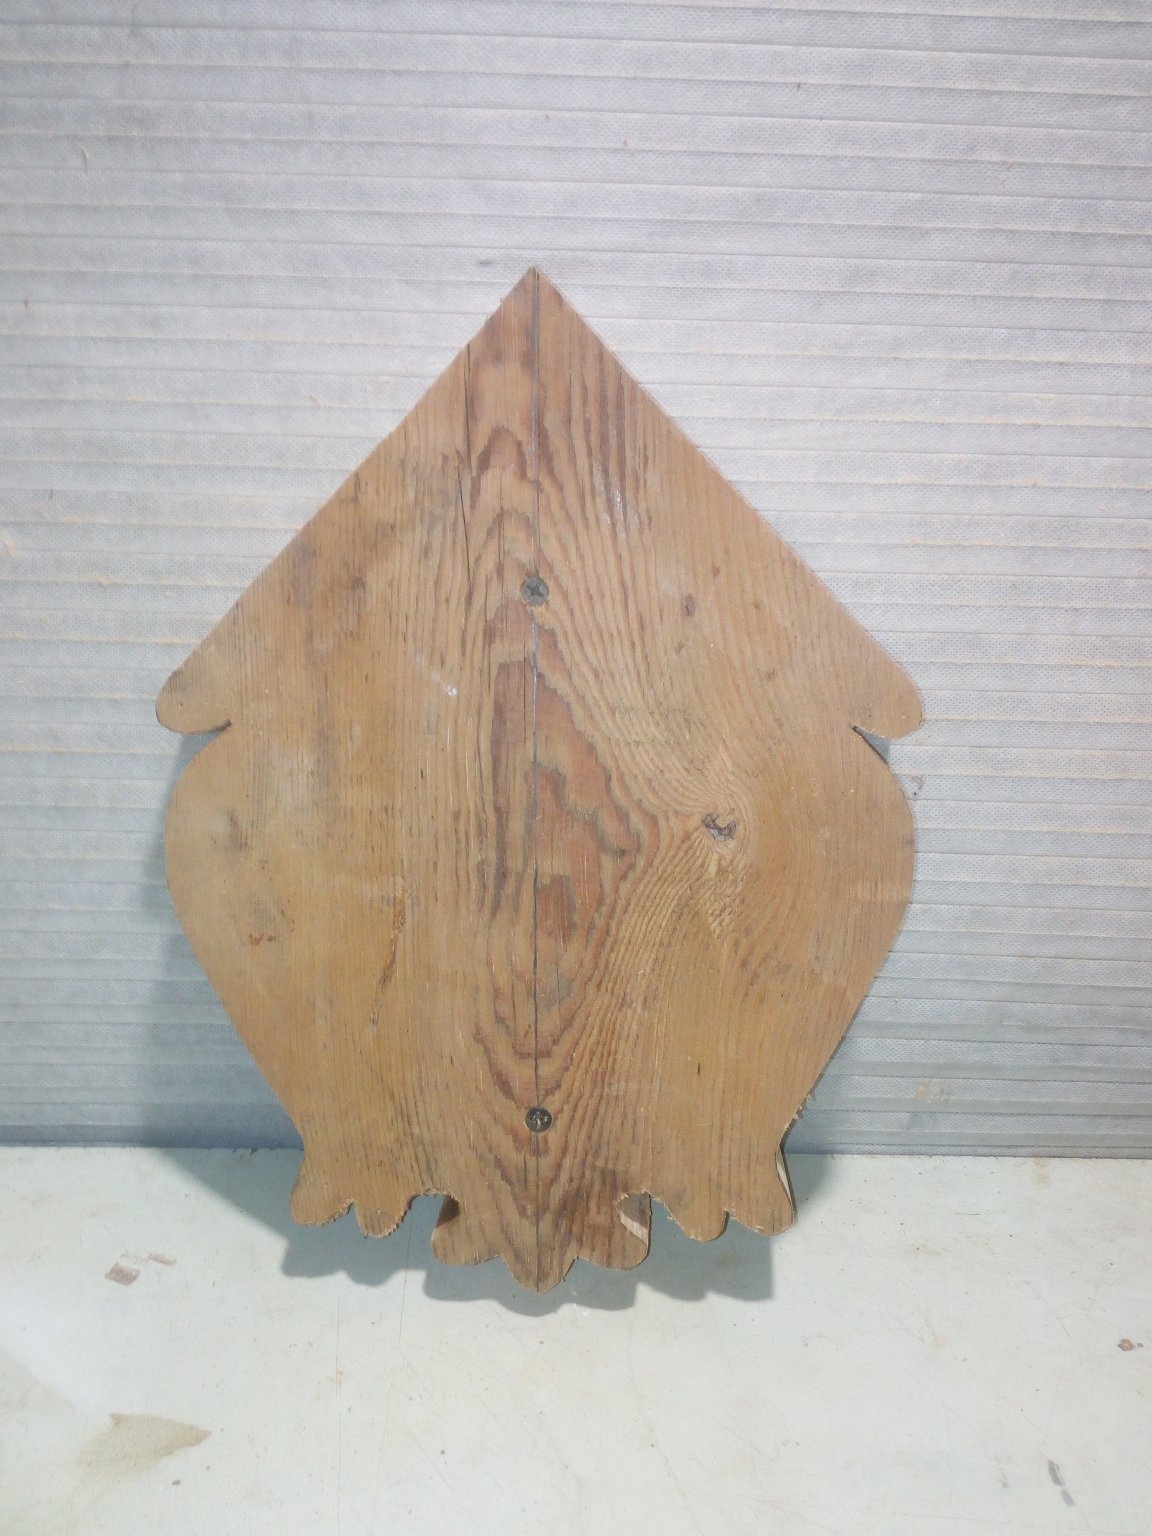
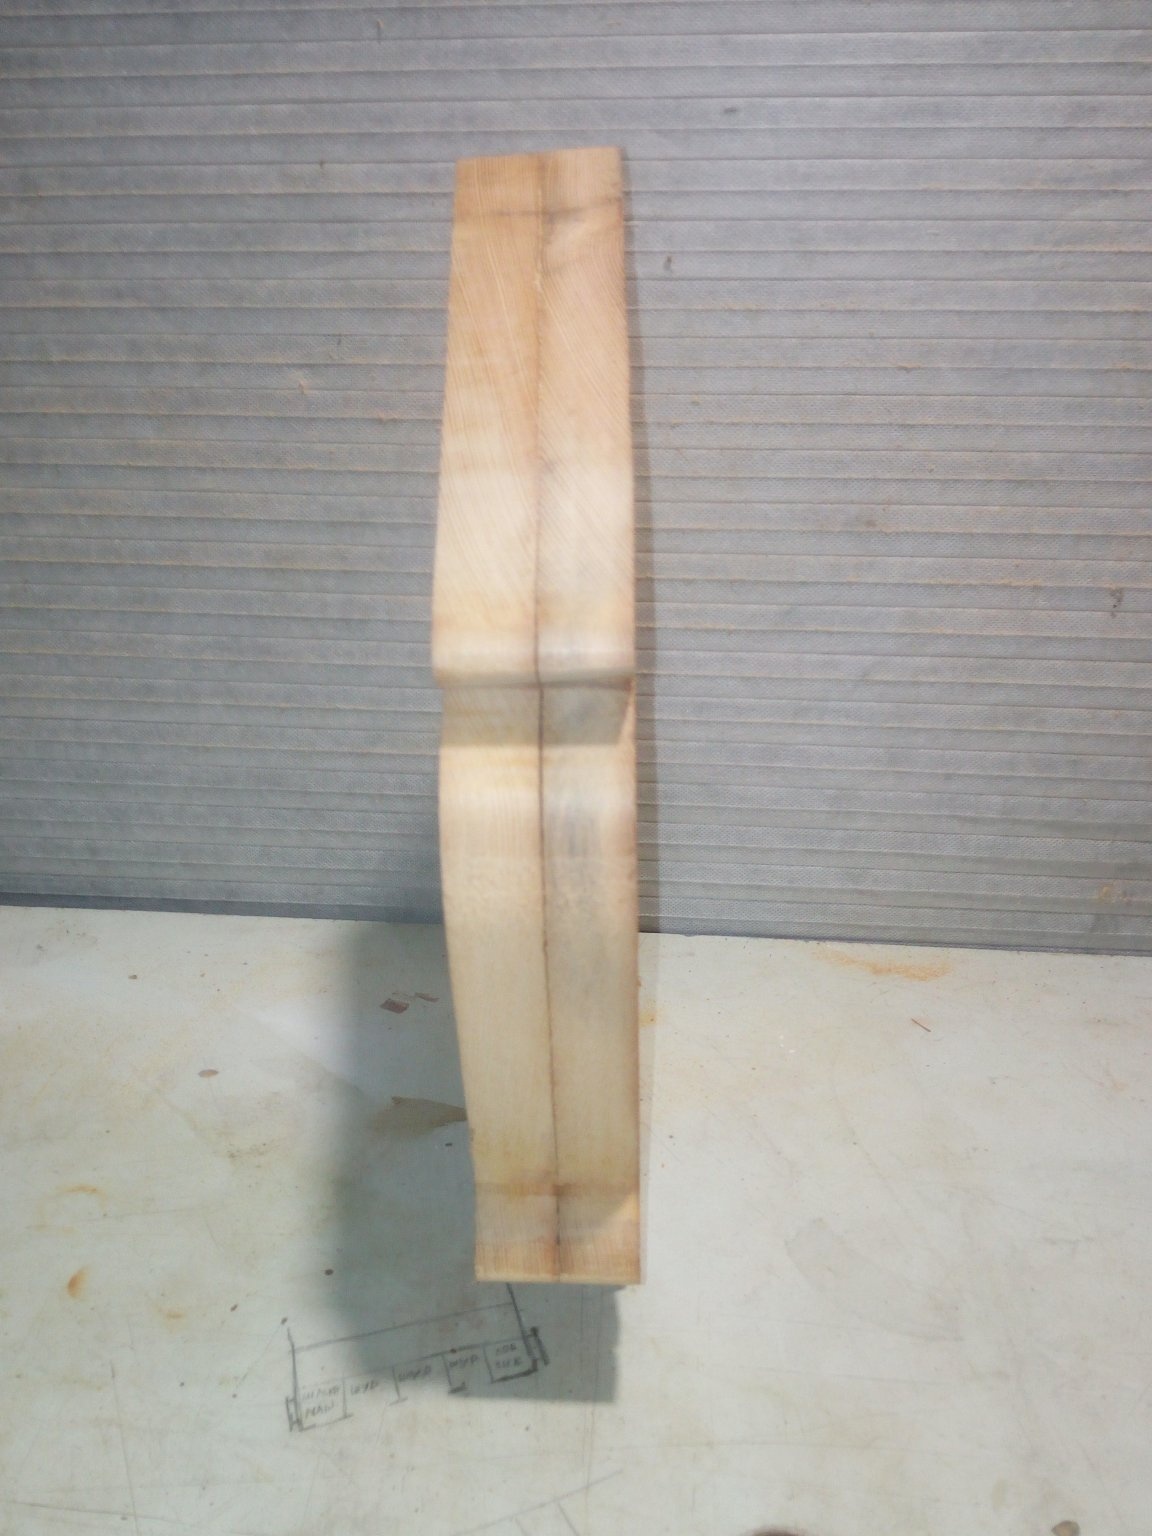
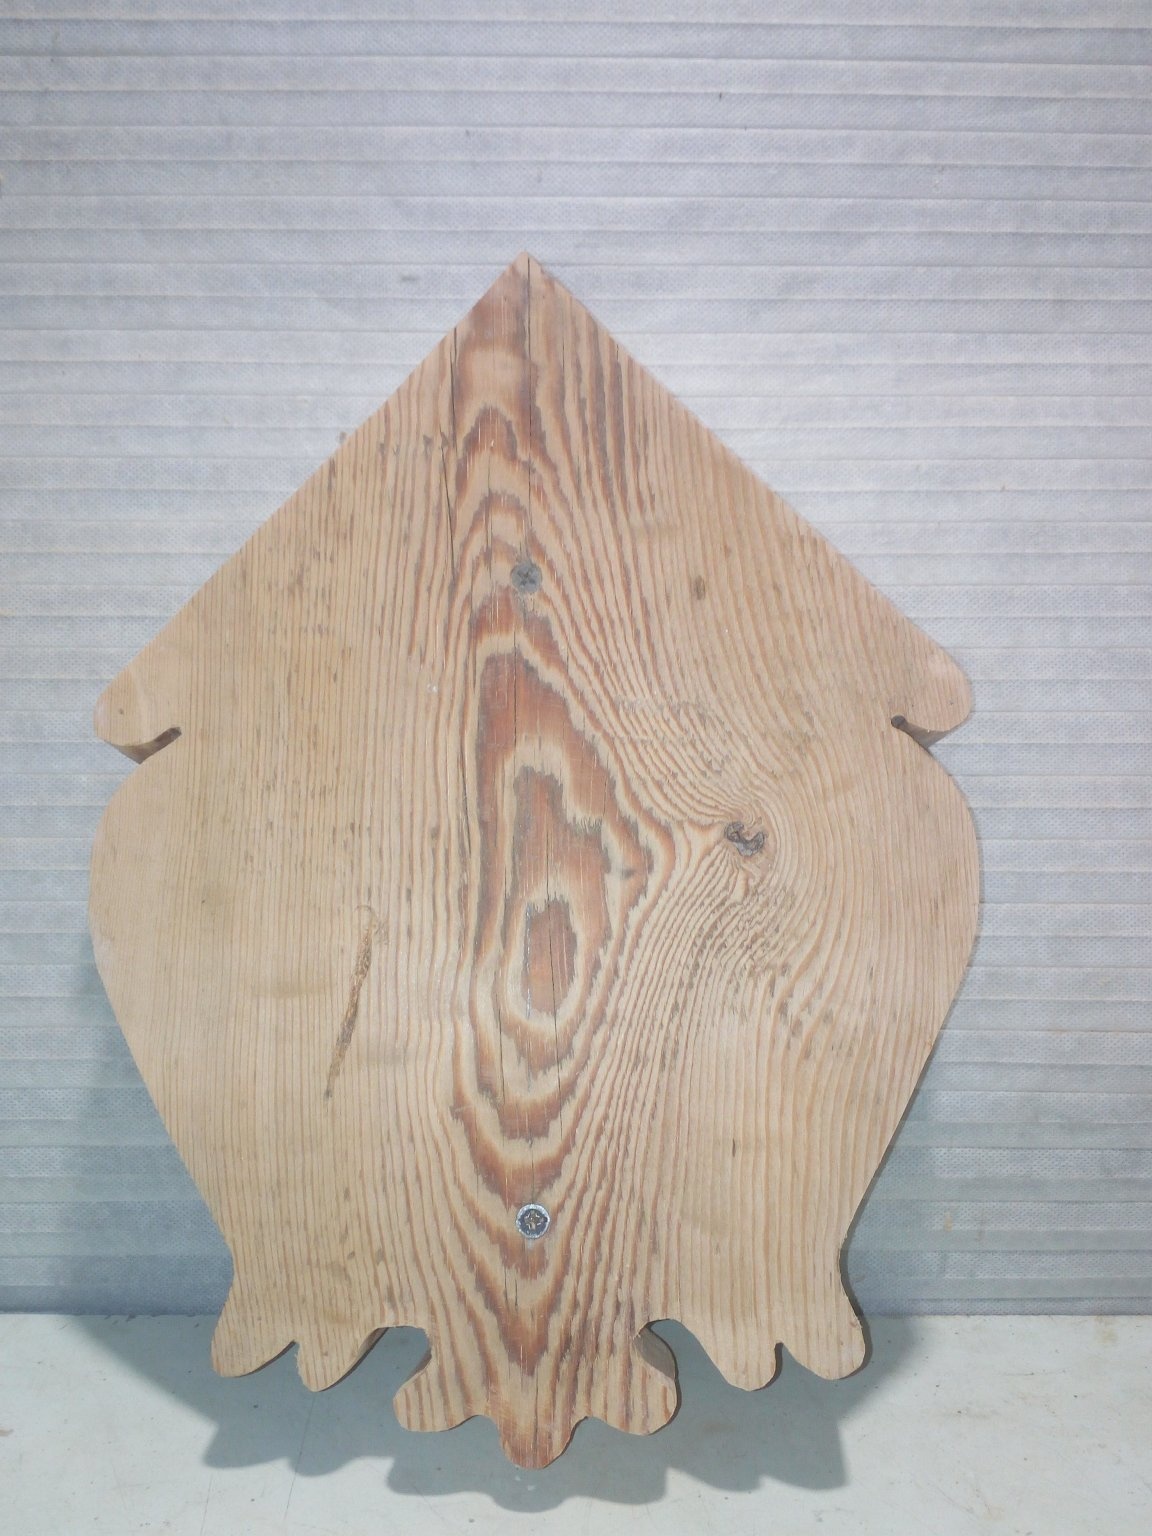
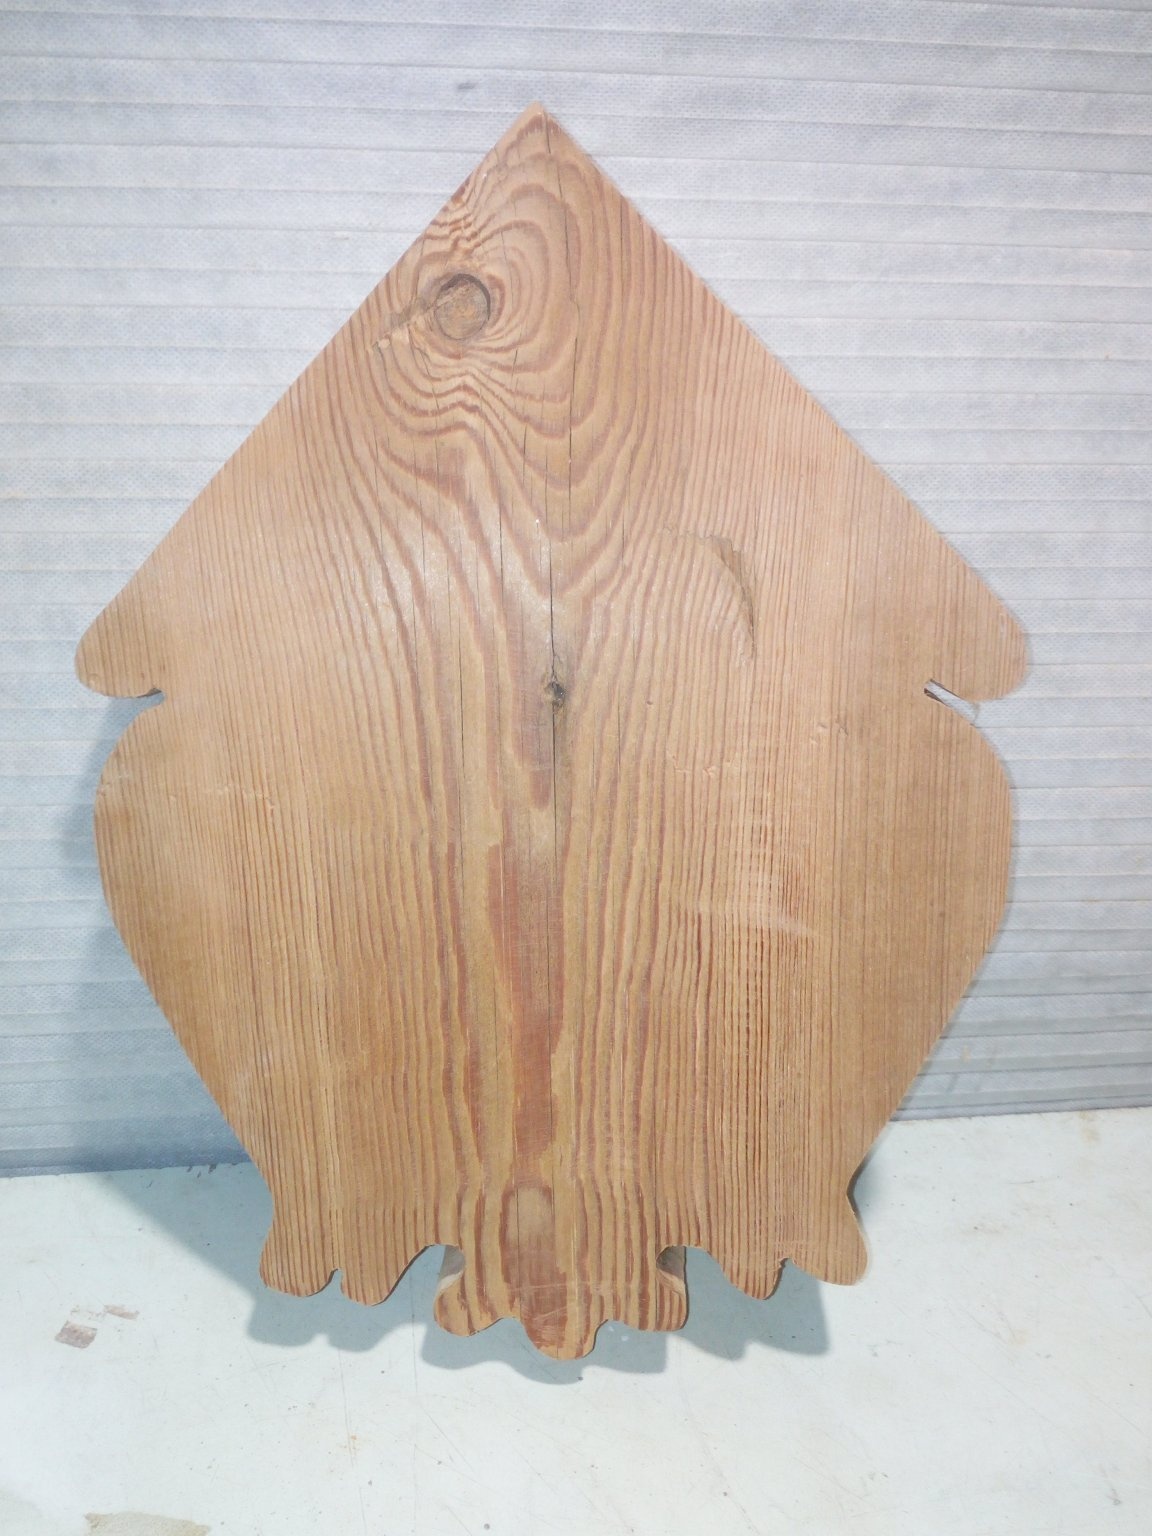
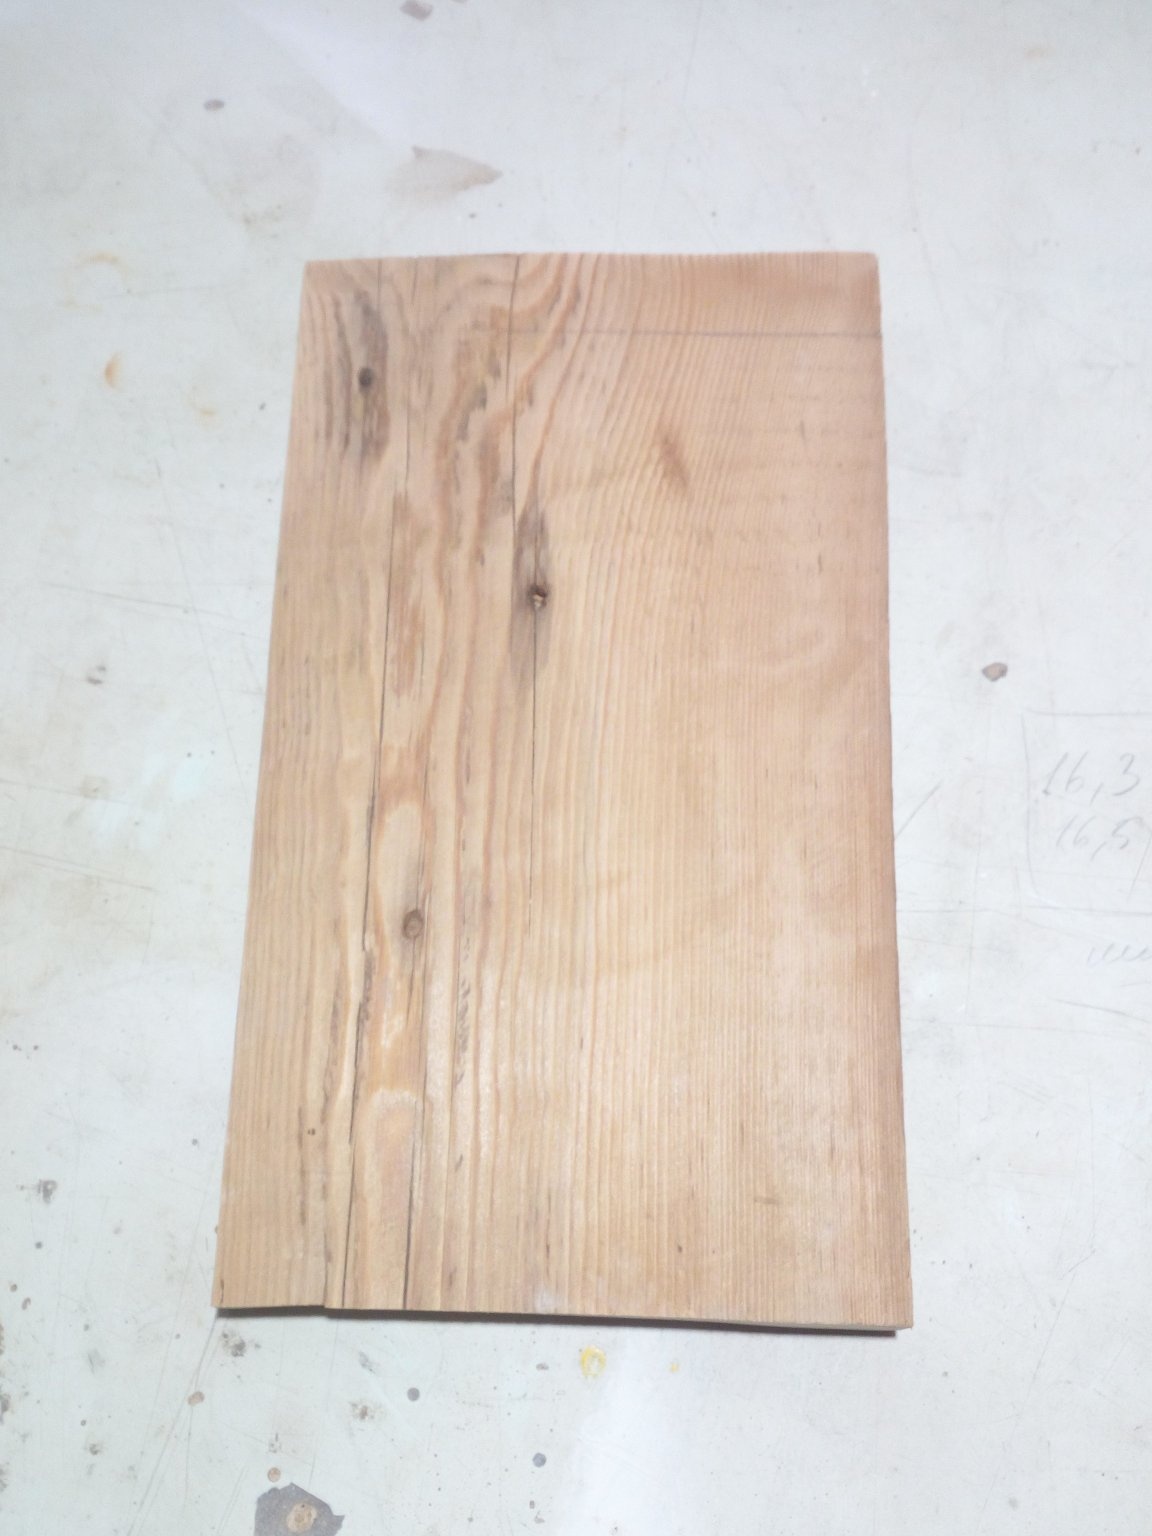
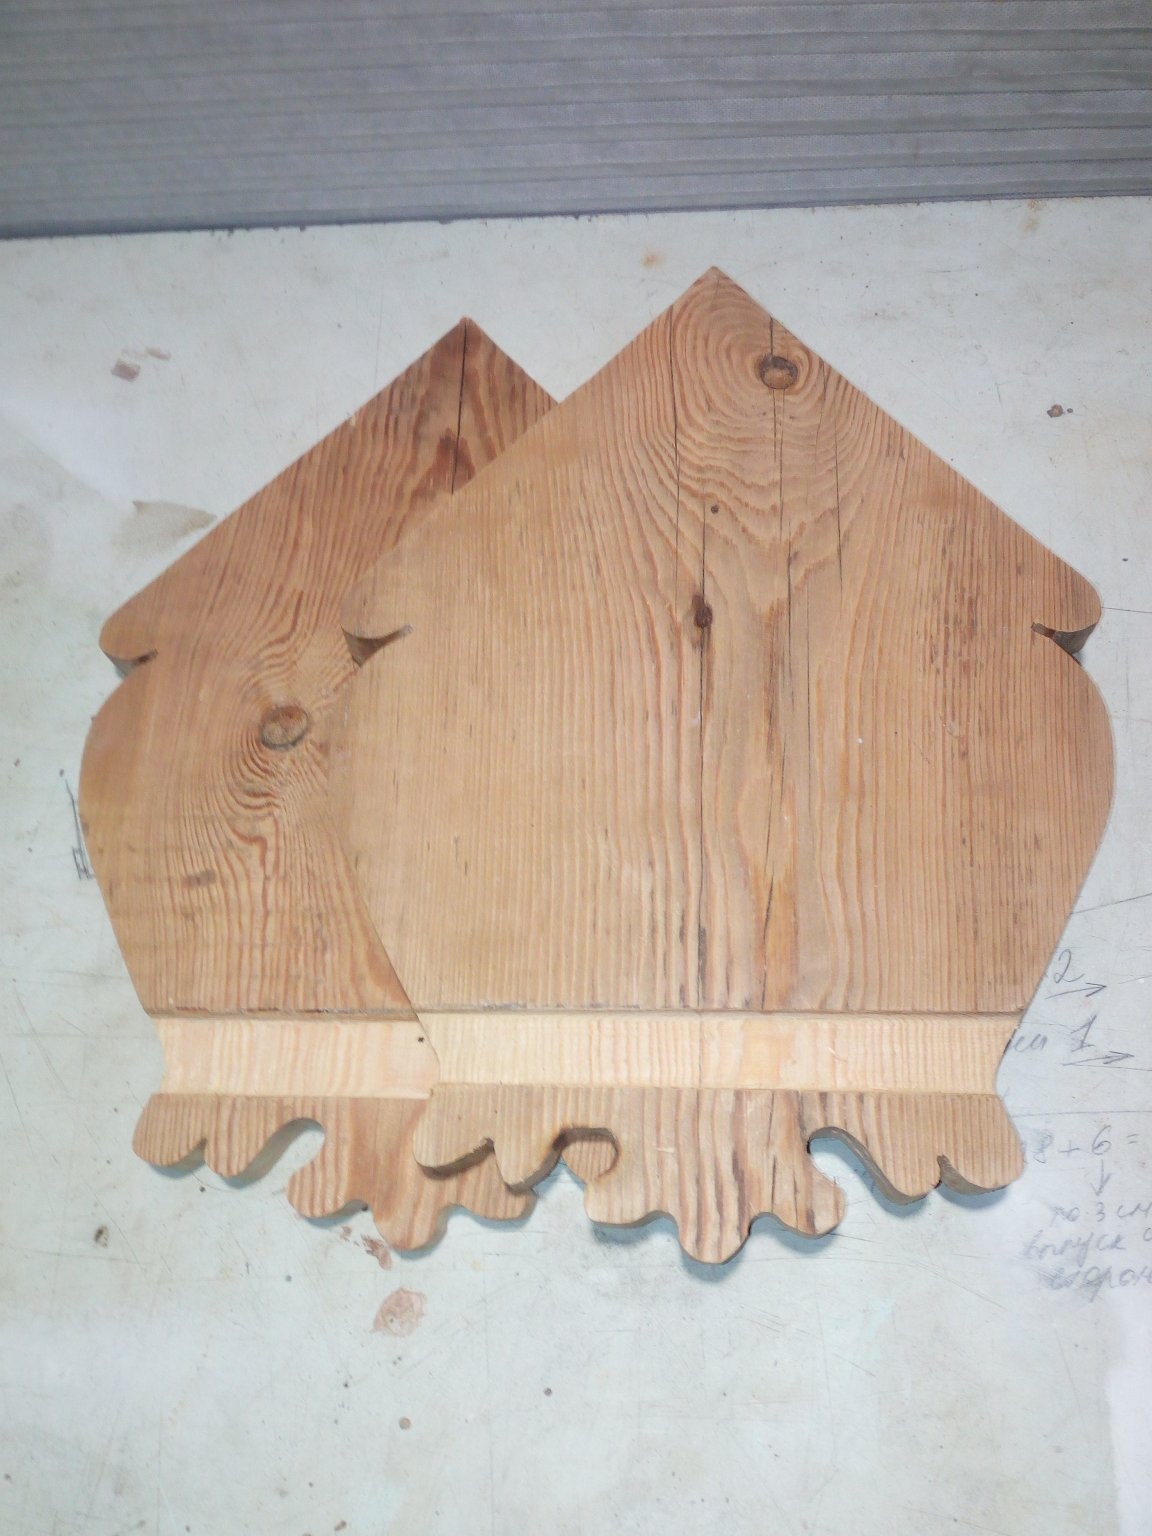
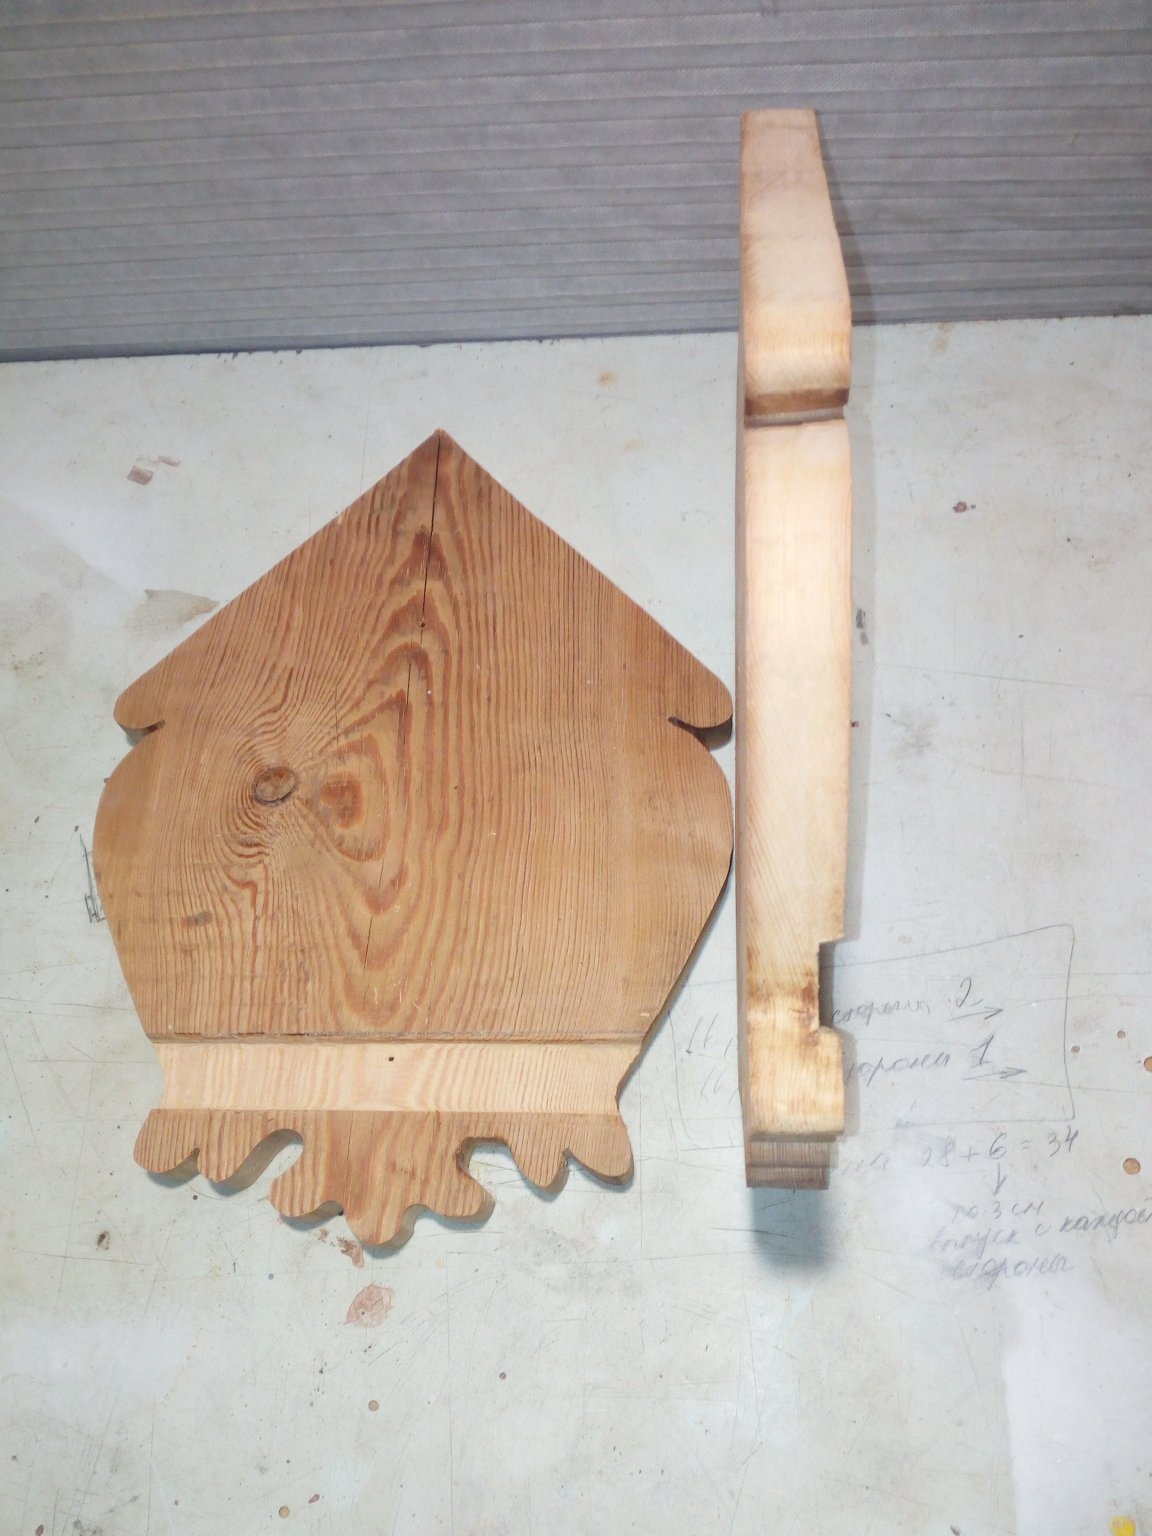
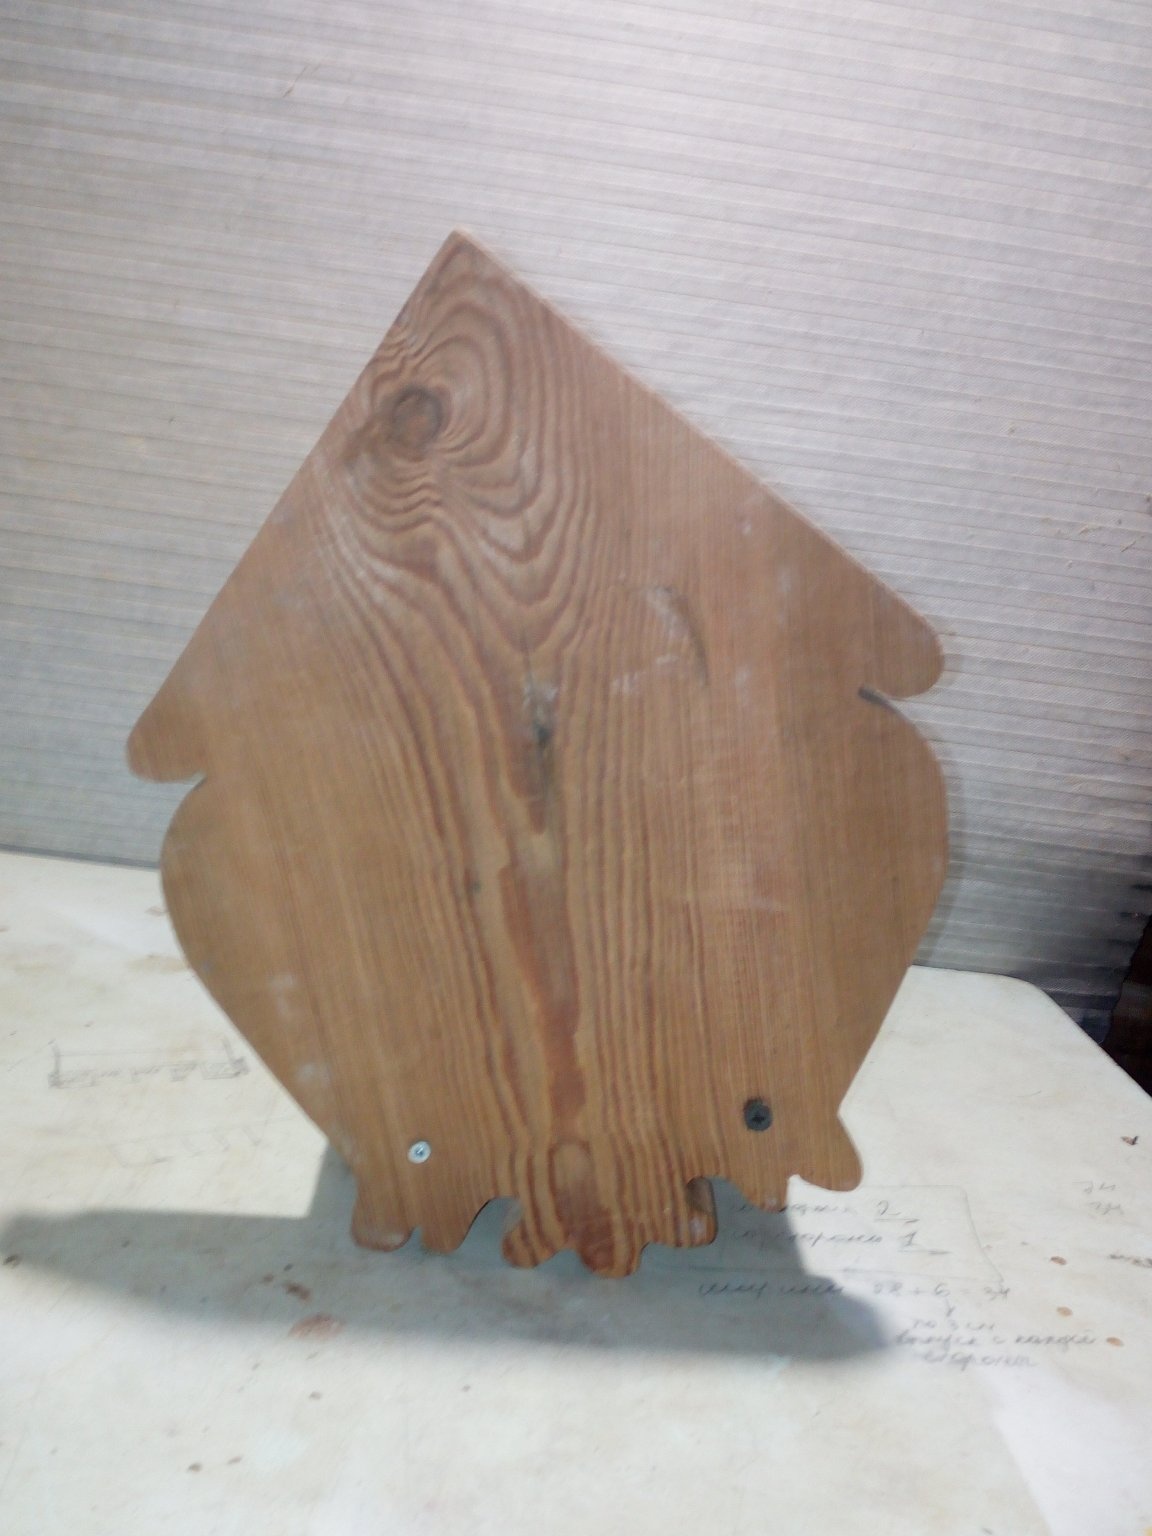
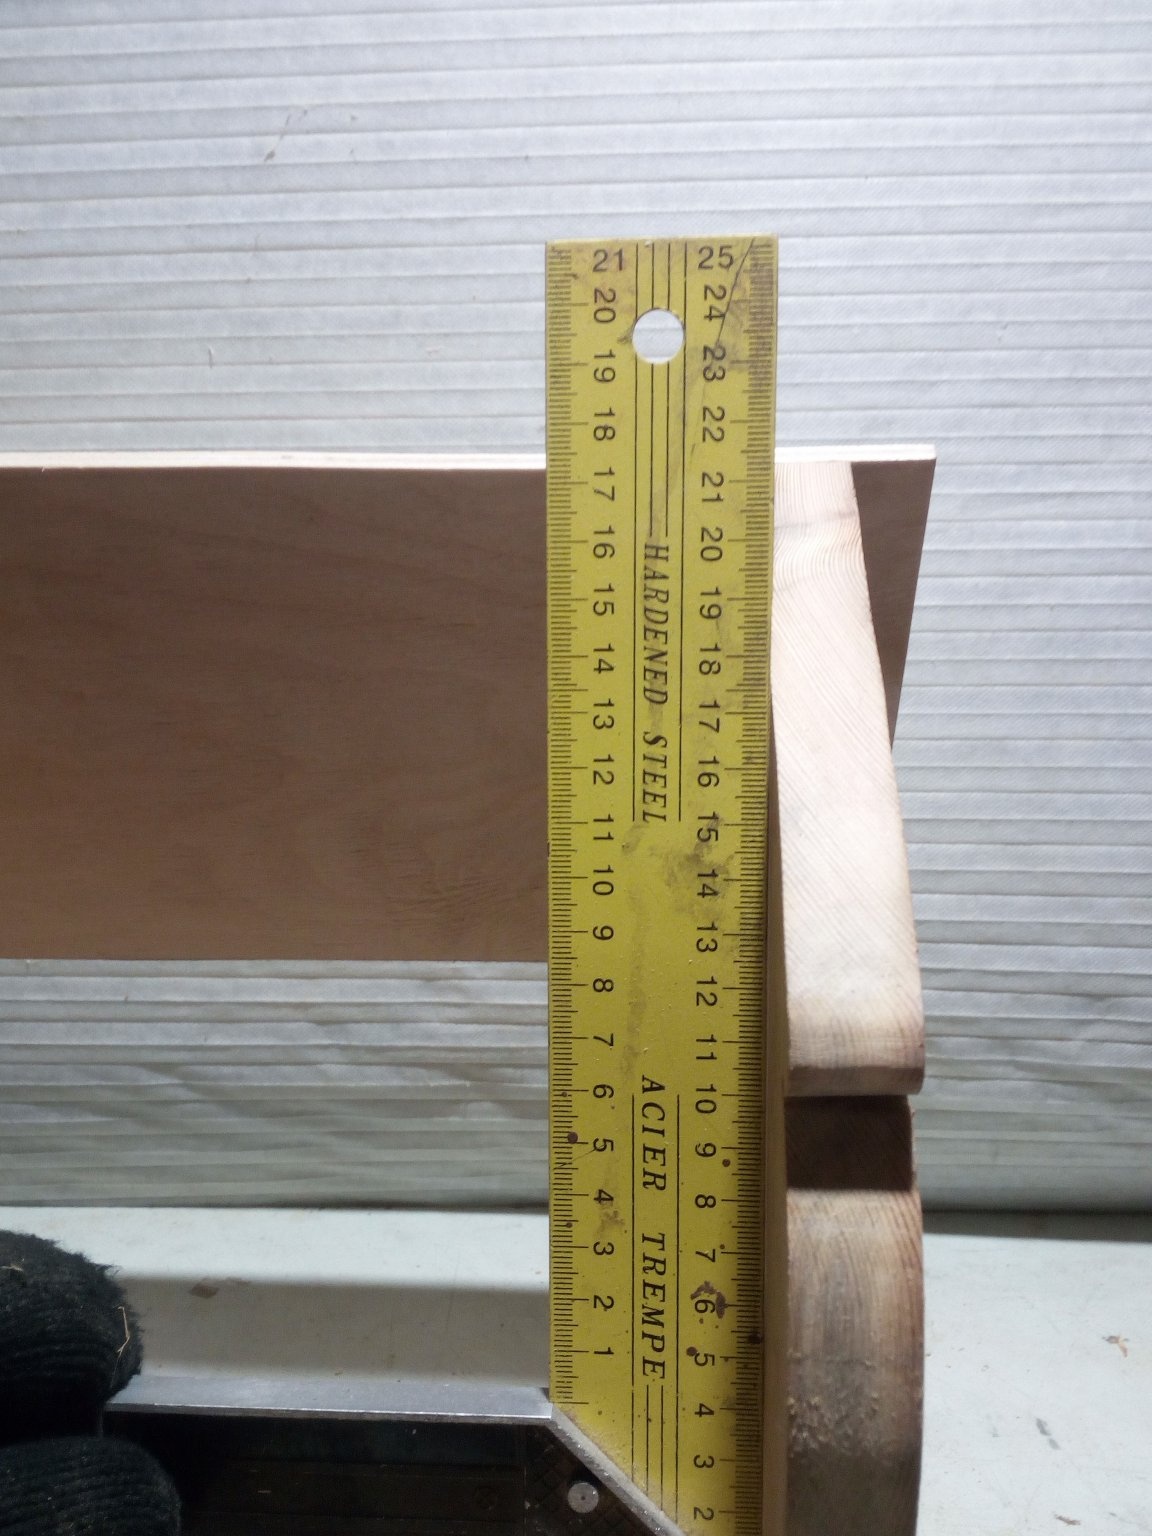
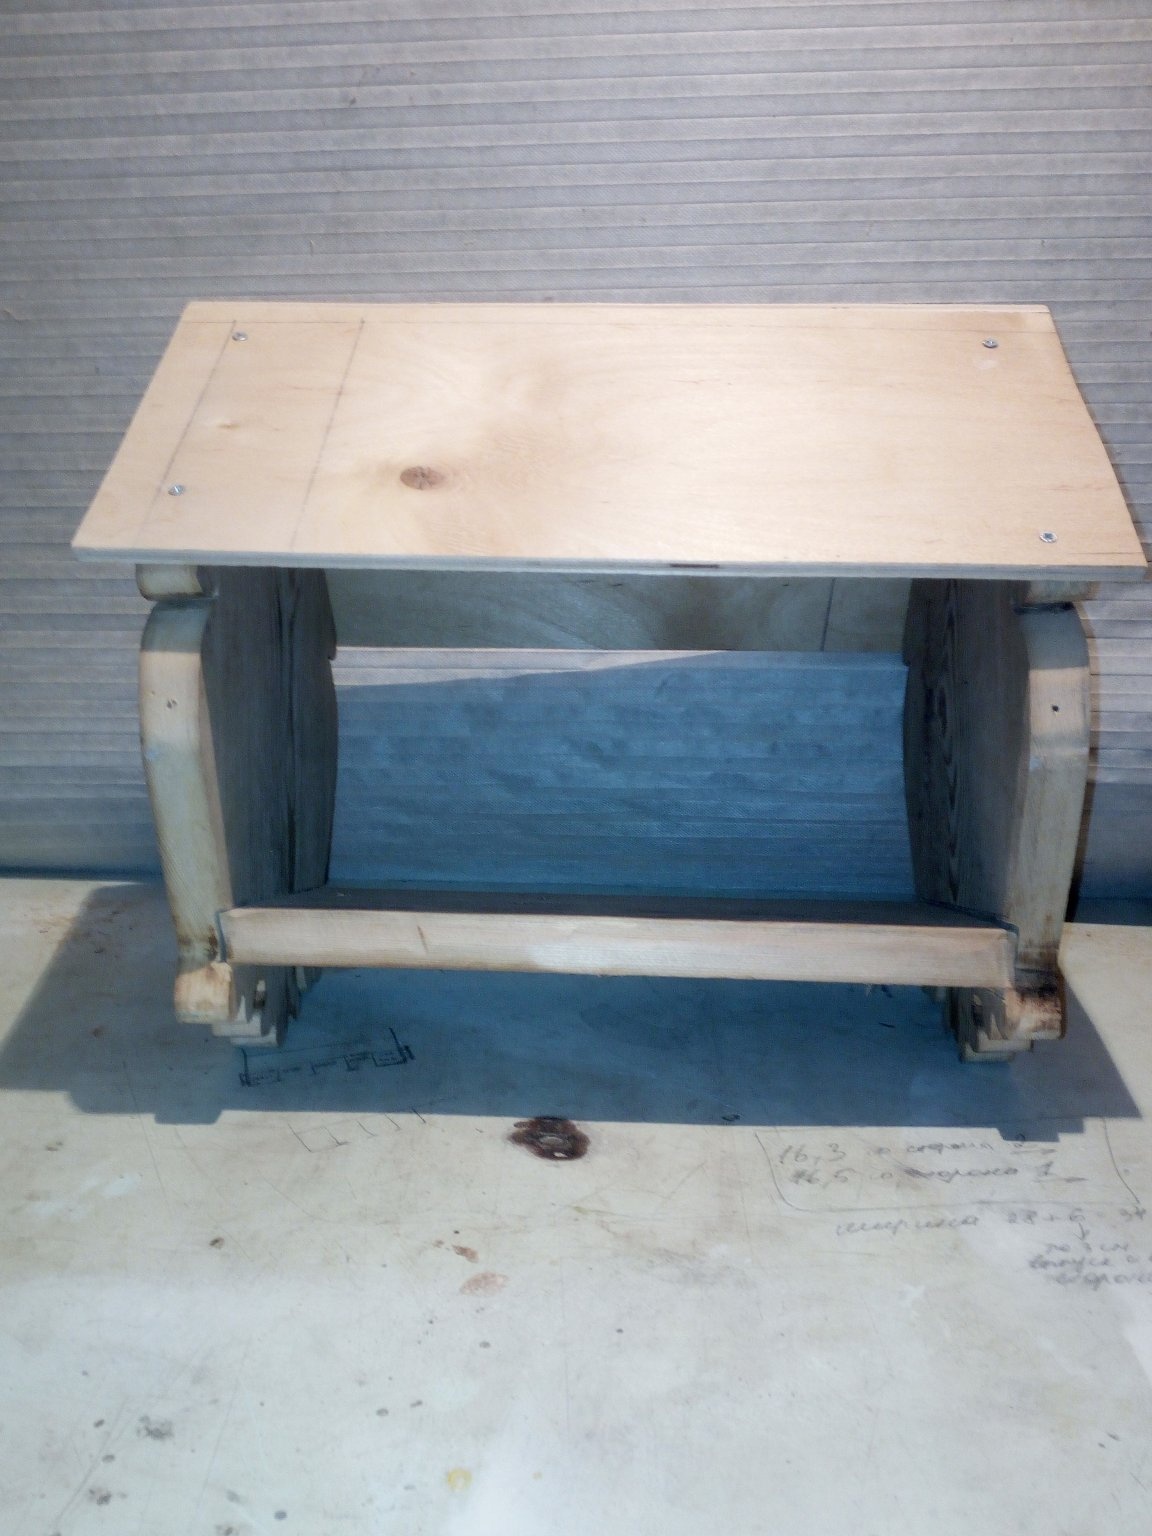
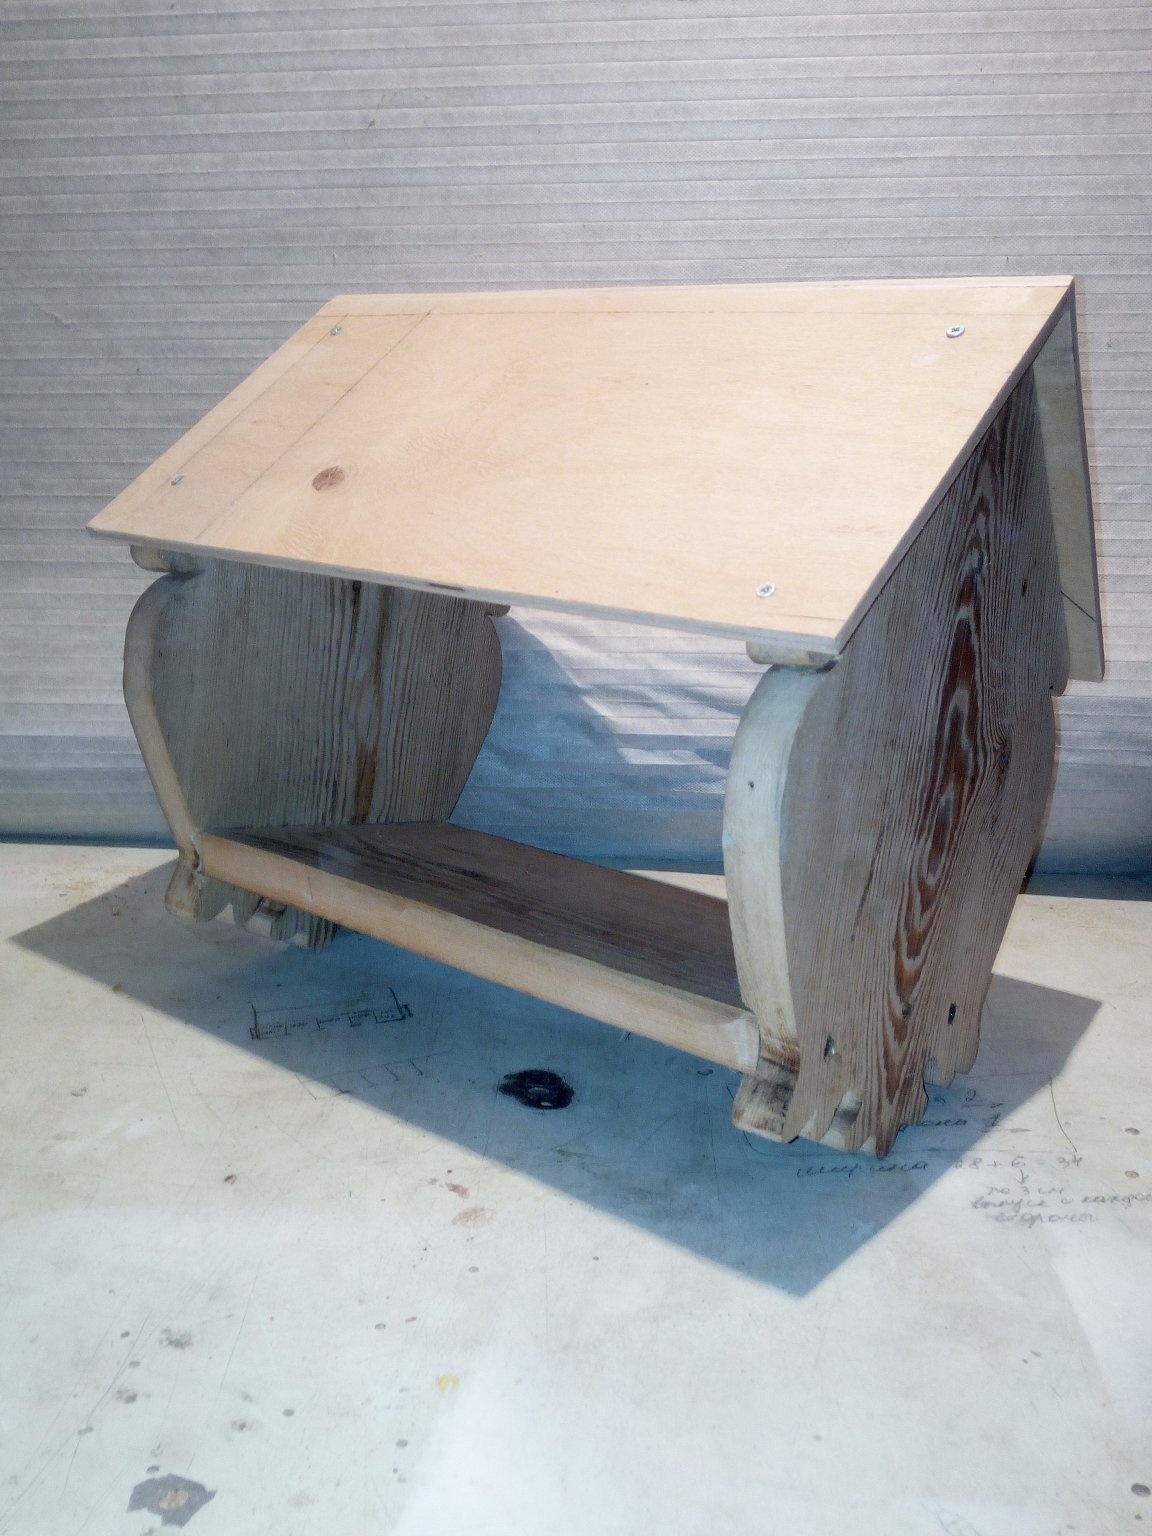
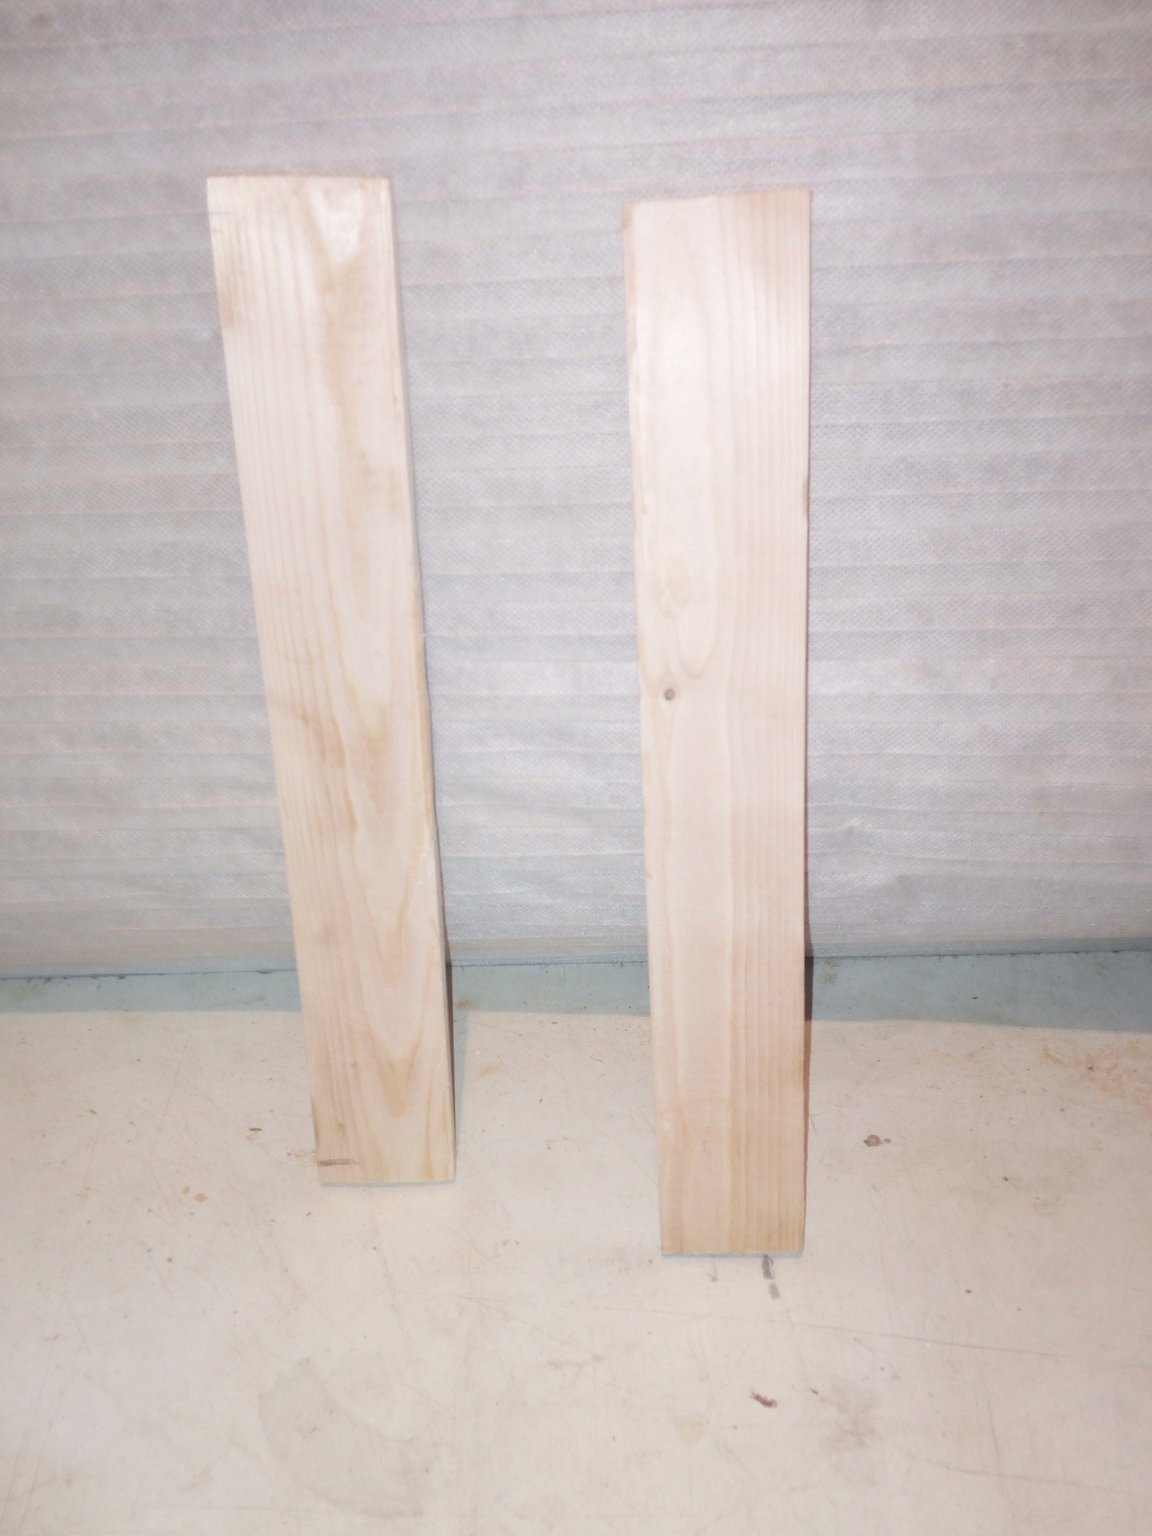
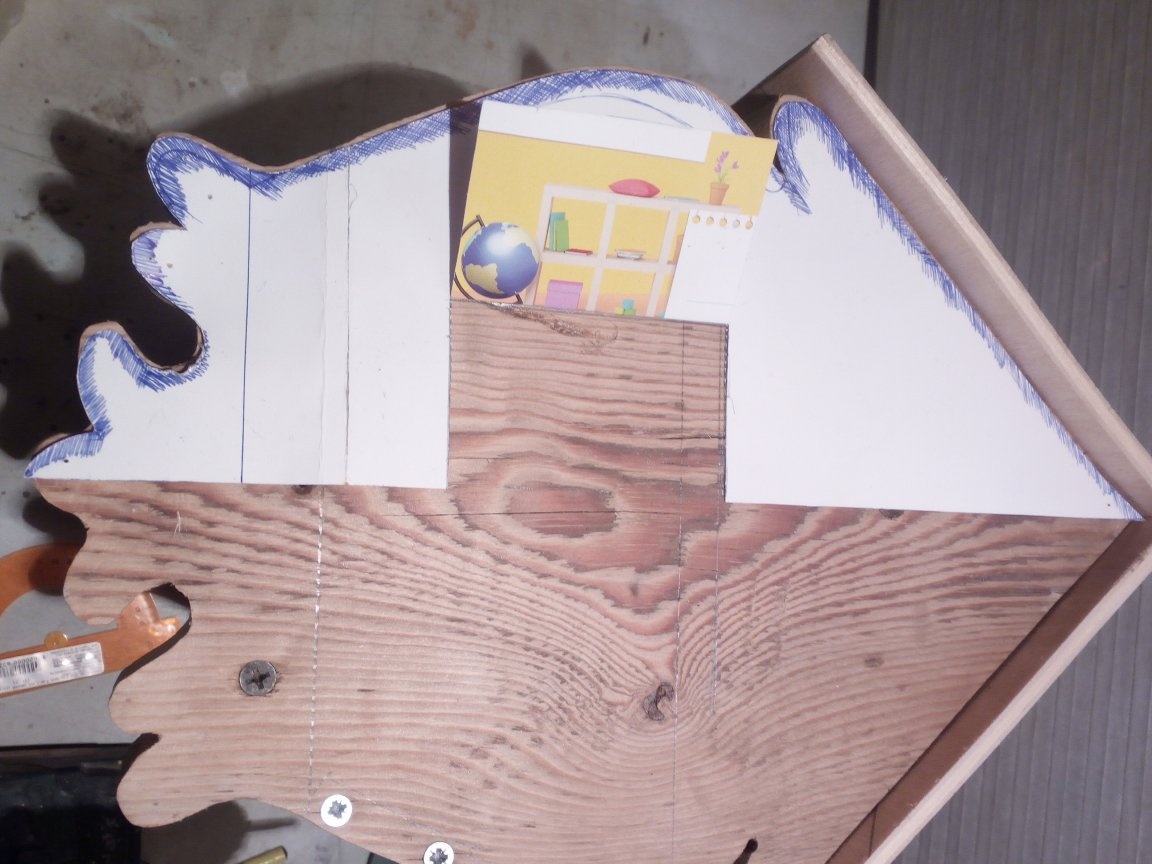
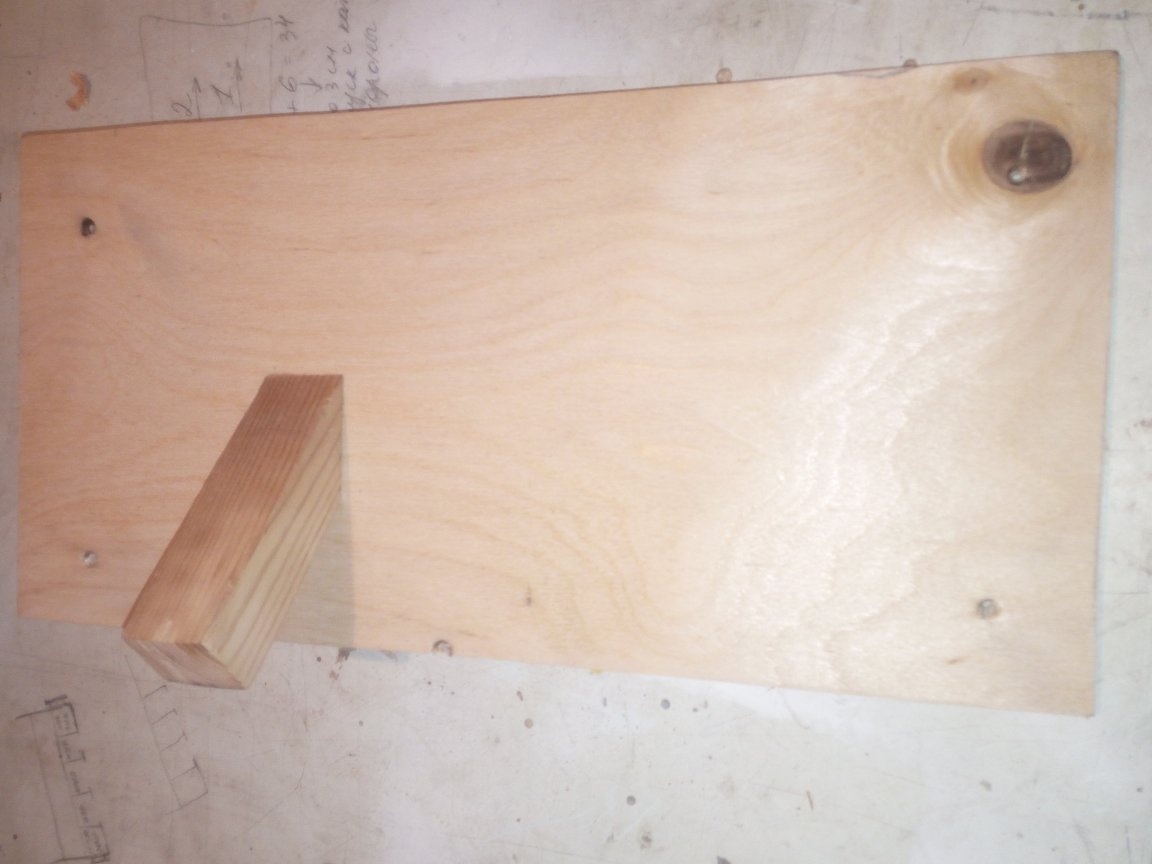
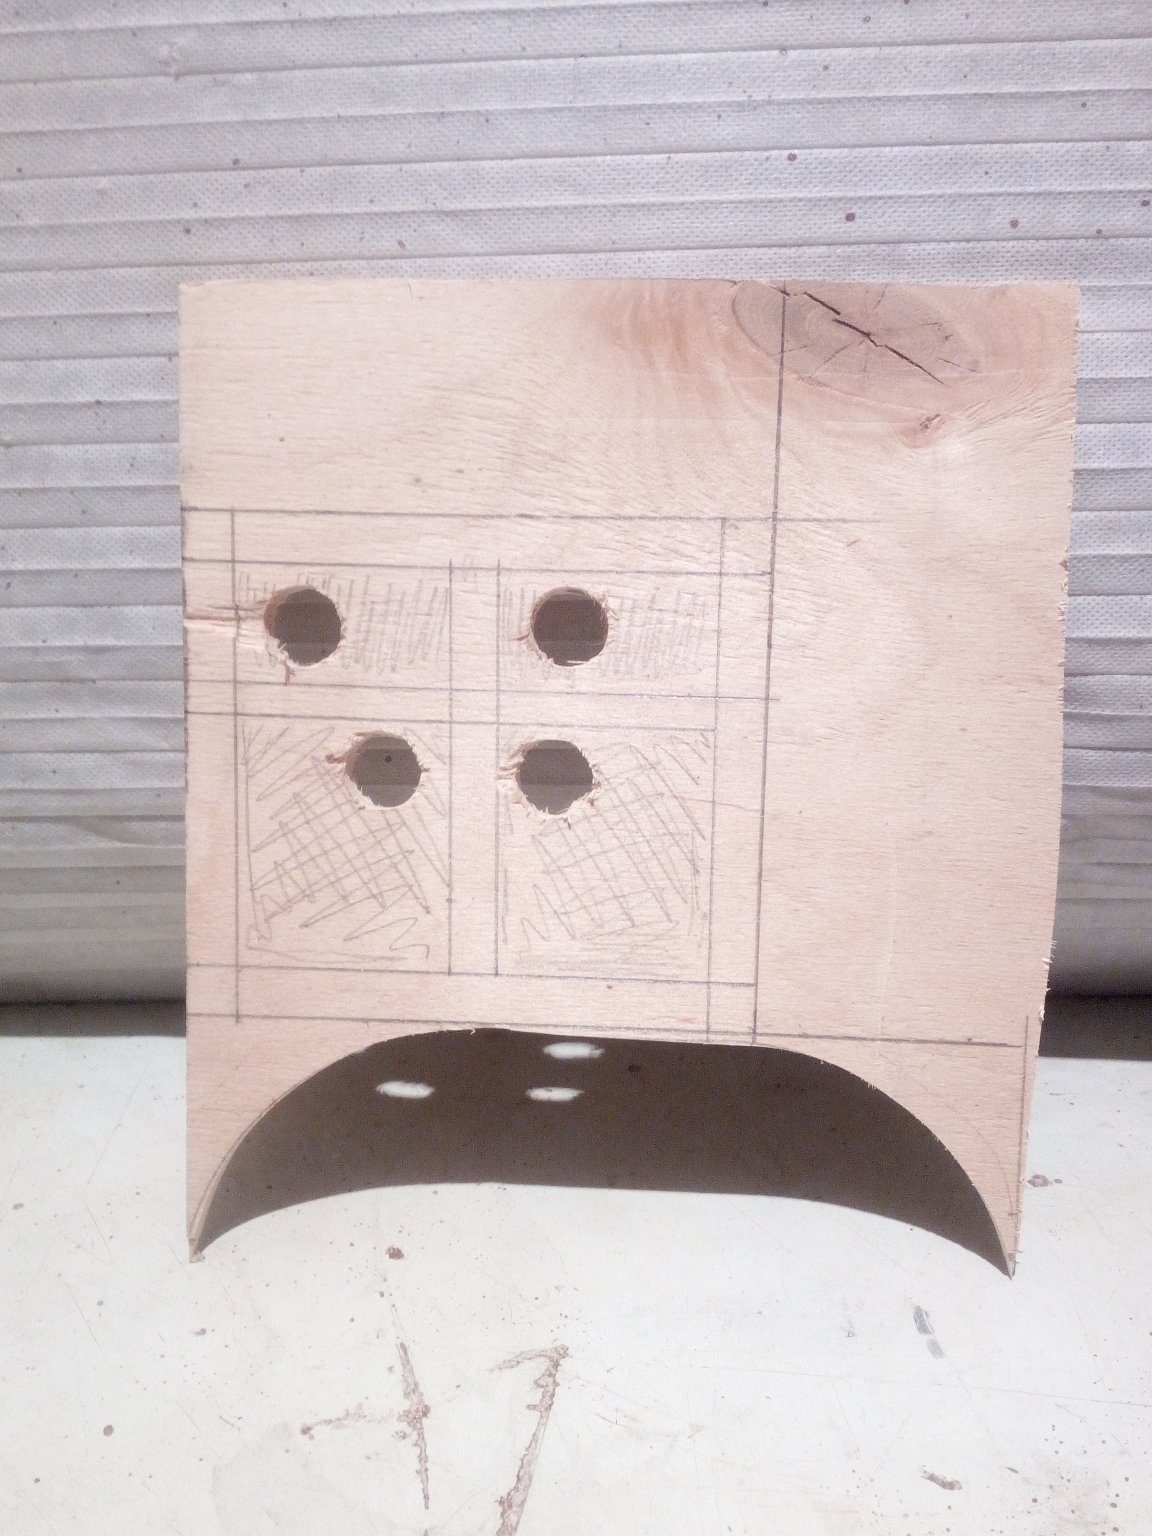
In order for the feeder to serve a longer period, since all the same it will be constantly on the street, regardless of precipitation, I made its base from a board 20 mm thick. First, I drew a full-scale template on paper. I cut it out, fixed it on a board and circled it around with a simple pencil. To save time, as well as to be able to end up with the same parts, two boards from which the side walls of the product will be cut, I connected together and after that I began to cut both parts at the same time. I polished the resulting blanks. In those places where I could not normally cut through with a jigsaw, I had to modify it already with milling cutters and dremel. In the end, this is what happened:
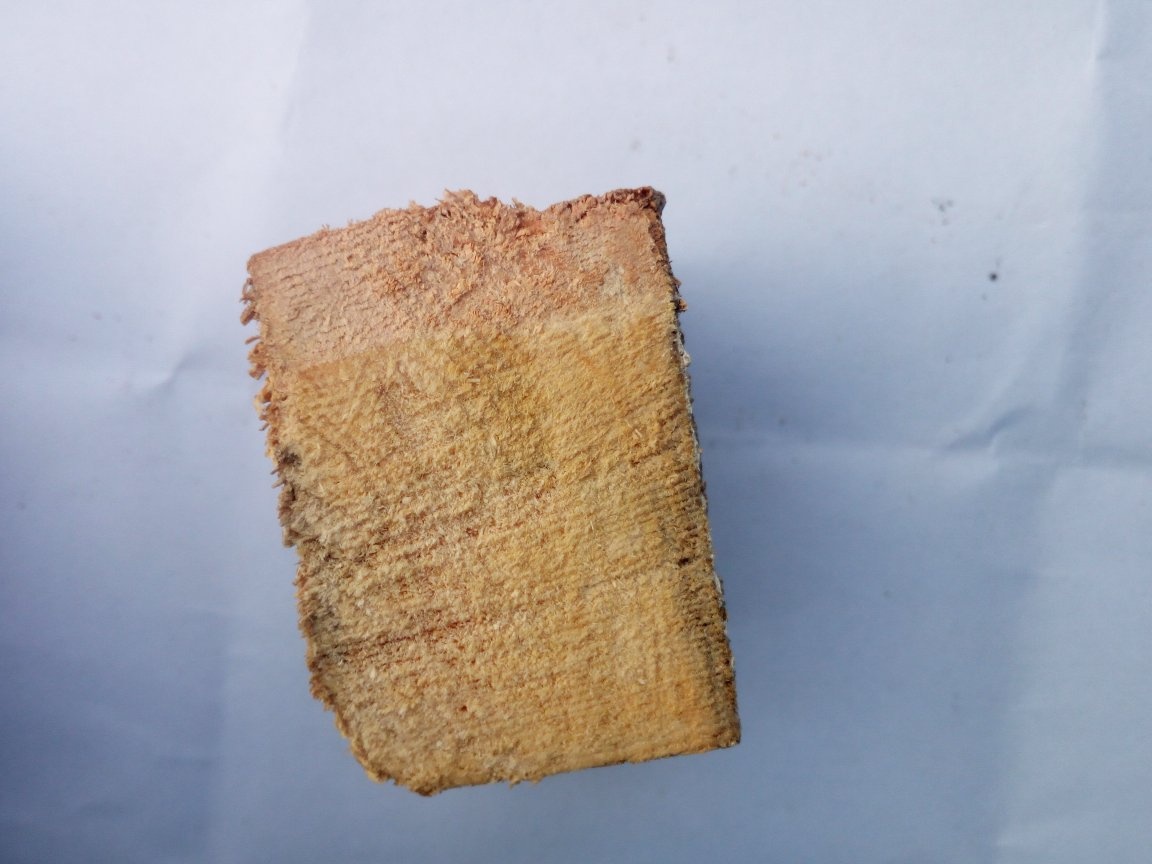
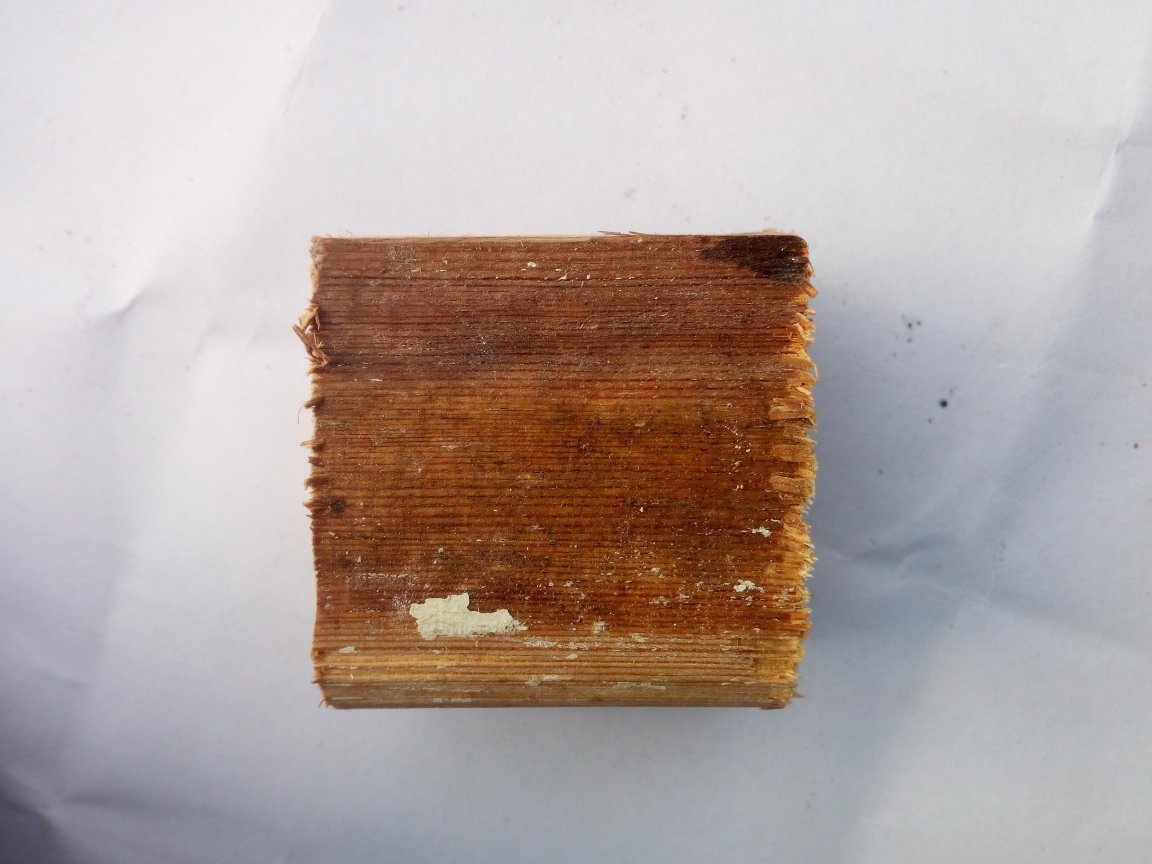
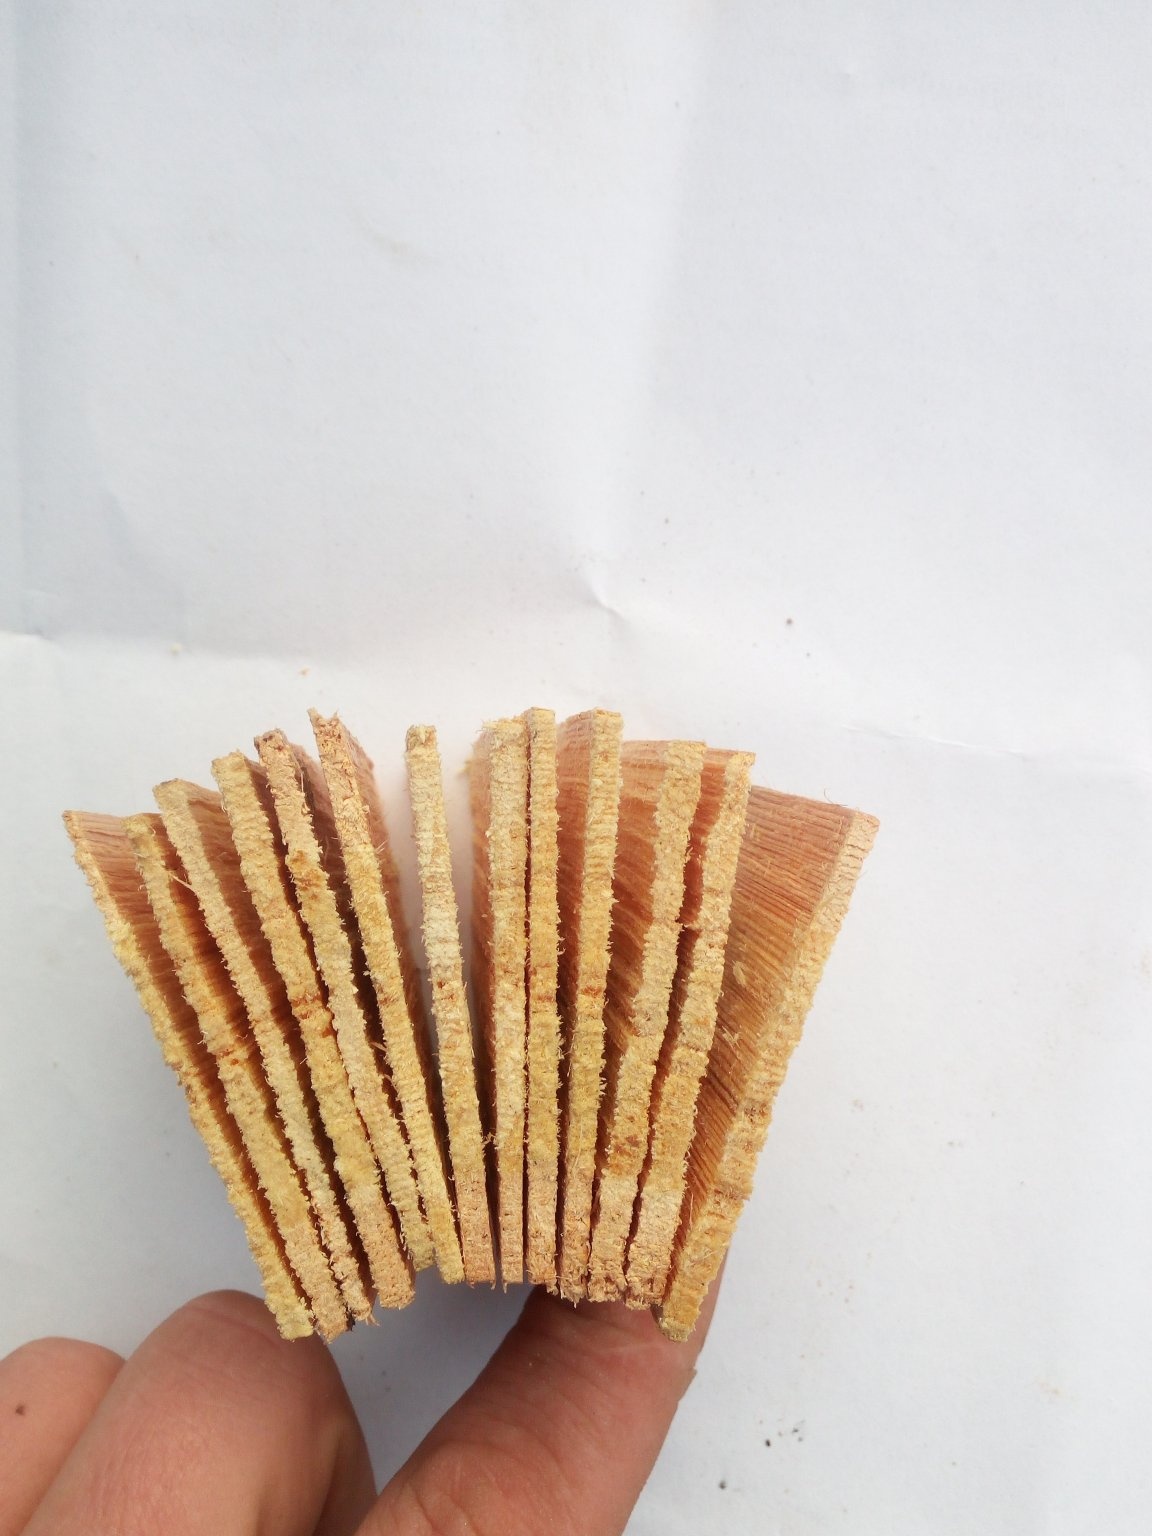
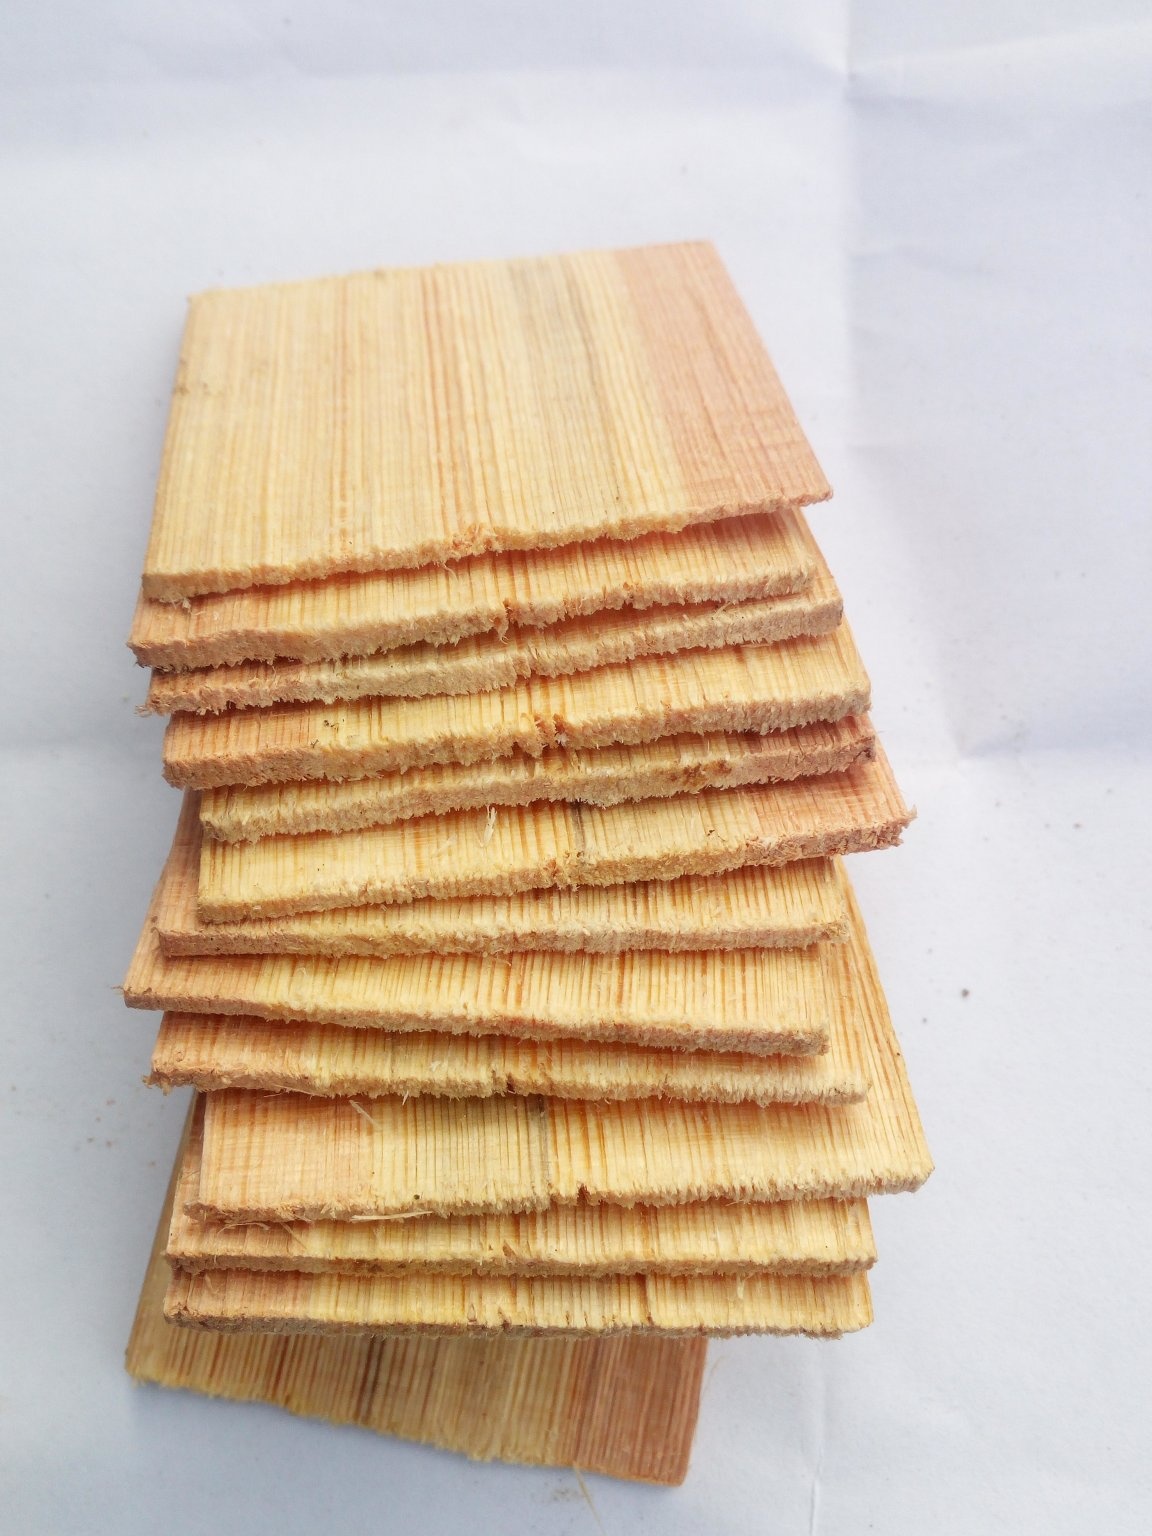
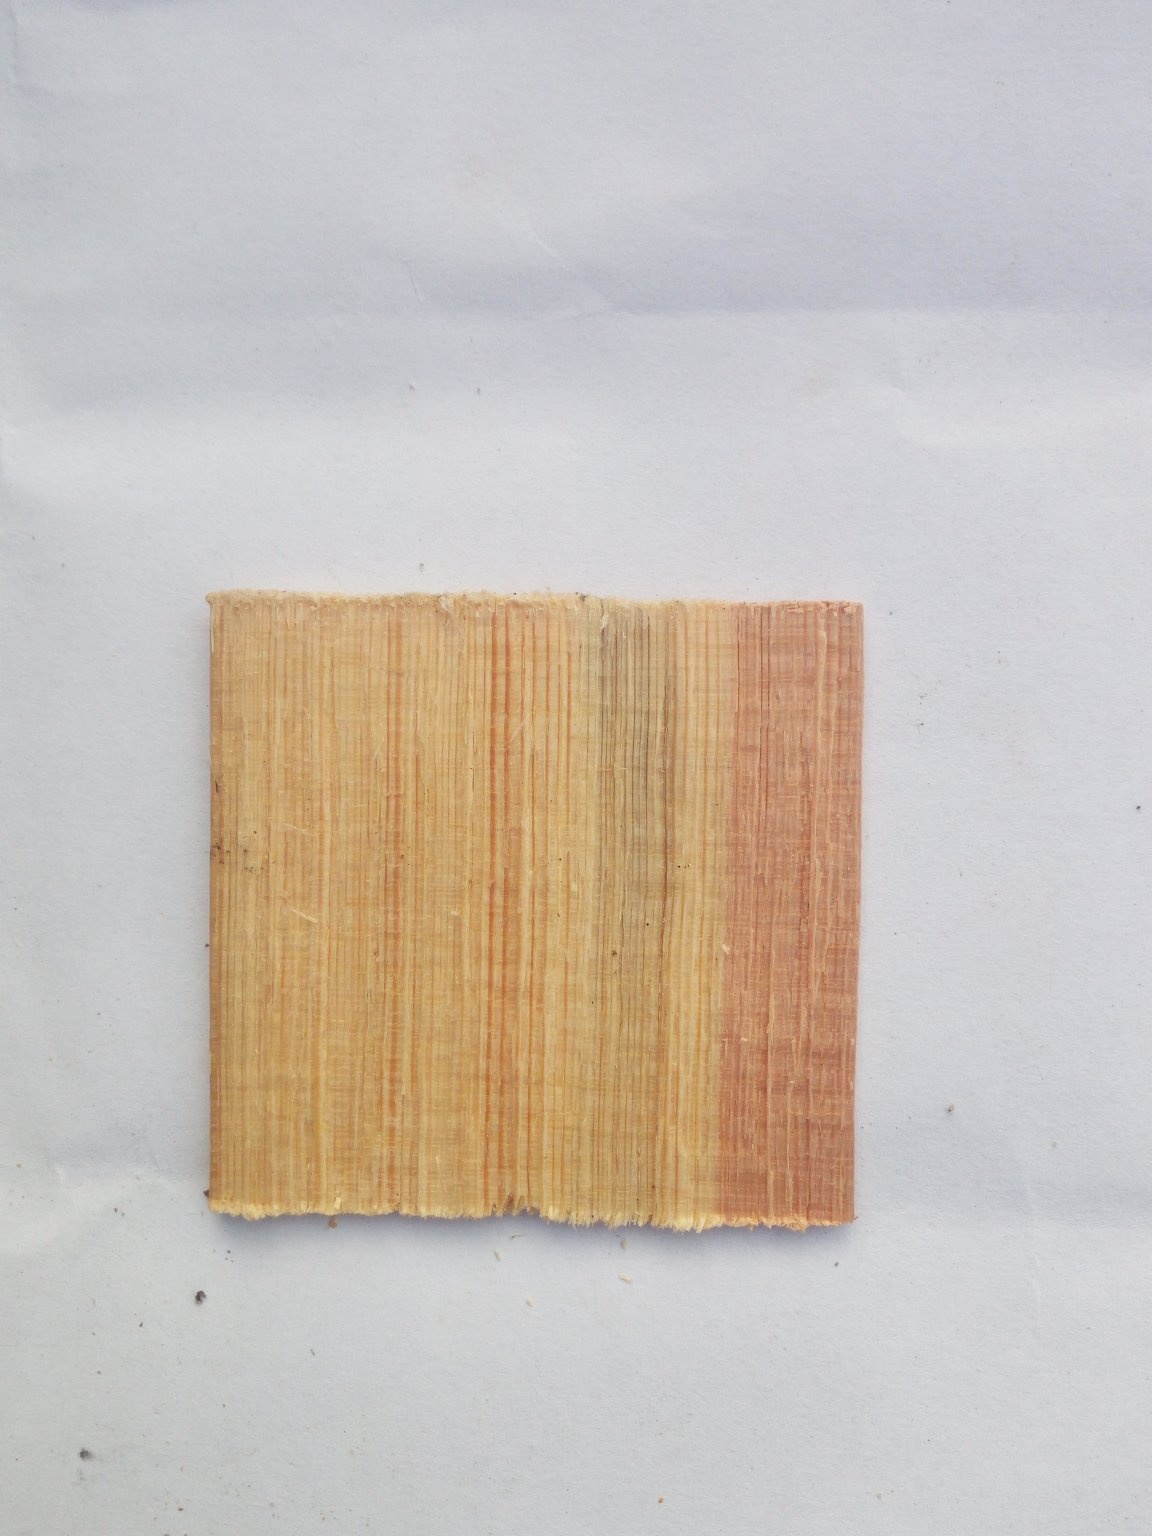
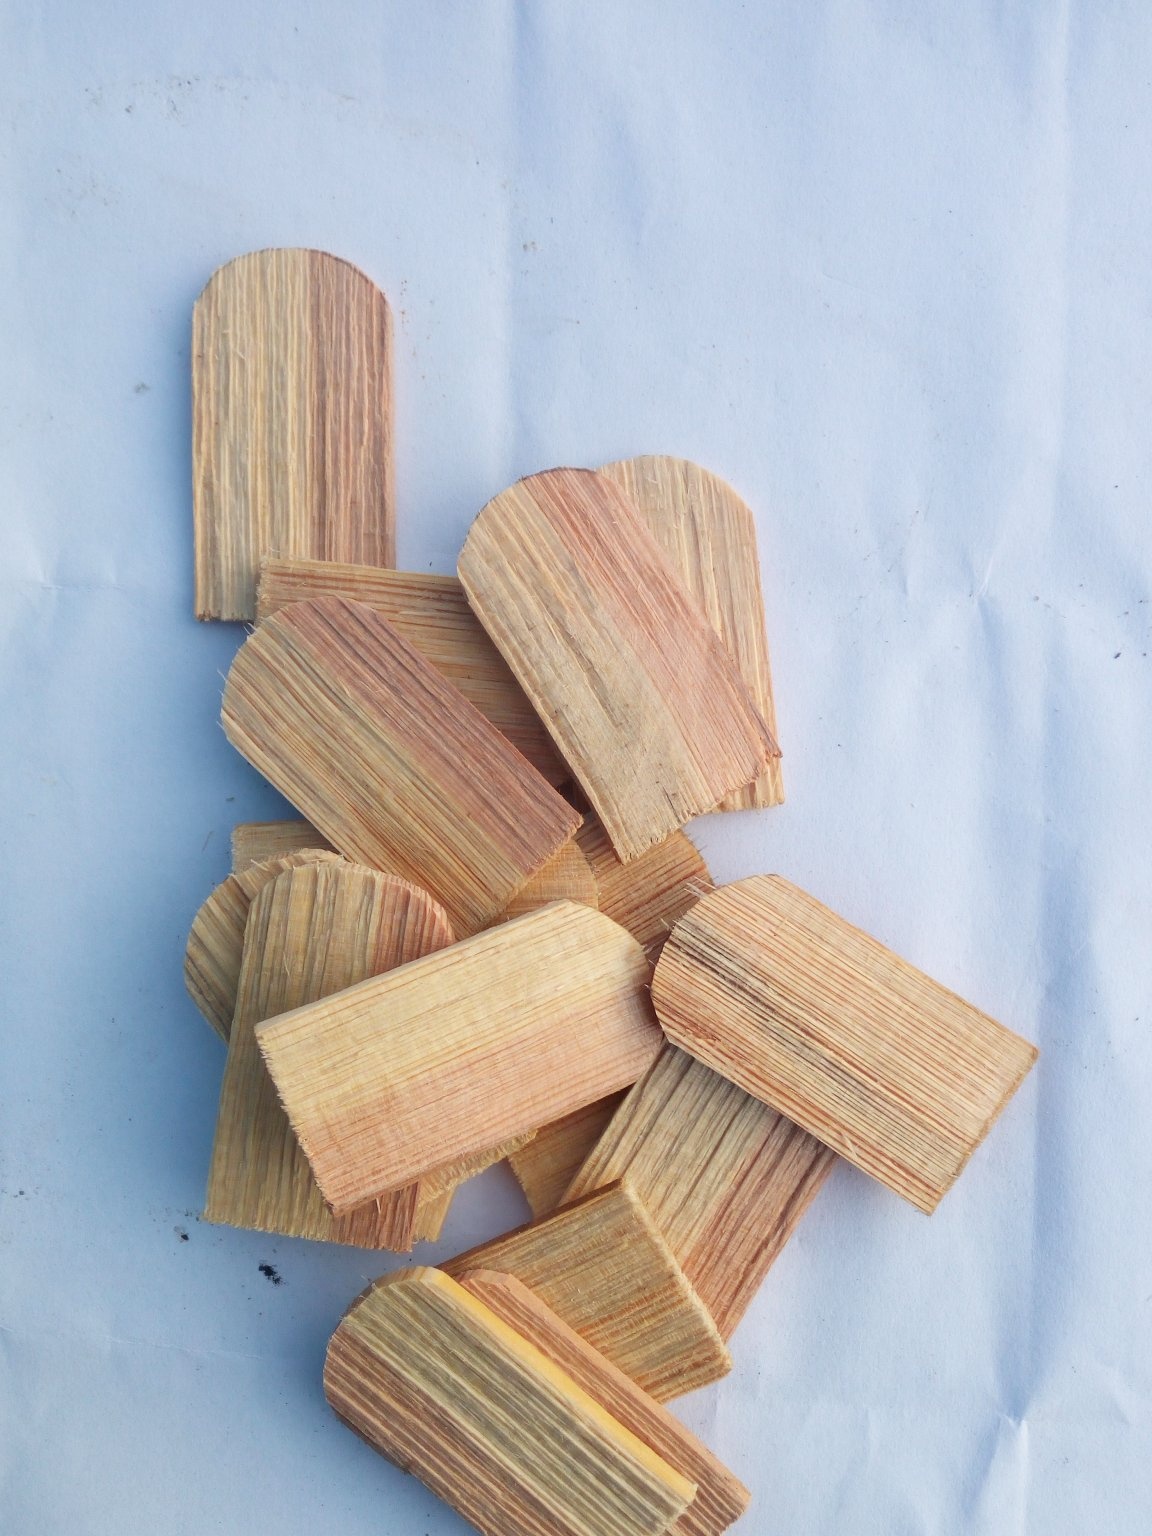
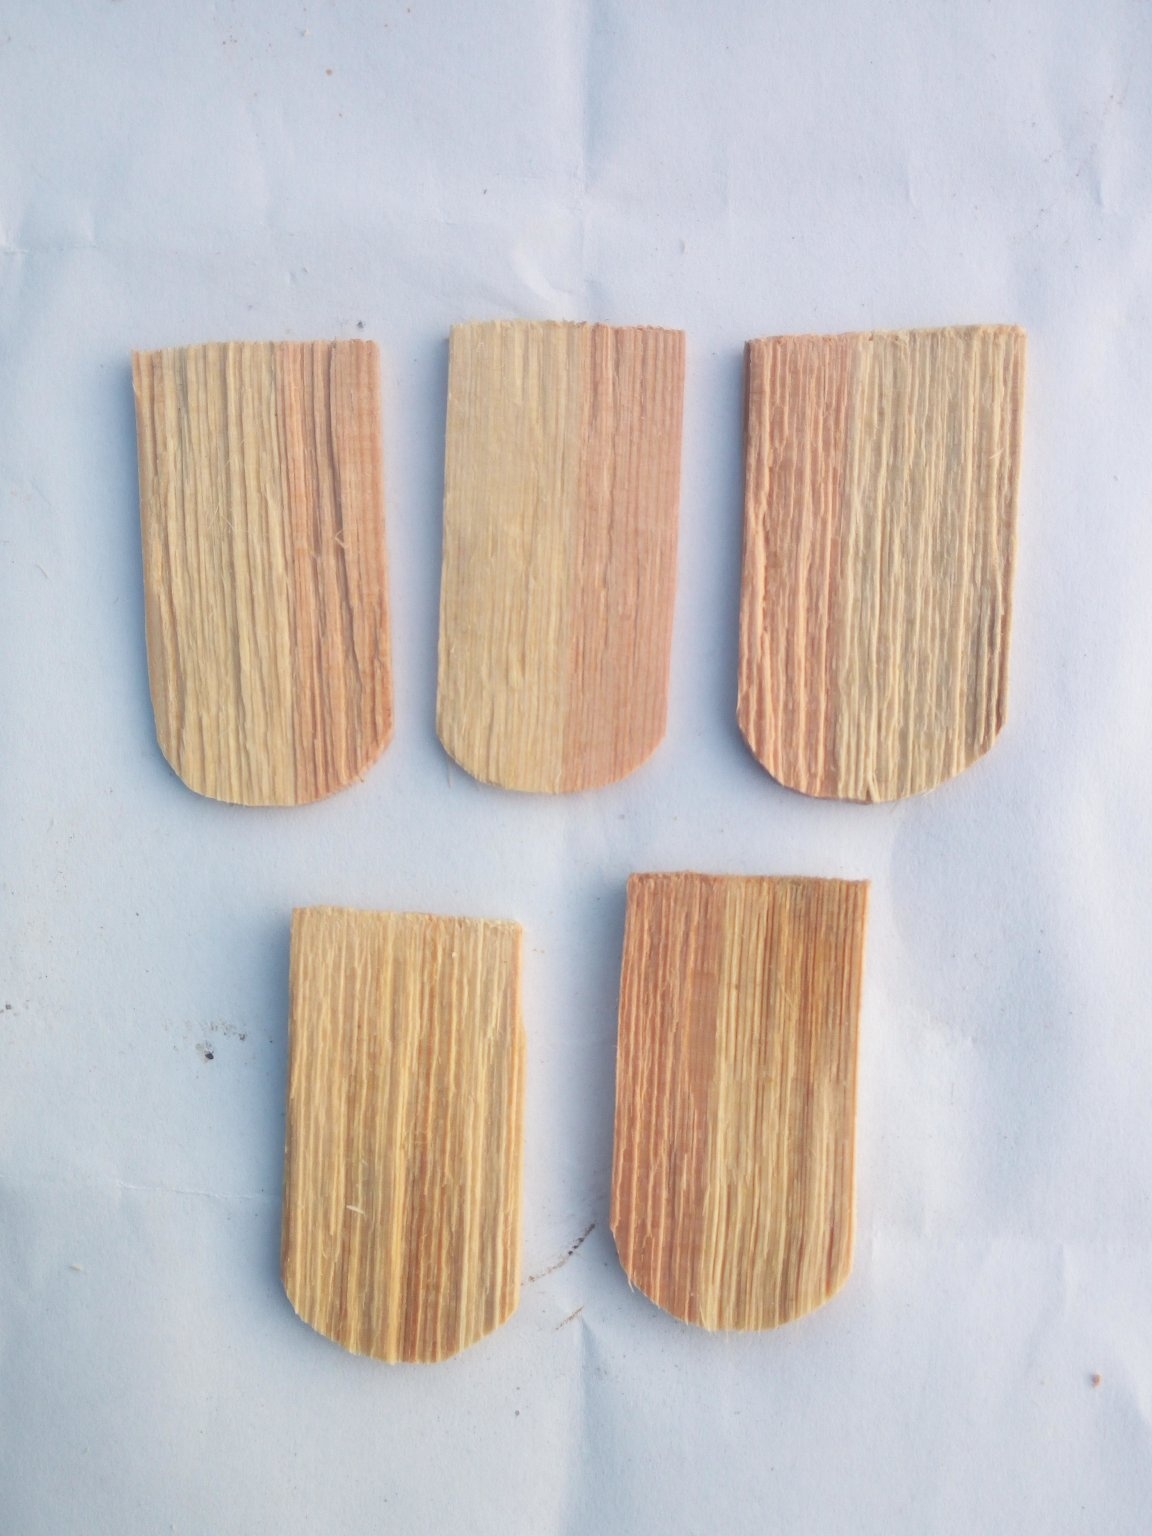
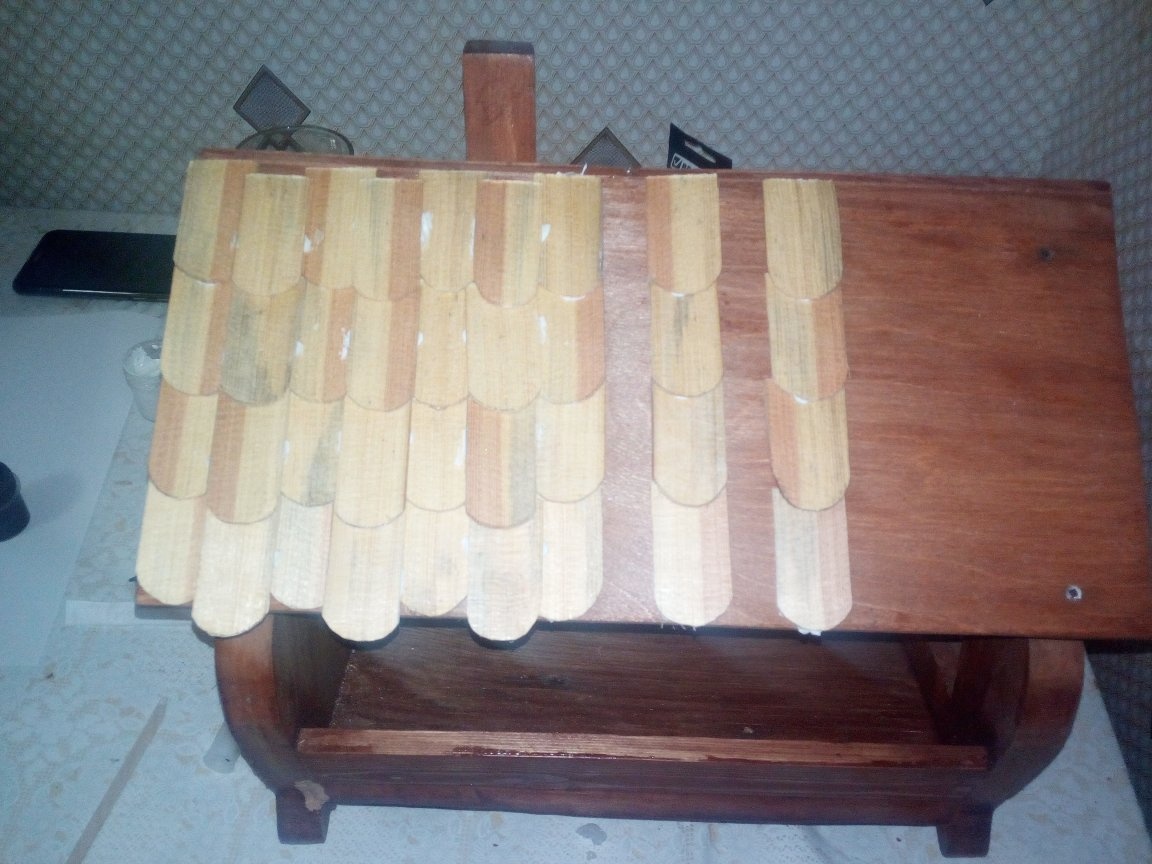
I will do a description of the work in the same sequence as I did all the parts of the feeder. Therefore, now I am describing the creation of roof tiles. For its manufacture, I used a pine block, which I chopped into thin dies with an ax. They, in turn, were divided into two parts each.Having drawn the edge of the tile I needed on one die, I used it as a template for everyone else. The whole manufacturing process boiled down to the fact that I simply rounded off from one end a clerical knife from one end. Fortunately, the thickness of the workpieces and the fact that the wood was raw made it quite easy. Next was a two-day drying process. They just lay on a tray in a gas boiler. Dry well. The thickness of the tiles is not the same. After they had dried to polish the parts, I did not decide that it would give a more natural look to the finished product.
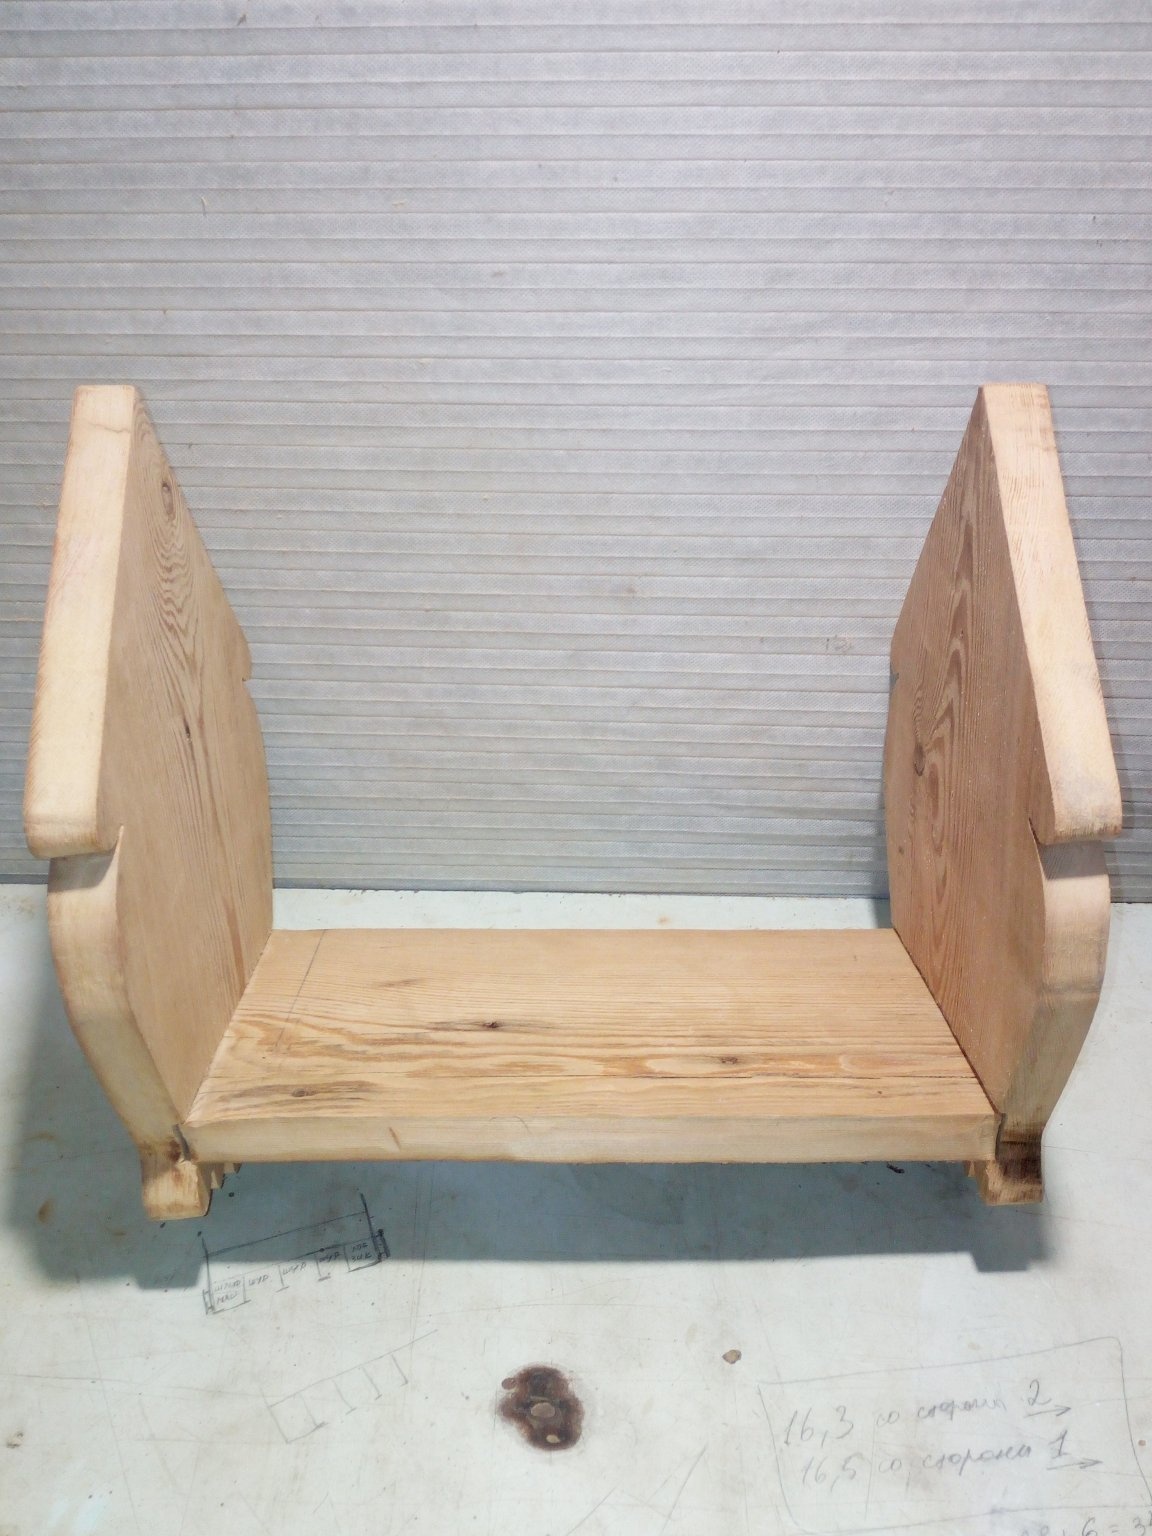
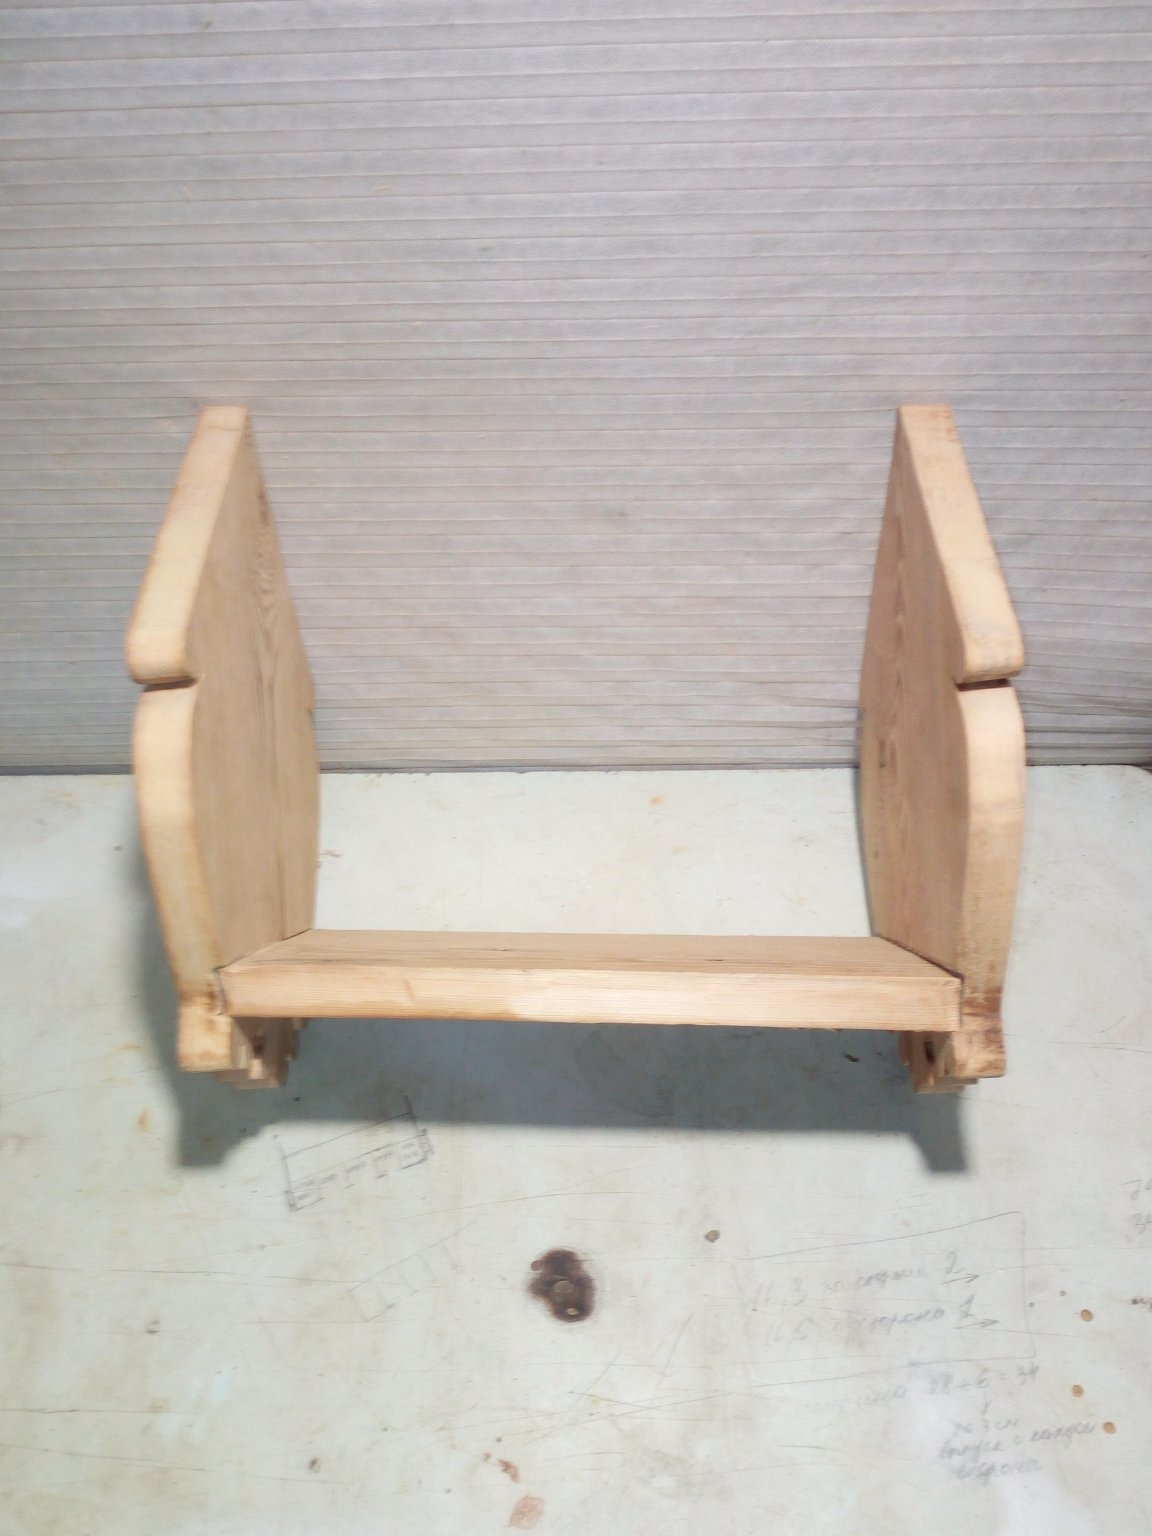
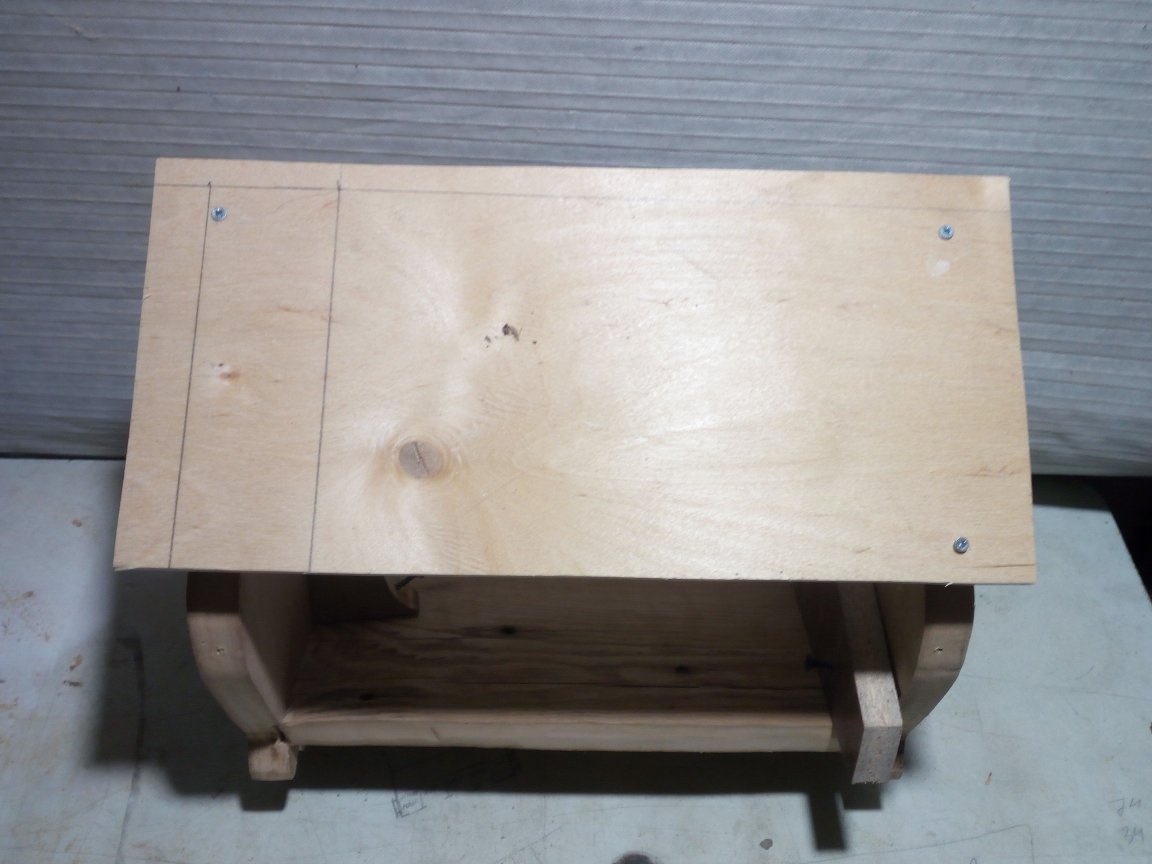
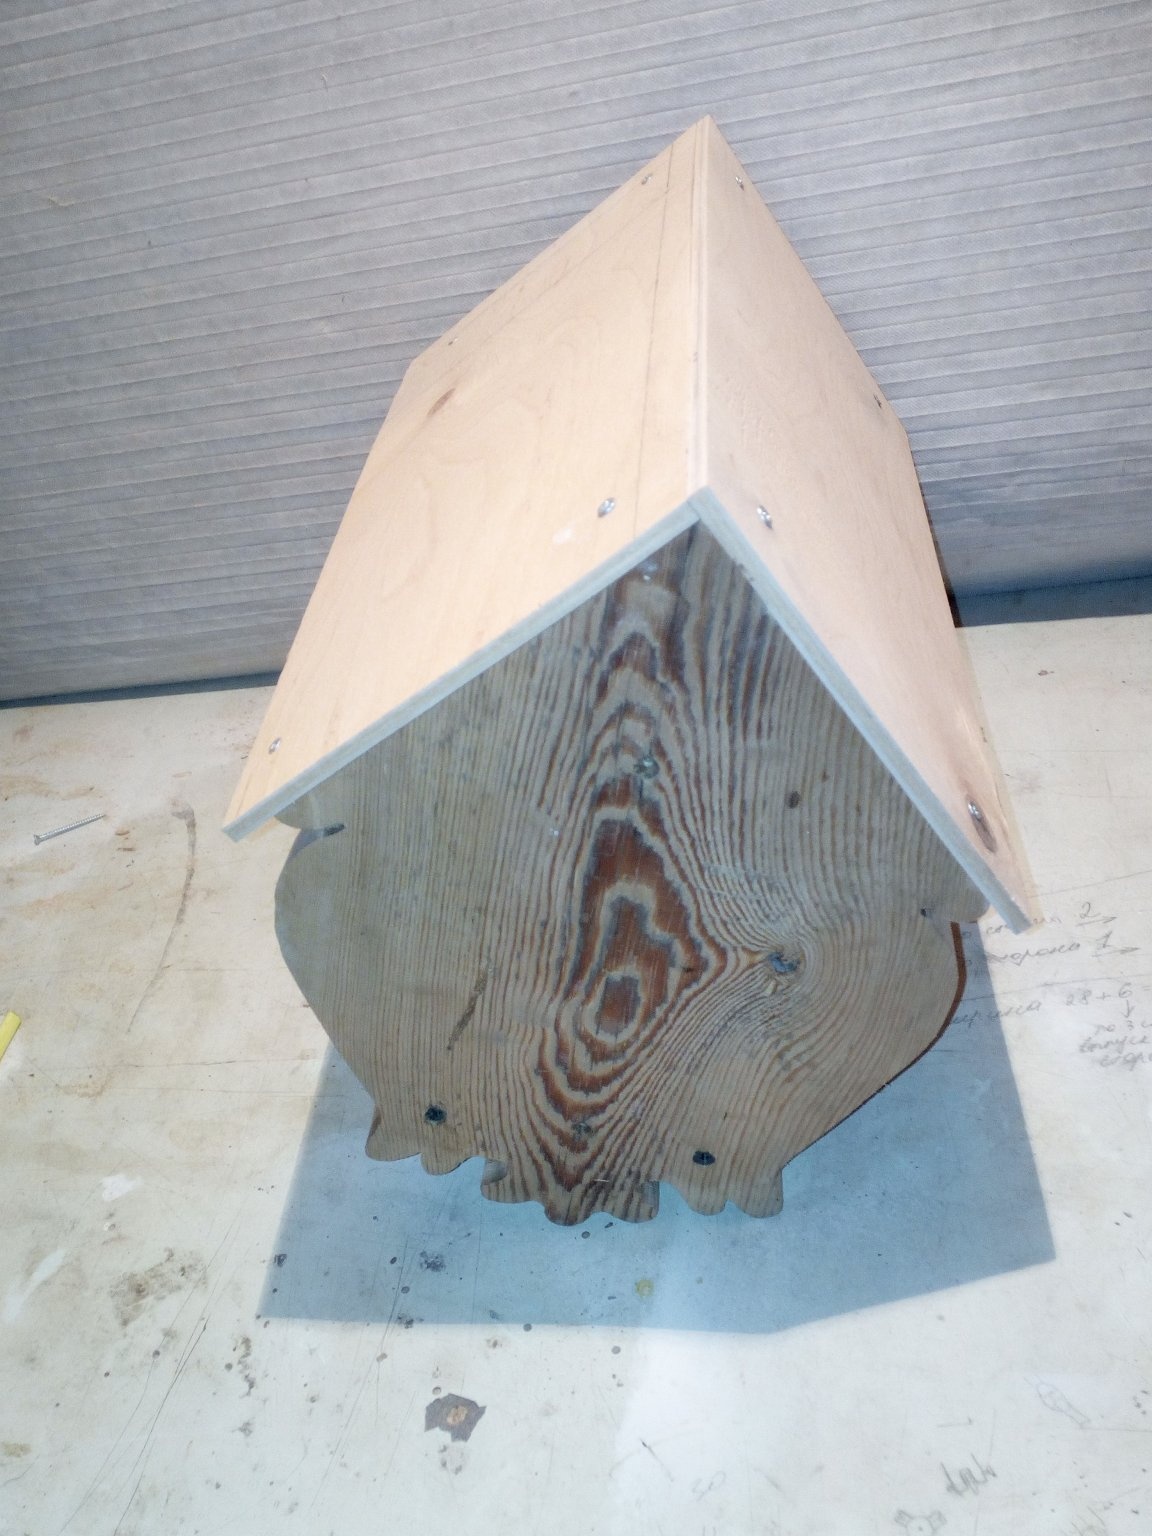
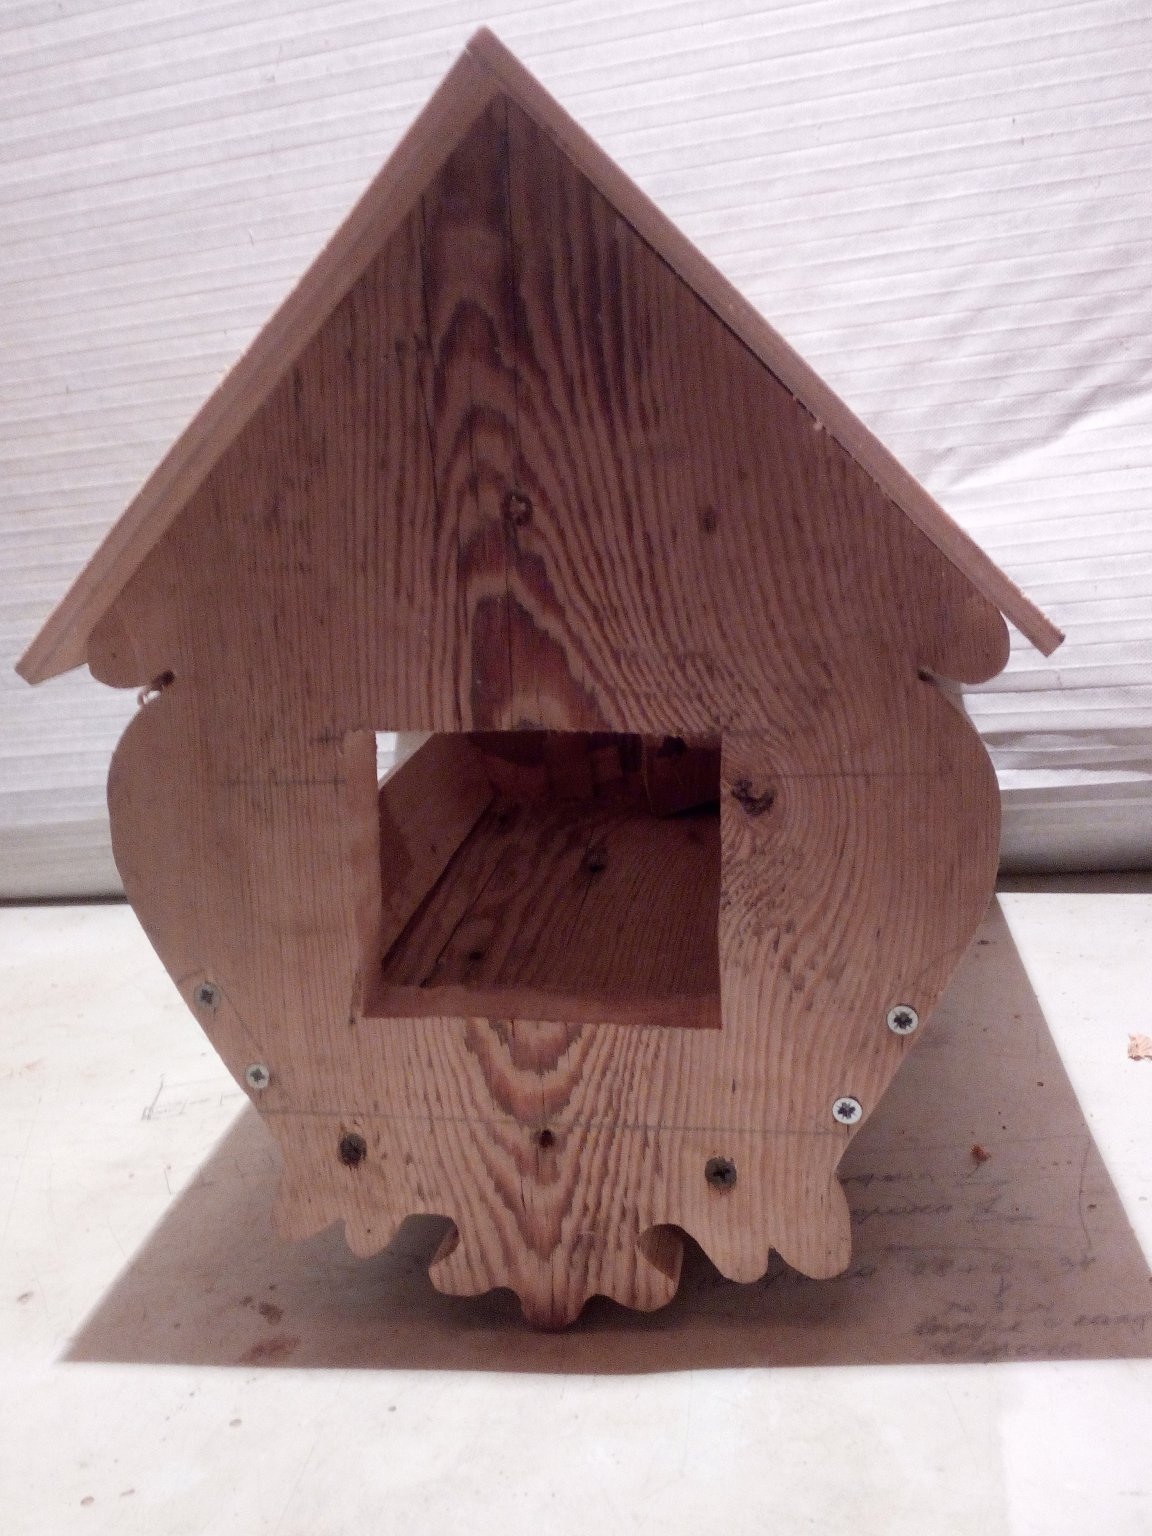
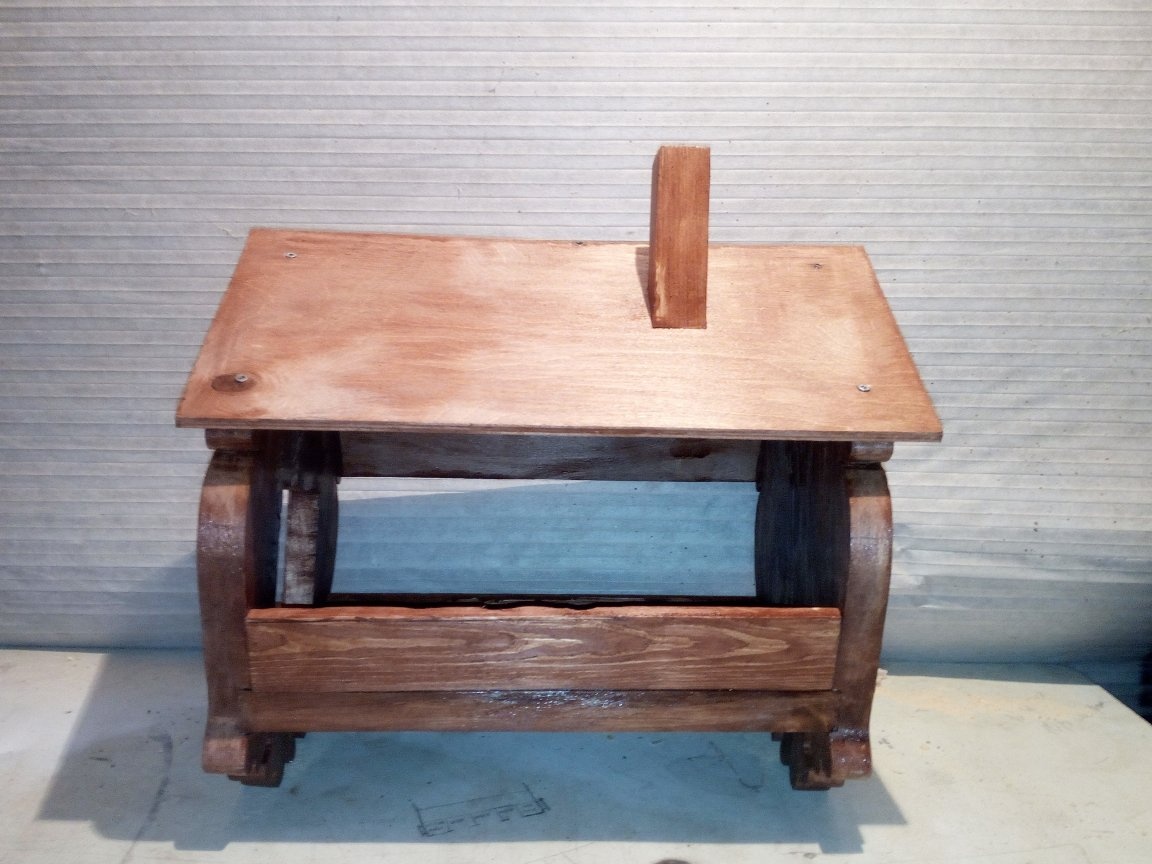
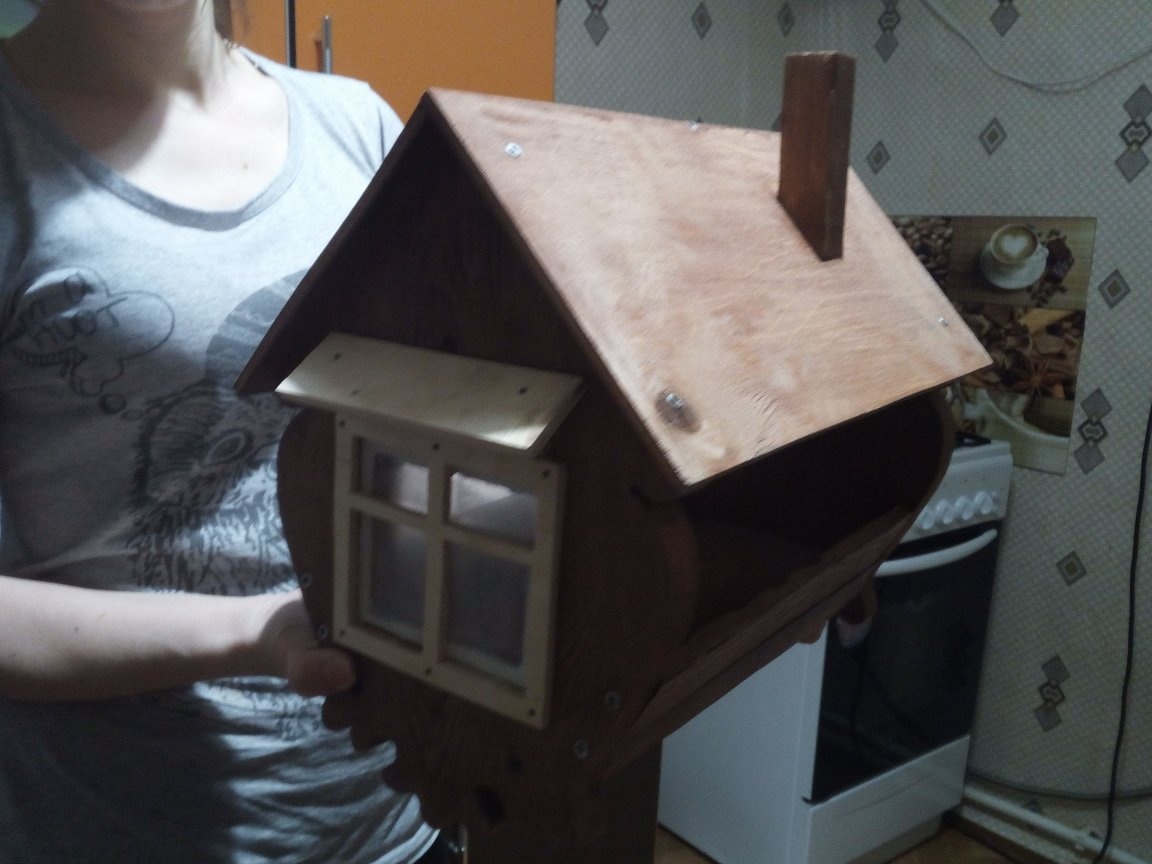
Then he proceeded to manufacture the following parts necessary for the final assembly of the product. I also made the bottom of 20 mm. boards. After sawing off the workpiece of the size I needed, I polished it. On the side walls, in those places where the bottom should be installed, I chose grooves for its dimensions. A saw for metal, for a more accurate cut, made cuts. Chisel chose everything unnecessary. For the convenience of attaching the sidewalls and the bottom, I made through holes in the grooves in advance. After inserting self-tapping screws into them from the back of the walls, I twisted them into the bottom of the feeder. Since everything was cut off with a jigsaw, I could not achieve the perfect cut. A slight deviation in one of the walls from a right angle was nevertheless observed. This problem was solved when installing the roof. I made it from 4 mm plywood. To the side of the side wall where the curvature was not observed, I plywood pulled the problem side. As a result, both side walls had the right angle. When fastening the roof, I screwed the screws flush with the plywood so that the caps did not protrude above the surface. To avoid loss of feed made bumpers. I made them from a bar 10x40 mm. Set them at an angle in the interior of the feeder. To avoid the fact that when twisting the screws they can crack, I first made holes. At the same time in the walls and sides. Only after that finally installed and fixed them in the right places.
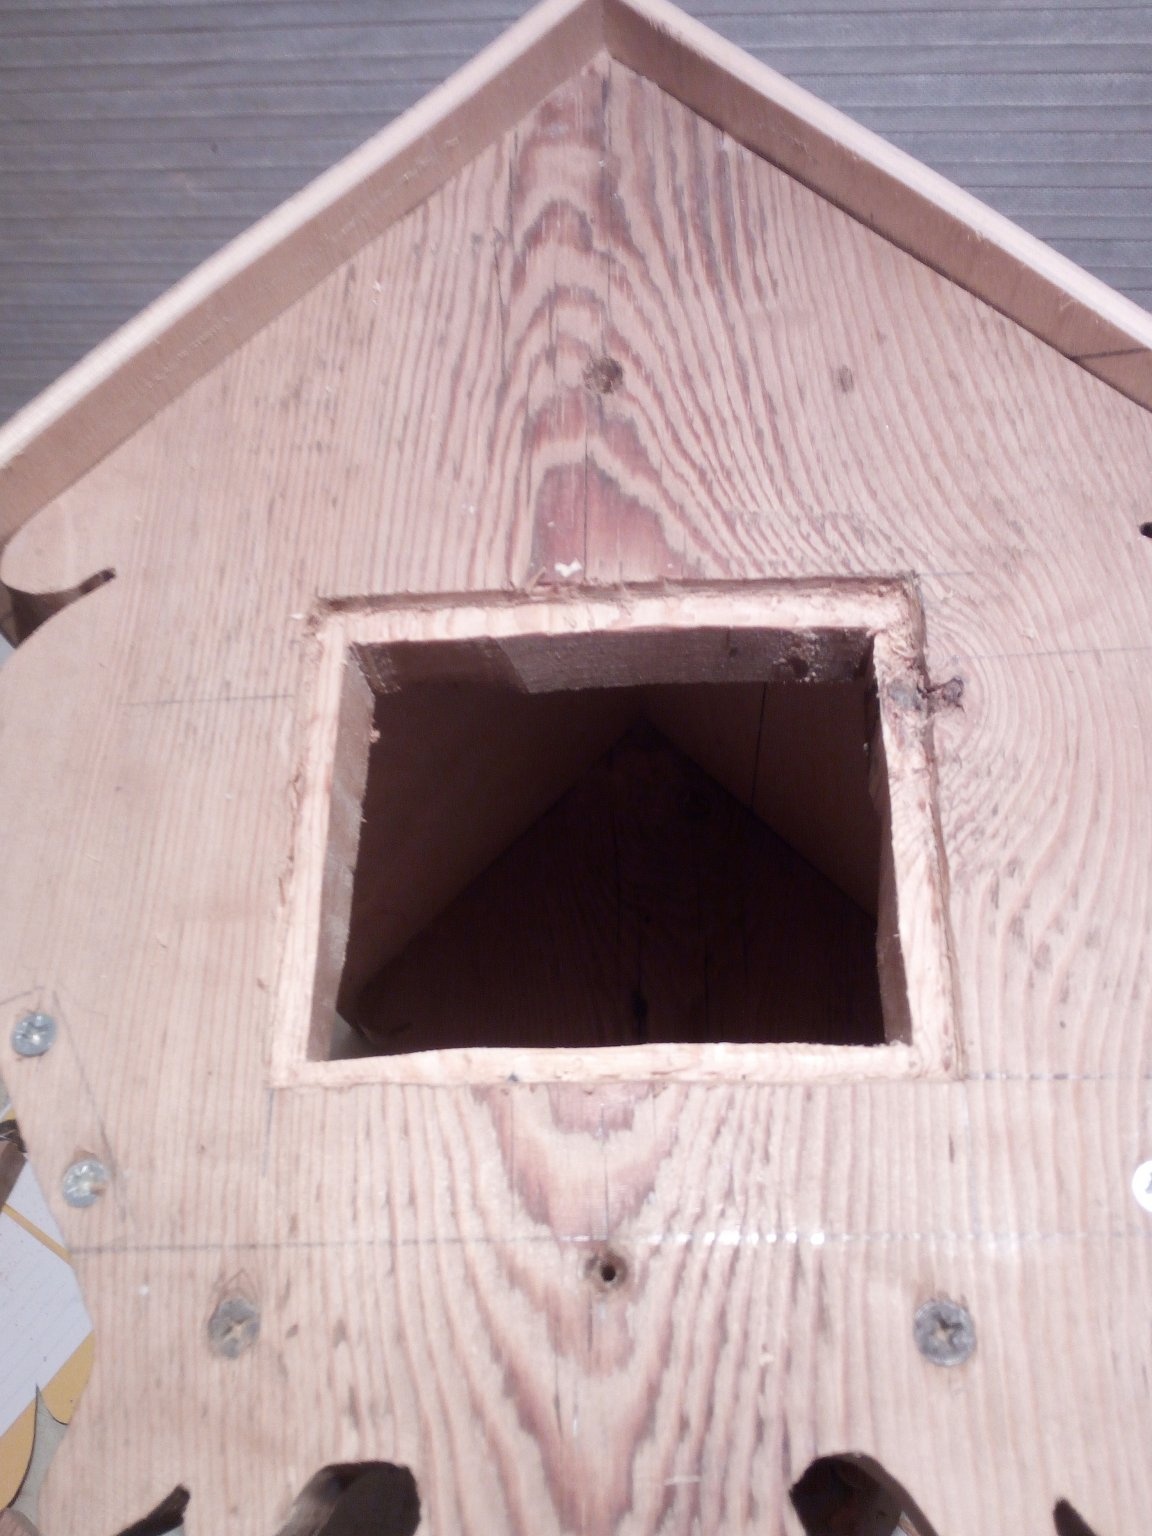
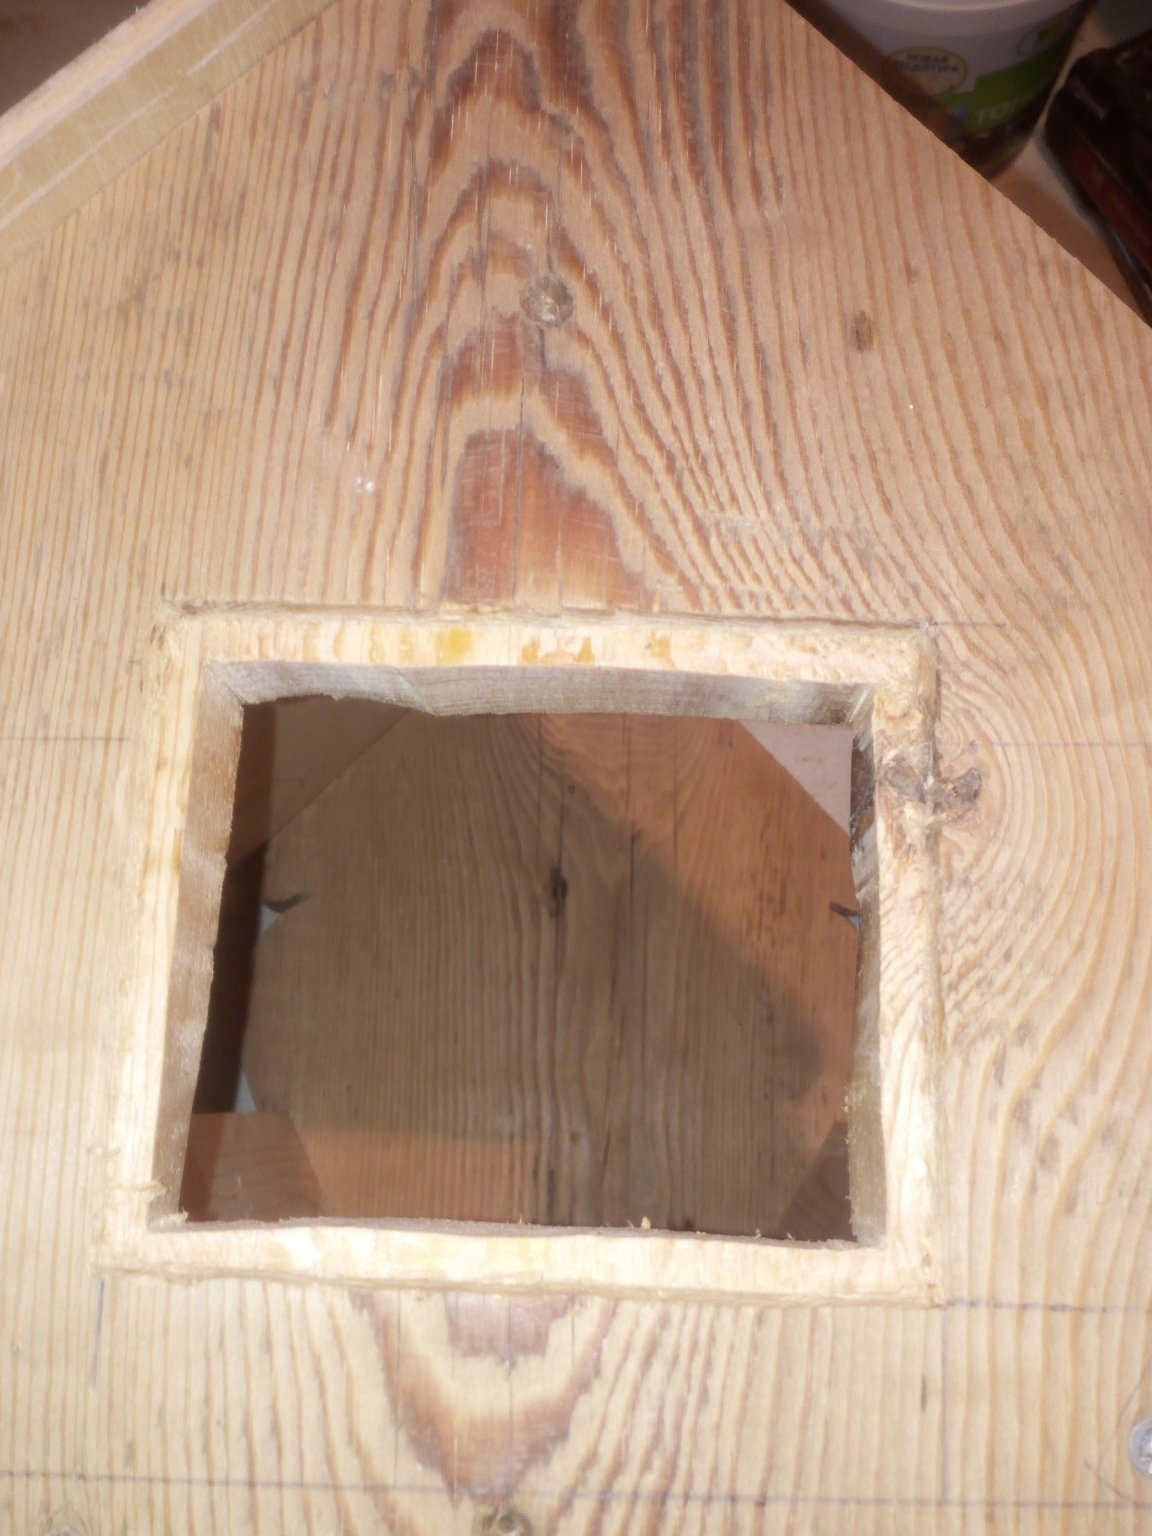
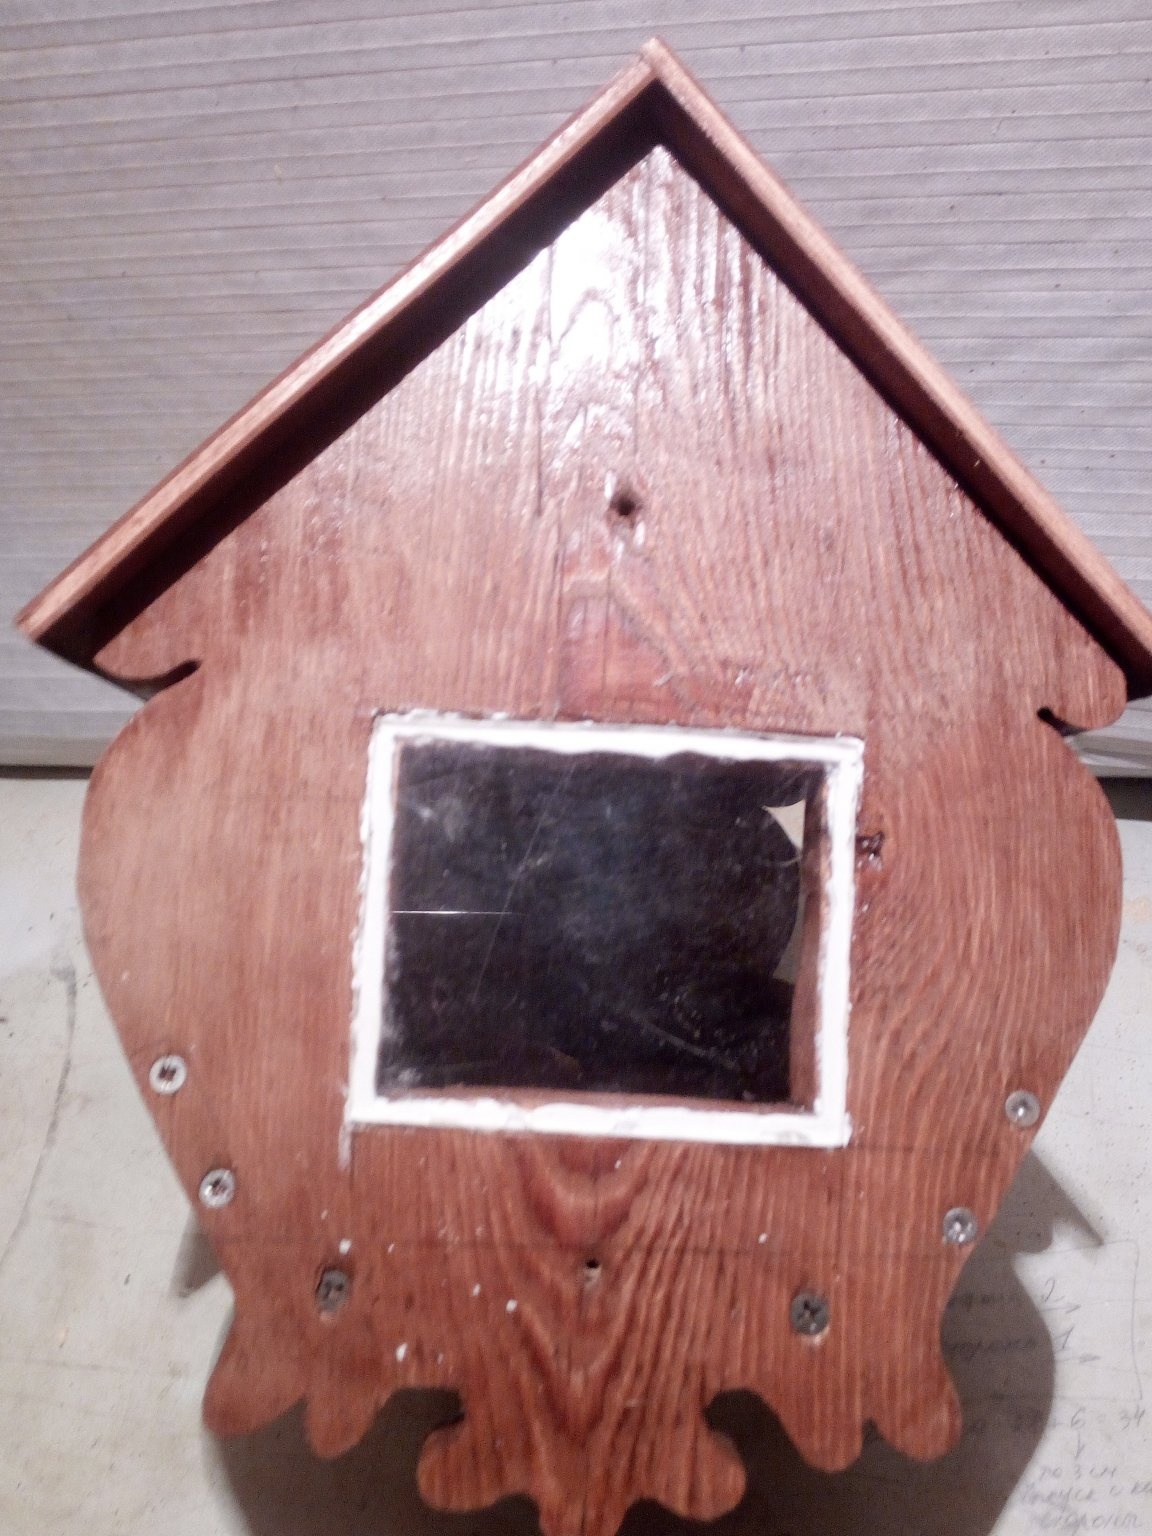
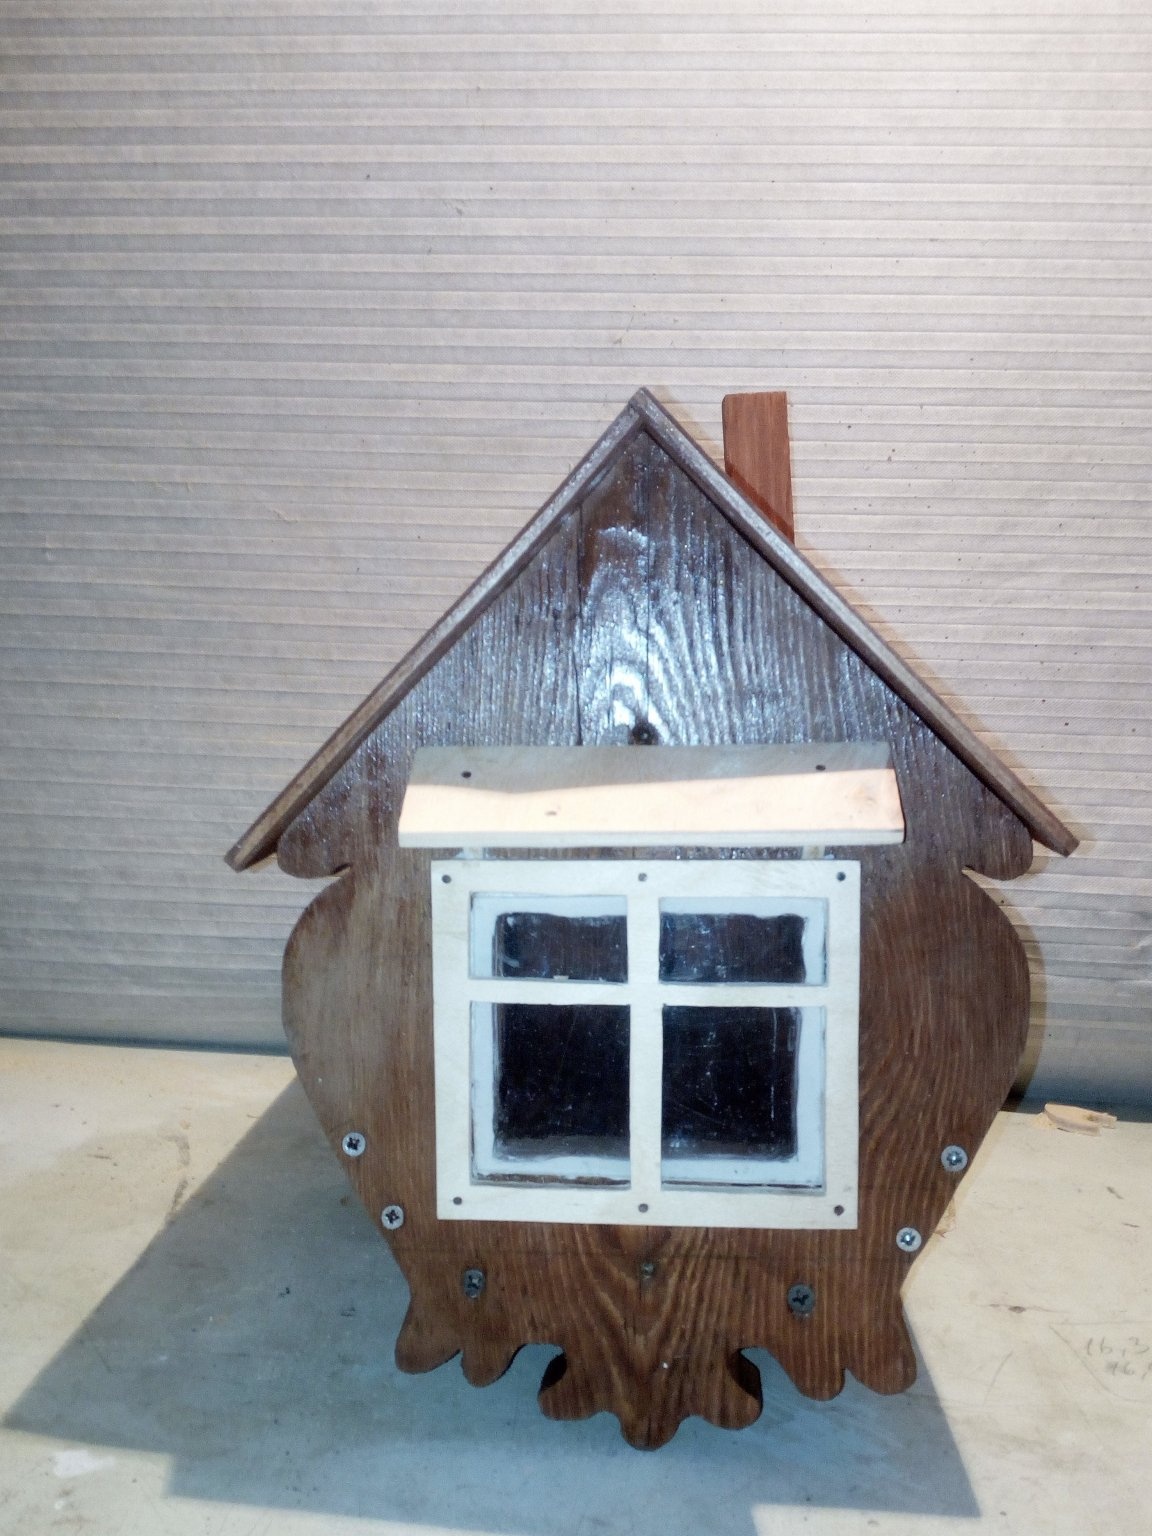
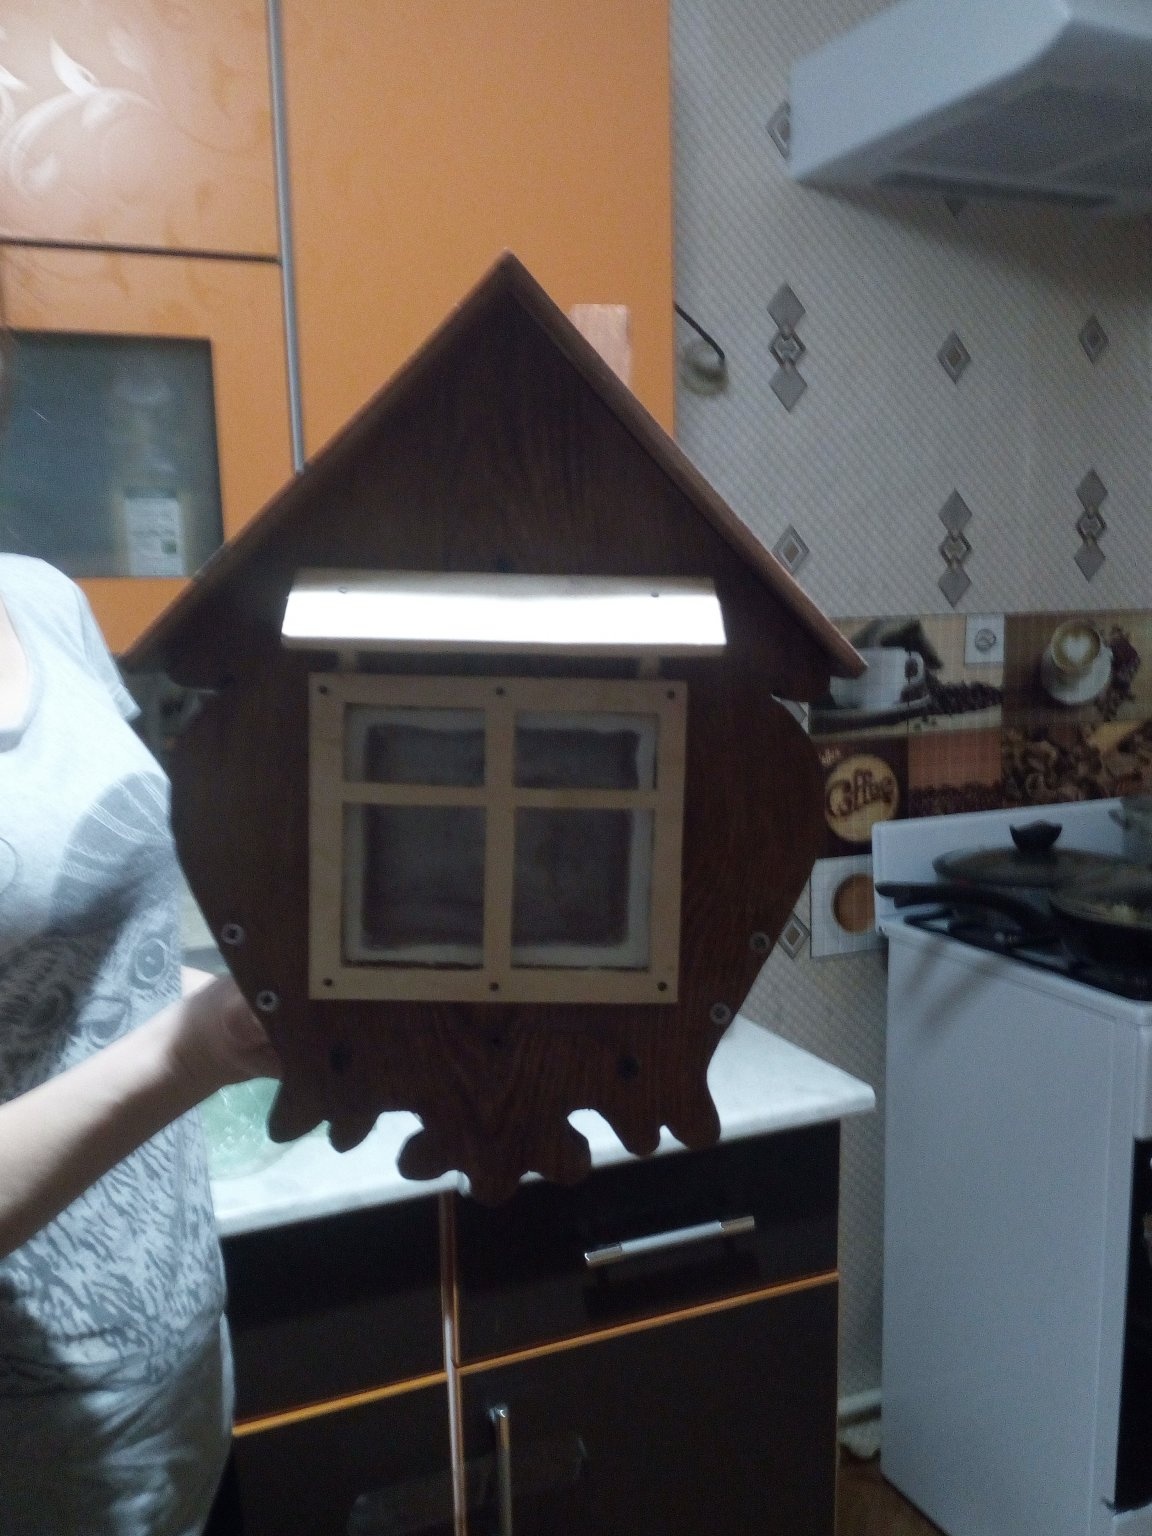
It was originally planned that at this stage, apart from shingles, the feeder will remain in this form. But having examined once again a practically ready dining room, I decided that something was missing. This something has become a window. Again I used a paper stencil, cutting out a rectangle in it to mark the window on one of the sides. Having cut a rectangular hole, I noticed that the outer cut is more direct than the cut inside. There the canvas was already walking as soon as possible. The reason was in the side support roller, which flew off its place. Having leveled as soon as possible he drank, made a landing recess for glass along its edges. A bar playing the role of a chimney was installed on the roof. I think that so the hut has a more interesting look. Then he began to manufacture a window frame. From the same plywood in 4 mm. and drank it. I also sawed a visor, which is installed above the window and supporting corners for it.
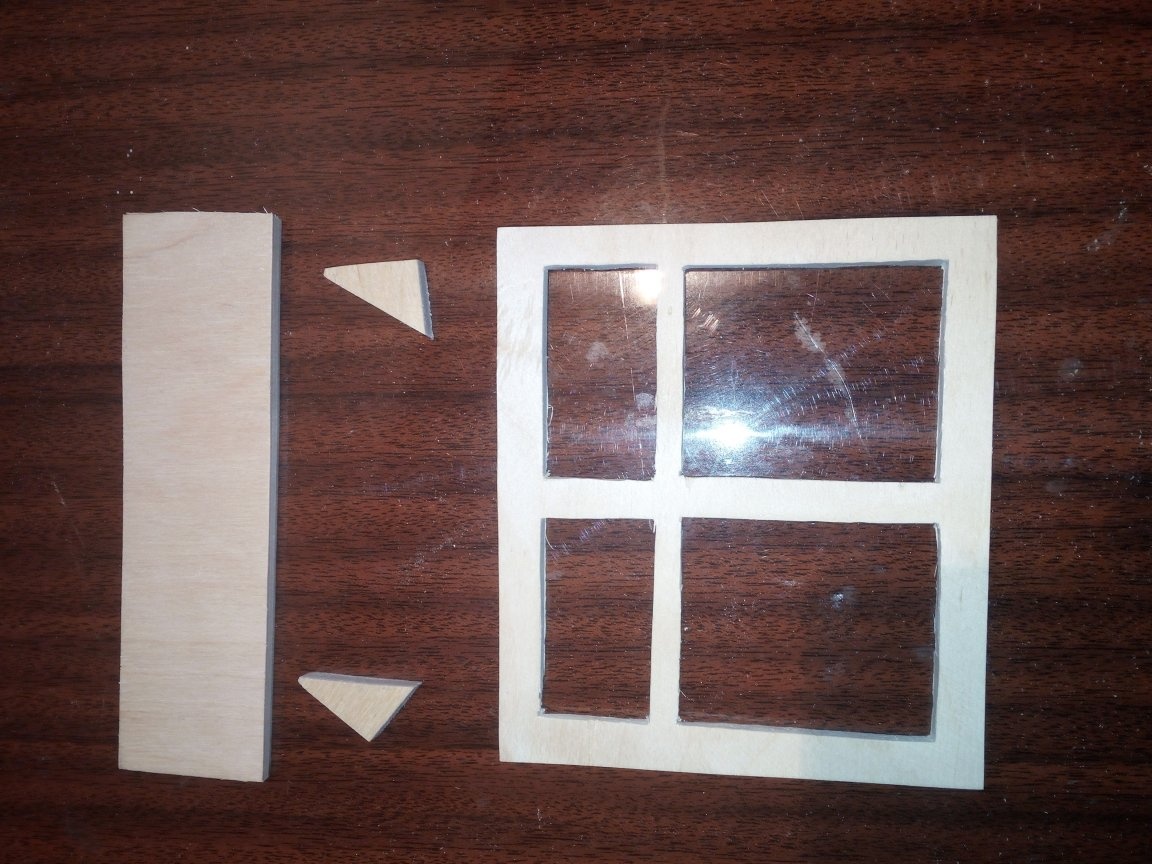
The entire structure was varnished. I proceed to install plexiglass in the window opening. I lubricate the recess in the frame with silicone aquarium sealant and insert the glass there. On top of it I set the imitation of the frame. Fastened it with 10 mm nails in a circle. The fixed frame pressed glass closer to the wall. I fasten the supporting corners and a visor on them.

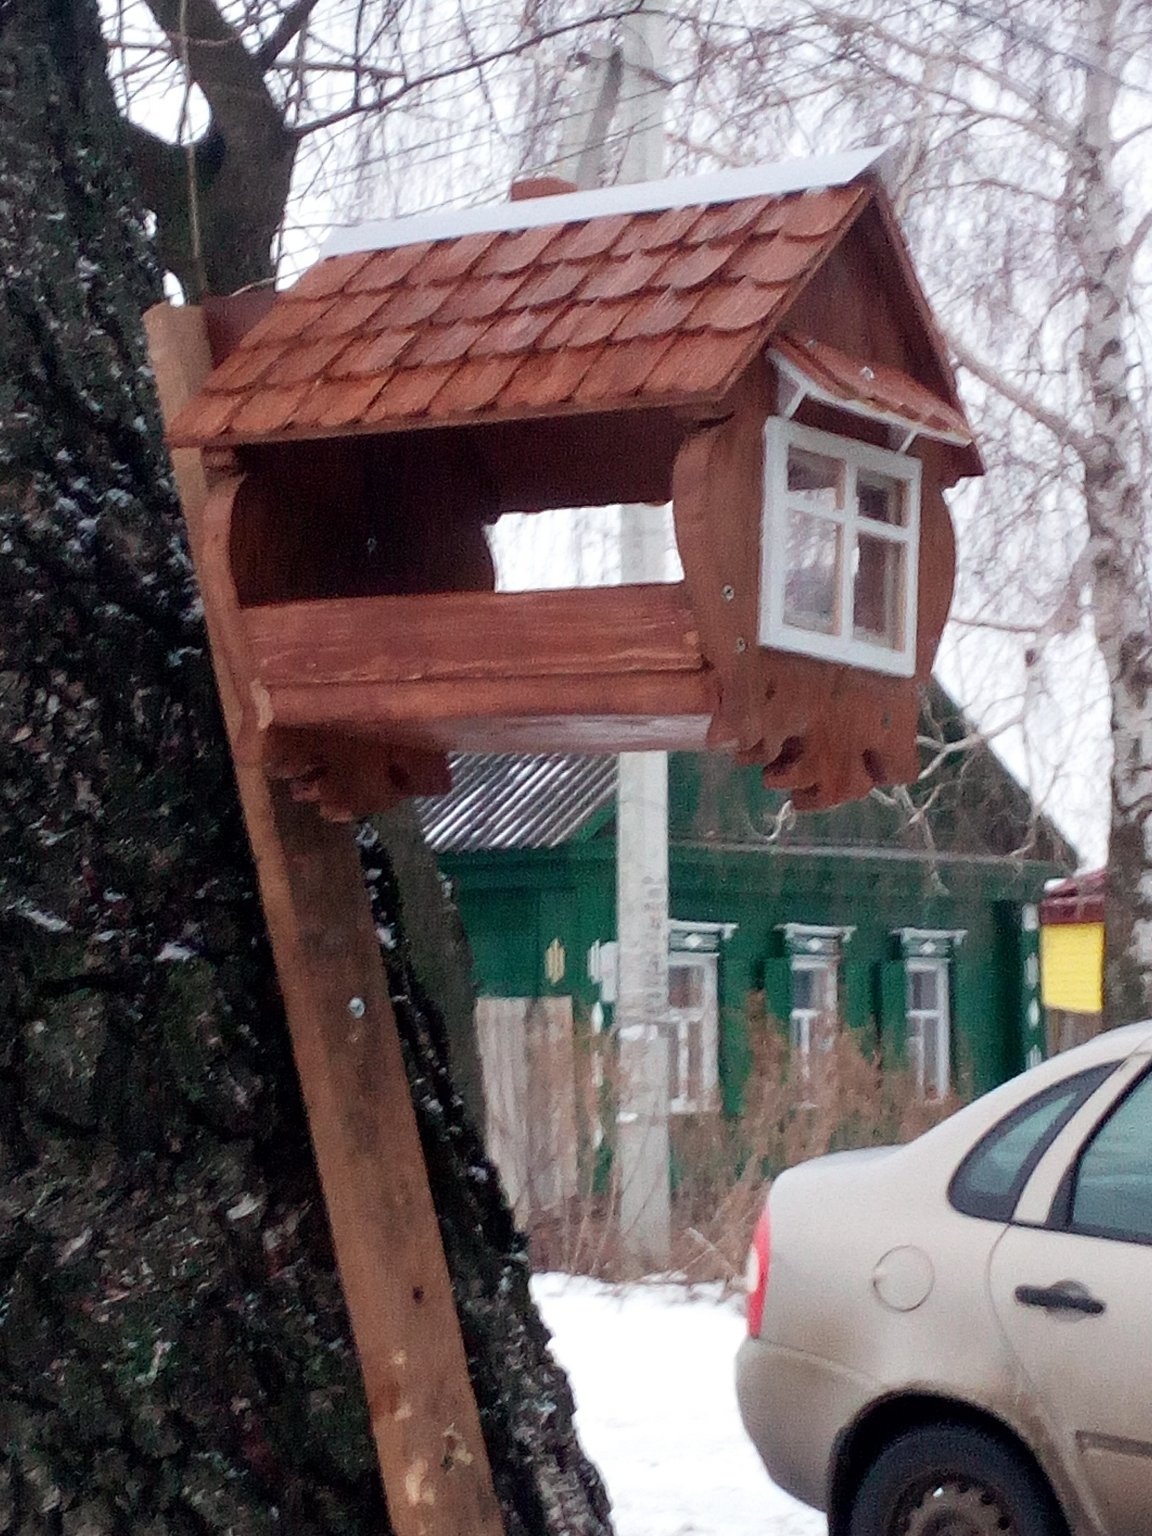
The next step is laying the roof tiles. I also glued it with aquarium sealant. The choice fell on him not by chance. He is not afraid of moisture, which is important if the rainfall. I can’t say anything definite about snow yet. The feeder hangs only a few weeks. So far, not a single tile has fallen off, which gives some hope for a safe and long service life. The tile was also varnished. And the frame and visor are white acrylic paint.
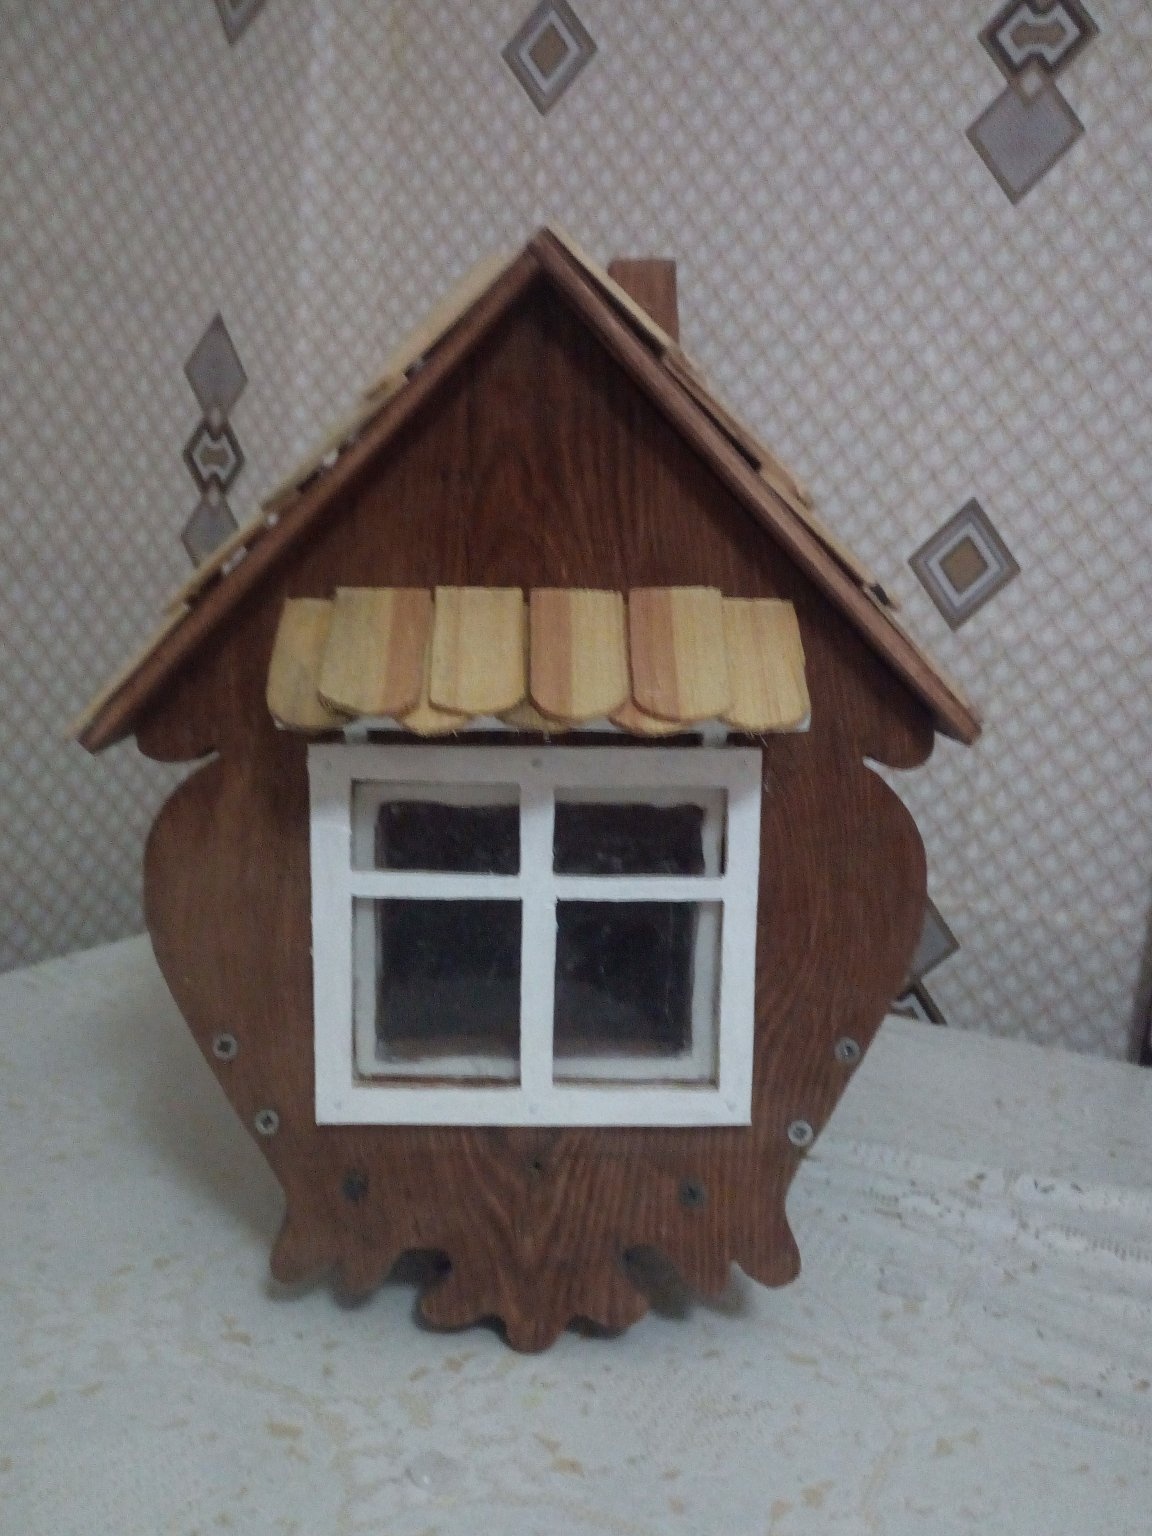
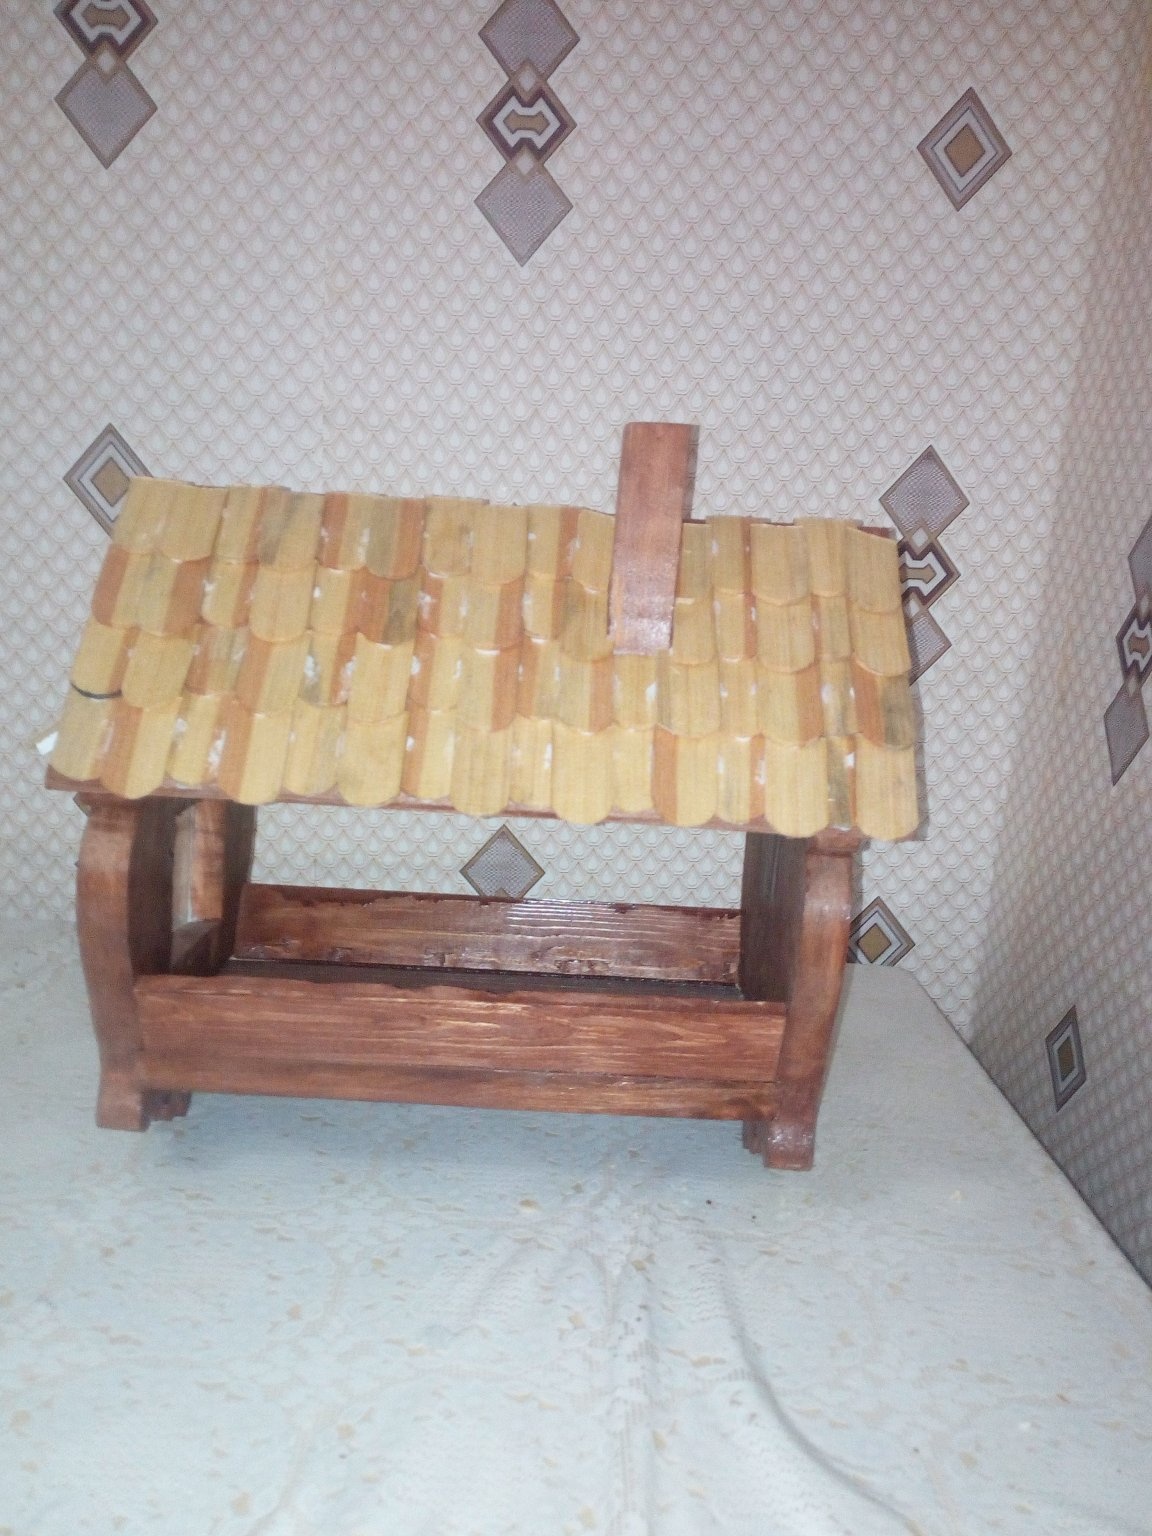
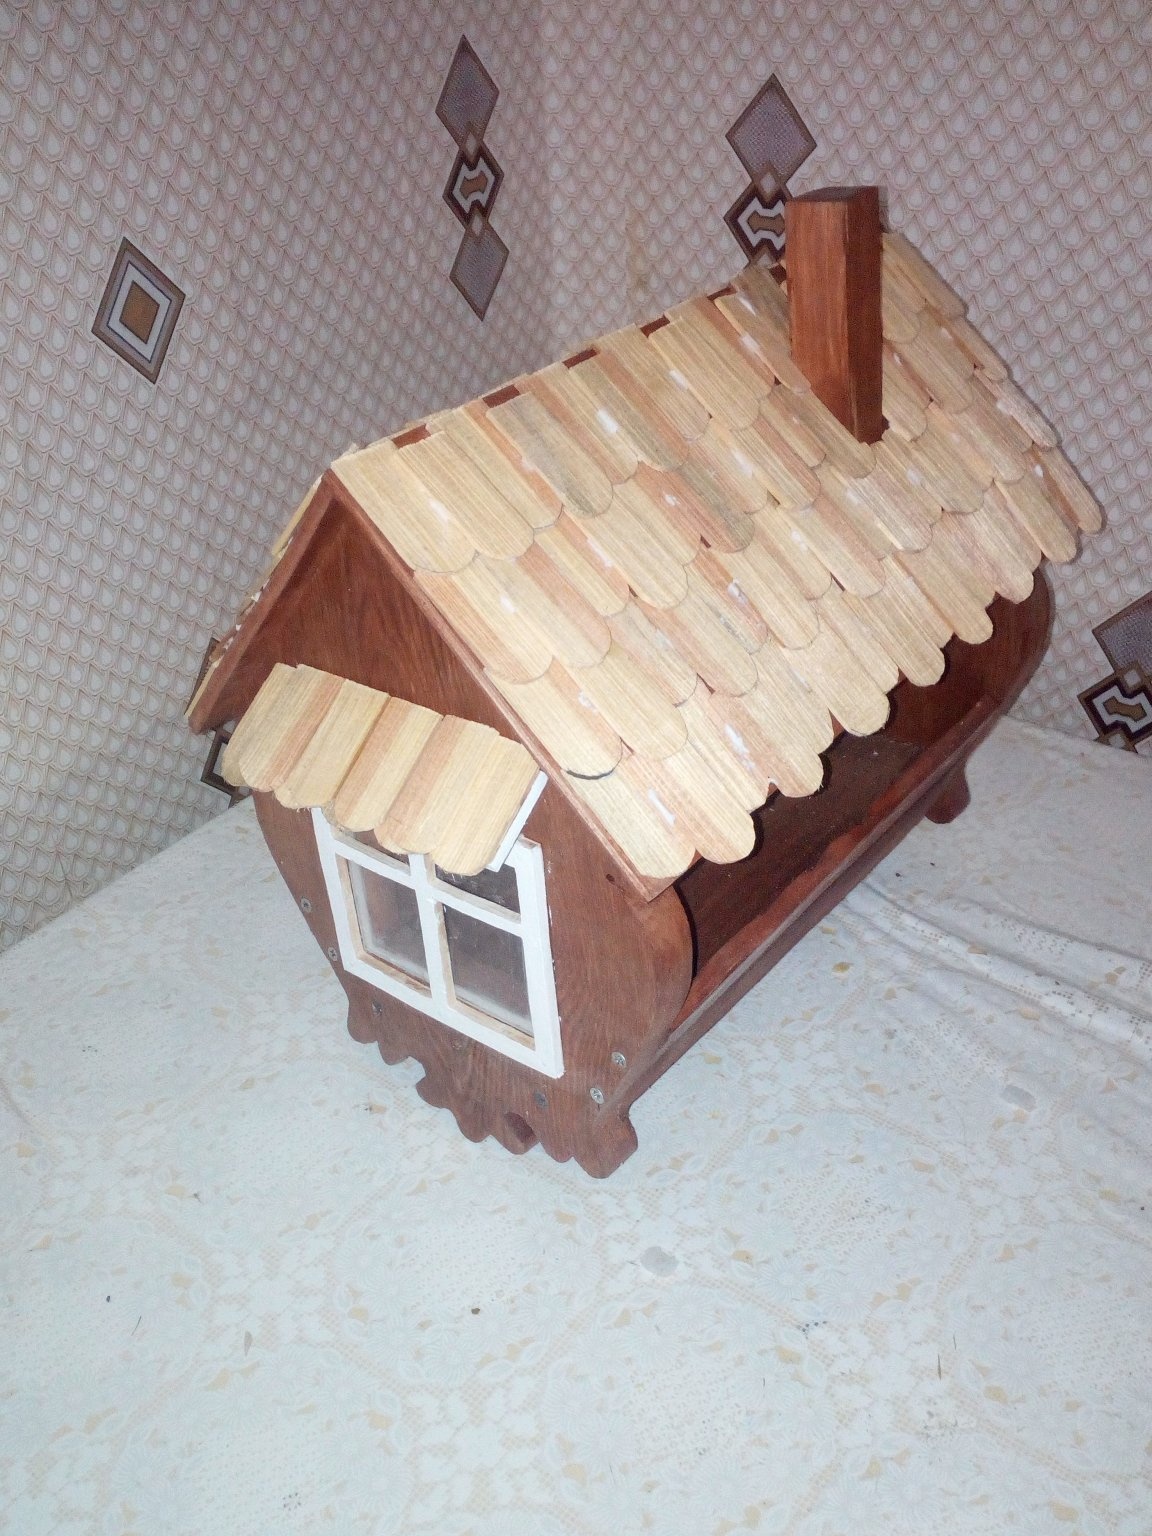
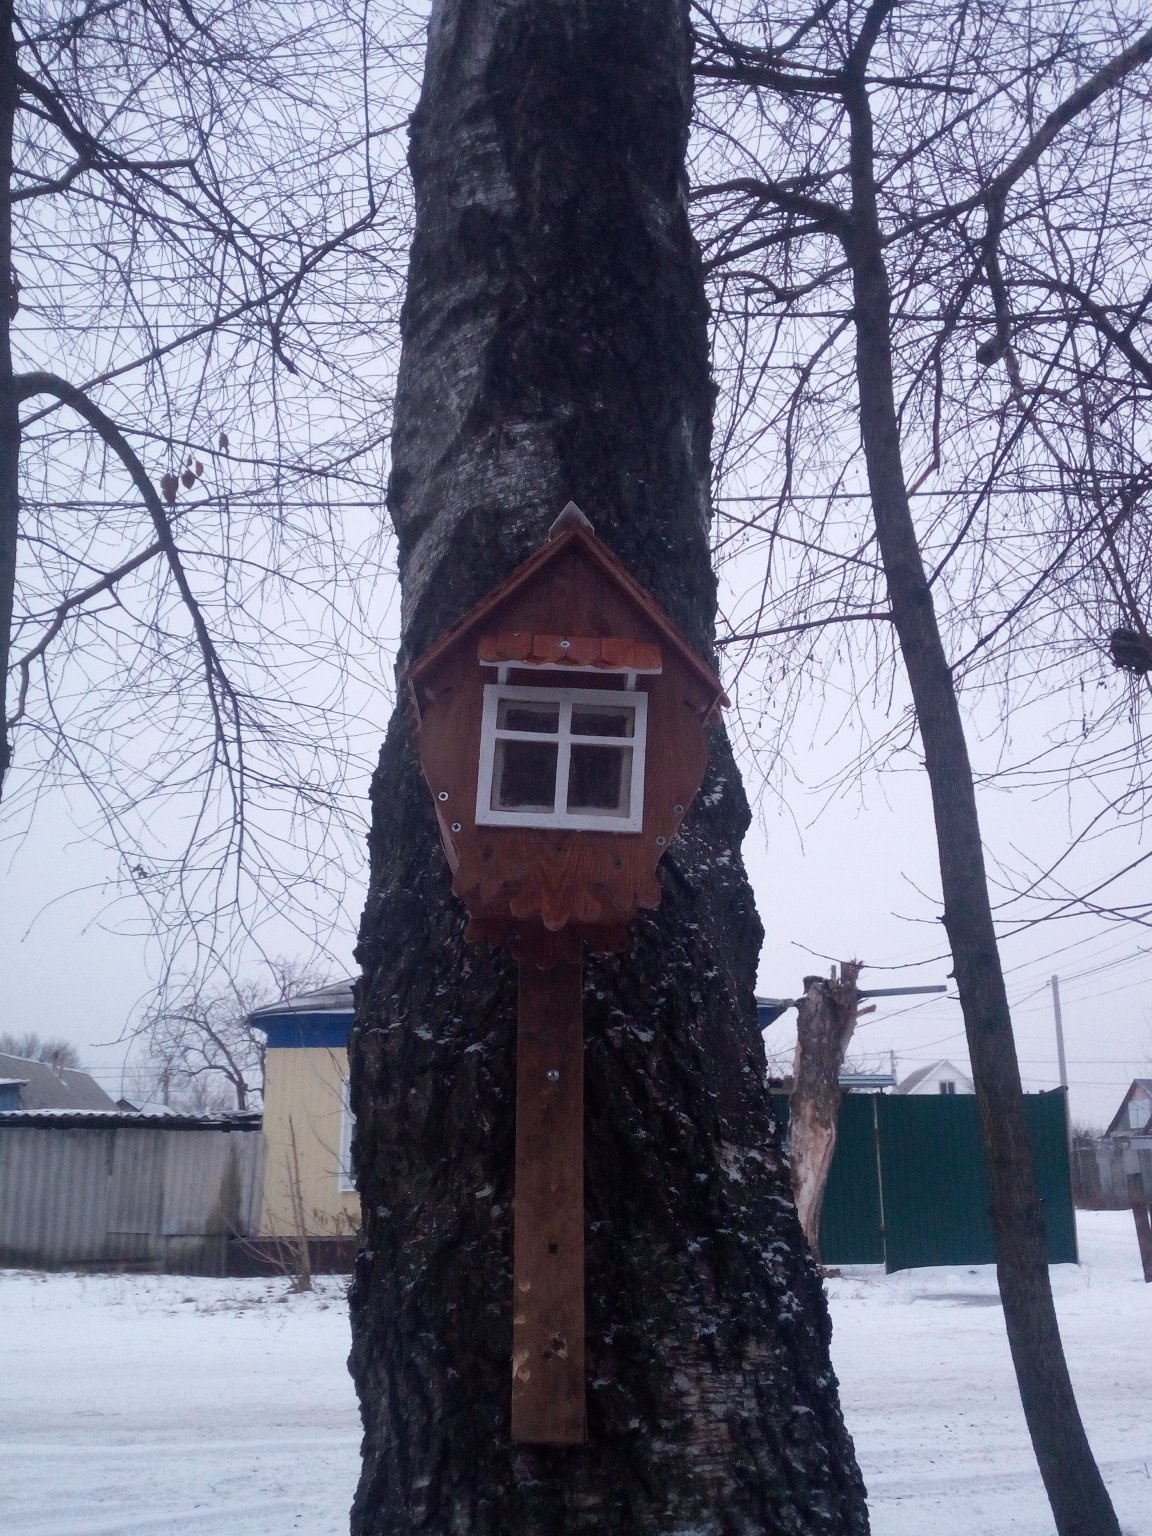
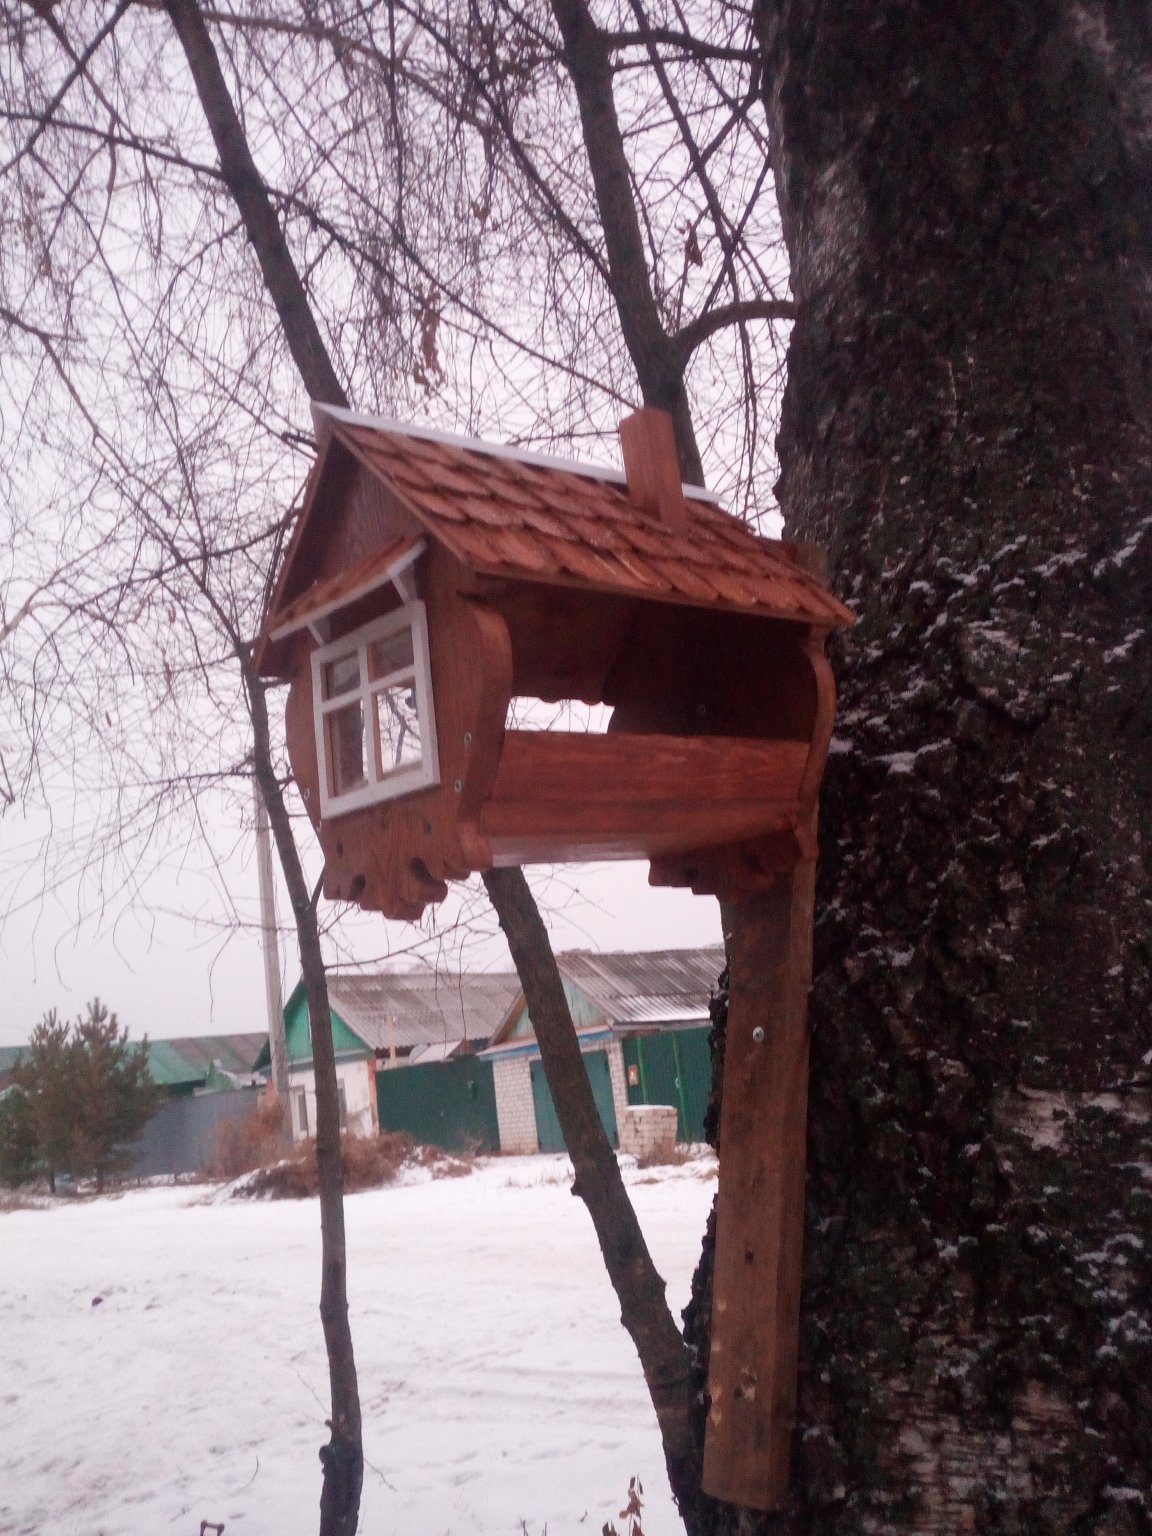
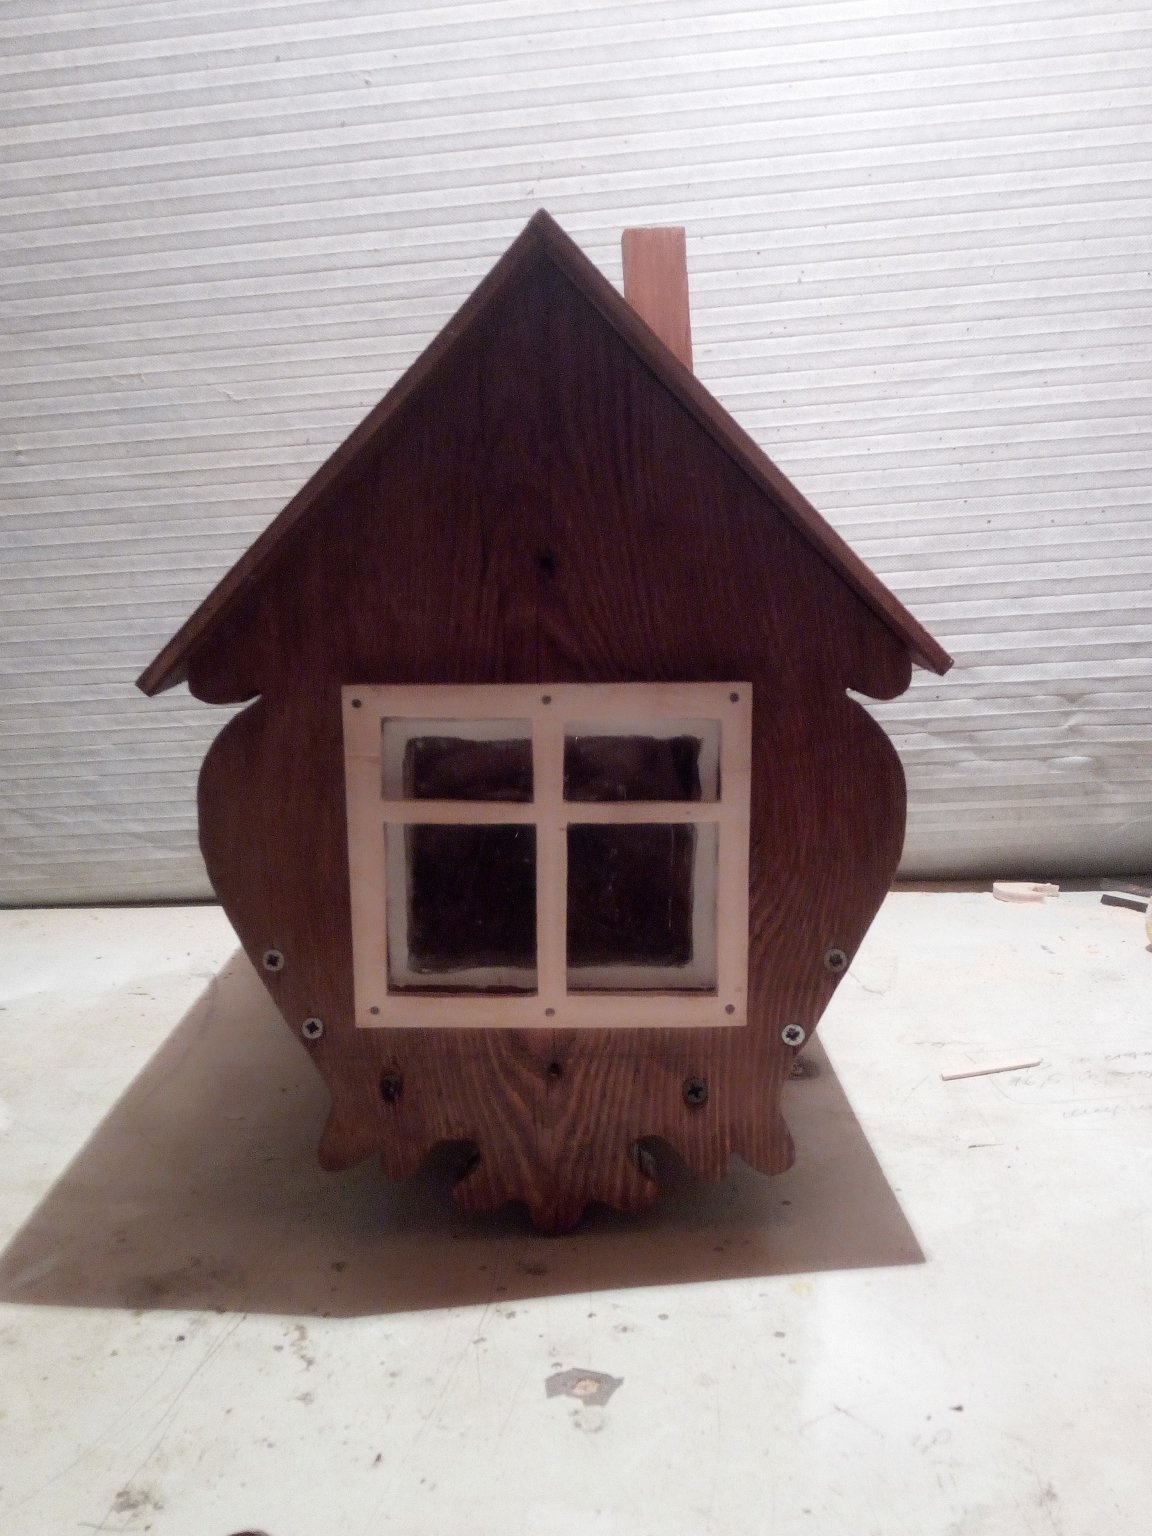
As a result, after all the above manipulations, we got such a feeder.
As planned, hung it in front of the windows of the house.Now when we say to the child that we are going to watch the birds outside, he first runs to the window and points to the feeding trough and only after that he goes to get dressed. A few days of work, and joy the whole sea!