
From this article you will learn how to make, perhaps, the most epic lamp of those that can be assembled without problems do it yourself in home conditions, so to speak "on the knee", but can not be bought in the store. The author of this homemade product is AlexGyver (YouTube channel "AlexGyver").

It should be noted right away that the project’s budget is rather big and amounts to about 6 thousand rubles. The housing of the future lamp will be a large prefabricated frame lamp (called Anjo, if you suddenly look), this can be found in Leroy, for example.
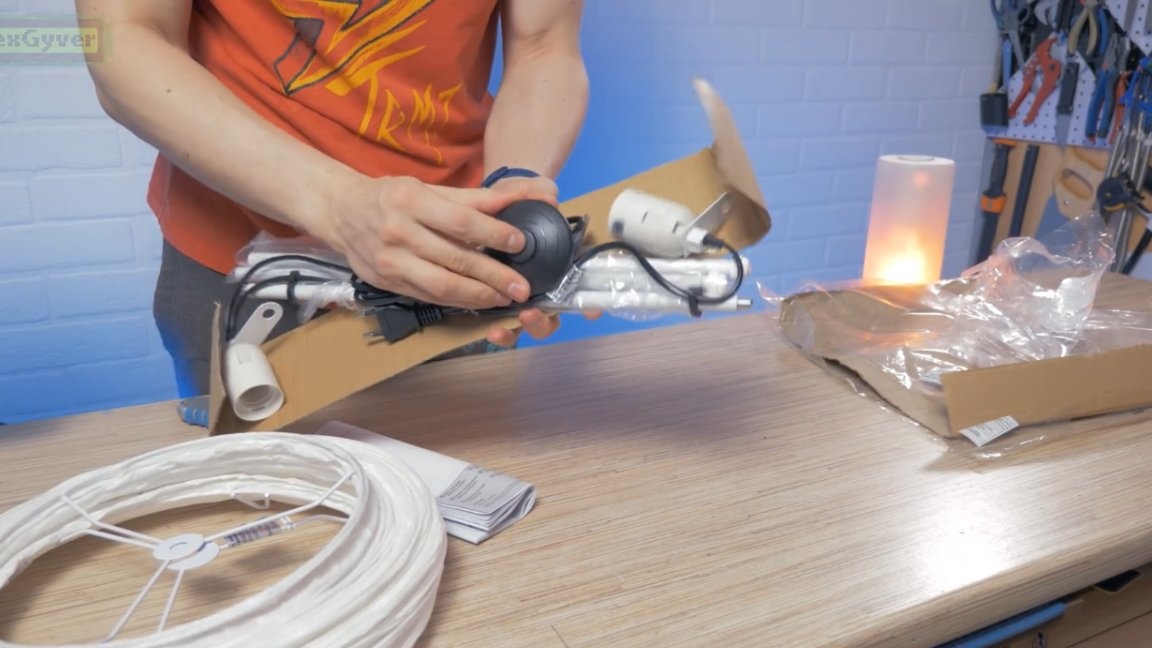
The price is around 1000 rubles, it is sold like this, right in packages, 500 rubles for a lampshade and 500 rubles for a rack, respectively. A similar lamp made of paper, slightly smaller, can be found in another large well-known Ikea hypermarket.
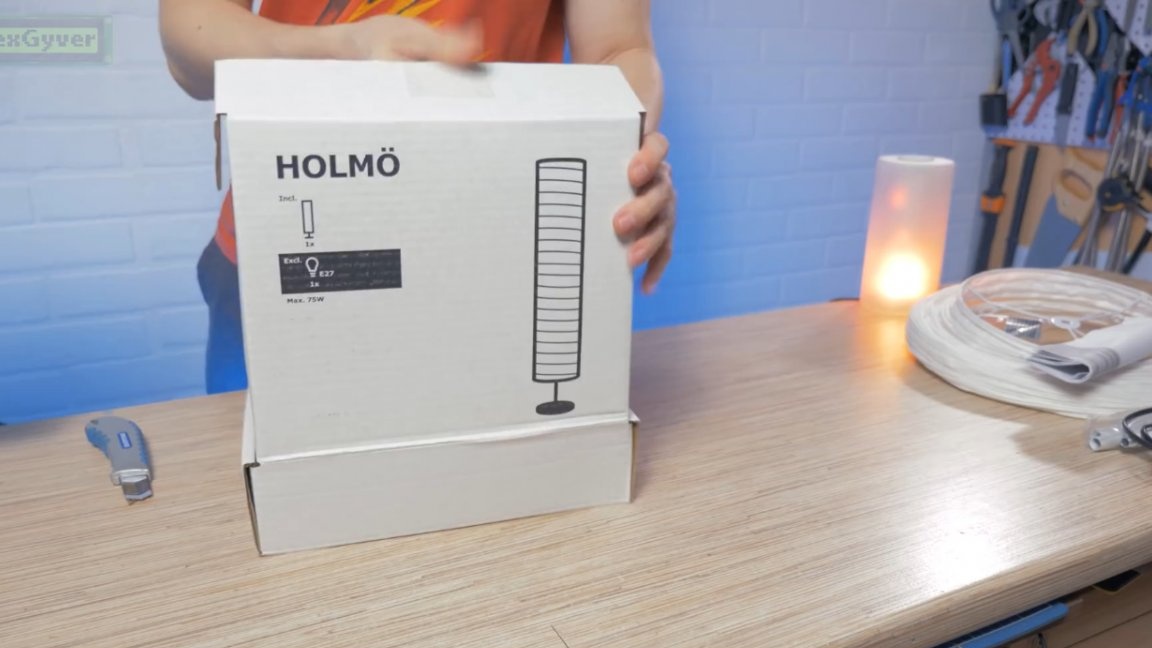
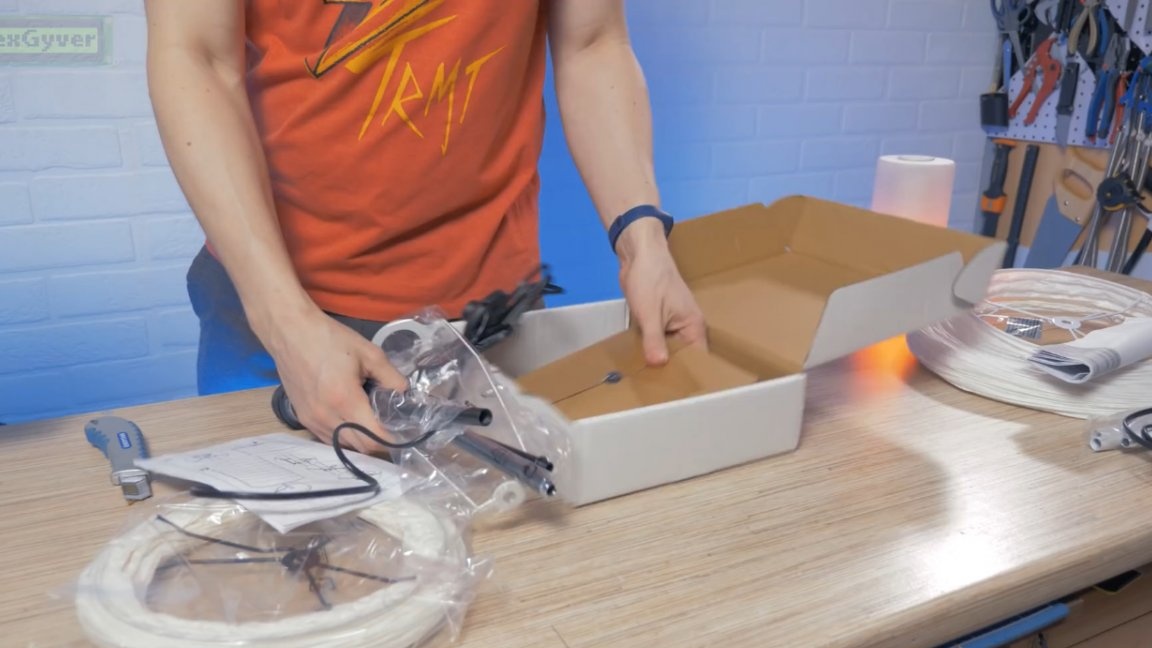
This lamp is called "Holme", the cost of 500 wooden. The kit consists of a lampshade, stand and a fairly weighty stand.
The main feature of the lamp lies in, which allows you to control each of its LEDs individually.
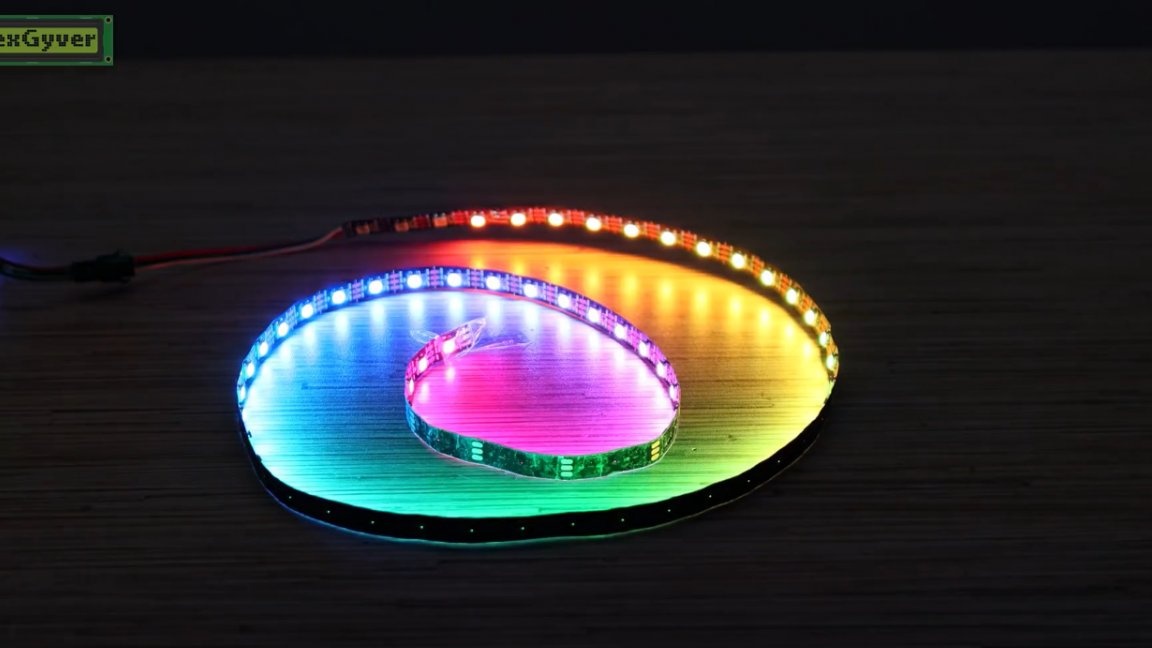
Since we have an epic lamp, so a lot of such LEDs will be needed, namely with a density of 60 LEDs per meter.
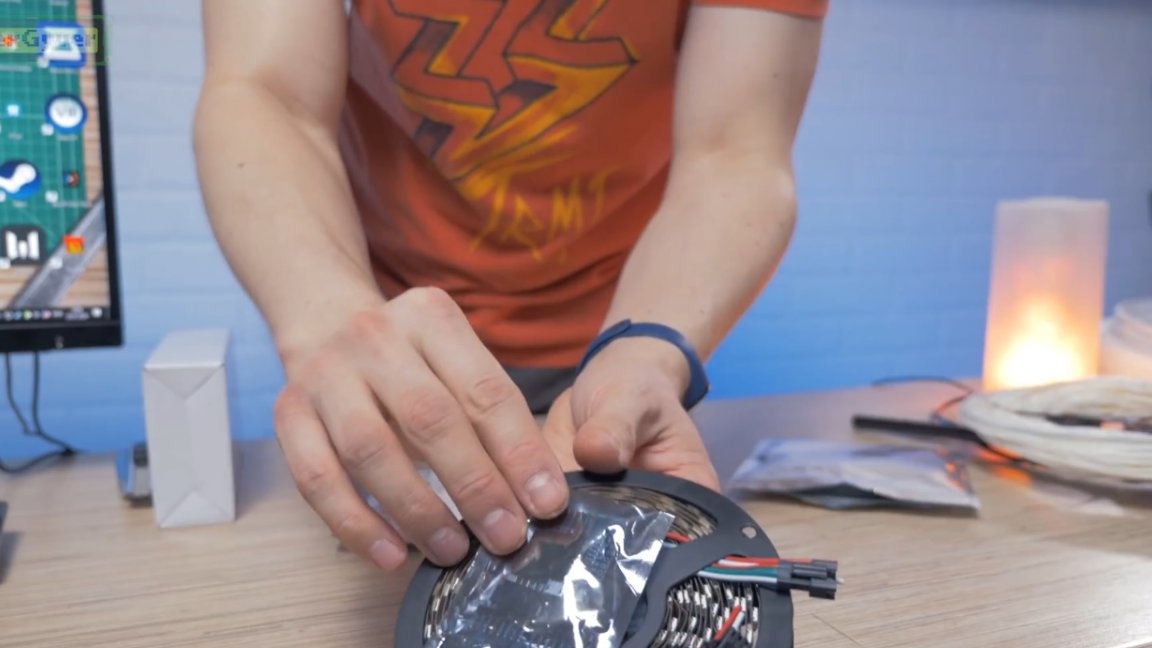
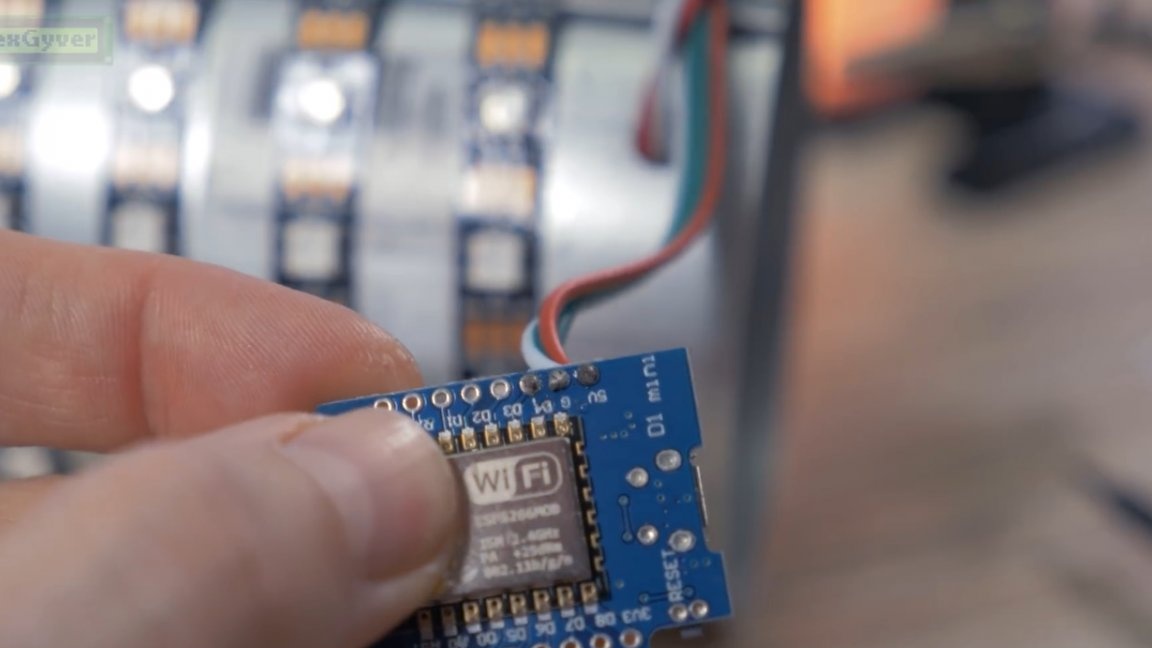
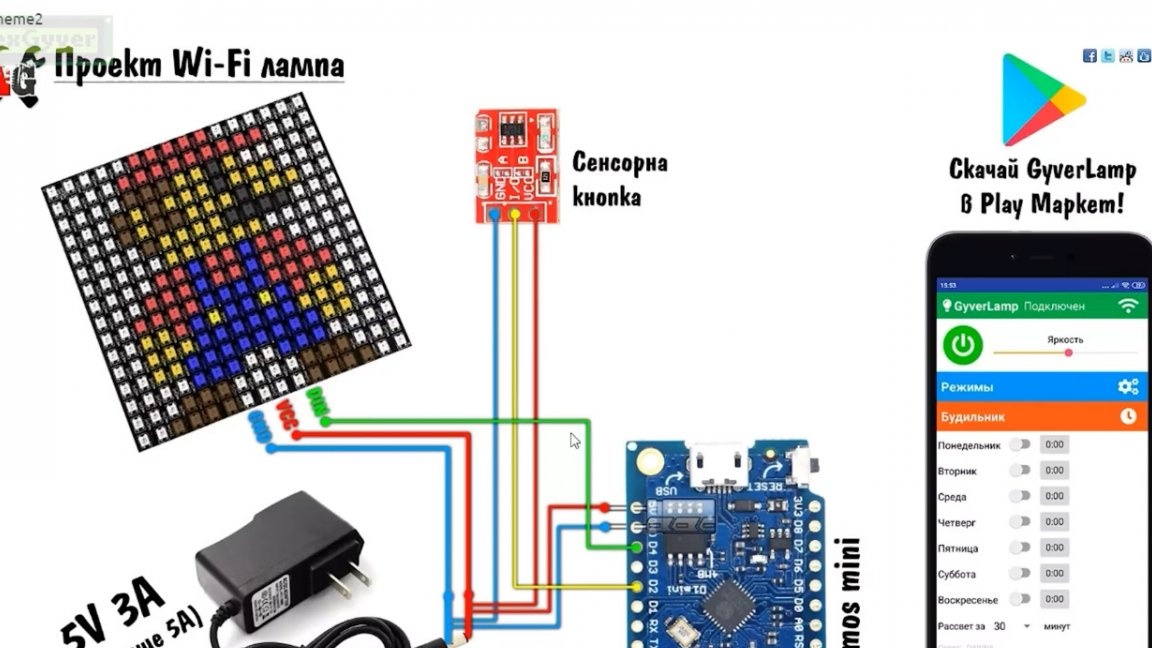
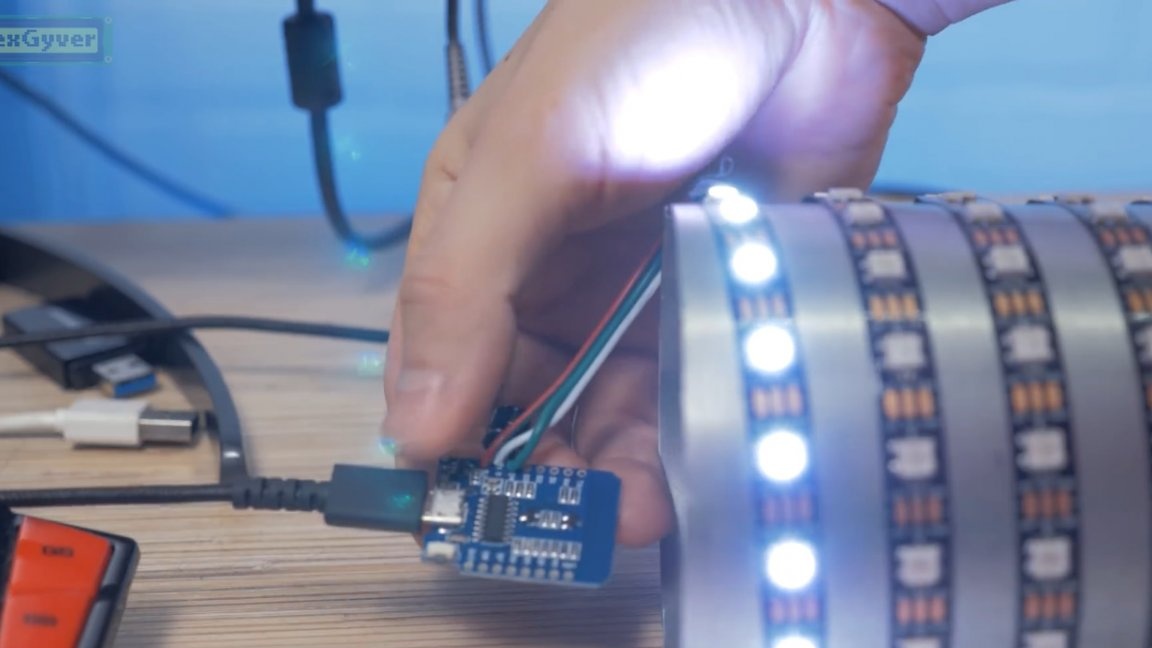
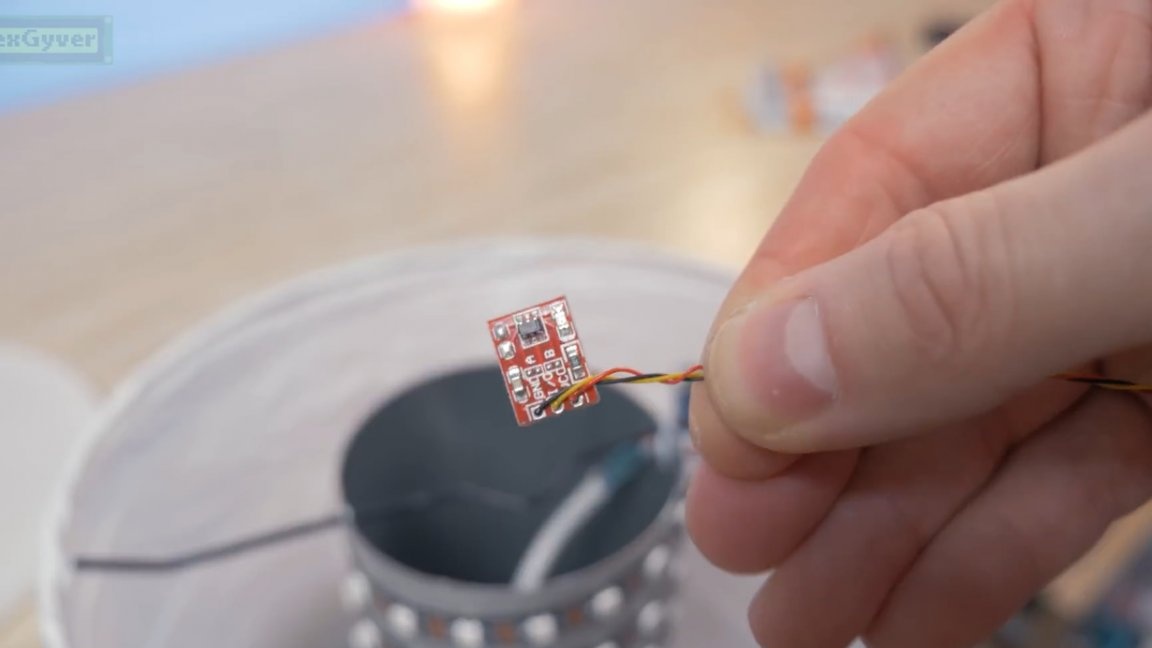
Next, we need here is such a small scarf
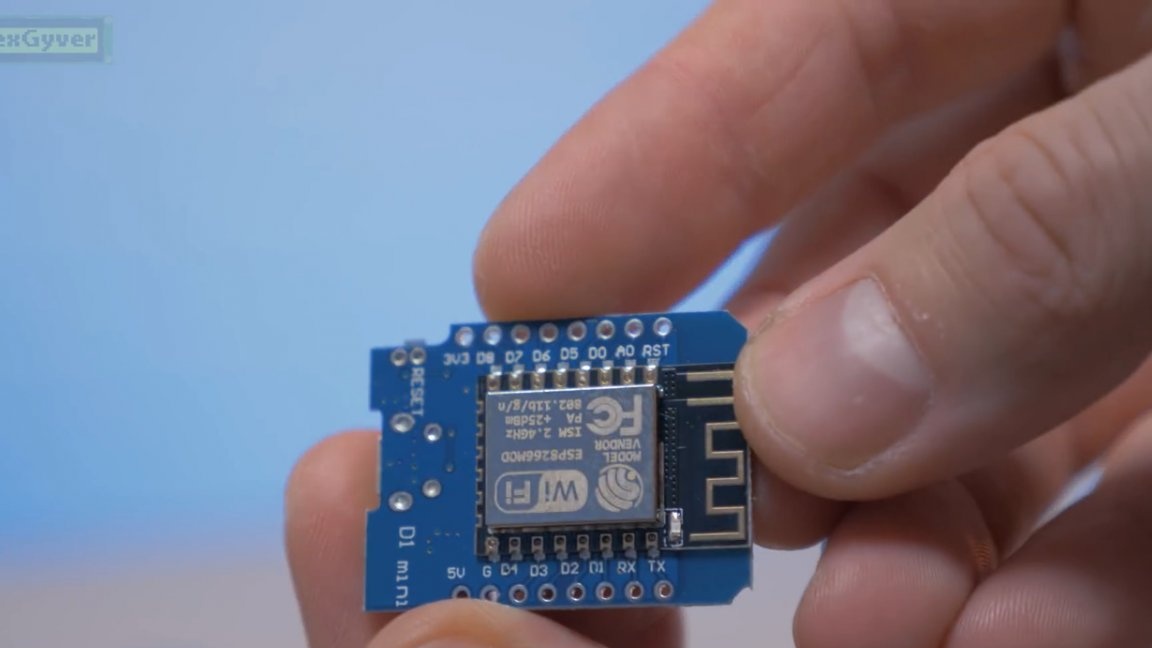
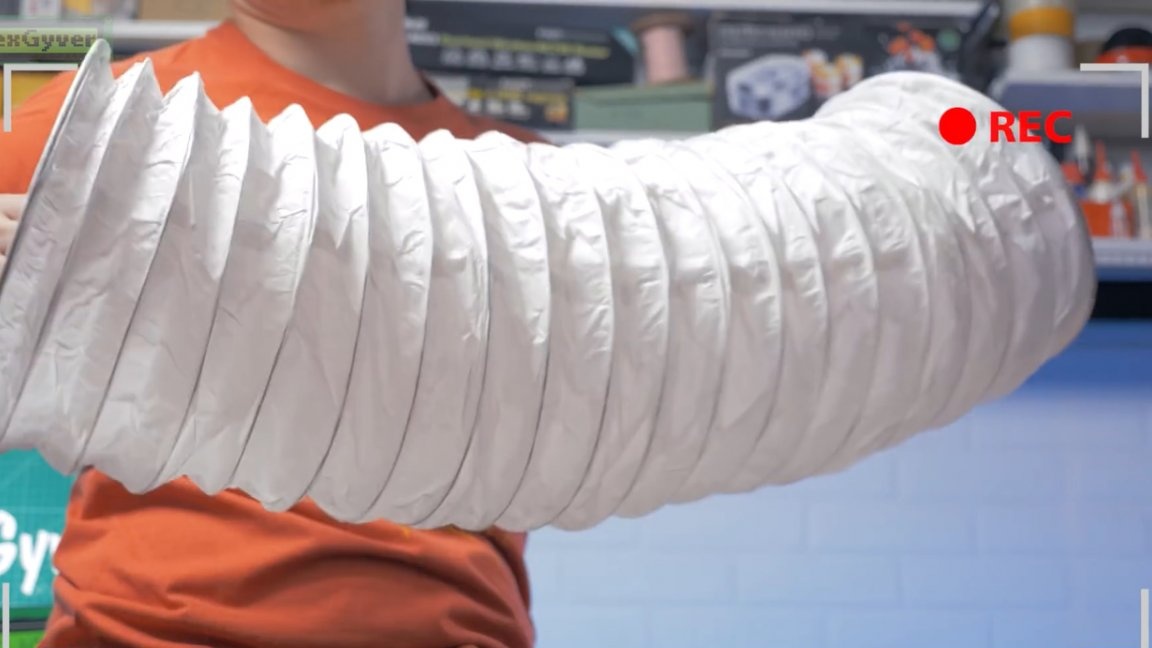
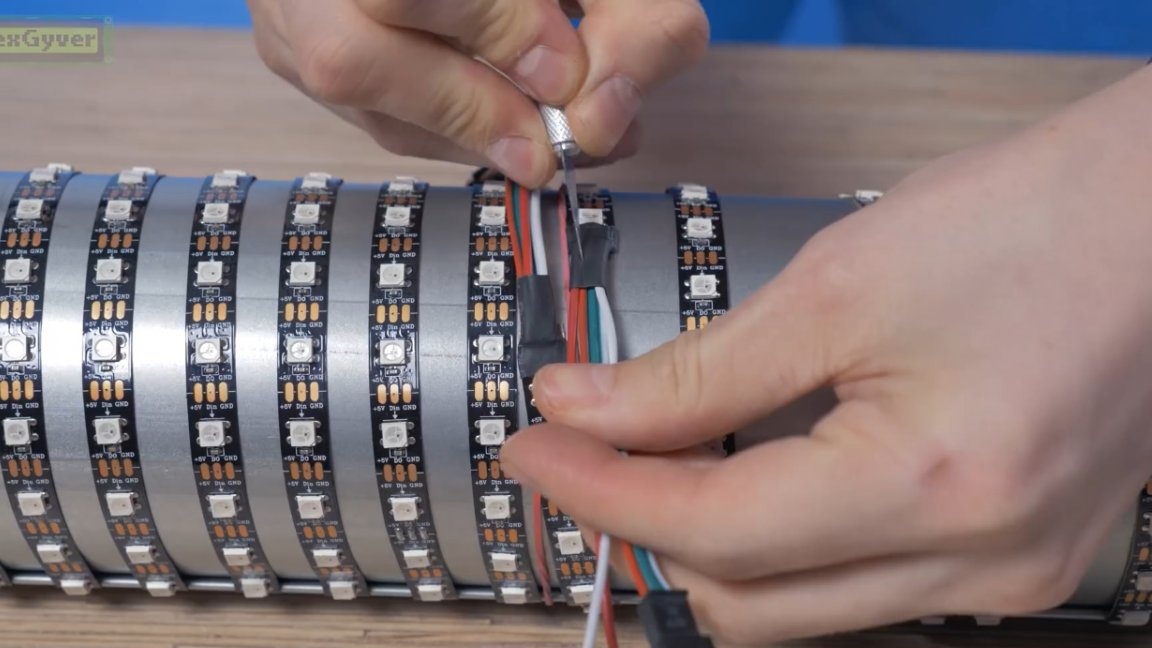
It is this shawl that will be the heart of this project and will control the ribbon in the future lamp. We will wrap a tape with address LEDs on a drainpipe 1 meter long and 90 mm in diameter.
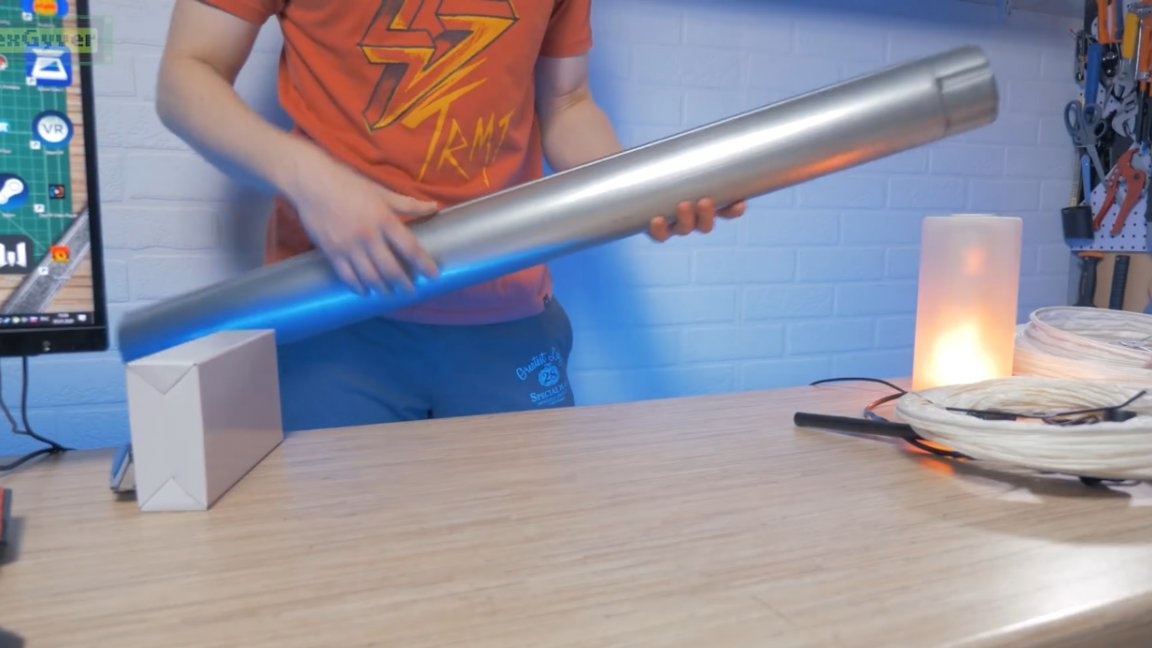
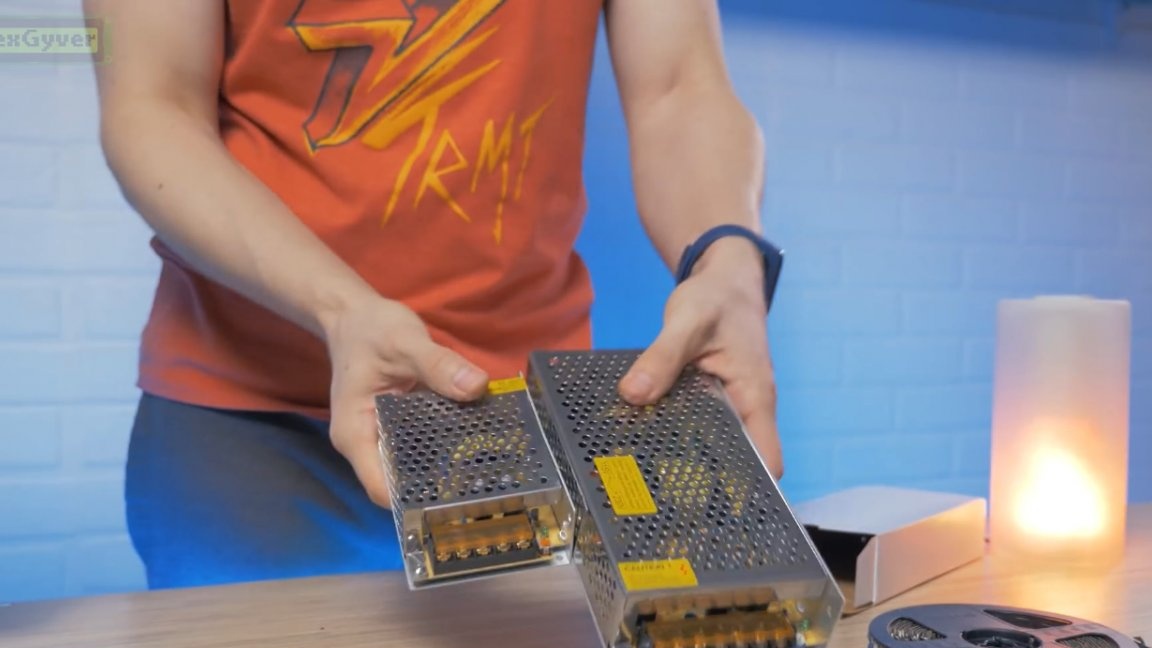
The pipe is needed precisely metal, since it will serve as a radiator. For a good margin of brightness is needed, 5 volts 10 amps is enough.
Now let's see how it all will be collected. The lampshade from Ikea is slightly less than a meter, and the pipe under it will need to be cut. The lampshade from Leroy, on the contrary, is healthy, and for him it was necessary to take a two-meter pipe, so the author decides to work with the lampshade from Ikea.
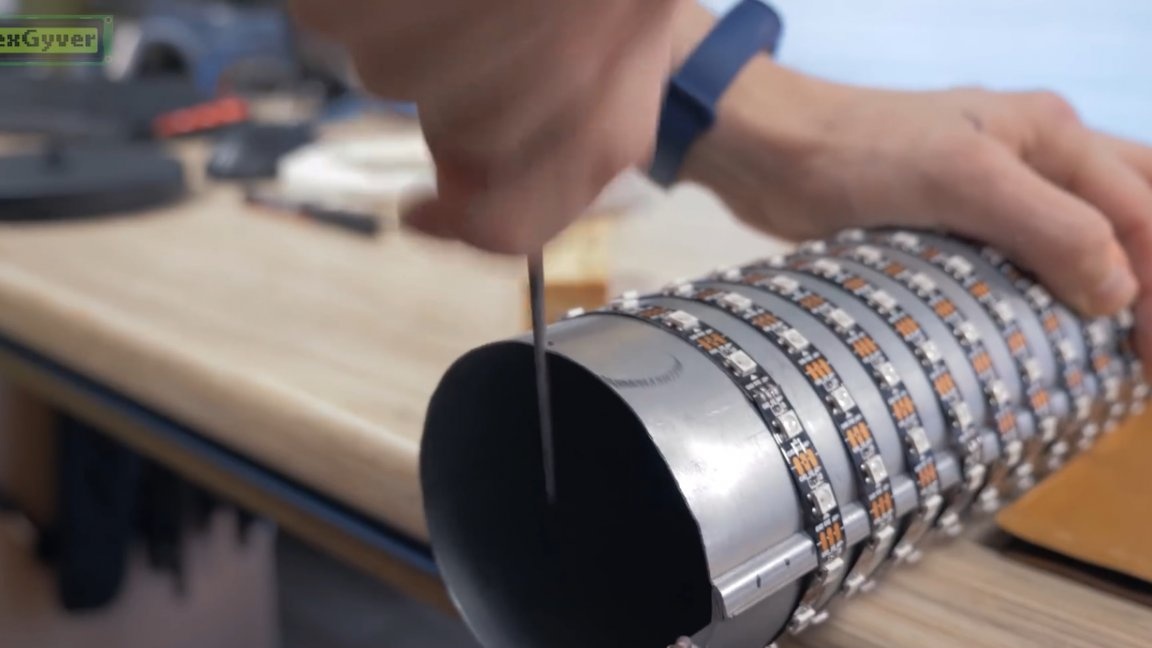
So the first thing to do is to shorten the metal pipe to the size of the lampshade.
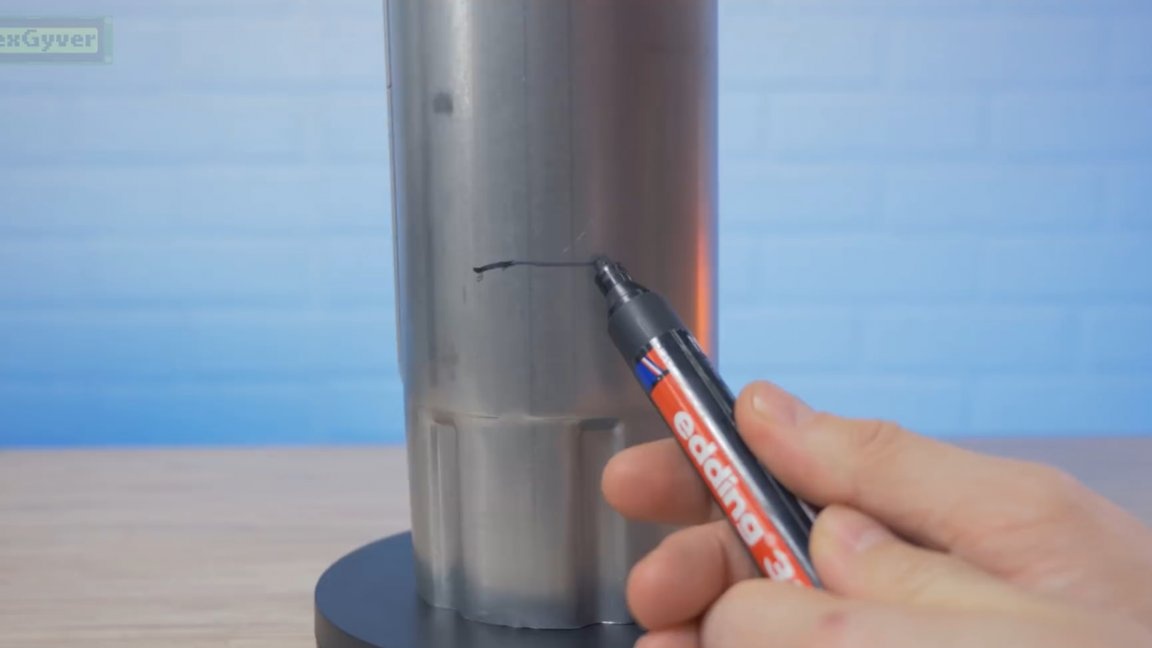
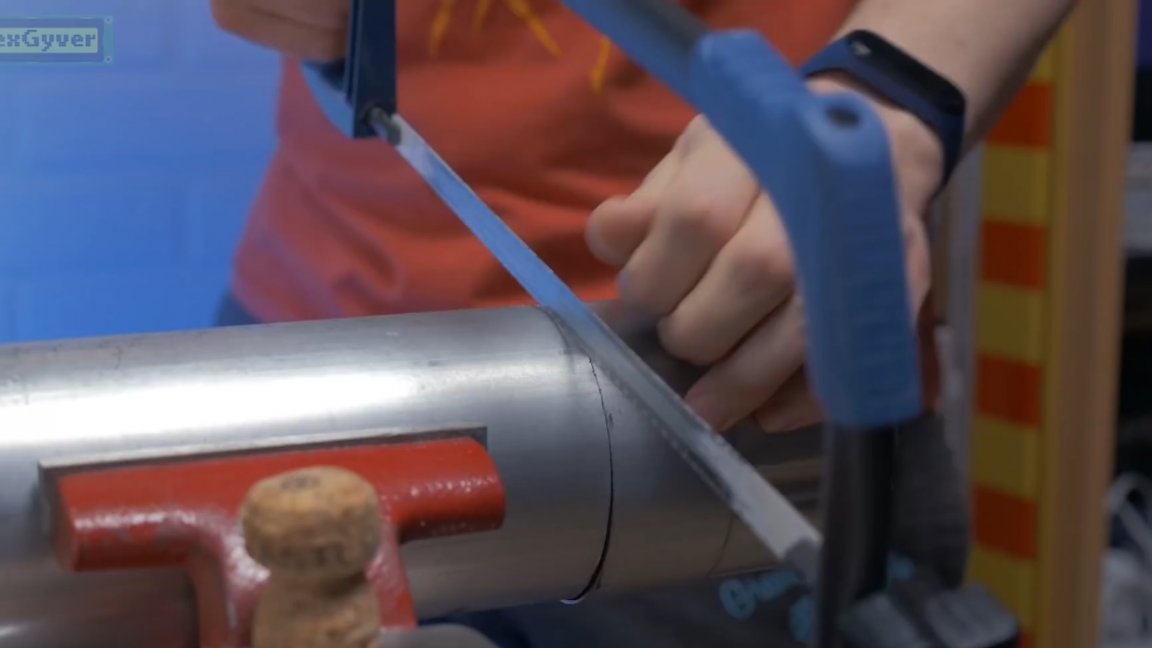
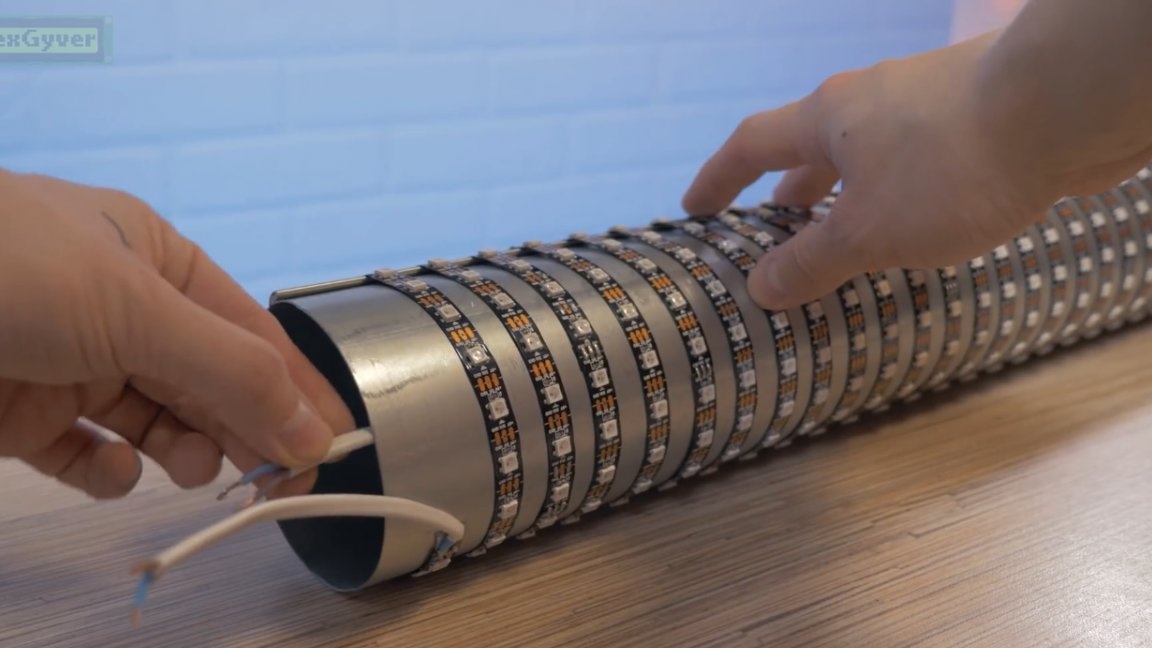
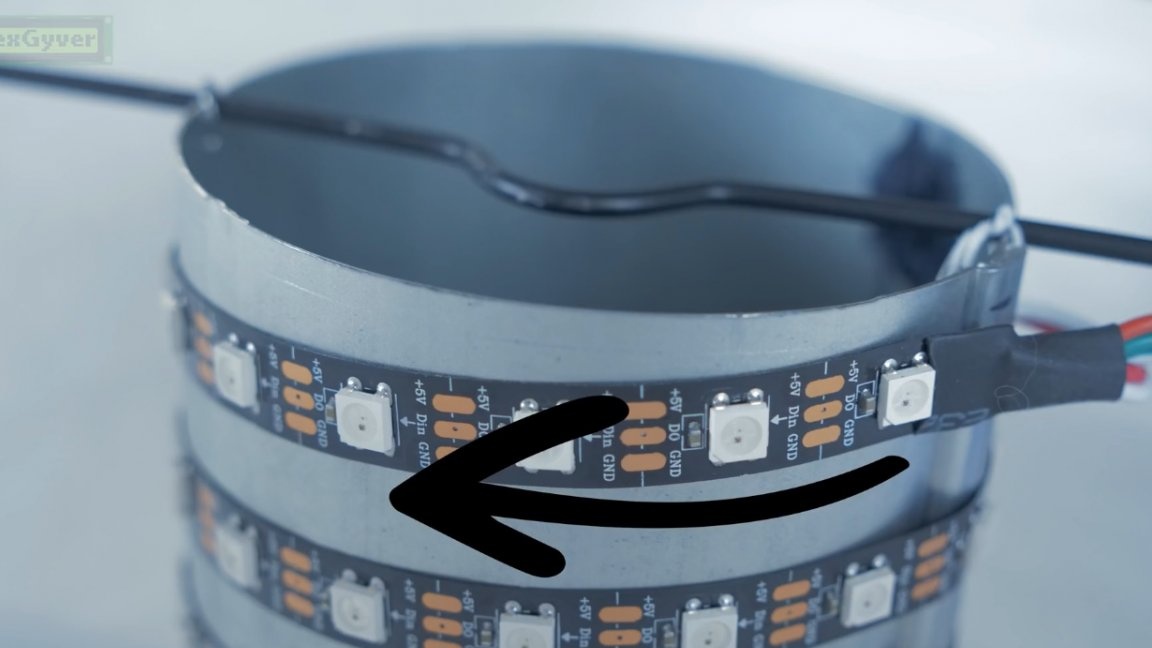
Marking is a very important stage of the project, it is necessary to evenly mark and saw off the pipe, otherwise the lamp may turn out to be a curve. A drainpipe with such a diameter is simply ideal for winding the tape, because the tape forms the correct matrix, you will need to wind the tape in increments of the width of the tape, that is 1 cm. At this stage, it is not necessary to glue the tape, just wind it up with a tight fit and align it turns.
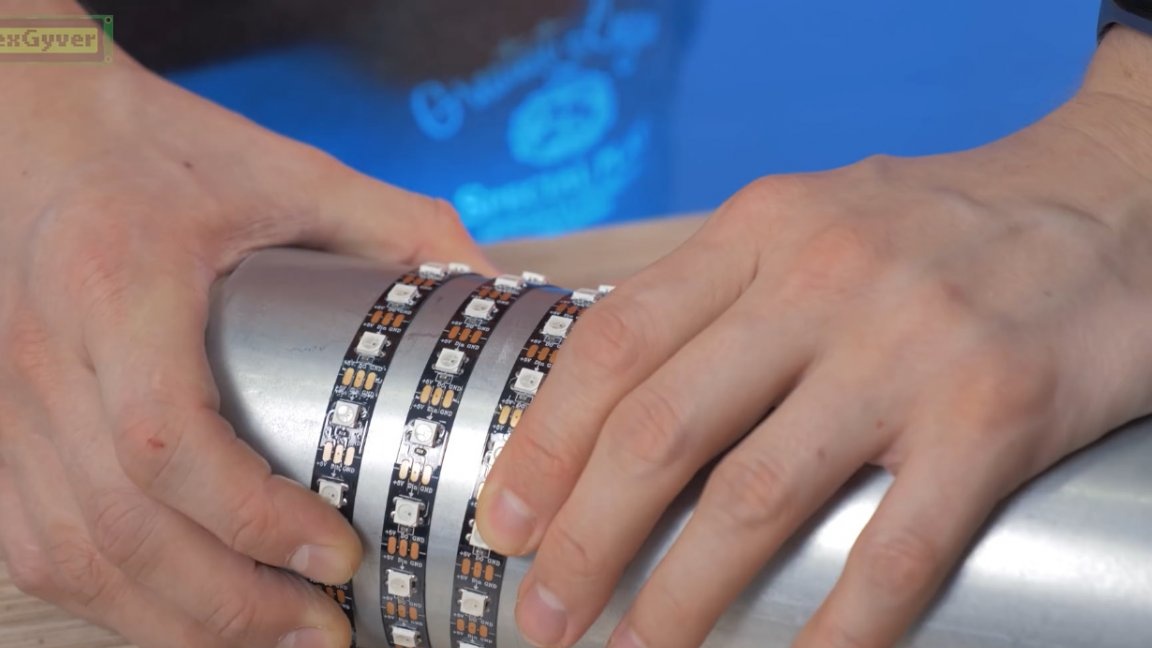


And to stick on - just pull out the backing and the tape will stick.
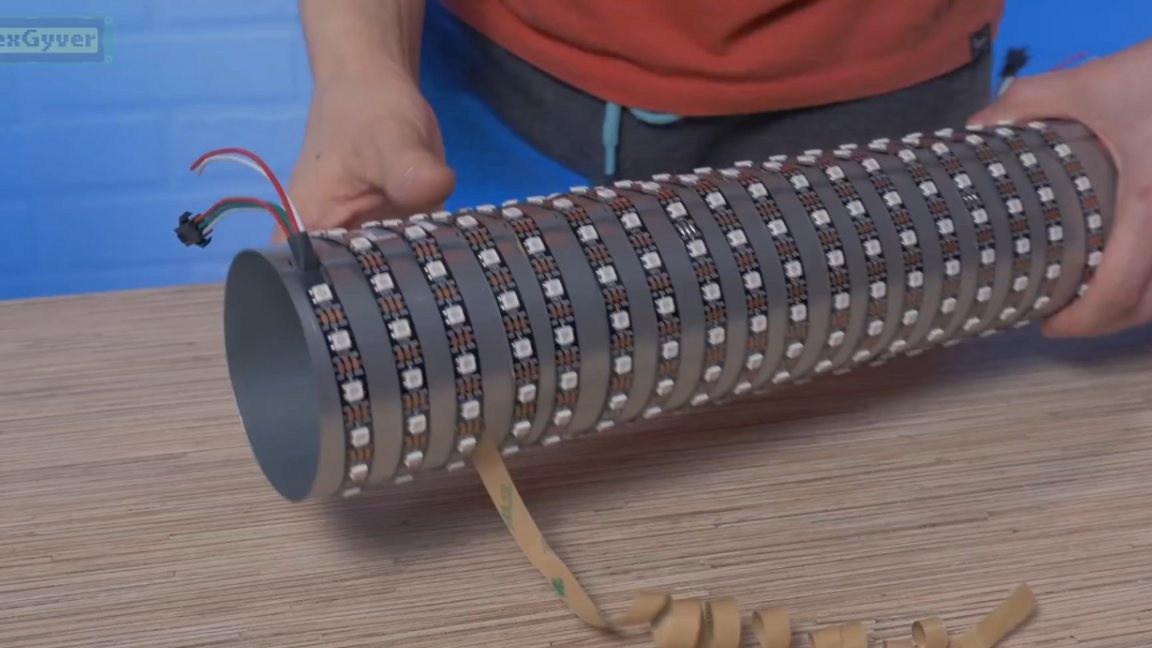
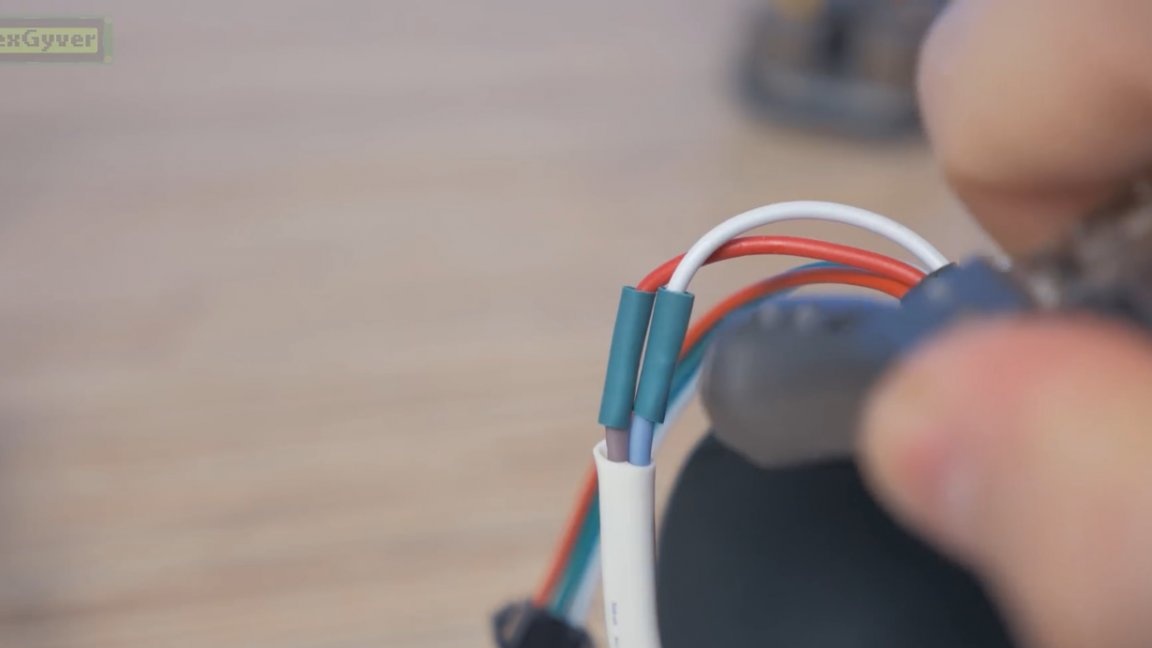
At the junction, it is necessary to connect the tapes and solder everything together. We get rid of the wires and produce the most accurate soldering as possible.
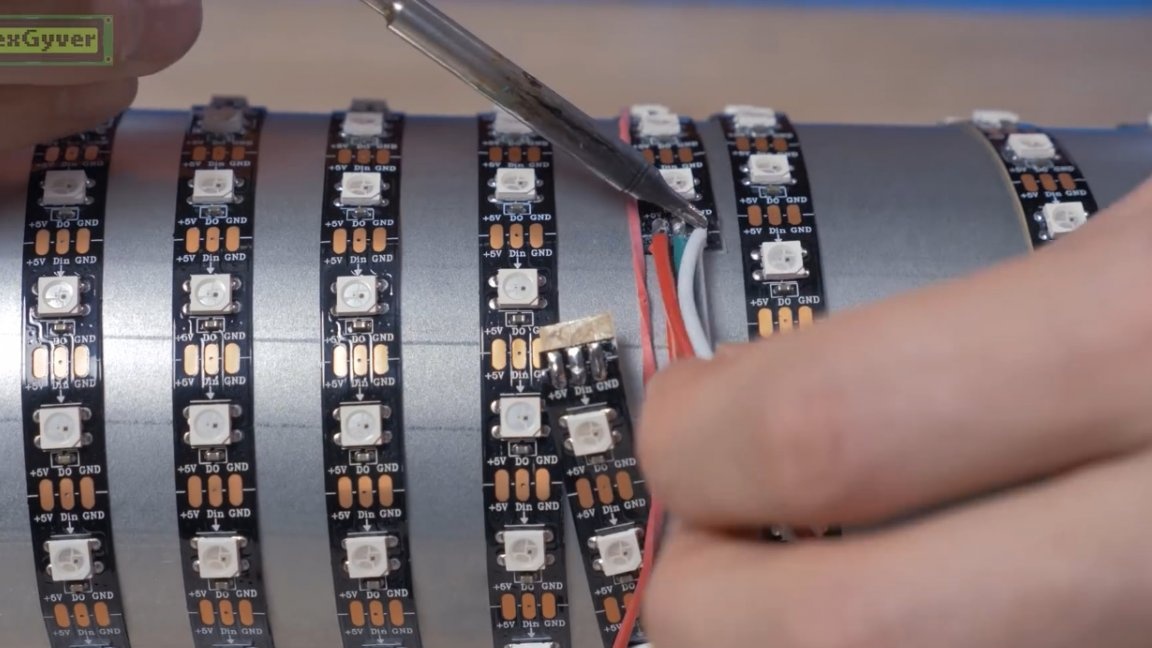
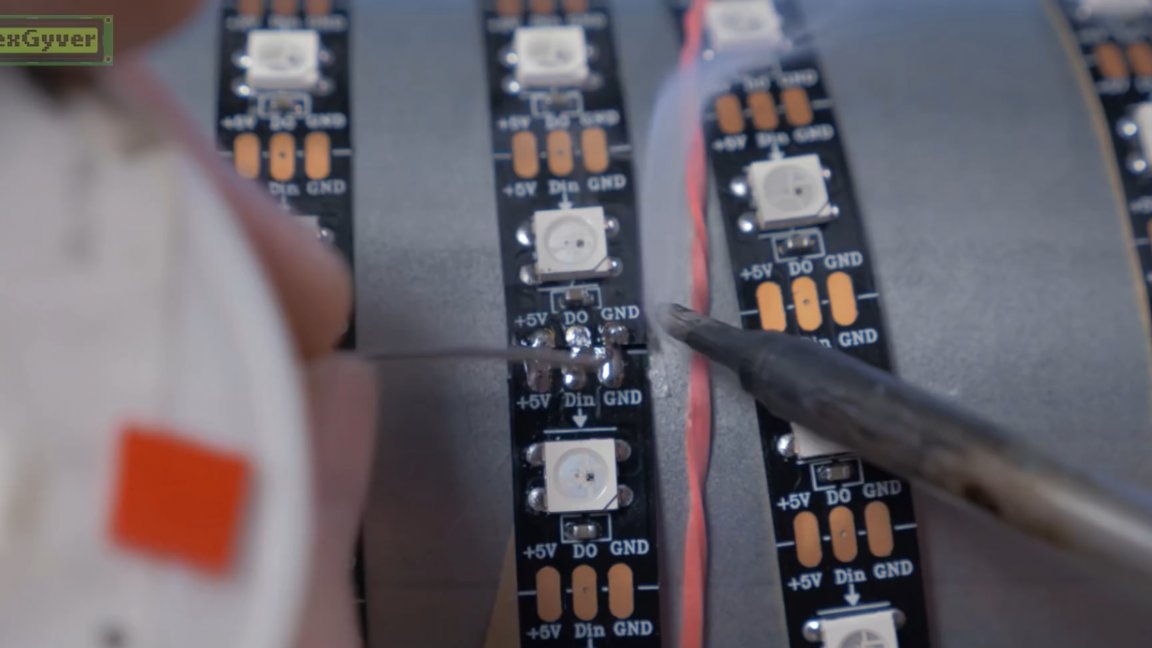
When connecting two tapes, the inscriptions on the contacts, 5-5, ground-to-ground, must be observed. In total, a tube for a lamp from Ikea took 12.5 meters of tape, which equals 750 LEDs.
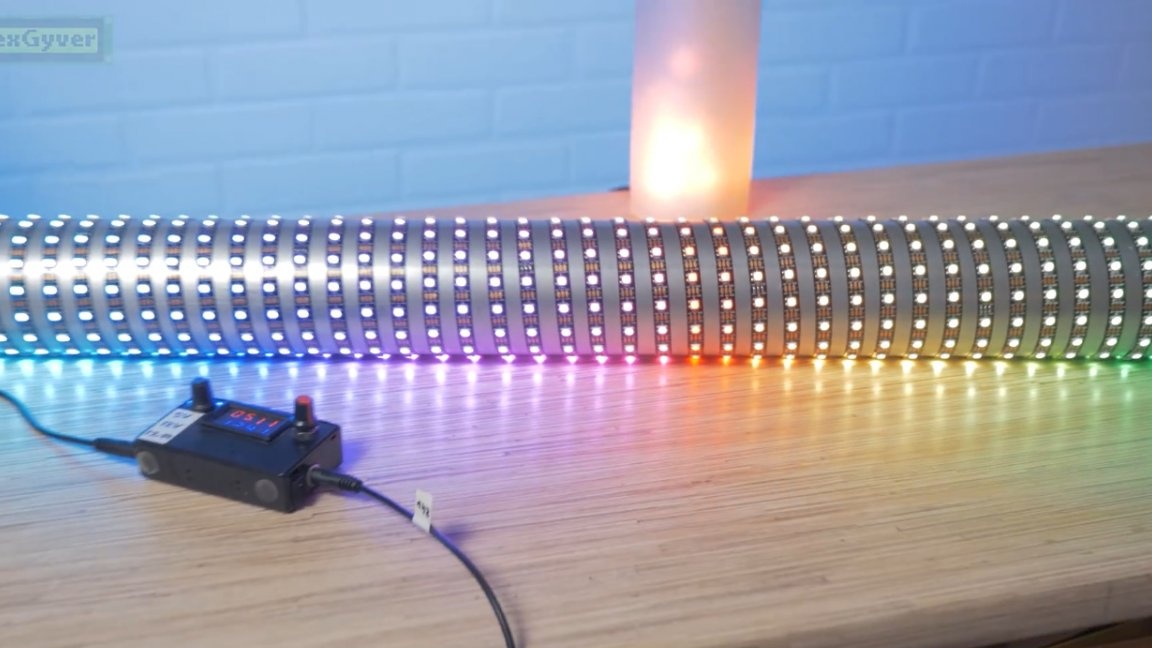
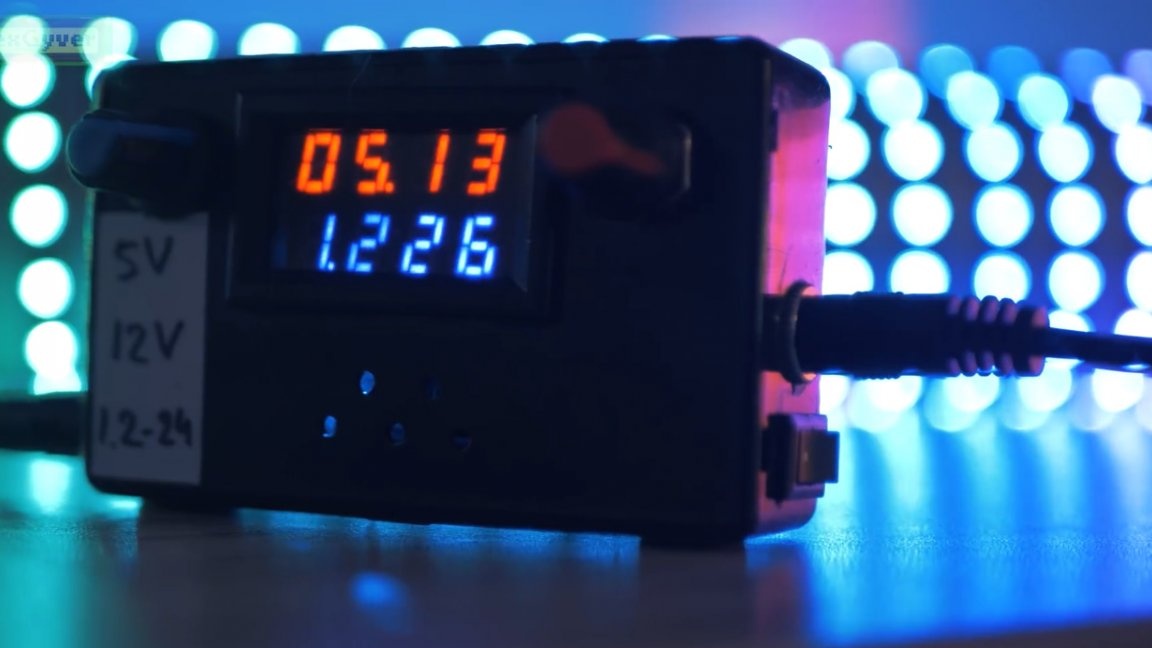
After the test run, we will carry out some measurements. As you can see, at a low brightness the light tube consumes surprisingly not so much, only 1.2A.
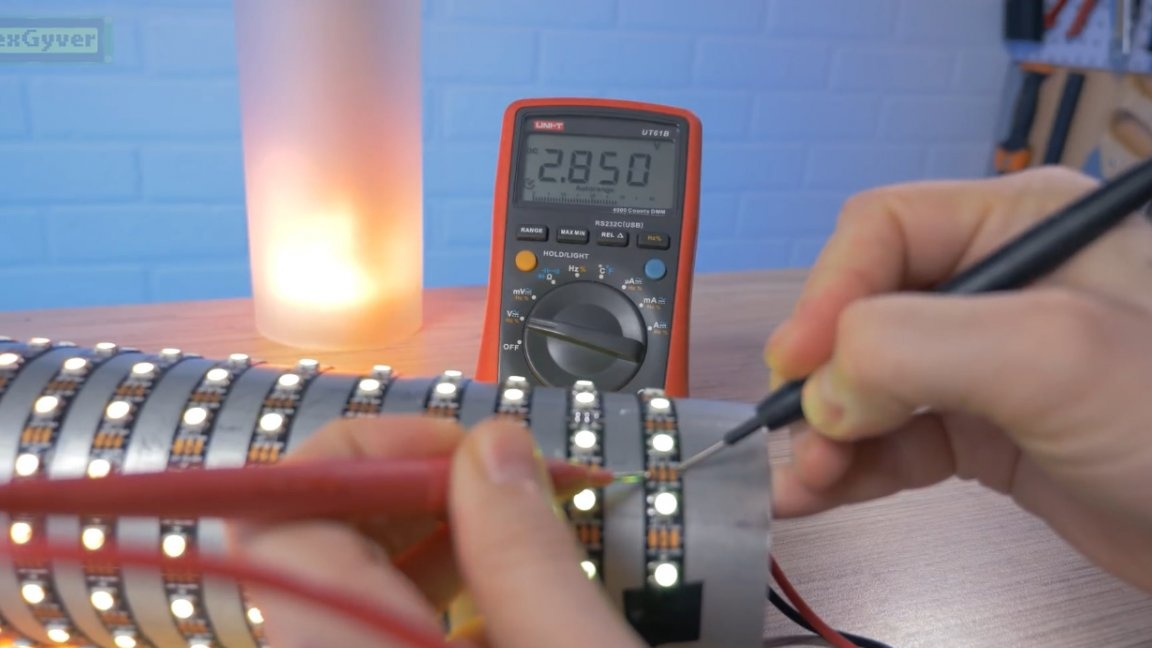
But the reason lies in the fact that the LED strip is quite long, and the voltage sags quite a lot. For example, at the opposite end of the initial voltage of 5V, there is a miserable 2.8V. How does she even work that?
In the middle of the tube, not much more.
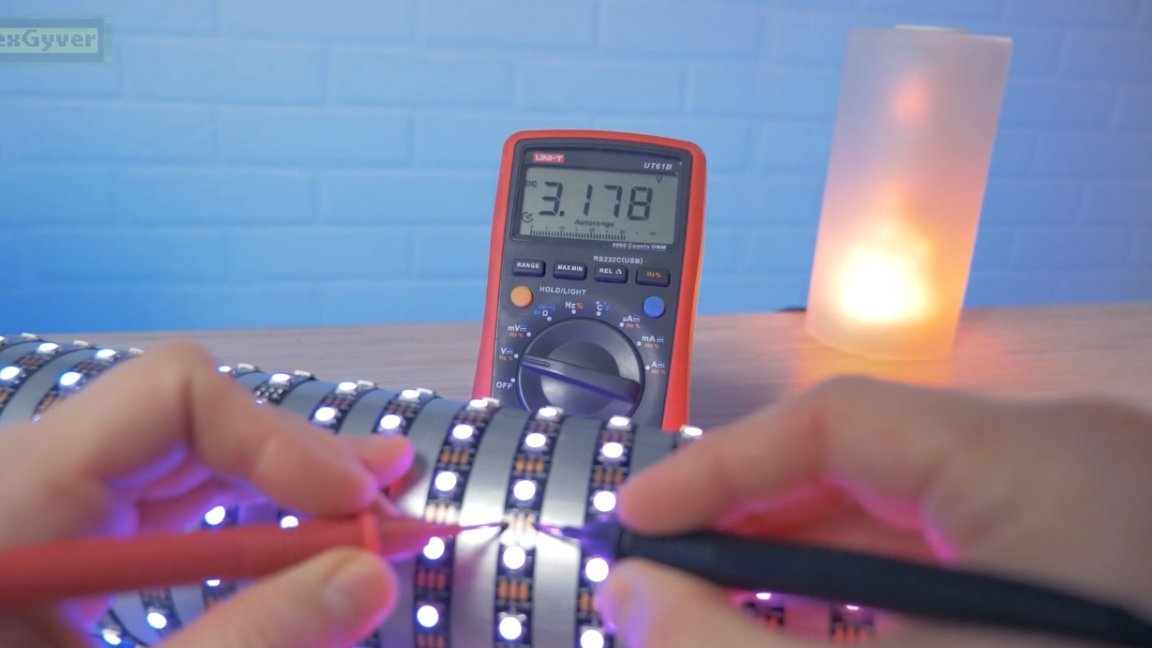
And here is already 4B.
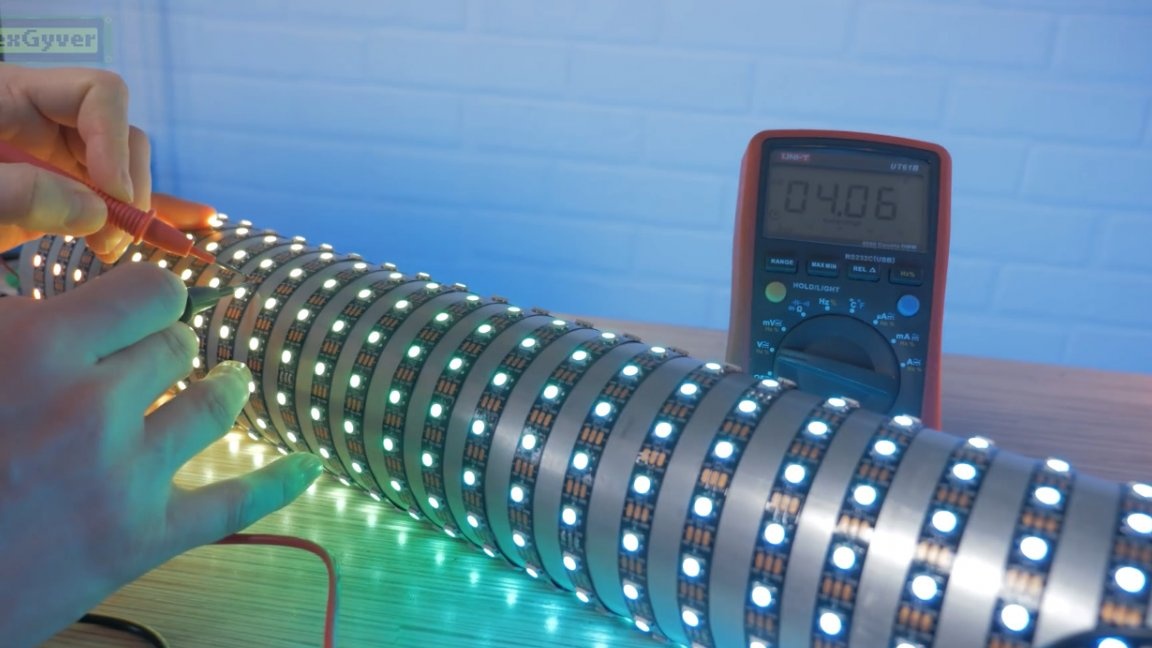
In general, it is obvious that an LED strip of this length must be powered from two ends. Connect them using a conventional wire with a cross section of 0.75 or 1 square.
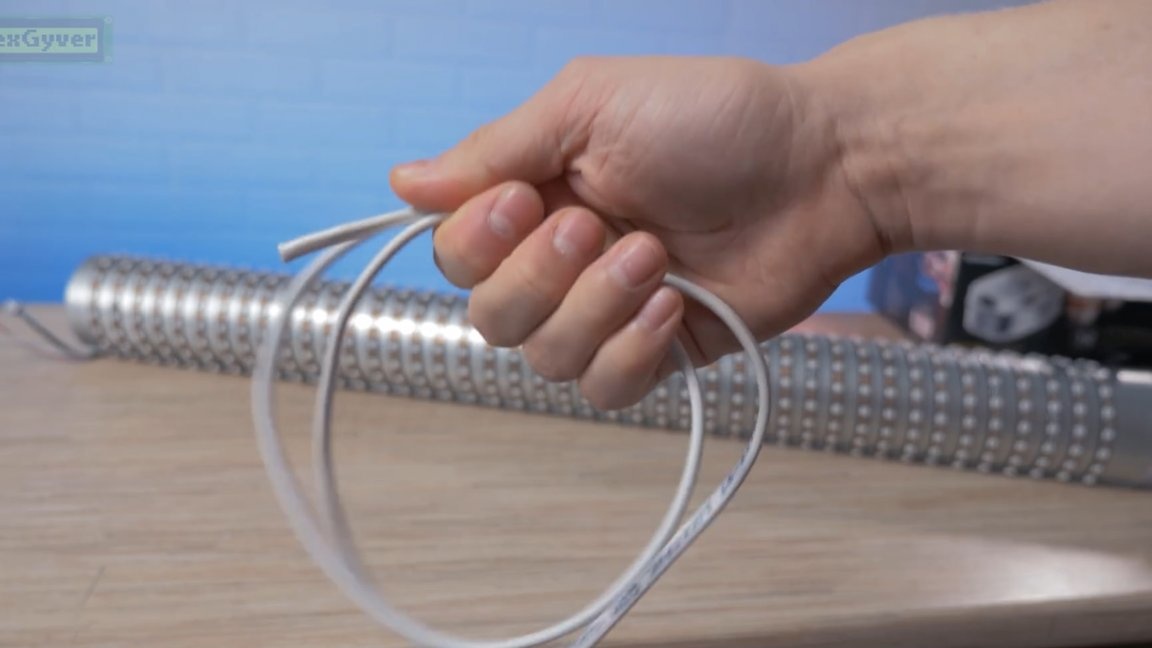
Further, the wire can be passed through the hole as the author did, or you can simply throw it over the edge.
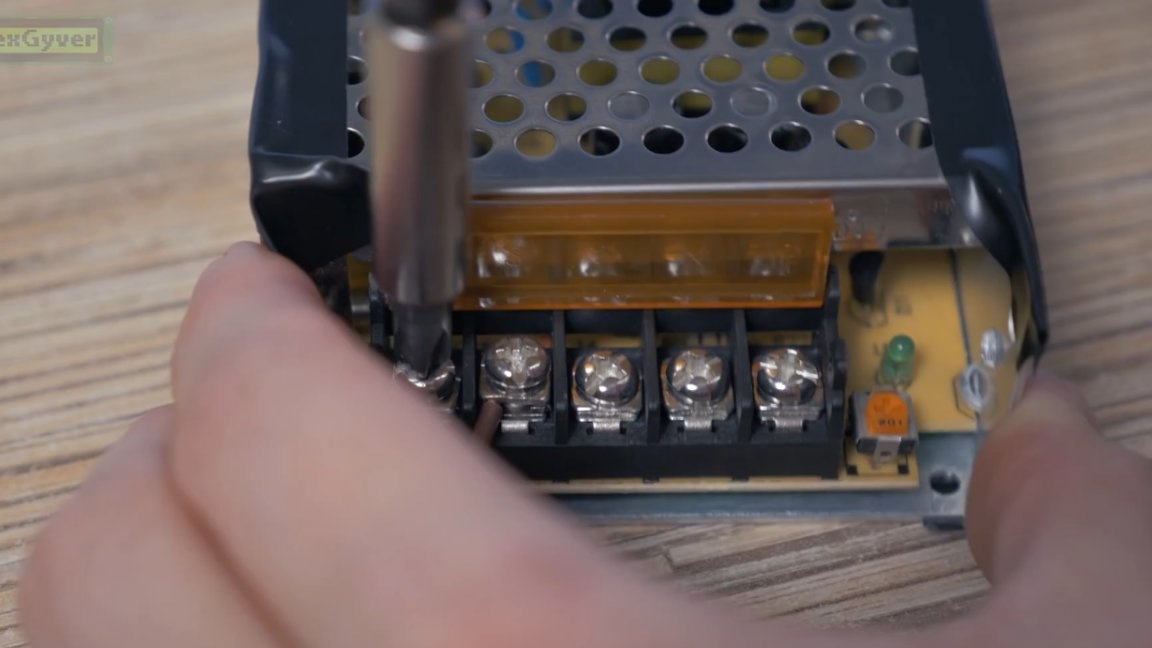
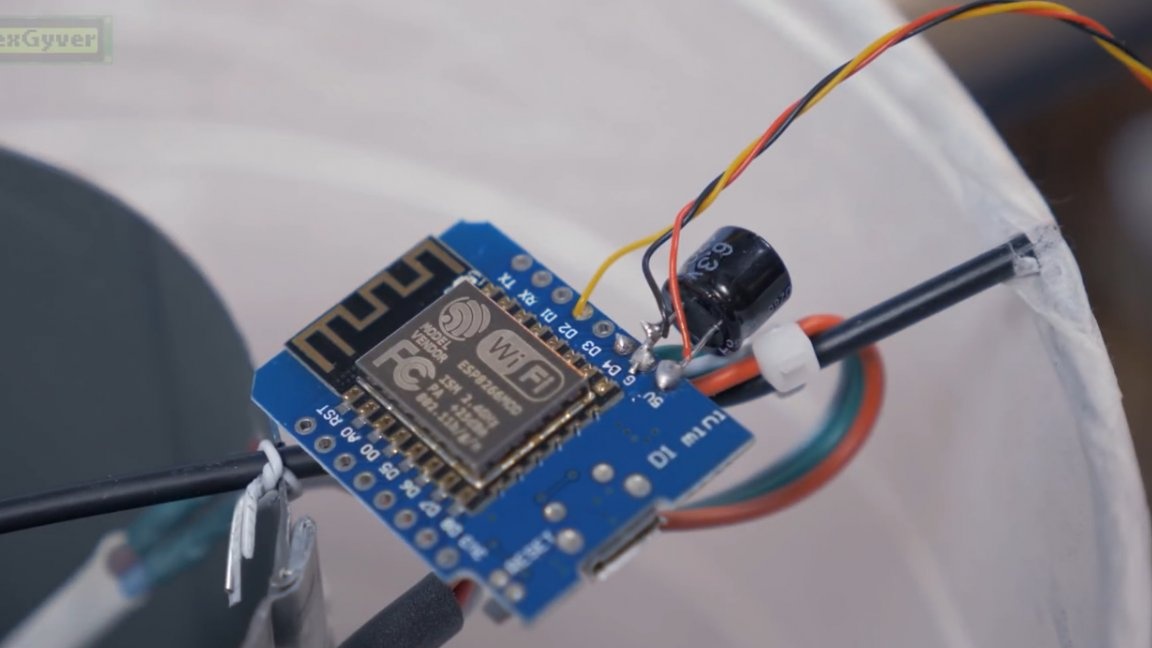
It remains to connect the board to the remaining plug. We solder it. We get rid of the connector and strip the wires.
It is advisable to supply a capacitor for powering the board, it will smooth out the noise and the operation will be more stable.
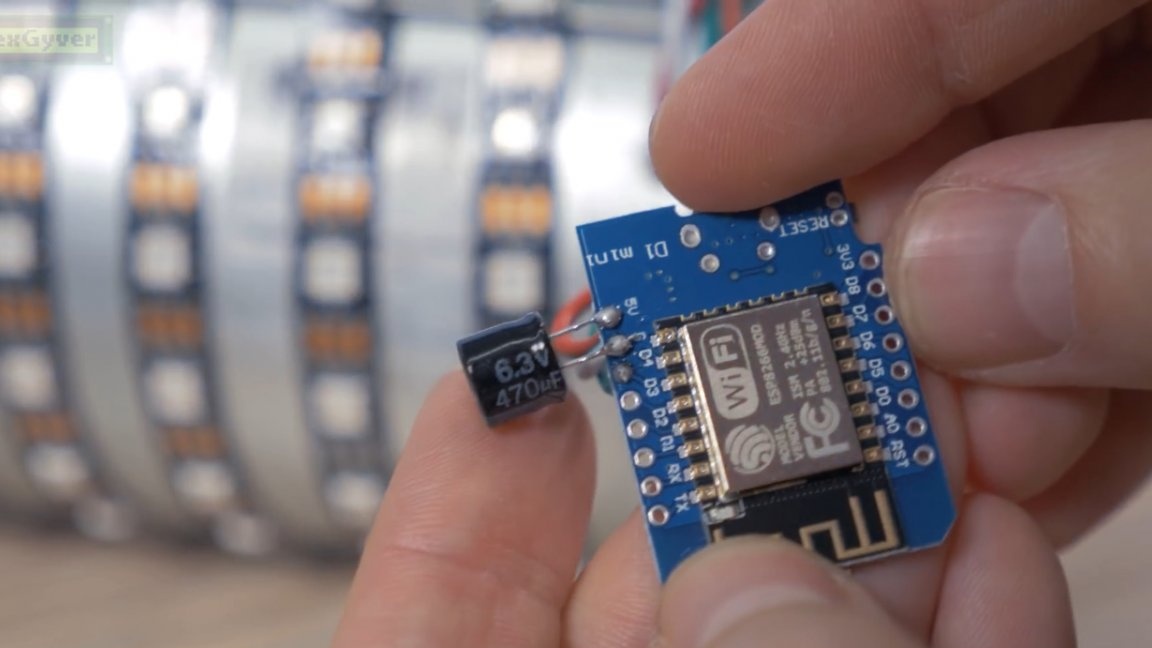
In principle, any capacitor with a capacity of more than 50 microfarads will do.
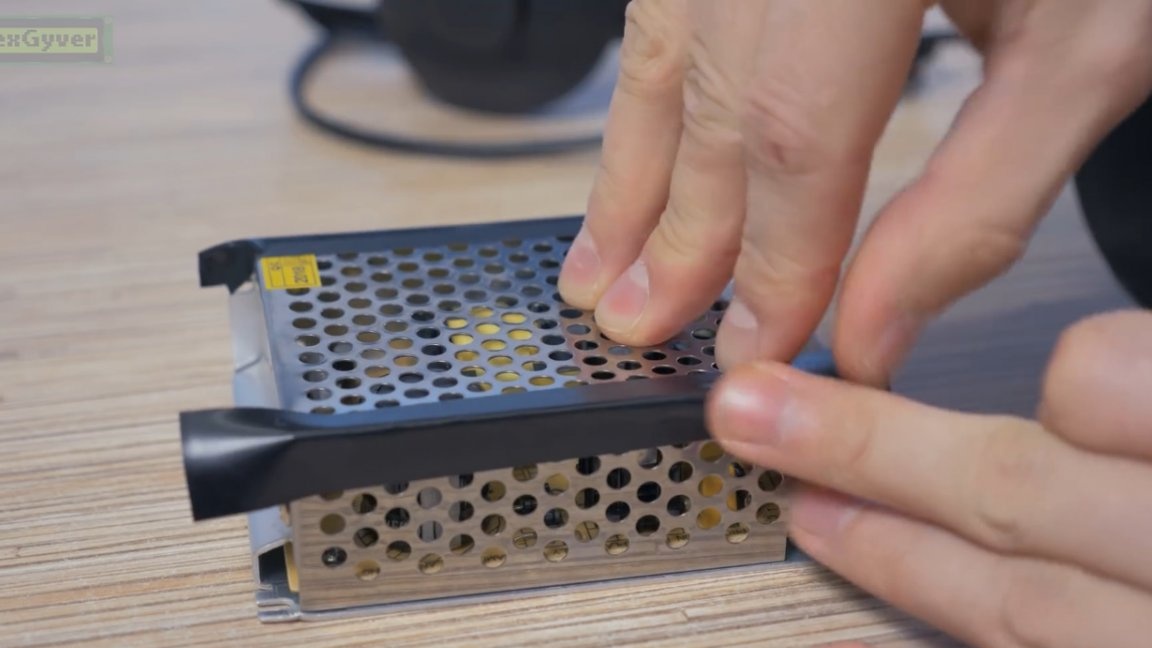
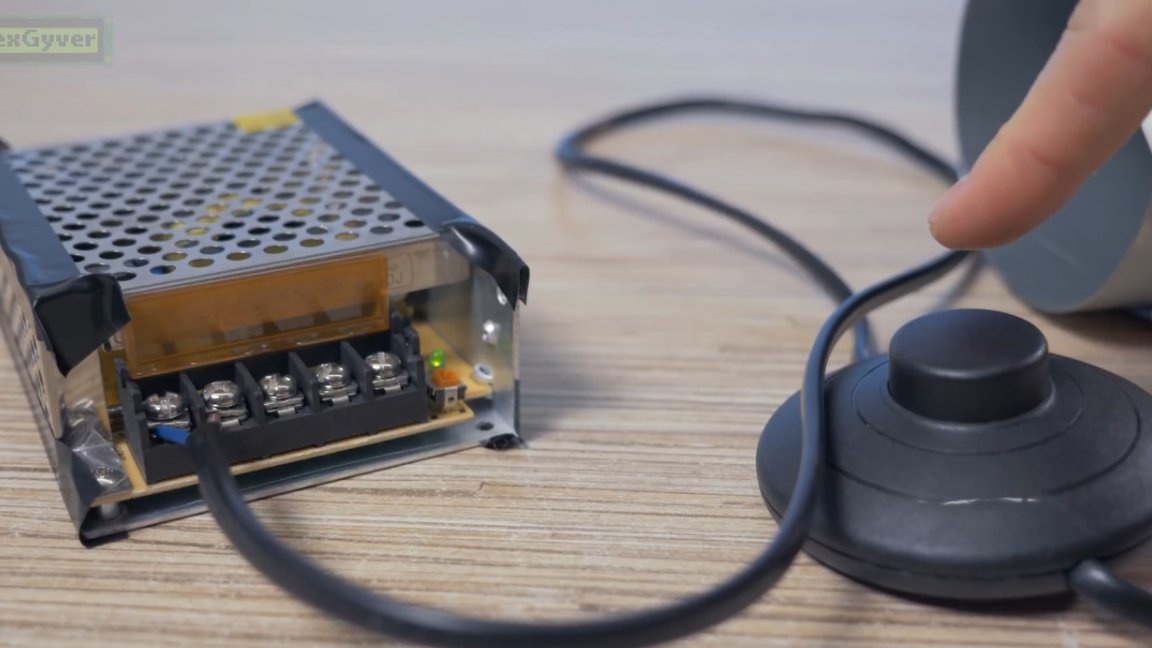
We connect the power supply. A minute of perfectionism - the power supply fits perfectly in the pipe:

The power supply must be isolated from the pipe walls. For this, in extreme cases, an ordinary electrical tape is suitable, it is possible in two layers.
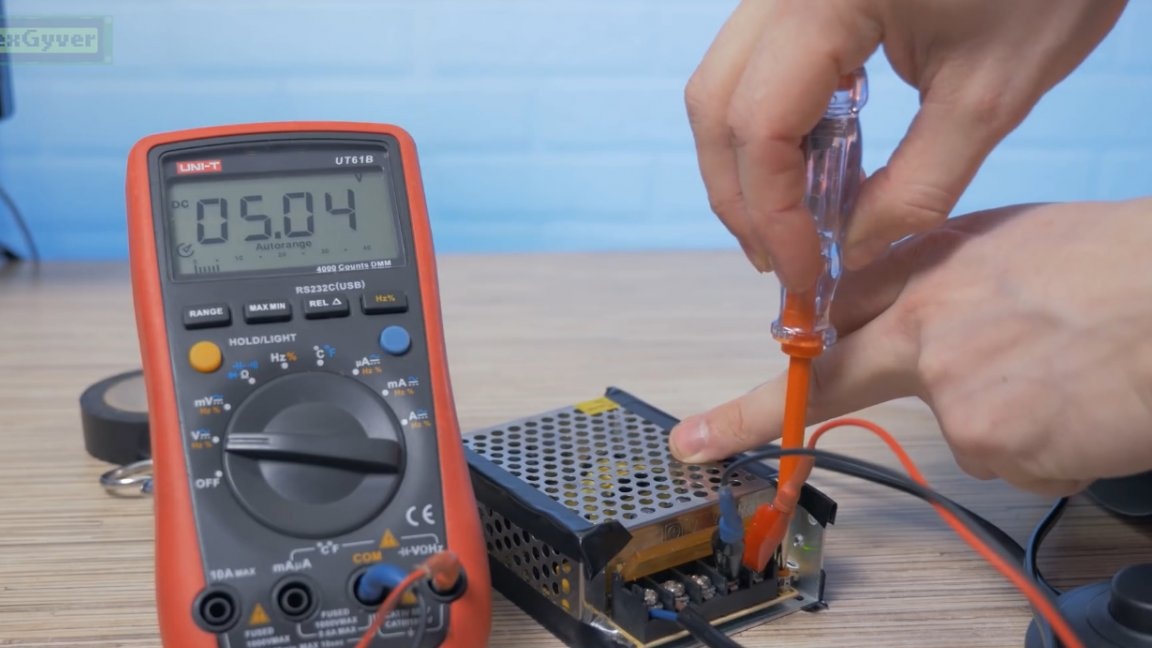
On the power supply housing there is a voltage adjustment, it is desirable to set the value to 5V, not more, this is necessary to avoid problems with matching logic levels at minimum brightness.
In principle, at this stage it is already possible to download the firmware, let's do it. Be sure to turn on the external power first, the tape will light up in random colors.
After that, you can connect the board to the computer.
Now download archive and do everything according to the instructions below:
1. First, install the Arduino IDE;
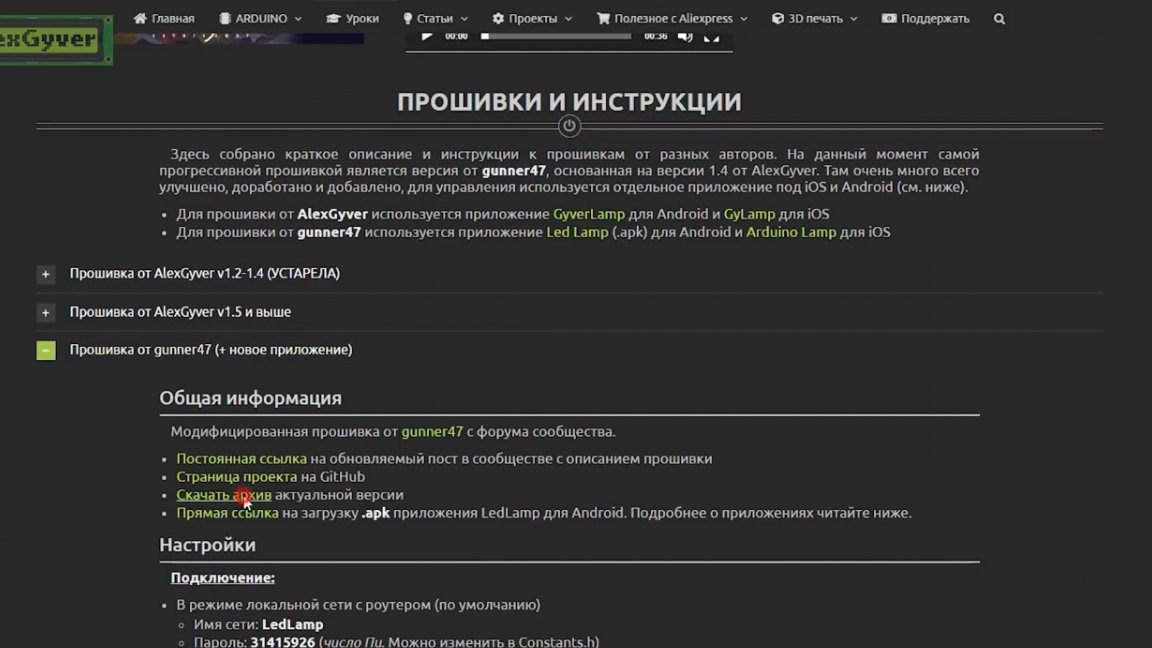
2. Then we unpack the archive and put the libraries from the folder;
3. Next, open the firmware itself by running a file with the name of a folder.
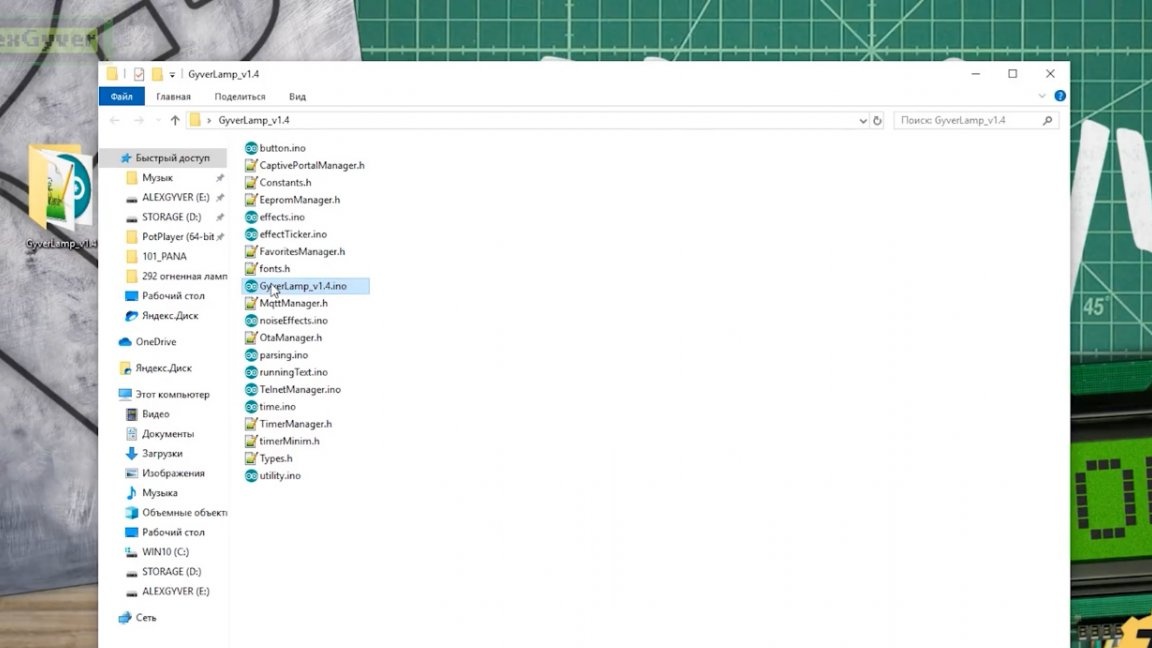
4. Configure the firmware to work with the pipe as follows:
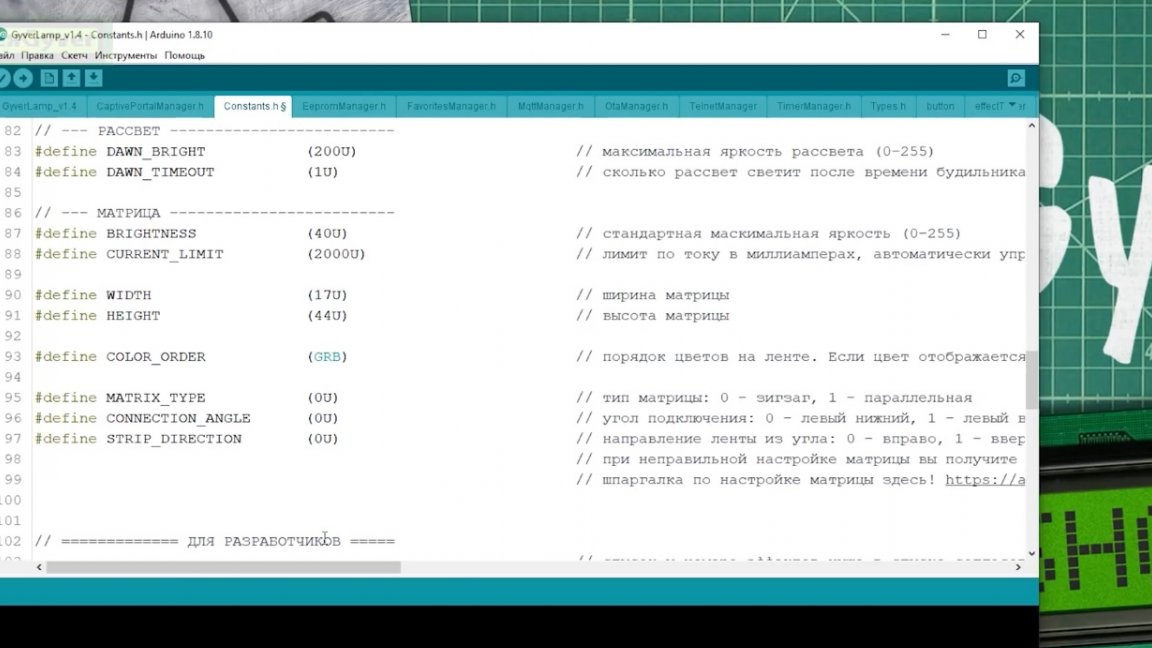
- Open the “Constants” tab and set the matrix width equal to the number of LEDs in one turn of the tape, which for the 90th pipe and tape with a density of 60 is 17 LEDs.
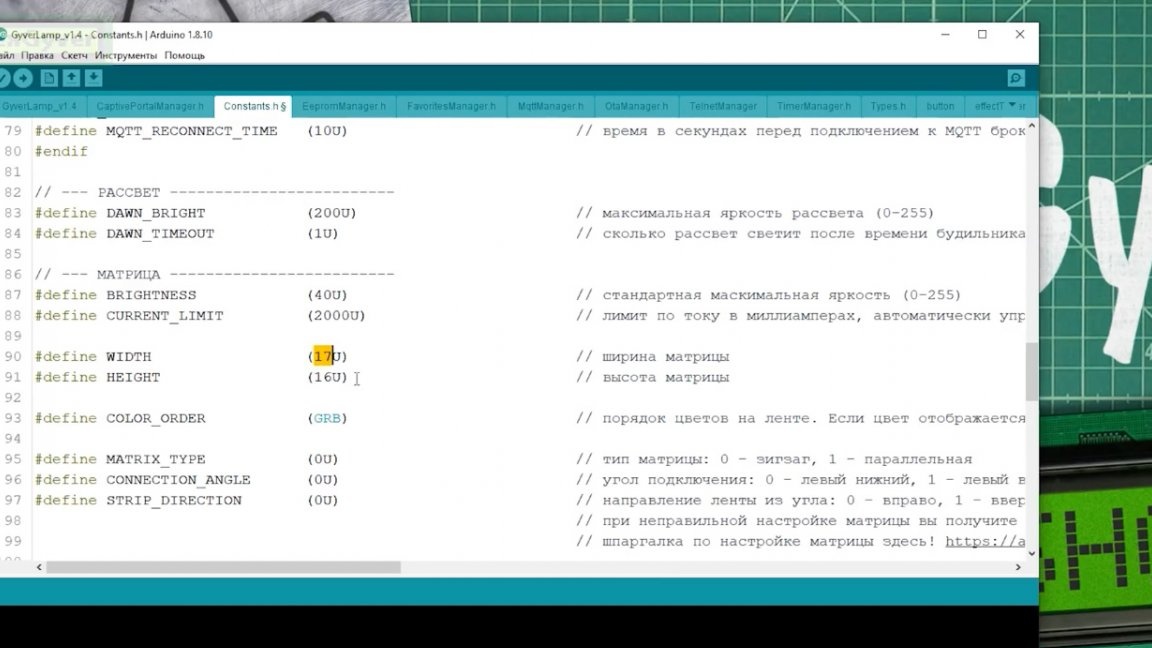
- The next value is Height (number of turns of tape), in this example 44 pieces.
- The type of matrix for the spiral is parallel, set the value to 1.
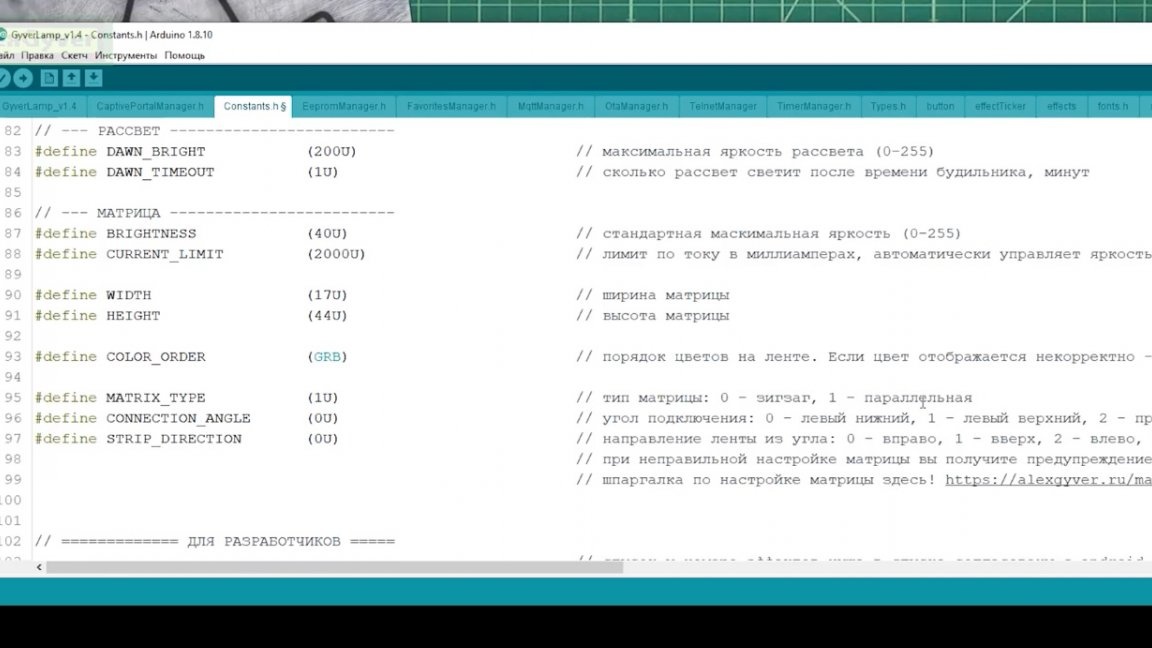
- The connection angle and the direction of the tape - we look at how the tape goes. The author made a winding so that the tape is connected in the upper right corner and from it goes to the left, that is, numbers 2 and 2.
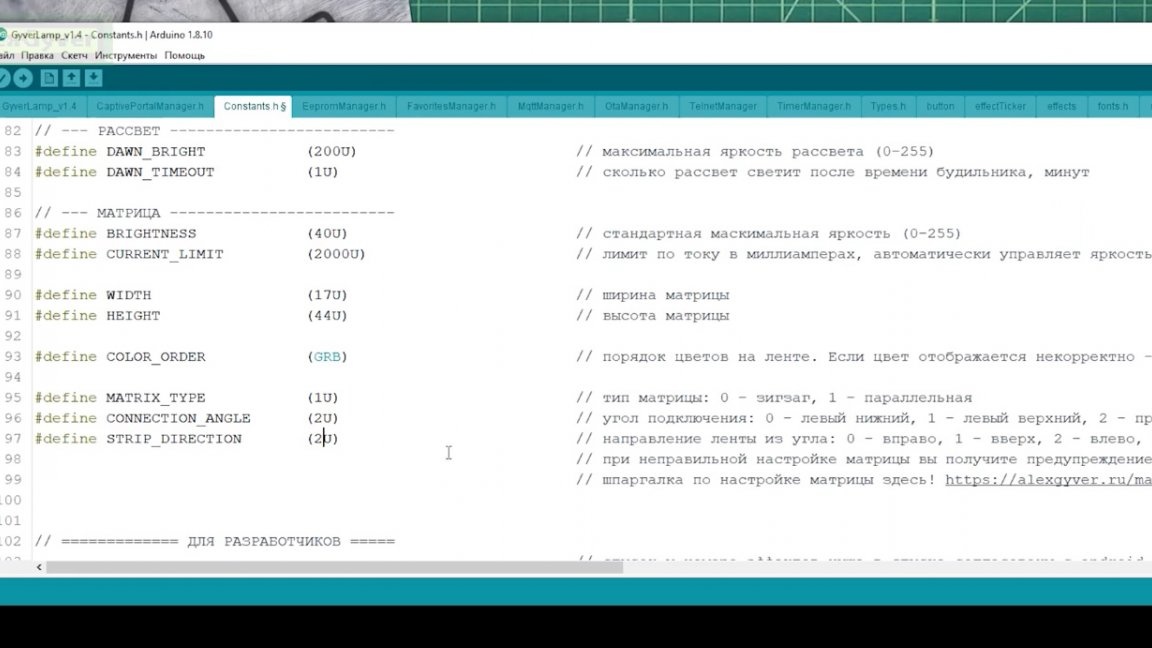
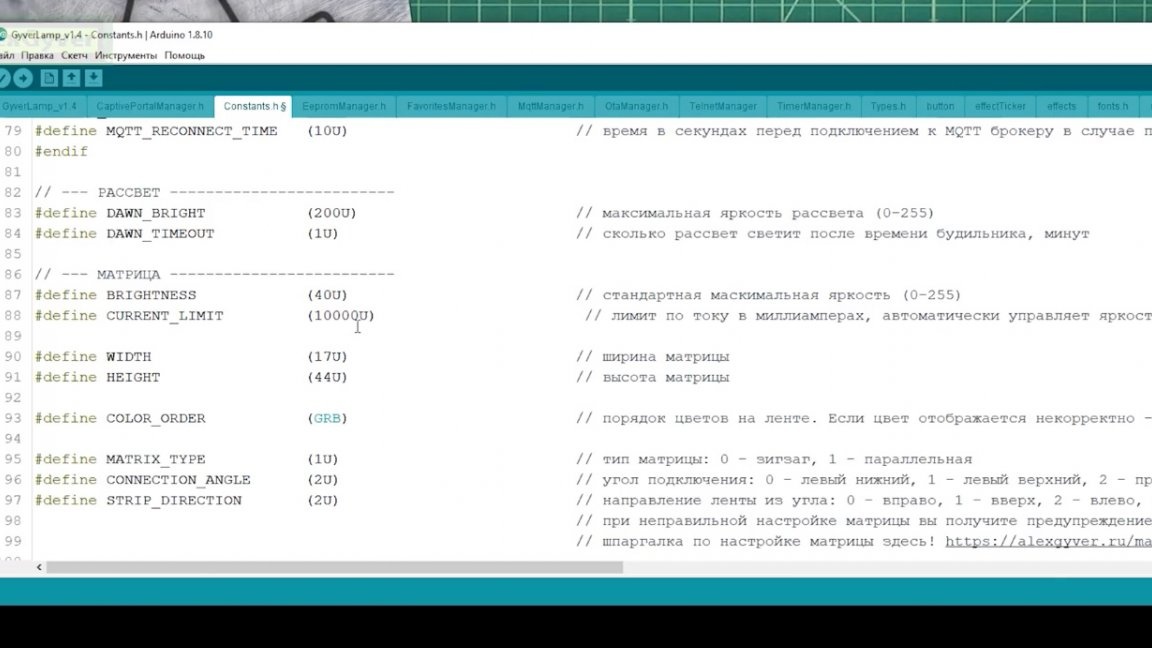
- Next, we set the current limit to the maximum current of your power supply so that the system slightly limits the brightness.
That's all, you can click the download button.
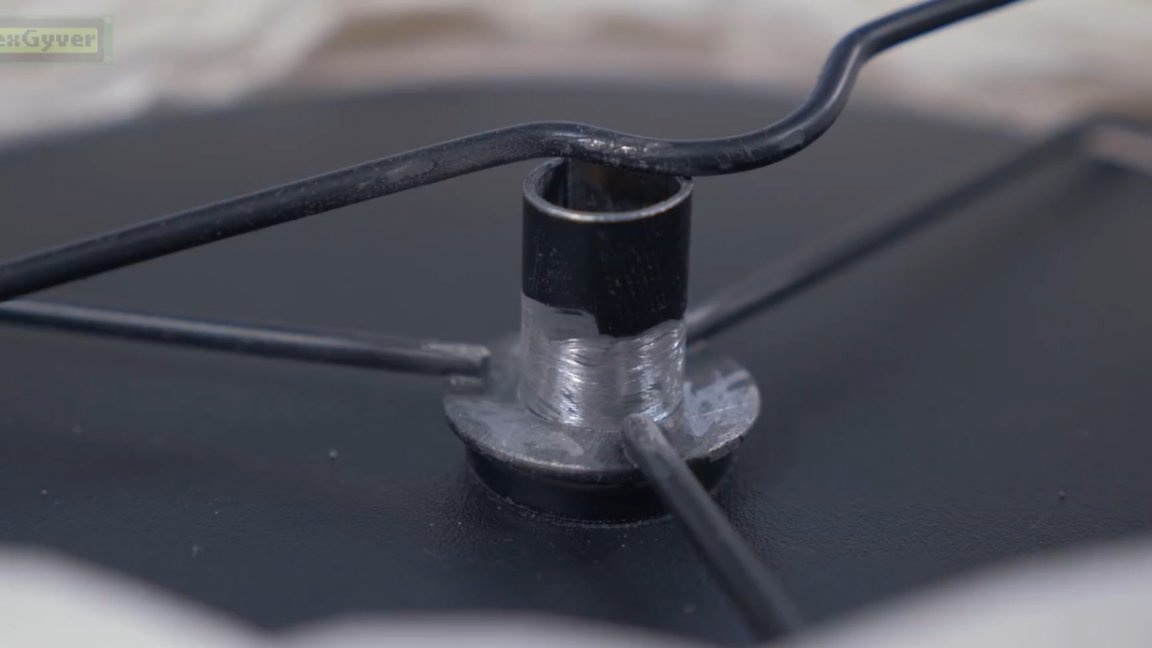
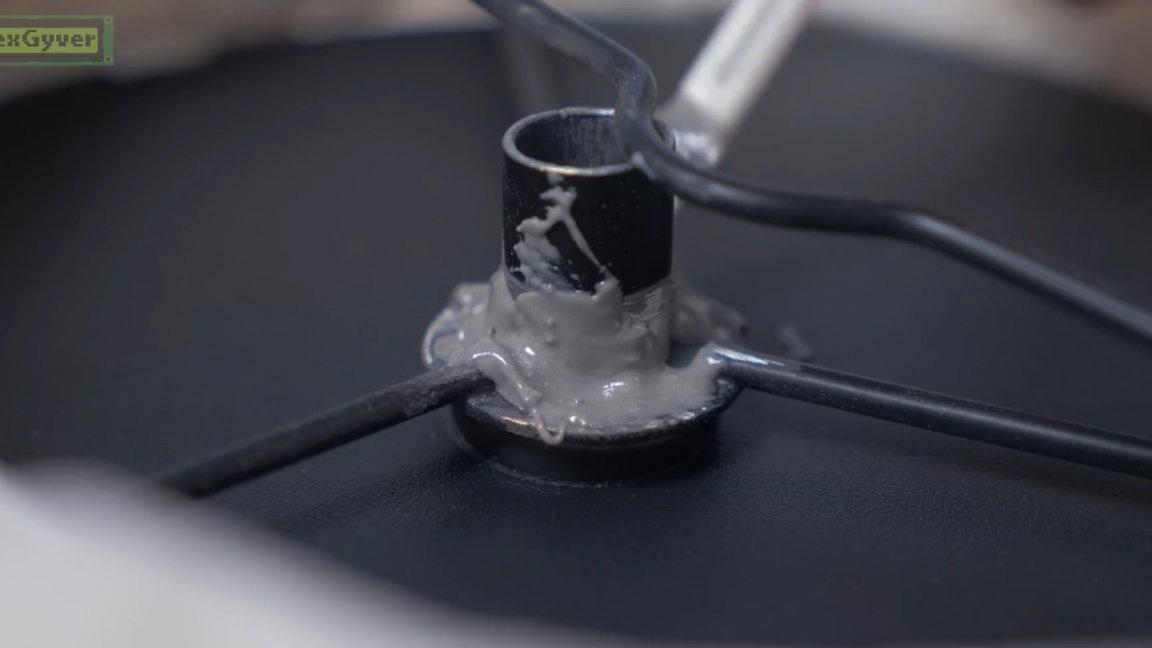
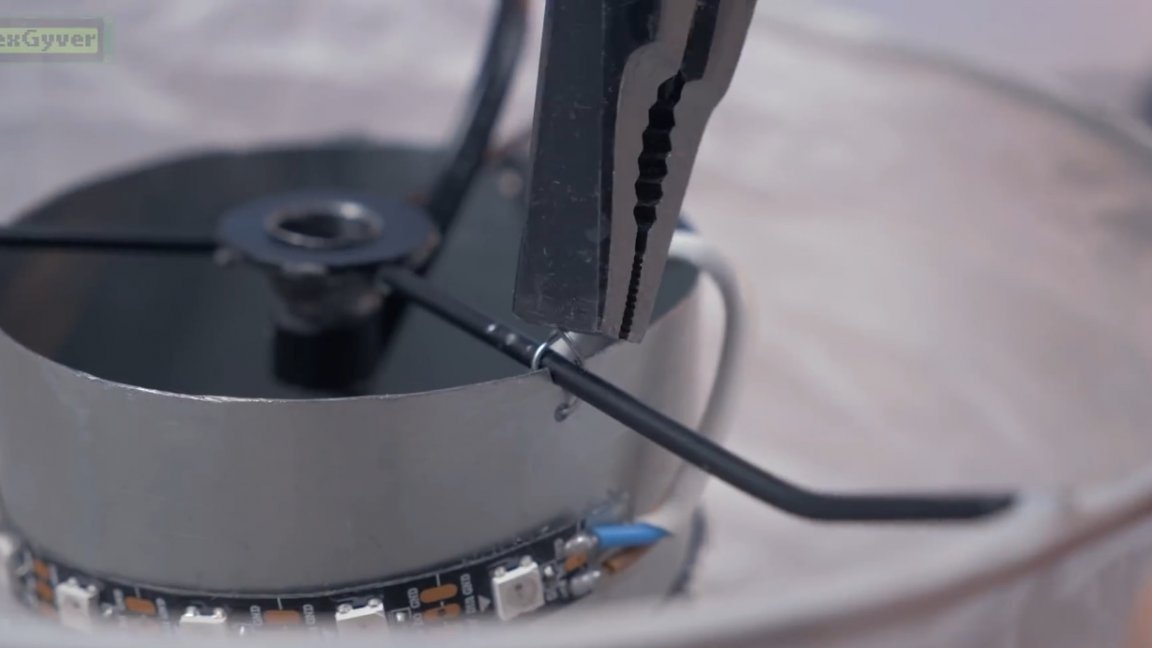
With the software part sorted out, back to the design of the lamp. It is necessary to fix the pipe to the rack. We will connect them with some kind of epoxy or cold welding like poxipol. Mazukaem and wait for drying.
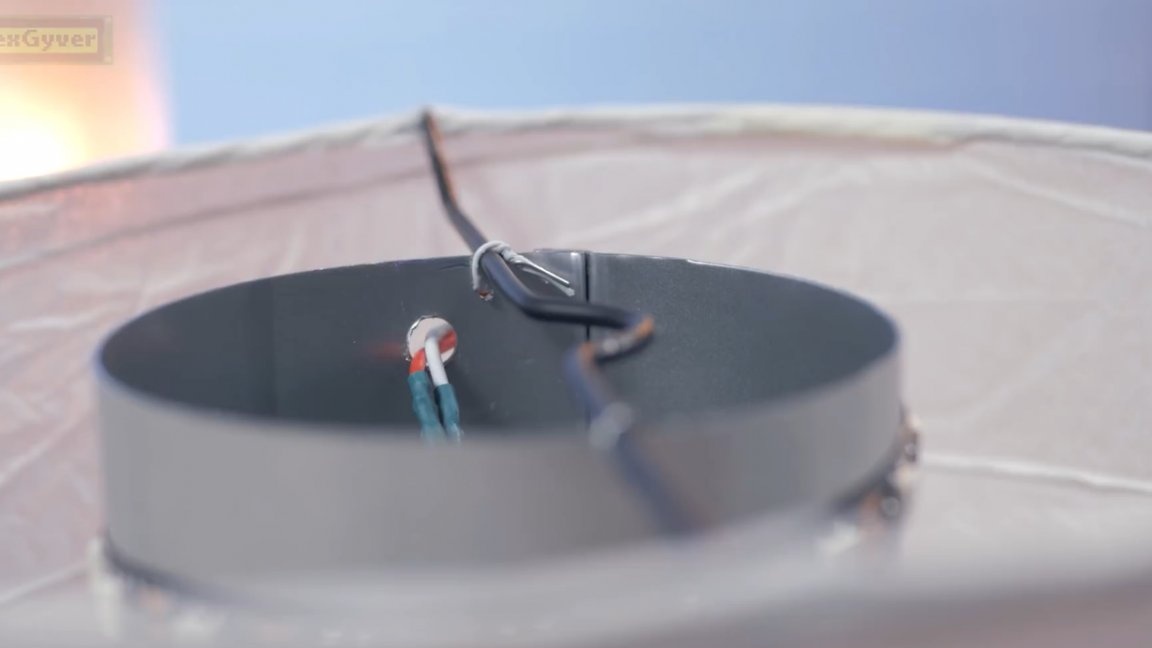
Then we push the wire and finally and irrevocably connect the power. We also connect our 5 volt line.
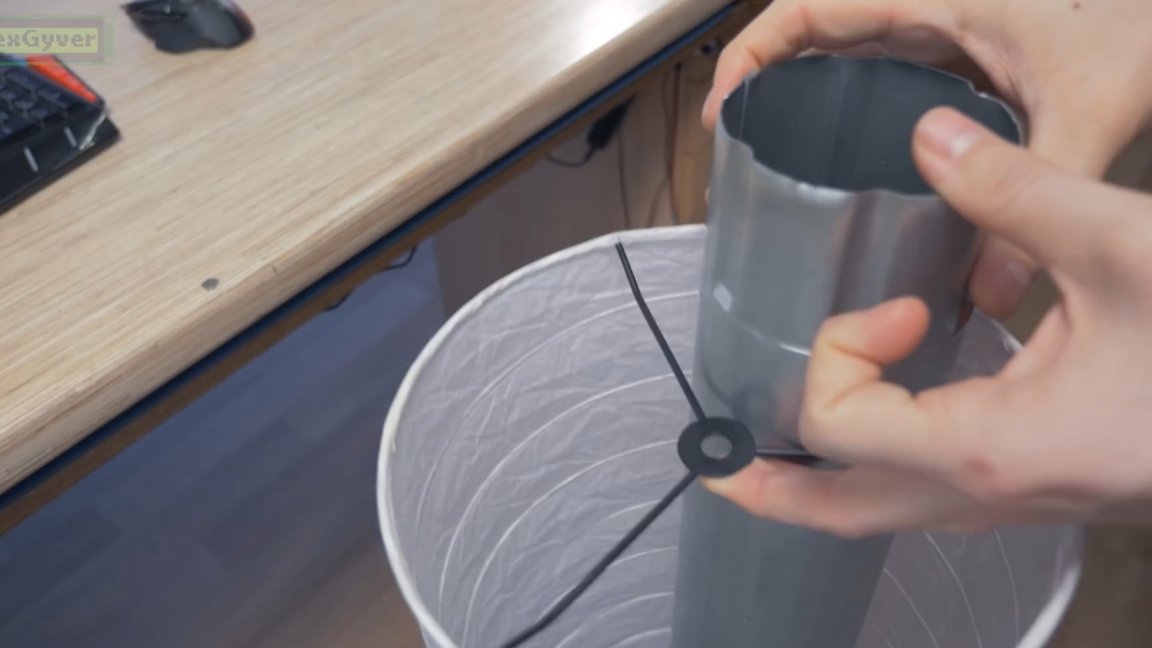
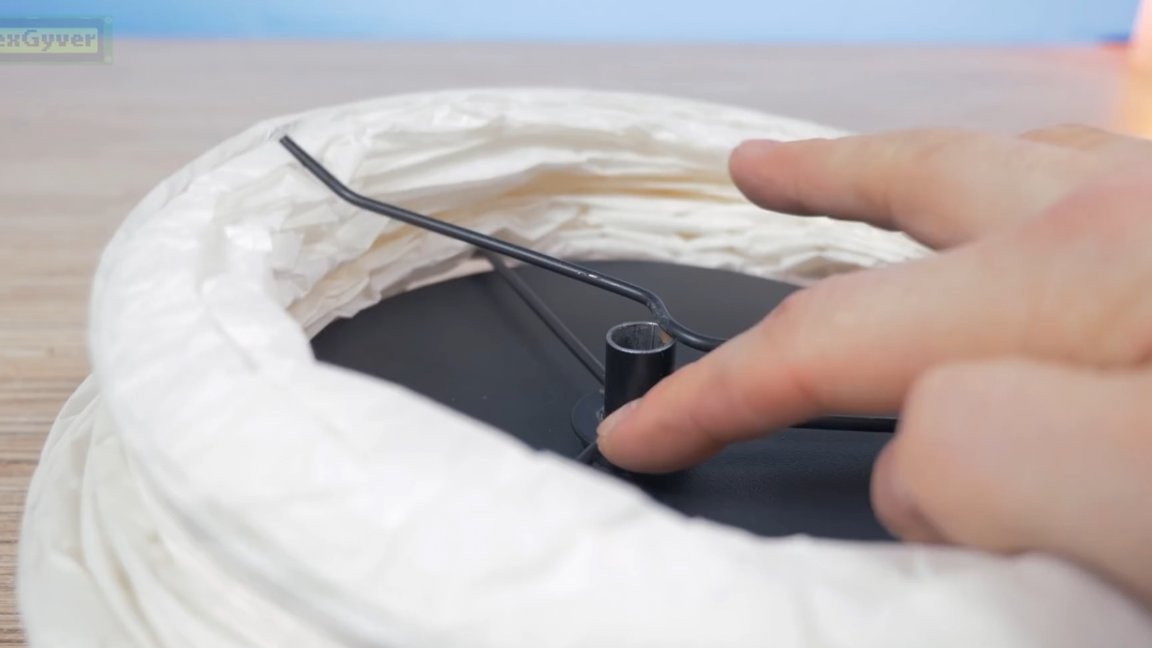
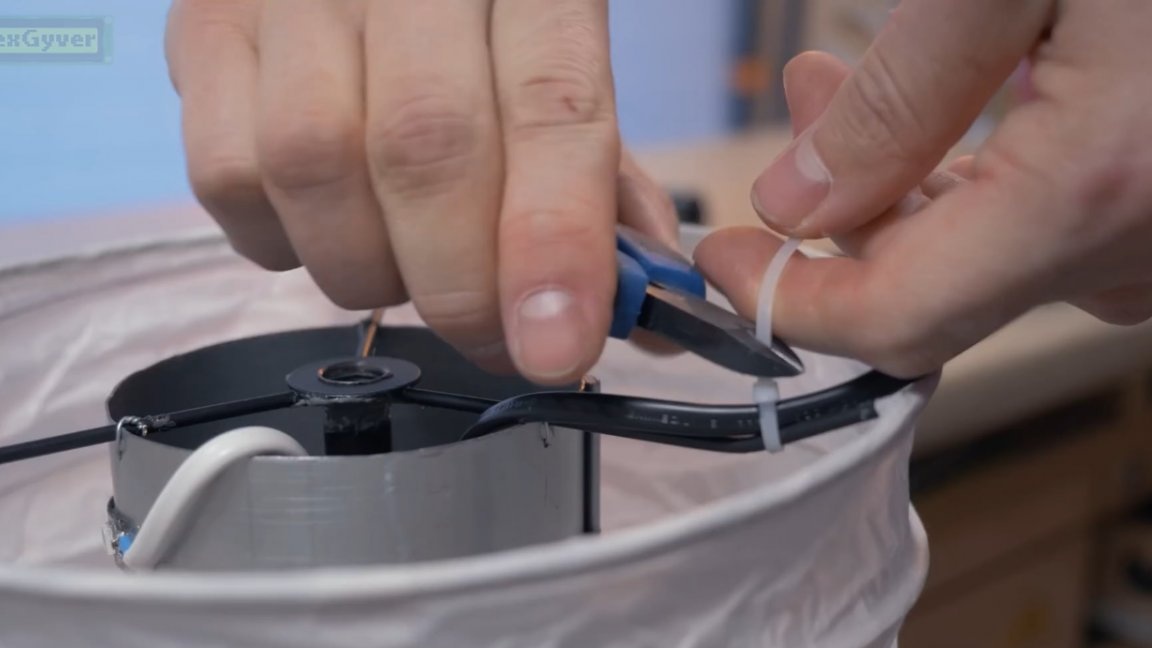
Next, we put the lampshade on the bottom of the lamp, and insert the mount into the pre-prepared grooves.
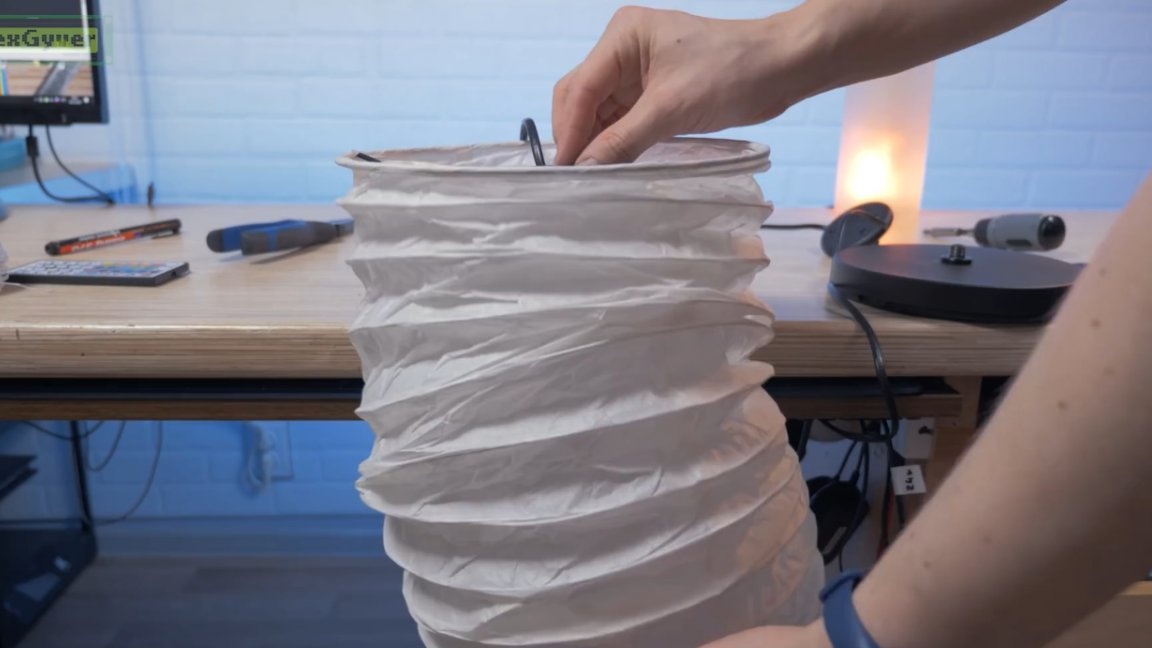
It is also necessary to drill holes so that it can be secured with a knitting wire, the most ordinary soft tempered steel wire.
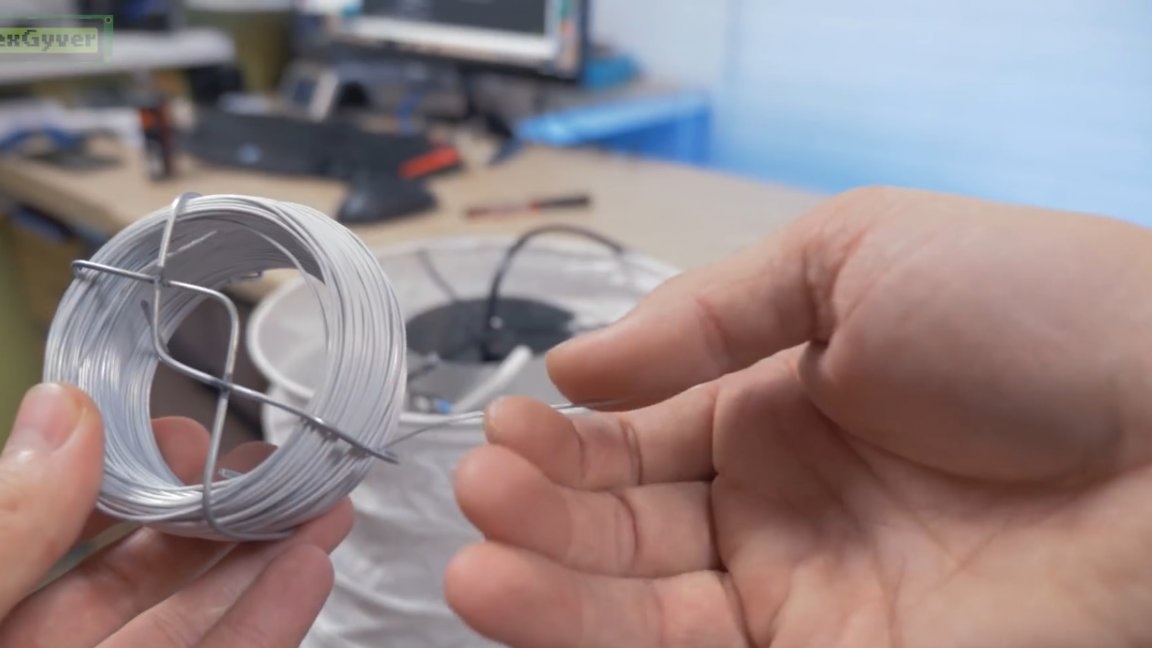
The bottom of the lamp is ready. Next, turn the product over and stretch the lampshade. We fix everything in the same way - file and fasten.
Next, cover the top of the lamp. A container with a lid would probably be the best option, but here you need to guess the size right.
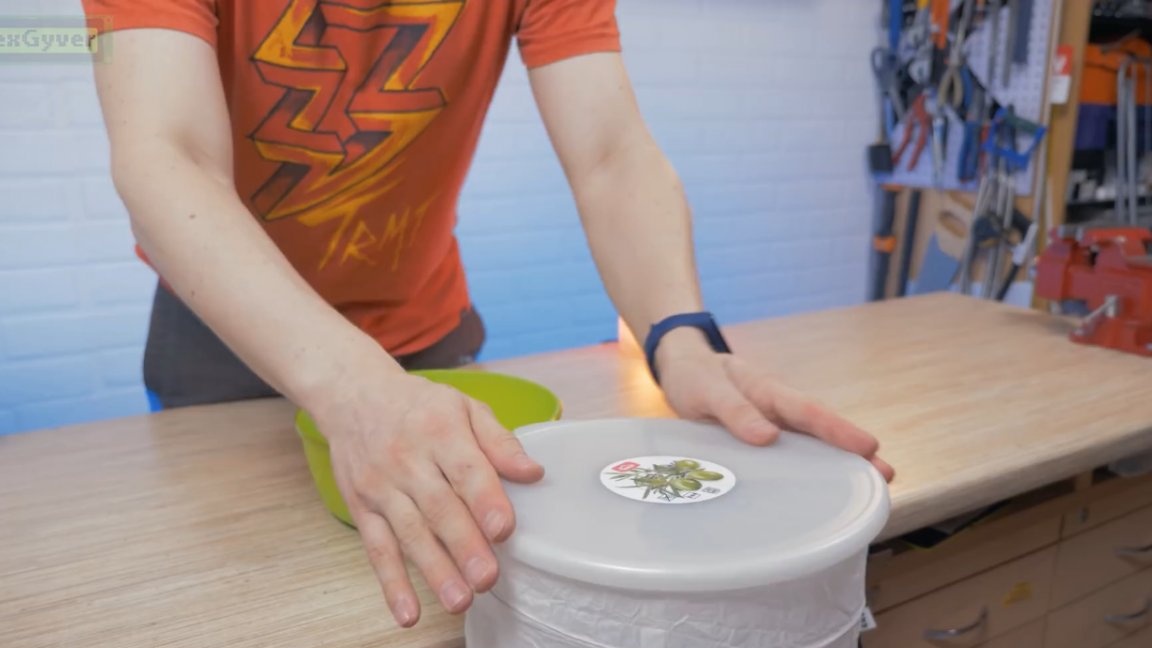
The cover from this salad bowl almost perfectly sat on the lampshade, you can glue it with glue and it will be fine.
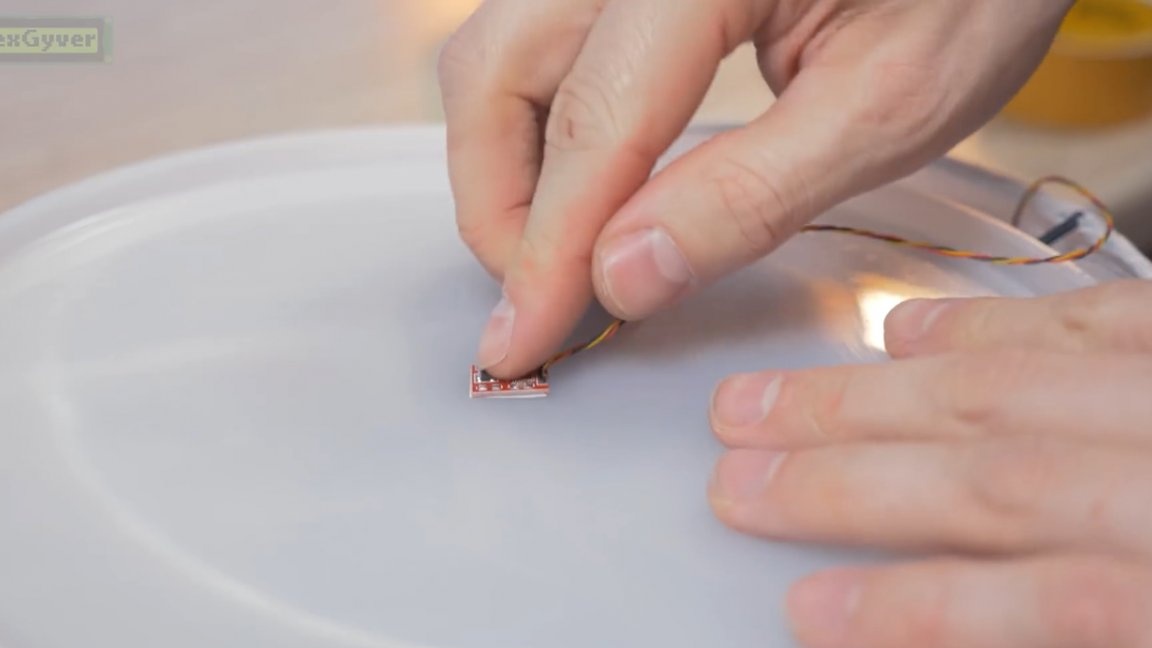
You can also add to the system, there is nothing complicated.
Fasten to double-sided tape and you're done.
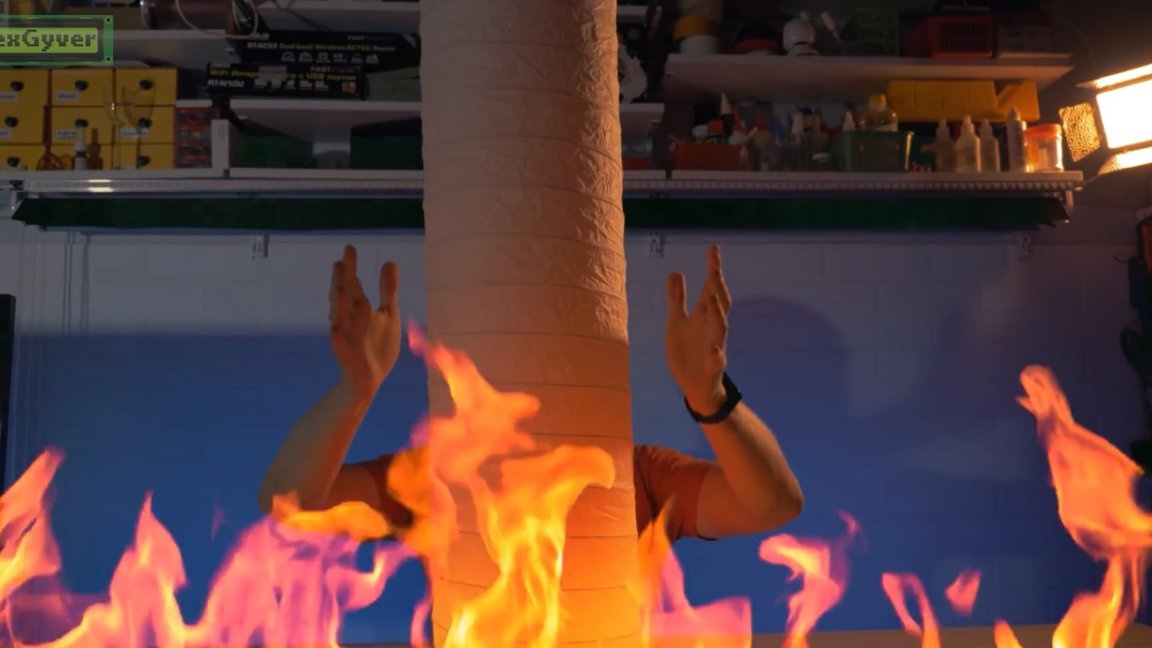
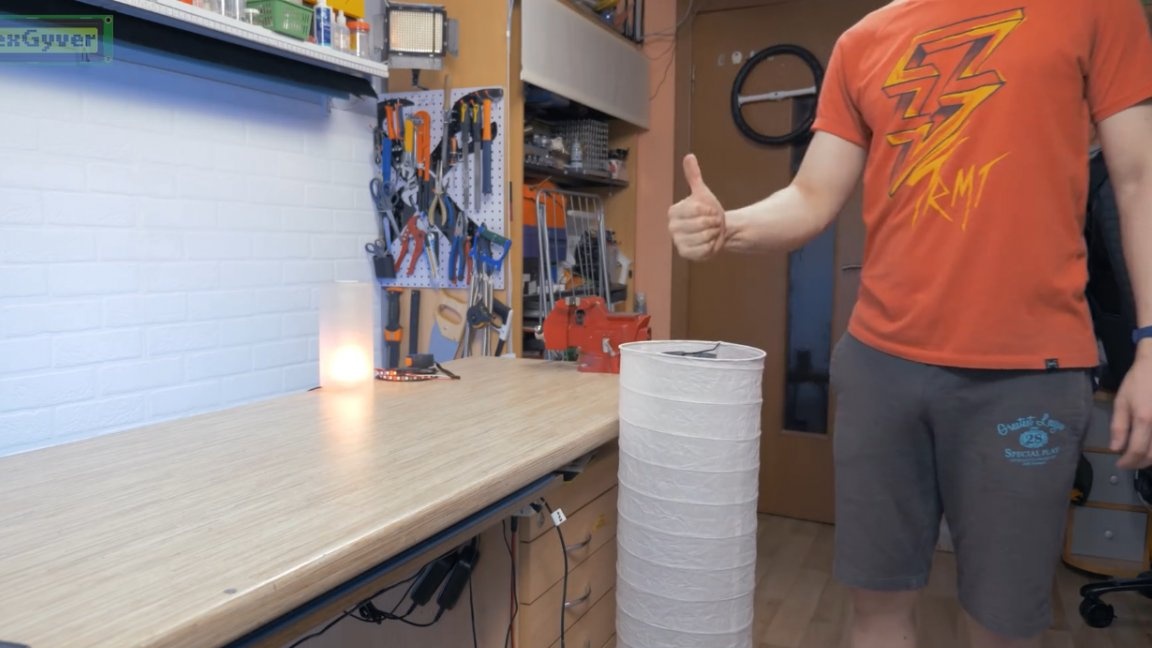
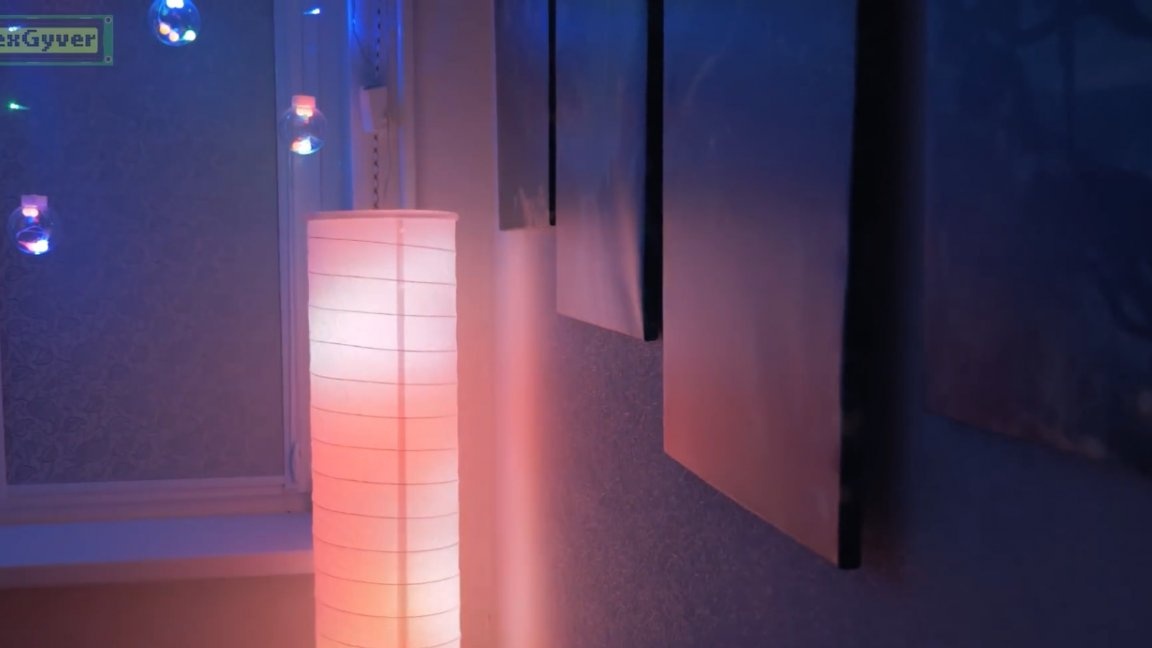
That's all, our epic fire lamp is ready!
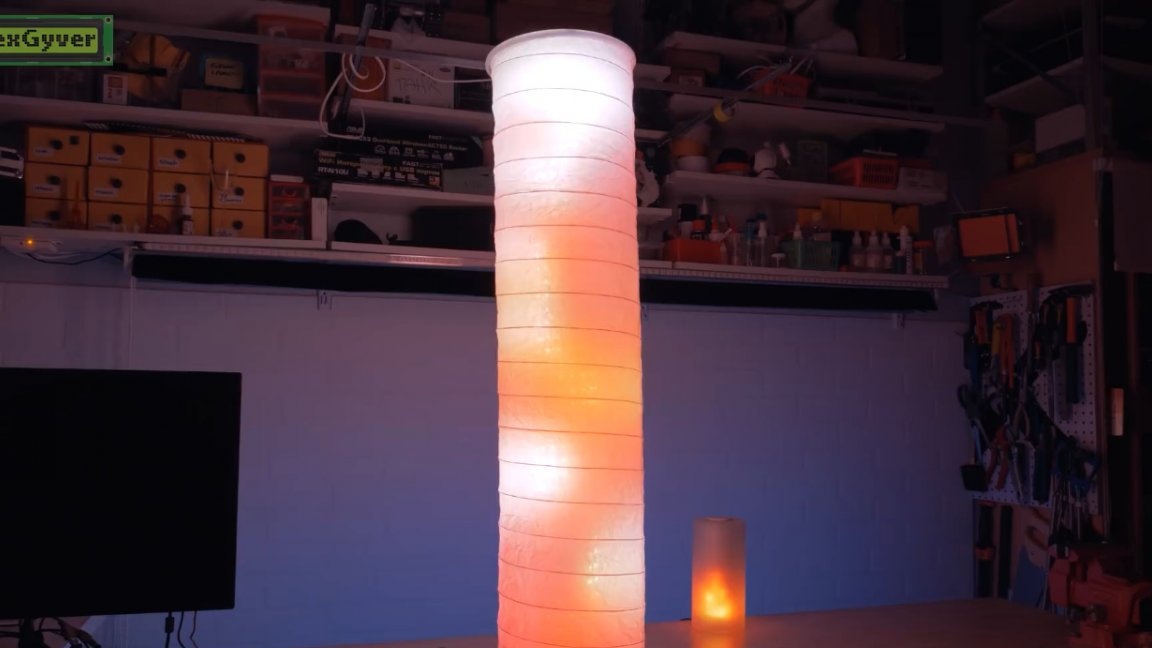
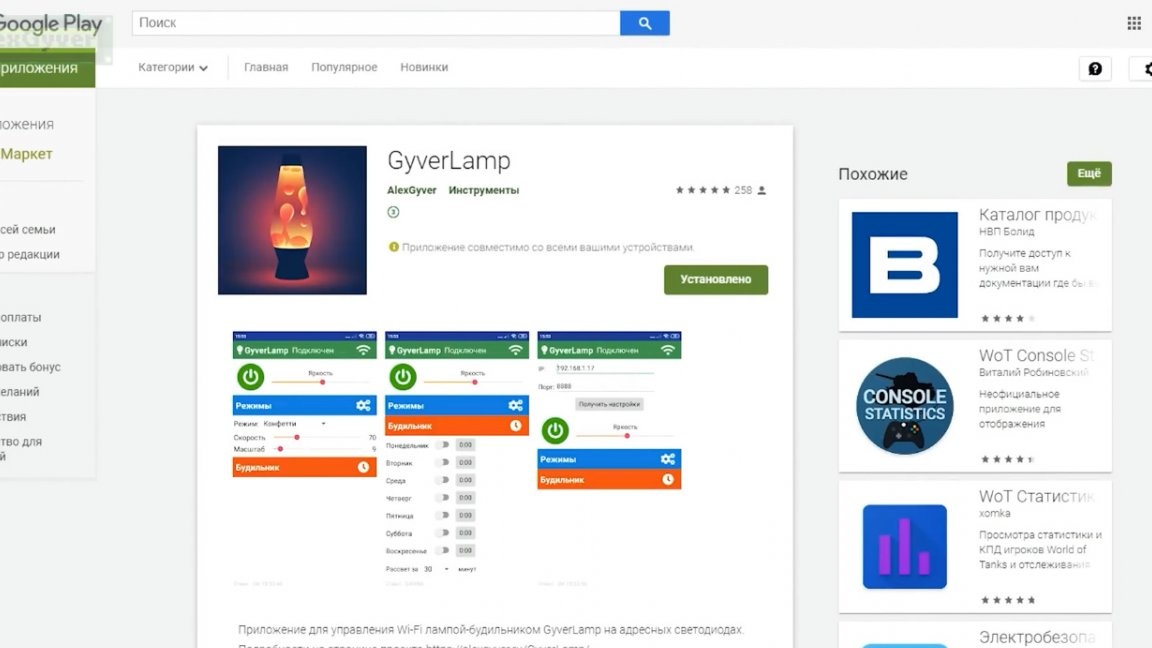
You can control the lamp through a special application that can be downloaded from the Play Market (for the Android system) and the Apple Store (for iOS).
For more details on the process of assembling, connecting and setting up the lamp, see the original Author’s video: