Surely almost every one of you loves beautiful furnitureespecially if it is made by hand.
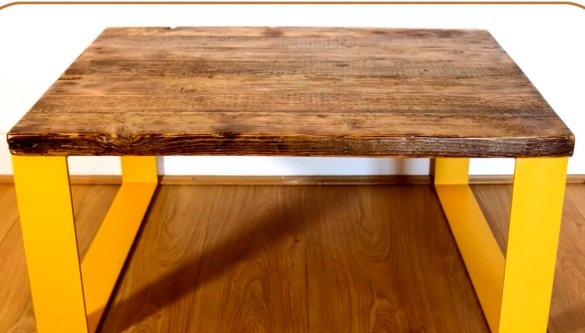
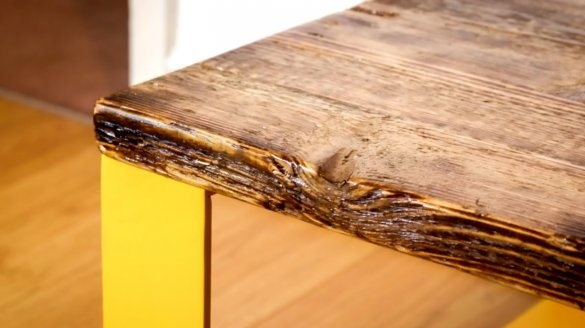
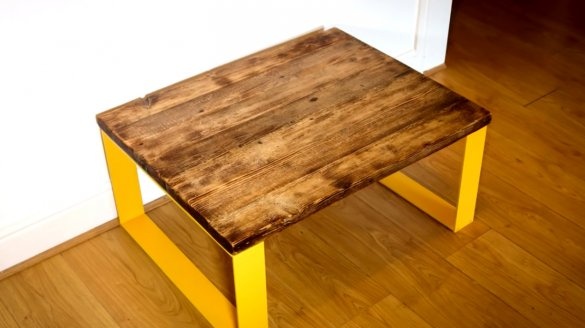
In this article, the author of YouTube channel “Rag 'n' Bone Brown” will tell you how to make a stylish coffee table with a countertop that has an old look.
Materials
- Old boards
— Steel wool
- Spray paint, clear varnish, wax
- PVA glue
- Wood screws, washers
- Sandpaper.
Instruments, used by the author.
— Screwdriver, step drills
— Miter saw
- Reysmus
— Gas-burner
— Orbital sander
- Workbench, joinery vise
- Hand planer, mallet, metal brush, brush
— Clamps or wimes
- Ruler, tape measure, square, pencil
Manufacturing process.
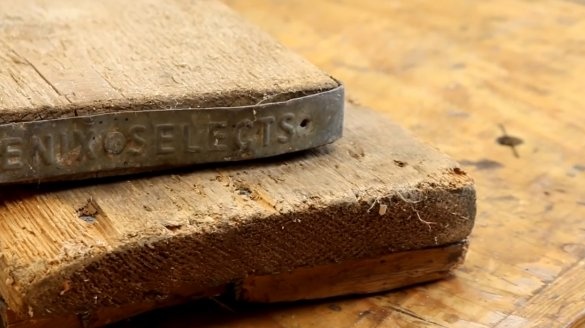
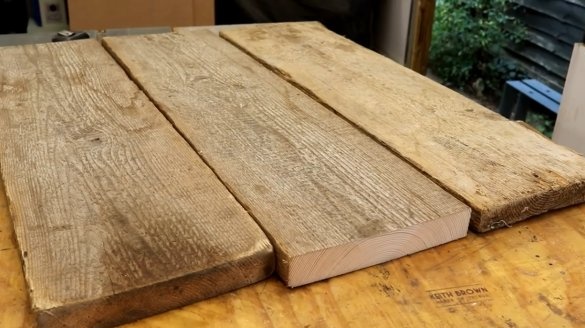
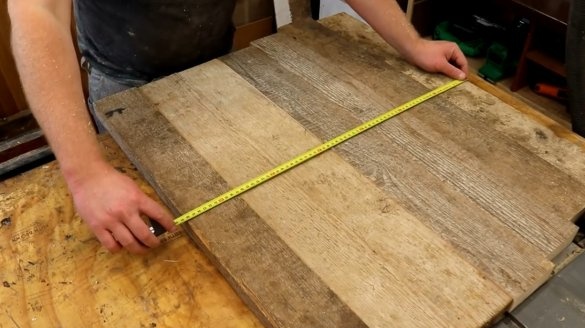
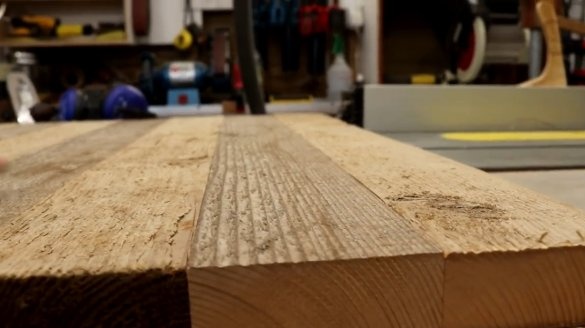
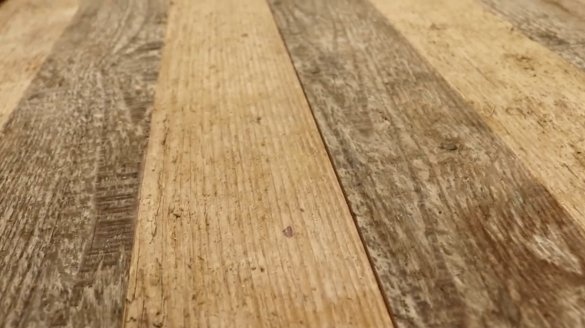
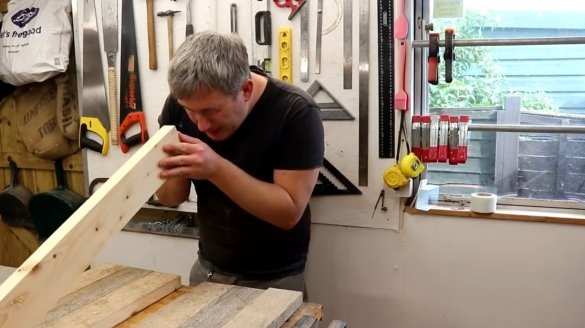
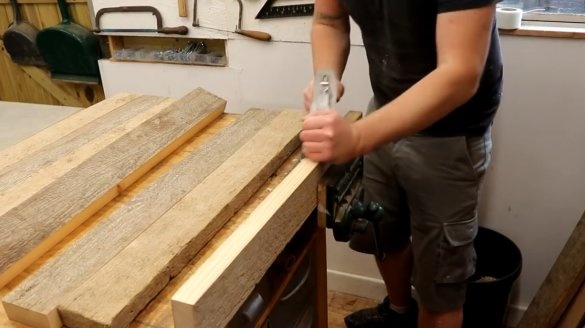
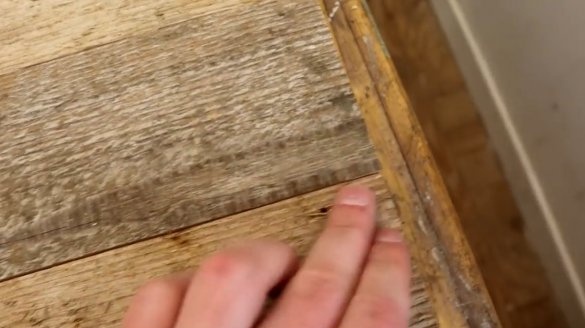
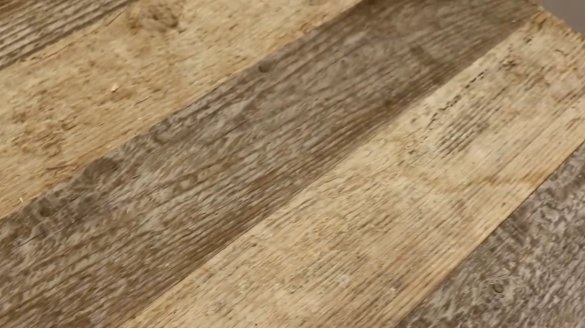
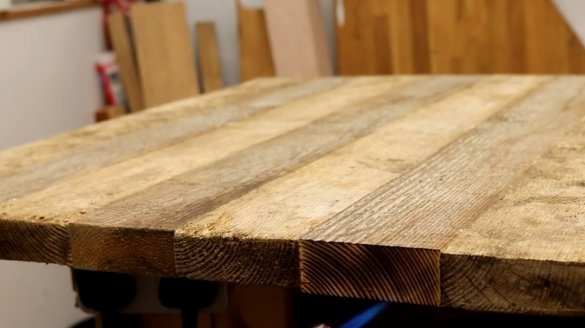
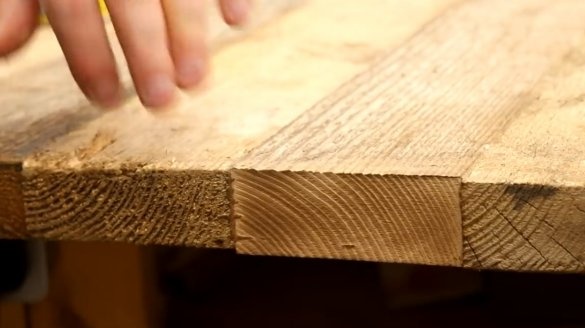
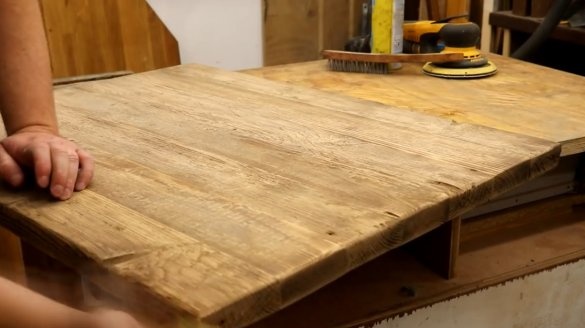
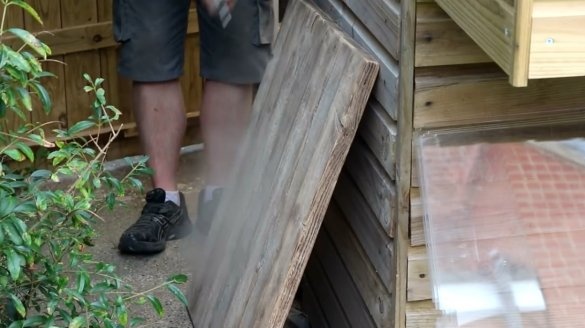
The worktop of this product will be made of old flooring boards. As you can see in the photographs, these boards have a rather outstanding appearance. They are worn out in order and traces of the impact of weather conditions are captured on them. Due to the constant moisture acting on them, the boards warped a little. But it is precisely such aged wood that attracts the craftsman, and when processing wood, he will try to preserve his character as much as possible.
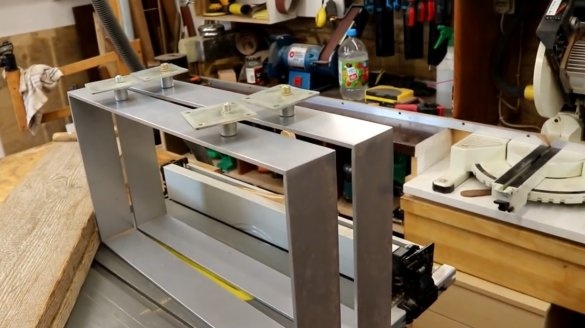
A pair of metal legs for a table was bought in advance. They have these adjustable dividers. But the author refuses them, because from his point of view, they impede the free expansion and contraction of a composite wooden tabletop.
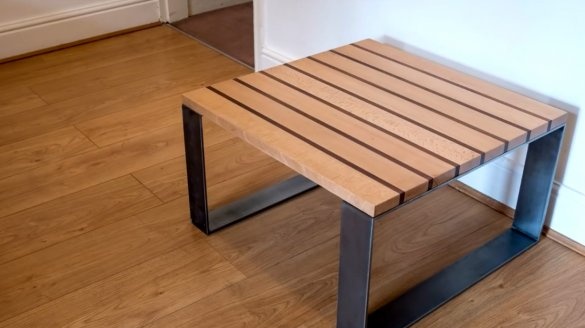
Previously, the master already made a similar table, but he does not have such a charm.
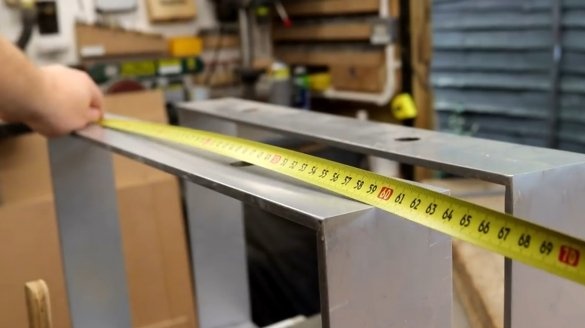
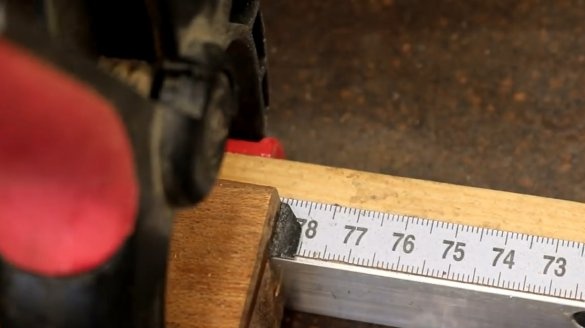
The legs are 600 mm long. Therefore, just such a width will be the countertop.
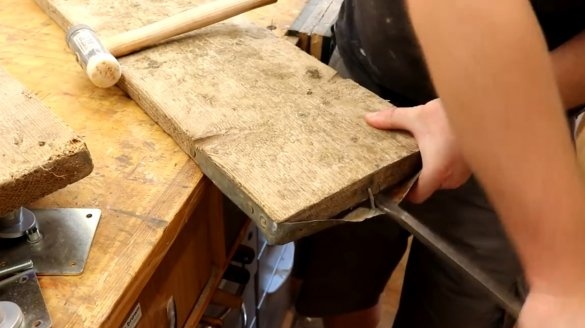
The first step removes all unnecessary parts from the boards: fragments of old planks, nails, steel tapes.
At this stage, it is extremely important that there are no fragments of nails left in the wood, otherwise when cutting material, you can not only ruin the tool, but also get injured. This can be verified by simple multifunctional building metal detector.
As a result, the length of the boards was 1,600 mm.
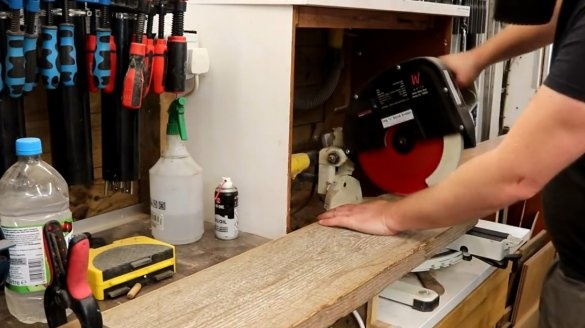
On a miter saw, the author cuts one end of the board, and then cuts it into two blanks with a length of 780 mm. The second board is also processed.
Next, you need to remove the curvature of the boards.Typically, the deformation of the material is removed by leveling the surface of the board with a surface gage. During processing of the lower surface of the board, its desired thickness is set. However, in this case, if the author resorts to such a proven method, the boards will lose their unique character.
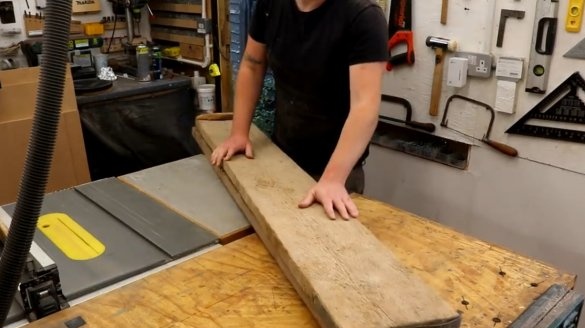
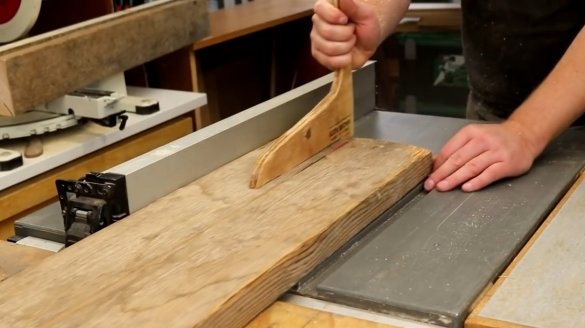
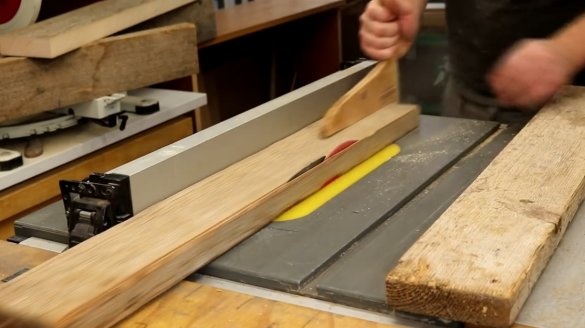
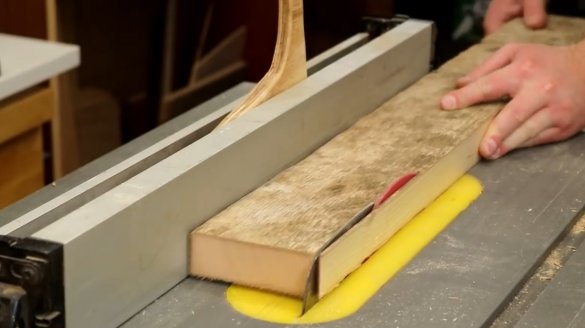
Then he decides to use one trick: on a circular saw, he cuts the boards in half.
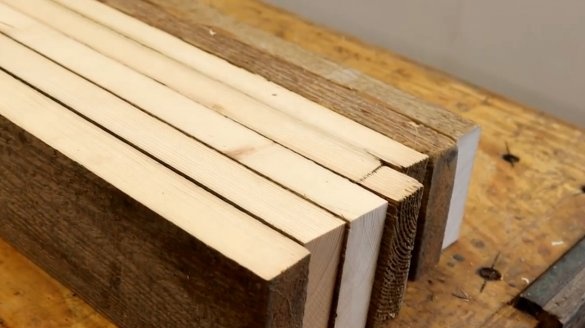
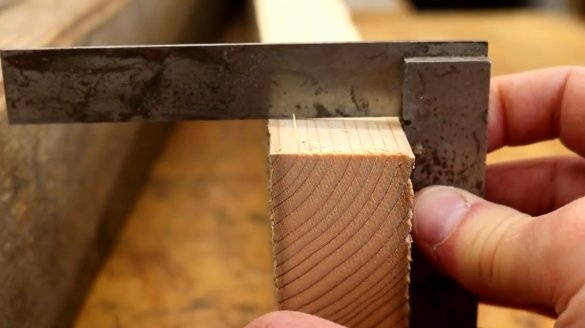
Then he makes a series of cuts from the edges of the boards, until the edges have acquired a perfect right angle. At the same time, he left one edge untouched. It will make the side faces of the countertop.
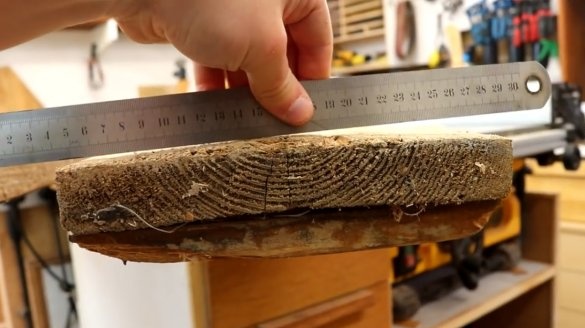
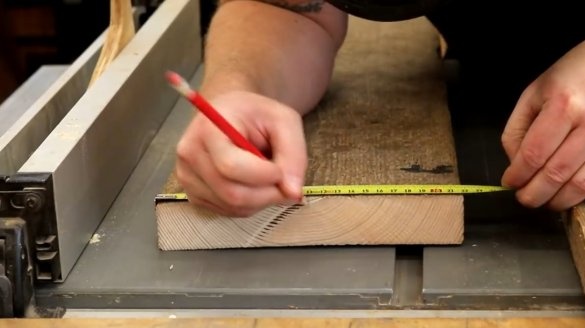
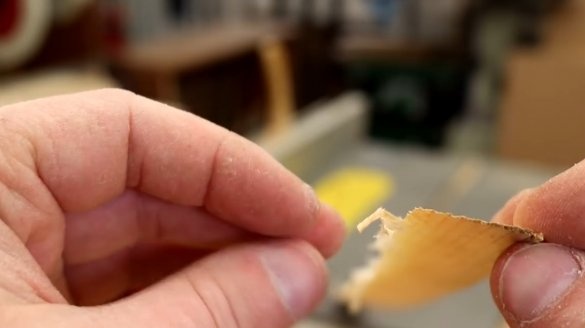
Now the wizard checks how straight the edges are. And again, processing on a circular machine is needed. On a thin section of the material, it is noticeable that the edge had a somewhat wedge-shaped shape, but this has already been eliminated.
Further, the author lays out the boards, as a result of their total width is the required 600 mm.
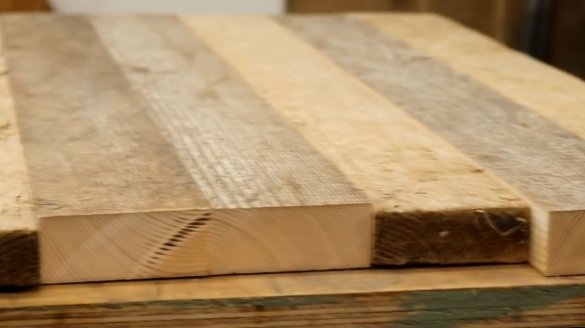
It turned out that some of the boards were slightly thicker than others, literally a couple of millimeters.
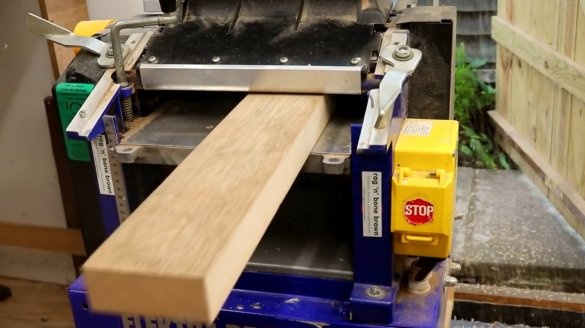
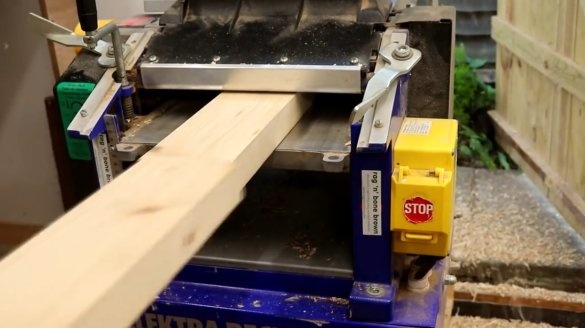
The author selects thick boards and adjusts their thickness to the necessary, passing them through the thicknesser, processing only one side. In the future, these freshly processed surfaces during the assembly of the countertops will be turned down so that they are not visible.
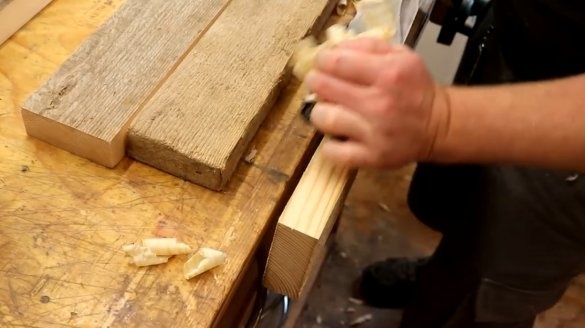
In order to adjust the planks to one another, the author cleans the edges of some of them with a manual plane.
Now the perfect fit!
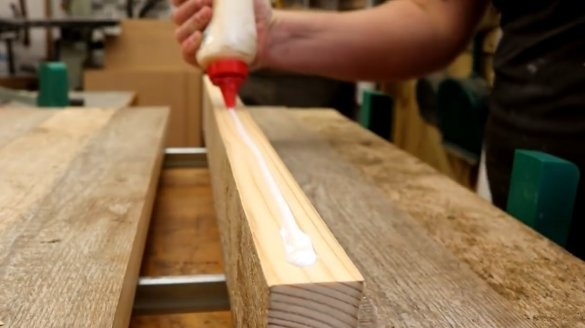
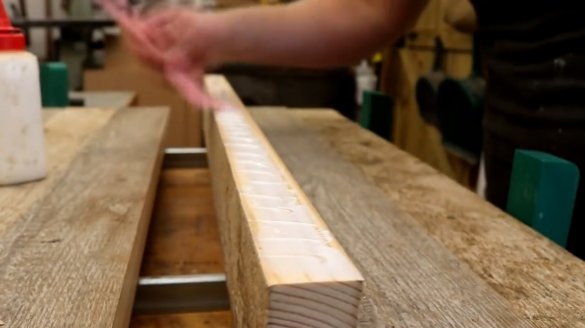
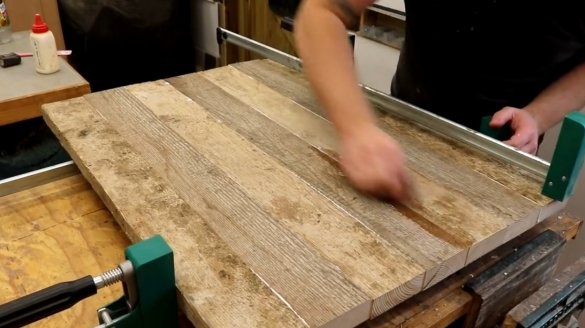
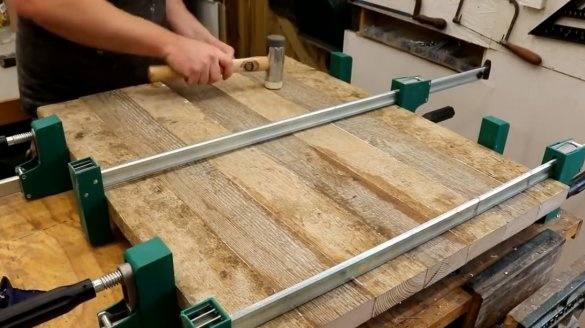
Long clamps are used to glue all the boards together into a single unit. Of course, it is better to use hems for gluing wooden boards, they clamp the boards on both sides at once. The master carefully exposes all segments of the future countertop in a single line. With a damp rag, the author removes the exposed glue.
Additionally, two clamps are superimposed on top. Then, with a mallet, the author knocks out some of the planks so that they sit flat among themselves, forming an even surface. After that, the clamps tighten as much as possible.
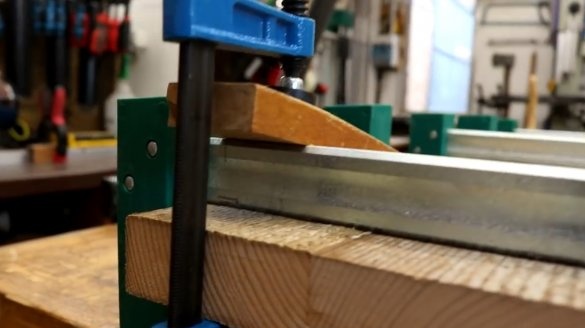
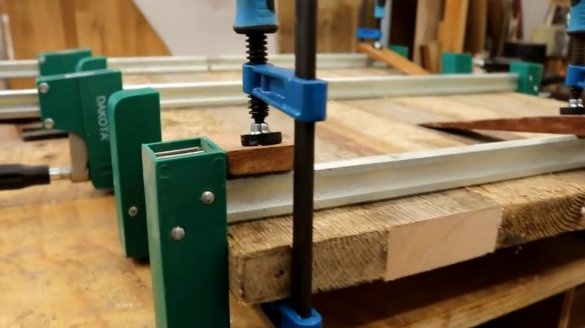
In order for no board to lag behind the others, neighboring ones, a couple more F-shaped clamps had to be installed, and several wedges pressing the boards closer to the middle.
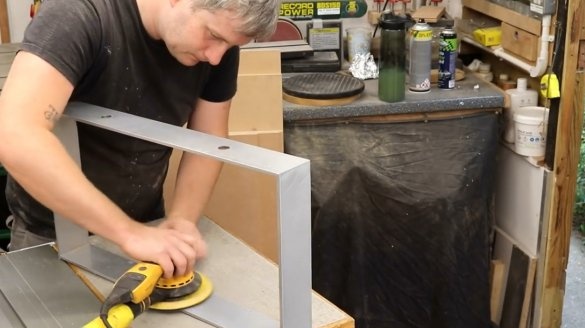
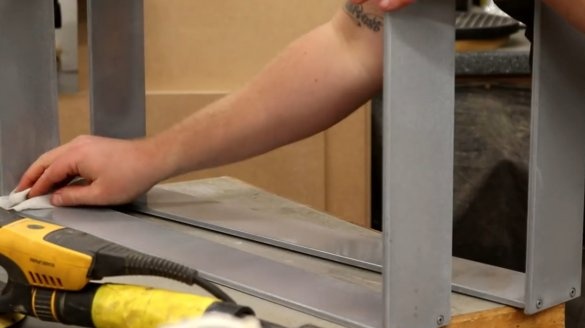
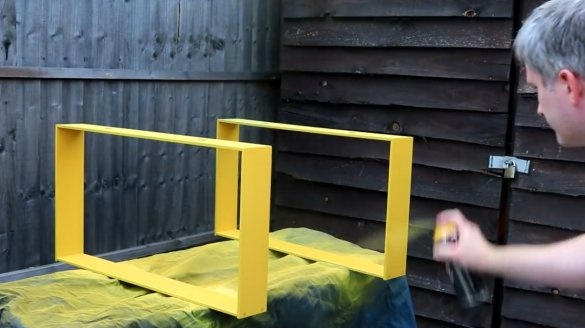
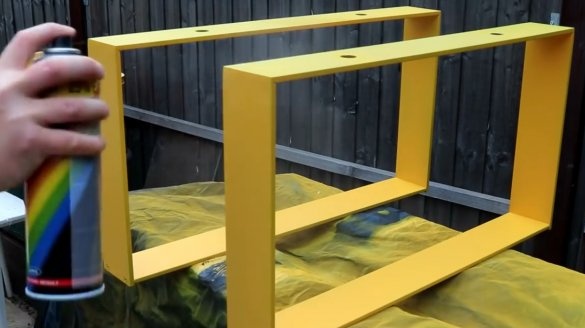
Now comes the next stage - the legs. The craftsman decides to paint them in a bright tone, for example, in mustard yellow. To do this, he first strips all surfaces of the legs with an orbital machine with 240 grit sandpaper to ensure better paint adhesion to the metal.
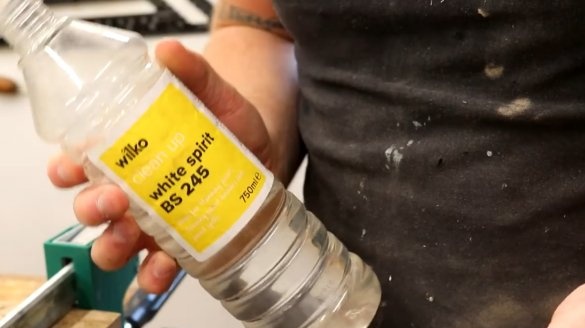
Then he wipes all surfaces with white spirit to degrease them.
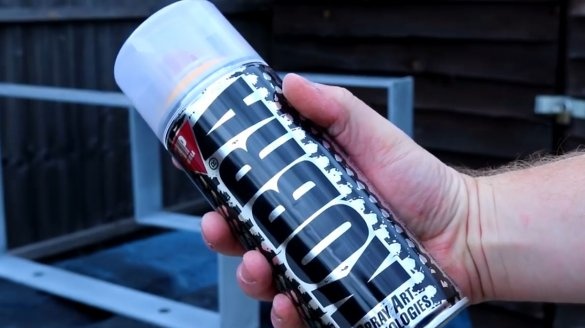
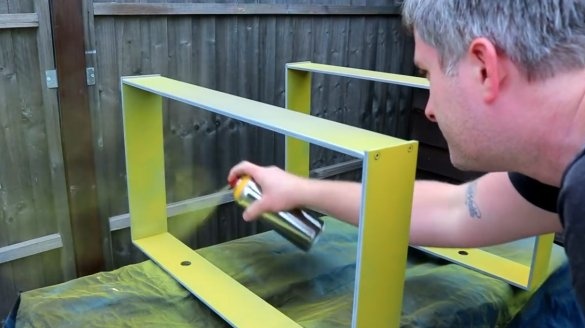
After that, he successively applies two layers of spray paint, making an hour interval between each layer.
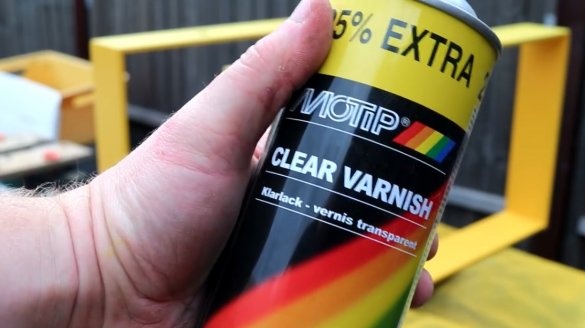
The last layer is applied a transparent protective varnish. Now the legs are a contrast to the countertop itself, made of aged wood. This is the author and sought!
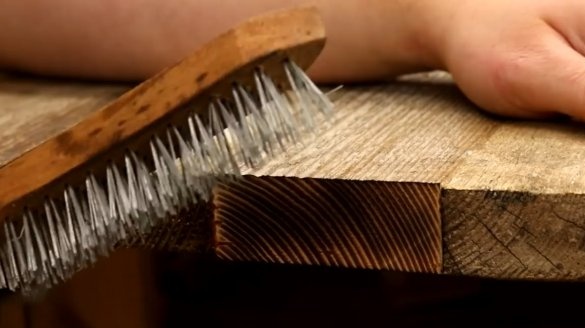
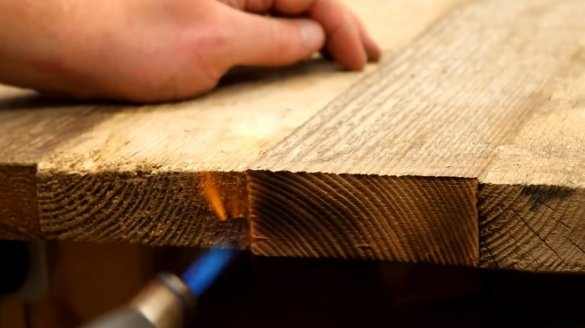
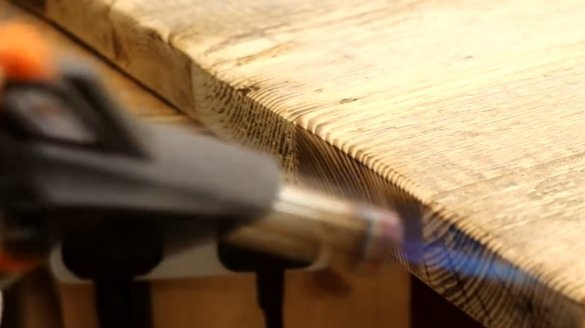
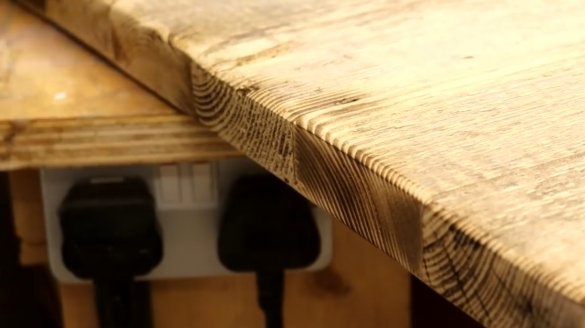
So that the edges of all planks have the same texture, and wood fibers are better manifested on them, the master performs the brushing technique.
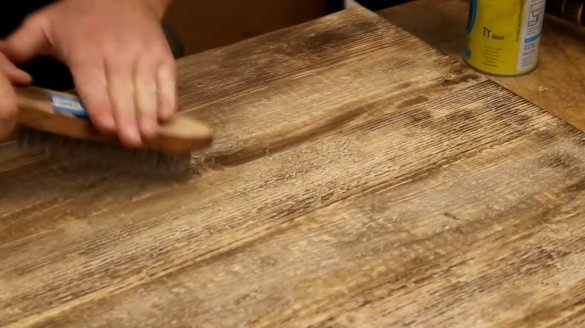
First, it passes through the ends of the flame of a gas burner. Then the slightly charred wood is treated with a wire brush.
The whole procedure is repeated several times until the desired effect is achieved.
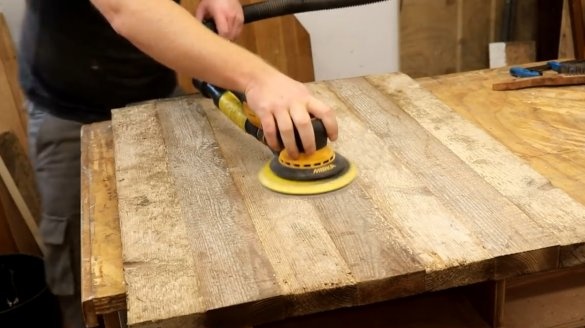
Next, the countertop is sanded with 80 grit sandpaper, the edges are slightly rounded. The master tries to remove all exfoliated pieces of wood, but at the same time maintain the original aged appearance of the boards.
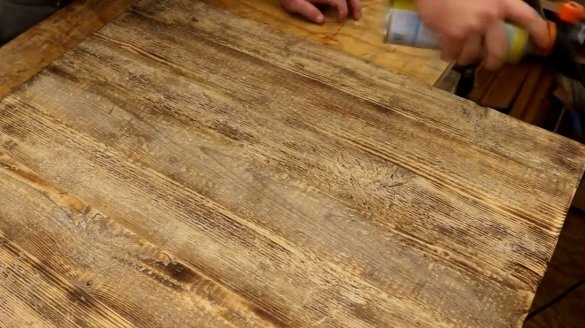
Then the author walks slightly with a gas burner over the entire surface of the countertop, mainly in order to slightly restore the saturated color of the wood lost due to grinding.
The whole charm of this method is that if you went too far and darkened somewhere more than necessary, you can always fix things with a wire brush, but now you should press it with a little effort.
Finally, the author goes through 120-emery paper. This is the finish.All dust formed is carefully removed pneumatically.
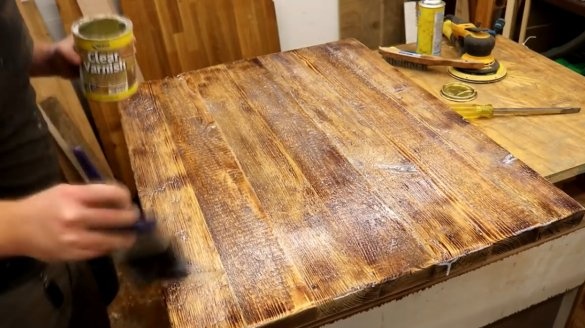
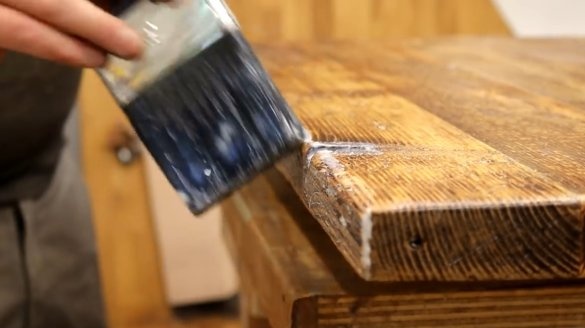
Now it remains only to apply several layers of varnish to the surface. The author uses water-based varnish so that pine wood does not change its original color, which happens when applying oil-based varnish.
Only two layers of varnish.
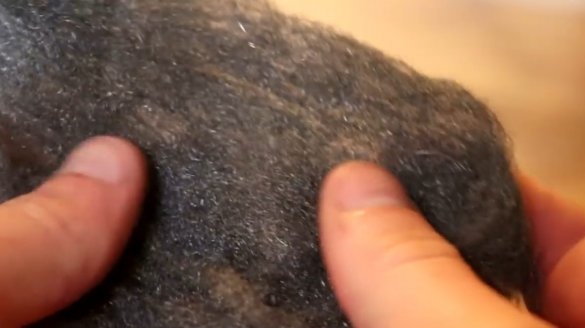
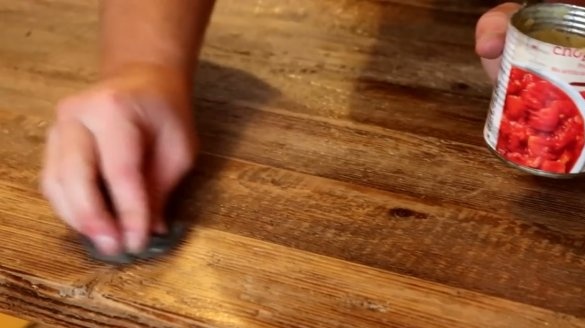
The surface turned out to be somewhat glossy, which is not desirable. Therefore, the master walks along it with a steel wool washcloth. Then rubbed the handmade wax paste.
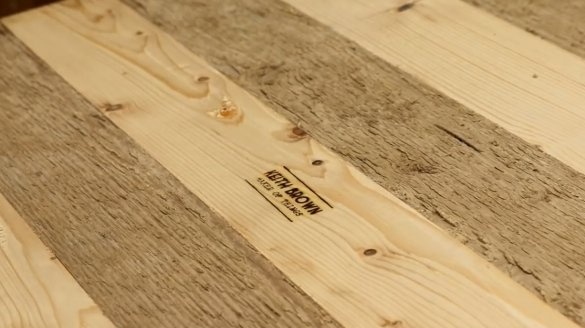
On the bottom of the countertop, the author puts his own brand name.
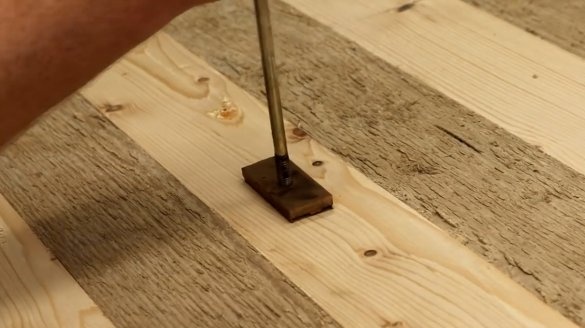
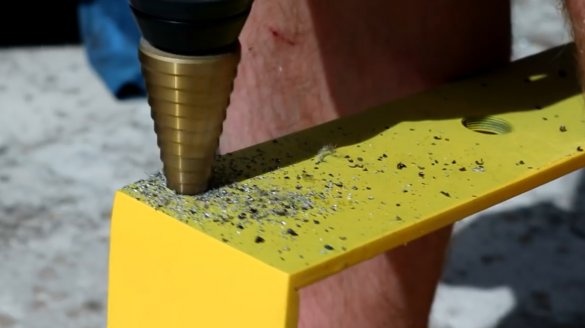
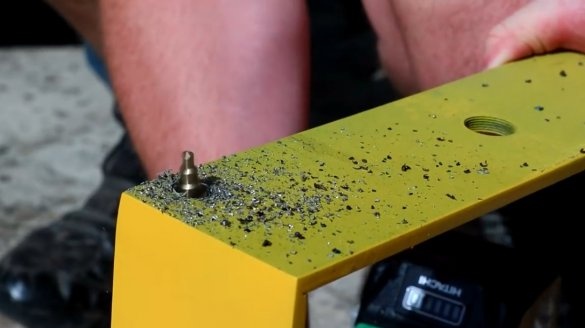
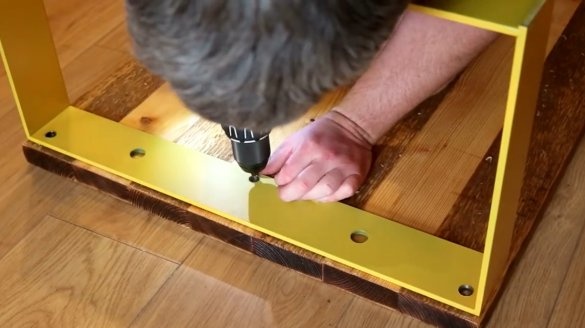
The next step is to connect the legs to the table top. To do this, the author drills several holes in the metal using a step drill. He makes the holes wide enough to allow the tree to expand and contract depending on seasonal fluctuations in humidity and temperature.
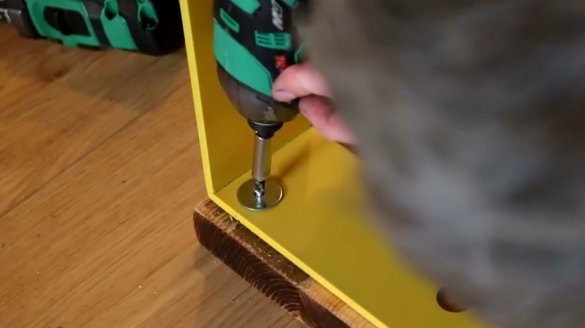
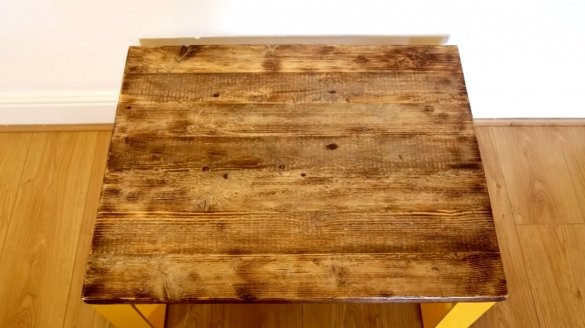
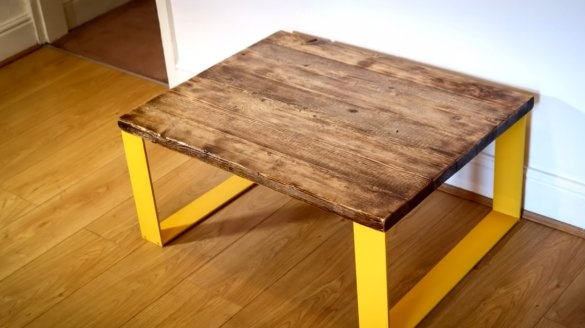
The legs are fixed on the countertop using several screws and washers. And now the table is ready! The whole project took only 5-6 hours!
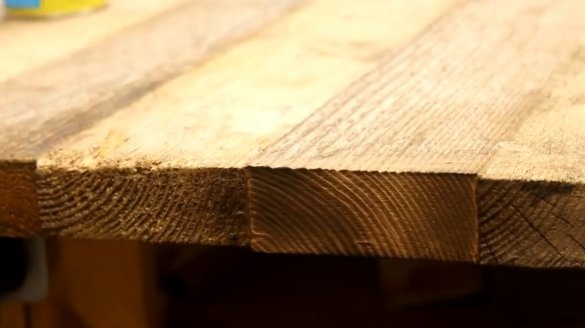
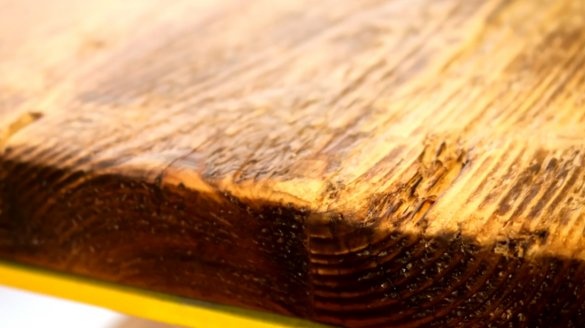
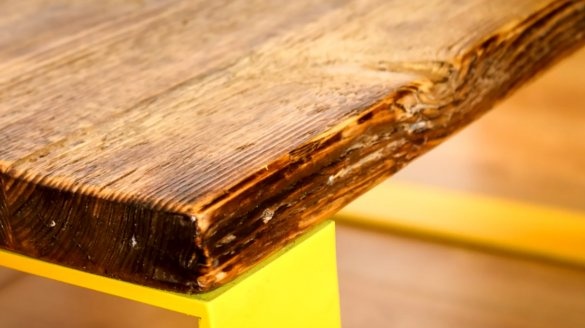
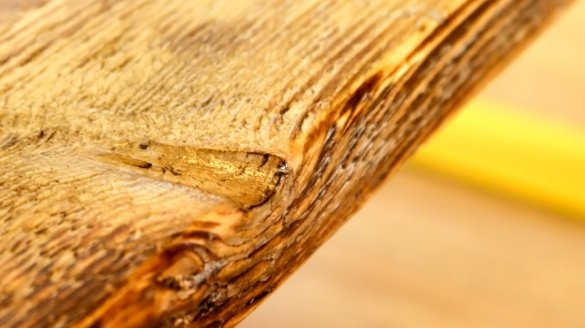
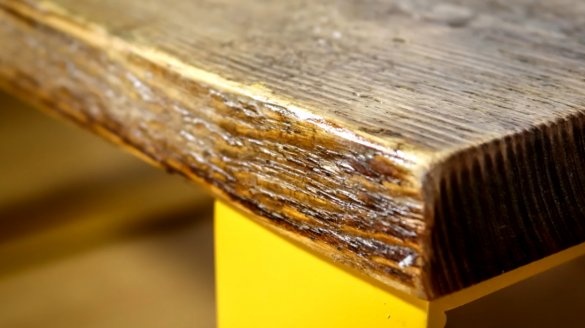
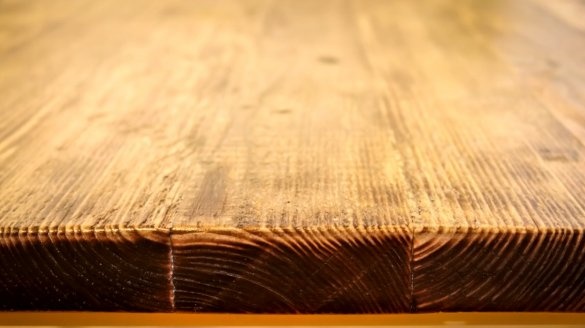
Here is a texture resulting from the application of this technology.
The aged tree looks very elegant, and the yellow paint on the legs gives the table a more modern look.
I thank the author for an interesting technology for processing aged wood!
Author video can be found here.

