
Hello friends the inhabitants of our site. Today in the article we will describe in detail how to make a very interesting homemade product. Namely, today we will assemble a compact and very simple circular saw. Surely each of us has ever needed a tool like a circular saw. For the sake of some small home tasks, of course, no one will buy a circular saw. But still with it it will be much easier to cut the blanks into flat objects, for example, for box for potatoes. So the homemade product will consist of the most improvised tools and materials, so everyone can assemble it, possibly even without spending a dime on it. Well, well, I think you should not delay with a long introduction, they drove.
You can find links to some components of the design at the end of the article.
For a simple circular saw you will need
- Brush motor
- A small piece of plywood (or any other similar material)
- A piece of PVC pipe
- Adapter for cutting blade
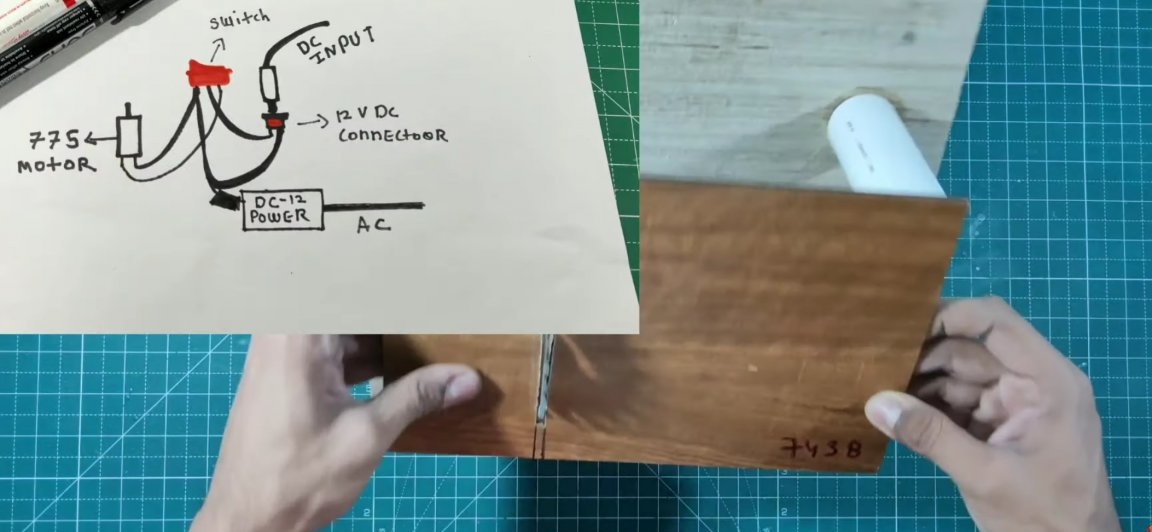
- switch
- DC power supply for 12-24v
- A couple of whetstones
- fiberboard
- Metal plate
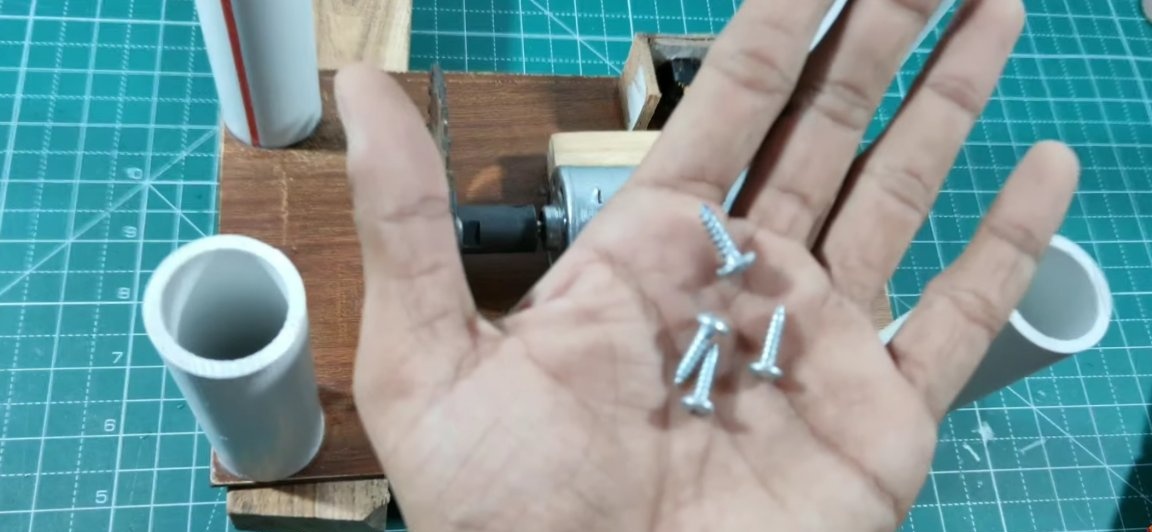
- Self-tapping screws
- Socket and power connector
Of the tools also needed.
- Drill with drills
- Hacksaw
- marker
- Ruler
- Super glue
- Hot glue
- screwdriver
- Sandpaper
- Soldering iron and soldering accessories.
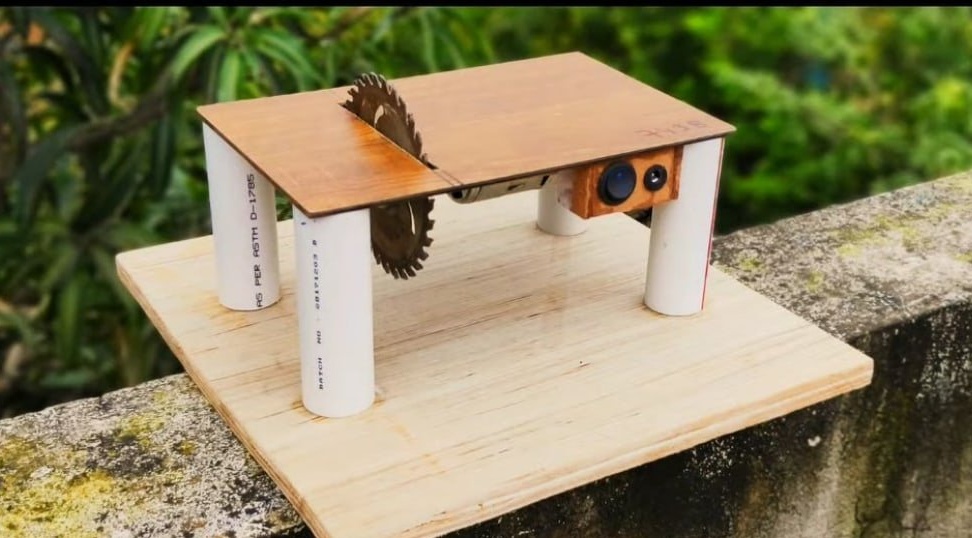
Production of the simplest compact circular saw.
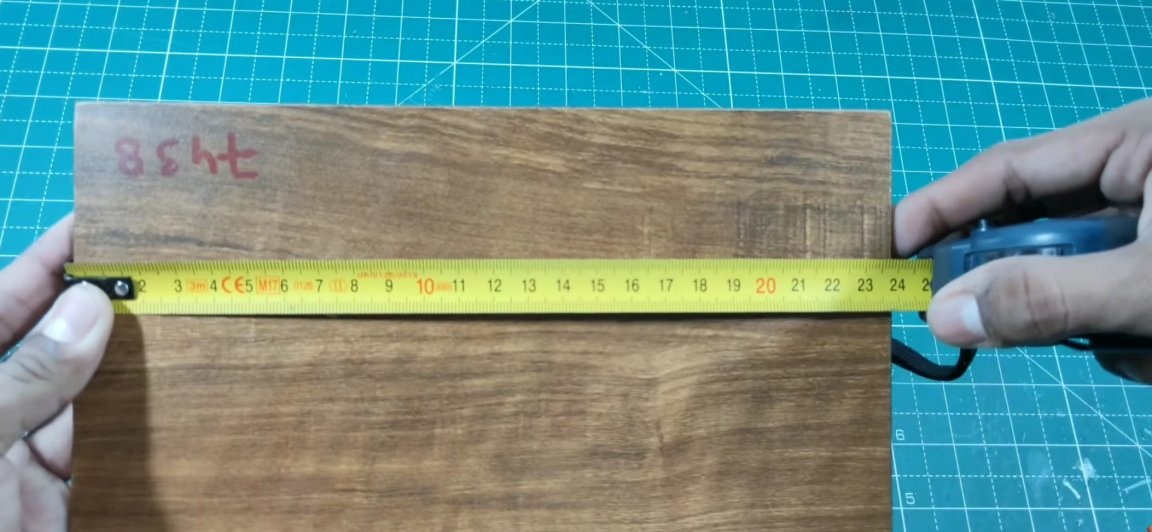
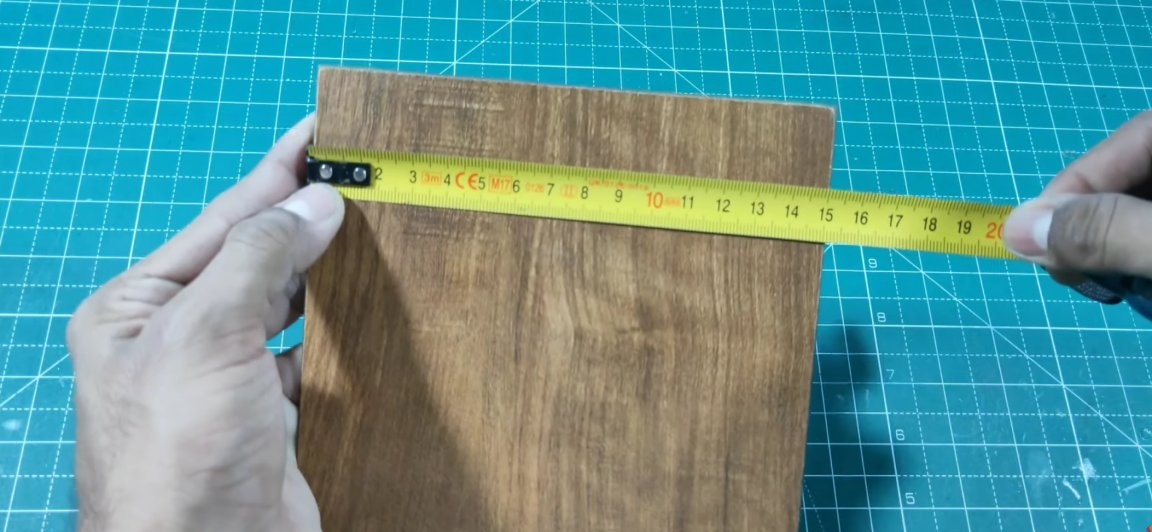
First you need to make a base (table), to which we will continue to mount the electric motor with a cutting disc. To do this, you need to take plywood and cut from it a rectangle with dimensions of 24 by 15 cm. The dimensions of this base can be arbitrary, it all depends on specific tasks. It should be cut with a hacksaw for metal, in order to get the most accurate cut.
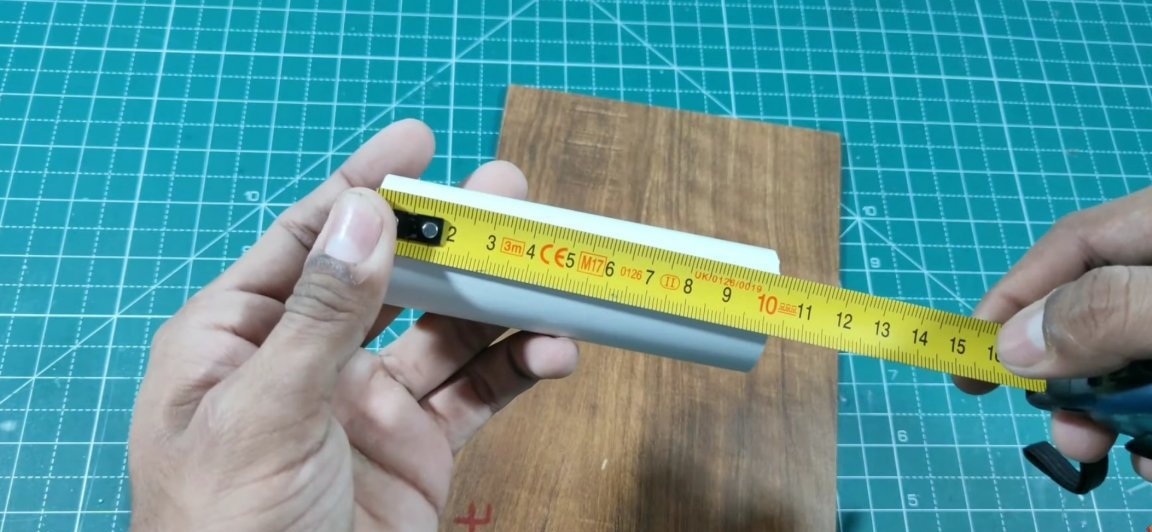
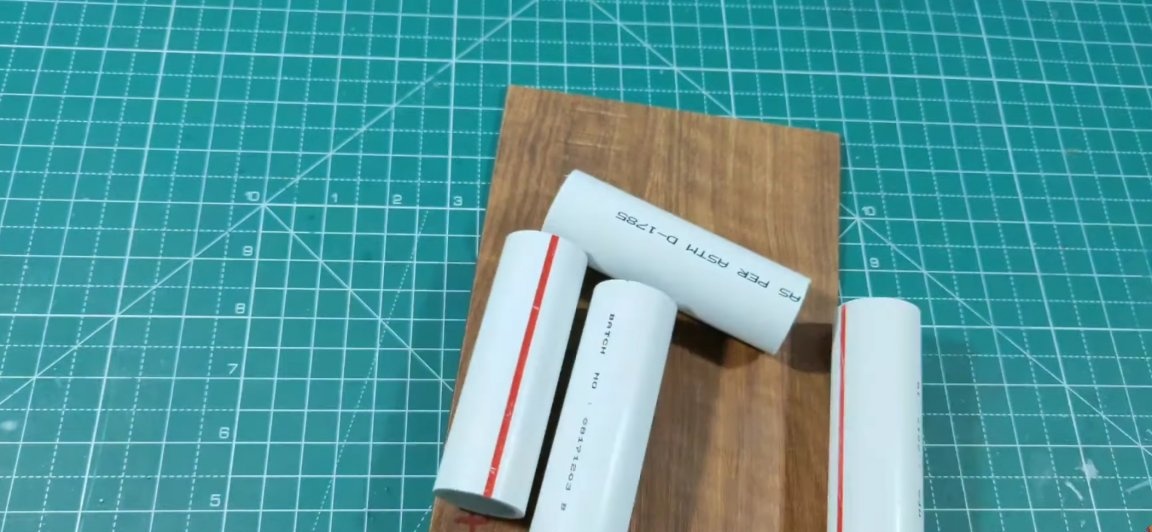
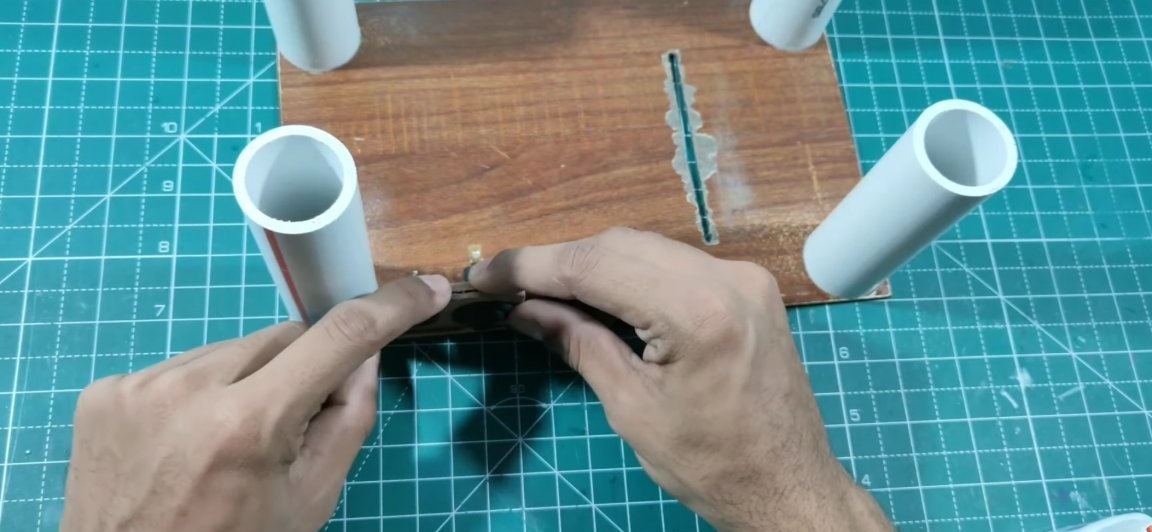
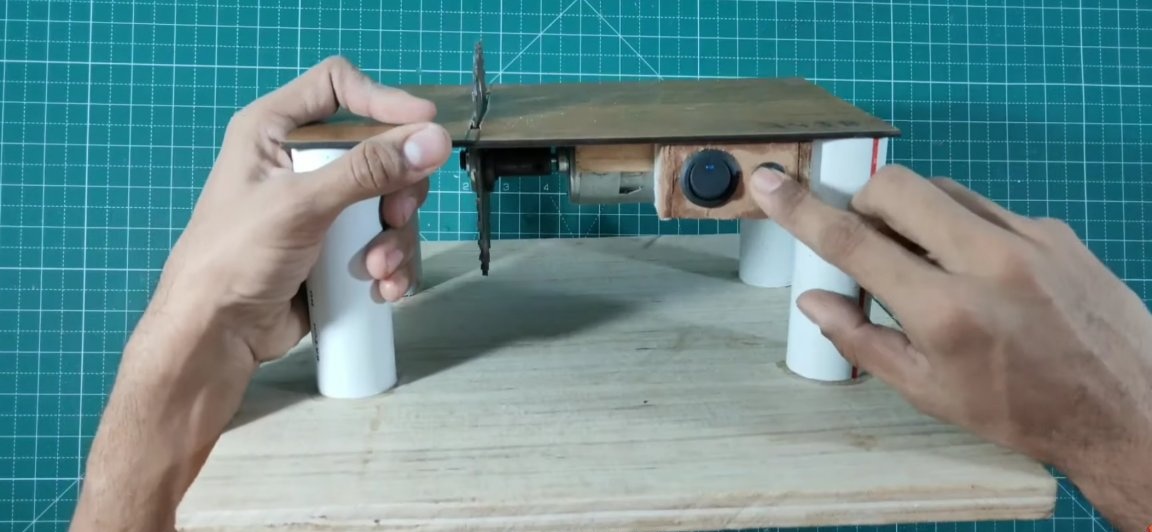
After that we will make legs for this table. The legs themselves will be made of a suitable PVC water pipe in diameter. To do this, take a pipe and saw off from it 4 segments, each length should be equal to 10 cm.
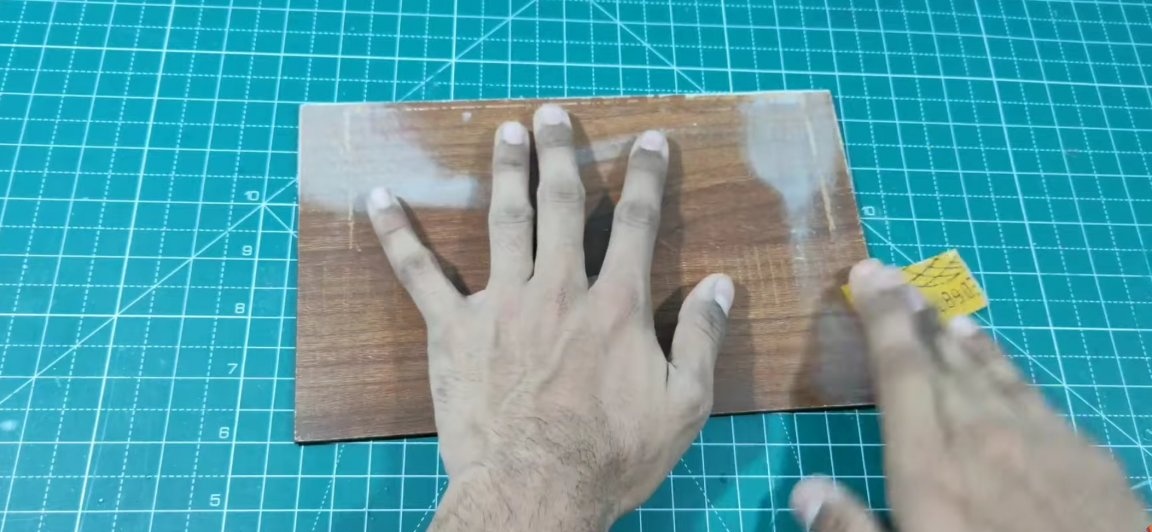
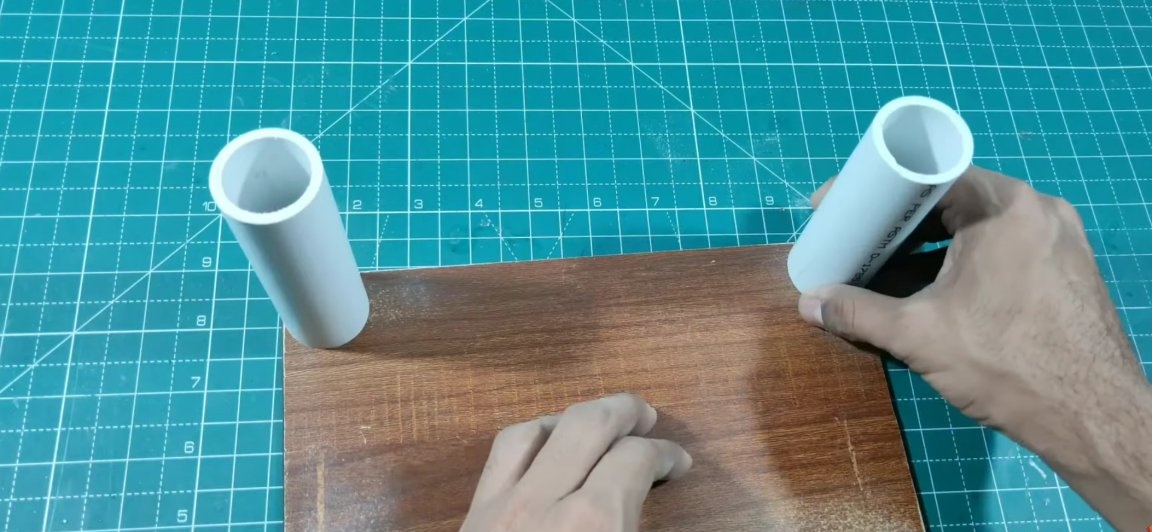
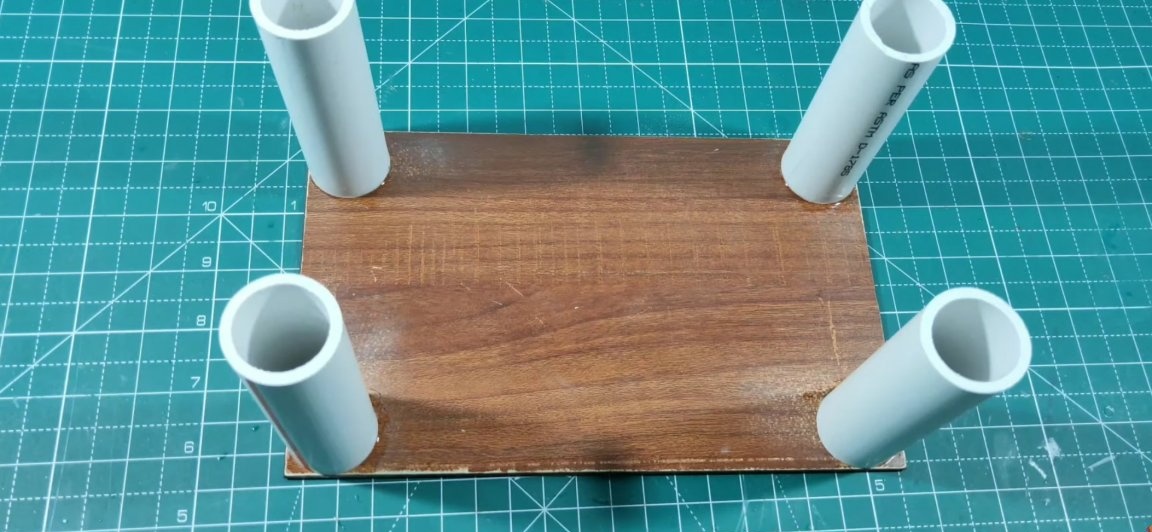
Then, the freshly prepared legs should be glued to the table, But before gluing the parts, for a more reliable connection of the elements, the following should be done, namely, sanding the places of gluing with sandpaper (see photo).Only then stick the PVC legs to the plywood, first using superglue, and then further strengthening this connection with hot-melt adhesive.
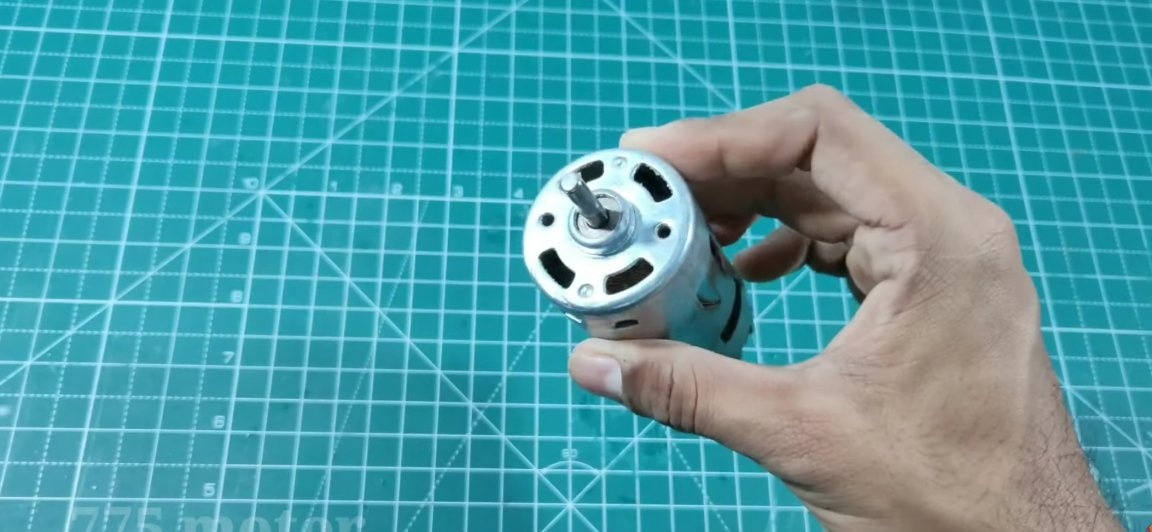
The next step will require an electric motor, but before using it, let's make a choice. The electric motor should be taken in class 775, since it is precisely this type of motor that is usually used on most types of power tools. It should be noted that it is advisable not to save on the engine, but to take a good and high-quality electric motor, the shaft of which will not be mounted on the bushings, but on the bearings. Such an engine will last you longer and over time, unnecessary vibrations will not appear.
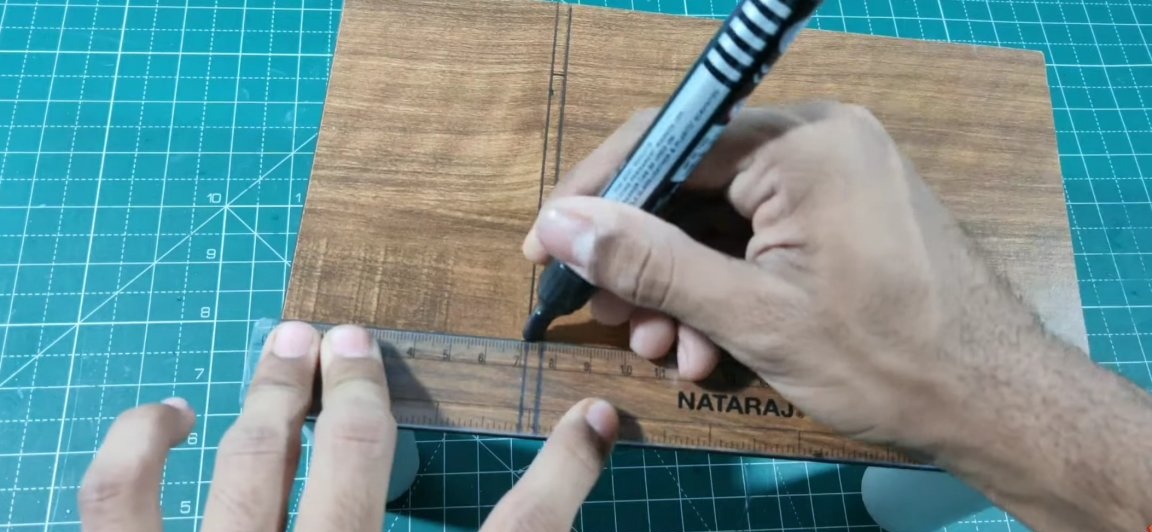
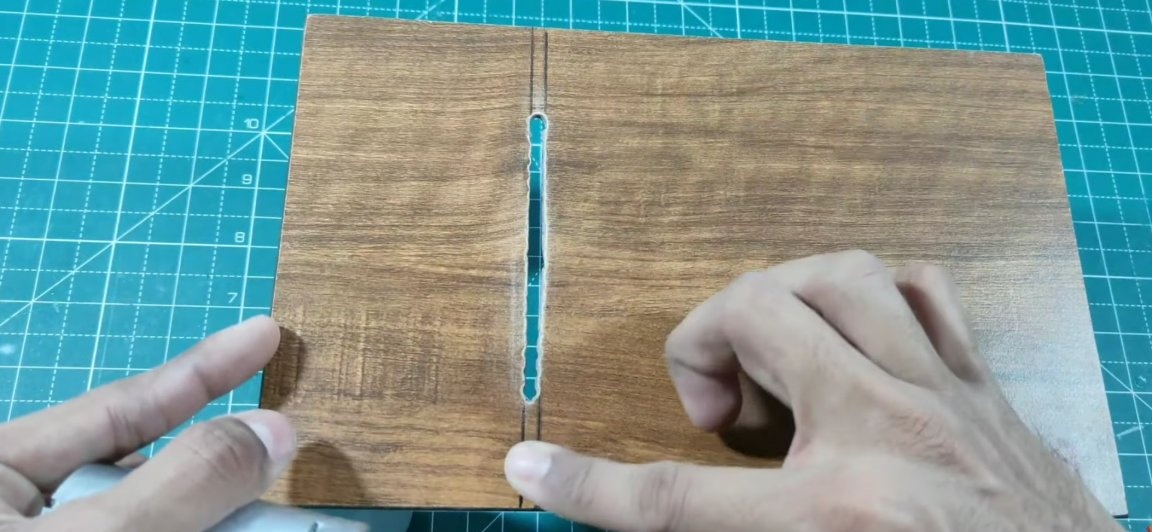
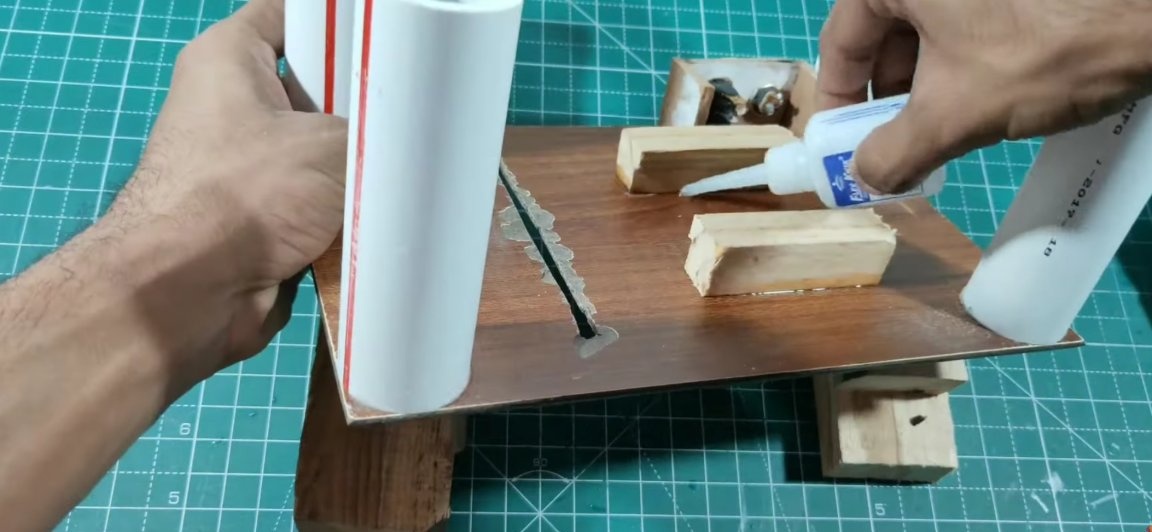
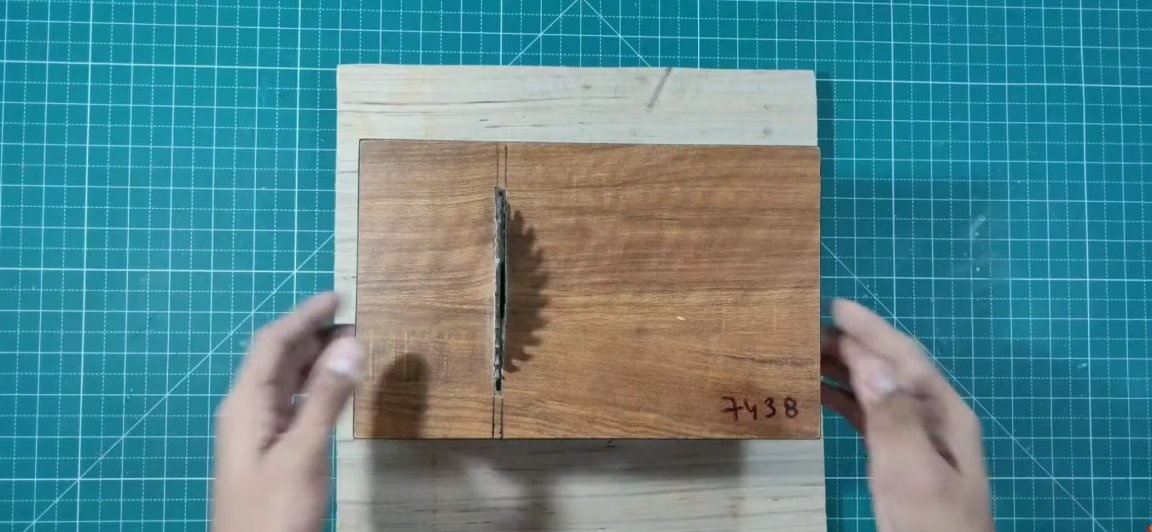
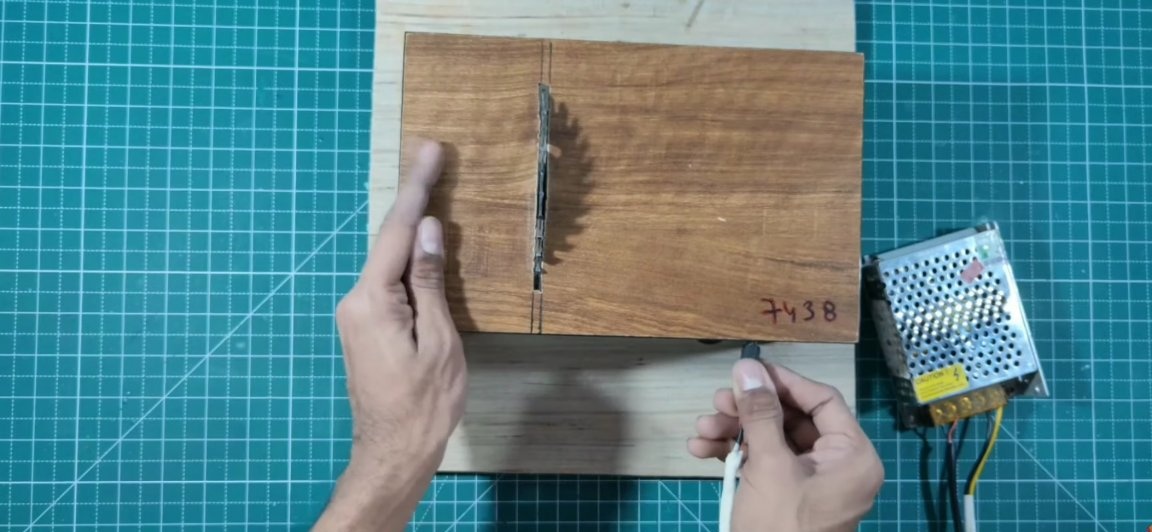
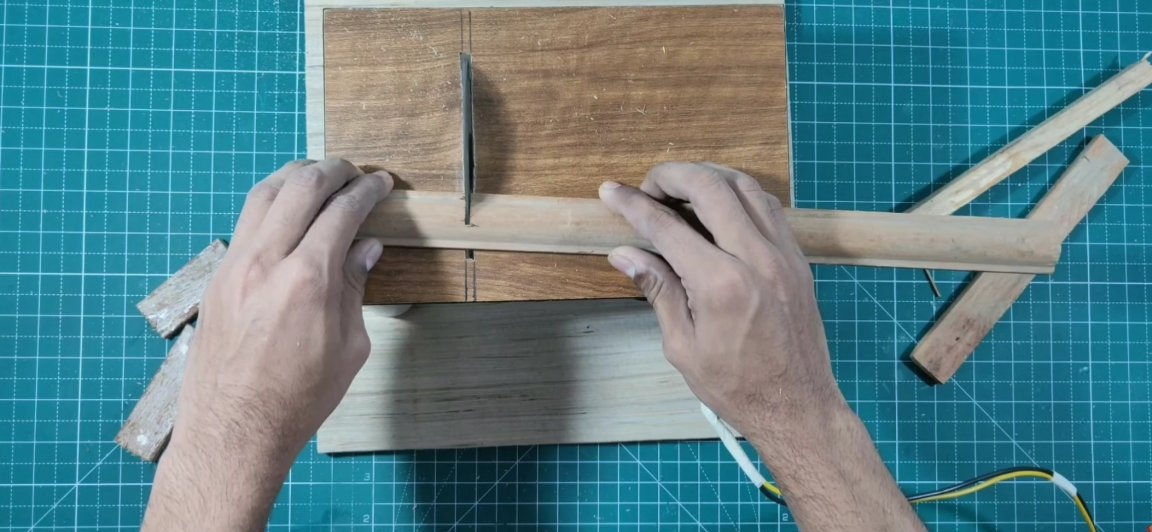
Before installing the electric motor on the workpiece, it is necessary to cut a groove under the cutting disc on it. To do this, draw a groove with a ruler and marker on the plywood blank, the length of which will be equal to the diameter of the cutting disc and about 5 mm wide. The groove itself should be drawn at a distance of 7 cm from one of the edges (see photo).

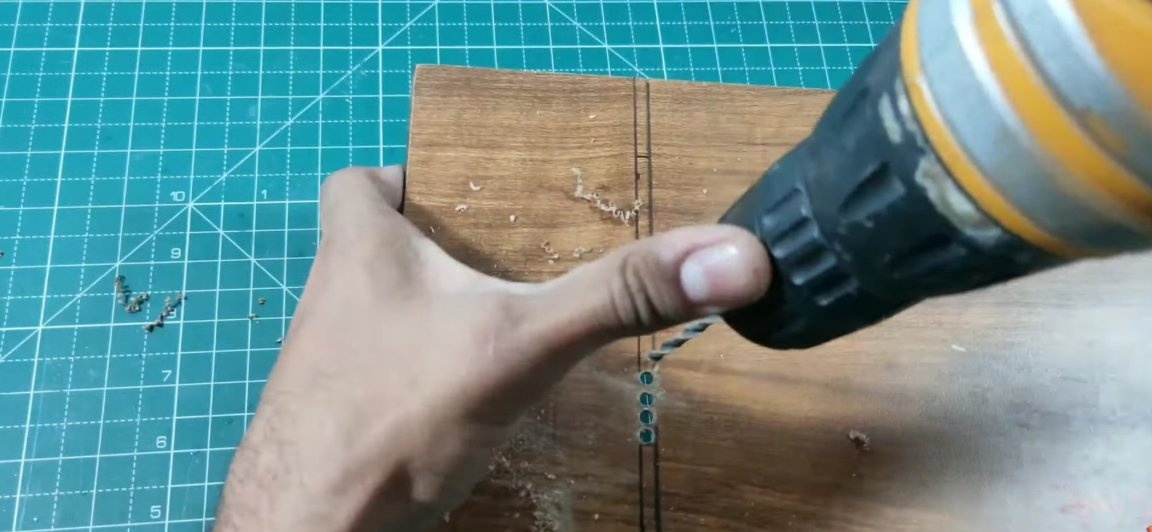
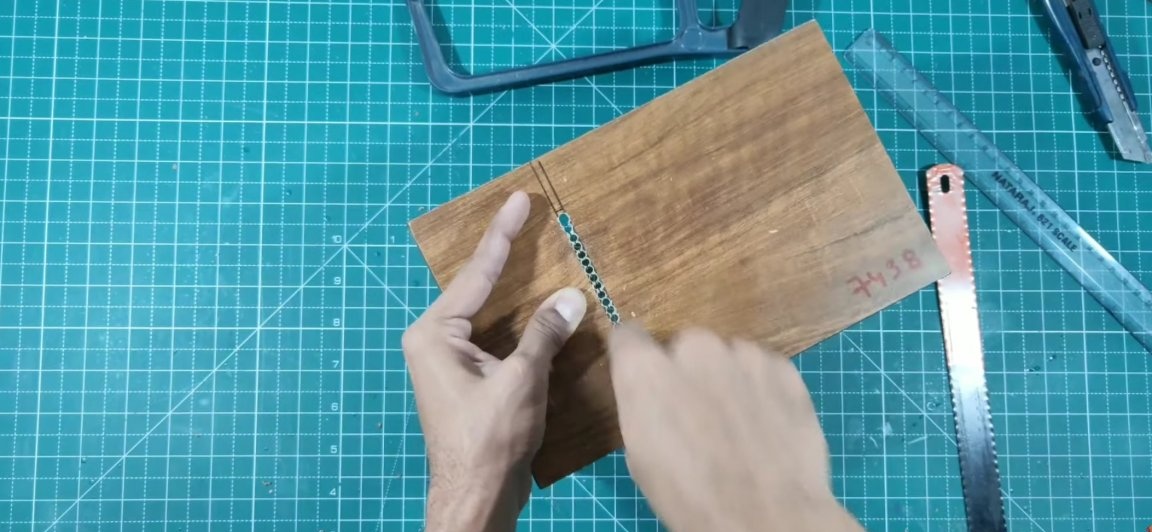
We will cut the groove under the cutting disc with a drill, that is, we will drill it. To do this, take a drill with a drill of a suitable diameter (the diameter of the drill should not exceed the width of this groove) and drill holes for the entire length at the closest possible distance from each other. Next, in order to remove the excess, we will use the blade hacksaw blade, and repeat the steps from the image below. And then with sandpaper we ennoble the cutout, removing all burrs.
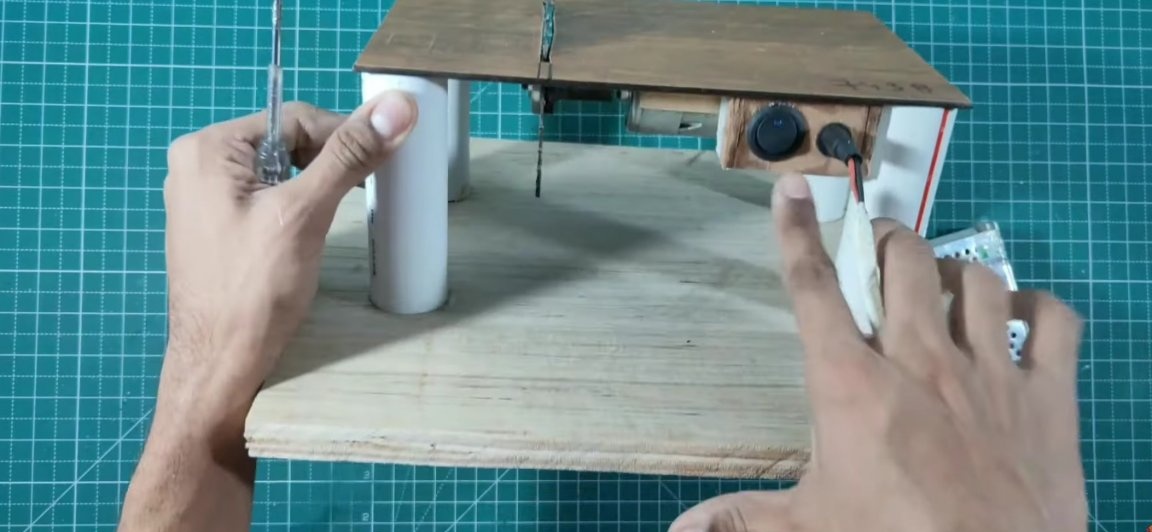
The next step is to assemble the simplest “control panel” for a circular saw. To do this, you need to take a piece of fiberboard and cut out a small rectangle from it, on which we can place the switch and power connector. In order to be able to reliably fix this “remote control to the structure” it is necessary to make it thicker, that is, for this it is necessary to cut several identical rectangles from the fiberboard.
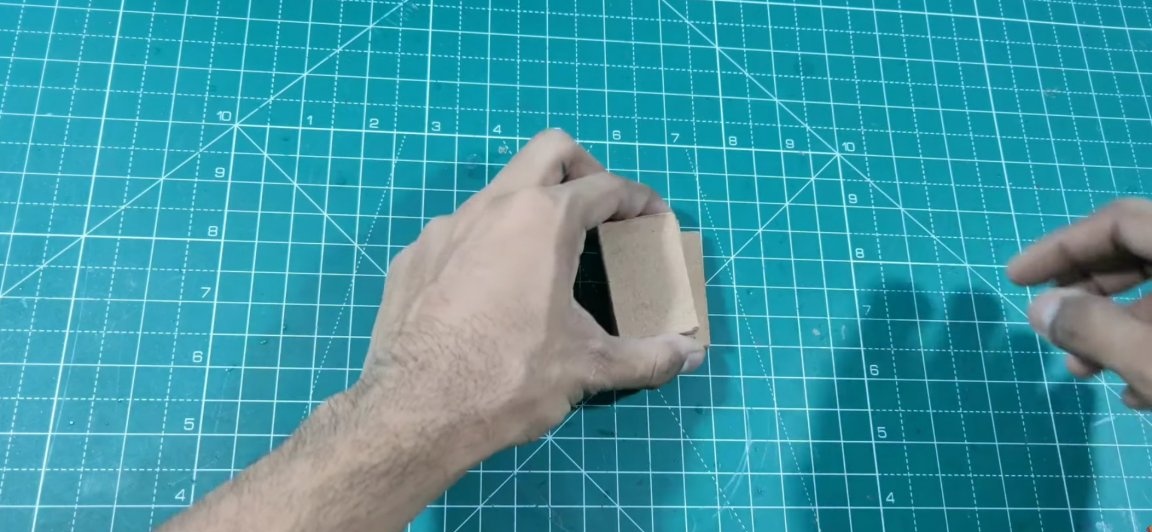
Next, in each of the rectangles, we make the same holes for the installation of the switch and the power connector. Then with the help of superglue we glue these blanks together, as carefully as possible, in order to create the effect of a “monolithic” part. Next, we insert the connector and the switch into our seats and fix this “remote control” on the structure in a place convenient for you, it should be fixed with superglue.

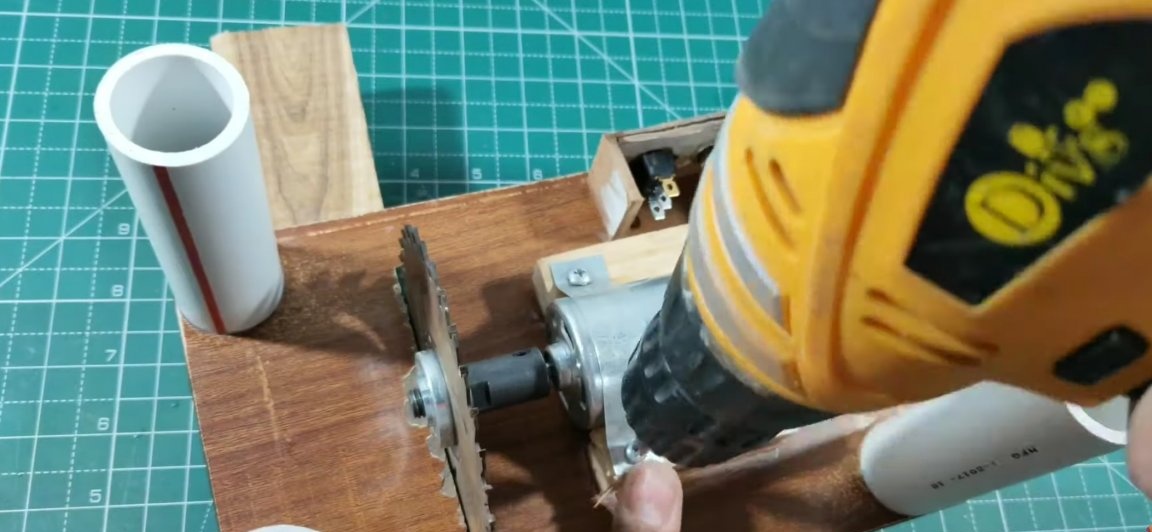
The next step is to take an electric motor and install an adapter for the cutting disc on its shaft. Next, we directly install the cutting disc itself in its place. We apply the electric motor with the adapter installed on it and the disk itself to the plywood blank so that the cutting disk does not touch the plywood itself, but can rotate freely in its place (see photo).
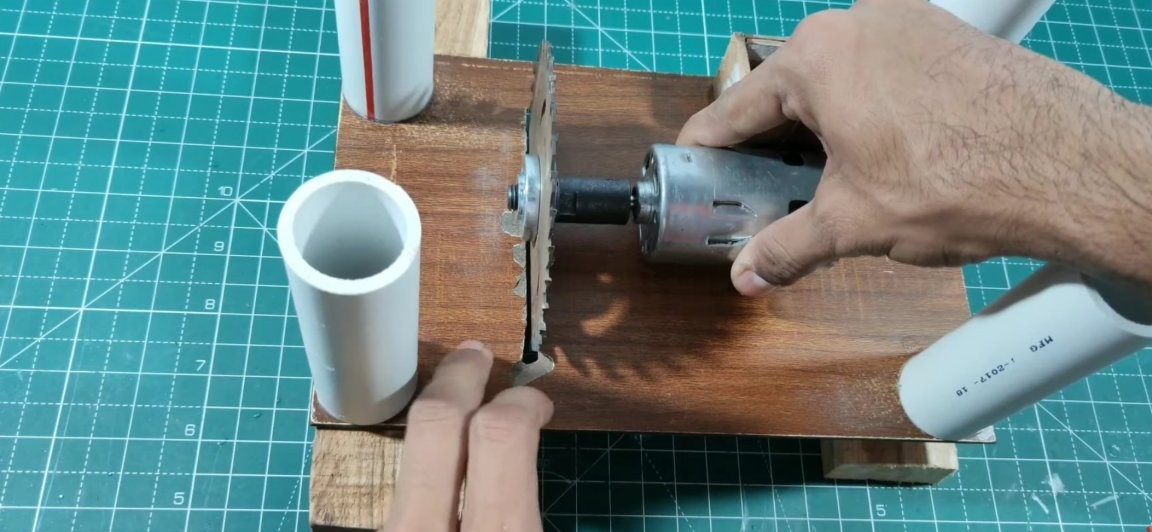
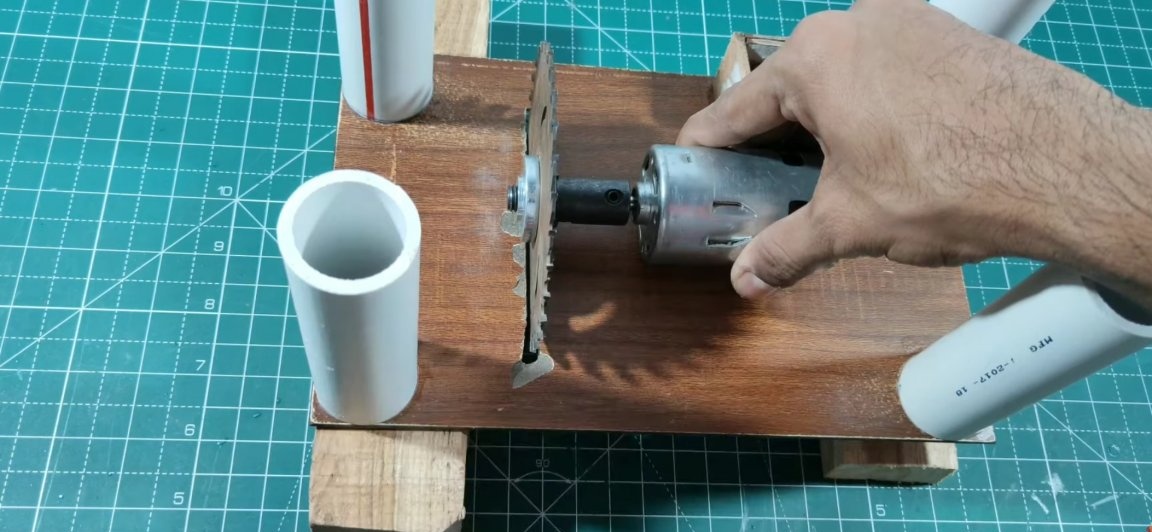
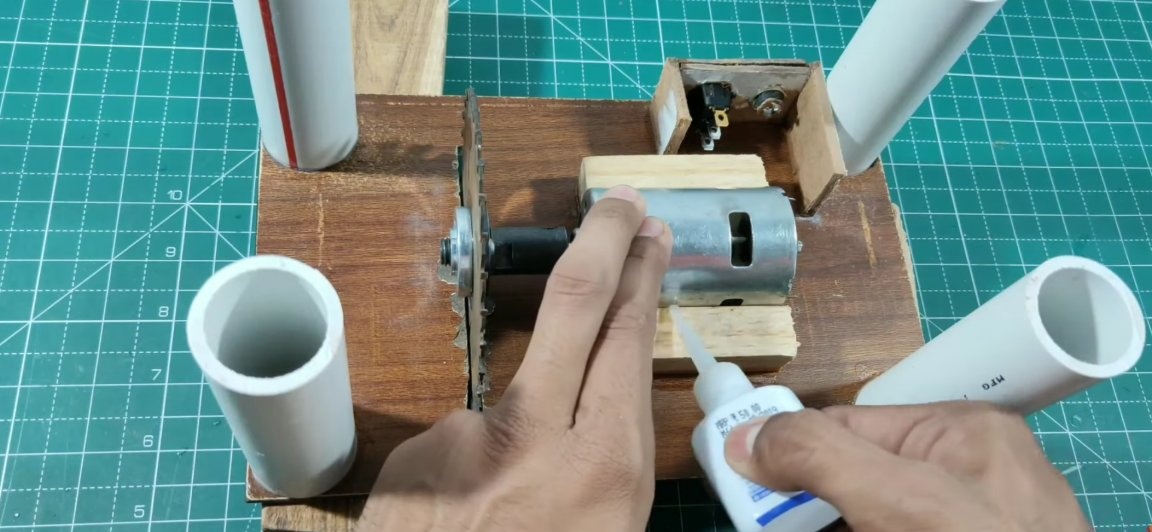
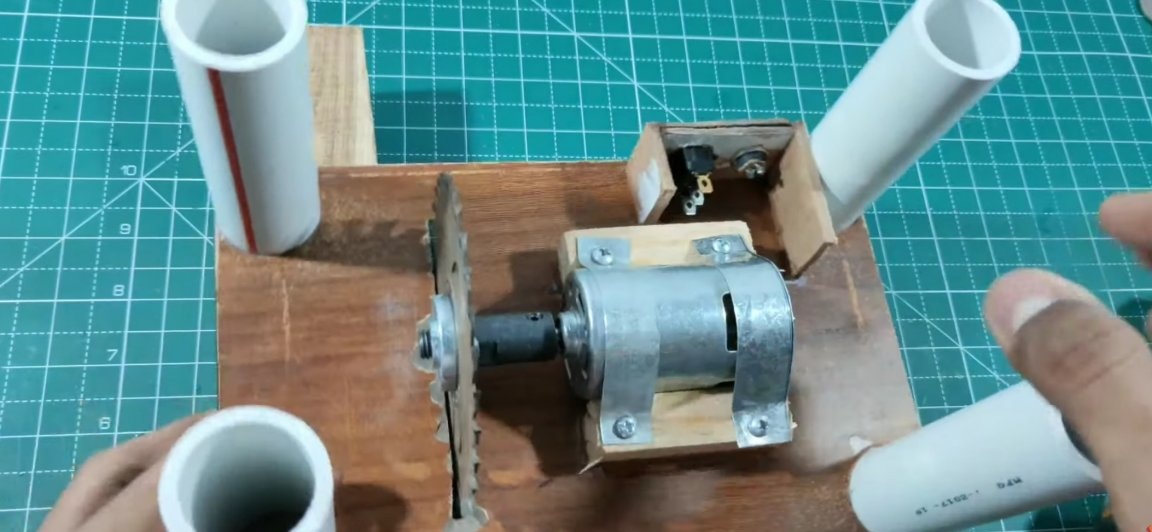
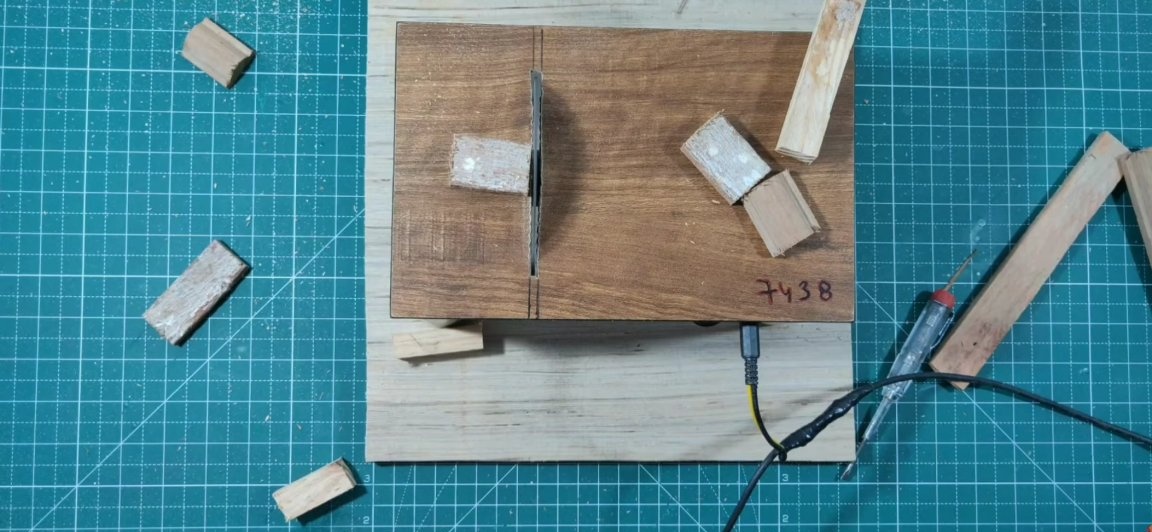
We fix the electric motor in this position and apply two small blocks to it on both sides. Then, the blocks just applied to the electric motor should be fixed with superglue. Then we remove the engine and firmly glue these blocks, smearing with glue on the office from all sides.
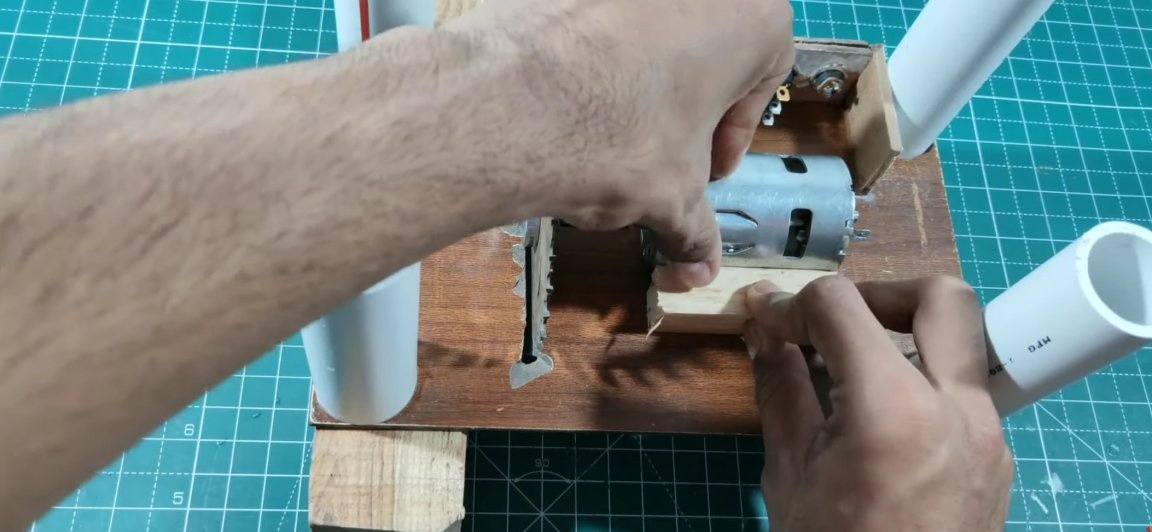
We install the engine now in its seat and fix it while super glue. Then you need to take a metal plate. From which, it is necessary to cut two strips of equal length, they will play the role of clamps on which the electric motor will be held. At the edges of the two cut-out plates, one through-hole should be drilled. And now we finally fix the electric motor in place with the help of self-tapping screws and just made plates.
Then the workpiece should be fixed on the base, which should also be cut from a sheet of plywood. Having cut out the bases, we glue the workpiece to it using superglue as well as the last time before sanding the place of gluing with sandpaper.
Next, go to e homemade parts. There is nothing complicated here, just solder the contacts coming from the electric motor to the power connector through the switch.
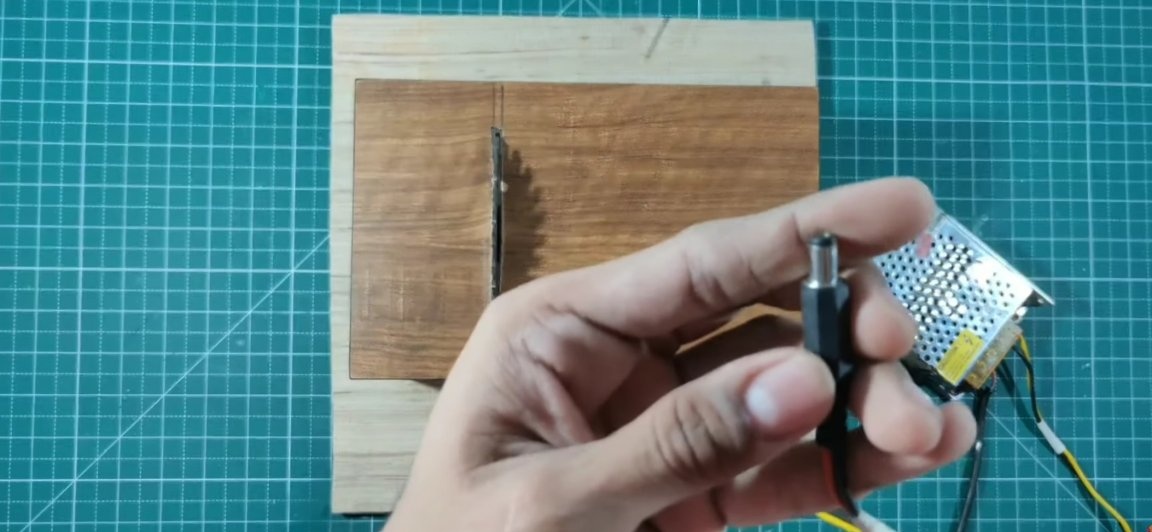
Actually, everything is ready! It remains to connect the power supply and test. You can watch the test results below. It is also worth noting that you can use the speed control, with which you can expand the functionality of homemade. You can also think about aesthetics and paint constructions with some kind of paint.
You can purchase accessories that can be useful for assembling this homemade product here:
Electric motor
Blade adapter
Socket and power connector
Switch
Here is a video of the author of the homemade:
Well, thank you all for your attention and good luck in future projects, friends!