
Each of you has an individual design in your house, in which very unusual solutions are often applied.
In this article, the author of the YouTube channel "Rag 'n' Bone Brown", will tell you about the manufacture of a "soaring" shelf.
Moreover, to install this shelf does not need complex metal brackets or mounts. All this will be made of wood.
Materials
- Sheet MDF
- pine board
- Water-based paint, putty
- PVA glue
- dowels
- Sandpaper.
Instruments, used by the author.
— Miter saw
— A circular saw
— Battery Neiler
— Band-saw
— Screwdriver
- level, chisel, putty knife, hammer
- Pencil, tape measure.
Manufacturing process.
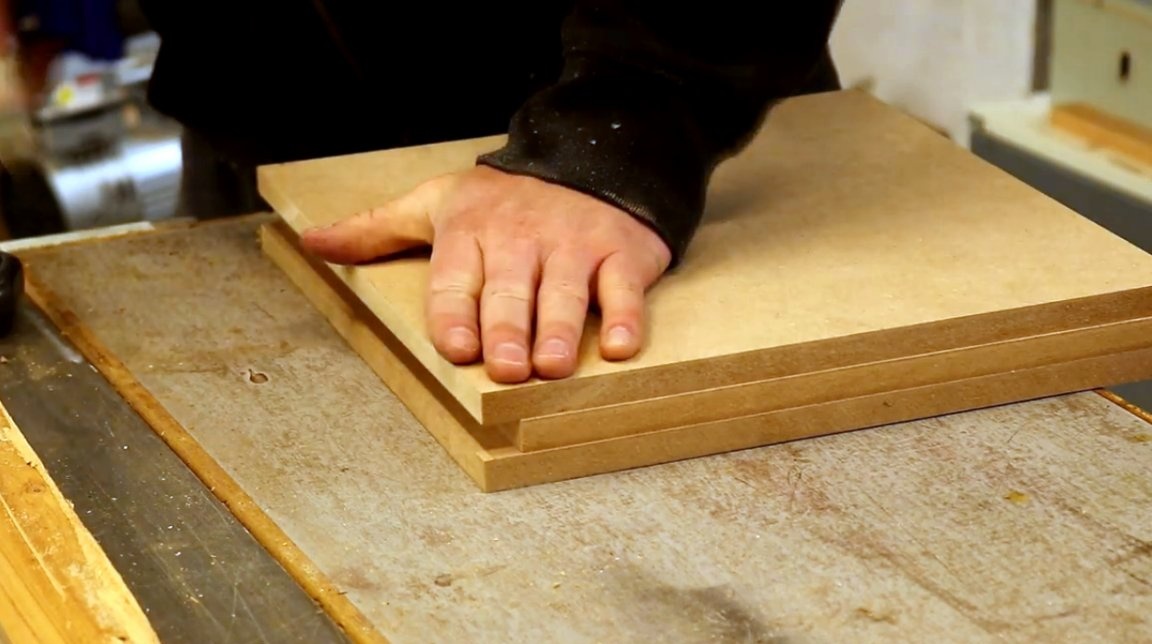
The material for the shelf will be trimmed MDF boards with a thickness of 12 mm. The author stops his choice on this material, because the surface of MDF is easy to process and paint (and the author will have to change the color of the interior from time to time).
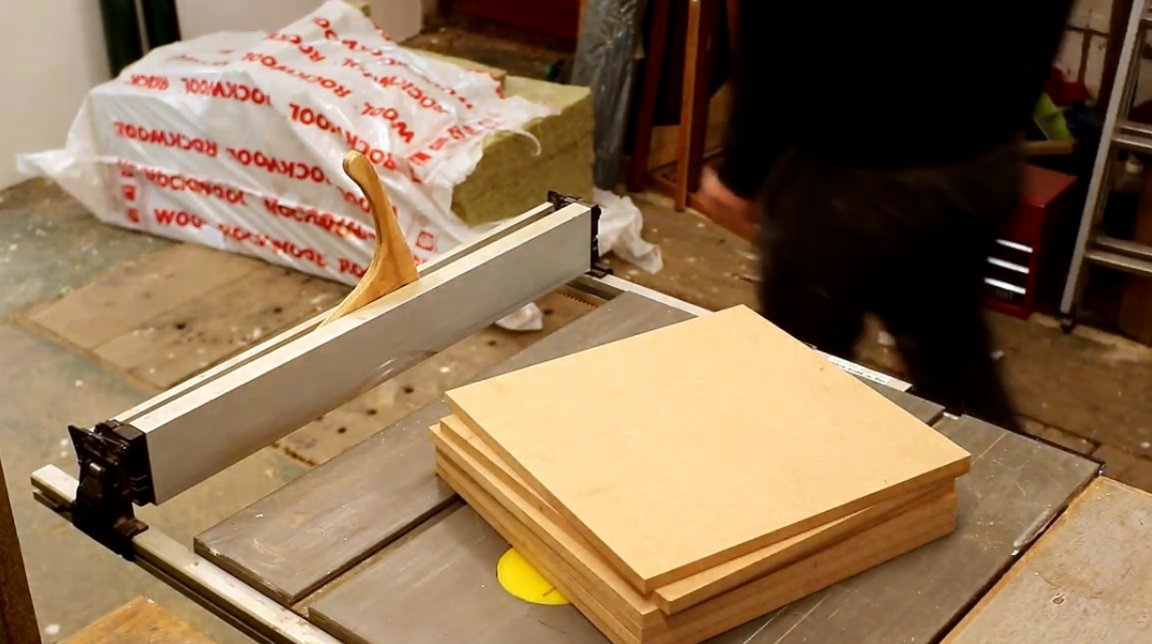
The author begins by sawing the material on a circular machine, and cuts 3 sections in size 300X300 mm.
Then, from a piece of hard wood (pine), the master makes several fixing strips that will be attached to the wall. They will support the regiment.
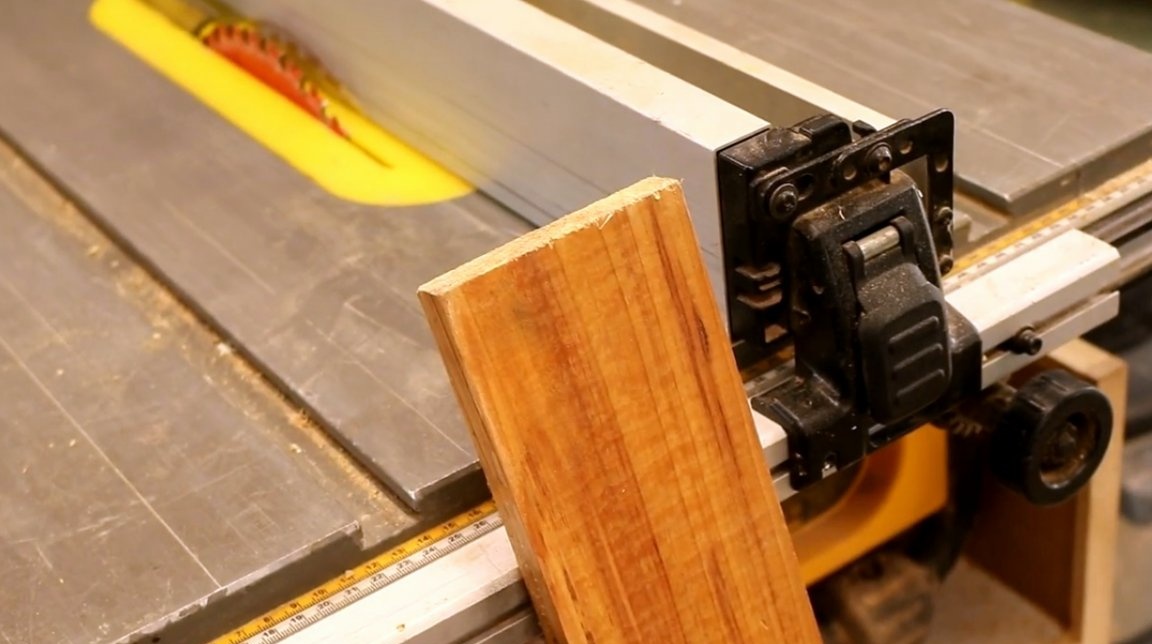
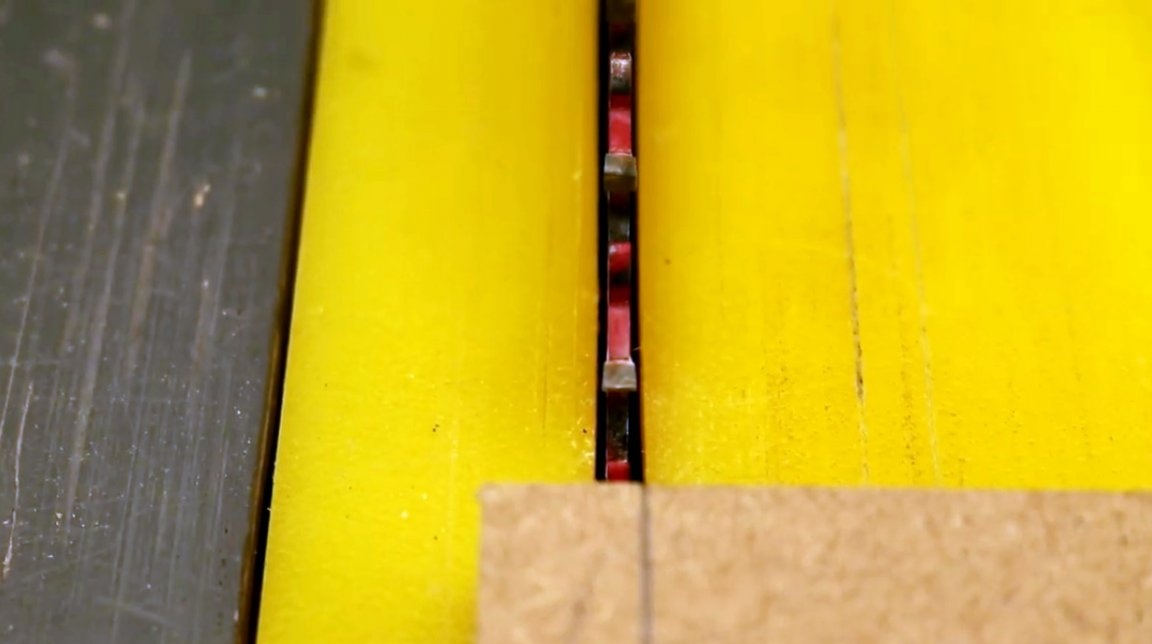
The emphasis of the circular saw is set at a distance of 12 mm from the blade of the disk, which is exactly equal to the thickness of the MDF plate. It is important to make sure that the blade is close to the edge of the plate and, as it were, slightly clamped by it.
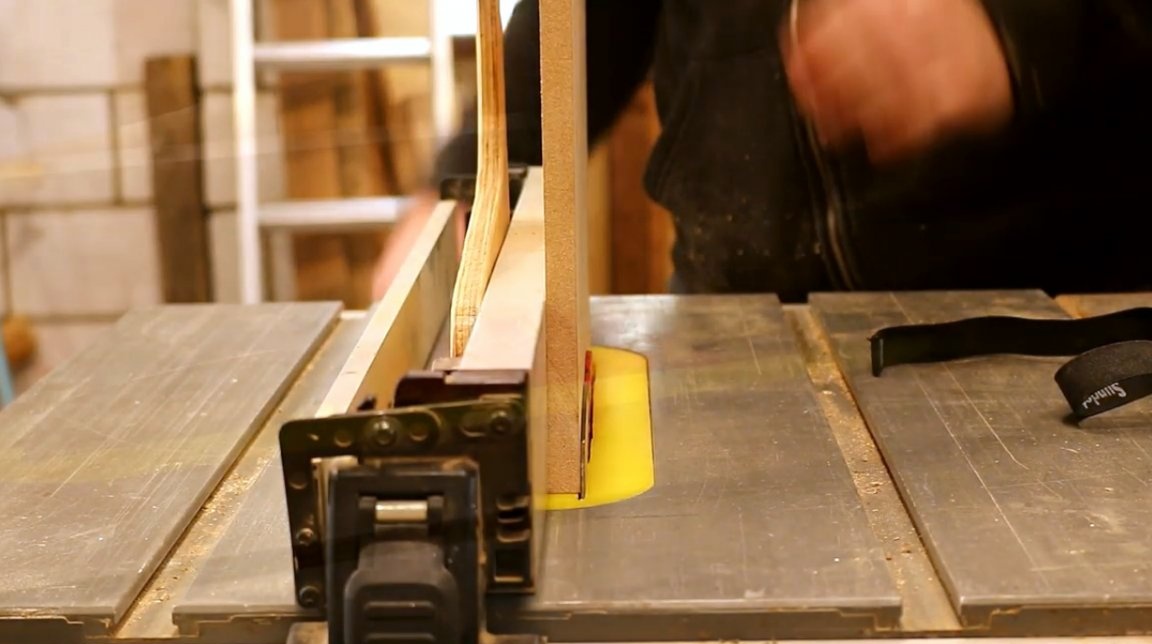
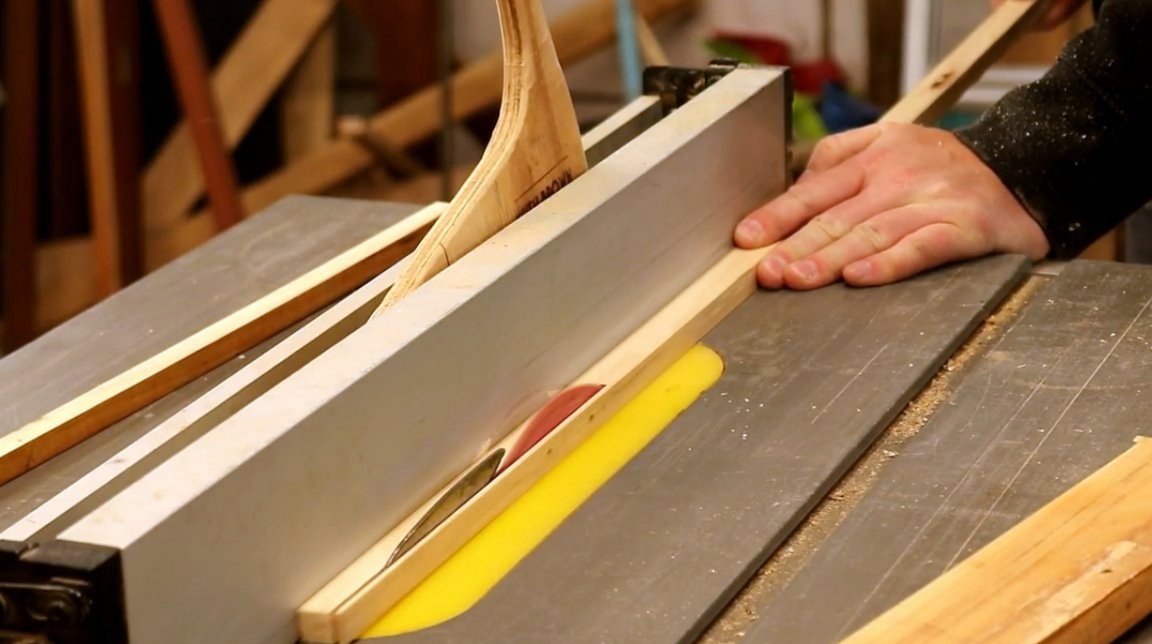
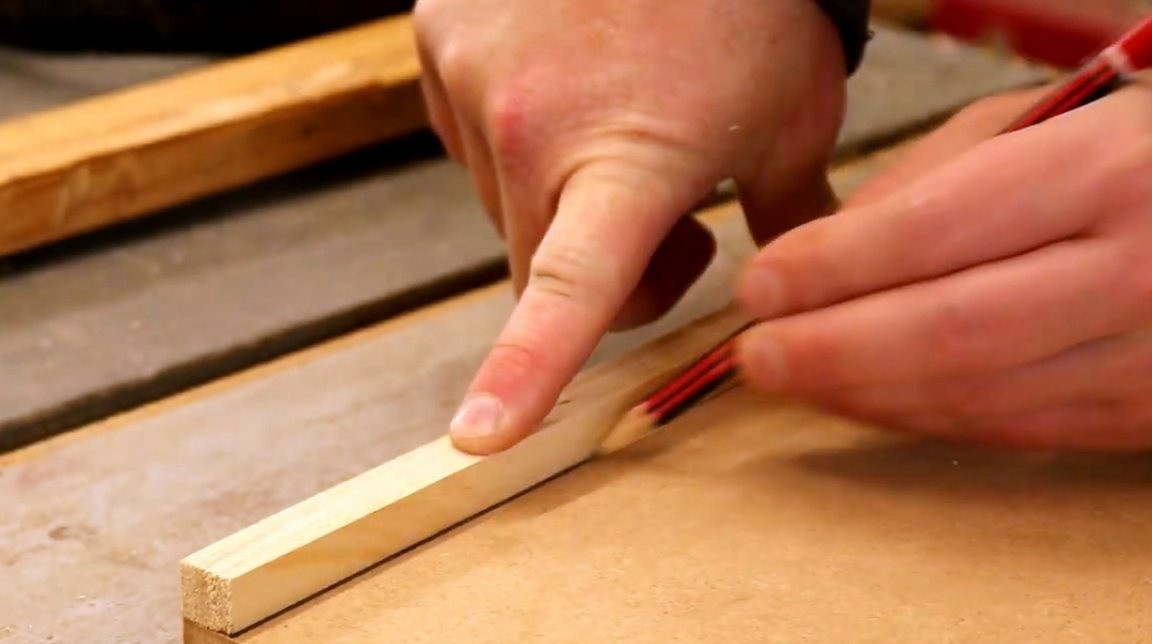
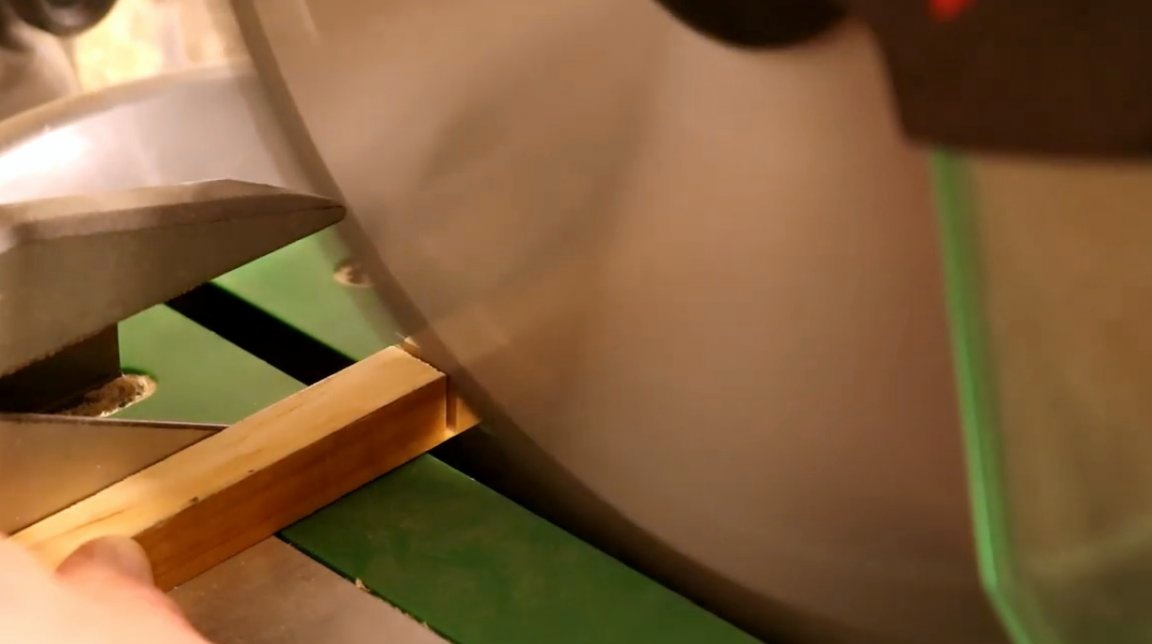
Now, according to the measurements made, the author cuts out a narrow 12 mm strip from pine wood.
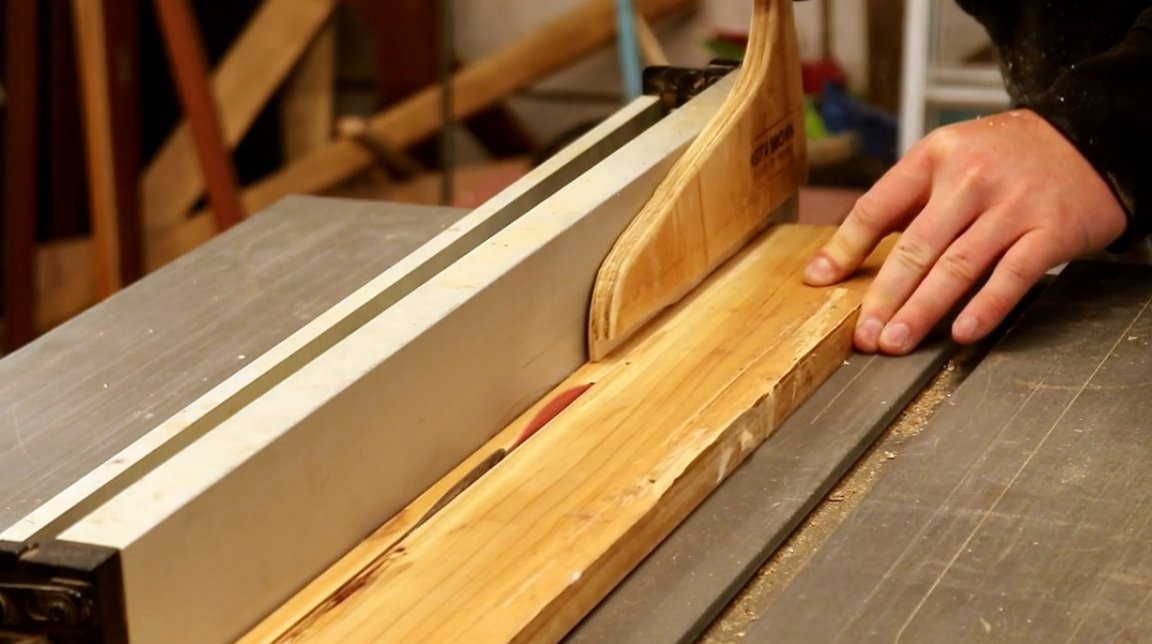
Turns the rail the other side, and again passes through the machine to get a rail 12X12 mm across.
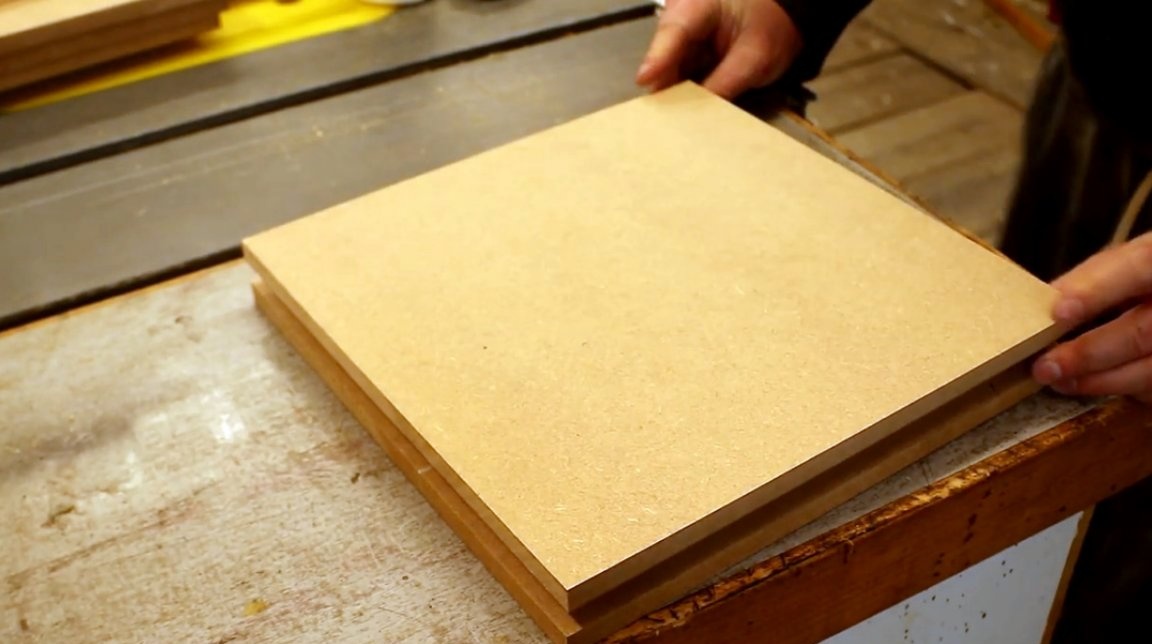
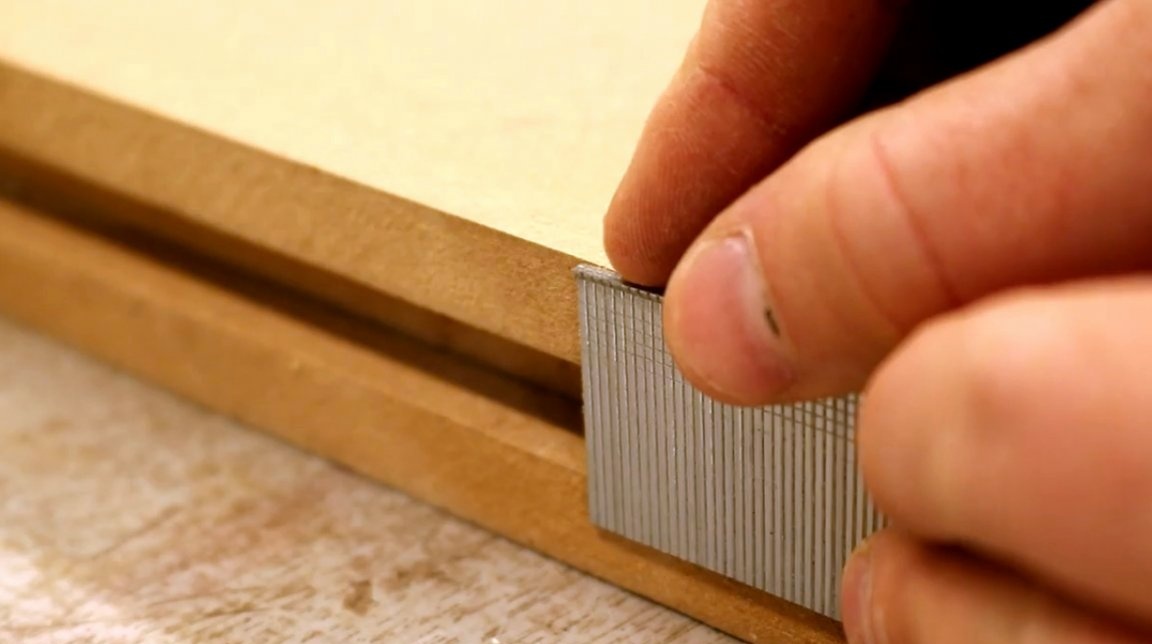
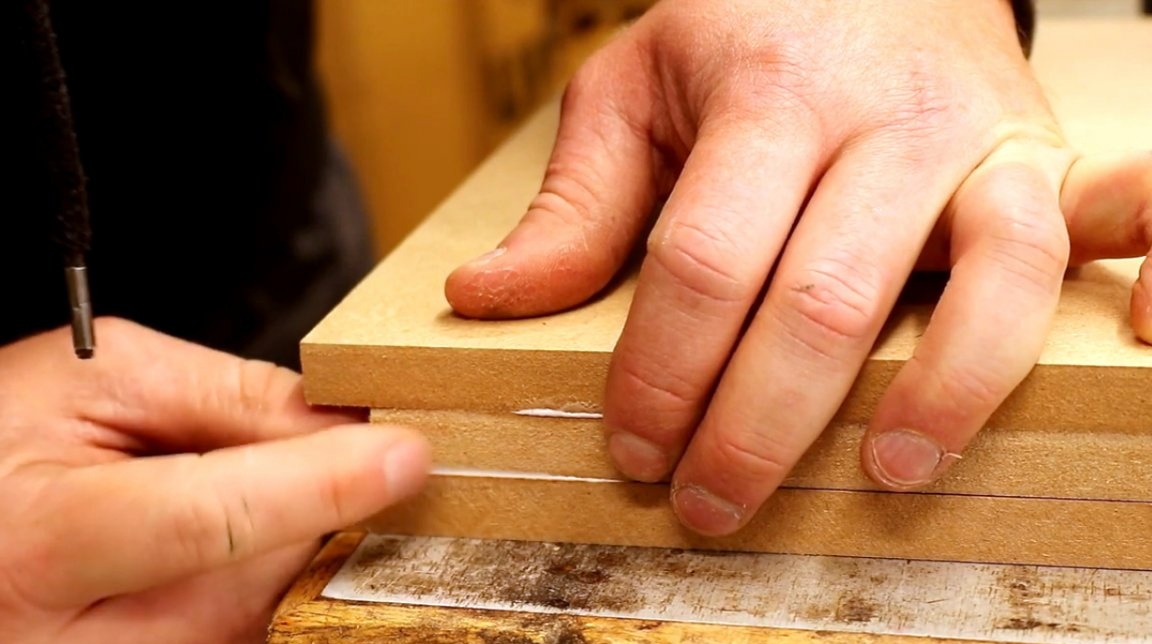
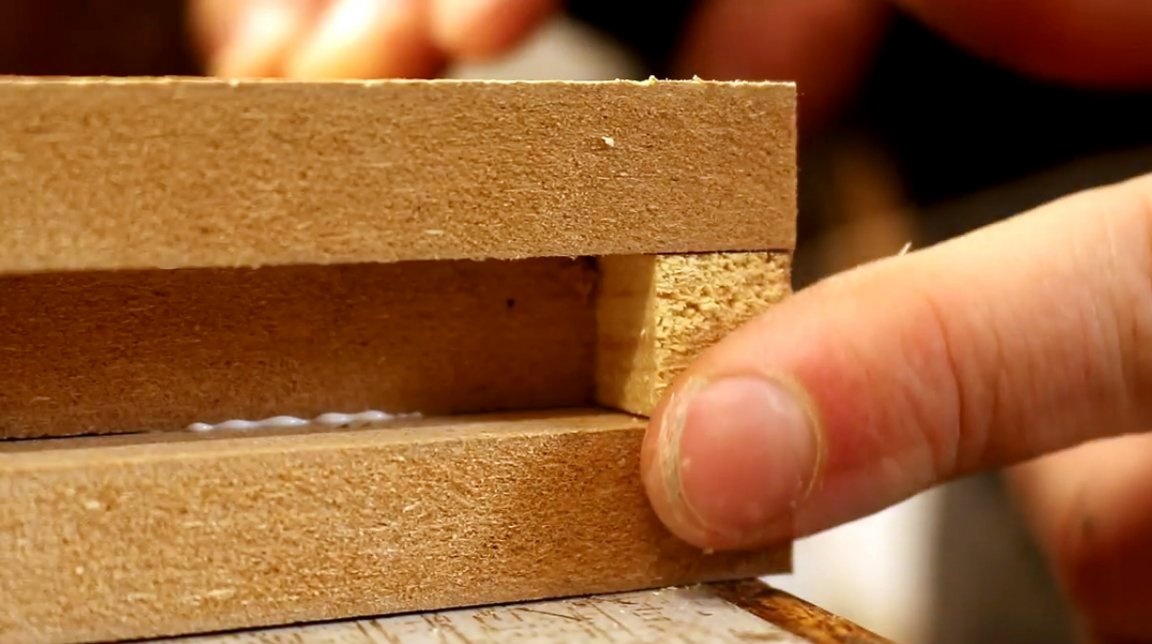
Further, the author arranges the slabs in such a way as to make sure that the fixing bar neatly fits into the groove between them, and there is still a slight gap.
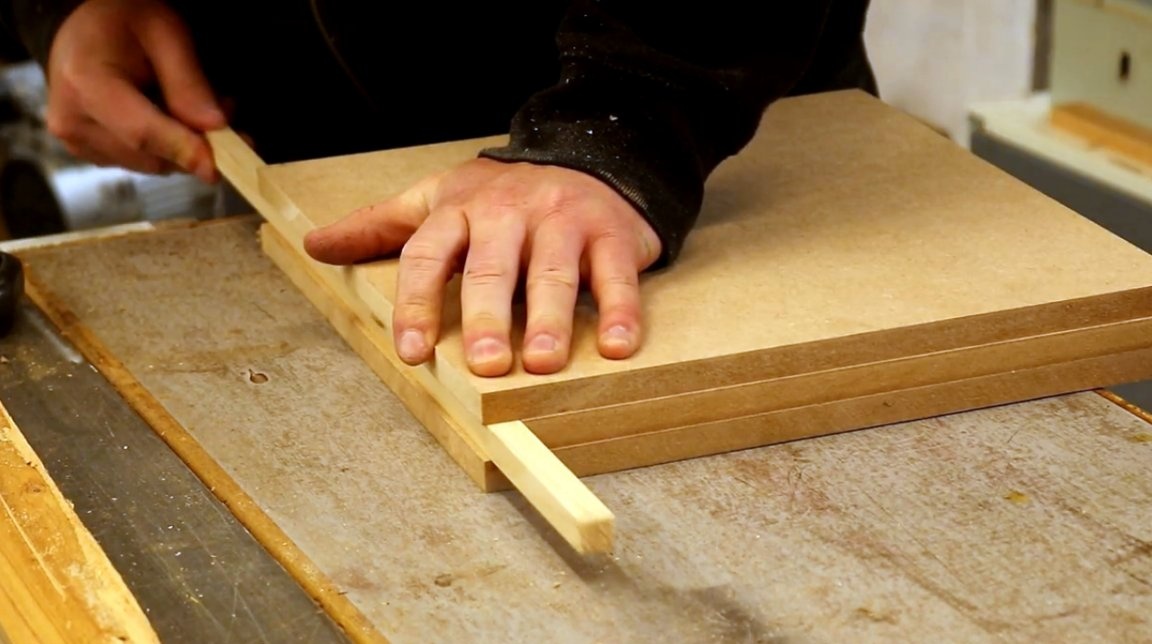
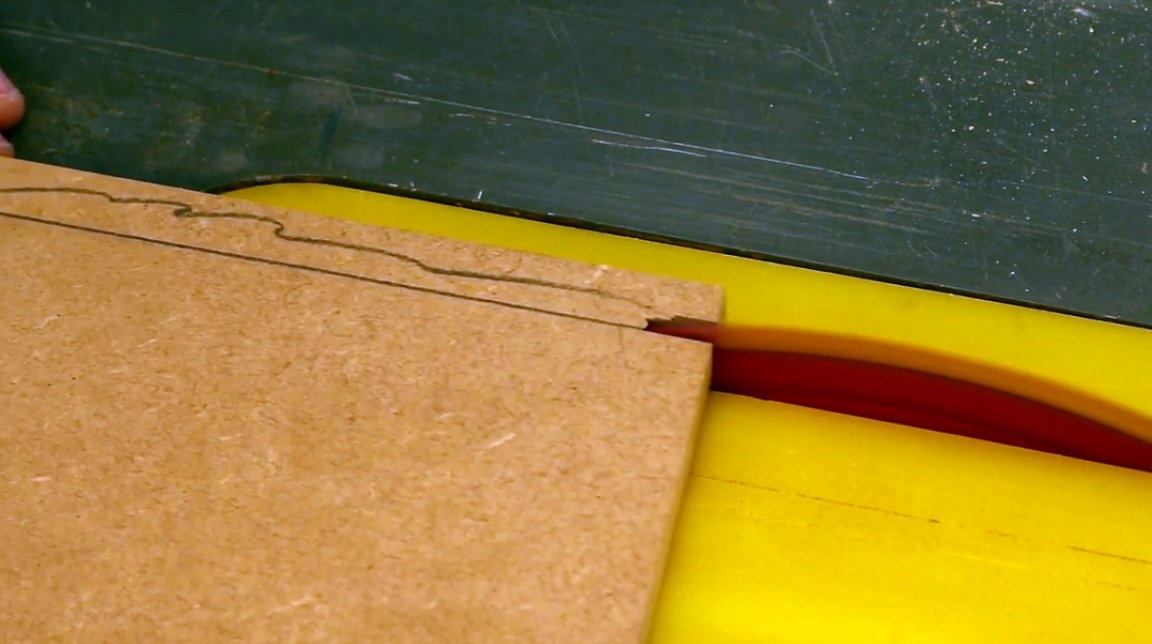
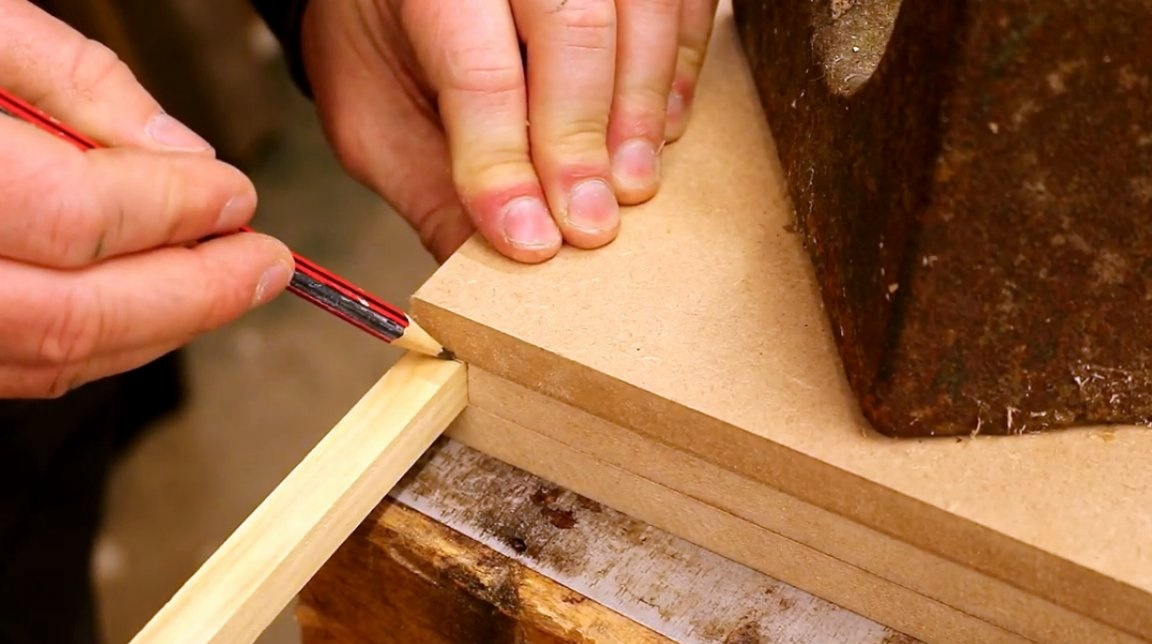
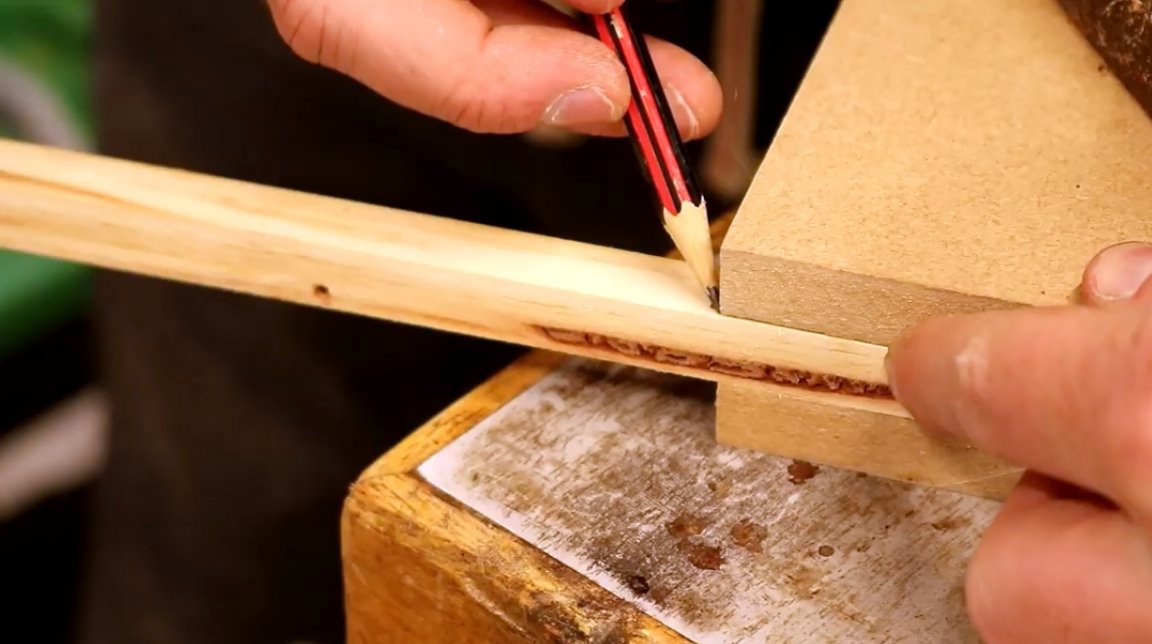
Then the author puts the bar to the edge of one of the panels and draws a line along the contour of its inner edge.
After that, he expands the panel 90 degrees and does the same operation.
Shaded areas must be trimmed.
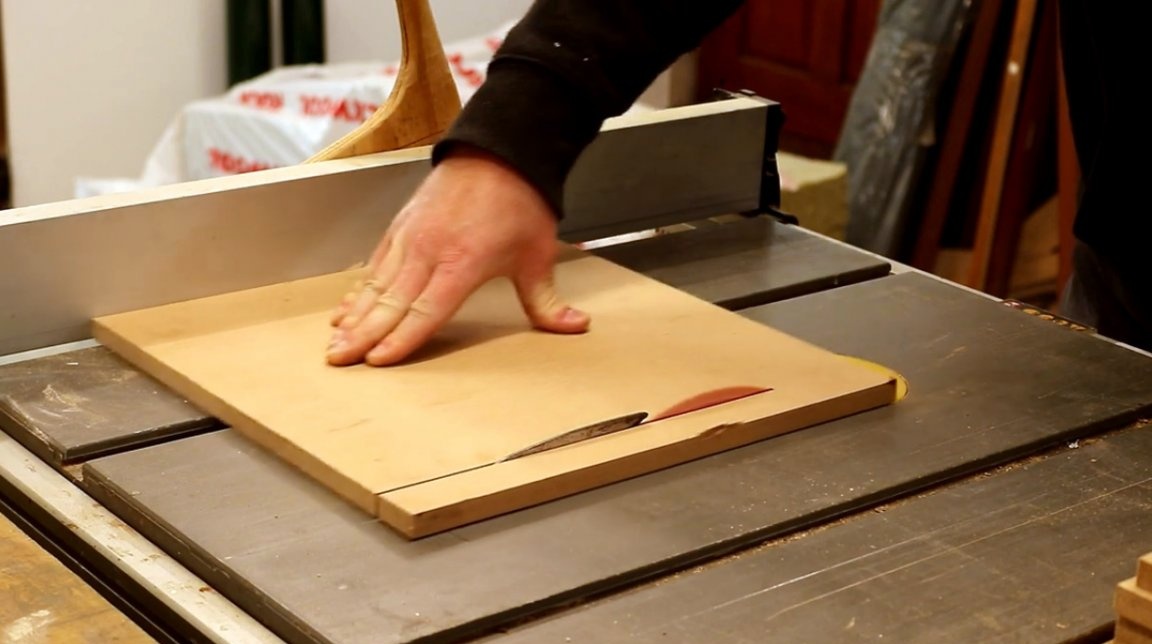
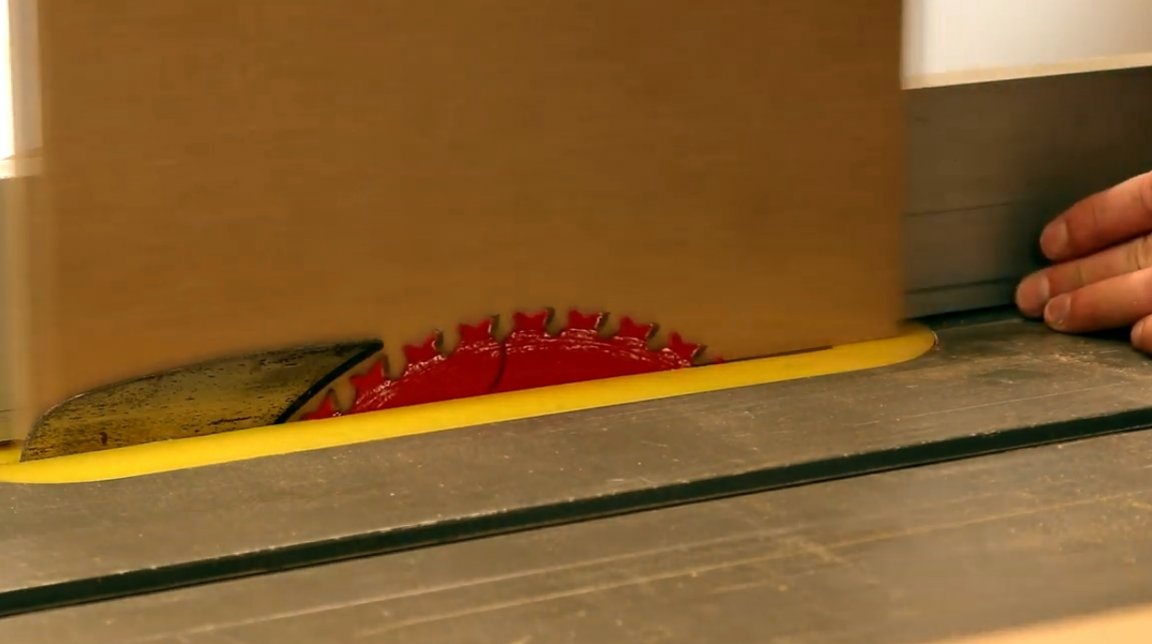
Next, the master sets the emphasis of the circular saw so that the disk falls exactly on the line of the marked zone.
Trimming should be done very carefully, first by making a small test cut.

Still, the disk cuts a little further than the marking line, the author shifts the emphasis farther from the disk, and the cut goes clearly along the mark.
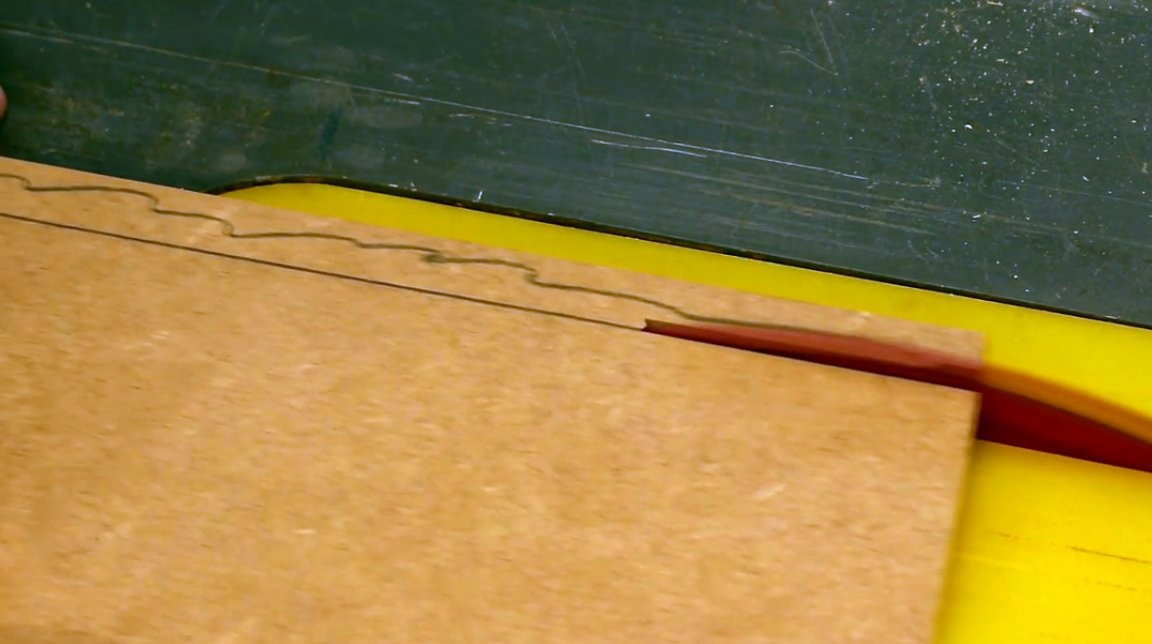
A quick test for compatibility - the bar "sits" between the plates quite tightly, and the edges of the plates are perfectly aligned.
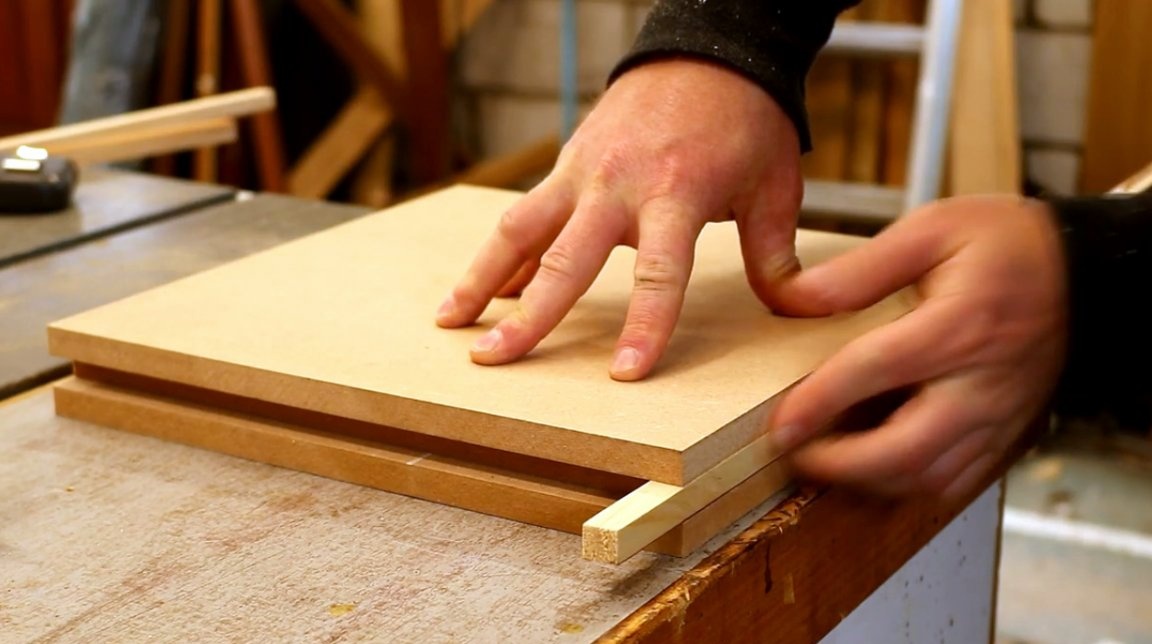
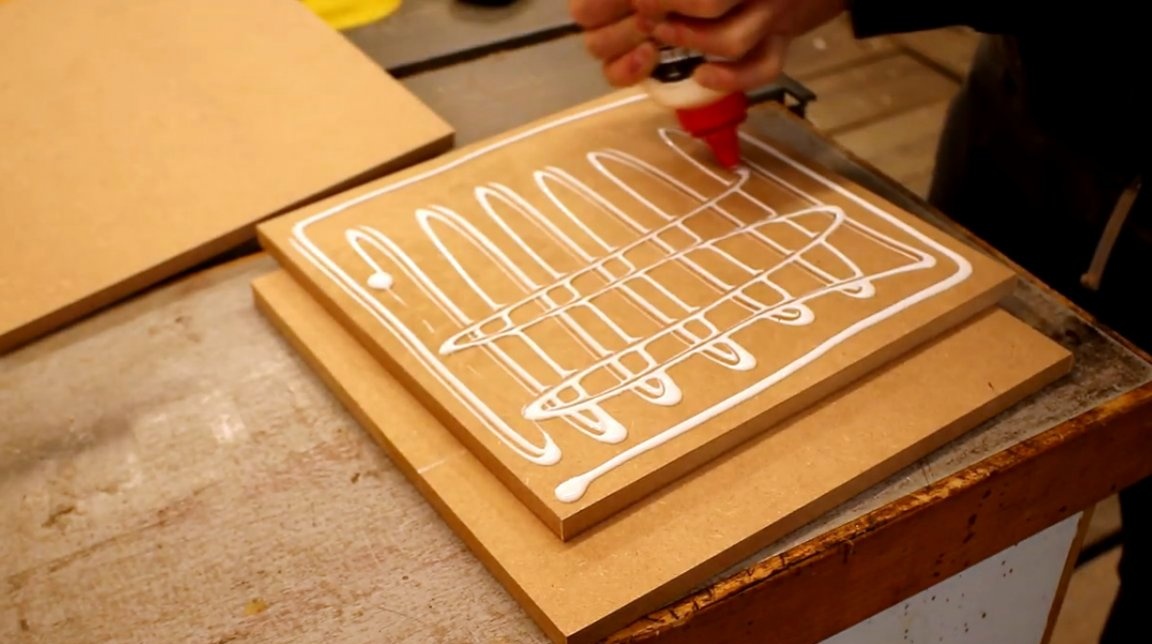
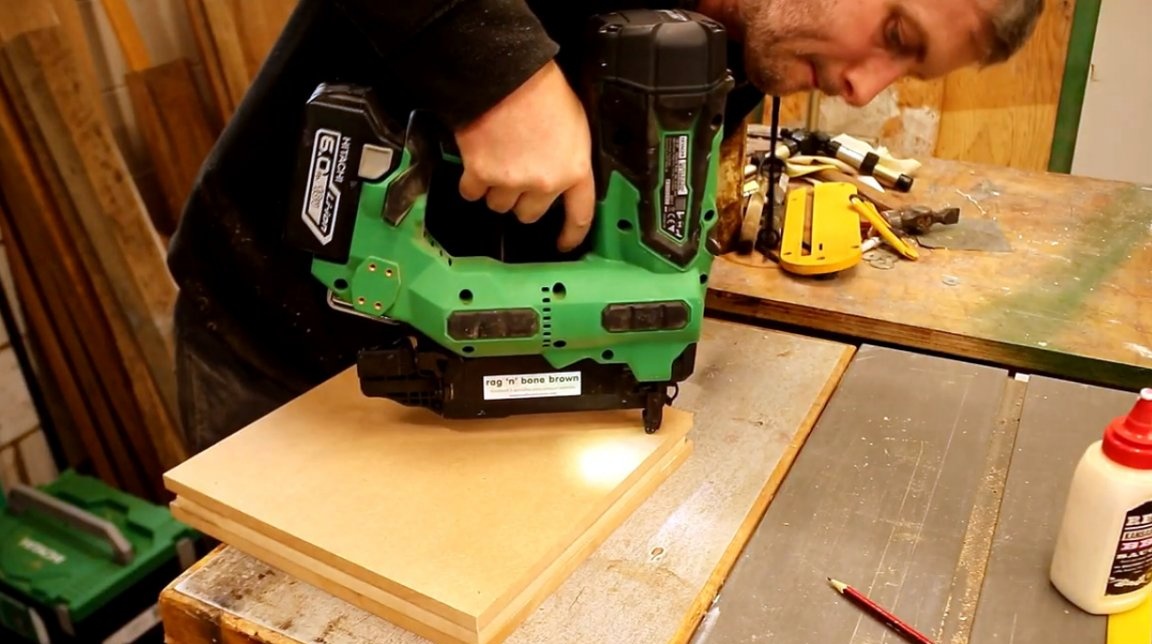
Now the author glues all three MDF boards, coating the central glue on both sides and clamping it between two other wider boards. At the same time, he positions them so that on two sides the edges of all three plates are flush with each other.
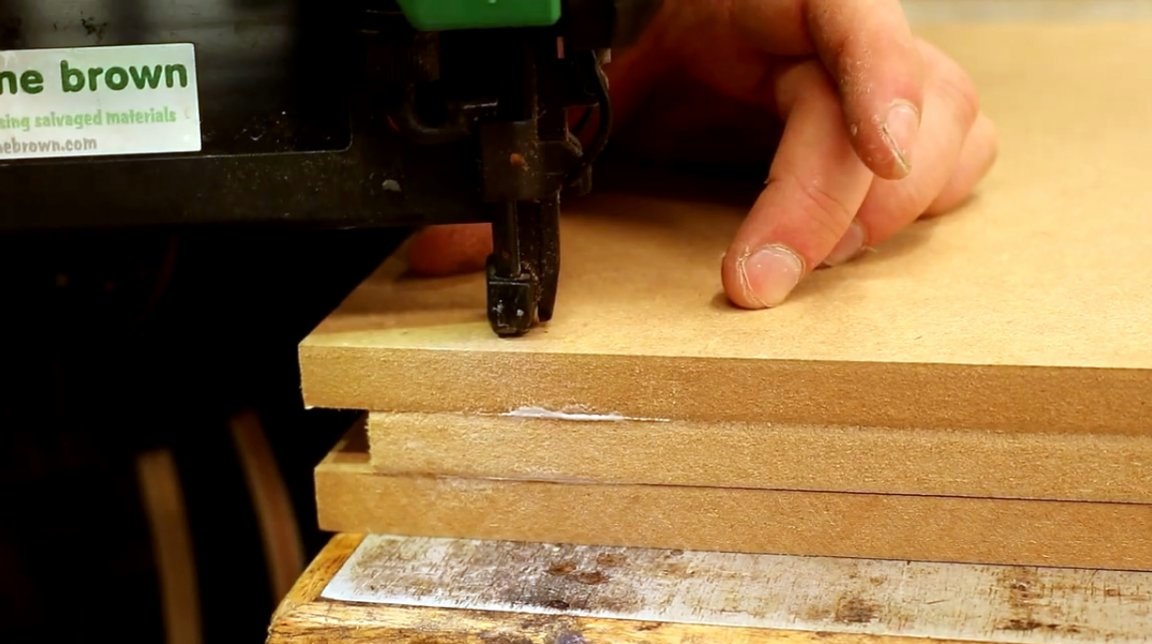
The author found several parquet nails long enough to pass all three layers of MDF. Boards can move on glue which has not yet hardened, be careful!
The corner of the package, where all three plates are combined, is first fixed by the neiler.
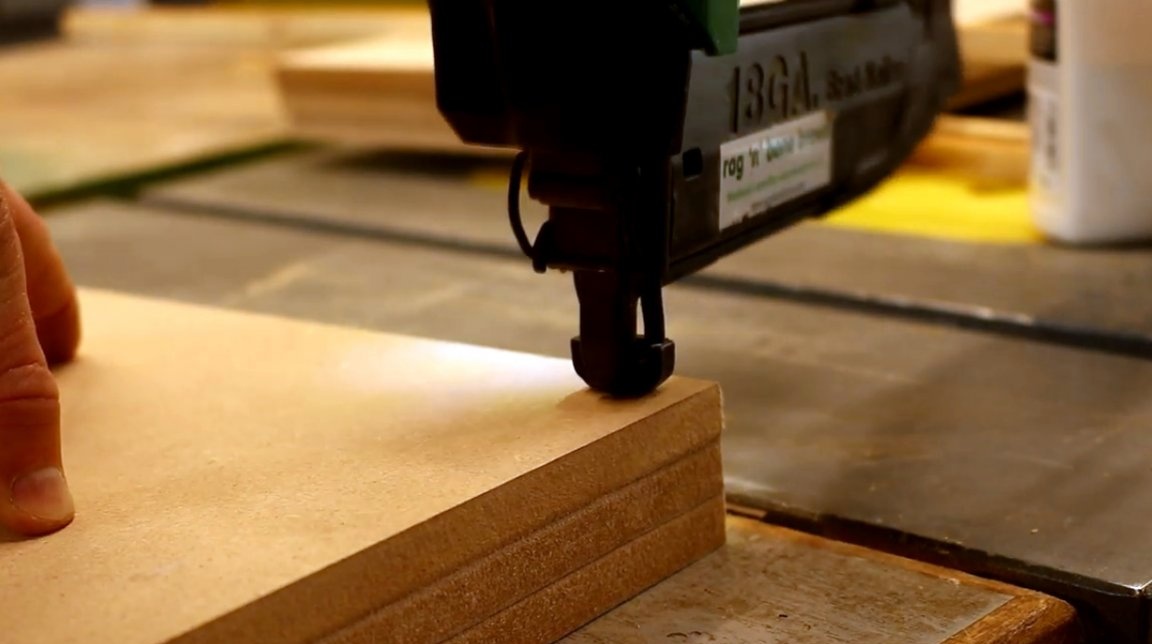
Now three plates can be aligned relative to each other, and fix the remaining angles. It is important to remember that from now on this package will be processed on a band saw, and its blade should not “meet” with one of the nails.
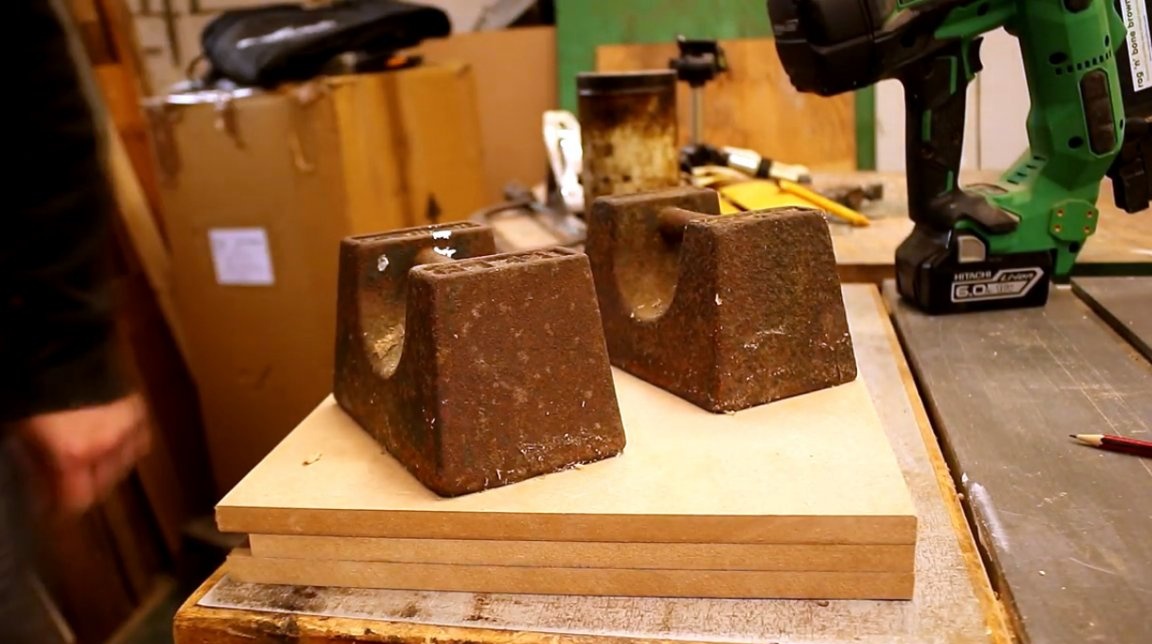
The plates are fixed, and for better gluing, the master puts a load on top.
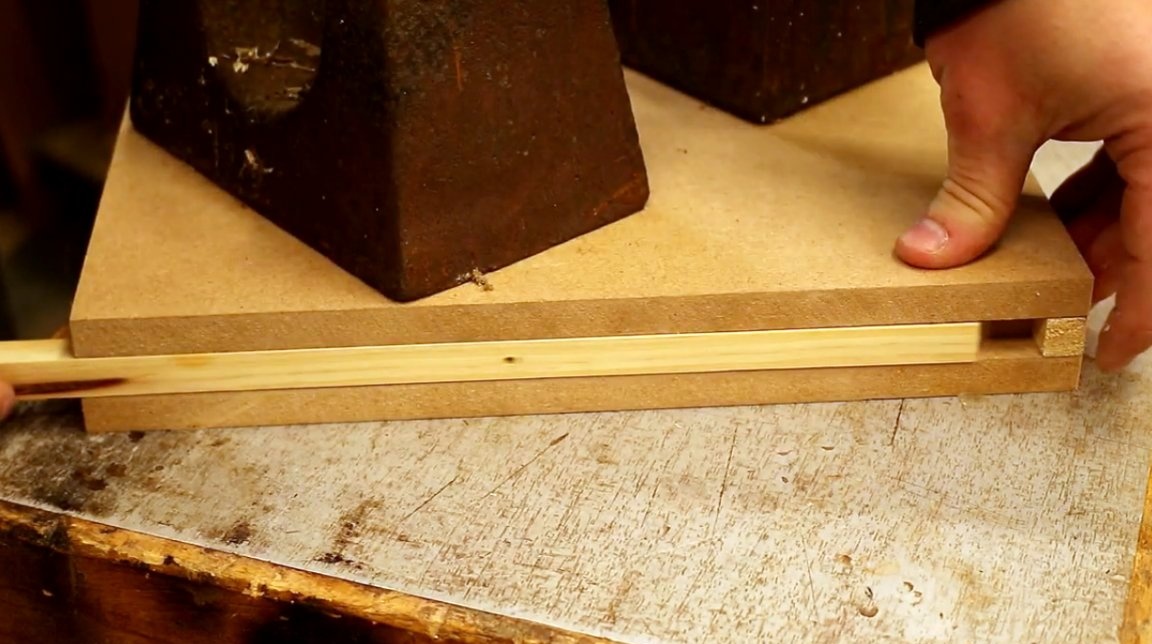
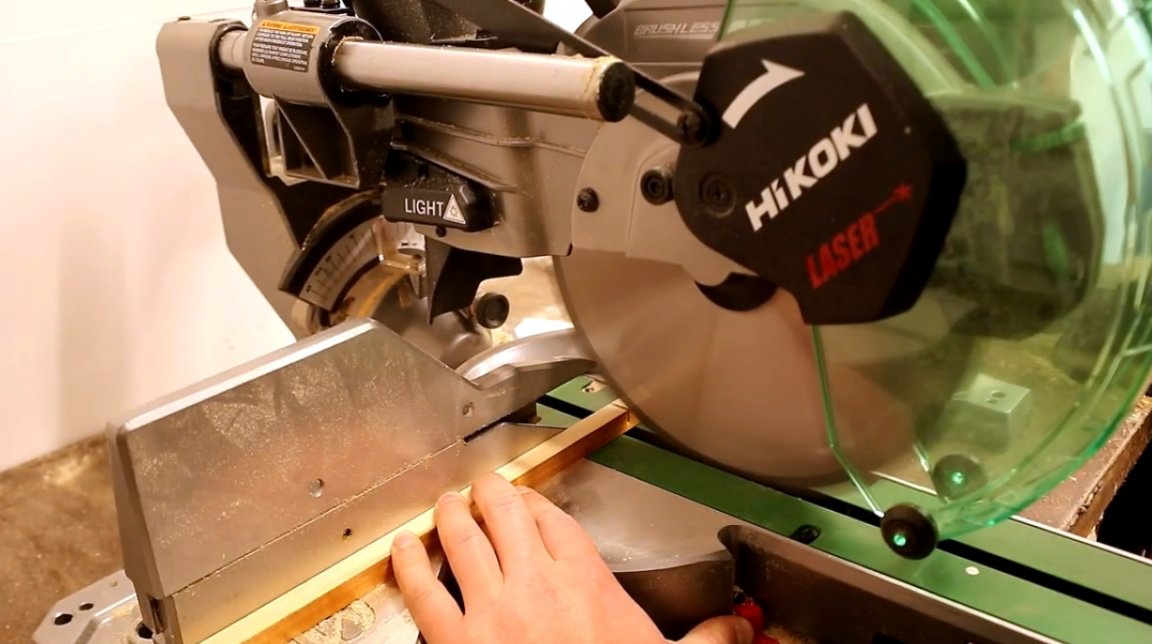
While the glue dries up, the craftsman works with fixing strips: inserts them into the grooves and cuts the length on the miter saw.
He does the same with the second bar, bringing it into the joint with the first and cutting off the excess material. It should be shorter than the first by 12 mm.
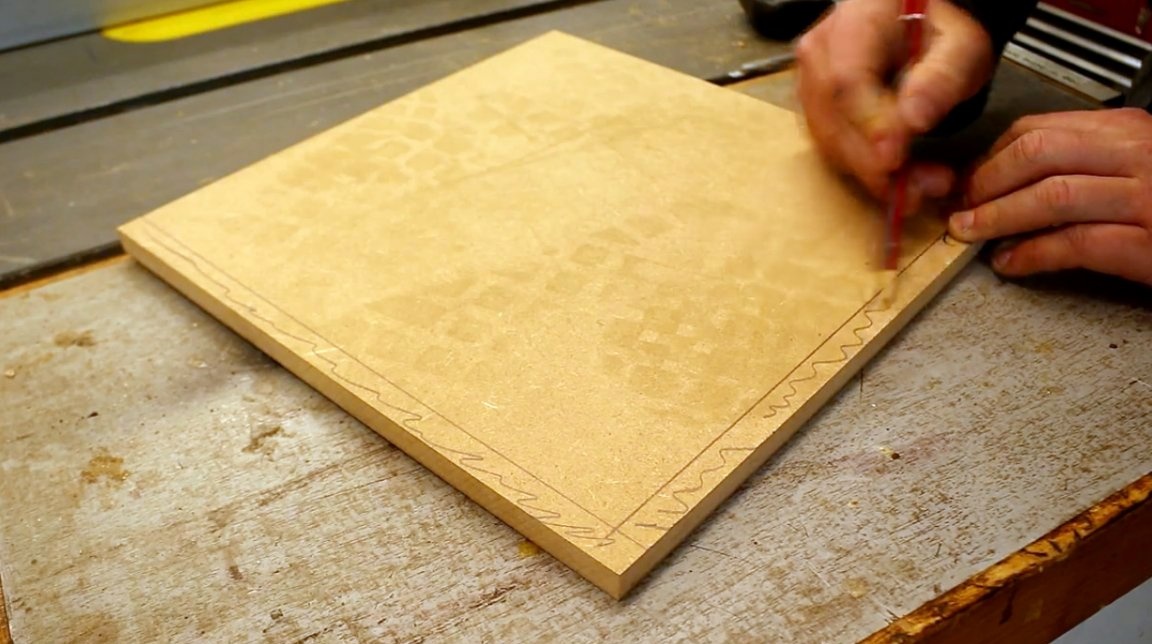
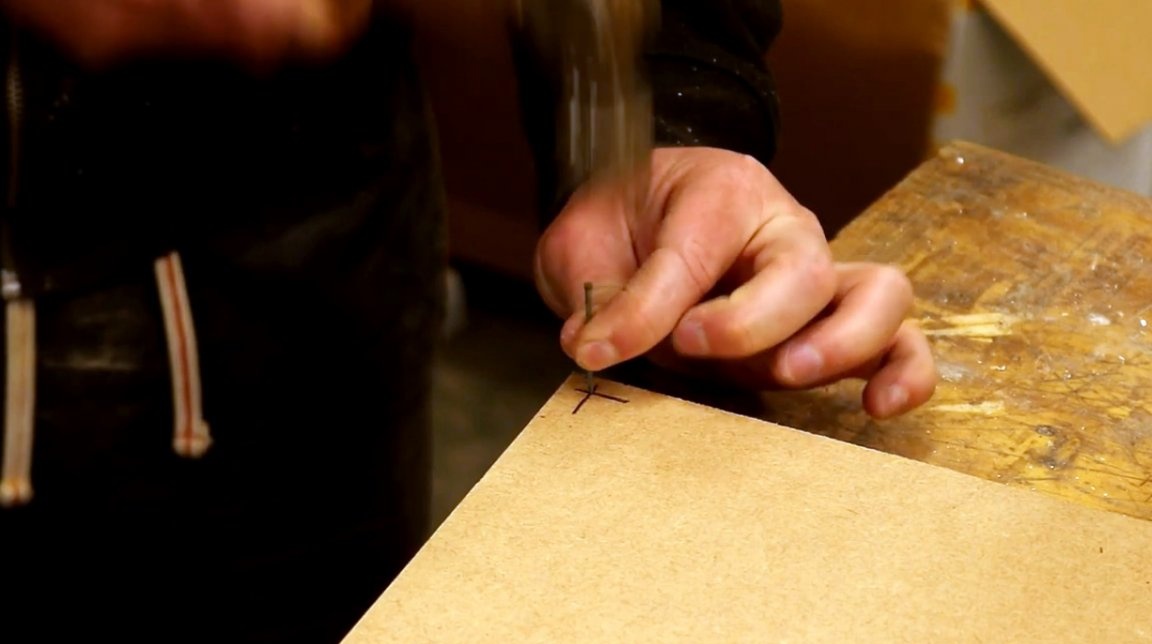
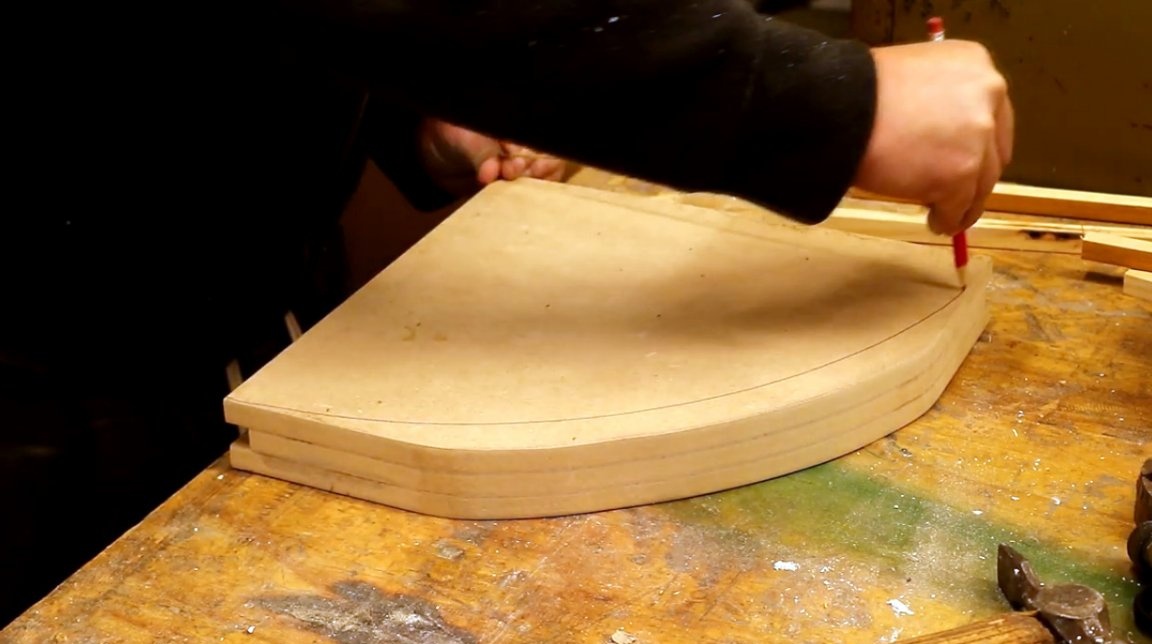
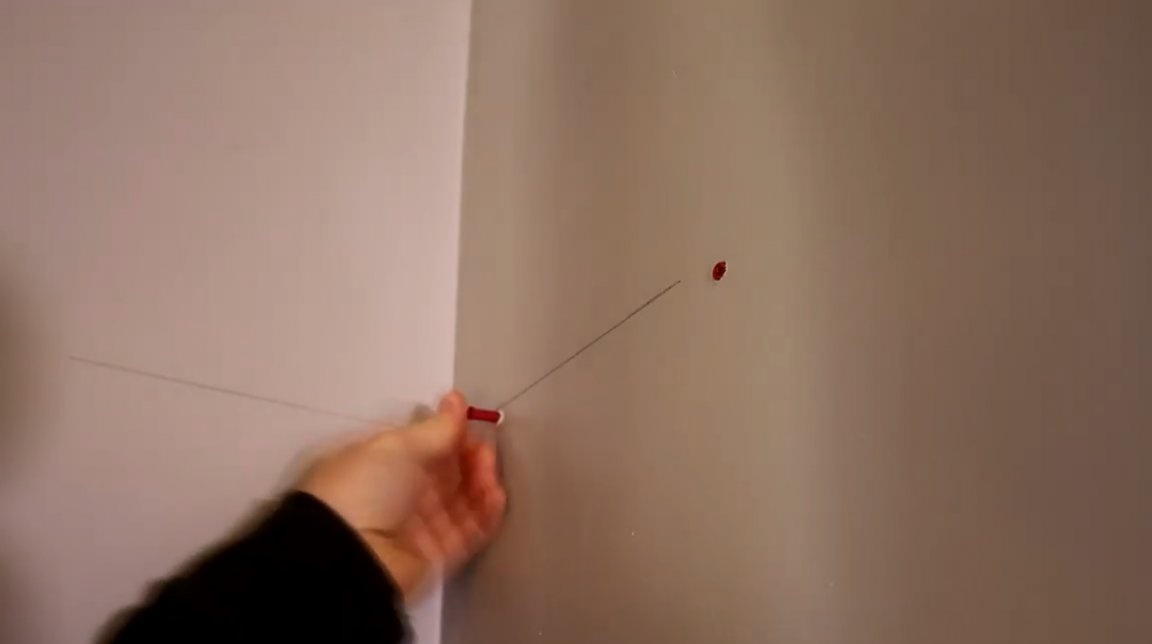
Now the author marks the place where the radius line will pass along the front edge of the shelf. To do this, he drives a thin nail in the opposite corner, on which he fixes the twine.
The other end of the string is wound on a pencil, after which the fillet line is drawn last.


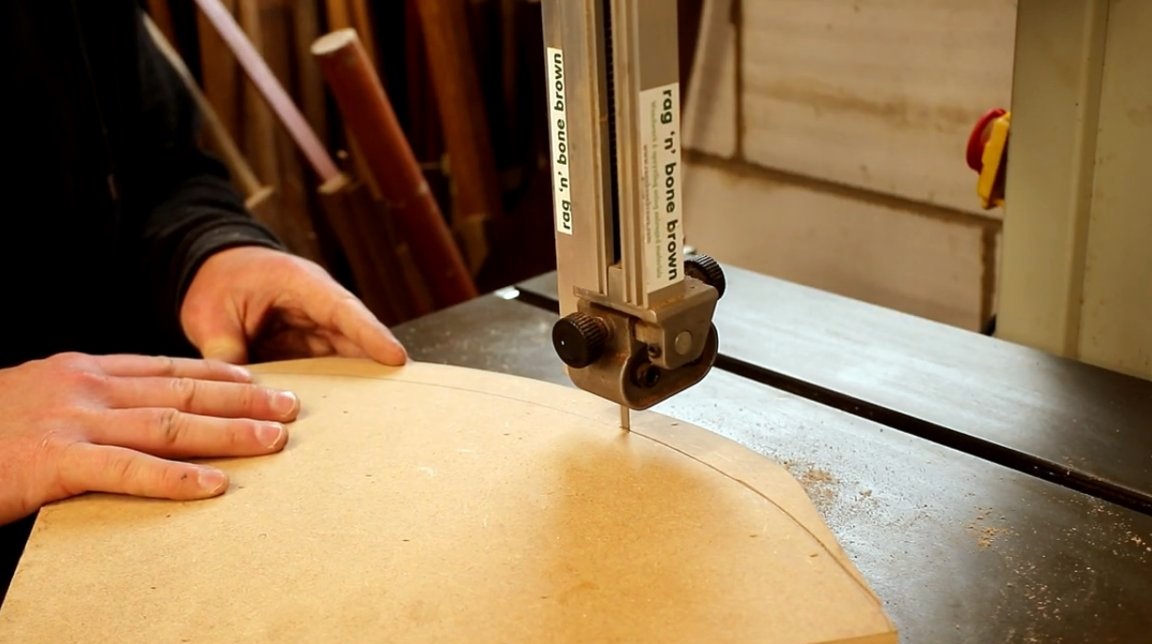
The rounding is cut out on a band saw and processed manually with 100 grit sanding paper.
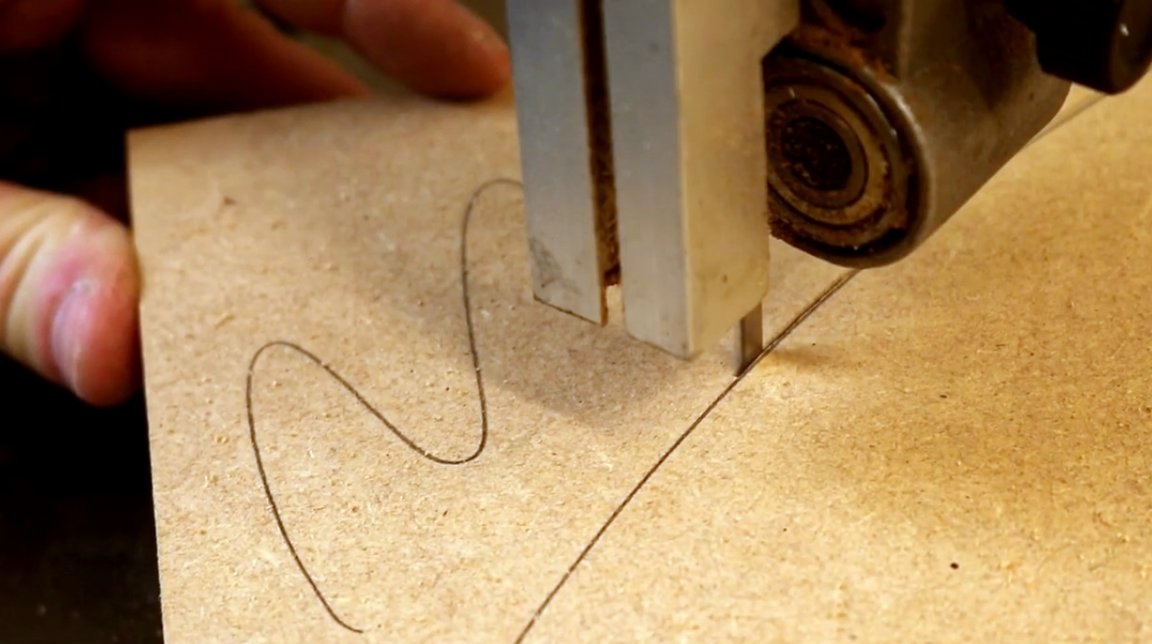
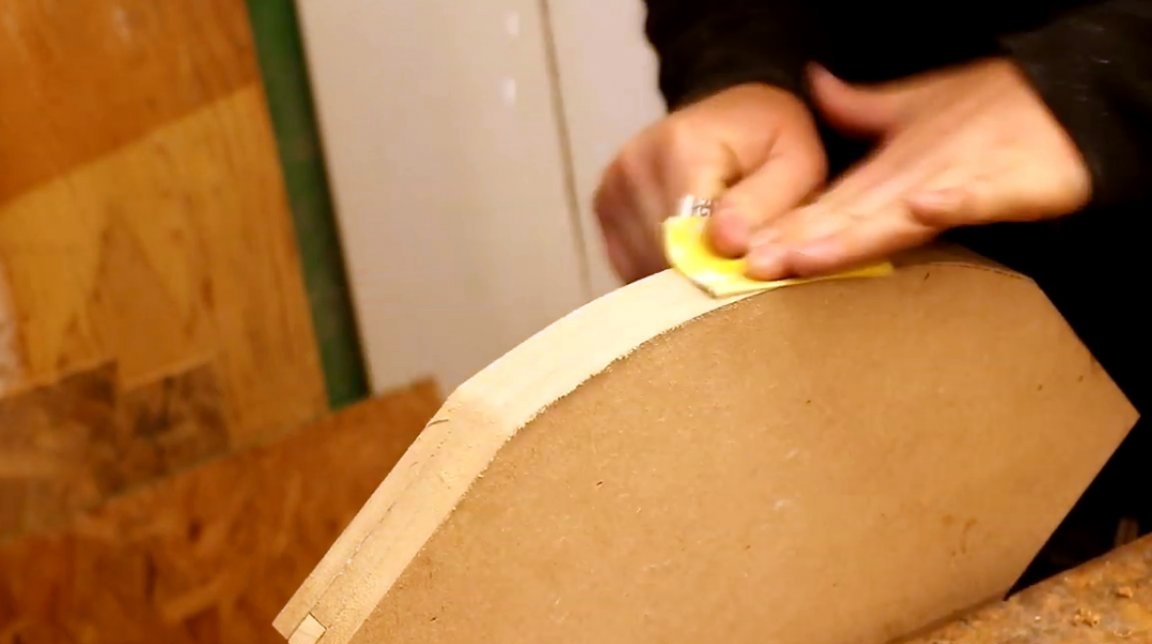
The rounding form was not very symmetrical, and did not suit it. The author makes a second attempt. This time he draws a curve across the entire surface of the shelf - from edge to edge.
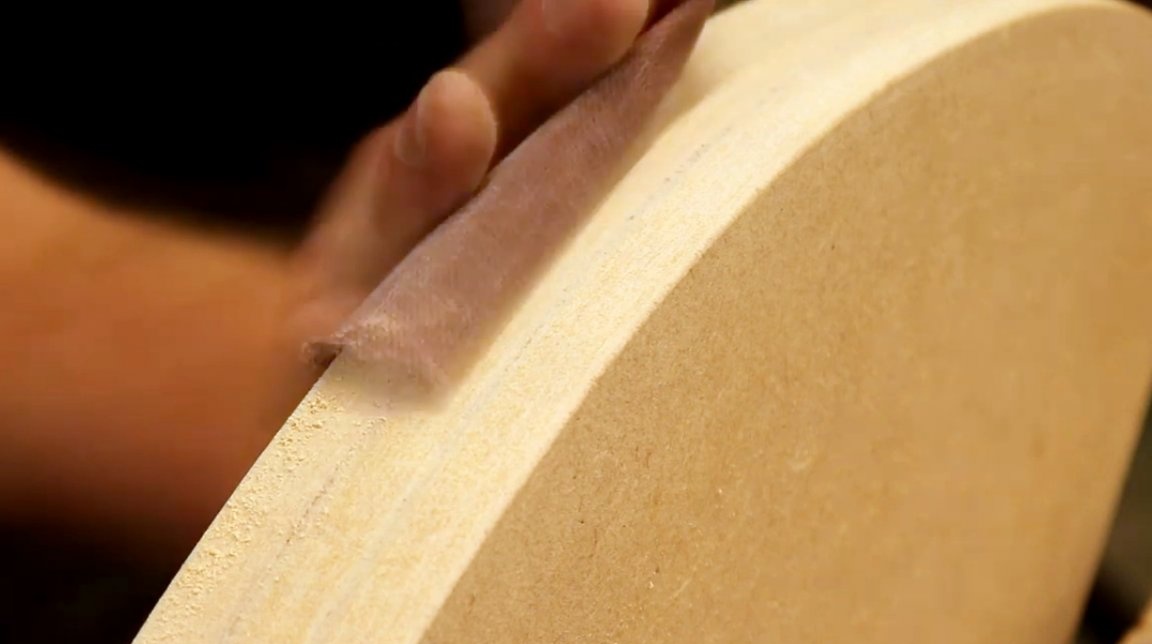
And again the tape machine and grinding, this time with 240 grit sandpaper. The edges of the MDF should be as smooth as possible.
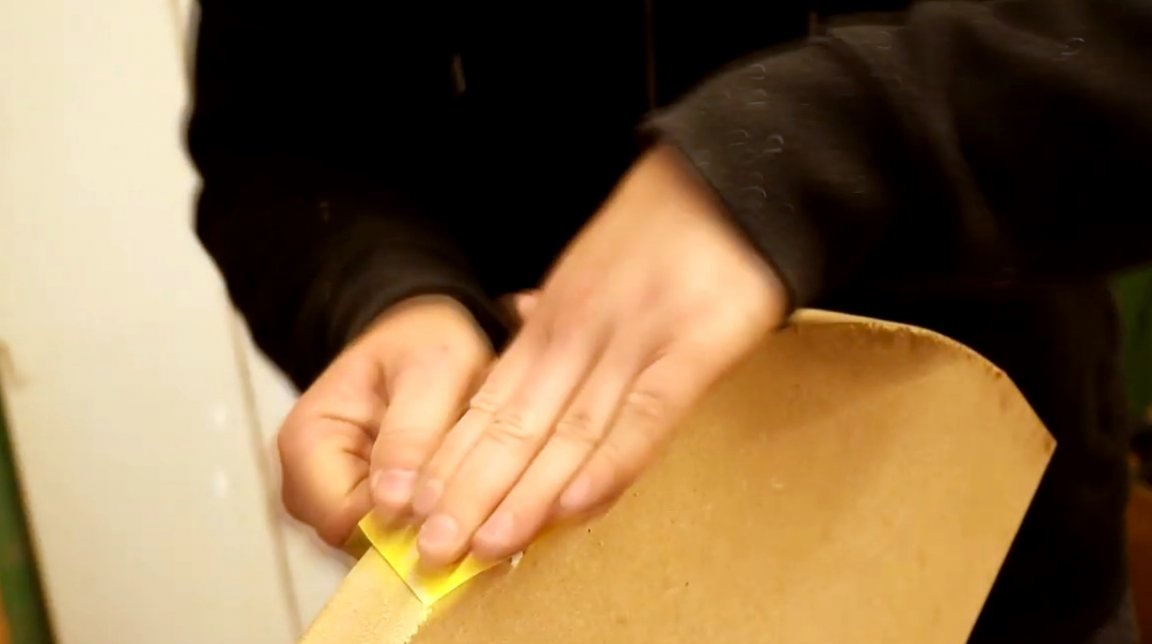
The master also peels the sharp edges of the shelf to make them slightly rounded, and pleasant to the touch.
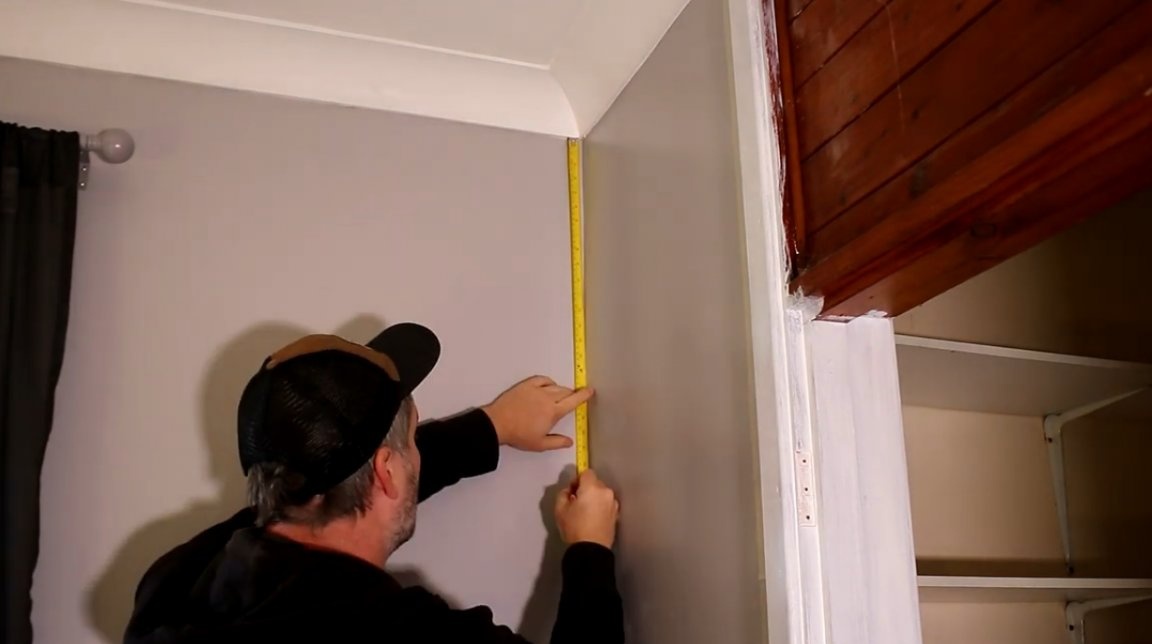
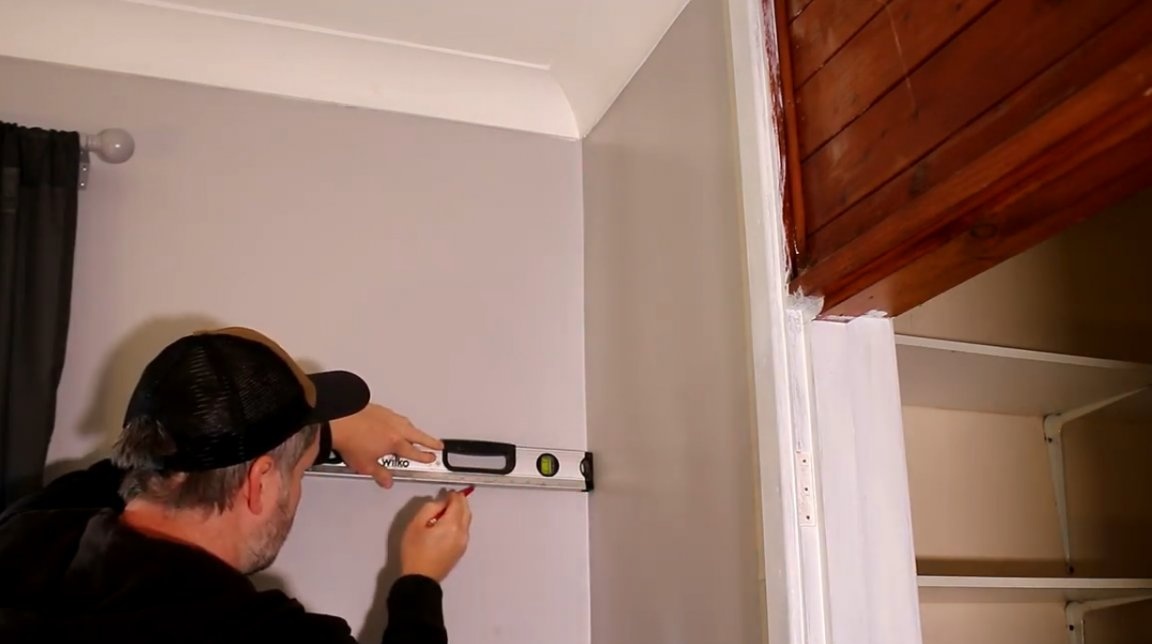
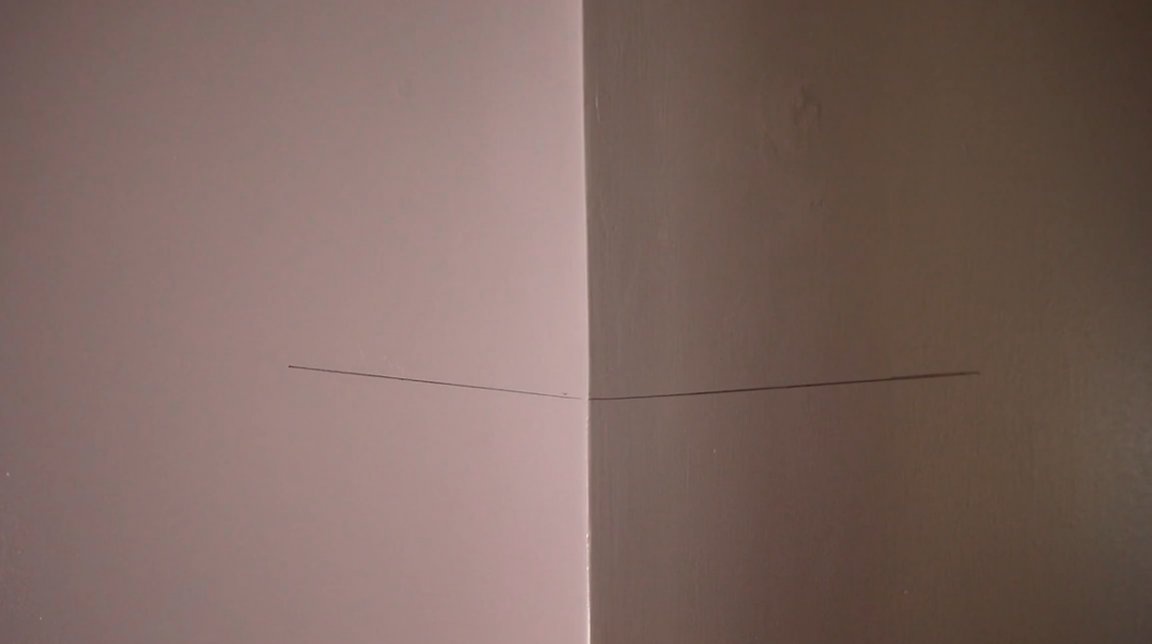
Now the author proceeds to install the shelf. It will be located quite high on the wall. The author uses his construction level to mark the horizontal line on both walls. These will be the places where the mounting strips will be located.
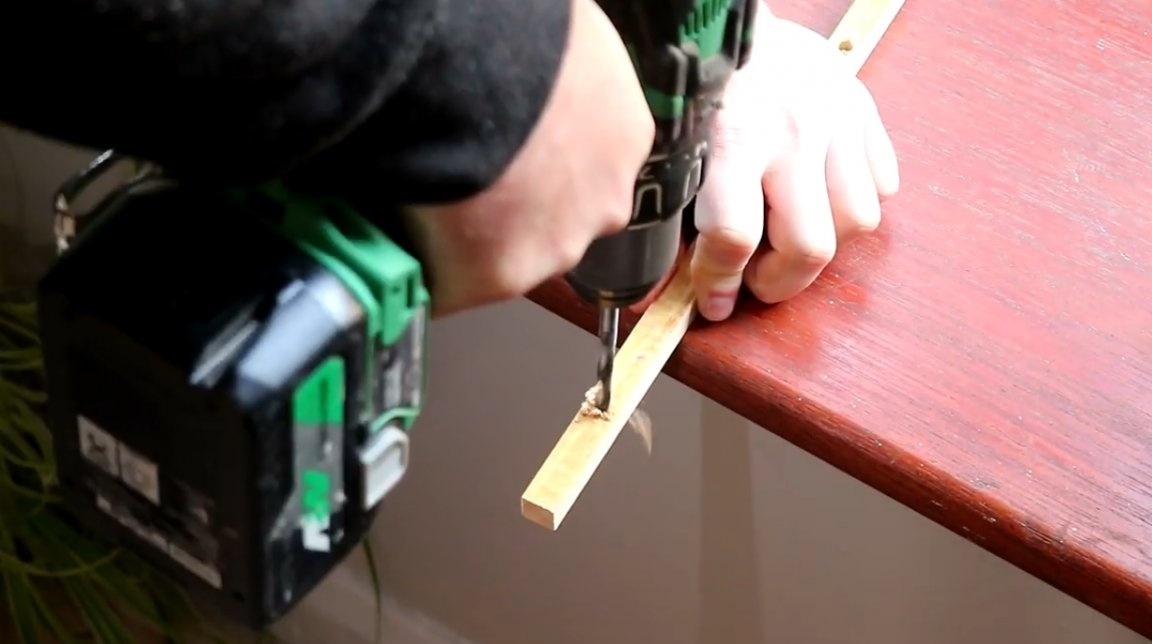
The strips were previously drilled through a pair of holes with a 6 mm three-point drill on wood.
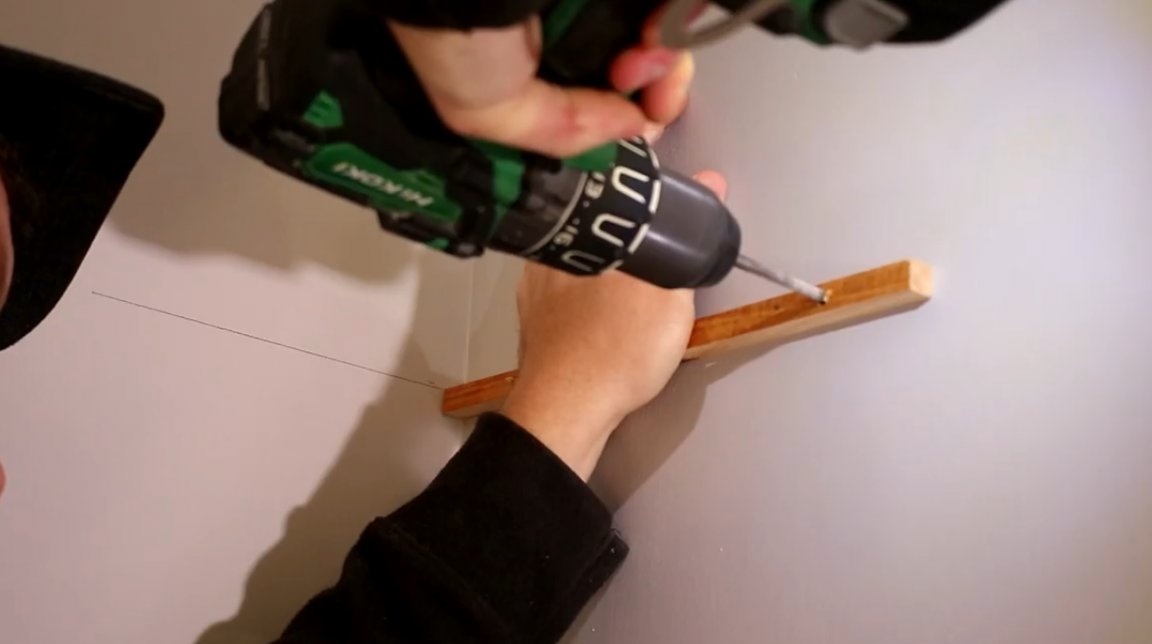
Then the strips are set exactly along the marking lines, and the marks on the wall are made with the same drill.
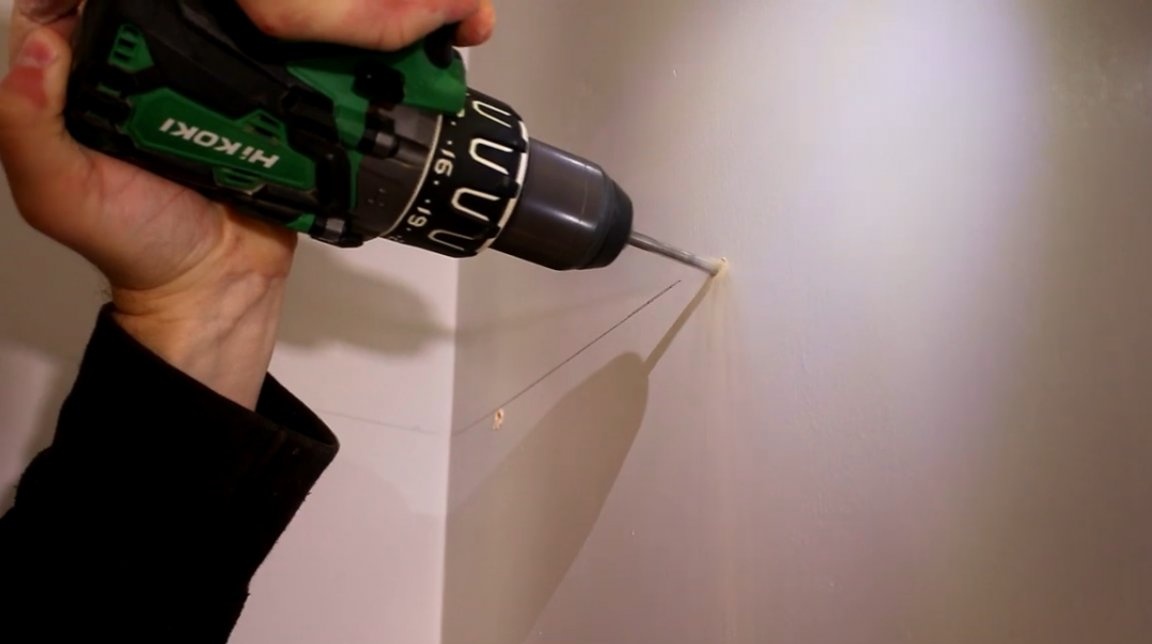
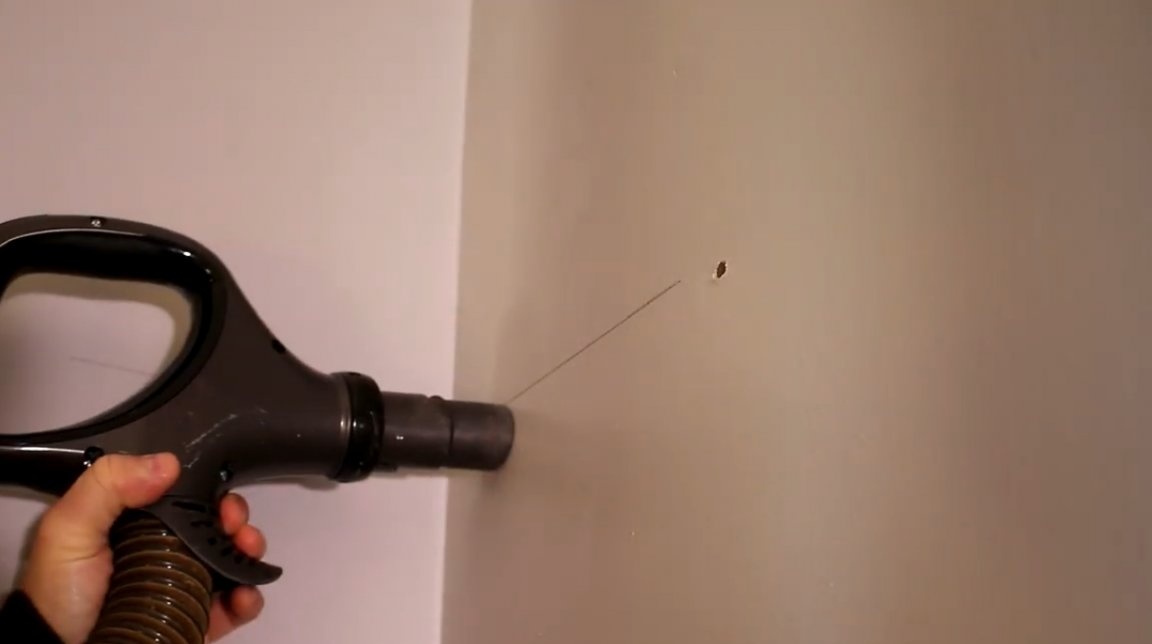
Holes are drilled in the wall with a 6 mm drill on concrete, dust is drilled from the holes, and removed from the wall surface with a vacuum cleaner.
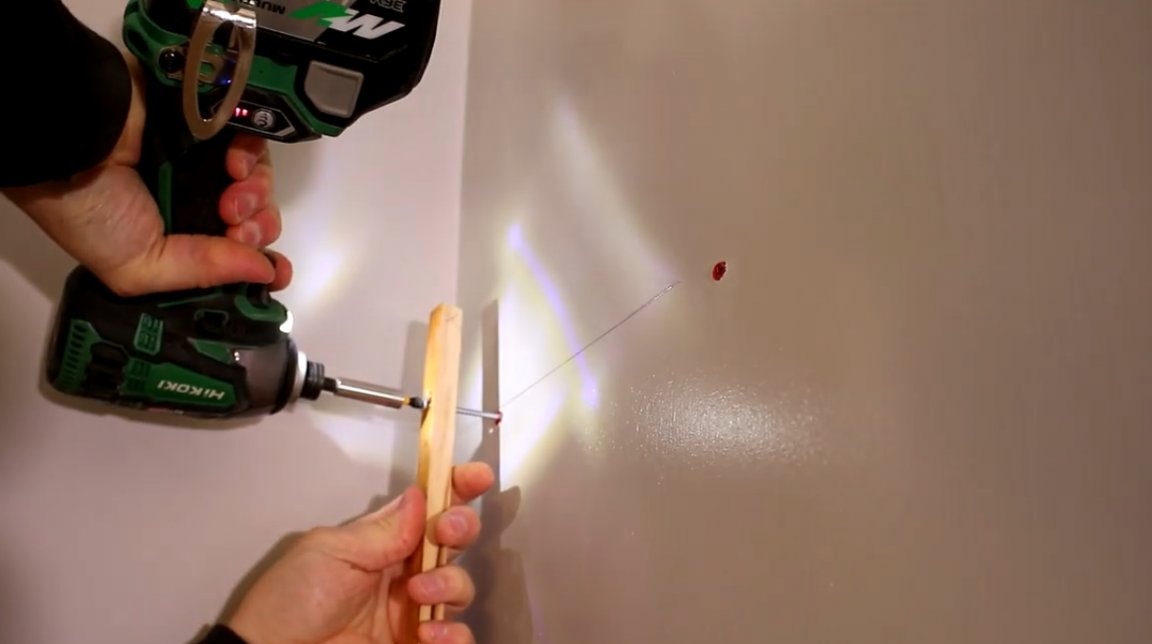
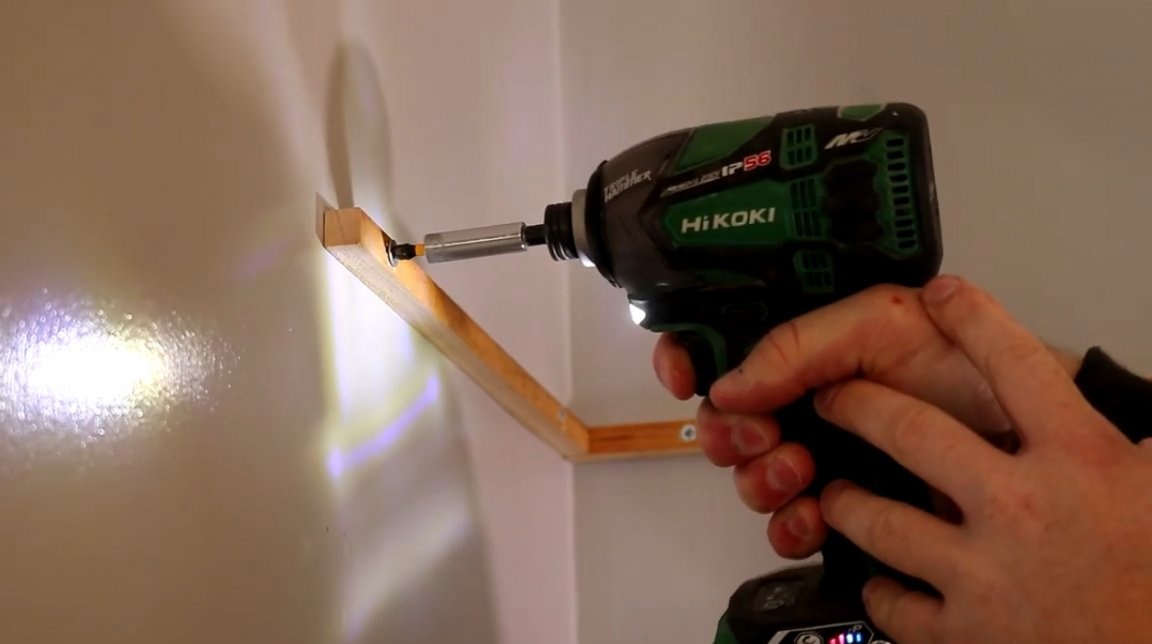
Now dowels are inserted into the holes obtained, and the strips are screwed to the wall with screws.
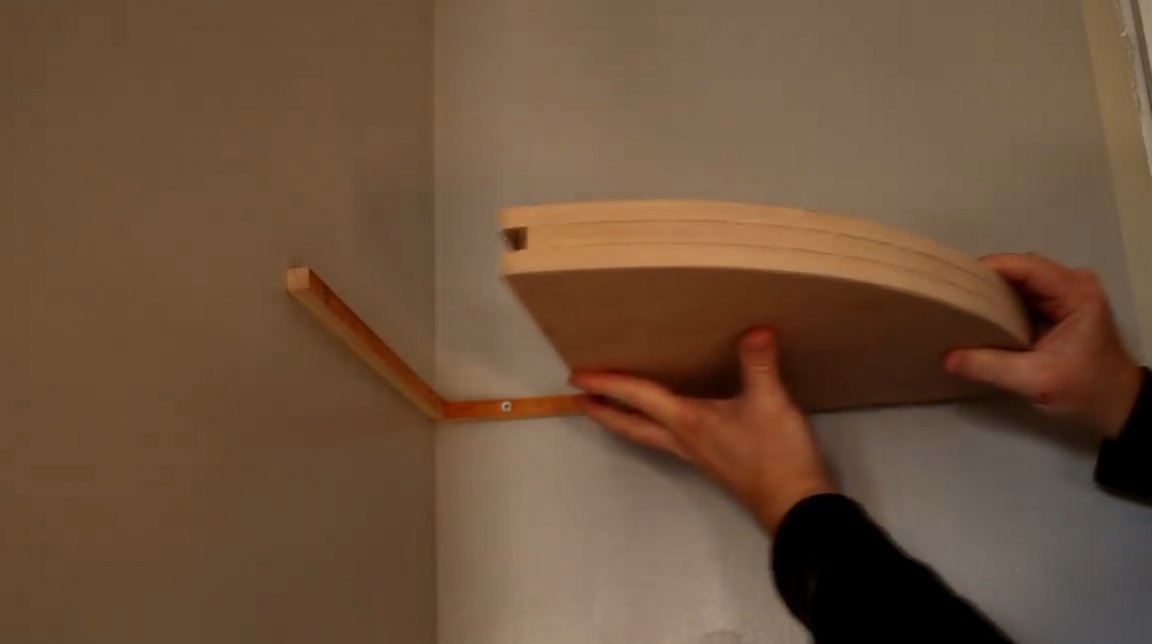
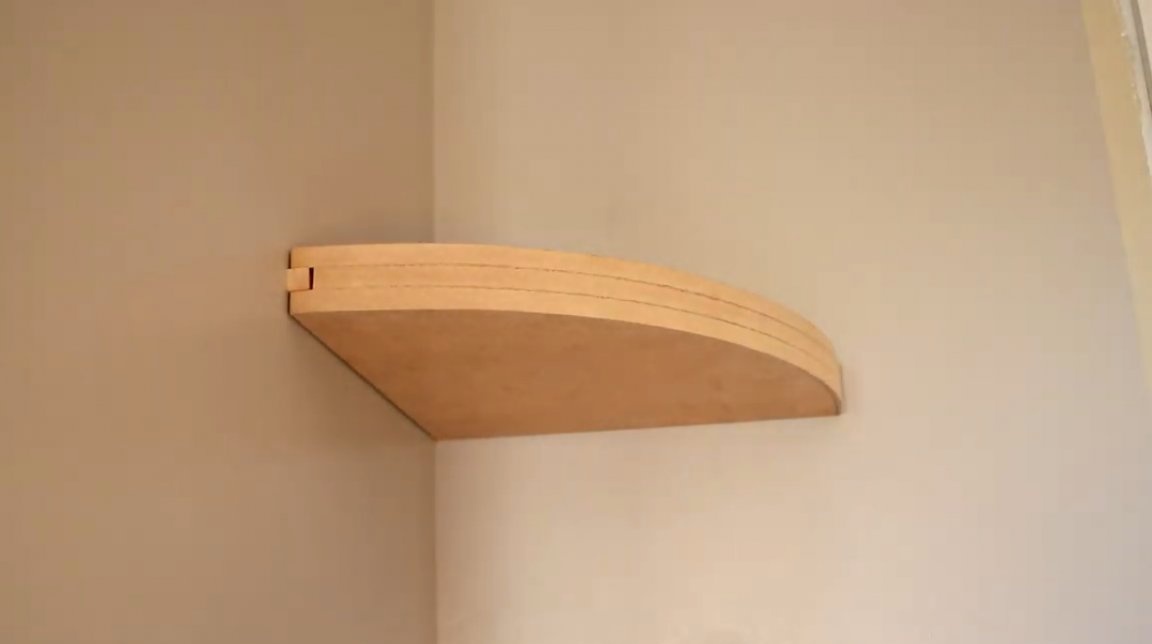
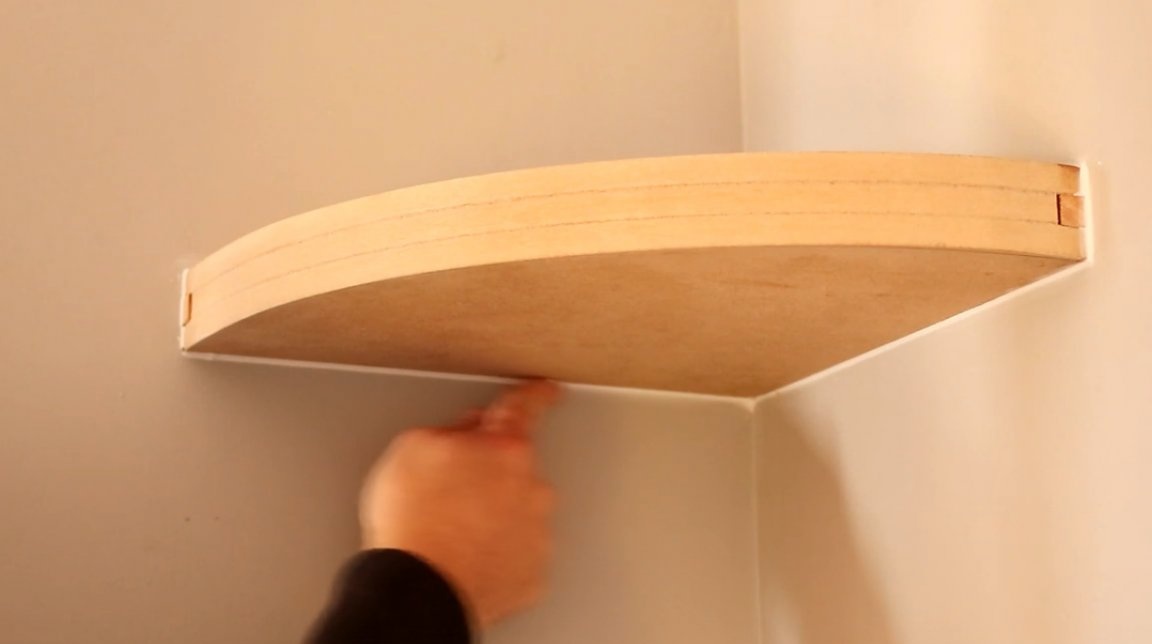
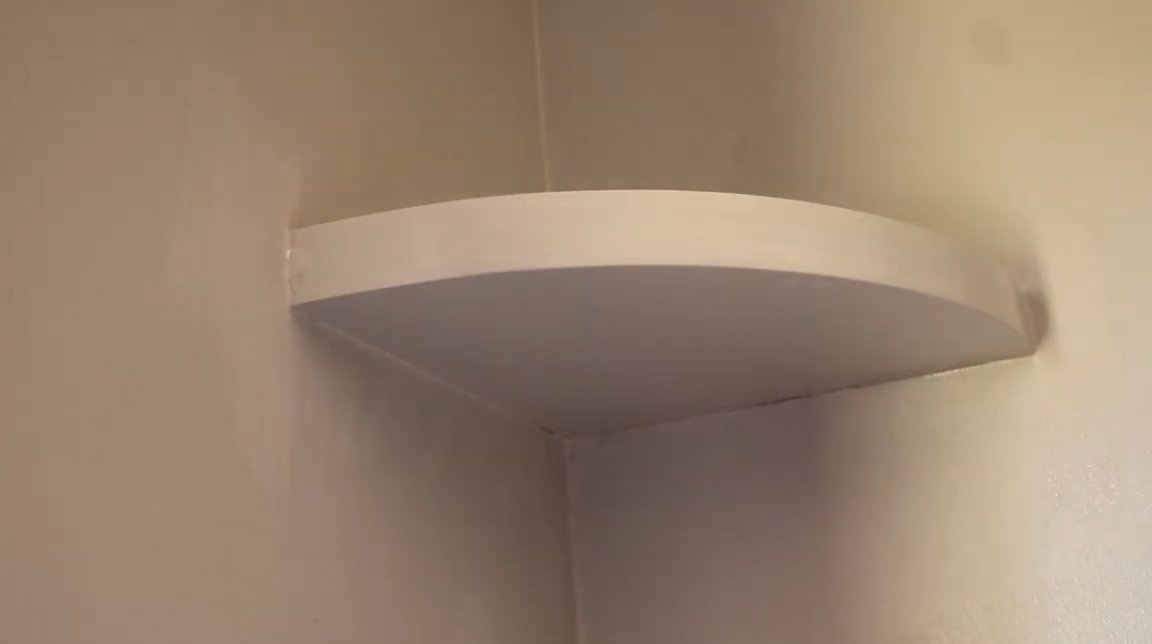
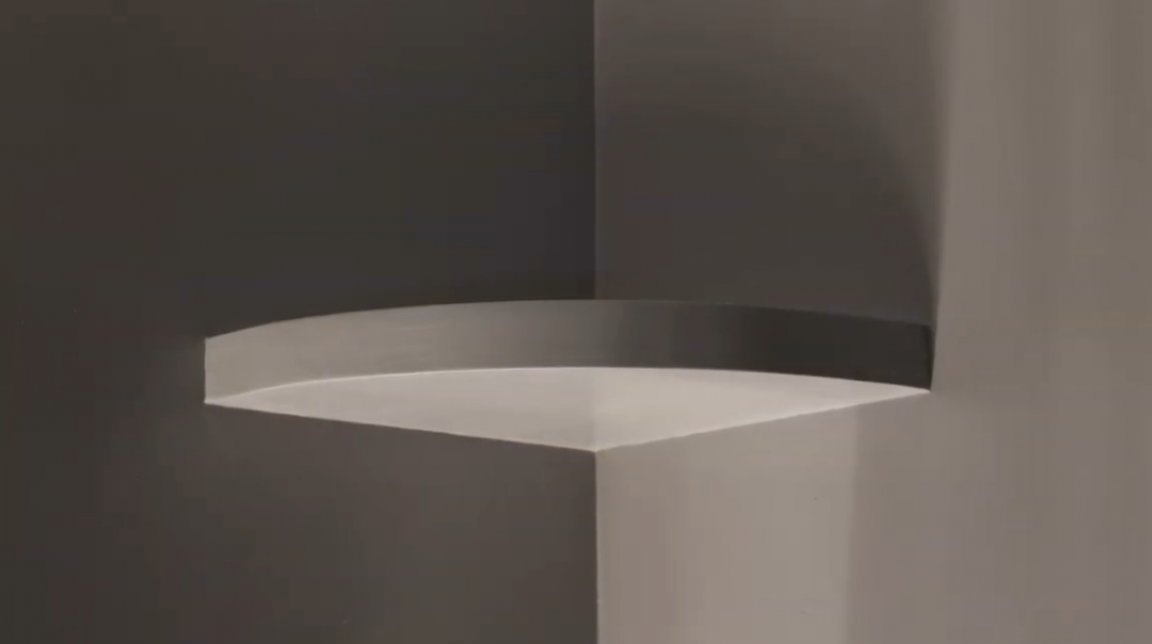
The shelf is pushed onto the finished supports. Unfortunately, it does not fit perfectly against the wall due to the plaster layer in the corner of the wall, and the walls do not have perfect 90 degrees between them. But these gaps can easily be filled with putty or other material with similar properties.
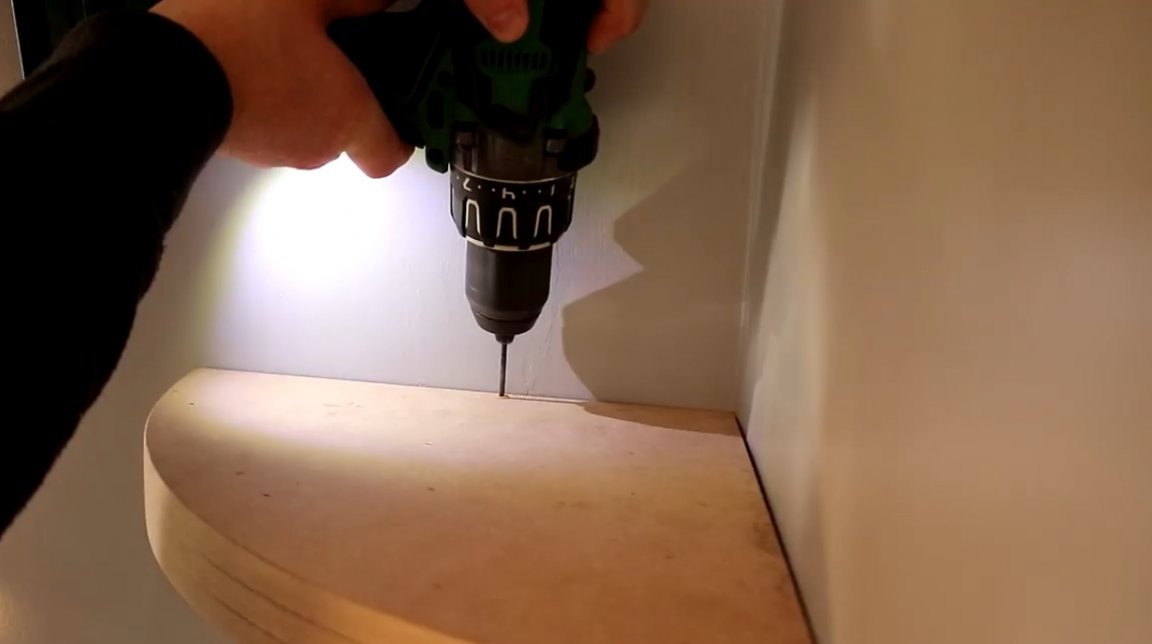
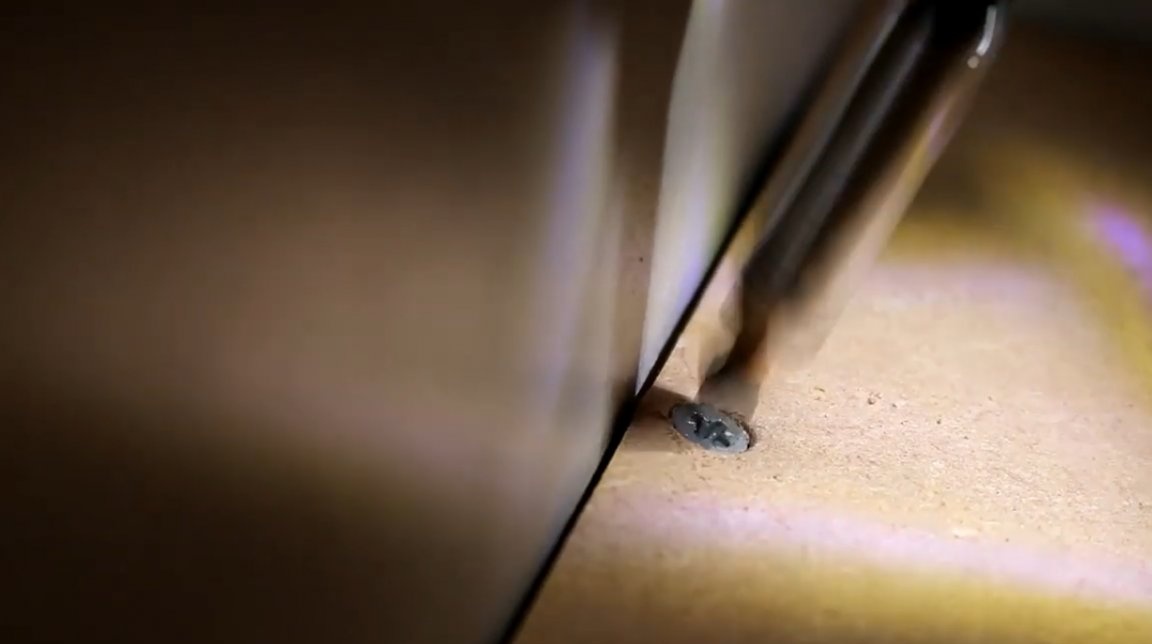
To fix the shelf on the mounting strips, the author drills several pilot holes at an angle through the shelf directly into the rails, and screws into them. This can be done both from above and from below, but on the upper side it will be the least noticeable.
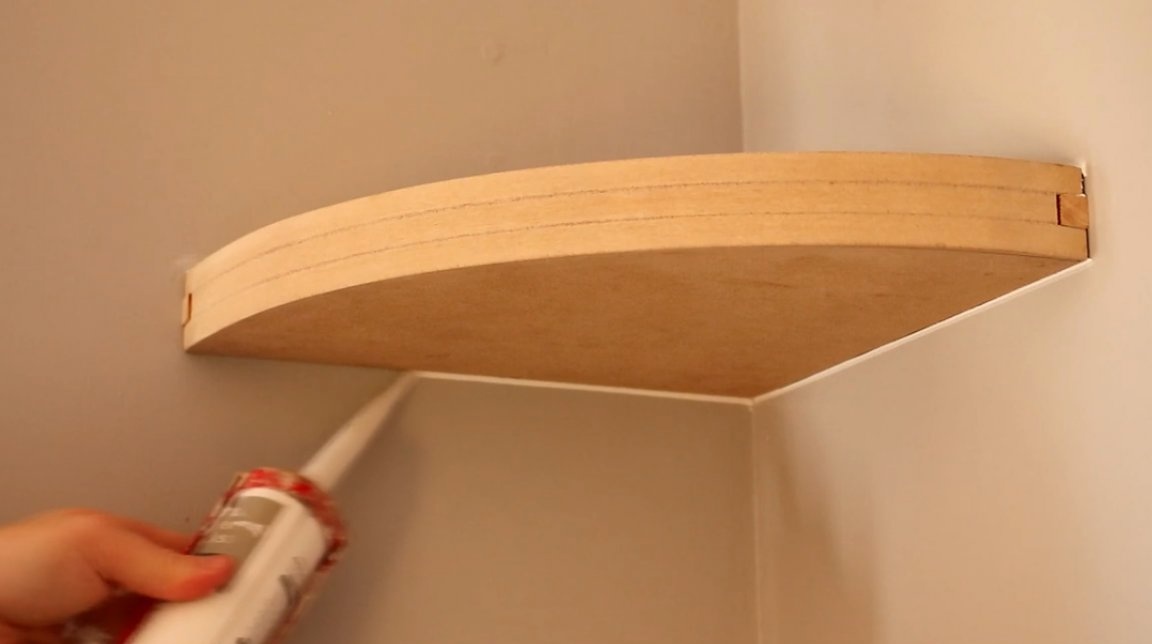
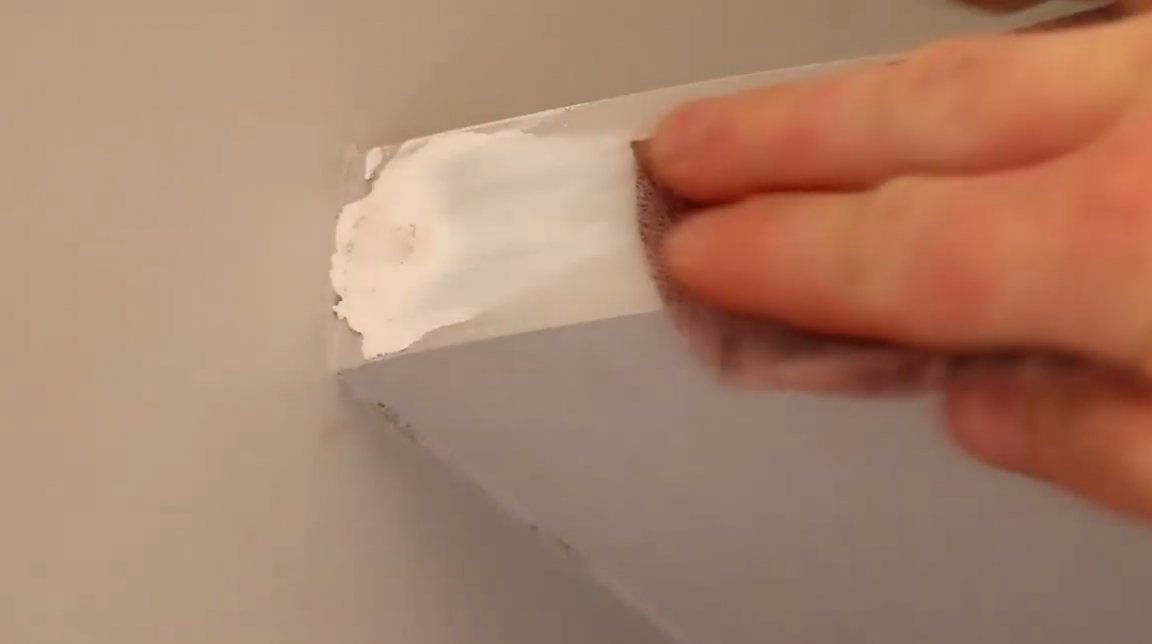
Now, with the help of decorative putty, the master closes all the cracks between the shelf and the wall and smooths the grooves of the material with a finger dipped in water.
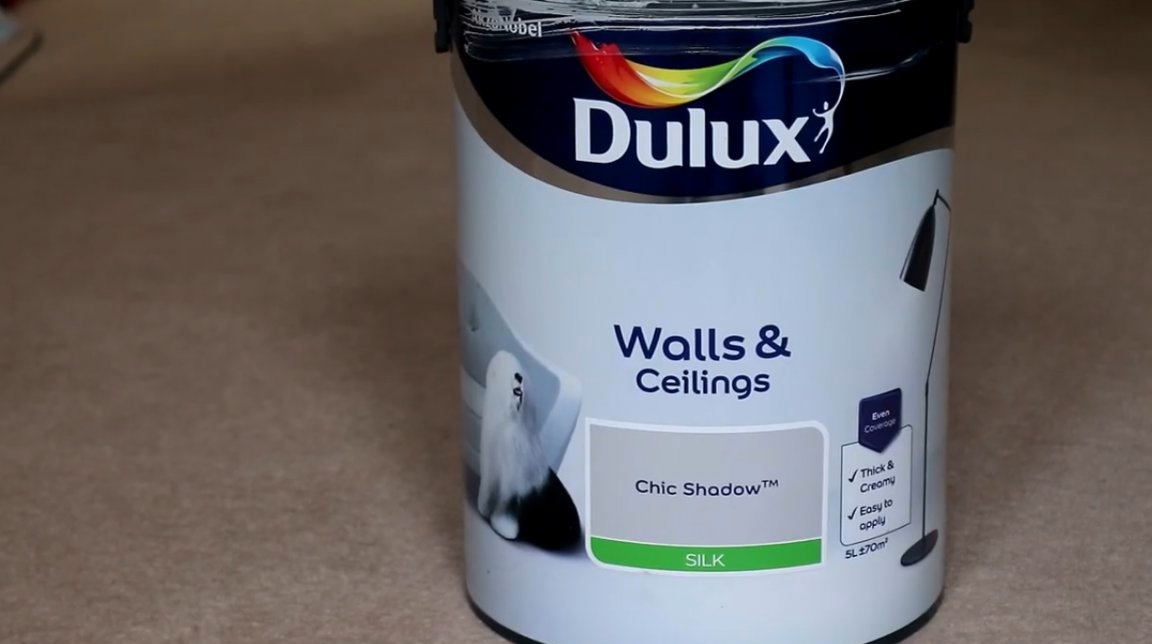
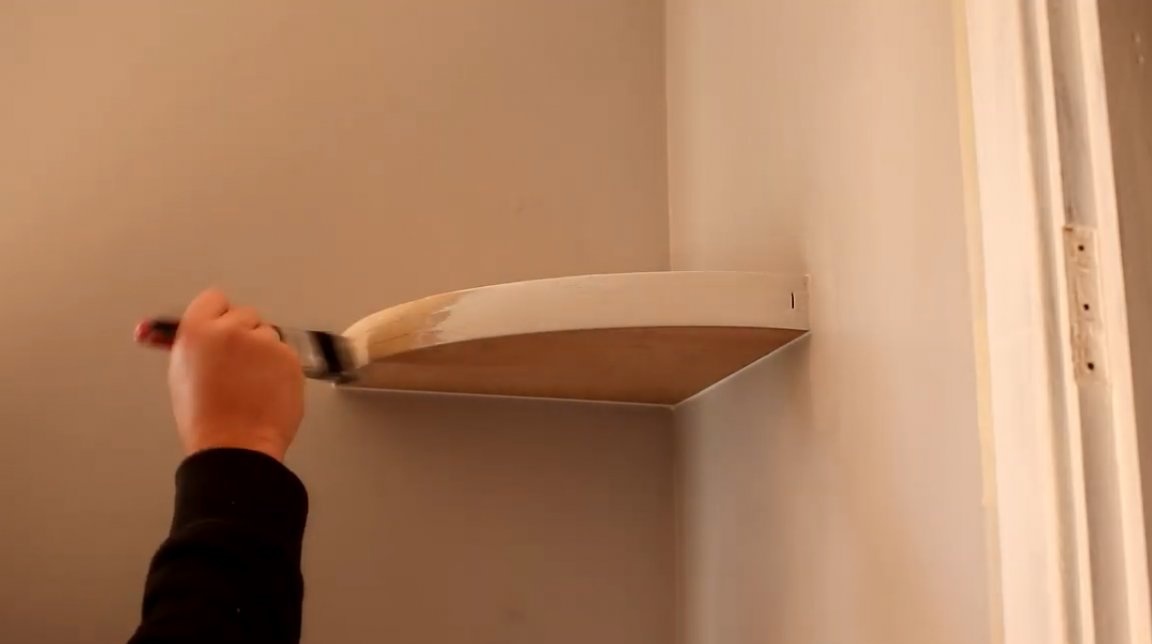
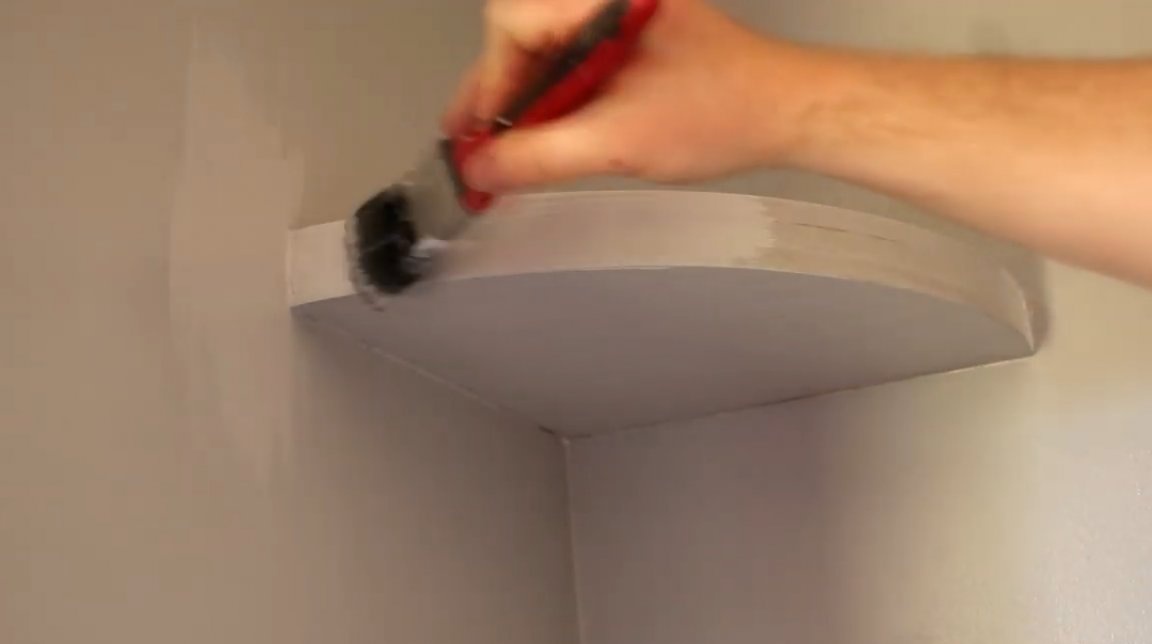
Further, the author covers the shelf with a layer of paint of the same color as the wall covering. This is a water based paint. It would be nice to use a primer first. But the author did not have one.
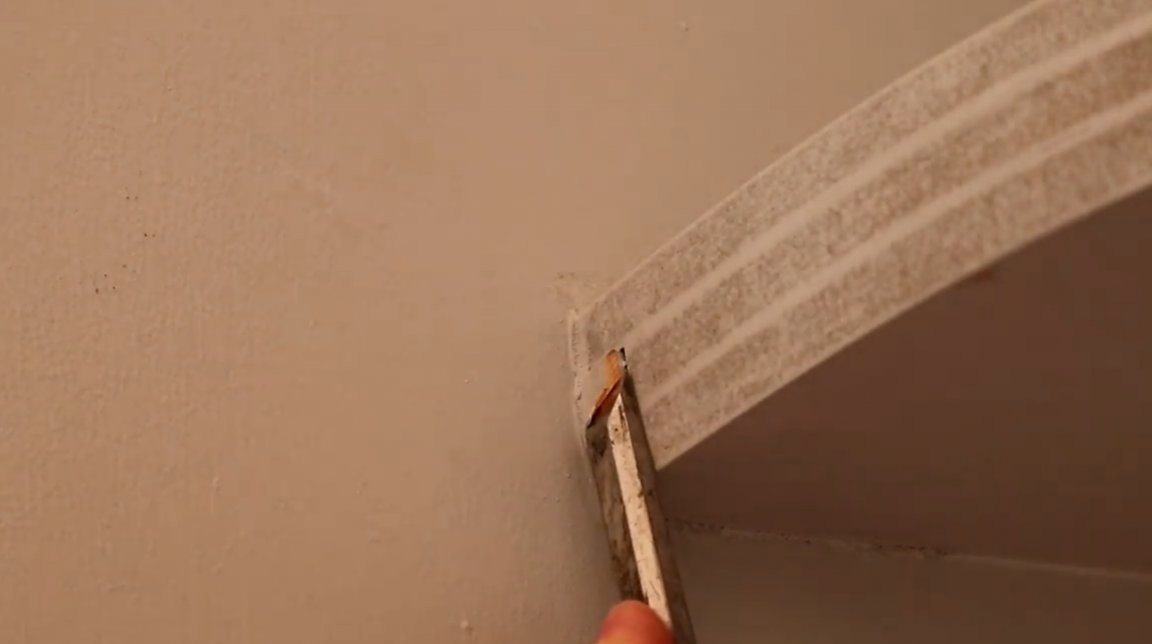
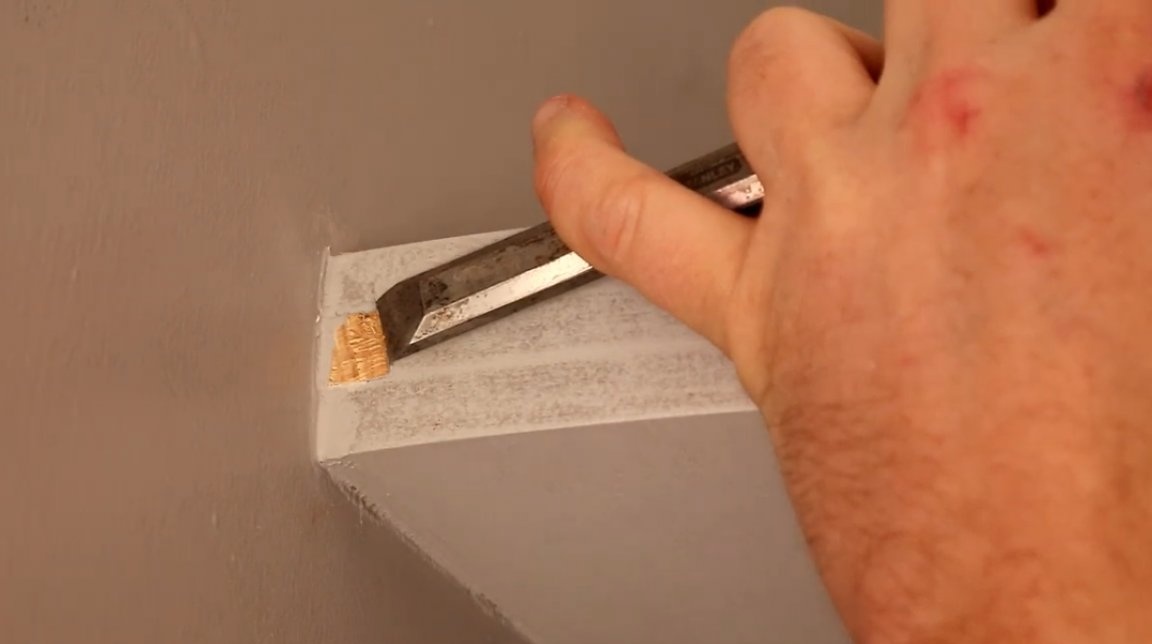
The edge of the plank slightly protruded above the base of the shelf, and the master cut off the excess with a chisel.
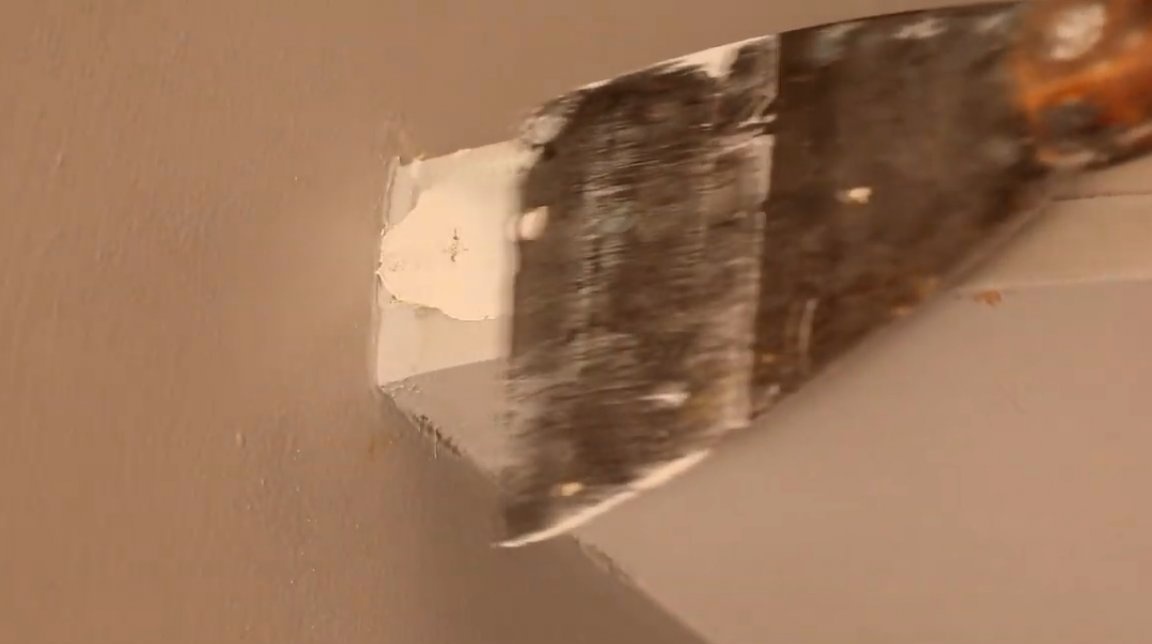
On the end of the shelf, the author puts out all the holes and bumps. Then it cleans the entire edge with sandpaper at 100, and then at 400 grit.
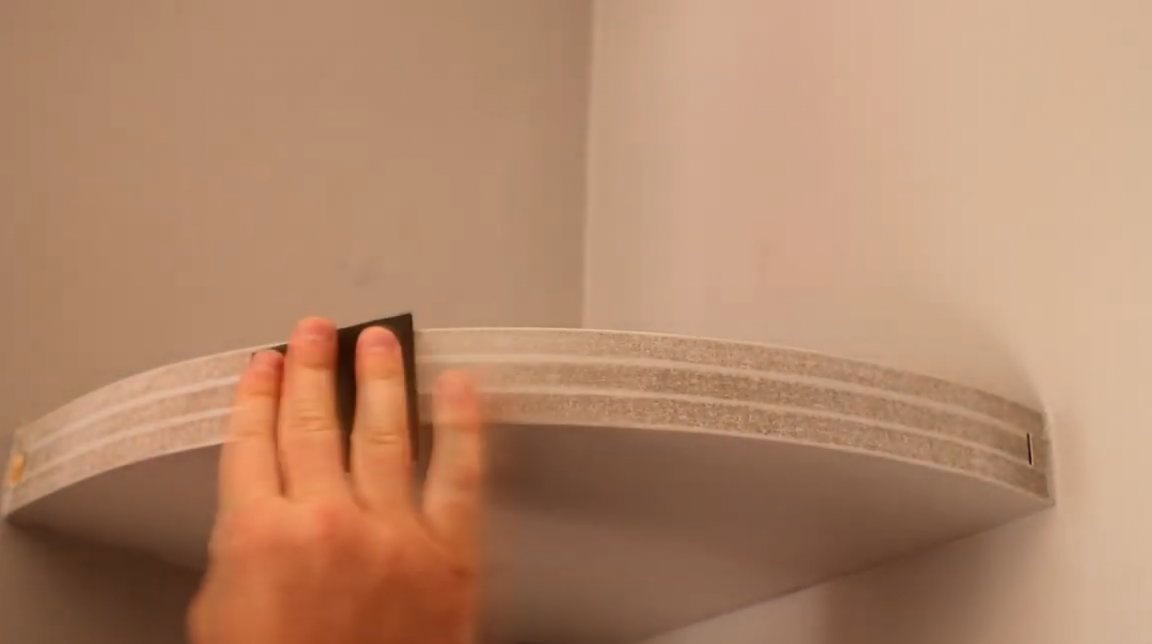
After that, he applies a second coat of paint, and after a while, also a third coat on the very edge of the shelf and wall.
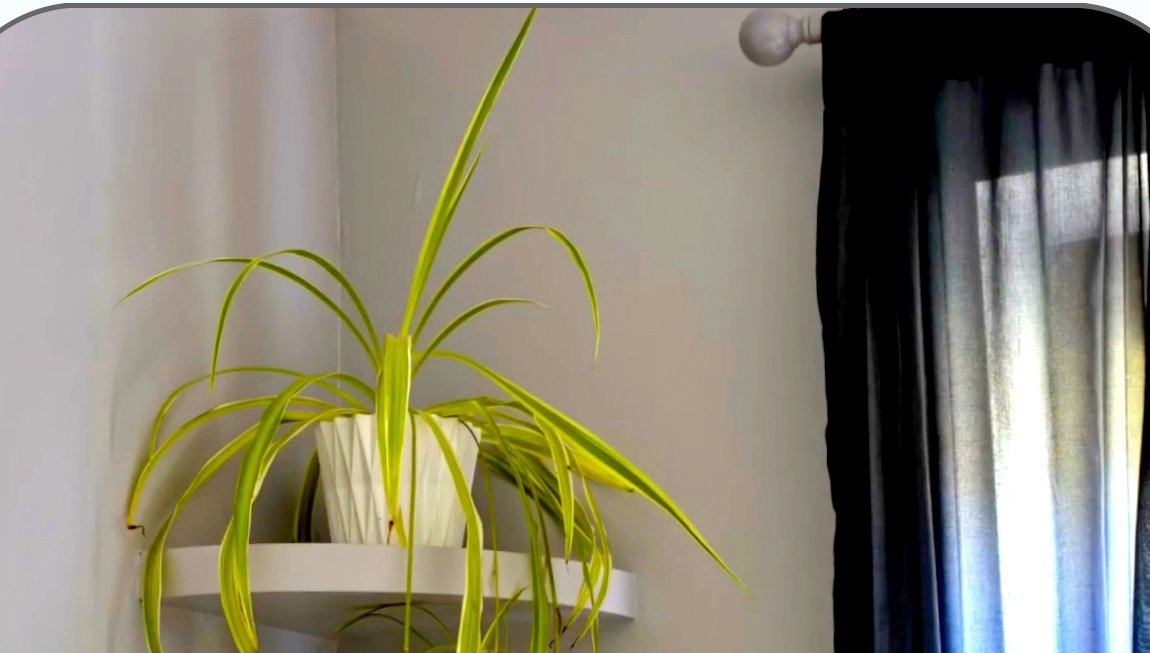
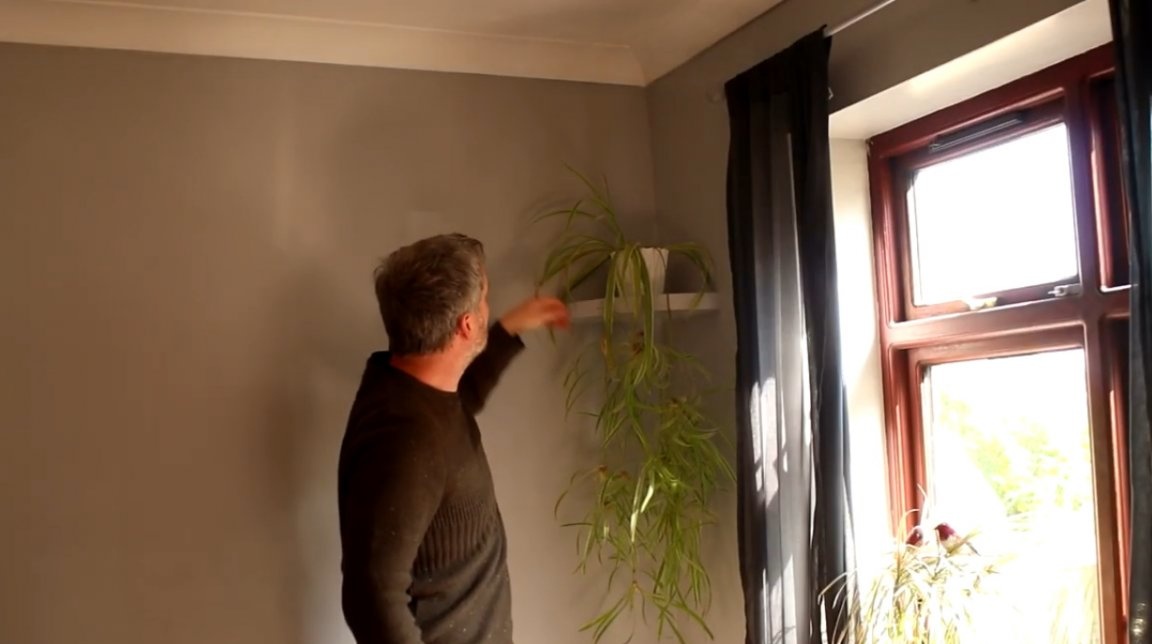
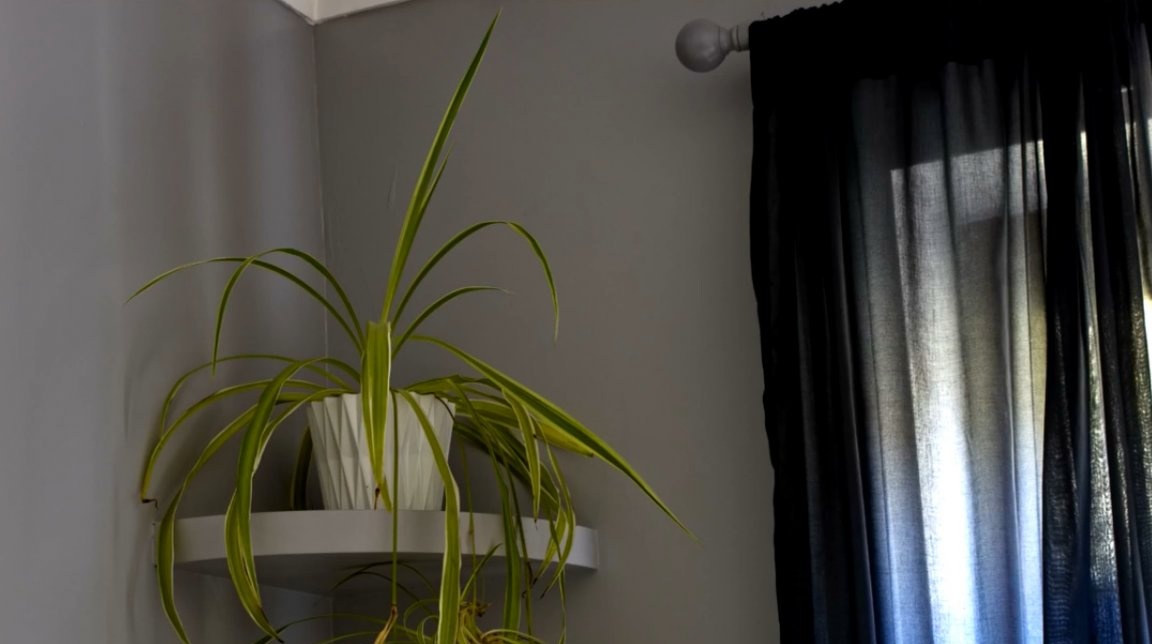
Now, decorative plants or any decorative elements - vases, figurines, lamps, and even cats can be placed on a shelf.
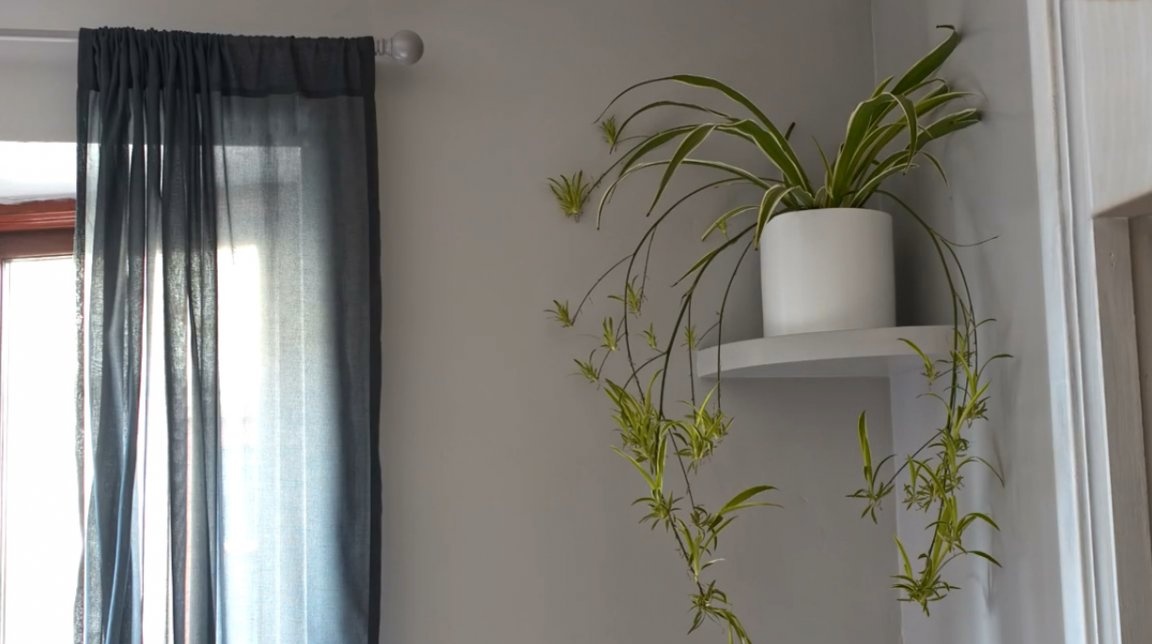
I thank the author for the simple but very interesting design of the corner shelf!
All good mood, good luck, and interesting ideas!
Author video can be found here.