
Surely many of you have to work with a hand-held circular saw, and one of the most basic tasks is to make an even cut of the part at a right angle. This problem is solved in many different ways.
In this article, the author of the YouTube channel “JSK-koubou” will tell you how to make device, with which you can quickly and accurately cut both a wide board and a small beam.
This homemade product is very easy to manufacture, and does not require complex tools, milling, turning, or expensive materials.
Materials
- Pine beam 15X30 mm
- Screws, washers, wing nut
- PVA glue or titebond II.
Instruments, used by the author.
— Japanese saw
- Hand circular saw
— Battery Neiler
— Screwdriverwood drill
— Clamps
- Roulette, pencil, square.
Manufacturing process.
So, almost any wooden beam is suitable as the main material for this homemade product (if desired, aluminum profiles or steel can be used, but this is more time-consuming). The master will use a pine beam 15X30 mm.

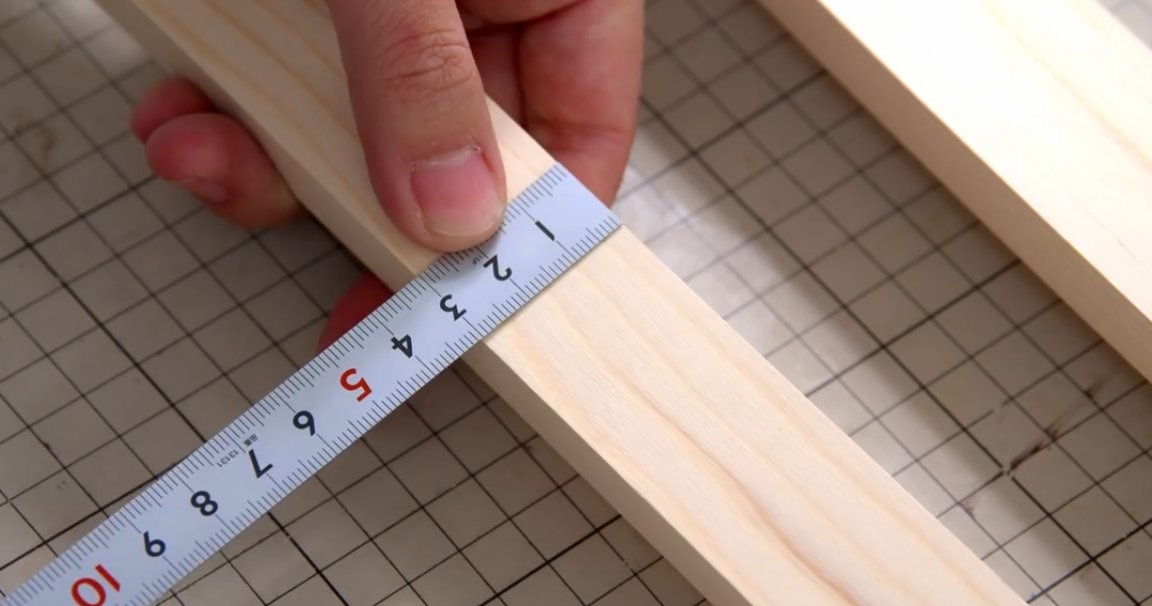
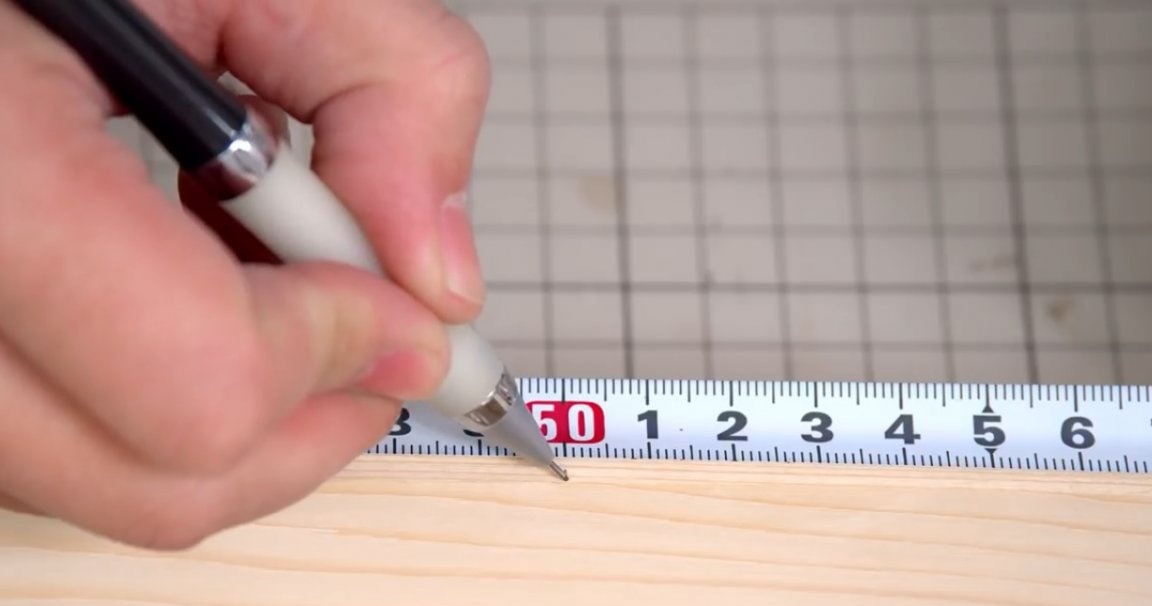
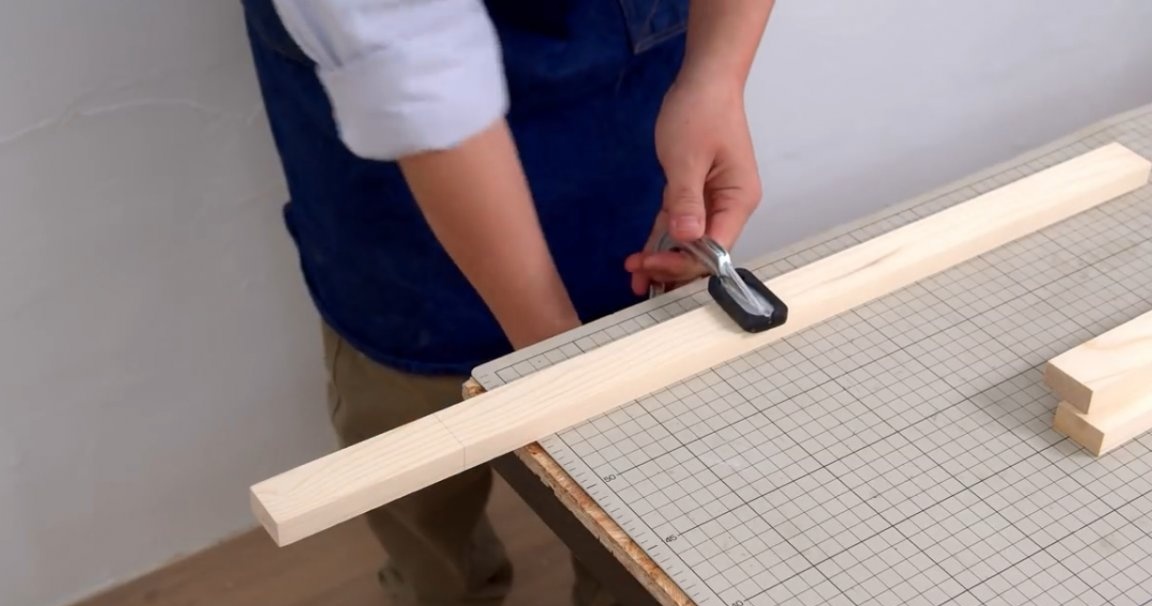
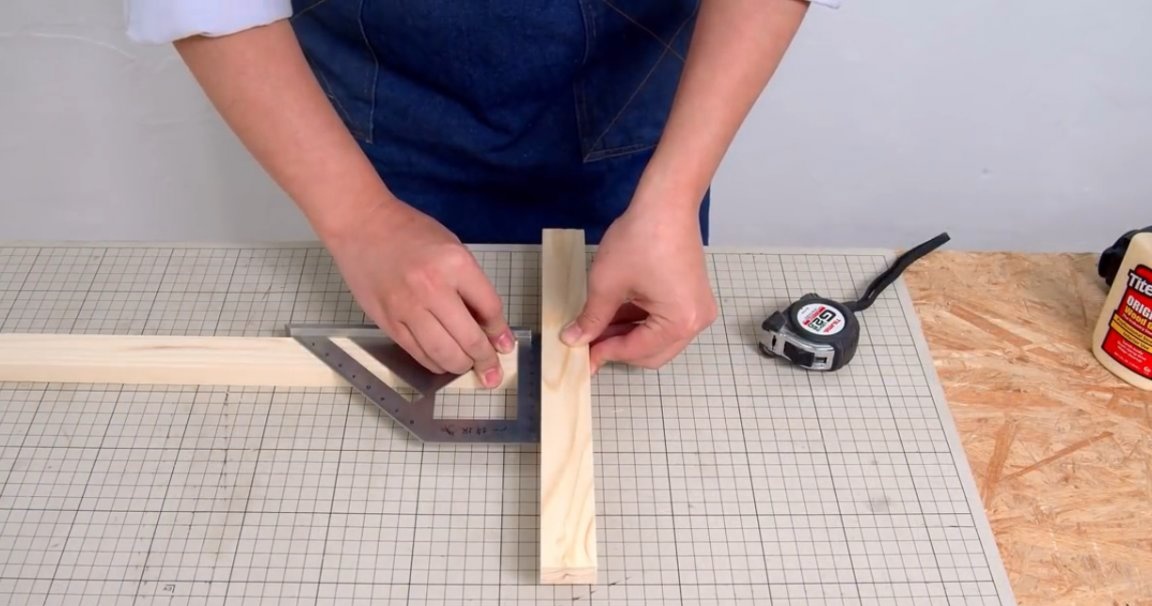
The main rails will require two 500 mm rails. If desired and necessary, these sizes can be either reduced or increased, depending on the details that you will continue to process. The rail is marked around the perimeter with a square.
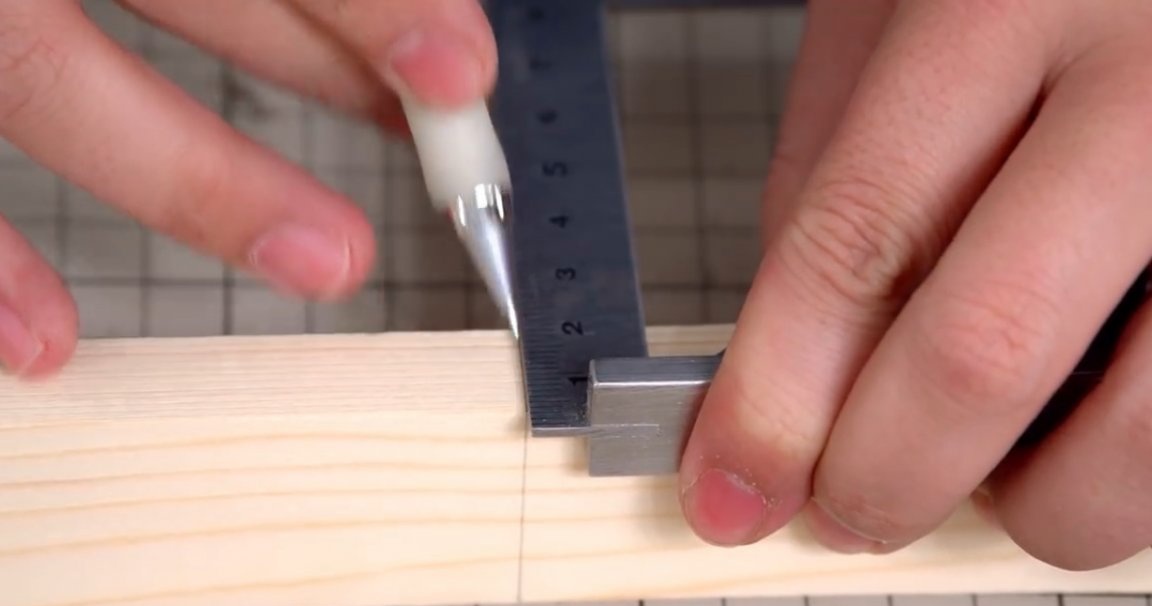
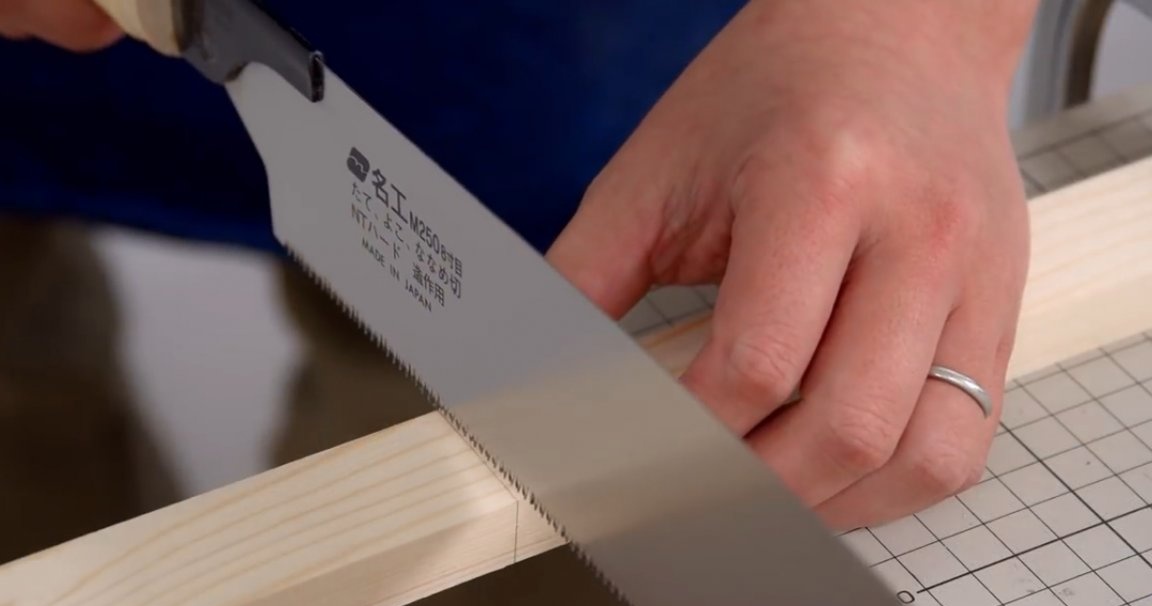
The blanks are fixed on a workbench and cut off with a regular Japanese saw or hacksaw.
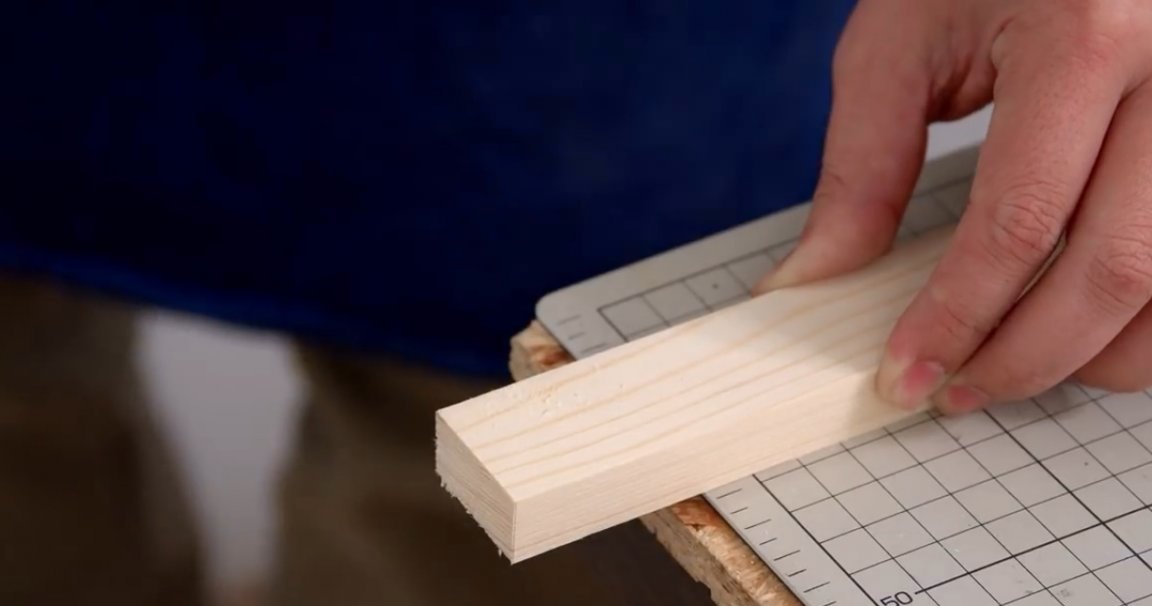
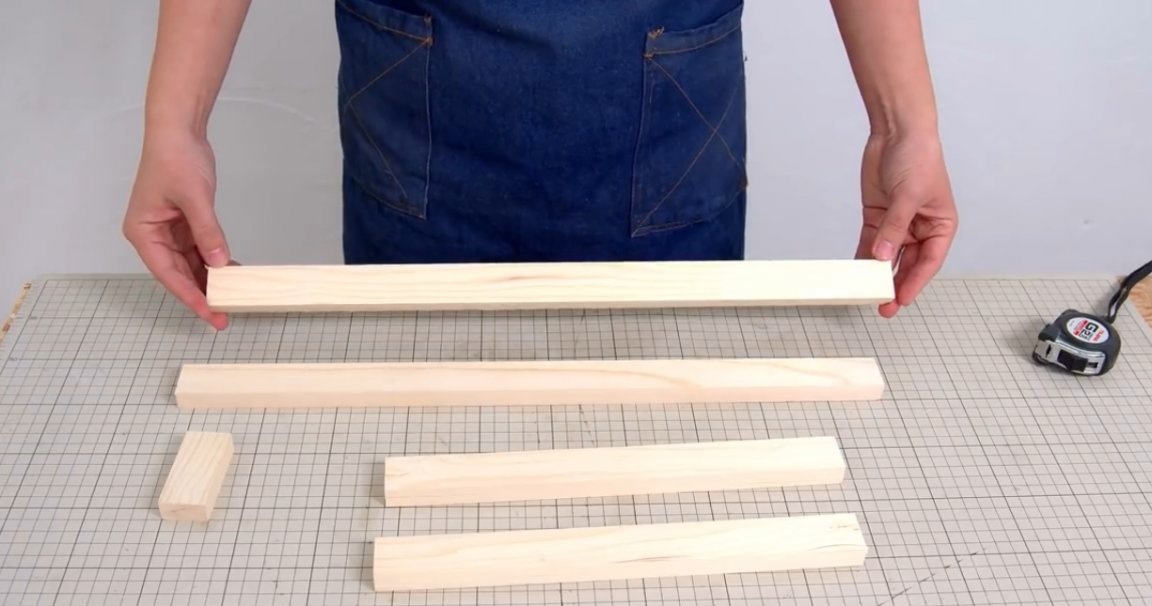
As a result, the author got five such blanks. The exact dimensions do not play a special role.
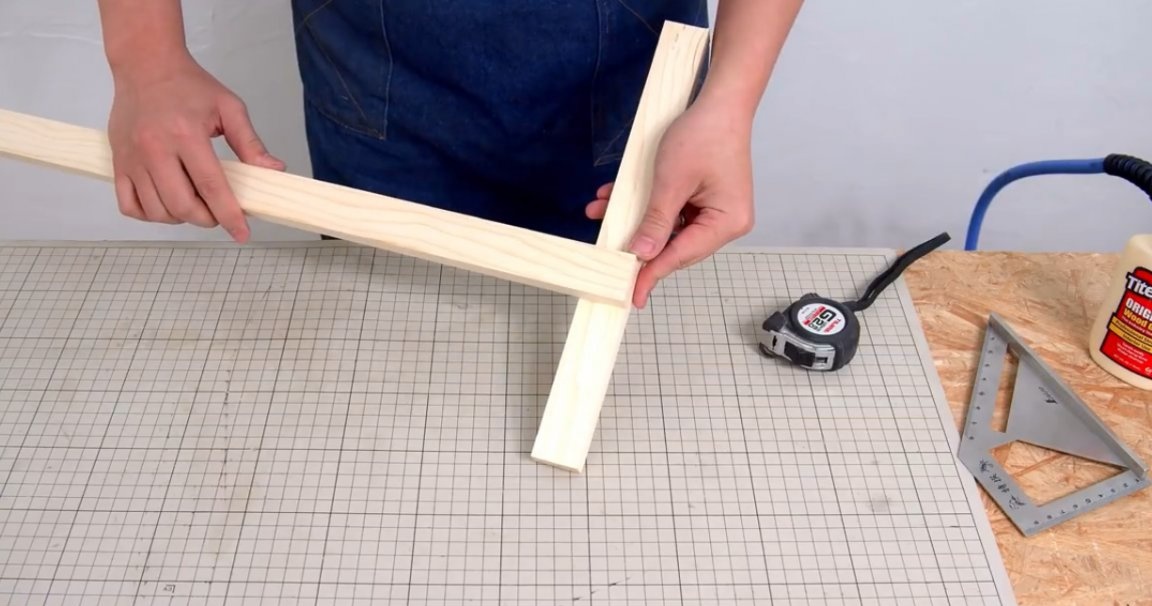
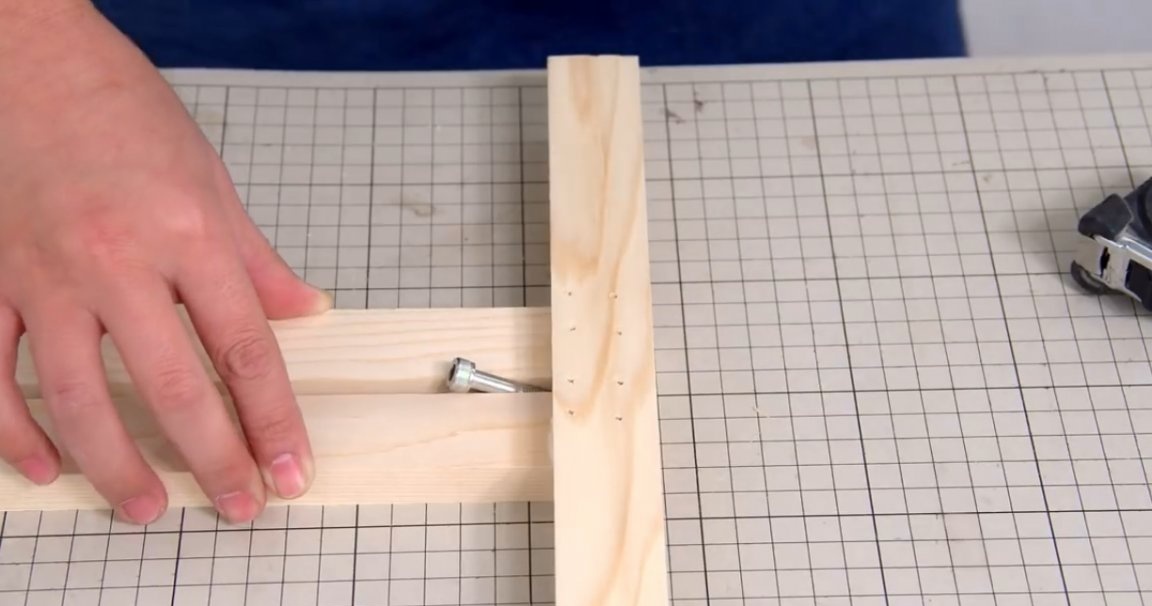
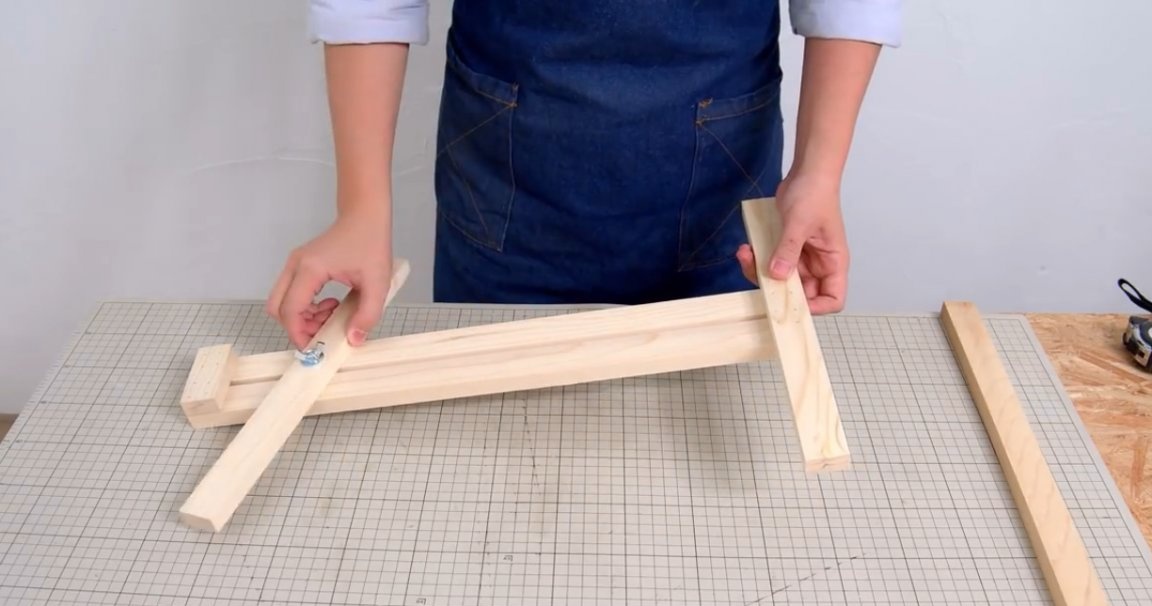
Now the emphasis is glued to the long guide at a right angle with a slight offset from the center, and is fixed by the neiler at four points.
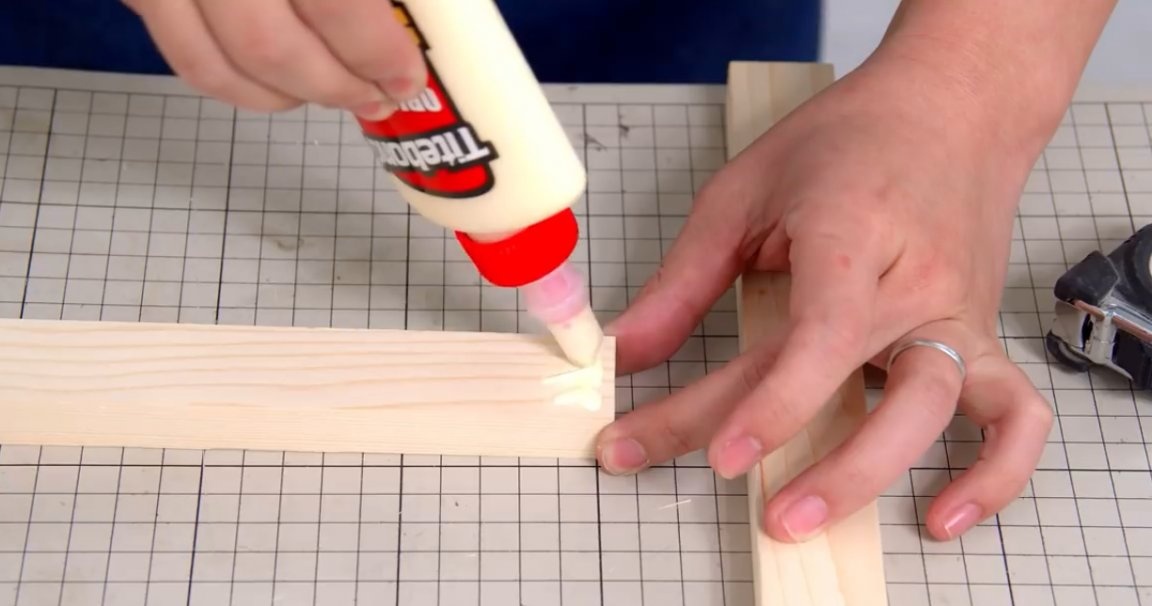
To the resulting “mop” you need to attach a second guide, also using glue. The master uses quick-setting glue titebond II, but any carpentry or ordinary PVA glue will do.You can also use two-component second glue.
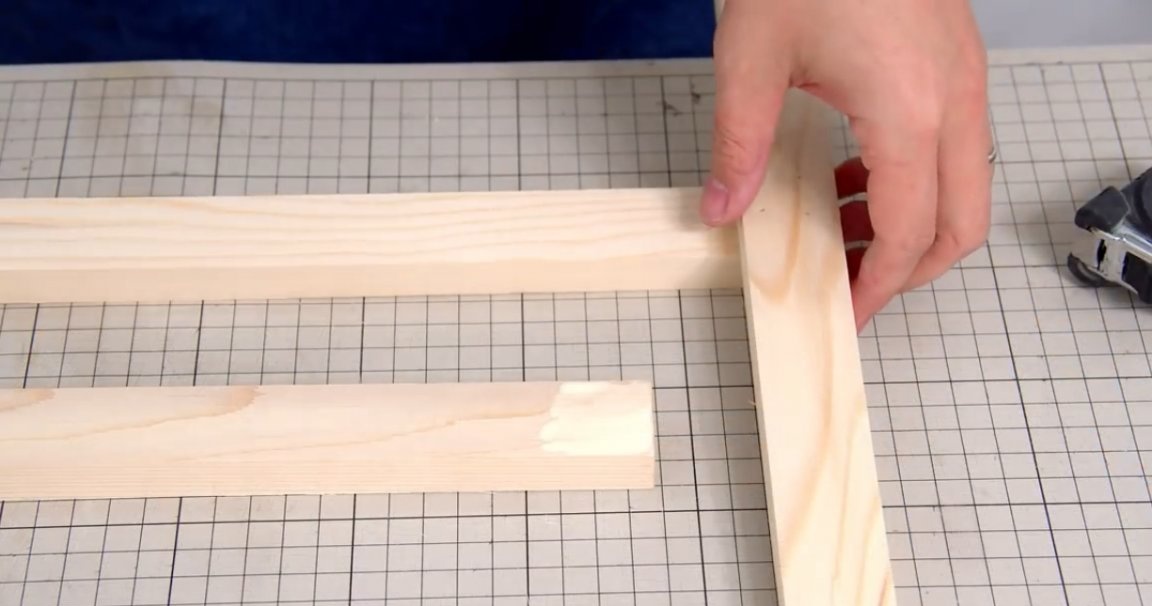
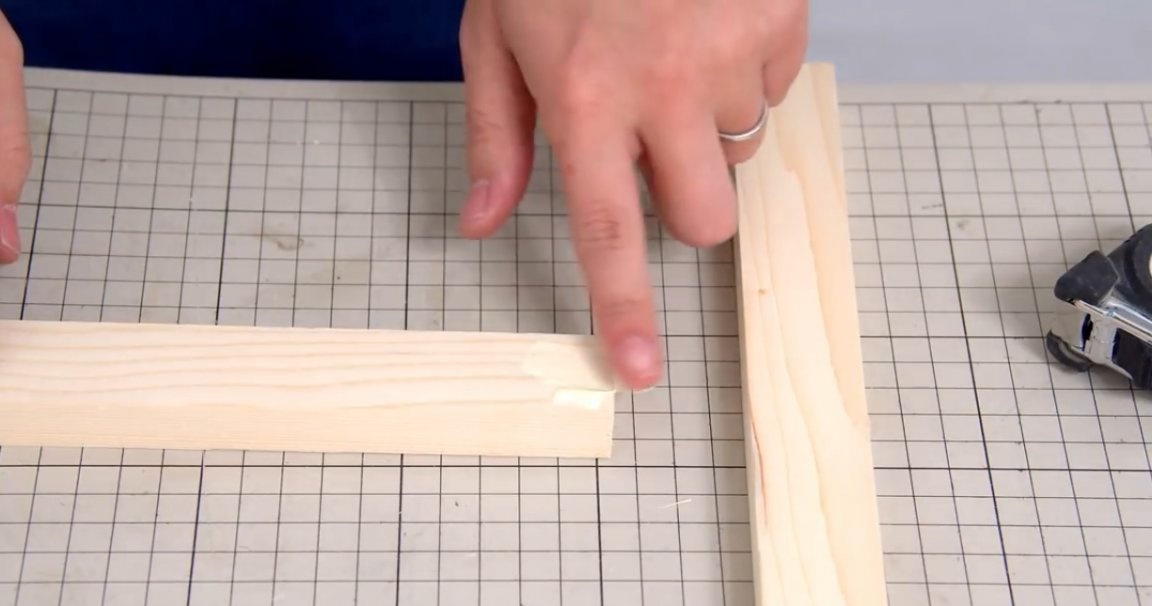
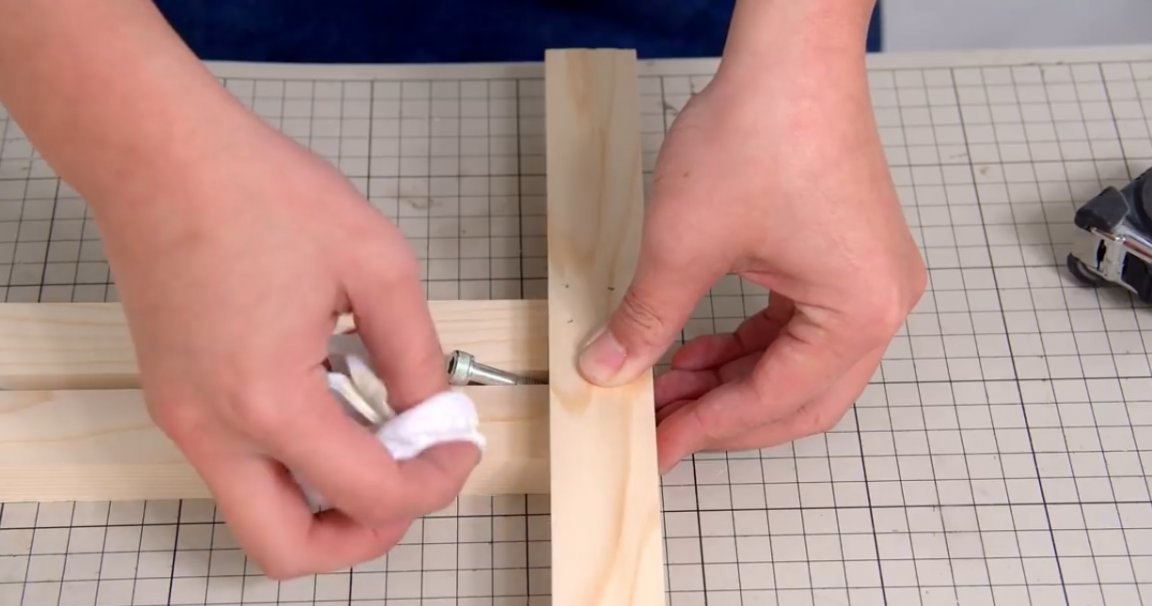
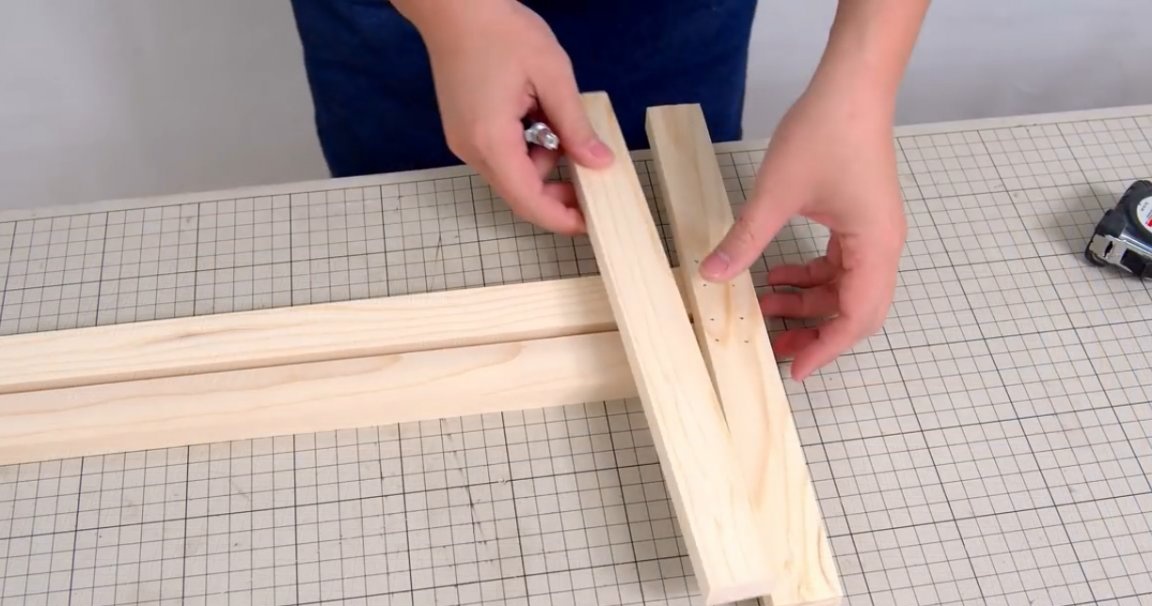
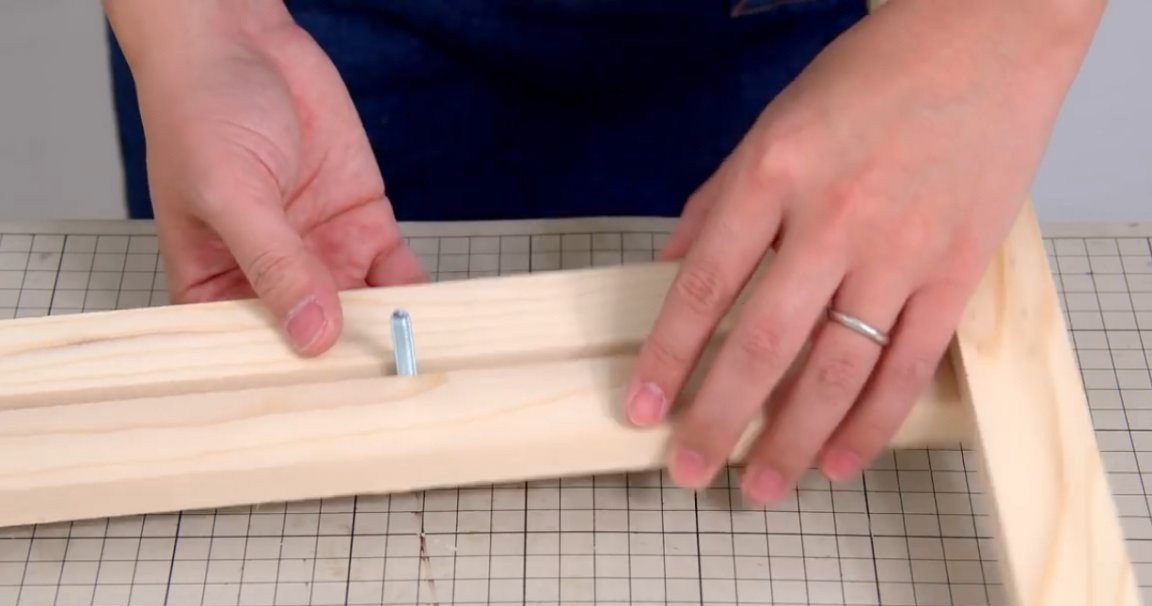
Before fixing the second guide with an emphasis, the master inserts two bolts between them so that the distance between the guides coincides with the body of the bolt. Excess glue should be removed immediately with a rag.
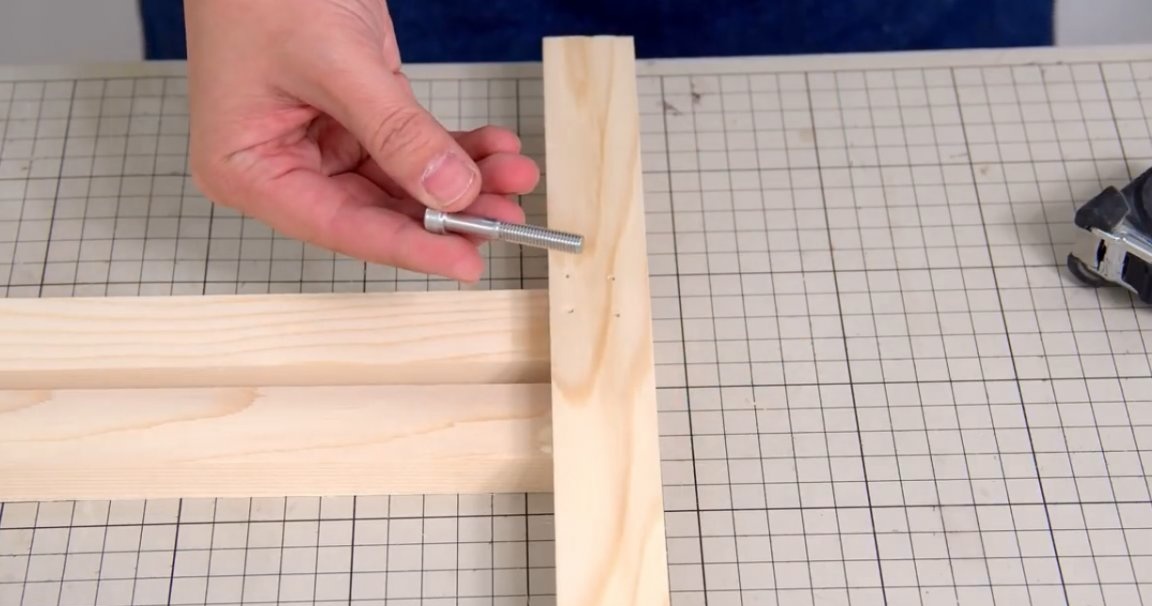
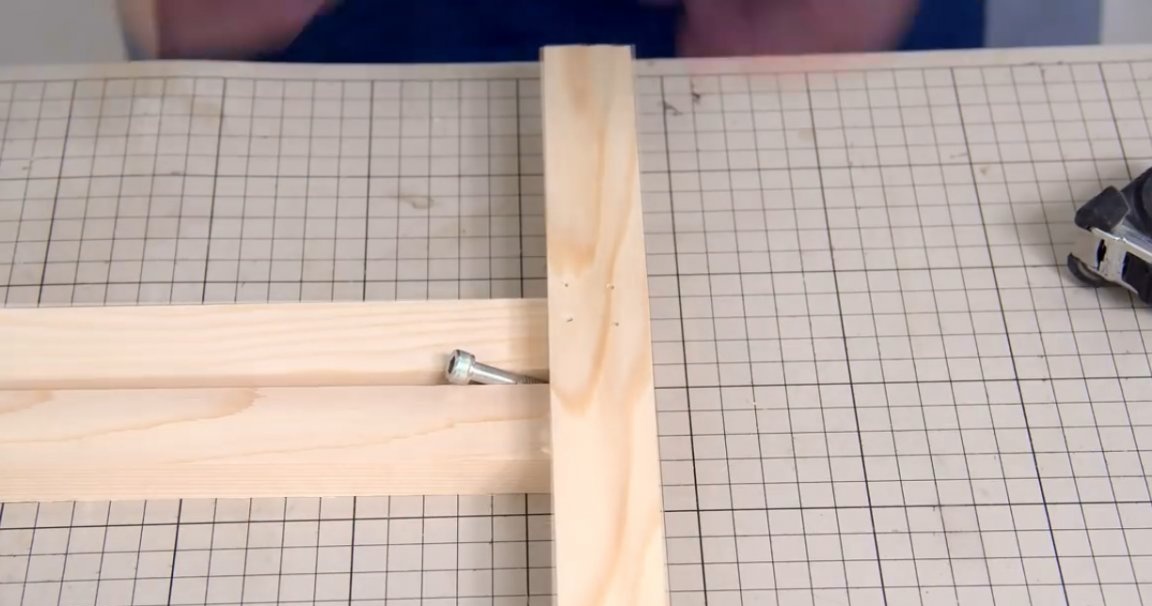
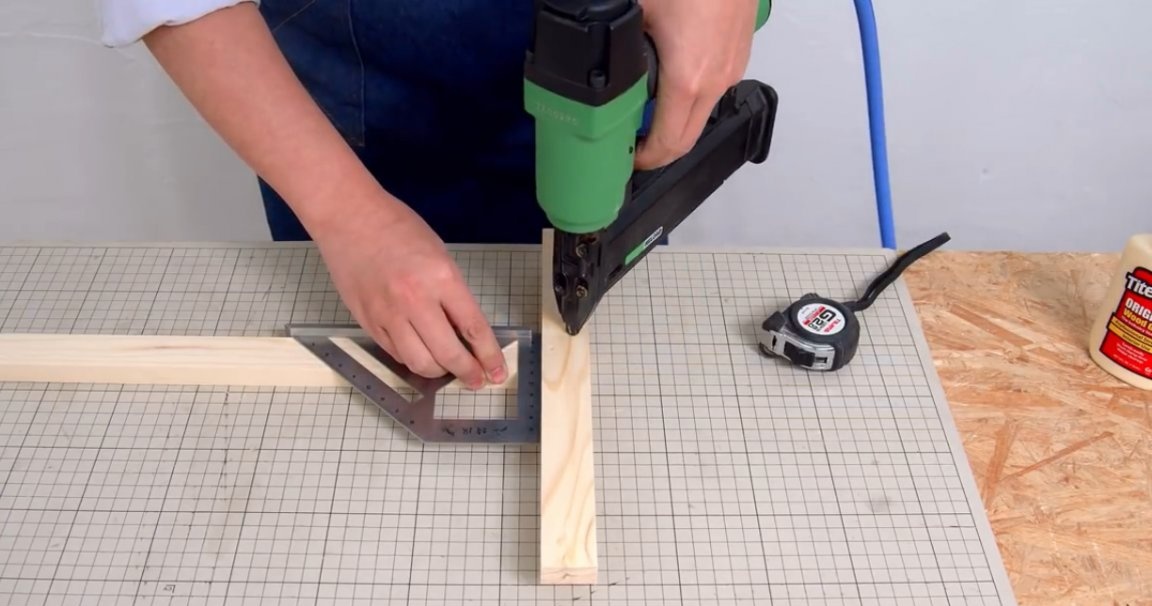
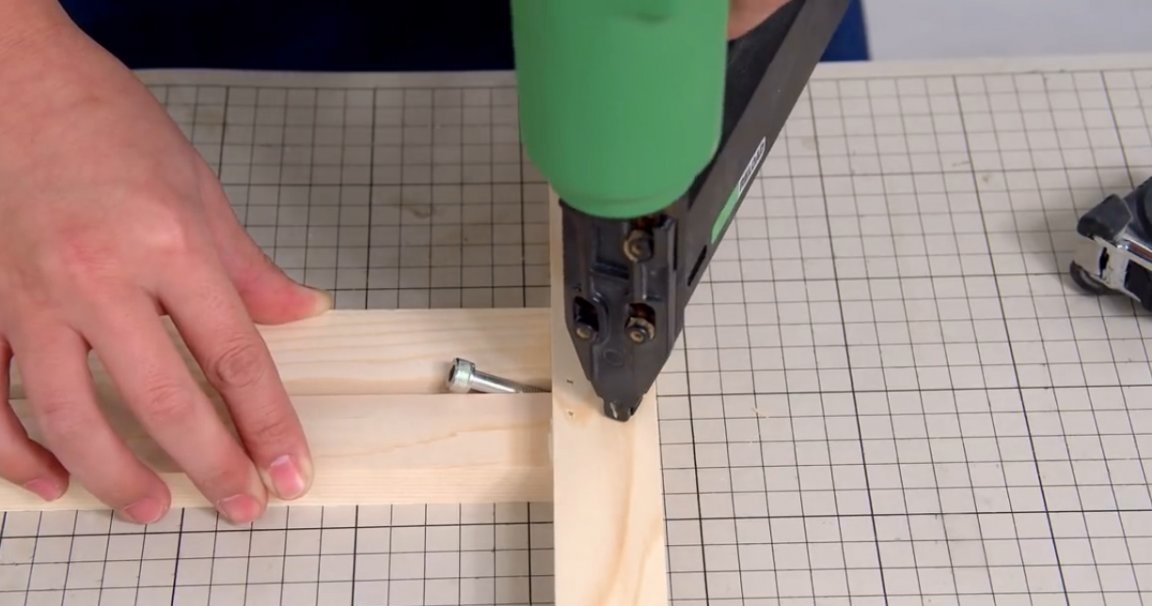
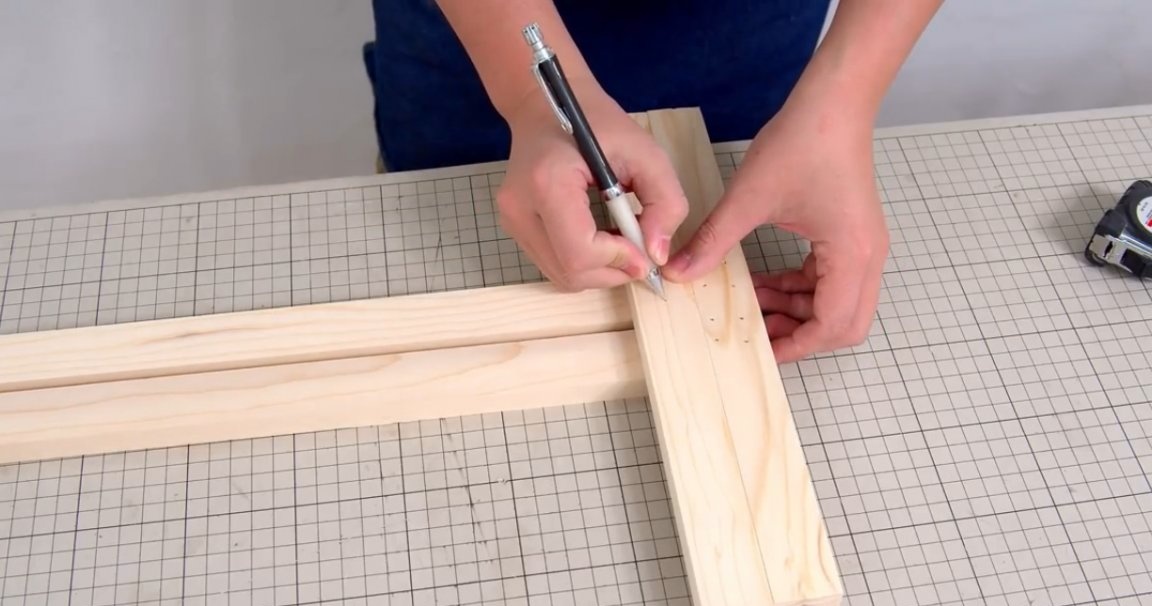
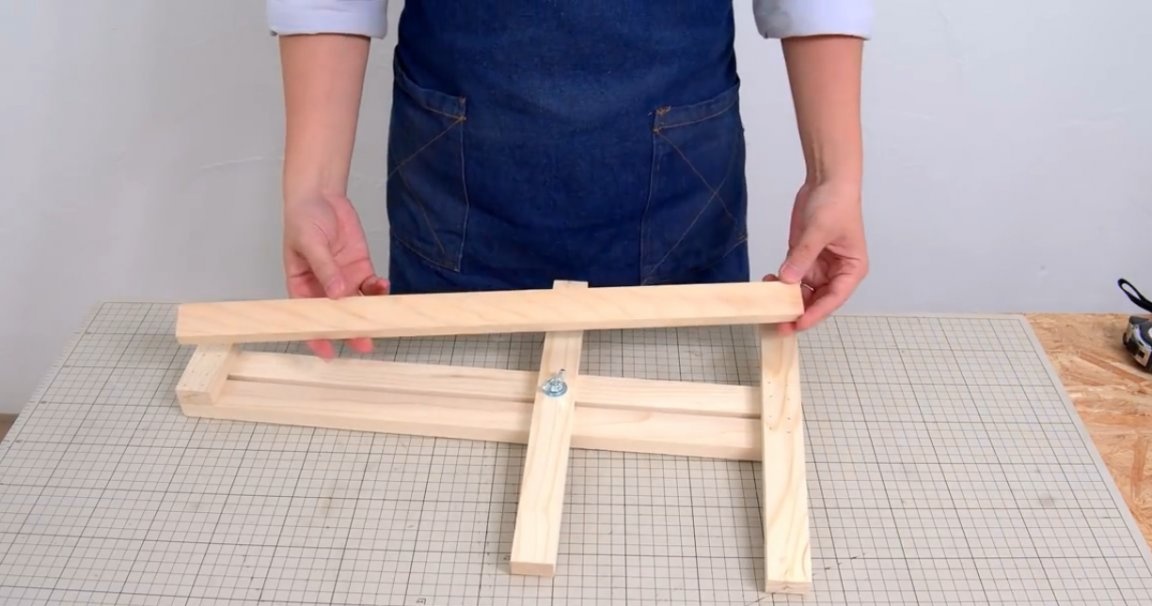
Then the second guide is also fixed by the neiler at four points. It is also necessary to check its position with a square before fixing.
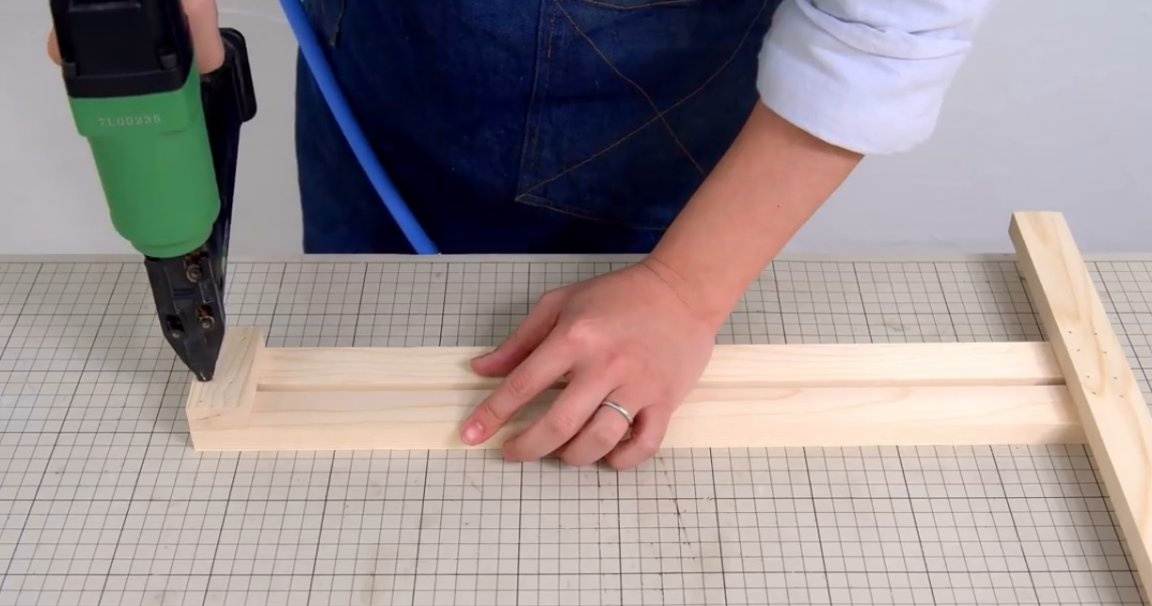
It remains for the master to fix the tail parts of the guides with a small piece of timber, also using glue and a neiler. Before fixing, it is also worth installing a clamping screw between them, for higher accuracy.

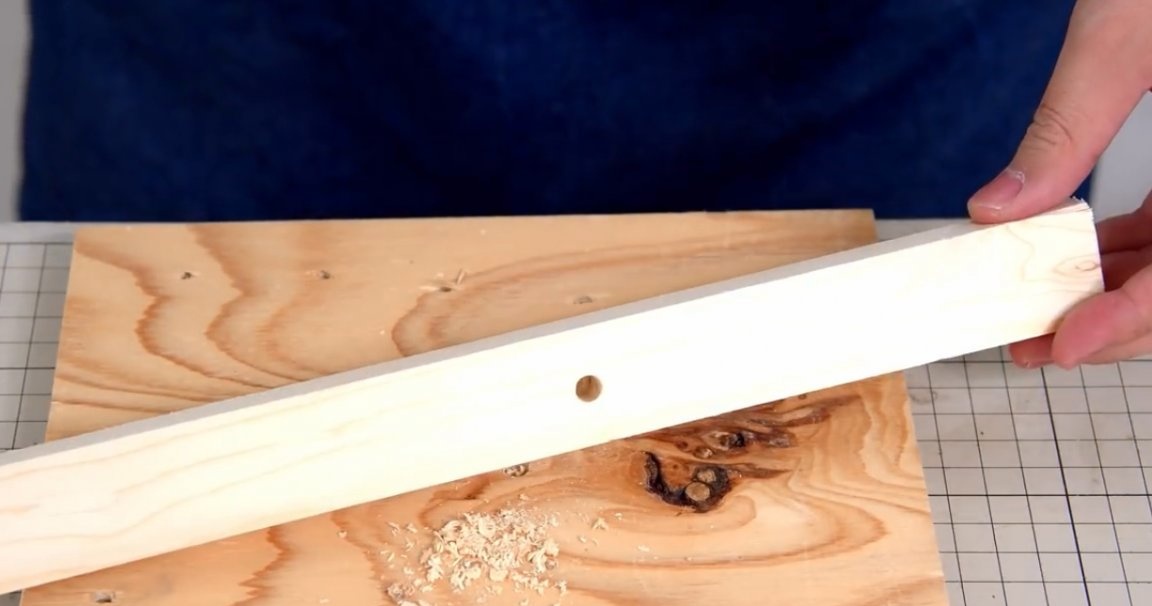
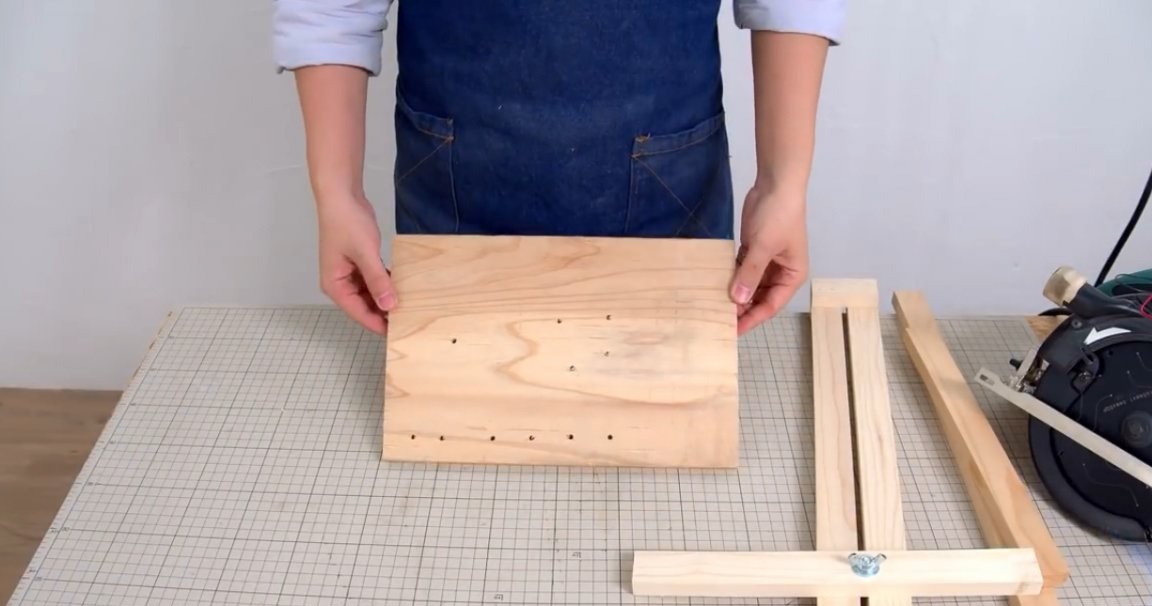
So, while the glue of the main part dries, the master proceeds to manufacture the clamping plate. He marks its center, and drills a hole for the clamping screw in it.

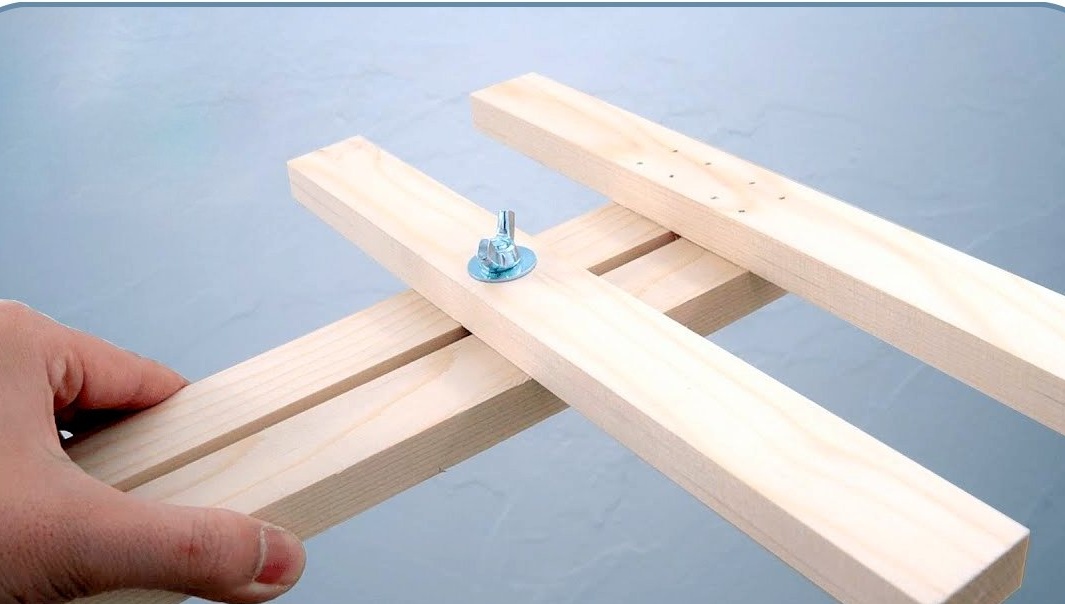
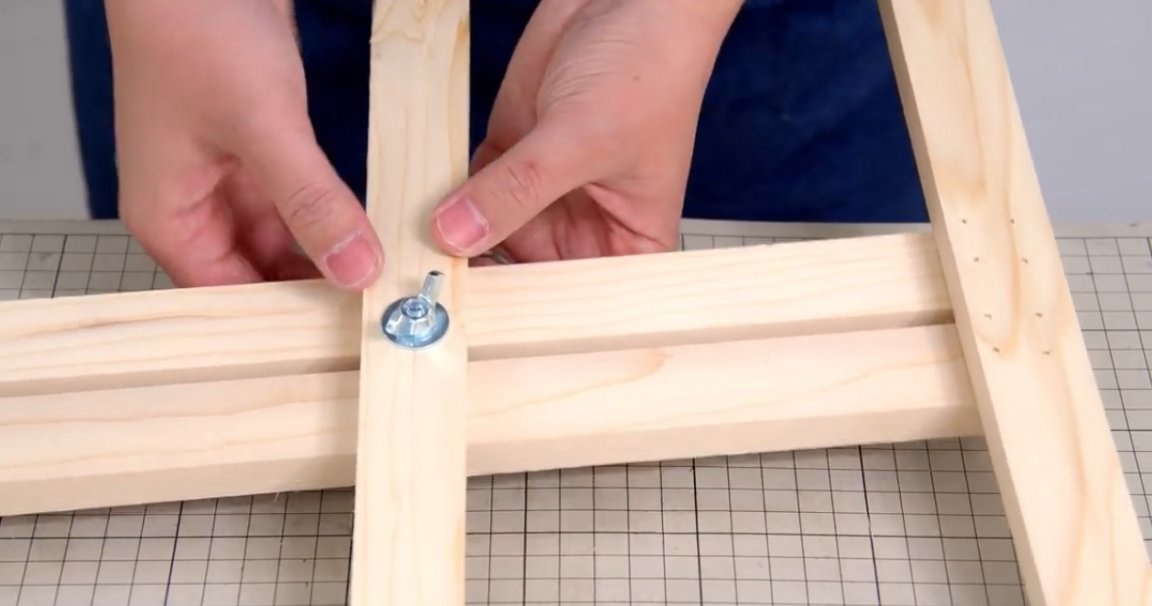
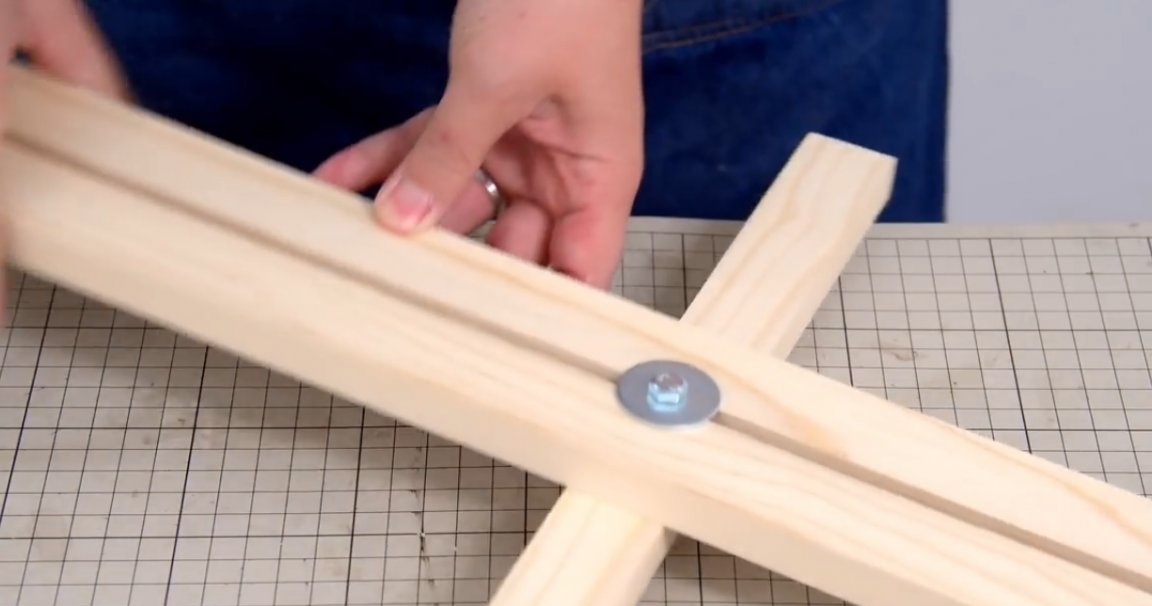
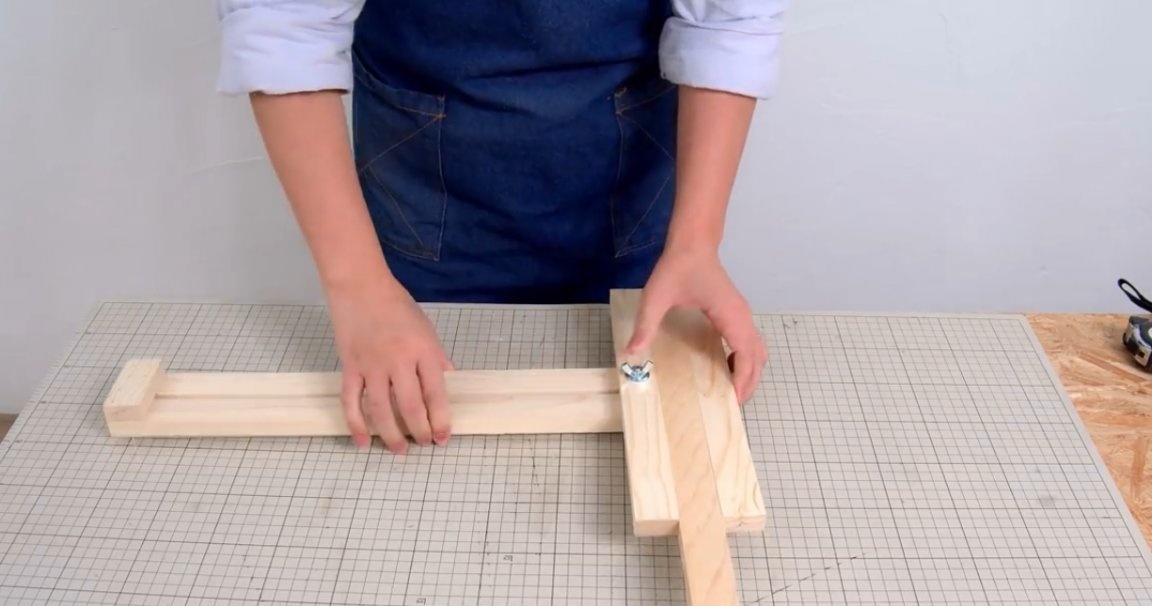
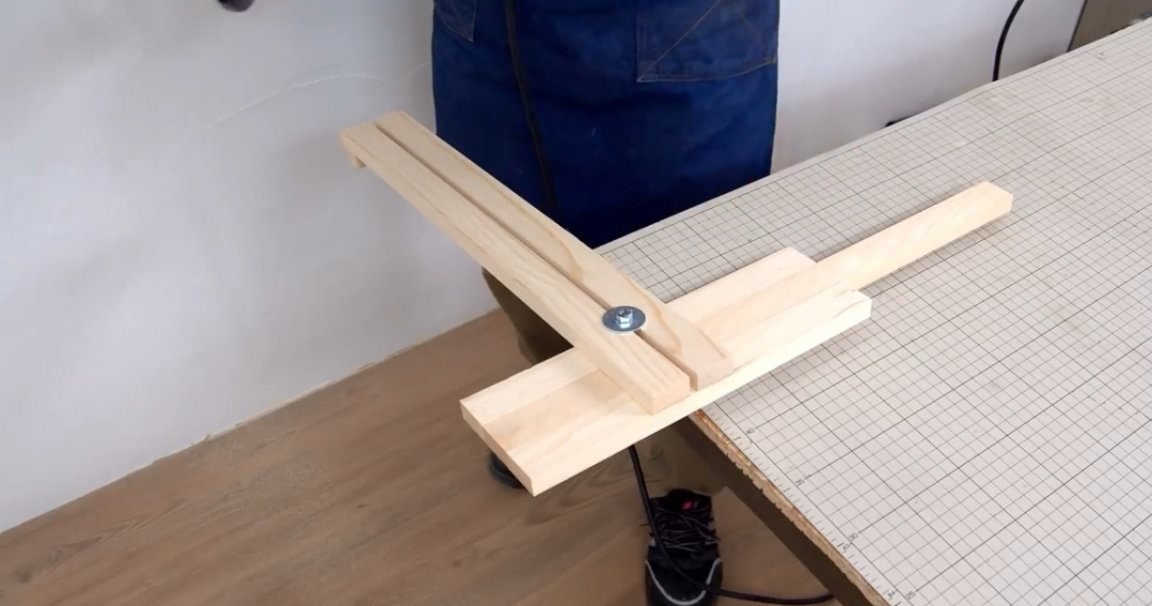
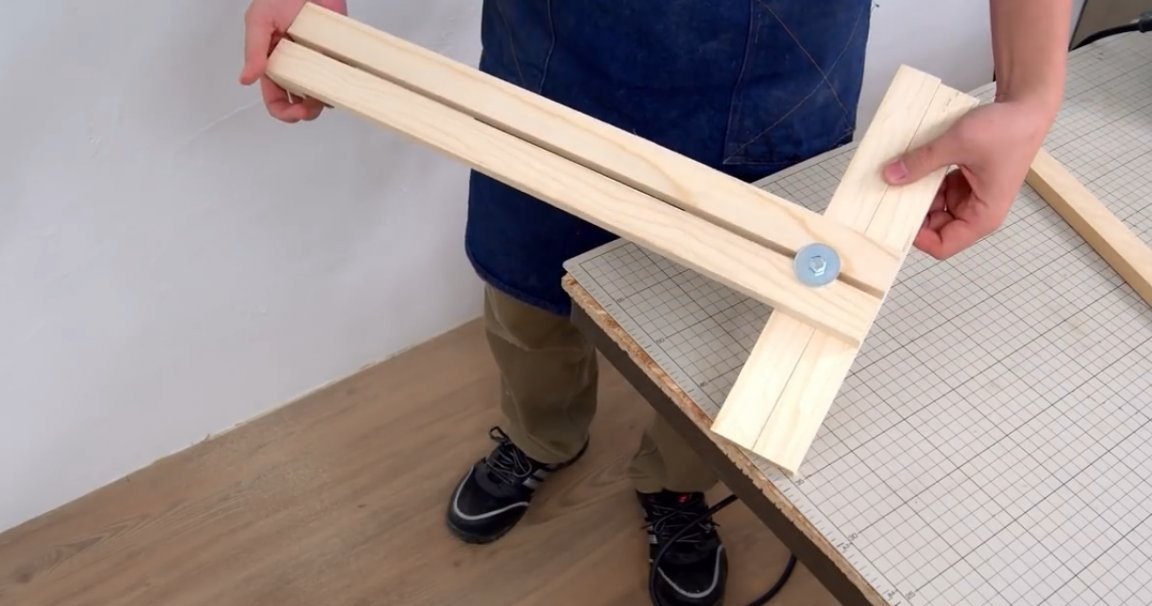
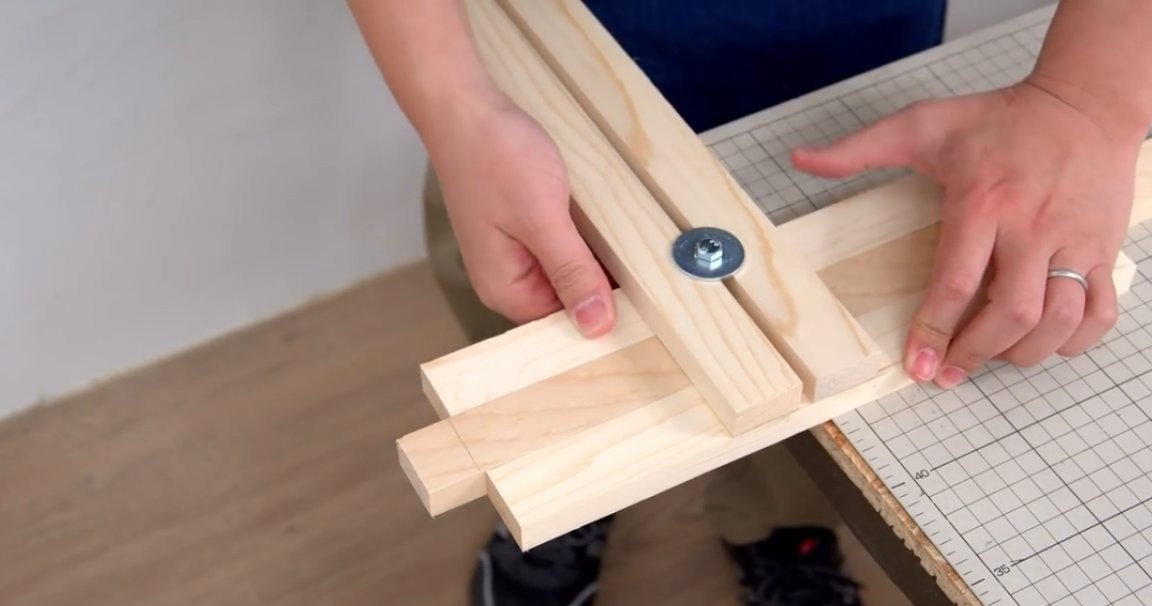
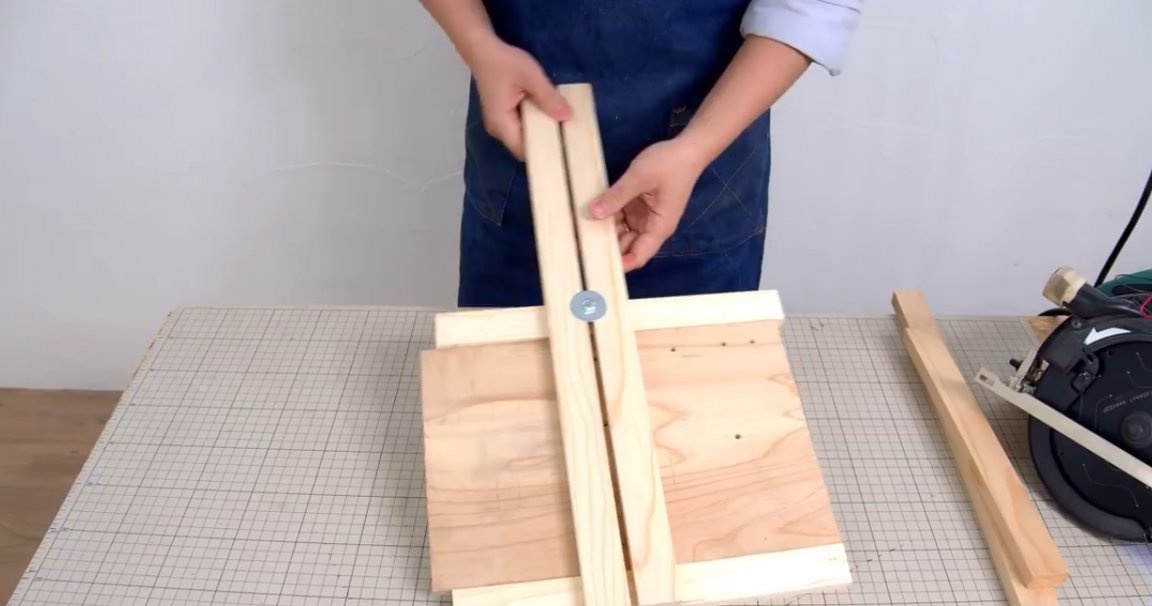
Now you can assemble the fixture. The movable clamping plate will be fixed with a screw with two washers and a wing nut.
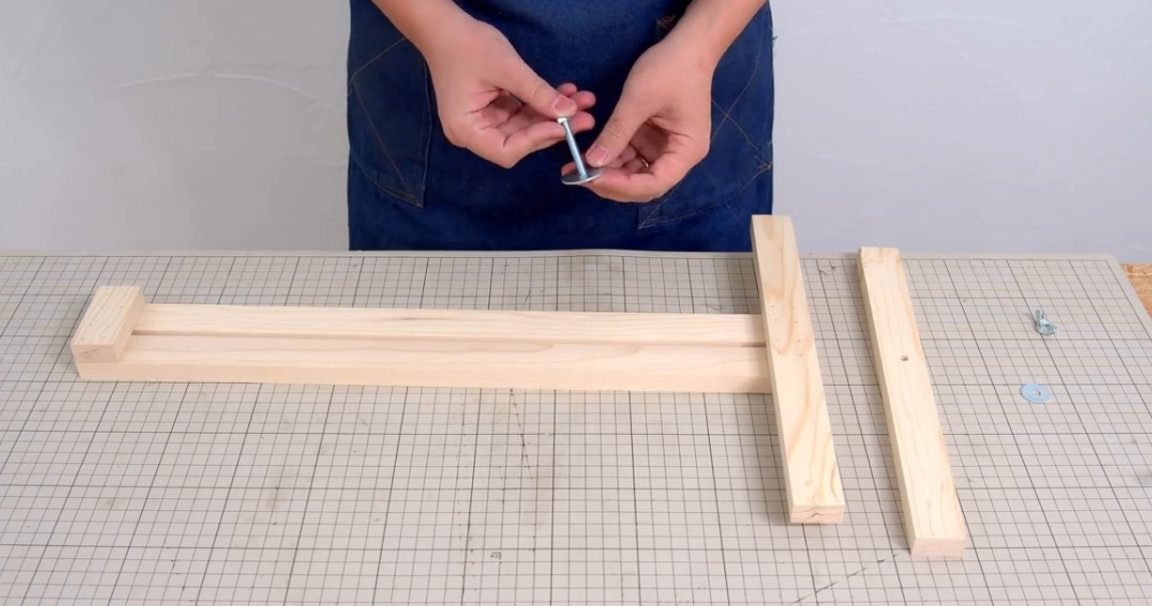
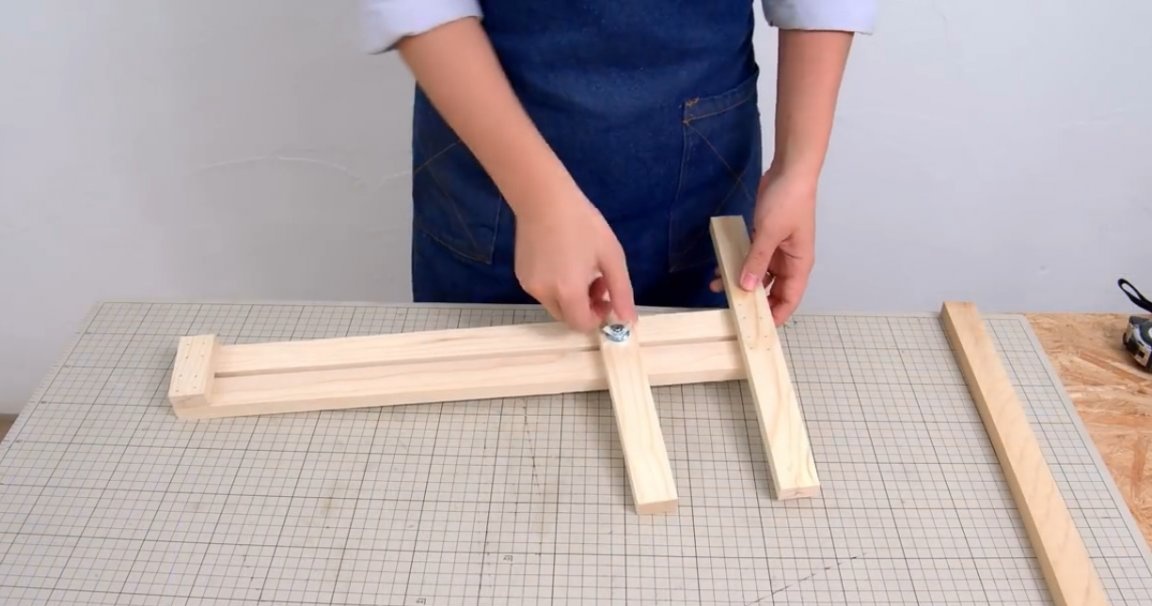
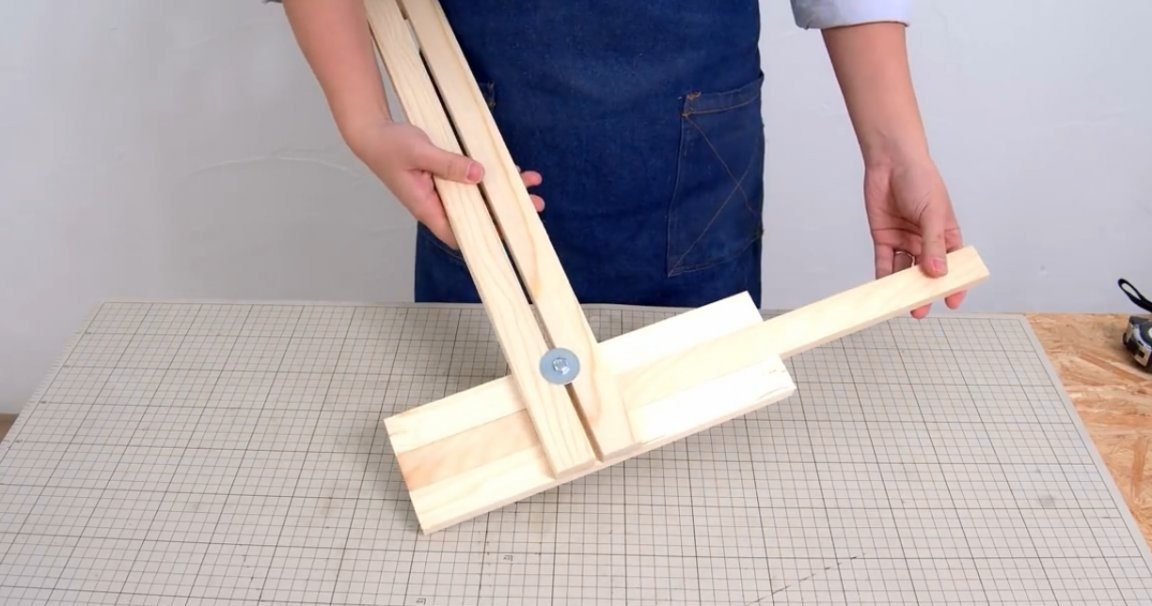
Actually, this device will have such a working range.
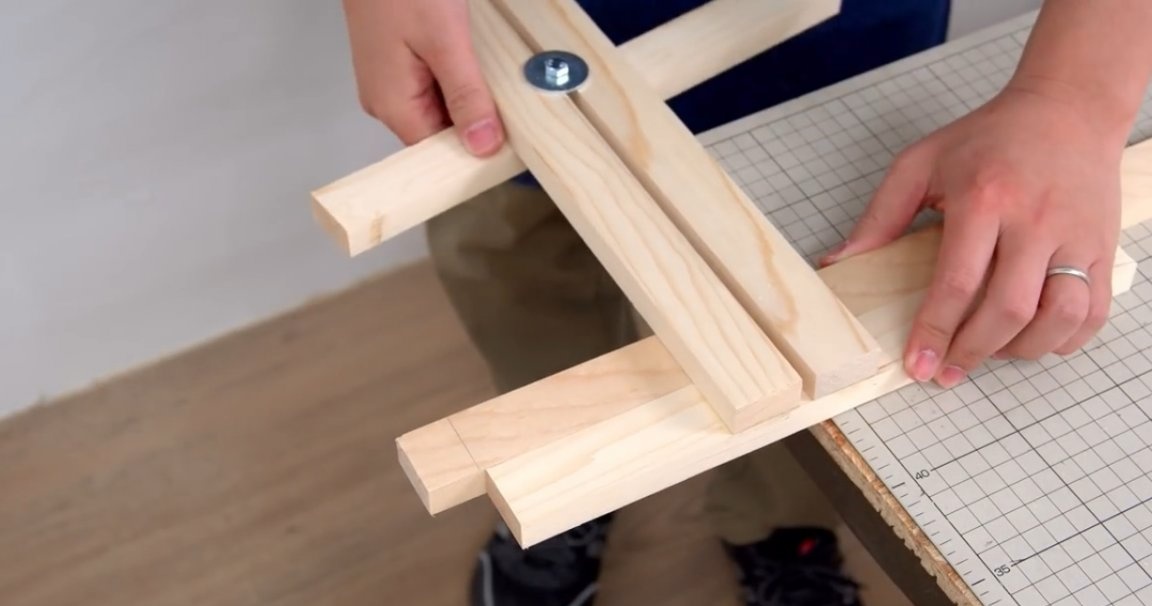
There remains the last small moment, for the correct cut of the edges of the stop, the master fixes an even rail between them.
The device can be pressed by hand to the workbench, however, for safety reasons, it is better to use clamps! Then the excess of the movable and fixed stops is cut off. The fixture is now ready for use.
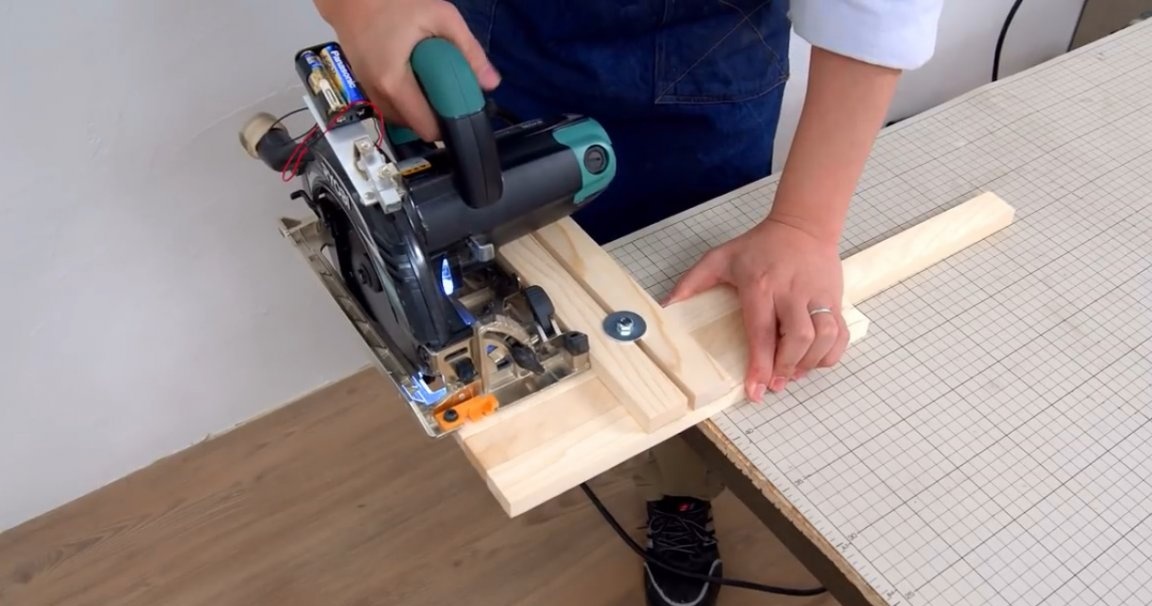
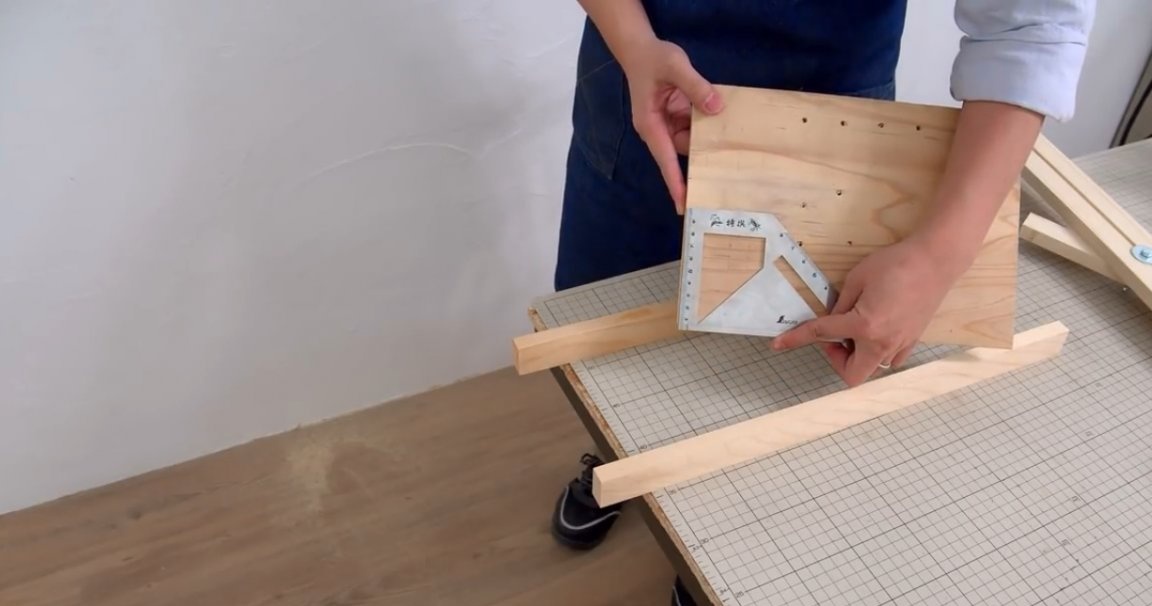
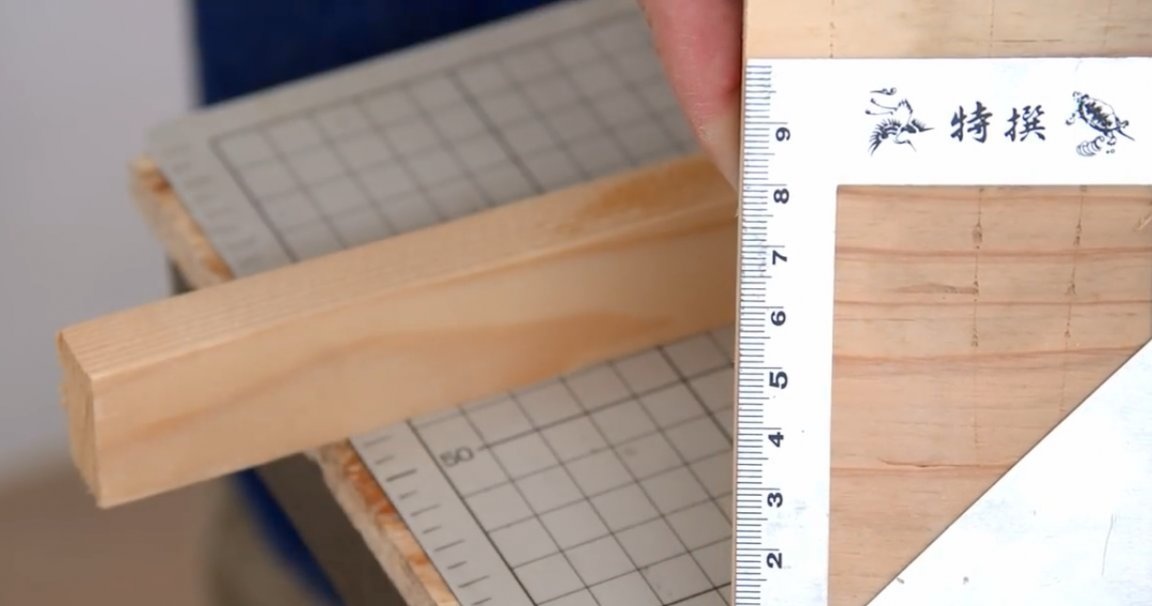
The first experimental will be a scrap of the same material from which the device was made. The master wants to check how accurate (90 degrees) the cut of the butt will be.

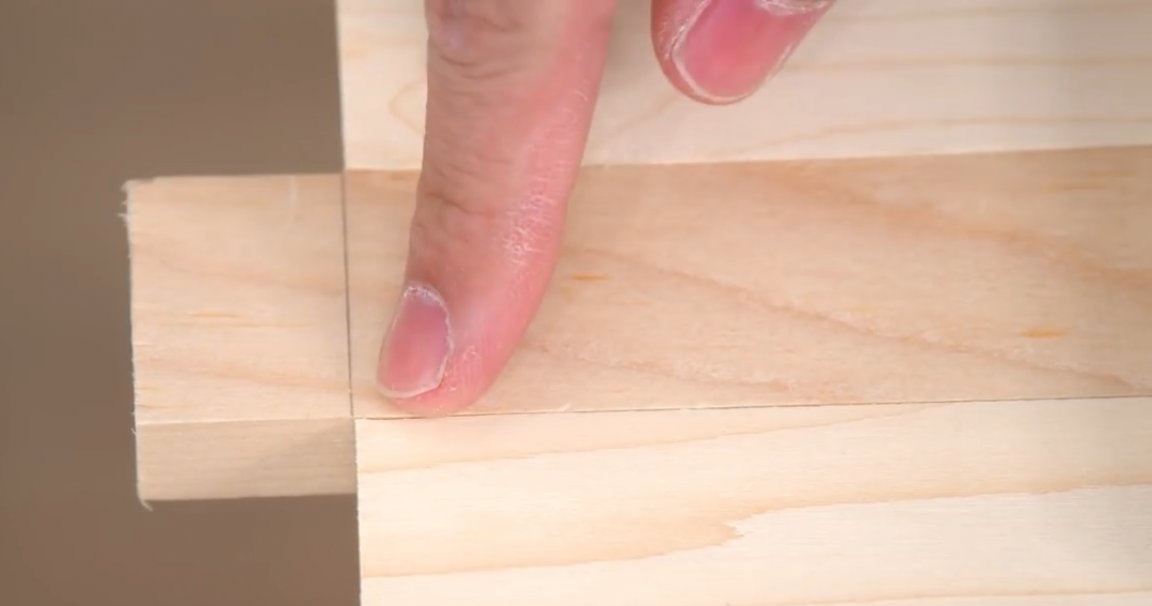
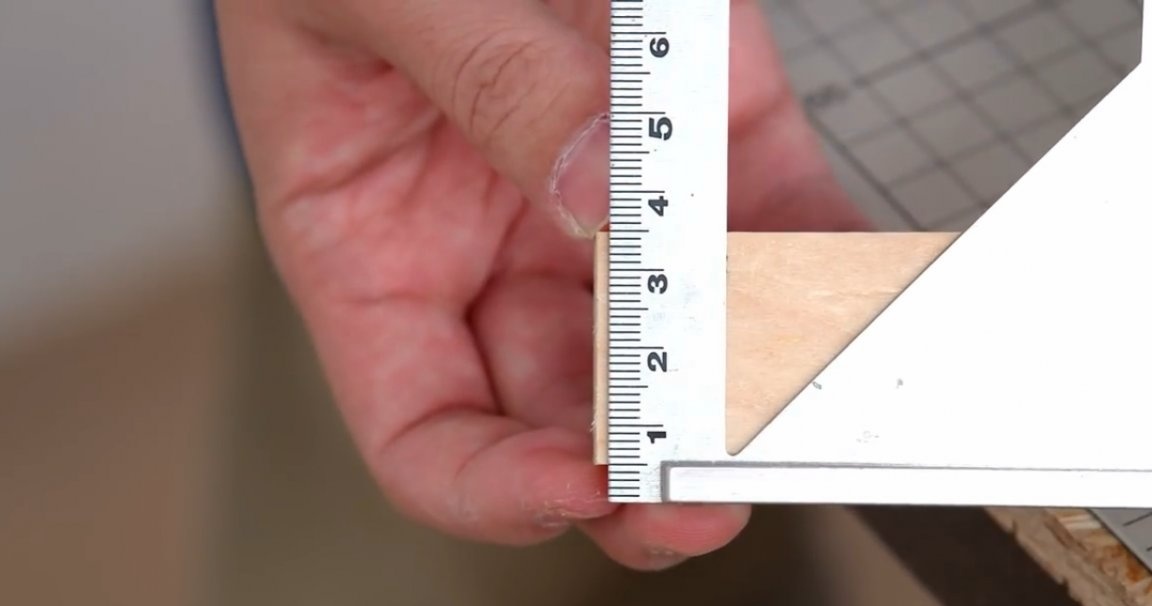
As a result, there are no deviations along any of the axes.
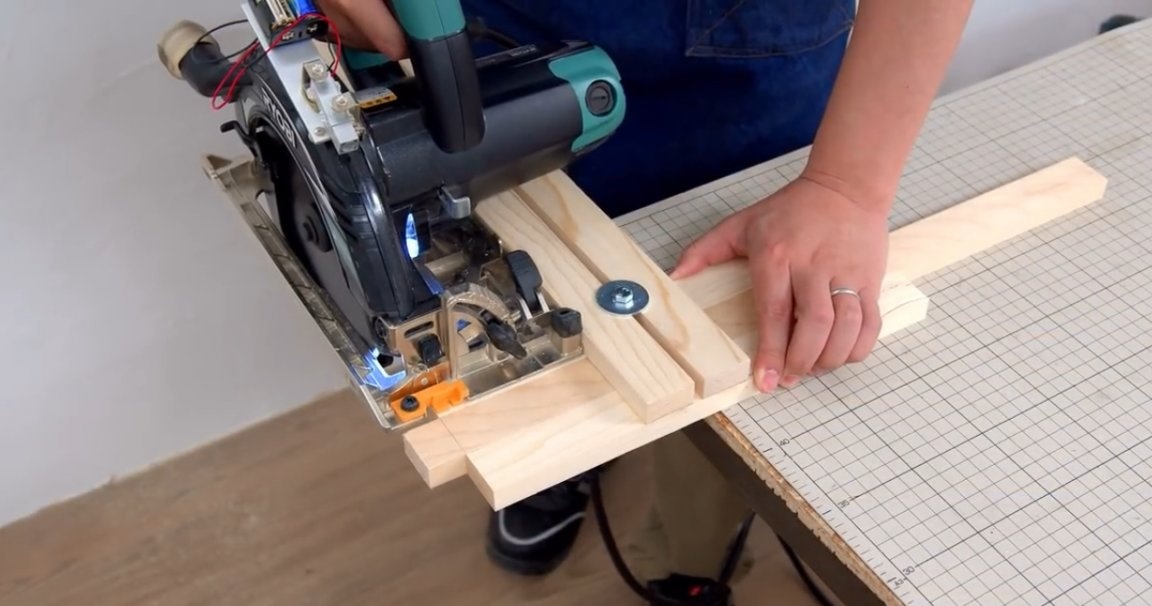
Now the task is the same plan, but you need to do this with a wide board. The workpiece is fixed in the fixture, and a cut is made. I remind you again. Definitely need to fix this adaptation with clamps to the workbench!
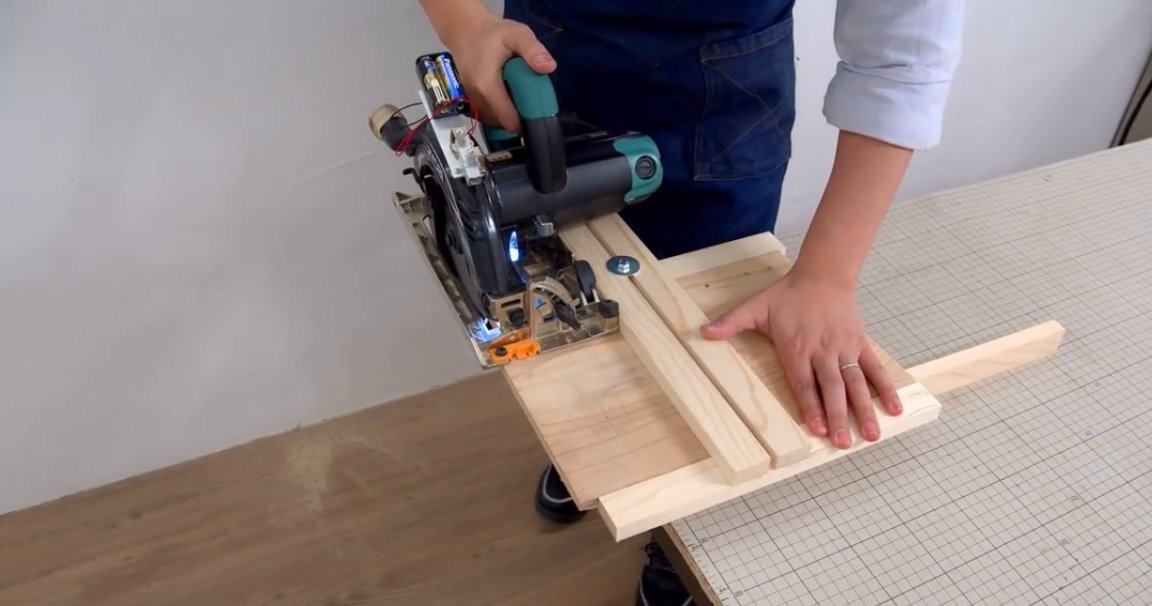
And in this case, the result is excellent!
Such a guide can also be adapted for cutting workpieces at different angles, for this it is enough not to fix the front stop and the rear block rigidly between themselves. All that is needed is just to drill holes, and install the clamping screws with wing nuts in these places. In this case, it remains only to think about the mount for the protractor in order to quickly set the desired cutting angle of the workpieces.
Observe safety precautions!
I thank the author for a simple but useful tool for the workshop!
All good mood, good luck, and interesting ideas!
Author video can be found here.