It was time to think about a synthesizer, a place for which is also provided in the office. Sockets had already been installed under it during the first repair to the right of the computer desk. It remains to figure out how to make a rack where the amplifier with speakers, a mixer, etc. From furniture panels the counter would go out of place. Firstly, such a construction would partially block the passage to the office and would look unimportant (the wall opposite the wall!). Secondly, the stand is narrow and high, so it must be attached to the wall so that it does not fall, and I did not want to once again make holes in the walls. And, thirdly, it is already especially impossible to litter - a freshly laid palace lay on the floor.
Then I remembered the joker system, which I encountered many times at exhibitions. It’s like a designer from which you can quickly make various things: stands for exhibitions and demonstrations of goods in stores, elements of dressing rooms, etc. Products from them look weightless and at the same time have sufficient strength, do not steal living space, are easily modified, i.e. you can rearrange, move or add any element, for example, a shelf or another crossbar, and the design will not lose its integrity.
So, I chose the joker system. There are several of them: for pipes ø25 and ø32 mm (Uno system), as well as their varieties - pipes ø50 mm (Play system) and a square pipe 25x25 mm (Primo system). I settled on the most common and cheapest - ø25 mm.
Purchased the necessary components:
• Four pipes ø25 mm long 3000 mm.
• Two pipes ø25 mm 1000 mm long.
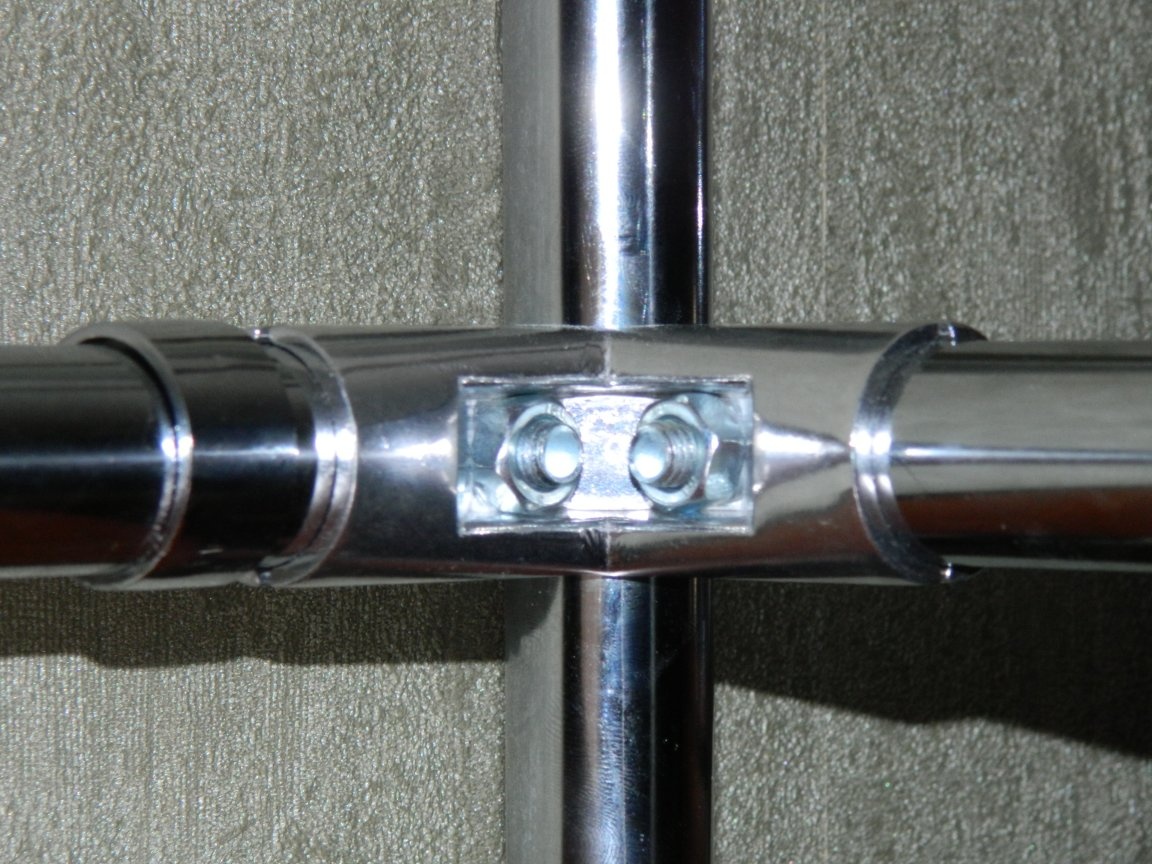
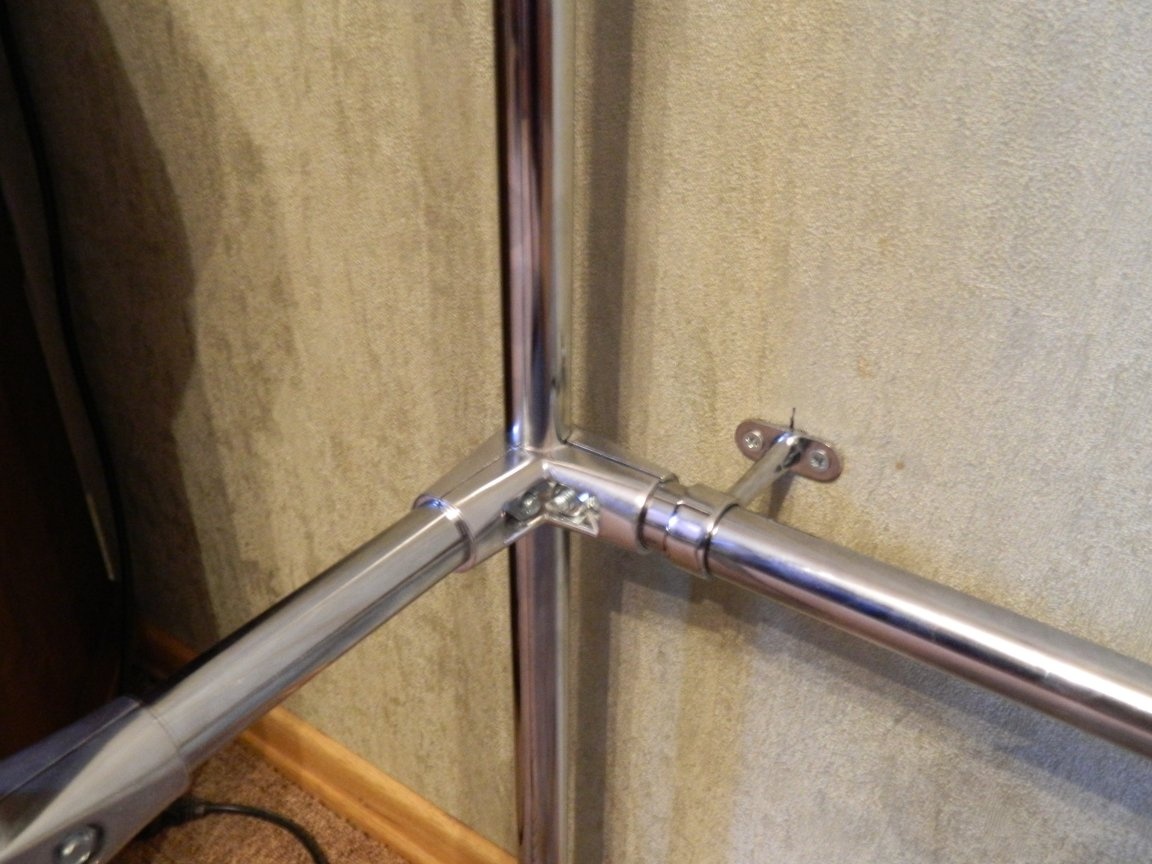
• Four fasteners for connecting three pipes.
• Four T-shaped holders.
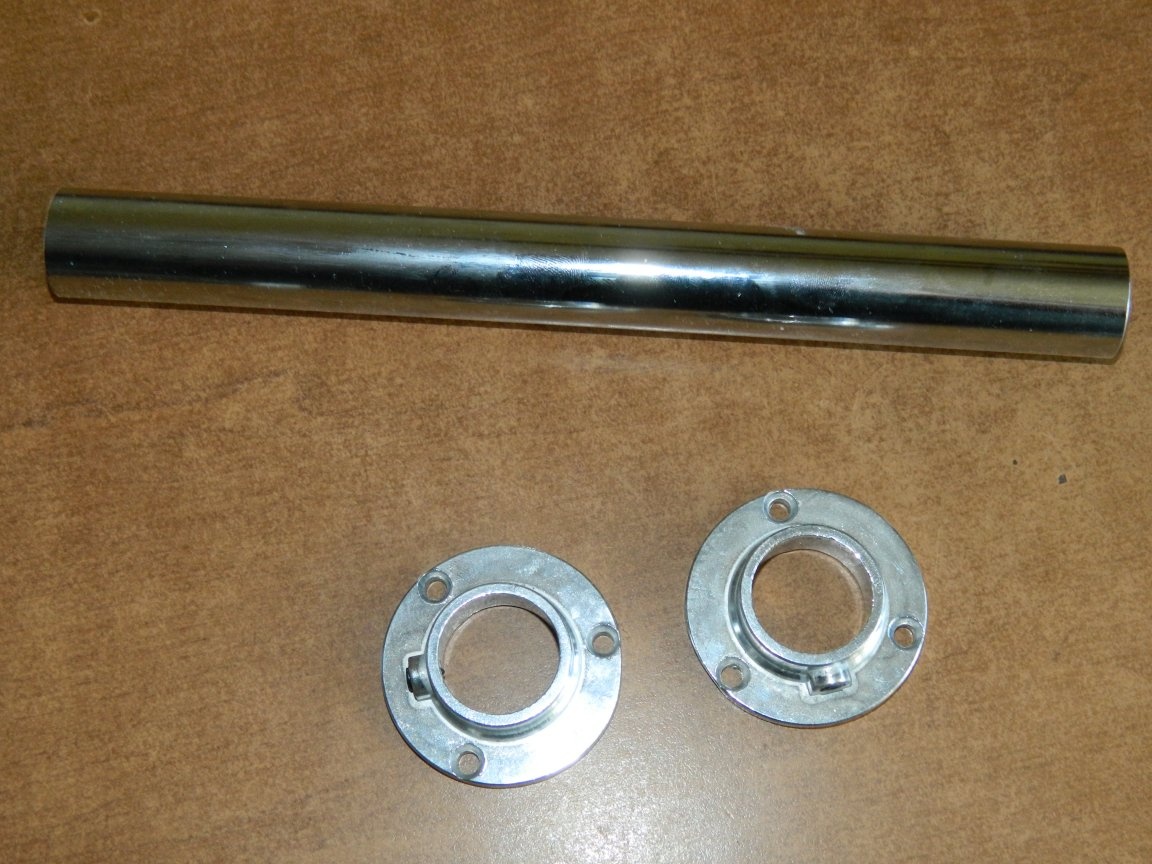
• Four adjustable walk-through holders for wall mounting.
• Six single-sided shelf holders.
• Four threaded inserts and legs for them.
• Four plastic stub legs.
All this “music” cost me a little over 2000 rubles. There were pine shields on the shelves, Belinka azure remained, and I proceeded to make the rack.
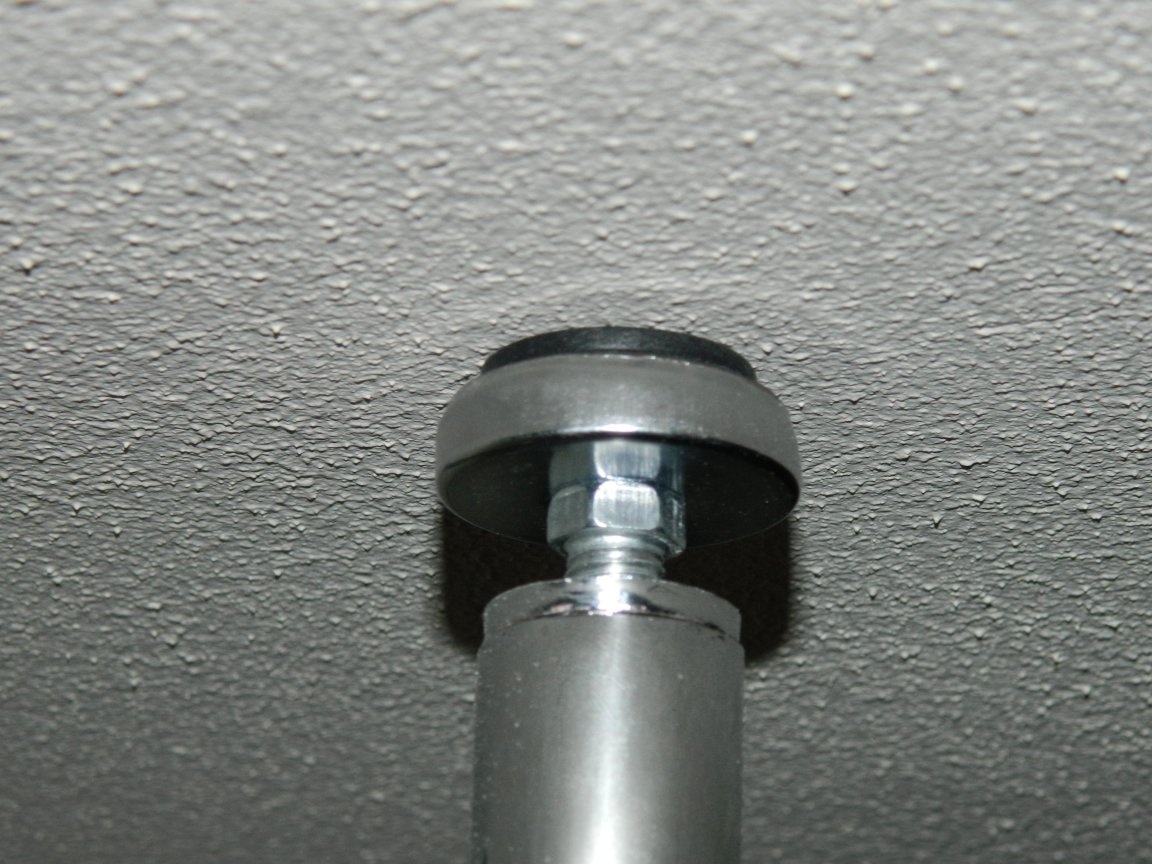
First, all the pipes were sawn to size, taking into account the size of the jokers and legs. Then, plastic legs were stuffed on the lower ends of the long pipes. Adjustable legs are fixed at the upper ends and the pipes are set approximately in place.

Then he began to assemble the frame of the future rack, gradually leveling it in place.
When the frame was assembled, I marked the points of attachment on the wall. It was secured by walk-through holders.
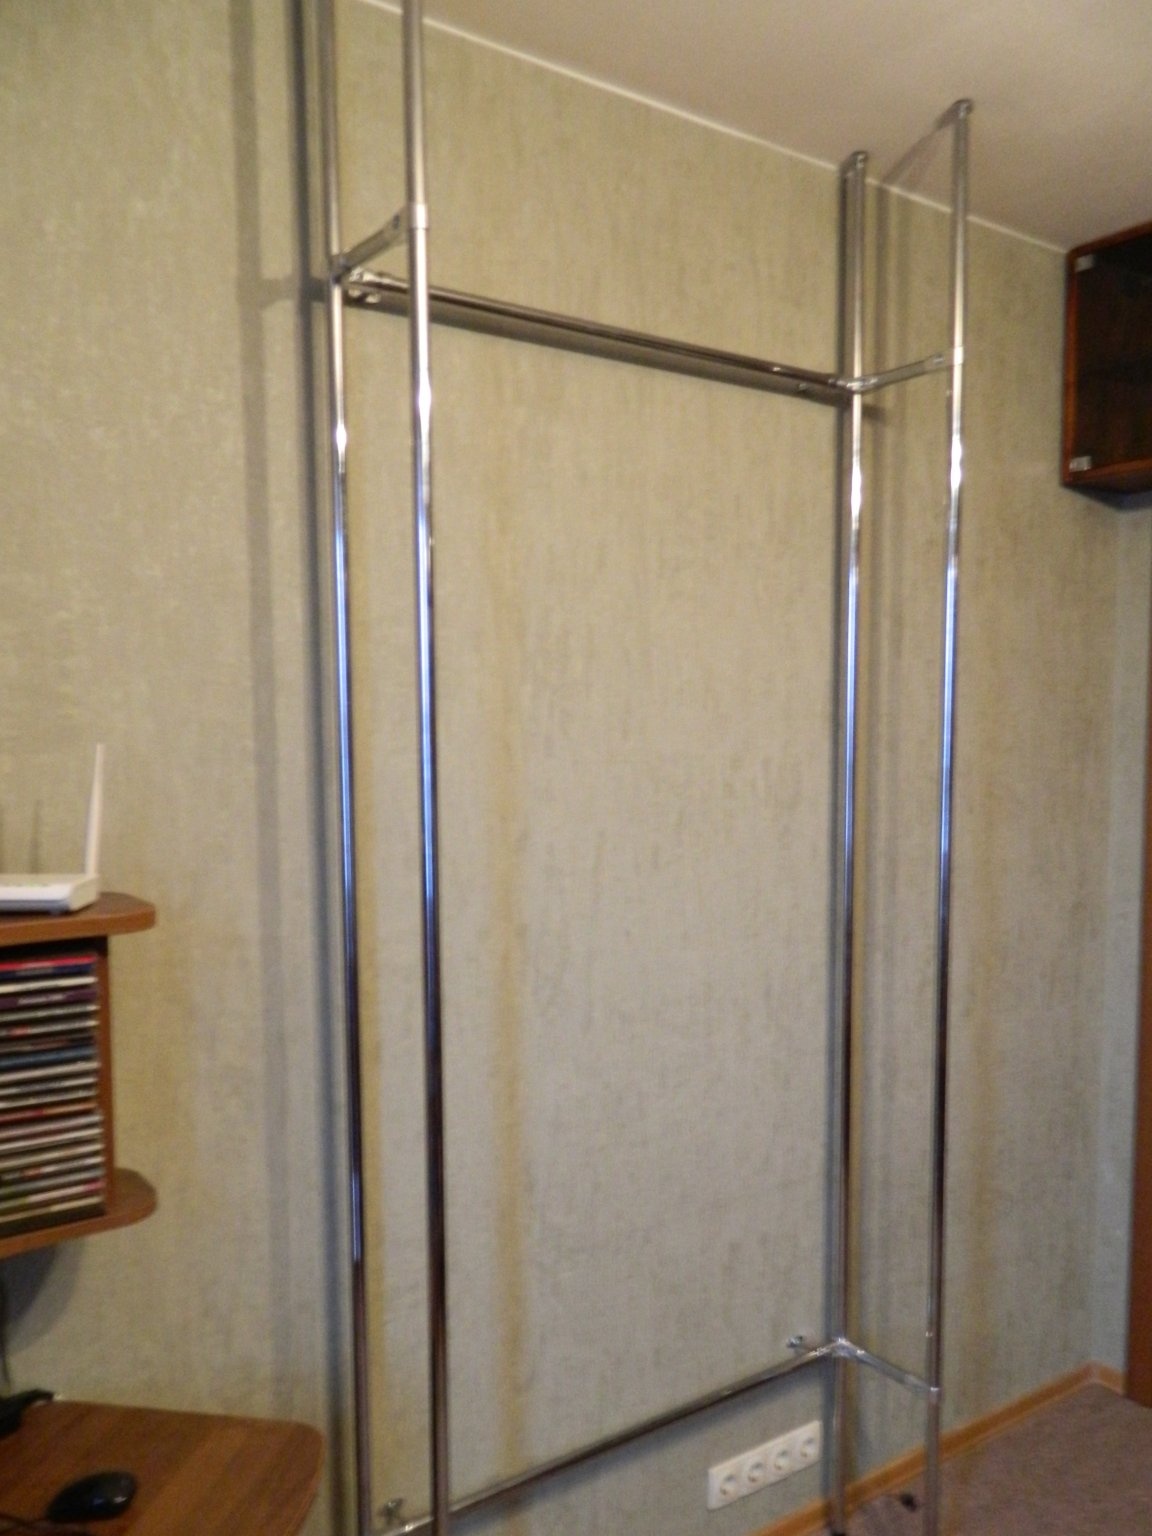
Now the most difficult thing has come - to prevent it from skewing when there is a gap between the ceiling and the floor.He did it gradually: weakened the jokers and twisted the legs on the ceiling, then pulled the jokers back. And so several times. As a result of such manipulations, the frame fell into place without distortions.
The one-sided joker-shelf holder consists of two collapsible parts - one is installed from below, the other from above the shelf. On one of the parts there are holes in which the M5 thread is cut. Through these holes, the screws push the shelf to the other part (apparently this is done for shelves made of fragile materials, such as glass).
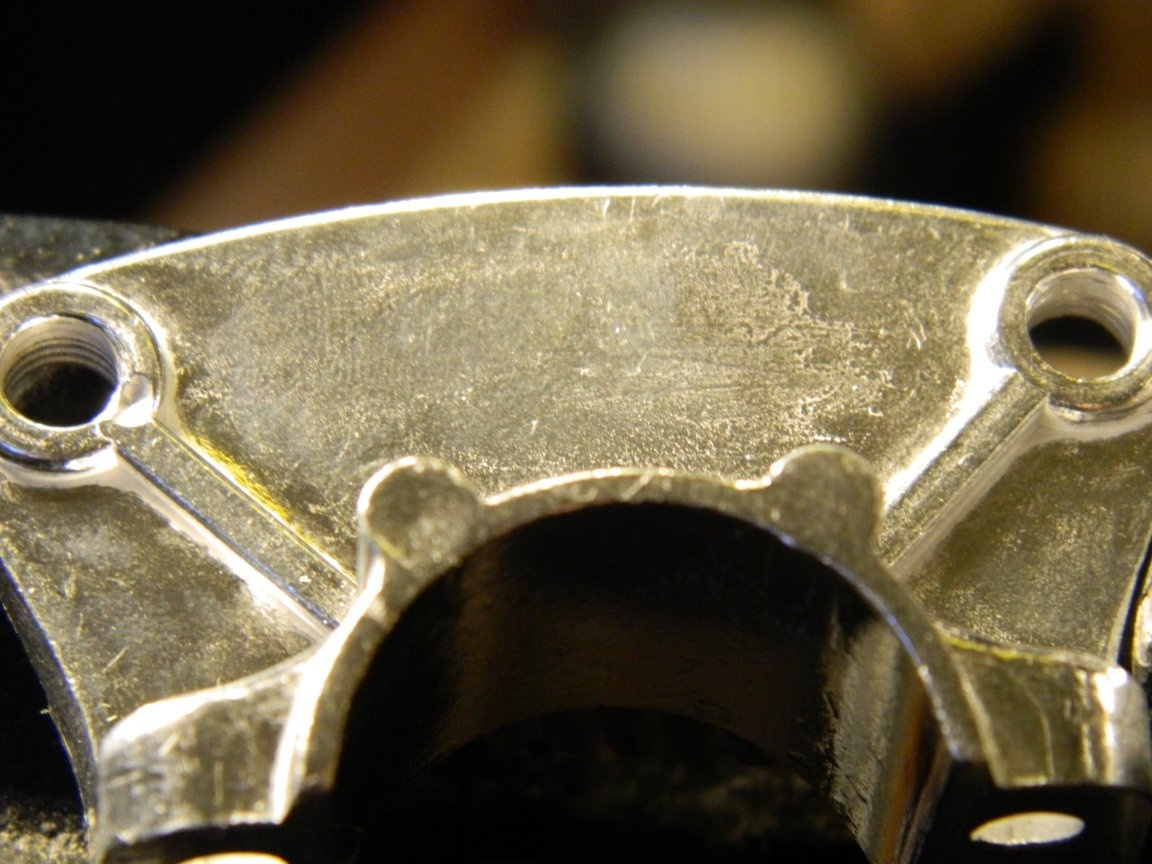
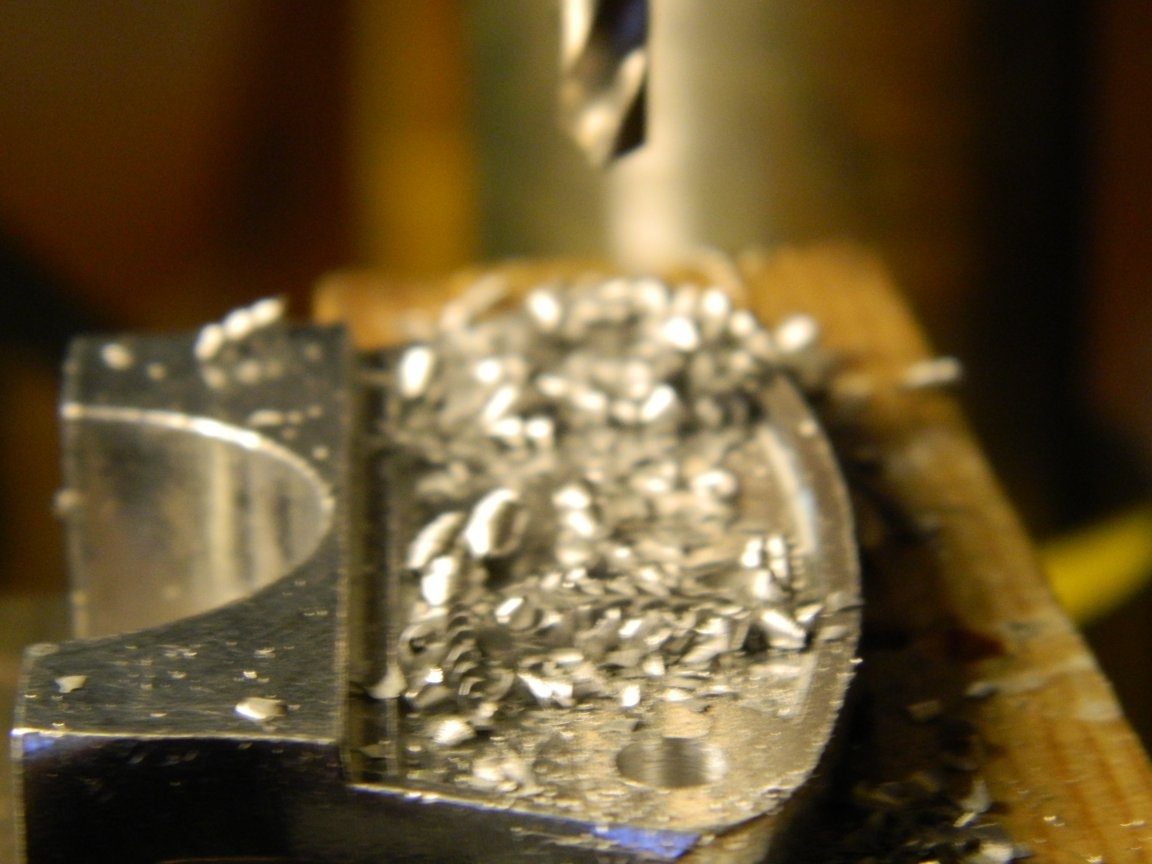
But my shelf material is wood, so you can save. I drilled two holes ø4.5 mm in the upper part of the shelf holder. Now, from one shelf holder, a complete fastening for one side of the shelf has turned out.
Shelves are made of furniture panels: one lower - 985x400x18 mm and two - 985x300x18 mm. Starting from 1/3 of the length, the lower shelf is narrowed to a width of 300 mm (made for a more convenient passage). The shelves are processed with a 180 grit sandpaper and coated with Belinka-interior blue in several layers.
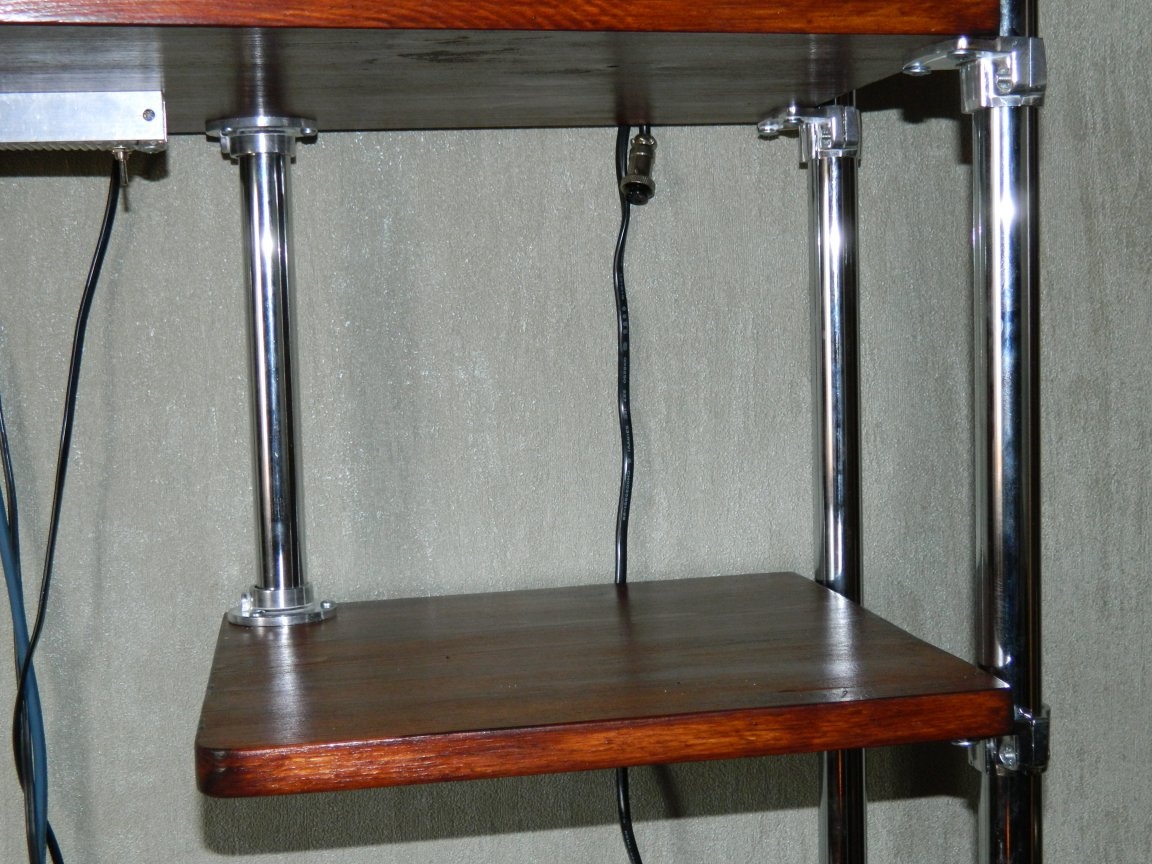
It was no longer difficult to attach the shelves to the converted shelf holders, which I did with ø4.2x19 mm screws.

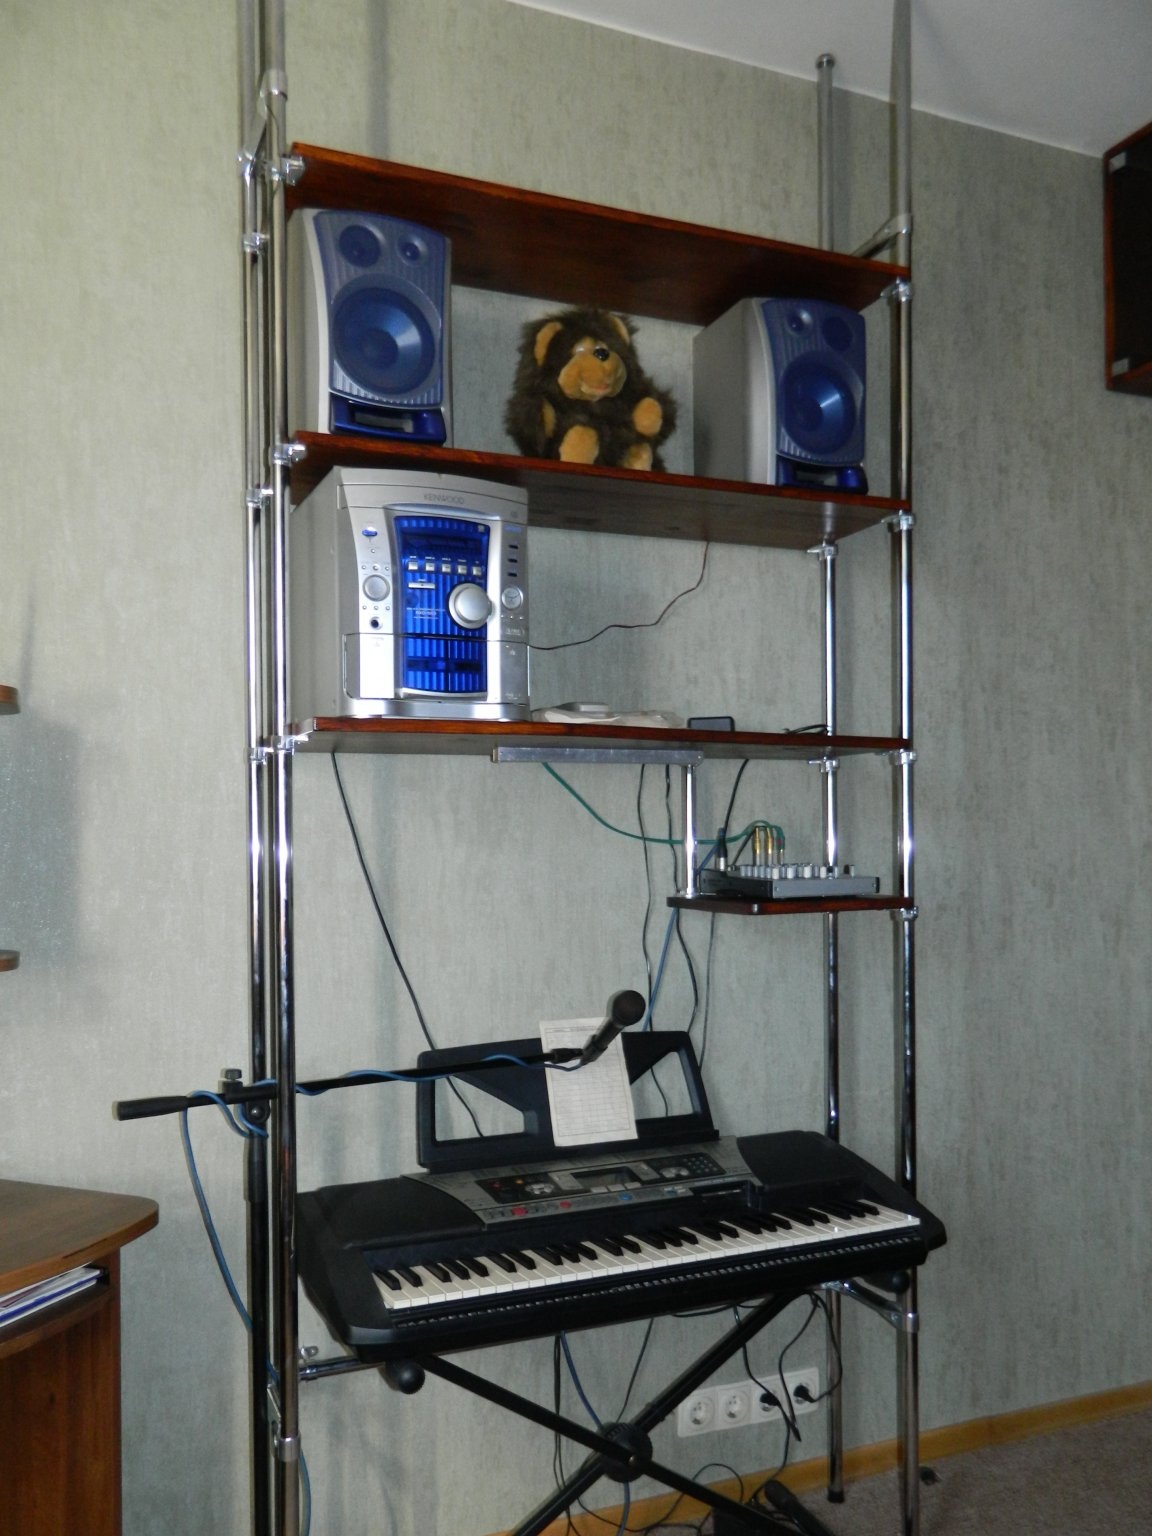
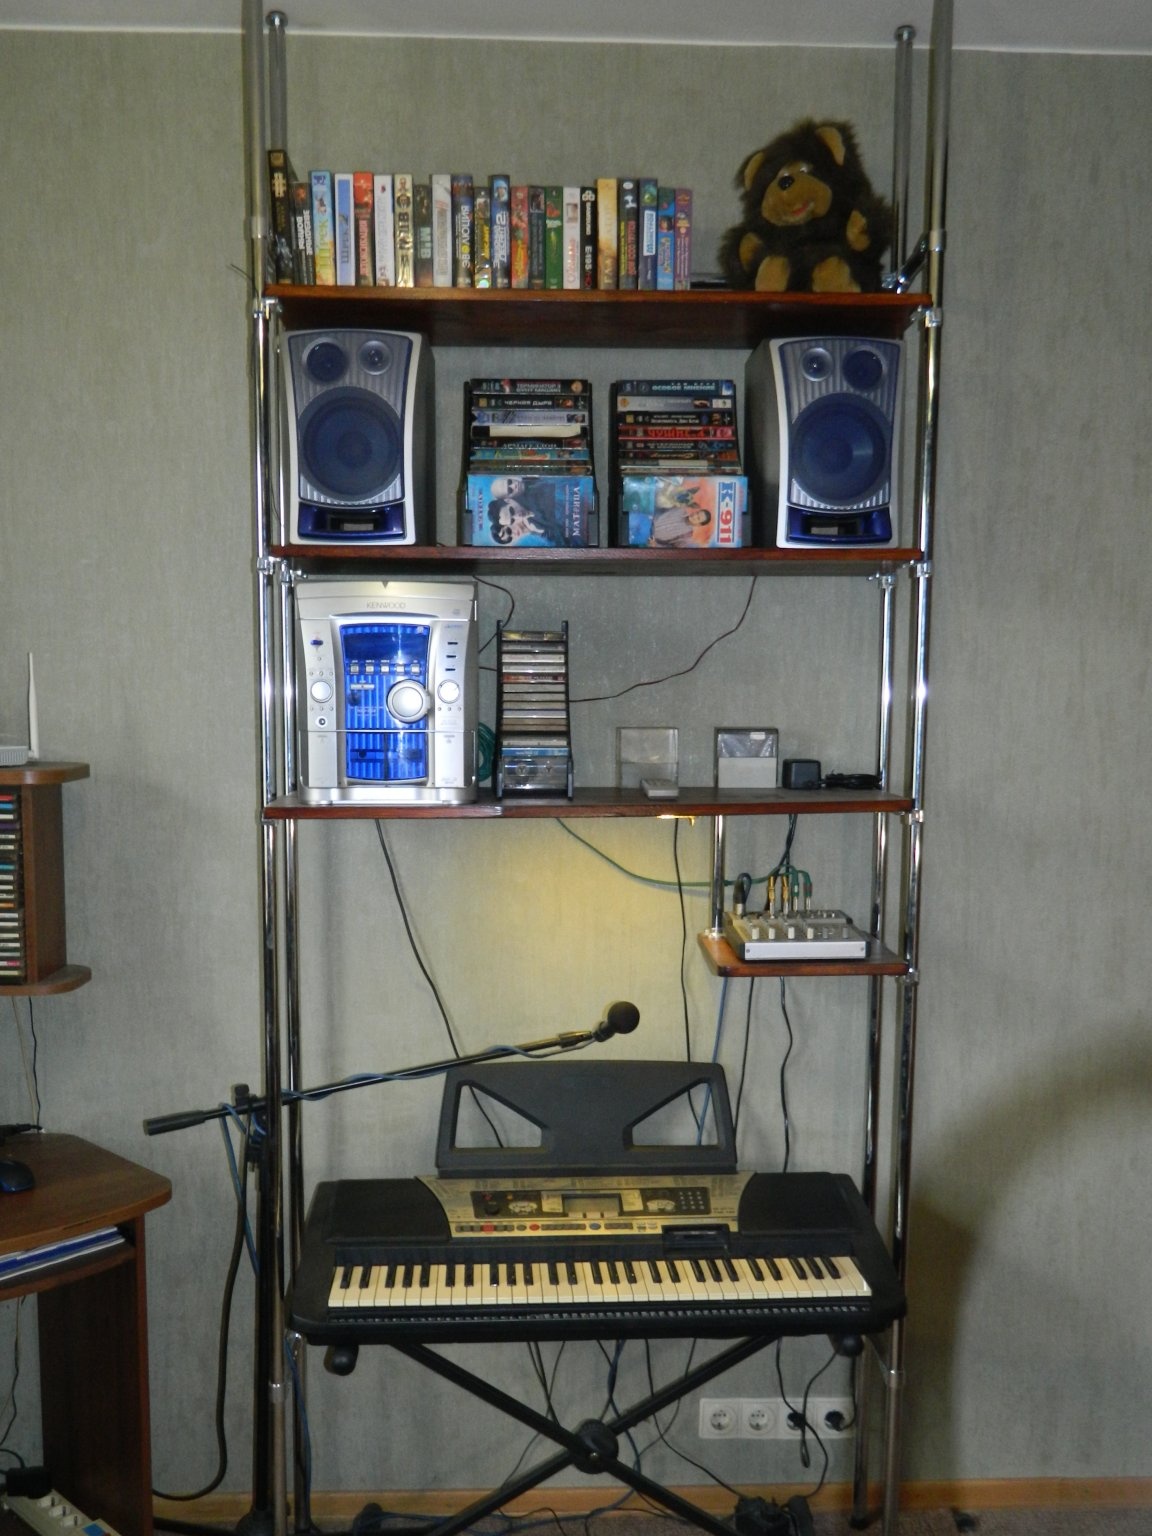
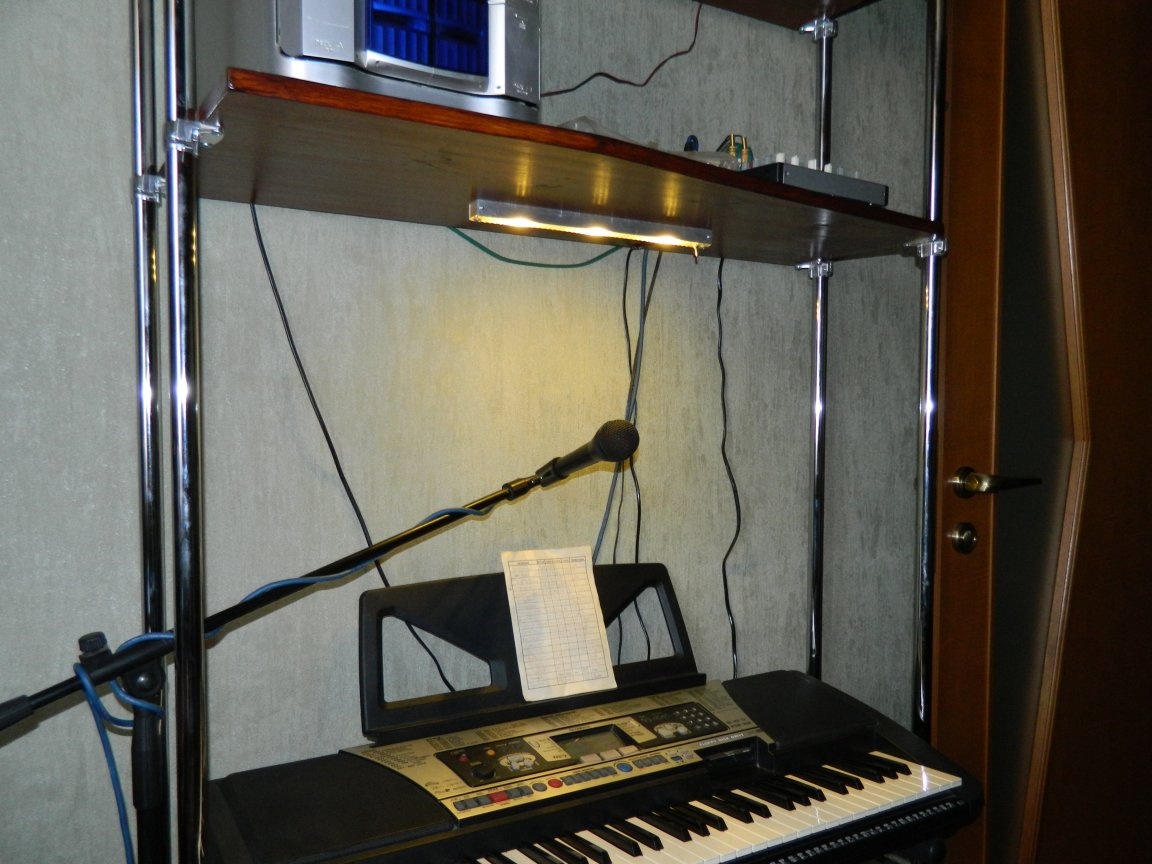
The result was a stand where all my music fit.
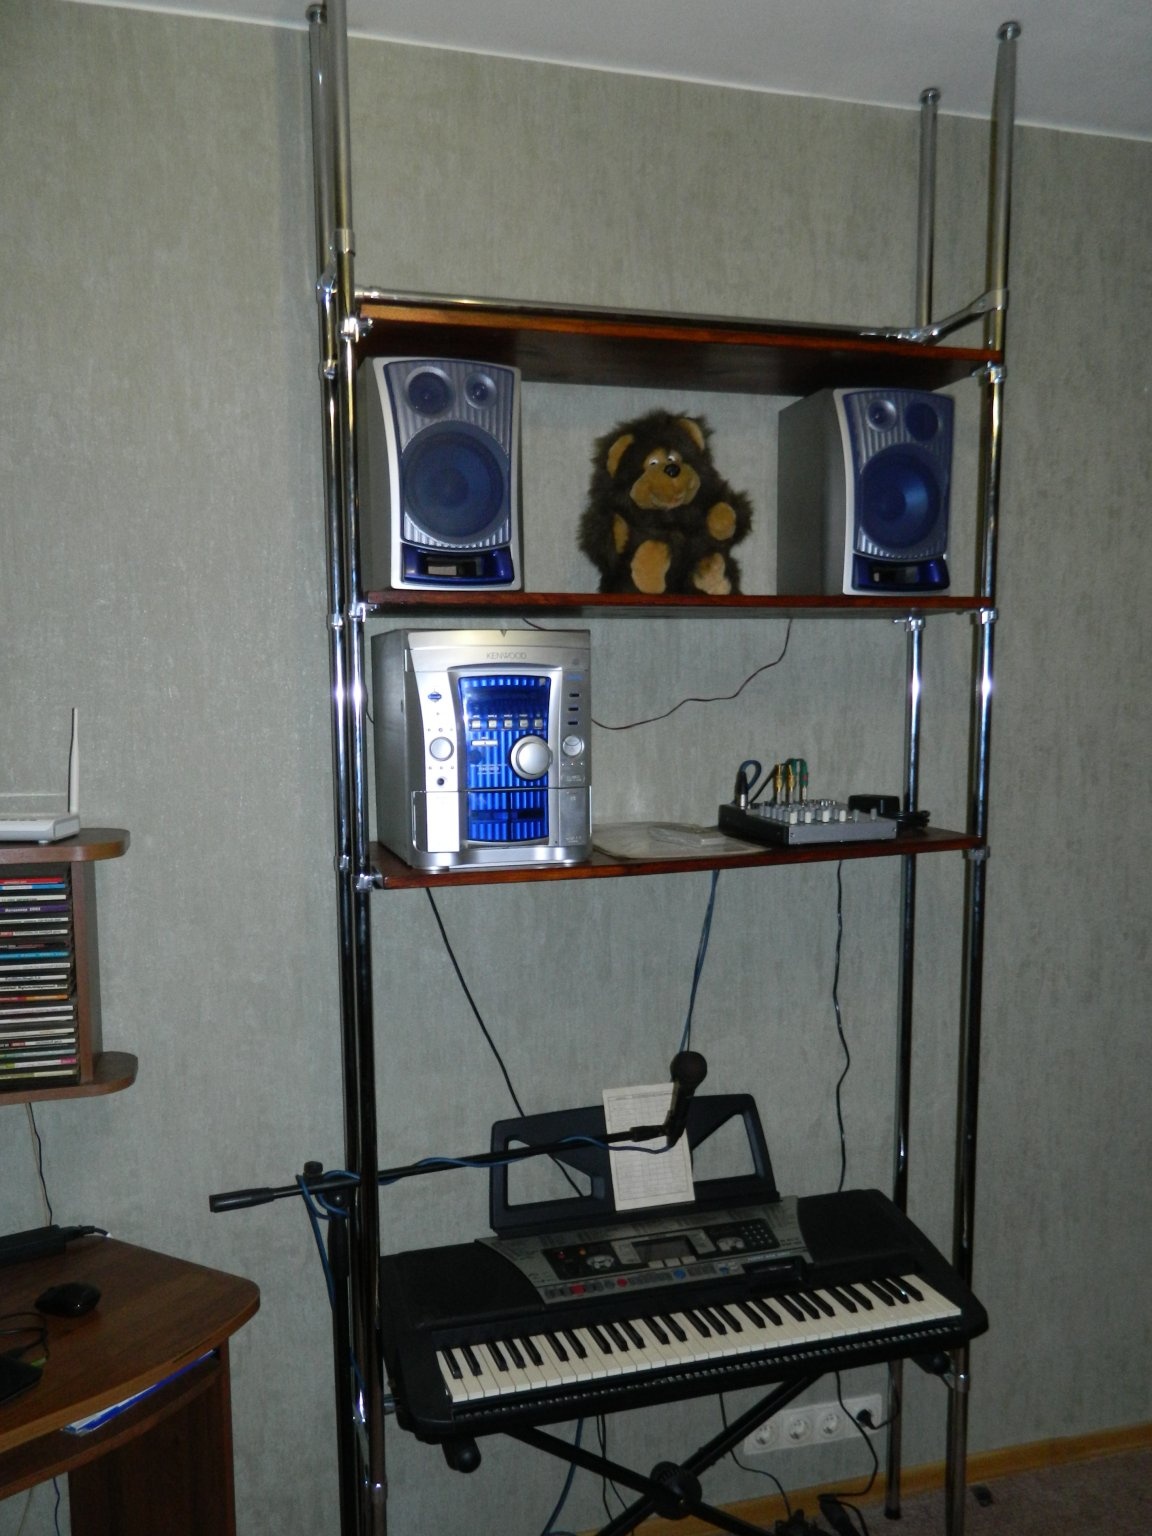
Now it was worth thinking about the backlight, because, sitting behind the synthesizer, I blocked the only lamp on the ceiling of the office, and no notes were visible. The backlight should be linear and LED. It was unprofitable to order one LED strip for 4-6 W and the driver for it (I used to buy in bulk), to buy an LED strip was unprofitable (and I don’t really like them), and I decided to make a lamp myself.
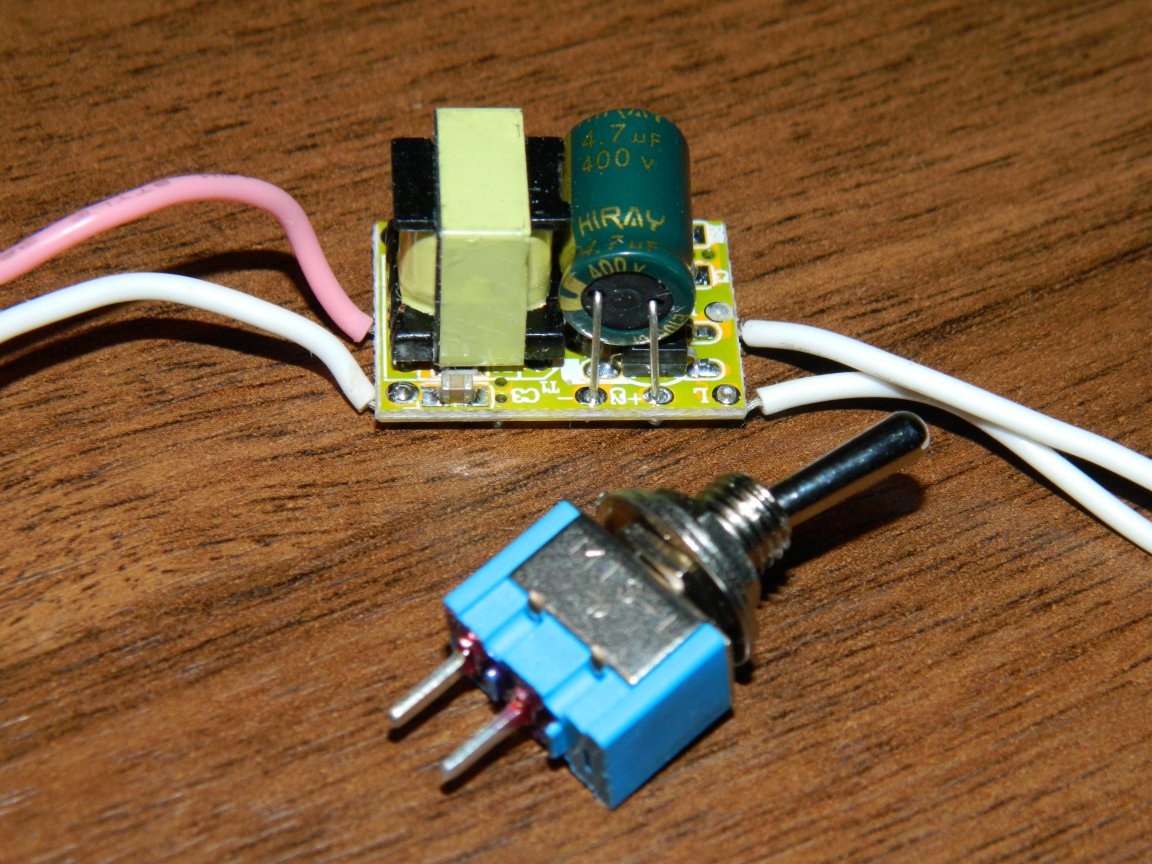
I found the parts for the lamp in old stocks:
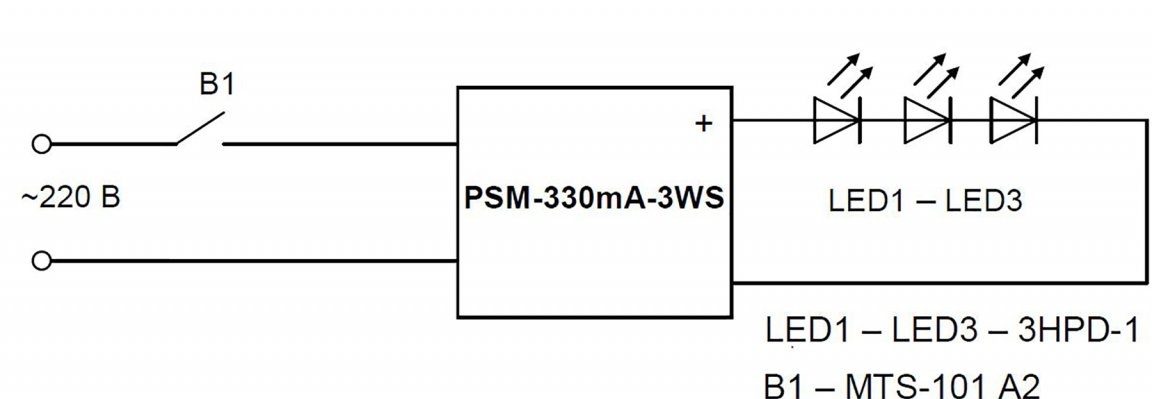
• PSM-330mA-3WS driver (Uin = 90-260 VAC; Uout = 8-10 VDC; Iout = 330 mA; dimensions - 22.5x16x14 mm).
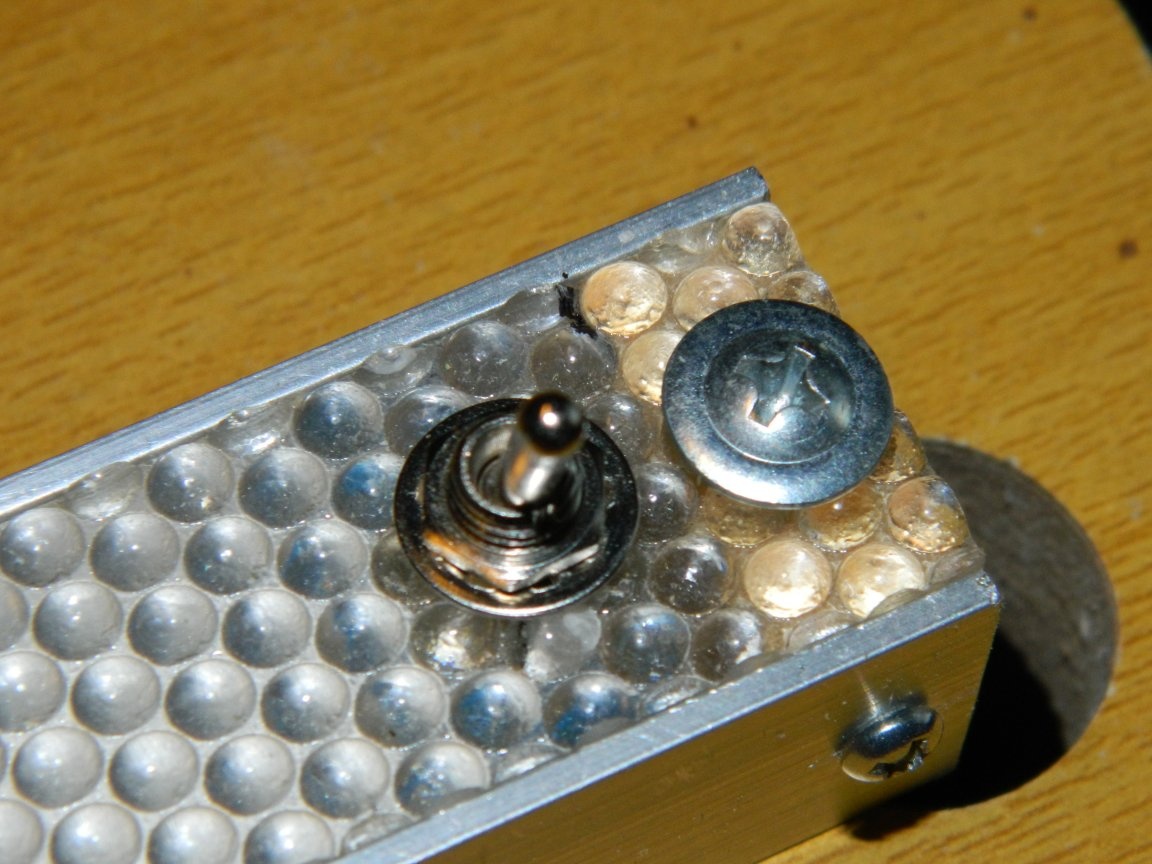
• Micro switch MTS-101 A2, ON-OFF (3 A, 250 V), SPST 2P.
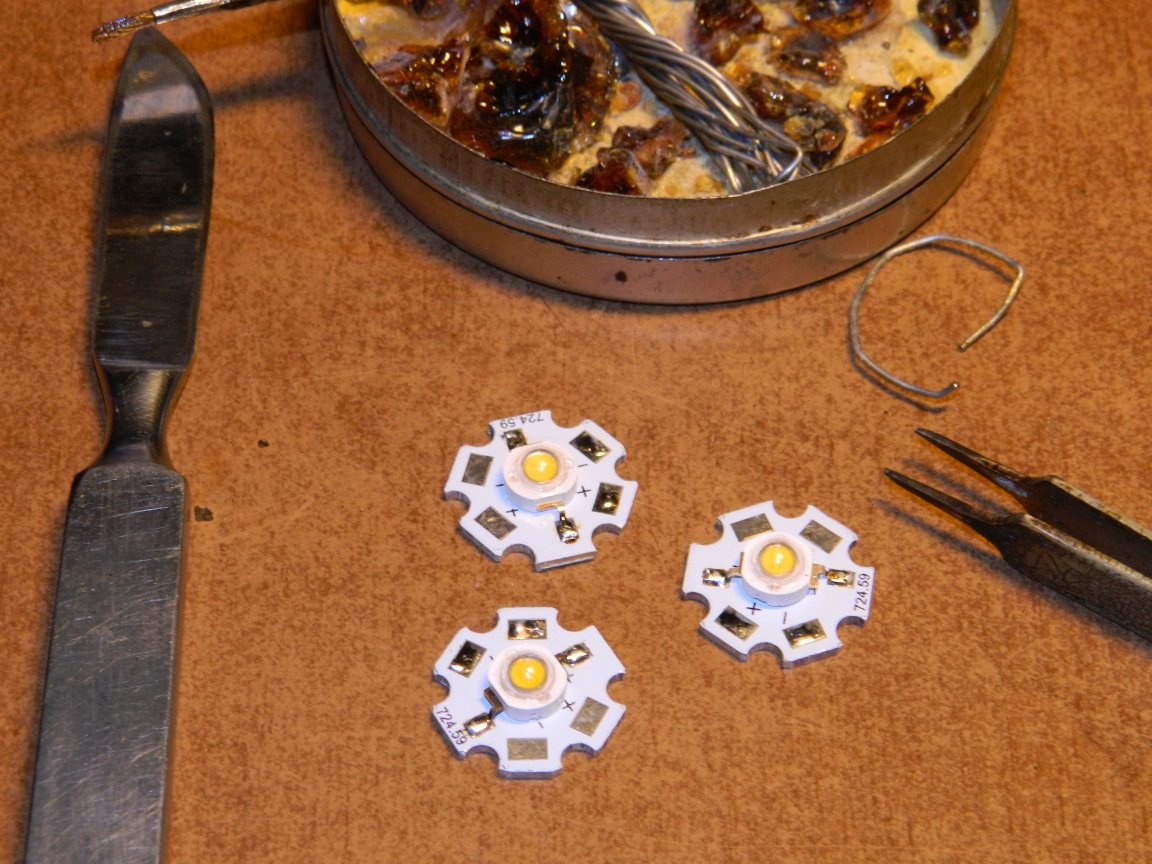
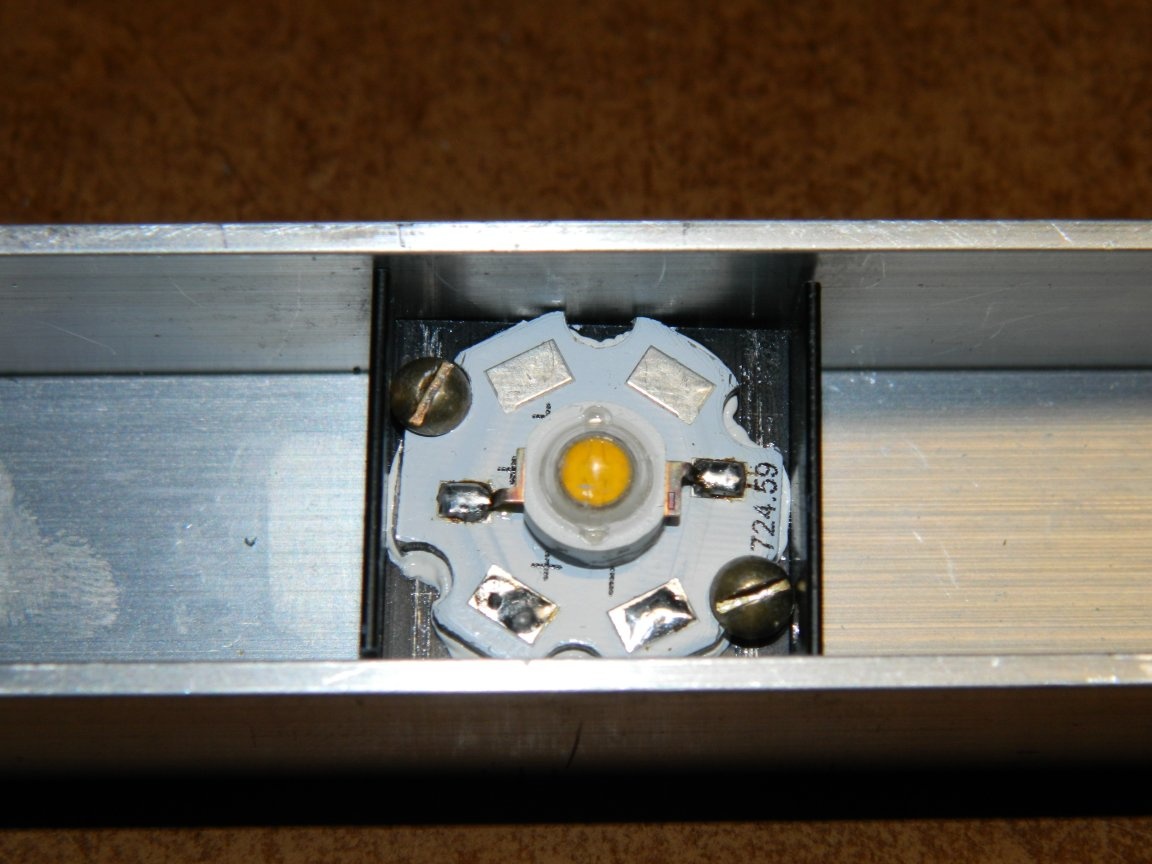
• 3HPD-1 LEDs (Inom = 350 mA; Upr = 3.2–3.4 V; Φν = 120-130 lm; 2Θ1 / 2 = 120 °; T = 2840 K; Genesis Photonics 38 mil chip, Taiwan )
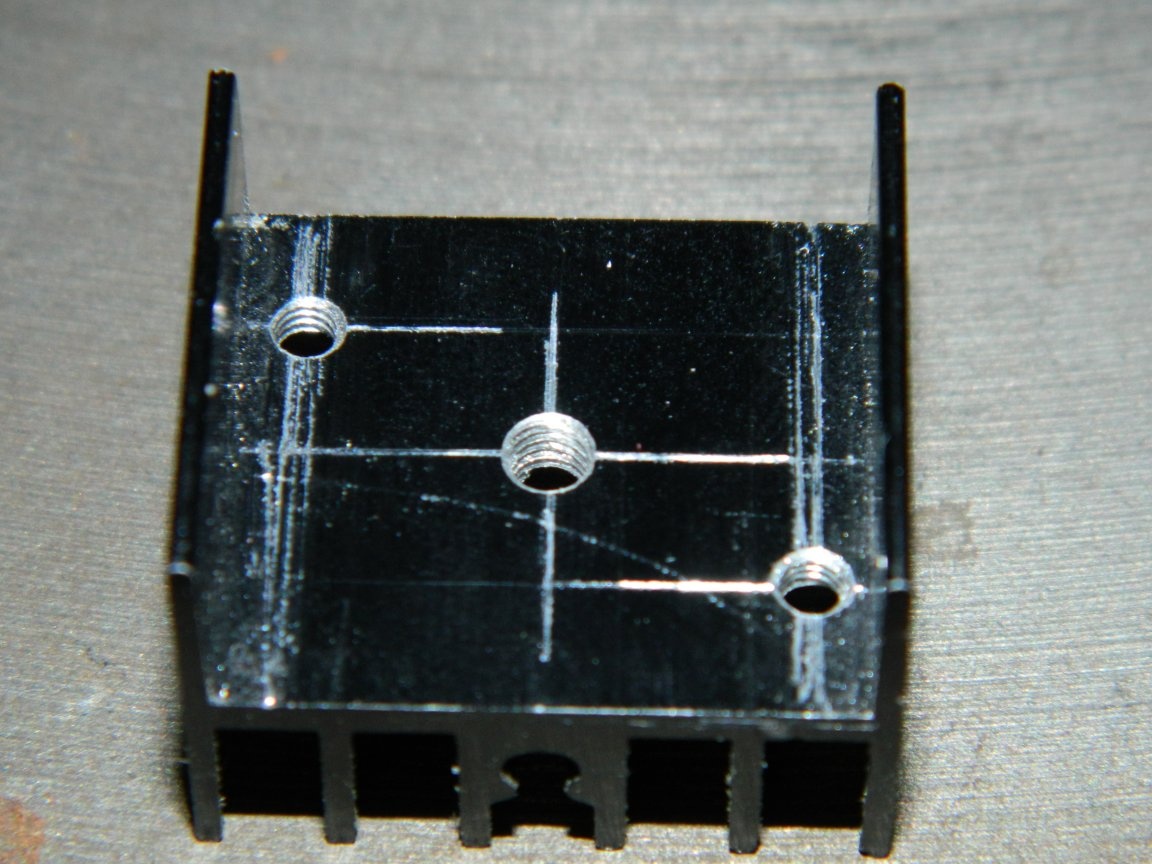
• HS-202-20 radiators with dimensions of 20x23x16 mm.
• Star ø20 radiator plate 1.6 mm thick.
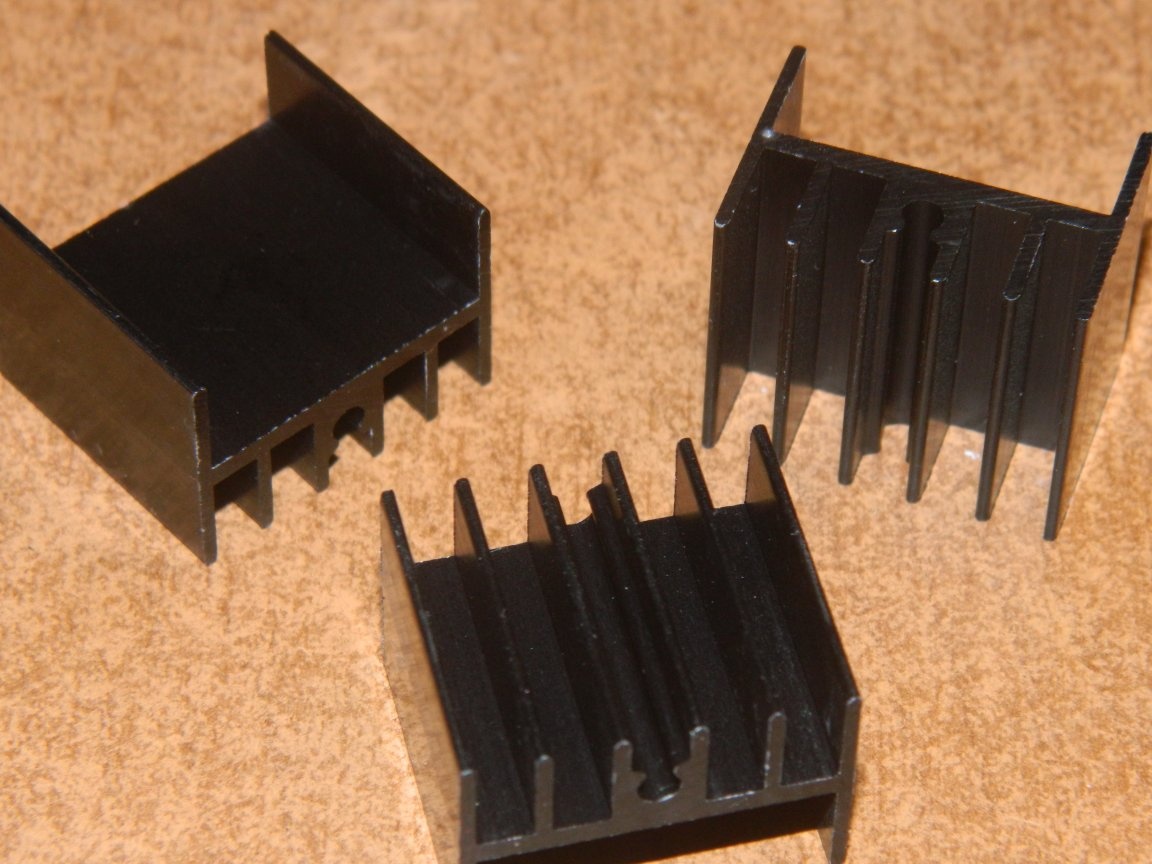
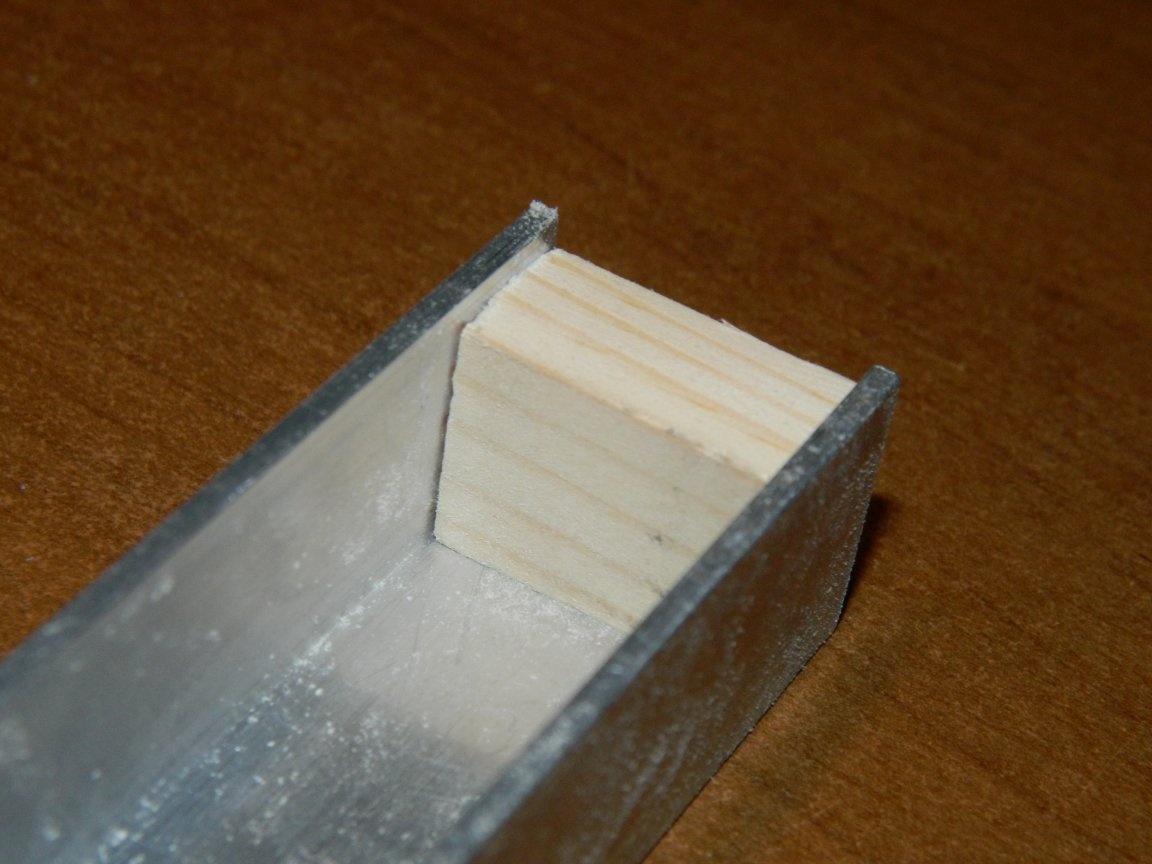
Radiators remarkably stood in a duralumin profile of 25x20 mm, from which I immediately cut a piece along the length of the future lamp - 350 mm.

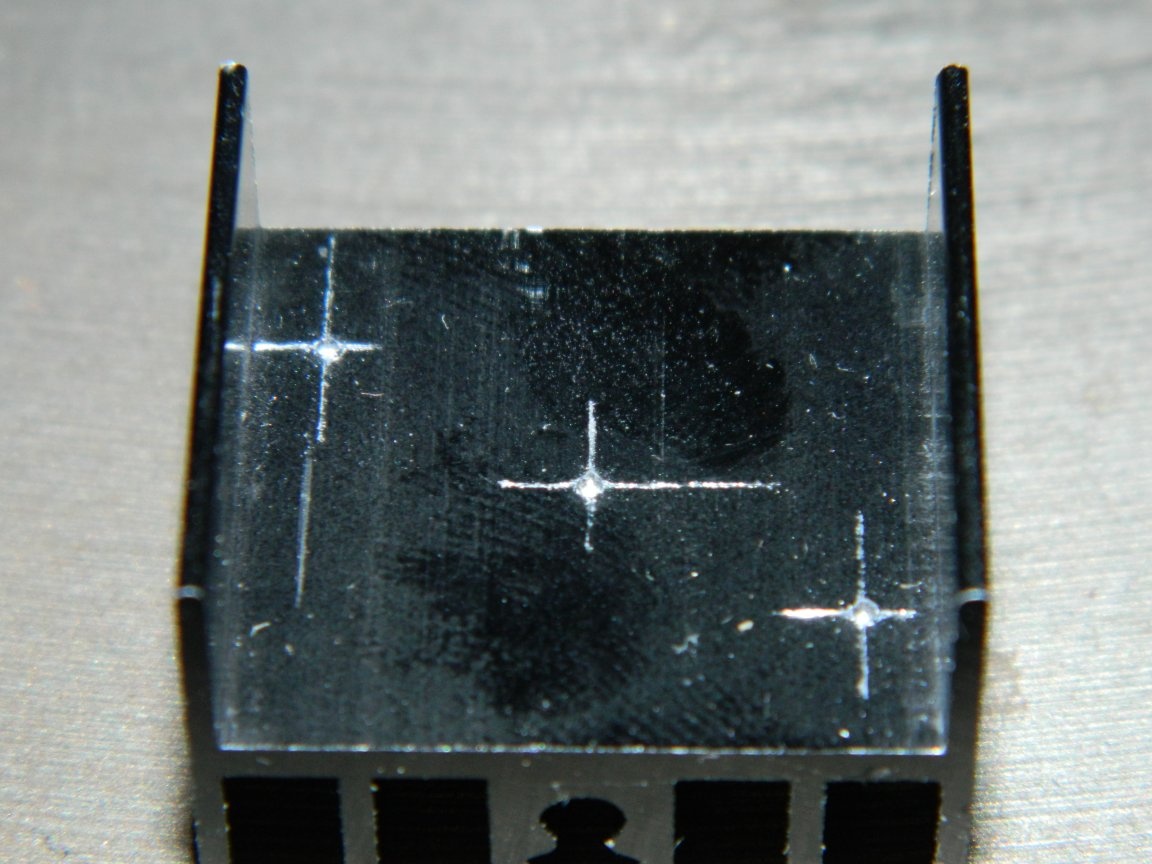
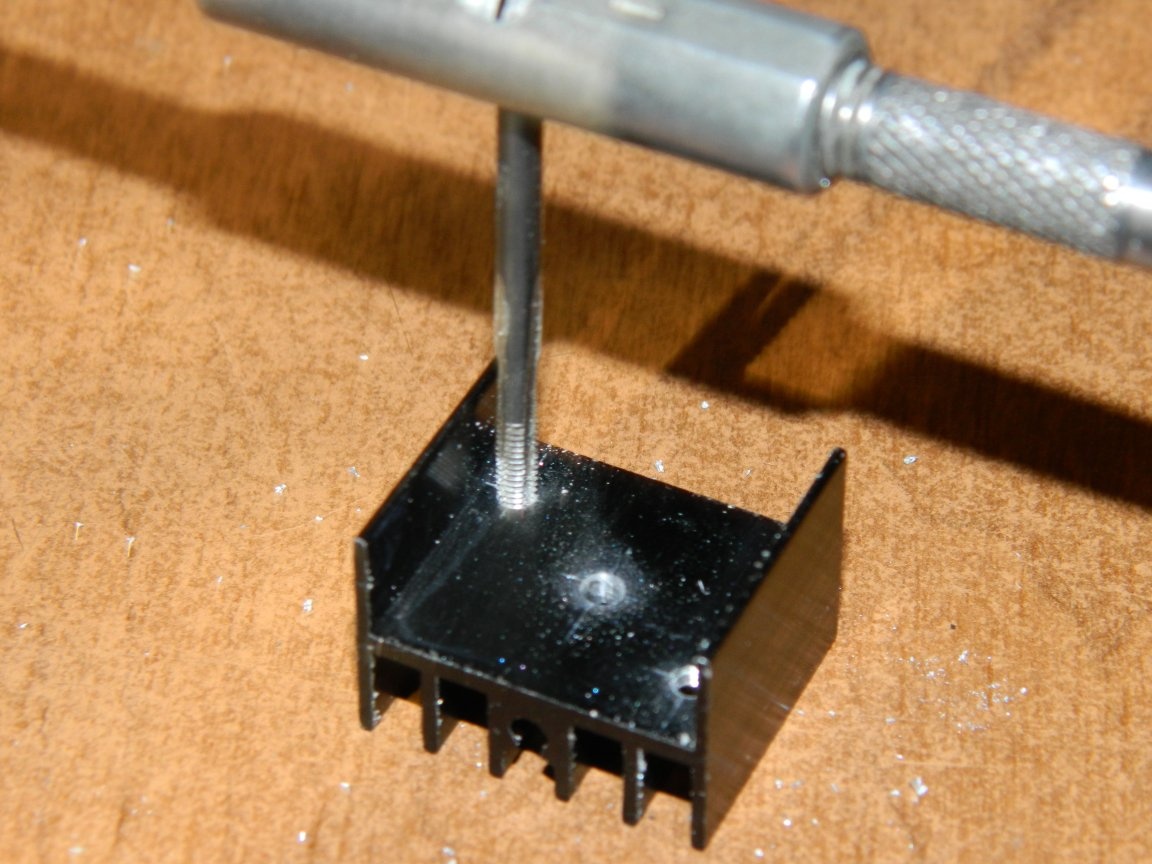
He marked the radiators and drilled holes: central ø2.5 mm and side ø2 mm. Then I cut into them a thread of M3 mm and M2.5 mm, respectively. The side openings were intended for mounting the radiator plate, the central - for mounting the assembly to the profile.
The LEDs were fixed on Star plates first with hot glue, and then, after the glue had dried (at least 12 hours), soldered them.
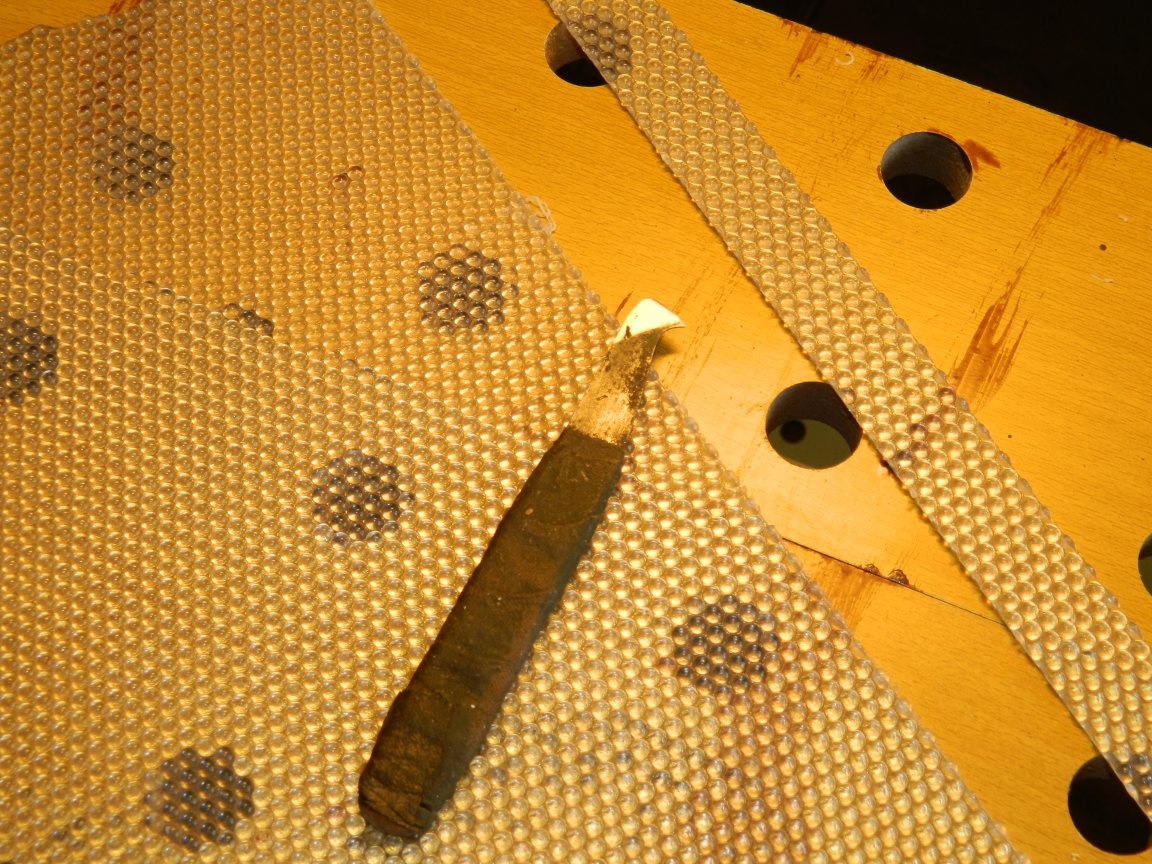
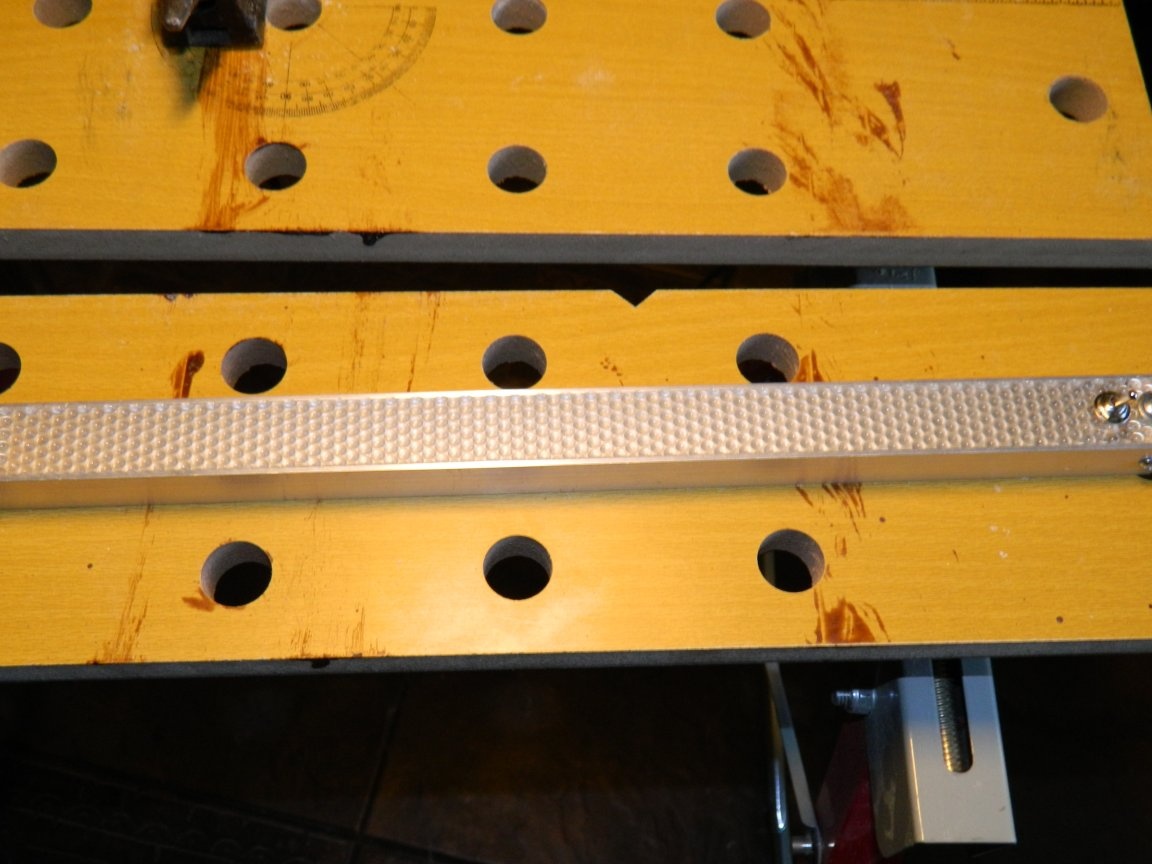
For diffuser in the garage found a plate from an old lamp with a developed surface. Using a homemade cutter from a hacksaw blade, he cut a strip from the plate and filed it so that it would fit into the preload profile.
As a sidewall for a lamp, I used a 20x10 mm rail. I cut two pieces from her and filed them to the height of the radiators. I drilled holes on the sides of the profile and planted the bosses on the screws.
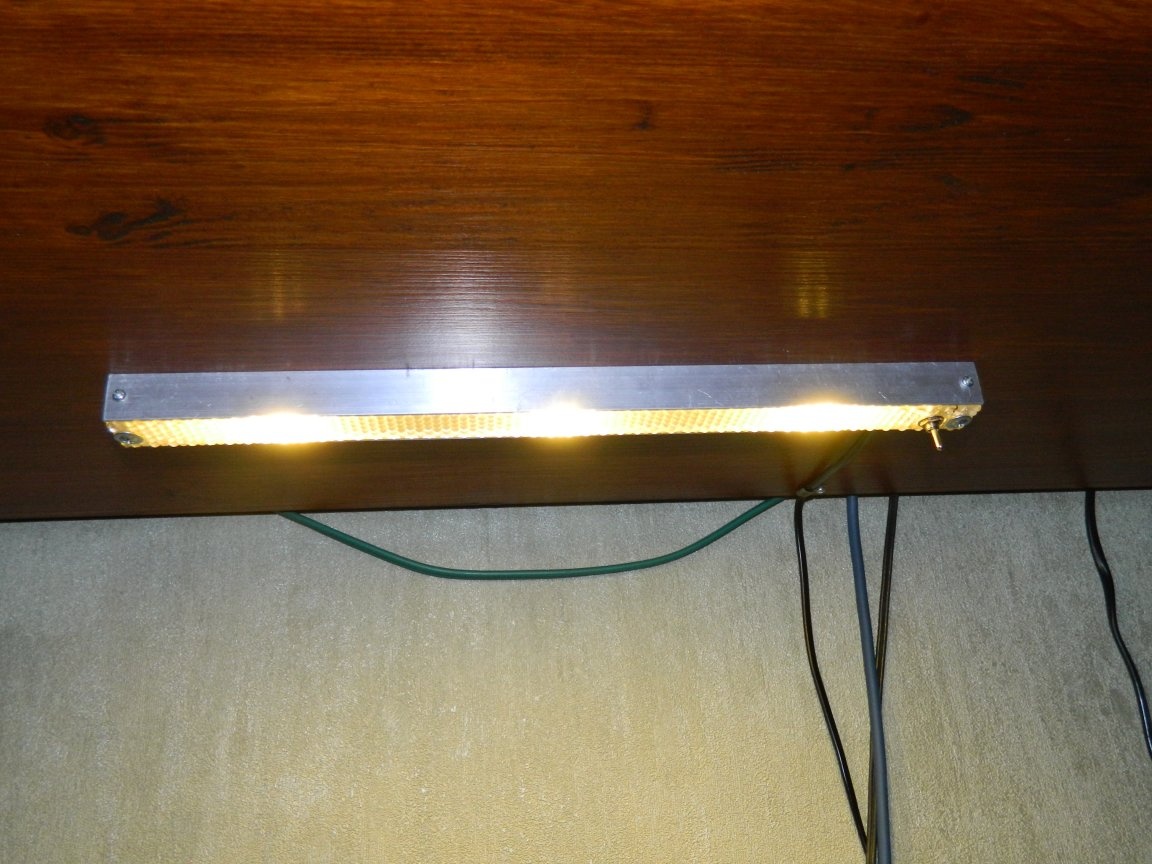
The diffuser was fixed with self-tapping screws ø4.2x12 mm with press washers, having previously installed a microtummer. The lamp housing is ready.
Now take care of the filling. He fixed radiators in the casing with M3 screws with a blind head, having previously drilled holes in the profile.
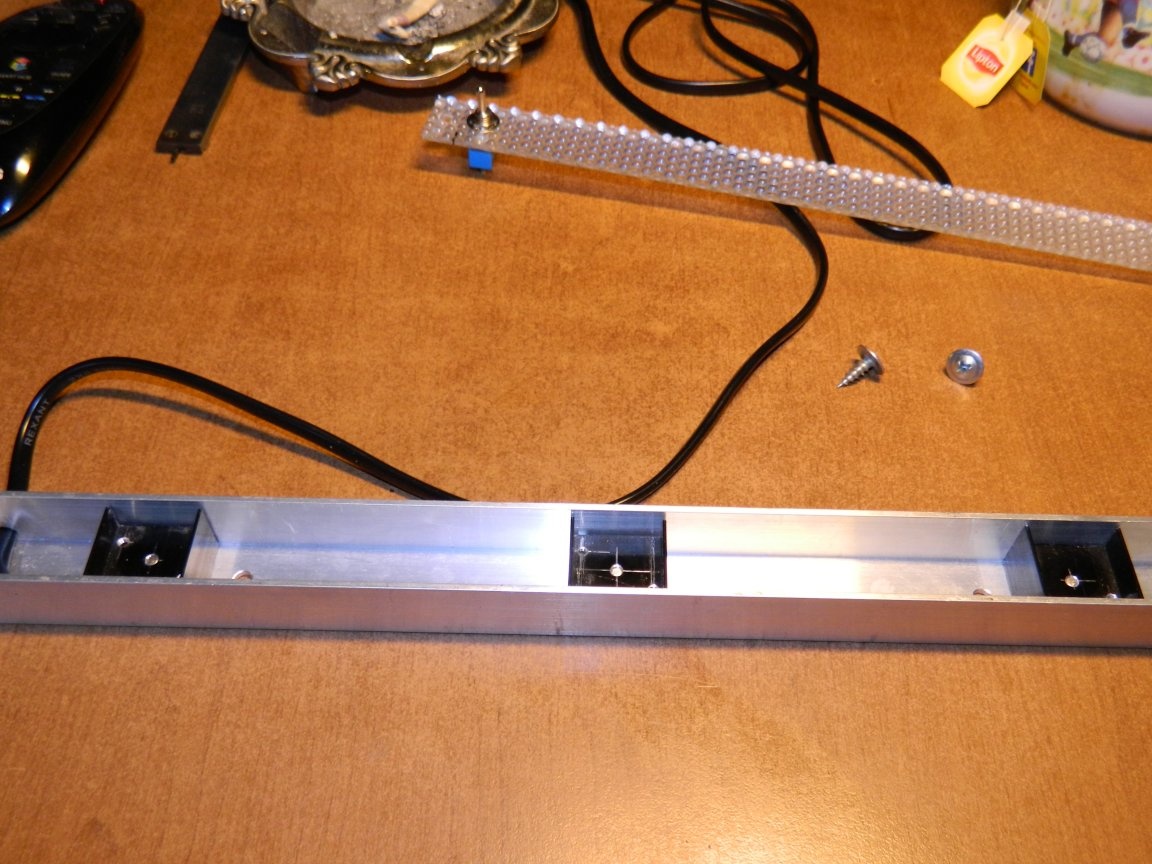
Star radiator plates with LEDs are mounted on radiators with M2.5 screws through the thermal compound KPT-8.
On the microtumber switch side, the driver should be located. To avoid its shortening to the body, I glued all the planes in contact with it with 0.5 mm cardboard. Then I soldered the entire filling of the lamp with a MGTF wire with a cross section of 0.12 mm² according to the scheme presented on figure.
He fixed the lamp under the lower shelf with self-tapping screws, put the diffuser back in place and plugged in the power cord, having previously fixed it to the lower shelf with a bracket. Hooray, all notes are wonderful to read!
But early I was happy .... The cabinet is only 11 m² in size, and the acoustics are very poor, especially since the synthesizer amplifier is opposite the glassed book wall. Therefore, at the slightest twist of the timbre or volume knobs, the sound is immediately reflected and the background begins through the microphone - you have to constantly twist the mixer.And to reach the sliders of the mixer, you have to get up, and this is annoying! But I found a solution - to put the mixer so that it was next to the hand, and for this we need to make another shelf.
What to do, I went to Leroy (I do not really like this store because of the queues) and bought another shelf holder and end pipe holders (I still had a piece of pipe).
Having modified the shelf holder in the same way as described above, I got two holders for the shelf. A pipe cut of 240 mm specified the distance from the upper flange. A piece of shield with dimensions of 300x300 mm was enough for a shelf. It was peeled and then coated with azure.
First, I fixed the end holder to the shelf. Then he attached the shelf to the pipes of the main rack with the help of the shelf holders and, having put a piece of pipe, marked out where the second end holder would be attached. Then he removed the entire structure and secured it. Then he put in place already for marking an additional shelf.
Now, as Matroskin said: Hooray! It all worked! You can easily reach the mixer with your hand without getting up from the chair, and there is enough lighting!