
Good day to all, dear friends, friends! While most of our great powers have finally come to their senses after the New Year holidays, I would like to show you one simply brilliant idea, which, it seems to me, can help and just come in handy for many masters, whose occupation, in one way or another, is connected with pipes, corners and other hollow elongated parts.
I think many had this problem:
It is necessary to make a straight through or non-through hole in a round metal pipe. You take a drill into your hands, insert a drill for metal of the required diameter into the chuck, and now you are ready to make a couple of excellent holes, but .. This is a pipe, it is round, and when you try to make an even hole in it, the drill simply slides along the edges of the pipe , which usually infuriates even the calmest people. It is necessary to fix the drill and the pipe in some way, but how to do it in such a way that the drill continues to turn? Today's homemade directed, just the same, to solve this problem.
If someone does not understand any point, then at the very bottom of the article there will be a video from the author. Well, let's not pull with the introduction, let's go!
And so to do device for more convenient hole making in the details we need:
metal corners
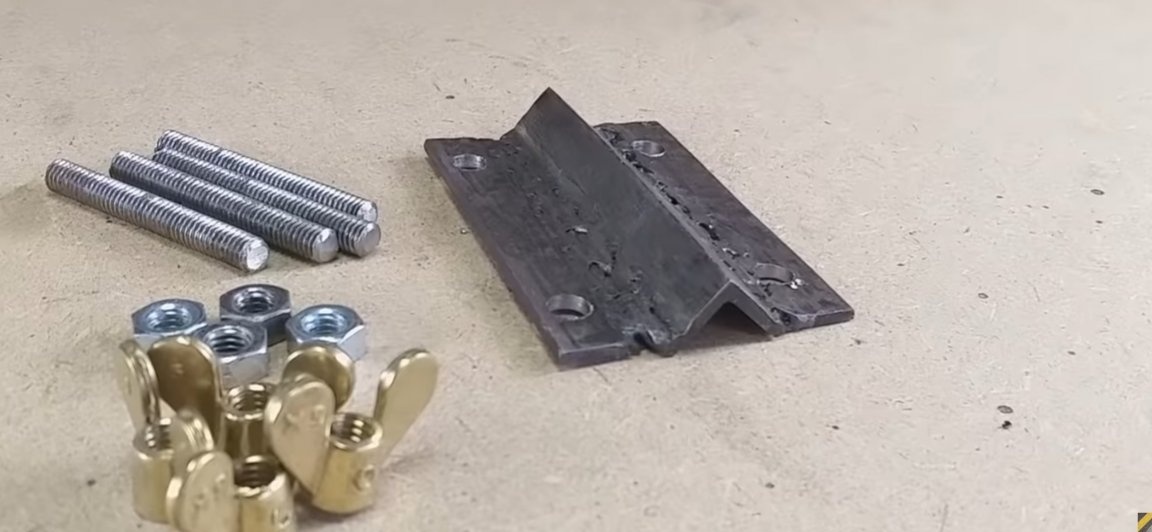
-4 identical bolts and 4 "flag nuts" to them
-4 ordinary nuts for bolt diameter
Of the tools we will also need:
-marker
grinder with metal discs
line
-roulette
-drill
metal drills
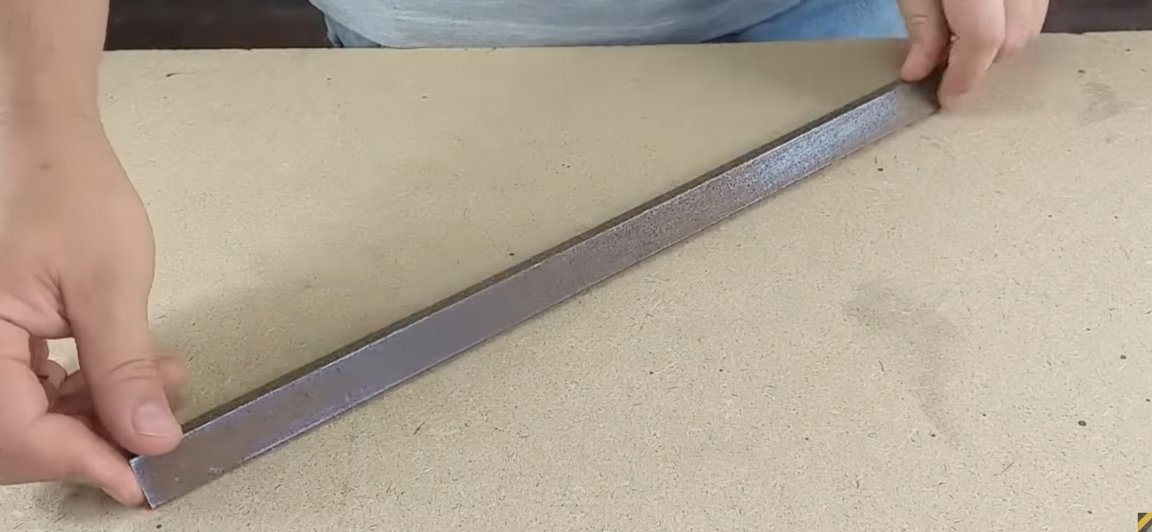
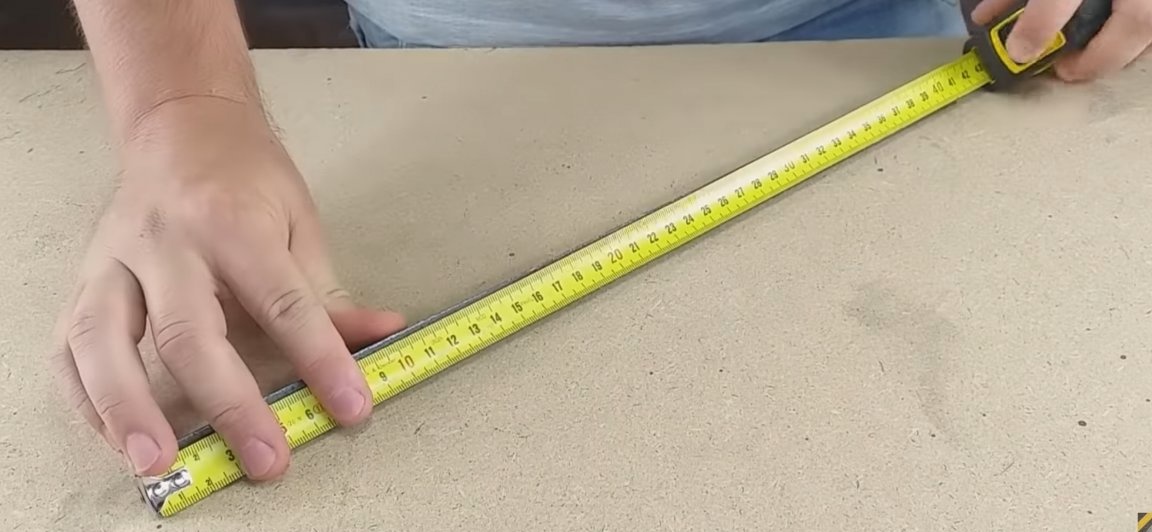
And so, the first thing you need to take a long metal corner, tape measure and marker. After that, we measure 10-12 cm and make marks (in principle, it can be longer, it will not particularly affect the functionality, but it is necessary to take into account your tasks and capabilities, so adjust the length for yourself). Then, using a grinder, cut off four blanks according to the marks made earlier.
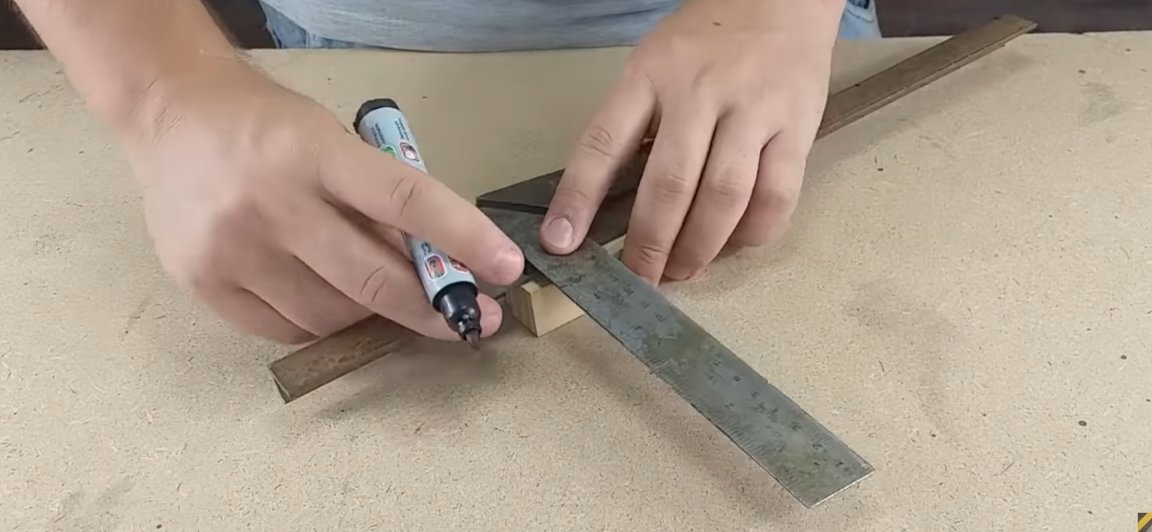
Again, we take a marker and draw along the corner of each corner, no matter how strange it sounds, but the author showed it, it means it is necessary. With the help of a grinder, we divide the corners at the mark and we get 4 identical blanks (this manipulation must be done with two of the four segments of the corner).
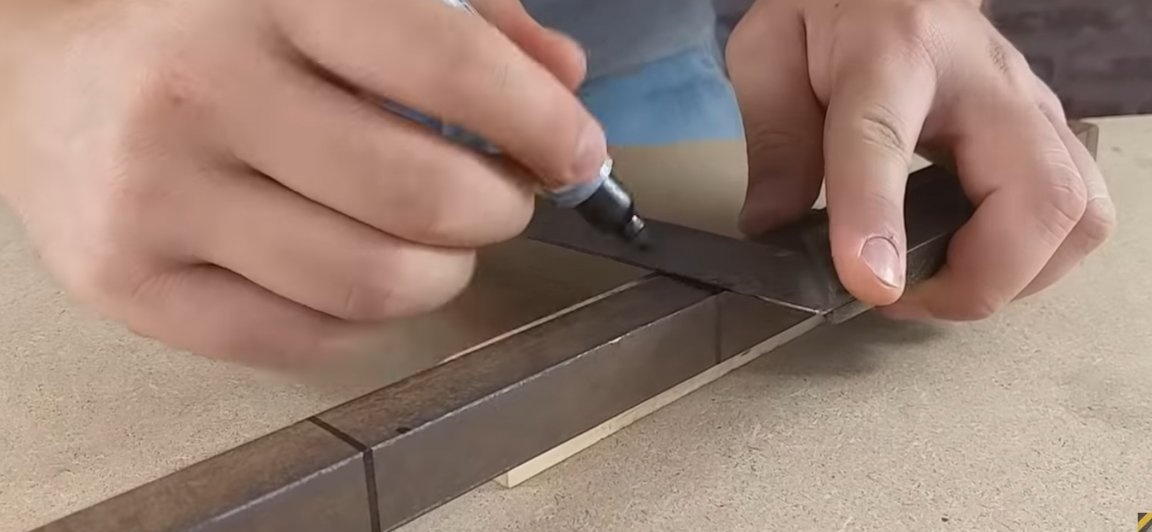
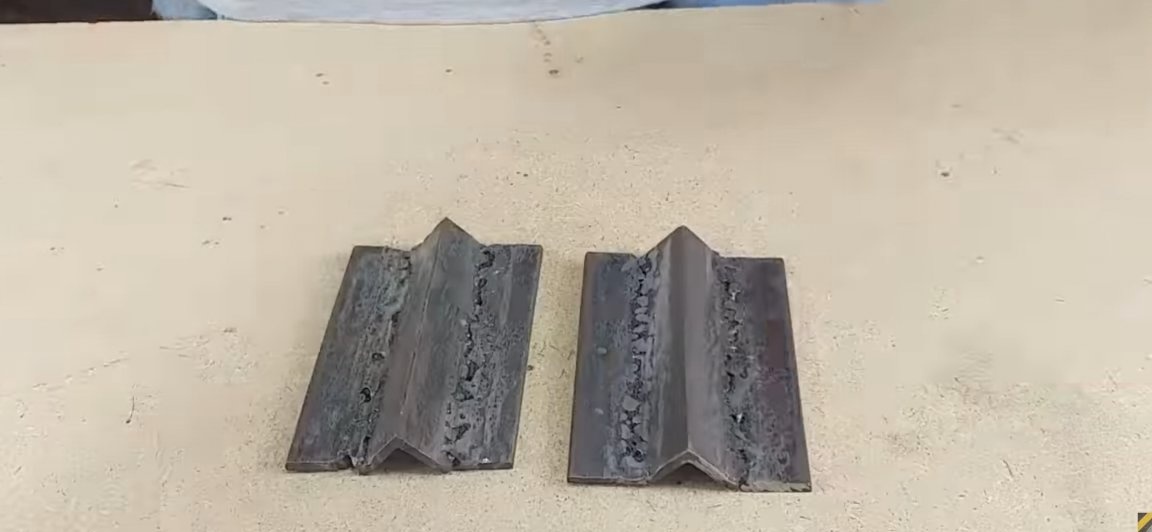
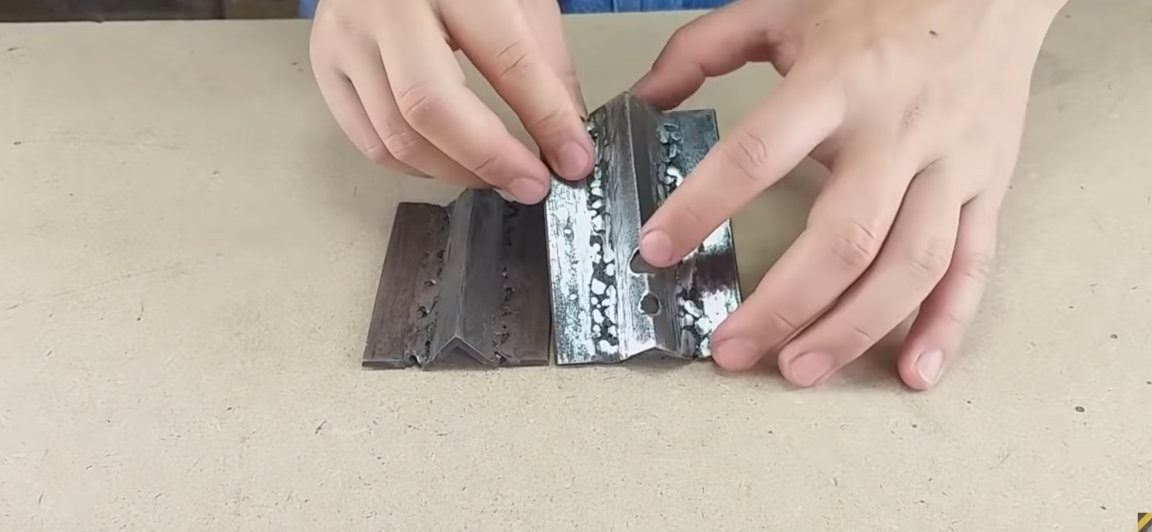
We take all our segments from the corners and weld them in exactly the same way as in the photo below, the weld seam, by the way, can be trimmed using our beloved grinder:
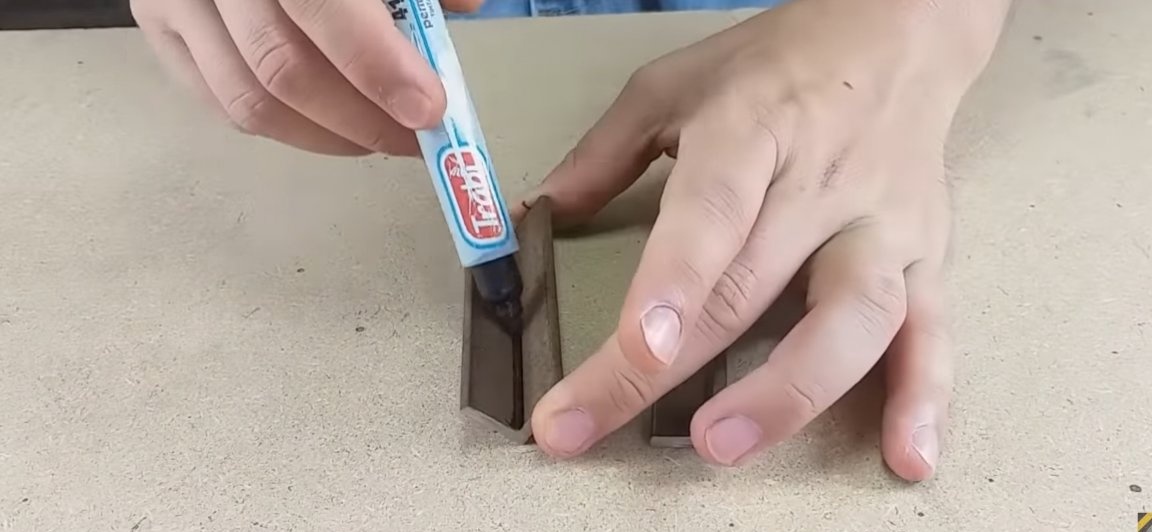
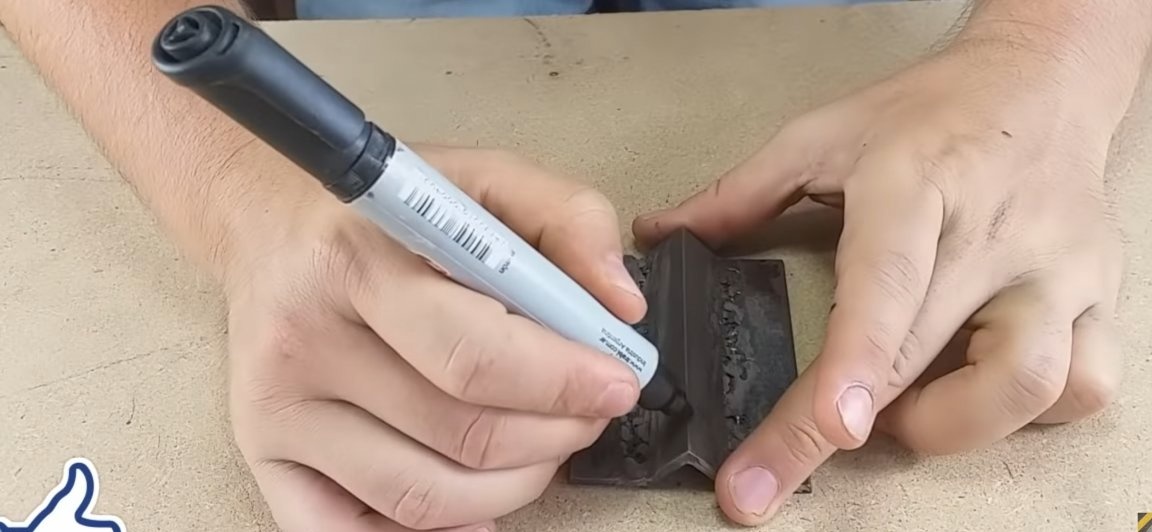
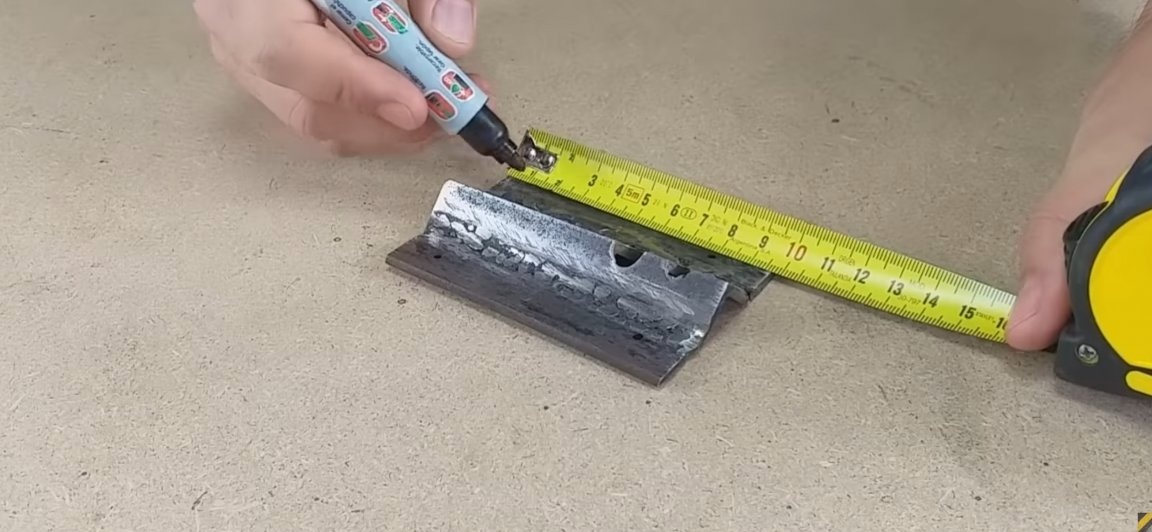
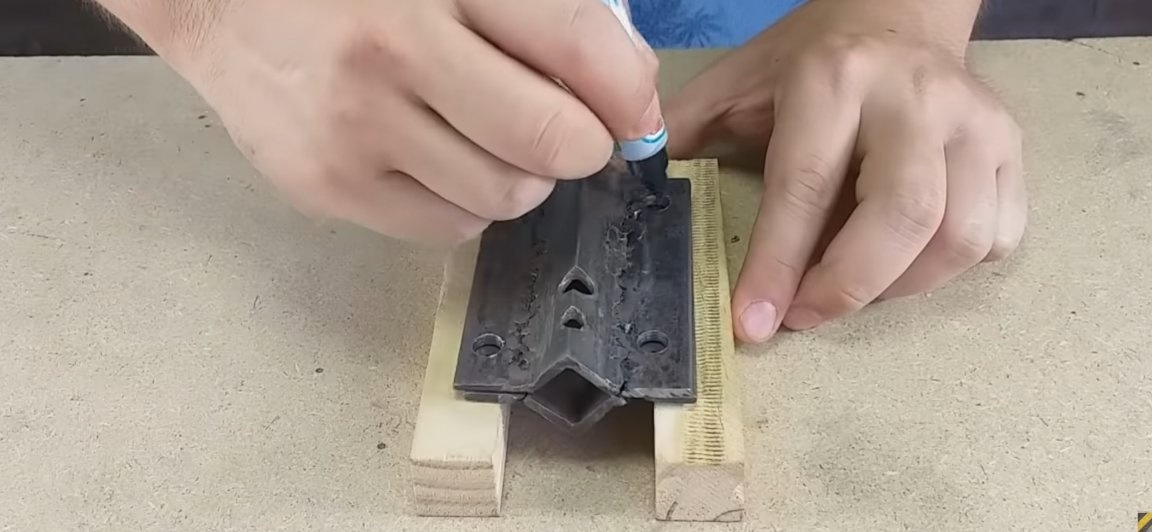
We take one of the blanks and make two marks at a distance of about 1-2 cm. After that, in the most accurate way we make two files on the places of these marks, we make them of course with the help of a grinder.
We turn the workpiece over and in the same places we make through holes with drill bits of different diameters so that our homemade product is more functional. After that, the workpiece can be sanded and sanded, for a more aesthetic look:
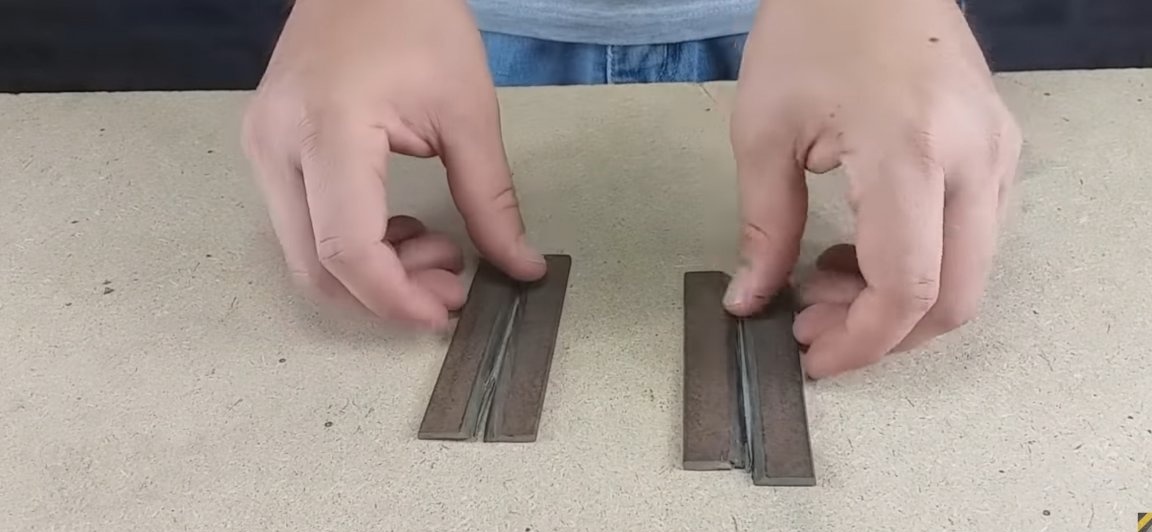
Again we take a tape measure and at a distance of 1 cm from the edges of our blank we make marks, these marks should be exactly opposite to each other.
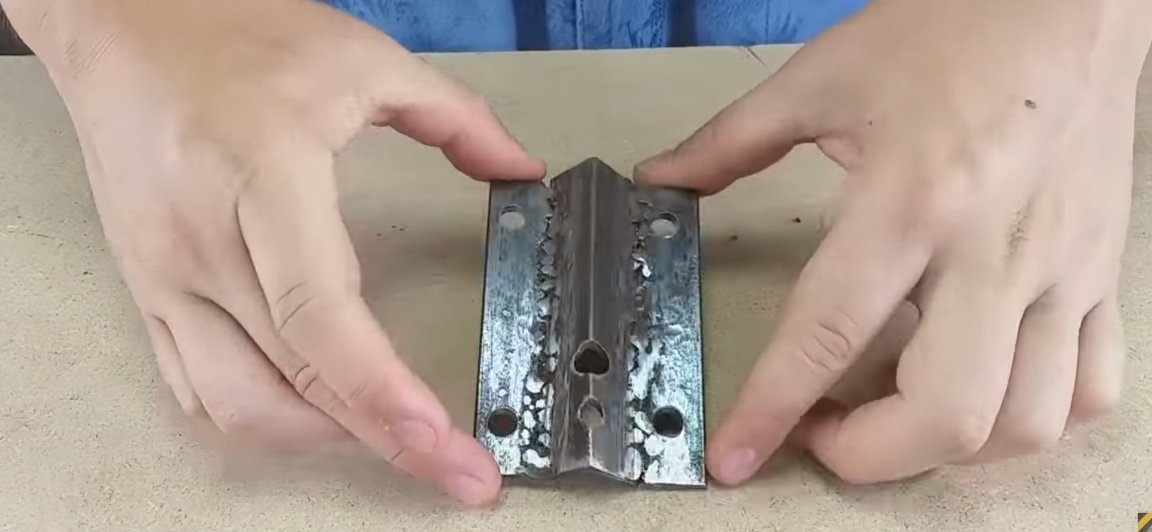
We perform exactly the same manipulations with the second workpiece. In general, everything should work out as in the photo below. The most important thing is to do everything carefully, especially when working with a grinder:
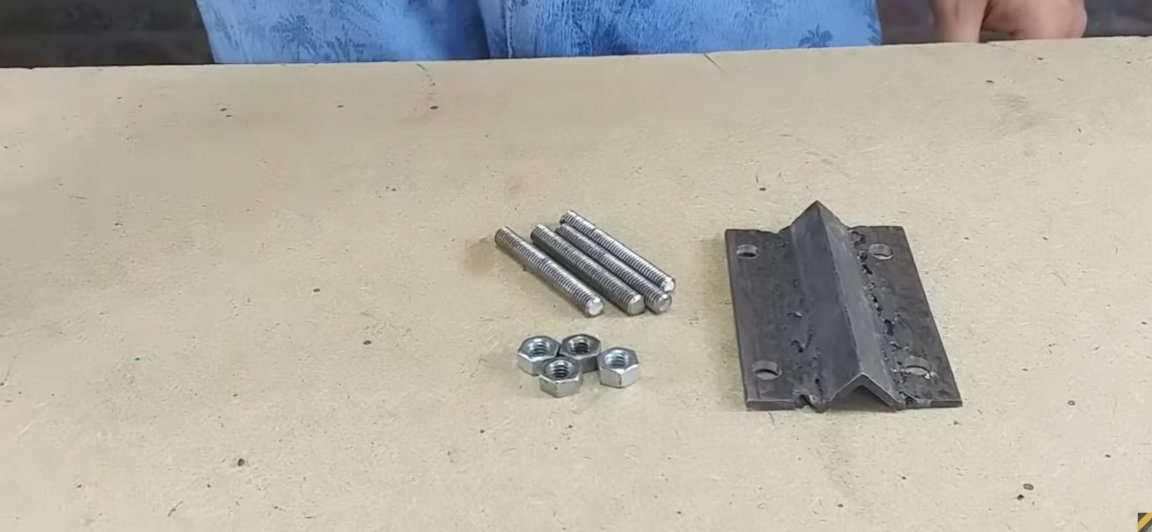
Now we need to prepare fasteners for our homemade products:
We take 4 bolts - about 6-8 cm long and with the help of a grinder, carefully cut off the caps under the root, after which, carefully grind the cut parts so that the probability of getting a cut or a metal splinter is minimal. Well, in principle, that’s all, our fasteners are ready and you can begin the final assembly of the whole homemade product.
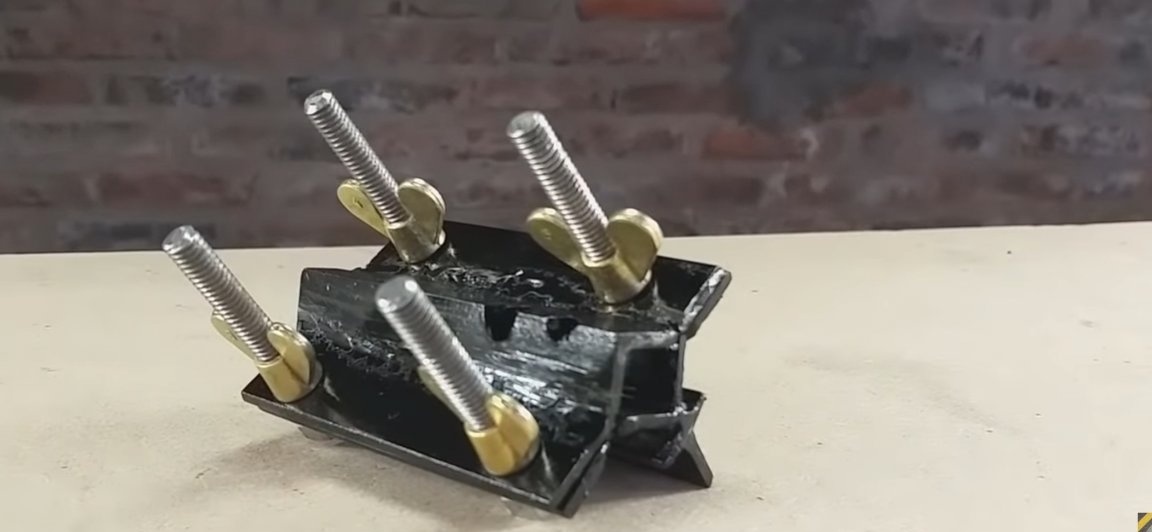
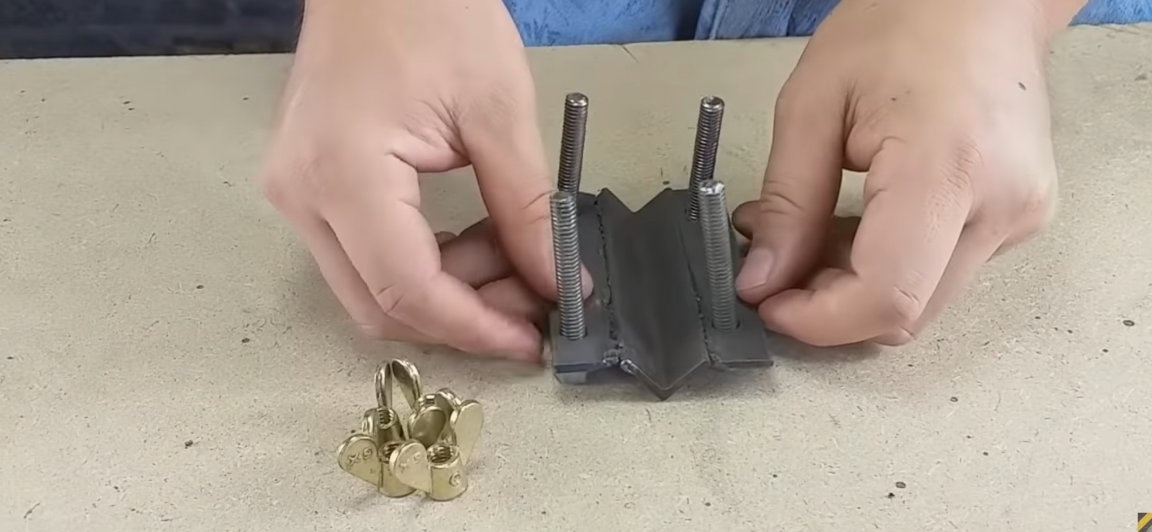
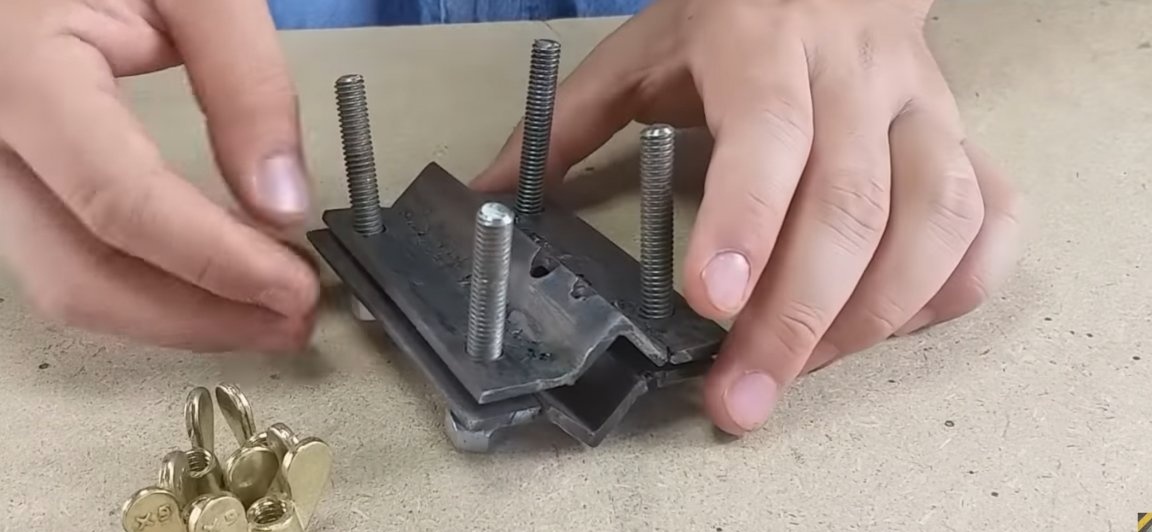
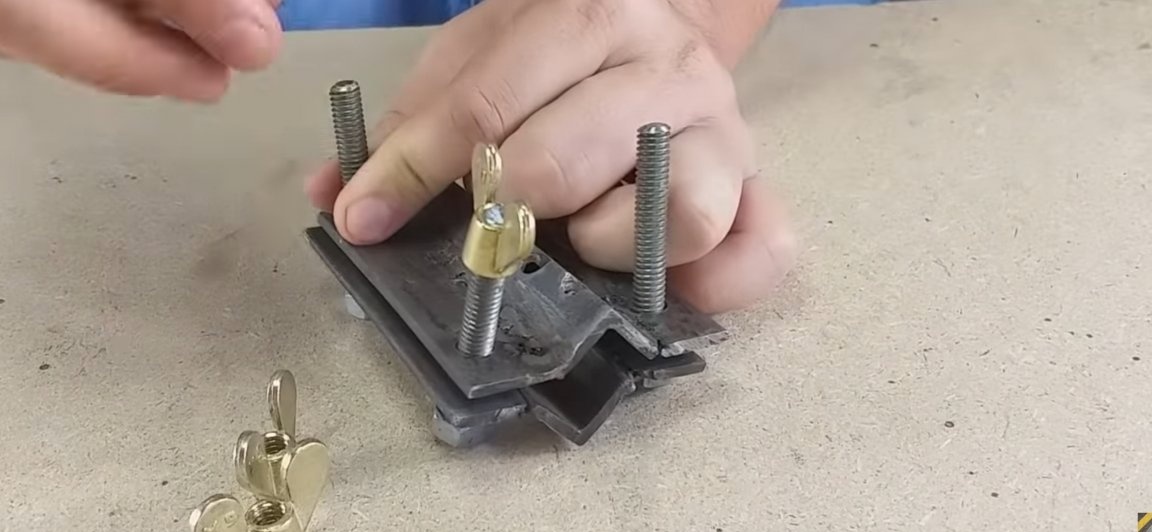
And so, we take the bolts we prepared earlier and insert one into each hole of our past billets from the corners, which must be put in advance on top of each other, that is, in a mirror. After that, on one side of the bolts (and on one side of one of the workpieces from the corners also means), we tighten our nuts, but not much, the main thing is that the nut is simply completely screwed onto the thread of the bolt and does not fly off. By the way, I forgot to note one important point, if your bolts have a certain space “x” in front of the hat that is not covered with thread, then this space must also be cut, along with the hat, so that the entire segment from the bolt consists only of thread, if this is not to make, there may be problems when wrapping up. Then we wrap the "nuts-flags", but already on the other side of the entire workpiece. In general, everything should turn out as in the photo below:
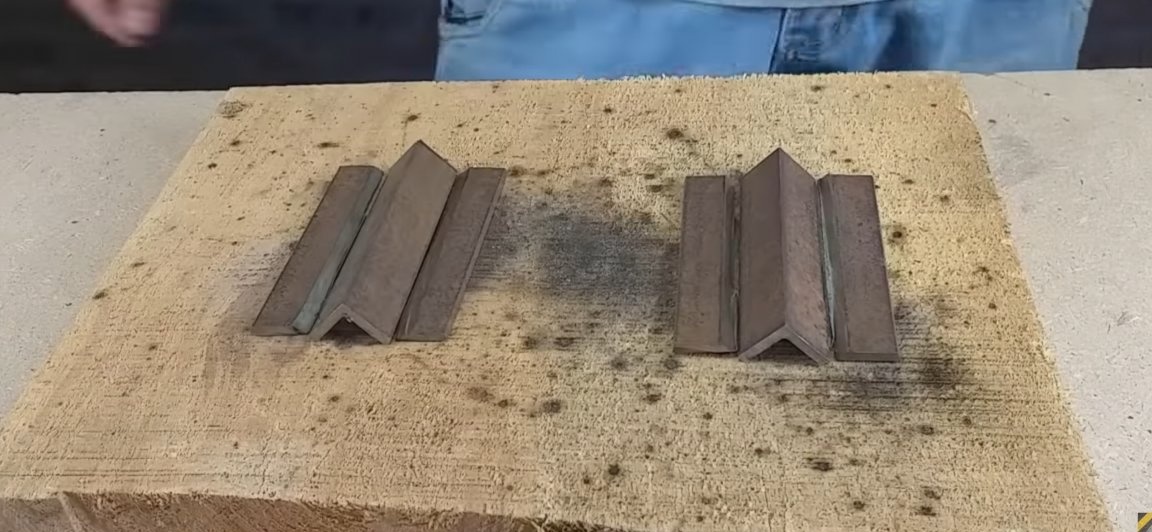
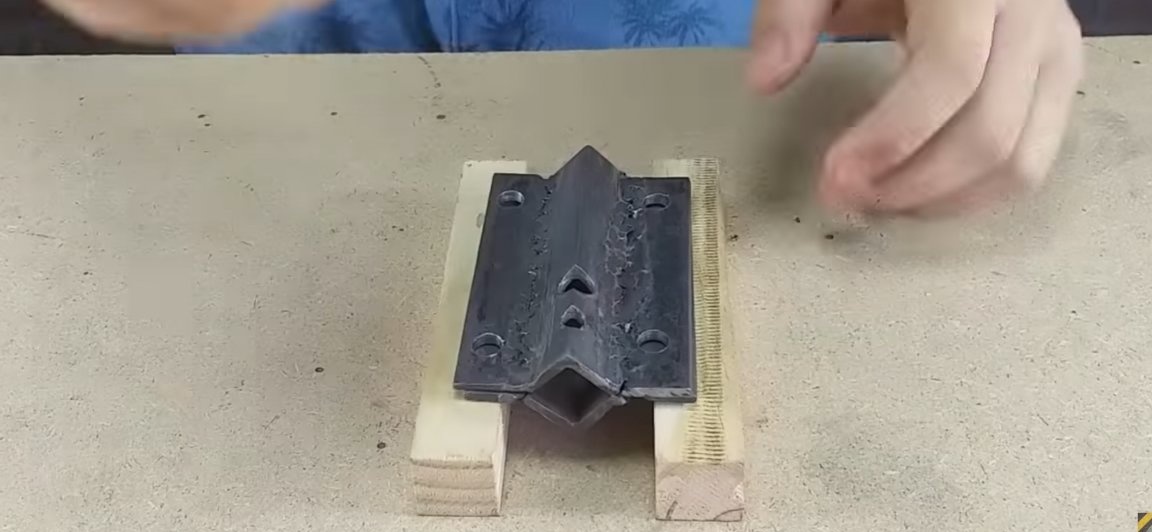
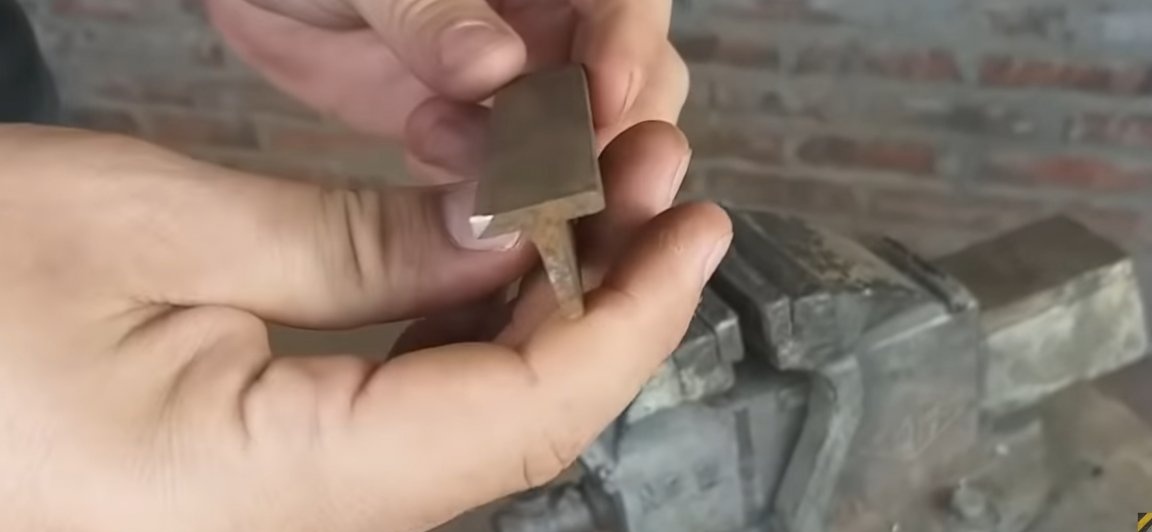
Now, you need to take a metal part, of such a shape as that of the author in the photo, I would call it a “double mirror corner”, as anyone, if you know the name of such a part, then write in the comments, it will be interesting to know.
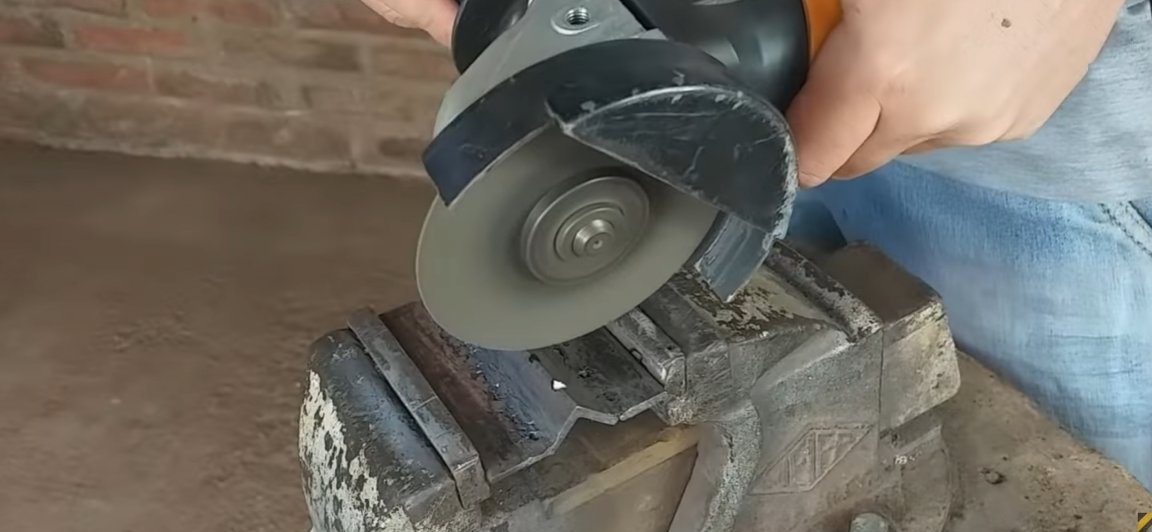
After that, we take a grinder and cut a length of 10 cm from this part, first making a mark with a marker or pencil (if you chose a different length, then you need to cut along the length of your first blanks).
After the done manipulations, we weld this blank to the lower part of our homemade product, we weld in parallel, relative to the base. In the end, everything should turn out exactly the same as in the photo below.
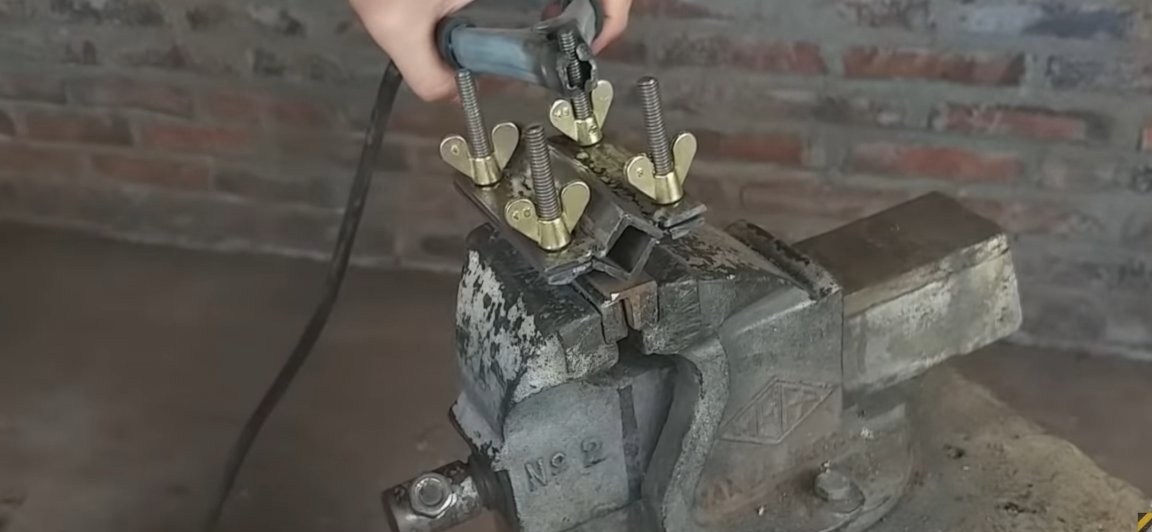
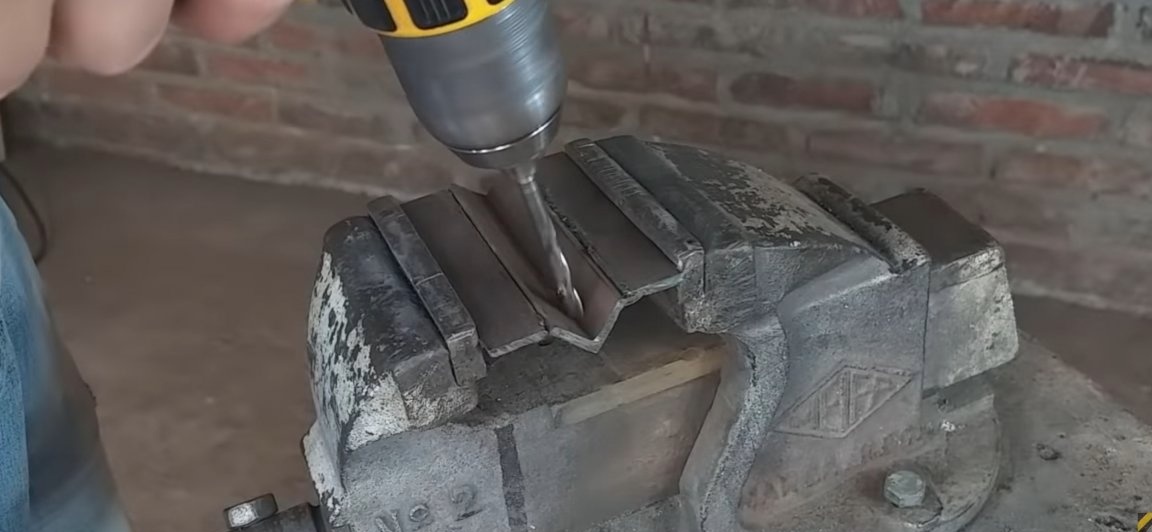
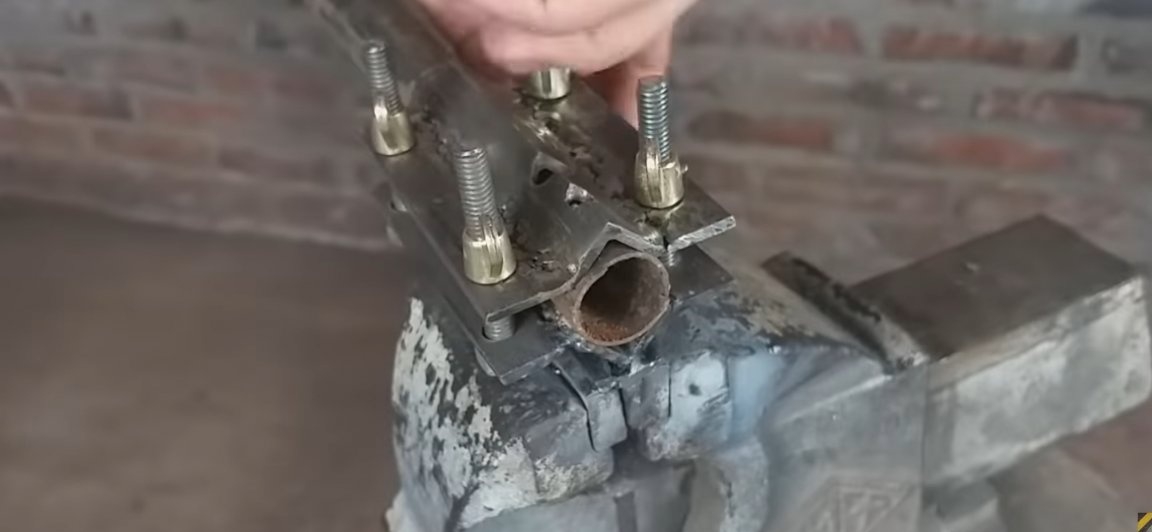
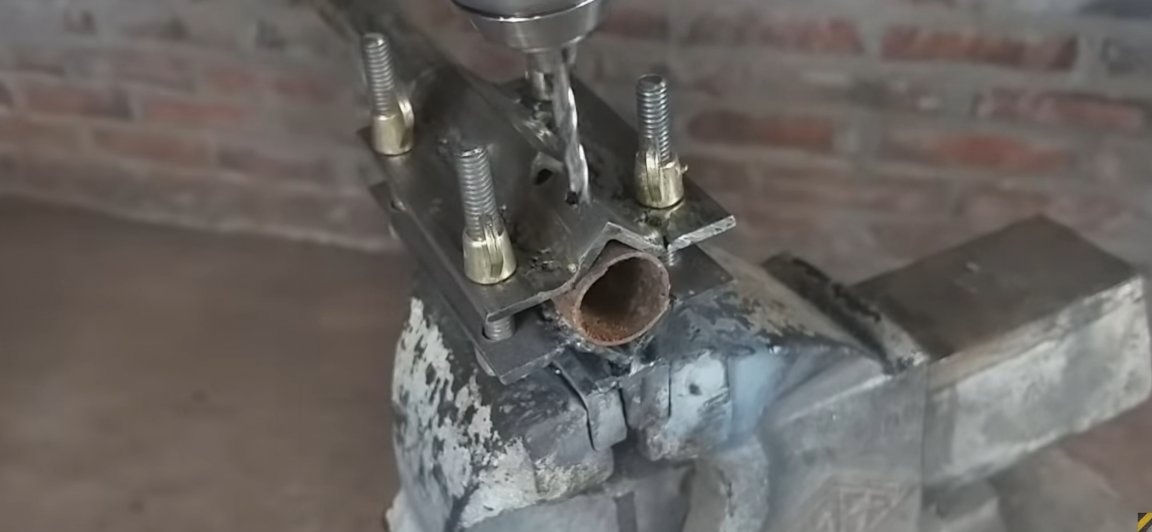
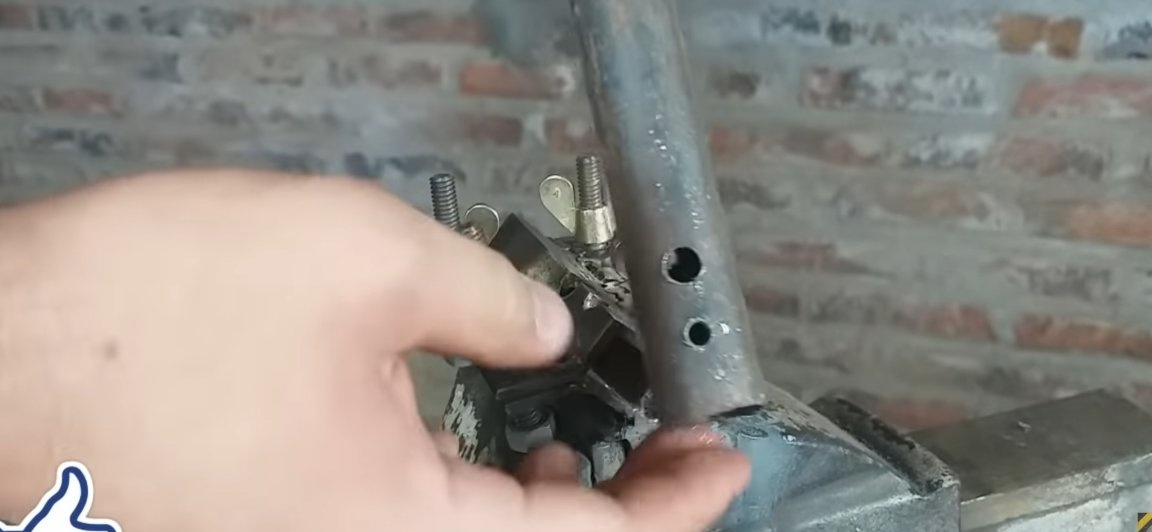
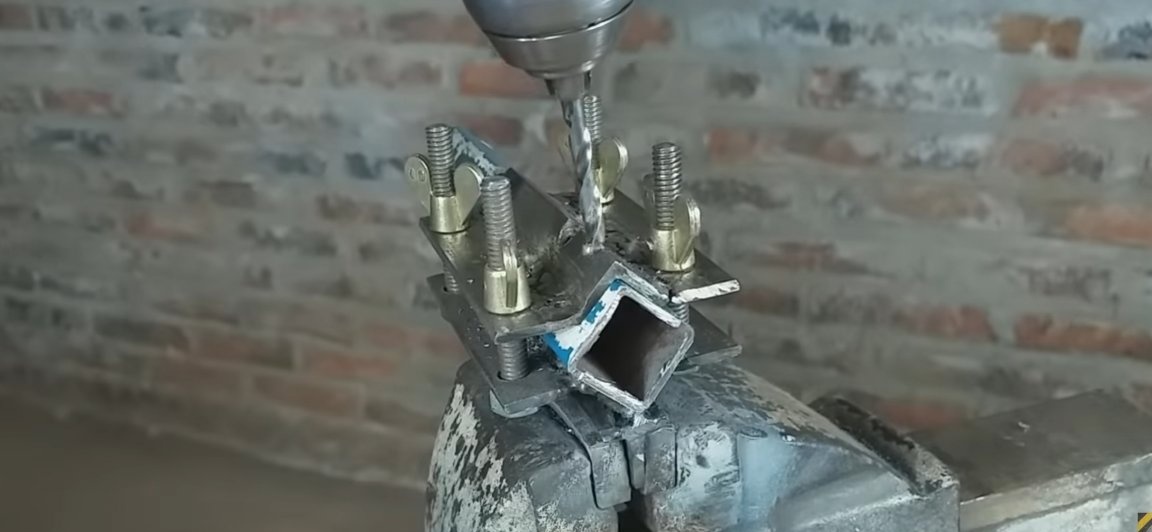
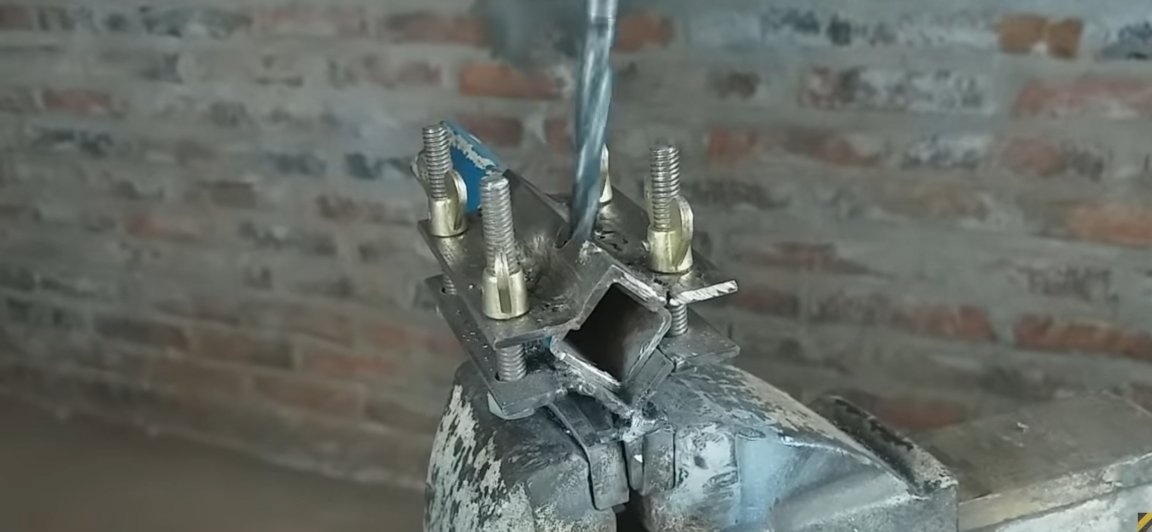
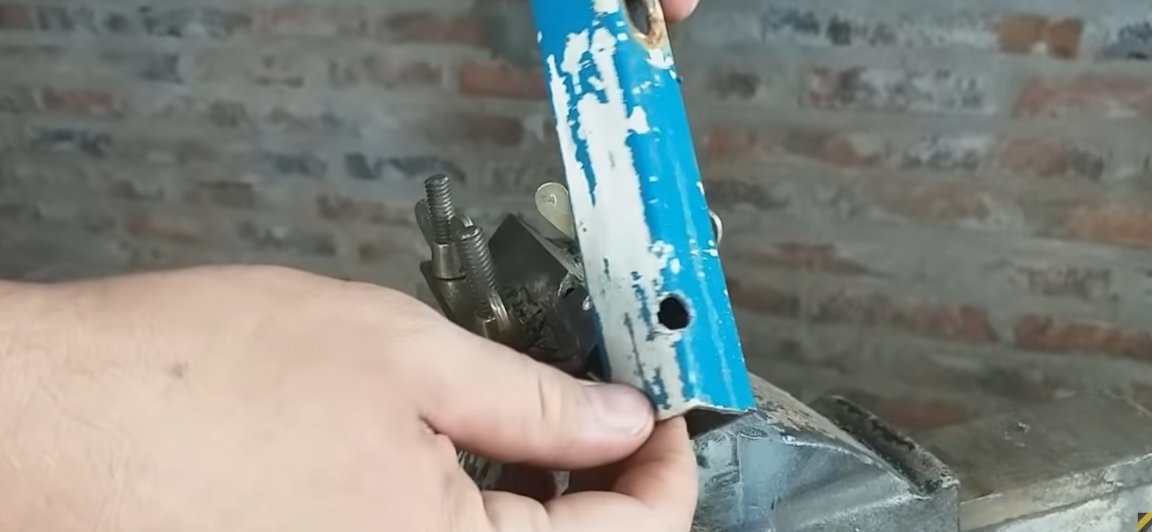
Well, in principle, that's all, a homemade product that should make life easier when making holes in the pipes is ready and it remains only to test it! To do this, we take some kind of metal or plastic pipe, clamp it between the two parts of this homemade product (we can say that we clamp it between two metal lips), and clamp the bottom of the fixture in a vice (this is exactly why the “double corner piece” was welded to the bottom) , then we take drills or a powerful screwdriver and make holes in the right places, just inserting a drill into the holes of the homemade product, if you want to make a hole of a different diameter, then just drill in the place where another hole was made. And that’s it! A couple of even holes is ready and you can continue the work without unnecessary hemorrhoids) The homemade product is very convenient, but there is also a minus, for example, the need to constantly loosen, remove and rearrange the pipe if you need to make a hole in another place.But if you need to make no more than one or two holes, then this will greatly facilitate the process of making it. Plus, I think that craftsmen will be able to finalize this homemade product.
Here is a video from the author of the homemade:
But who cares, a video from the author of the article:
Well, thank you all for your attention and good luck in future projects, friends!