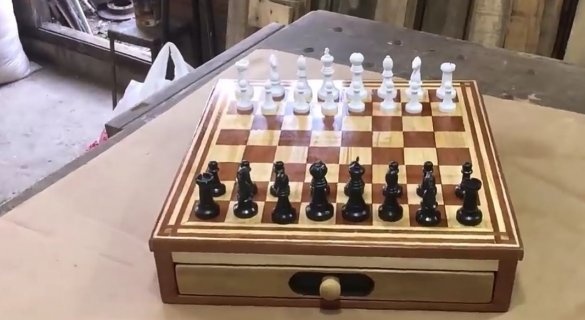
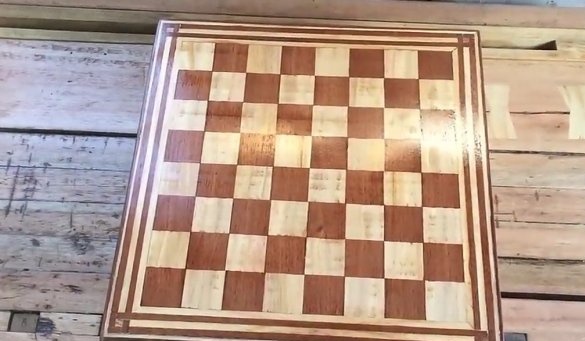
In this article I want to tell you about how to independently, do it yourself make a chessboard with the function of storing pieces from several species of wood, namely, from oak and pine. The material is taken from the YouTube channel Elias Maximiliano. It is on the example of the author that we will consider this option of a chessboard.
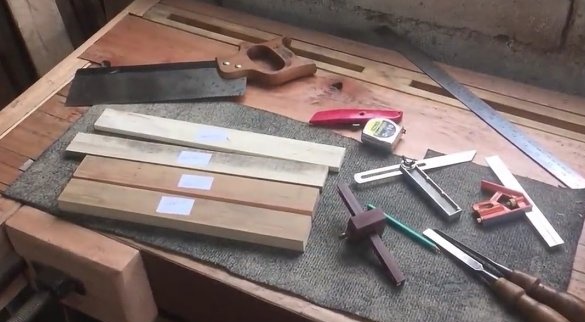
To work, you will need:
-a circular saw,
Milling machine
Reuser,
-plane,
hacksaw
-Sander,
Chisels
-stationery knife,
-measuring tool.
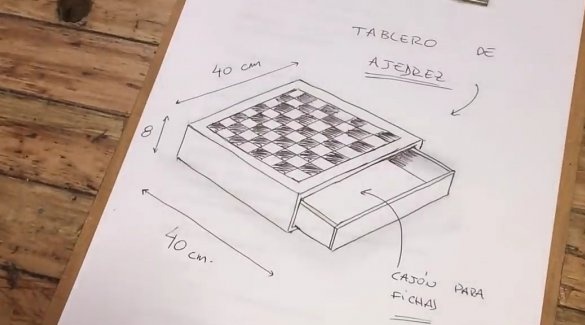
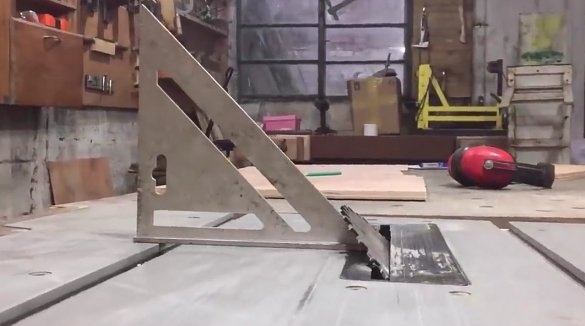
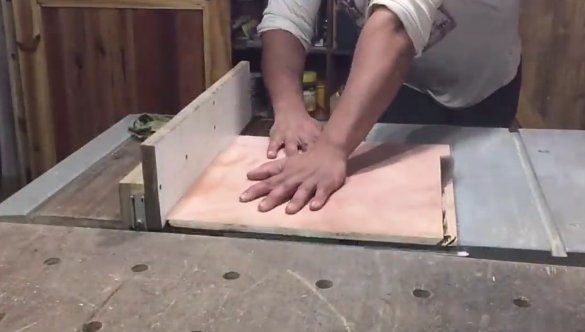
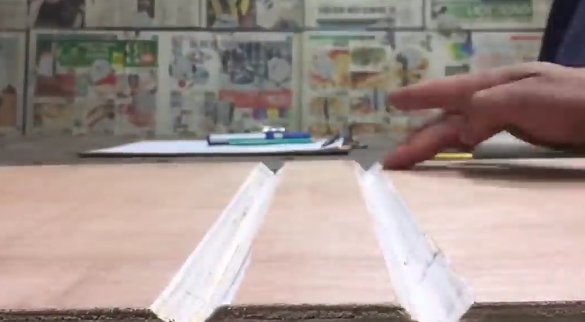
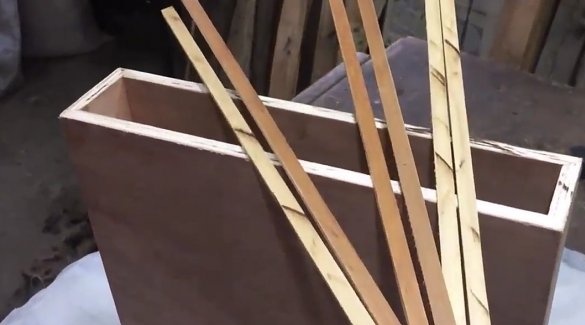
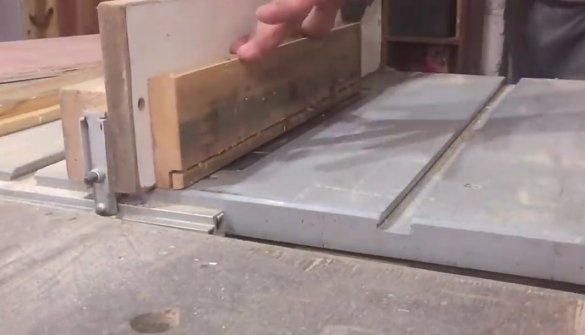
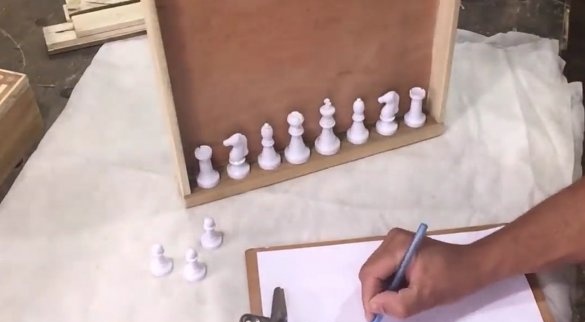
The author began to create his work with a drawing in which he depicted the appearance of the product and indicated its dimensions. Next, the process of preparing the parts begins. Plywood is used for the product. Using a circular saw, the author cuts the necessary dimensions of the workpieces, the sides of which he cuts at an angle of 45 degrees.
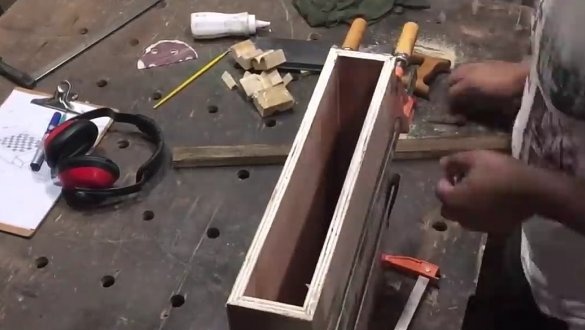
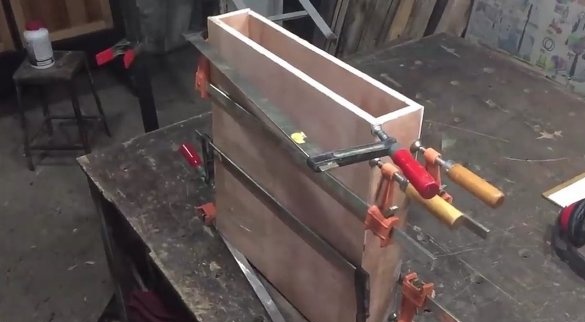
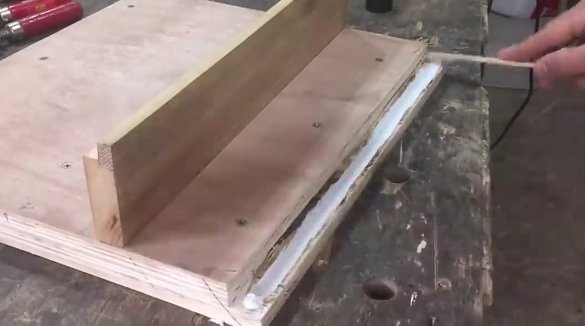
After the table blanks are ready, the author connects them with a scotch tape along the cutting line, i.e. the edges of the upper bottom and side parts. Adhesive tape is necessary for the convenience of connecting parts to each other. Then, with carpentry glue, it lubricates the joints, folds all the workpieces and compresses them with clamps. Tape measure the diagonal of the resulting box. What on the one, on the other hand, it should be the same. Otherwise, the box may not be smooth.
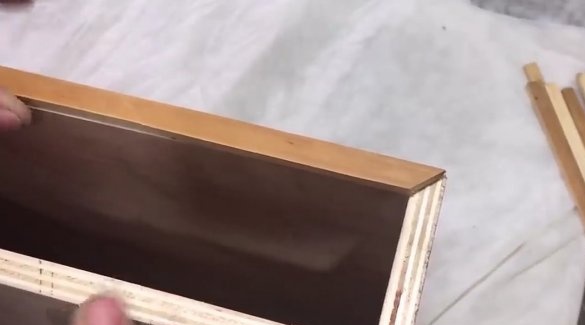
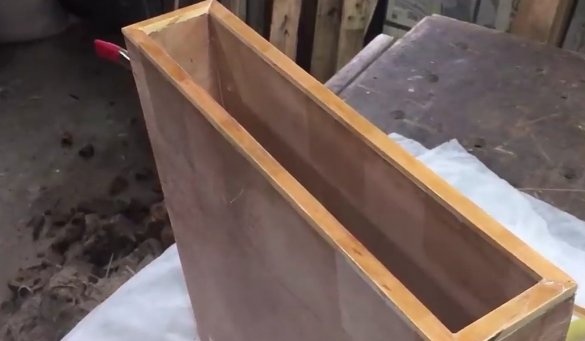
After drying, glues glazing beads on the ends of the product for decorative finishes. In this form, the box has a more accurate and finished look, you can not see the cuts from the saw. In order to press these elements to the box for a snug fit and grip, Elias Maximiliano uses the same adhesive tape. After everything has dried, using an emery cloth, the product is cleaned of all irregularities and minor imperfections.
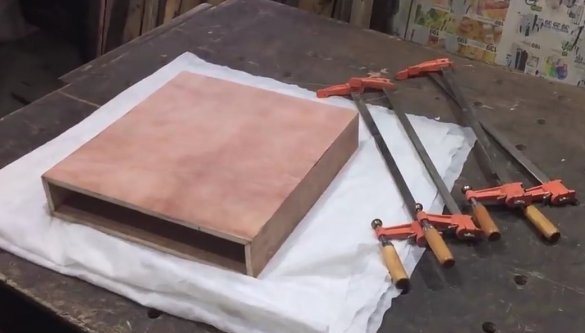
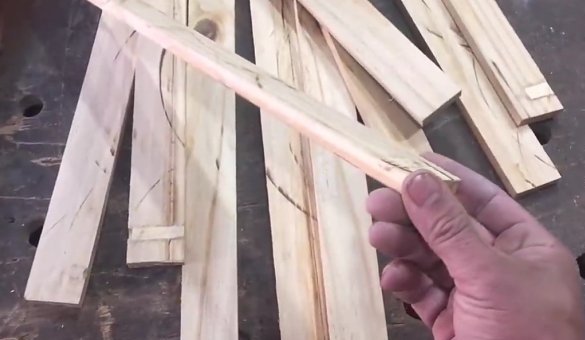
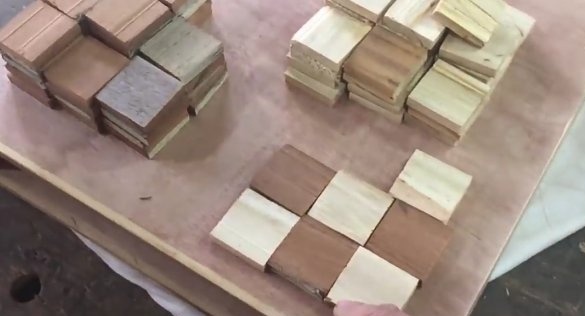
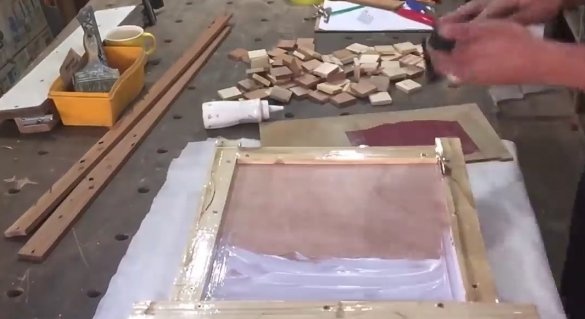
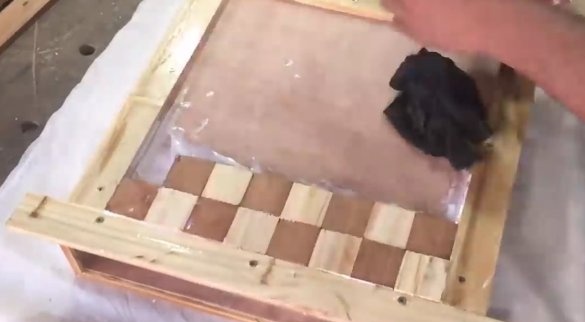
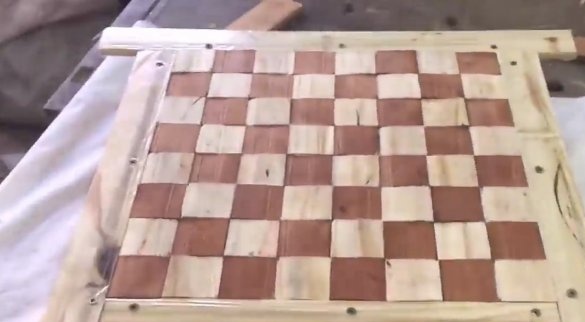
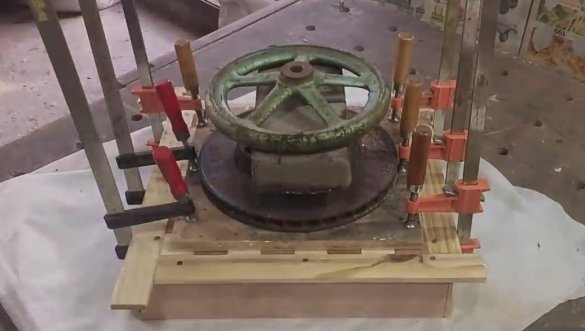
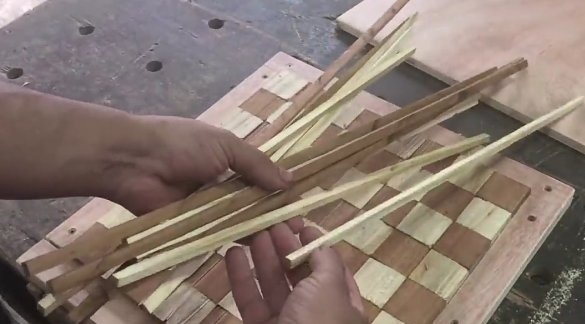
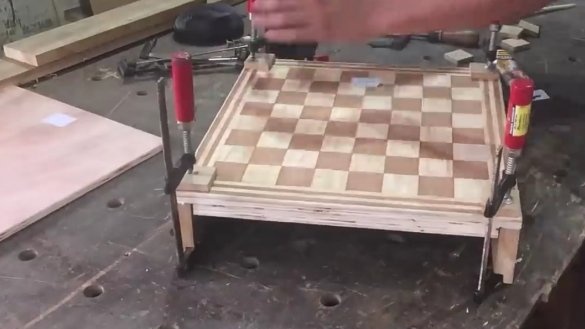
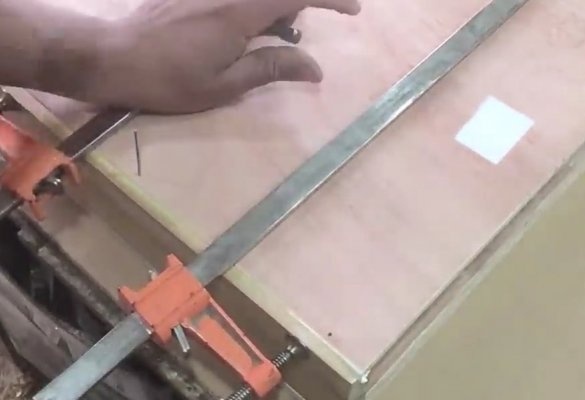
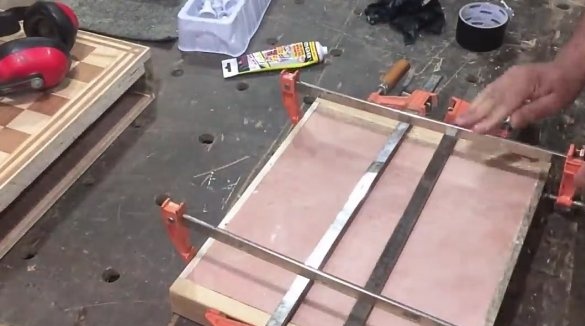
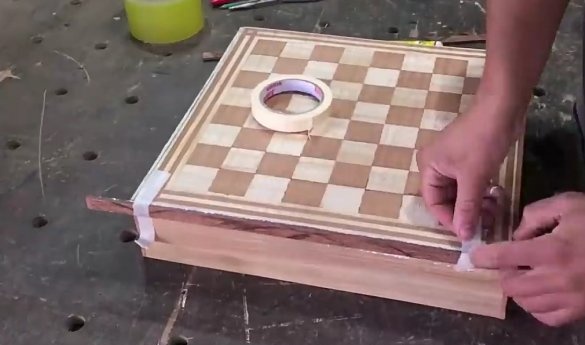
The next step is the manufacture of a chess board. To do this, the author dissolves the bars into thin strips and cuts from them square parts of the field. Pine is used for the light part, the dark side is oak. Then on one side of the table, at its edges, screw the straps. They are necessary so that when laying out the squares of the playing field and their subsequent gluing, they should all be on the same line and not go beyond these boundaries. Now the author begins to stick the squares of the game board.After this part of the work is done, a square piece of plywood is cut out, with dimensions close to the size of the field, one side of which is glued with tape. This side of the plywood is placed on the field and pressed with clamps for better gluing. This is what happens at this stage of the work.
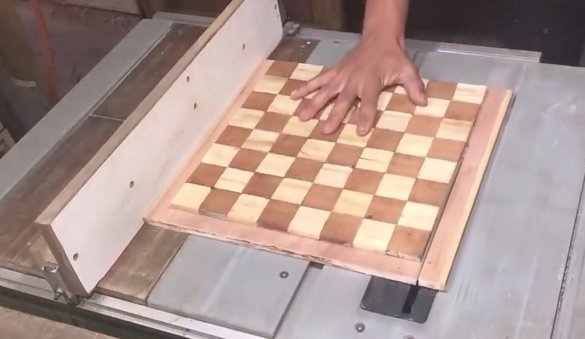
It can be seen that the playing field itself is not located at an equal distance from the edges of the table. Therefore, after all the parts glued together well enough, the author cuts off the upper part of the box with the playing field. Then with a circular cuts off all the side parts of the field so that only it remains. He glues this part to a new plane, carefully measuring the lateral distance from all sides. It also presses the parts and allows them to dry.
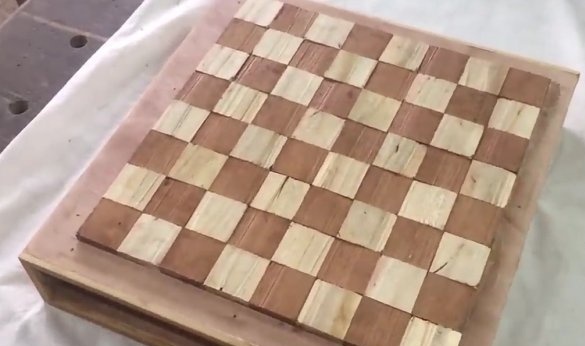
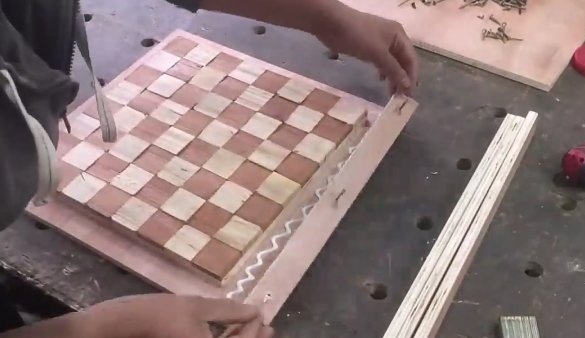
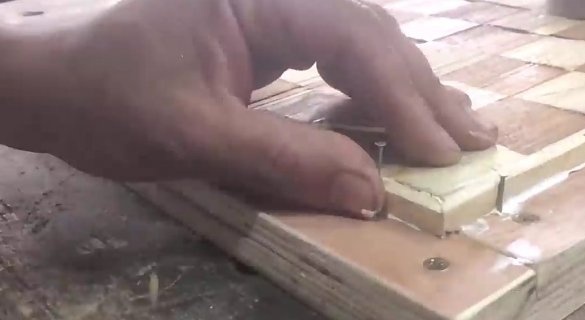
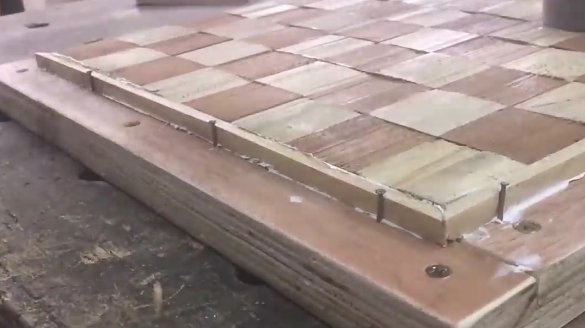
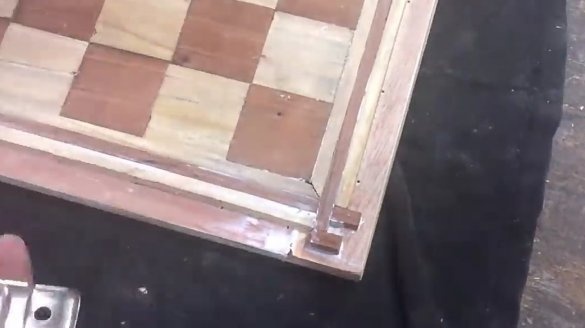
Since the playing field turned out to be strongly raised relative to the plane on which it is located, the author fastens plywood parts on the sides with screws. They are obtained at the bottom of the squares. Then, with narrow slats, creates a geometric pattern around the perimeter of the entire field. Reiki glued with carpentry glue to the bottom surface and side of the field. In order to make the connection more durable, the author presses these slats with studs, driving them on the side of the slats to the bottom of the table. After drying, the nails are removed and the same procedure is carried out with the following details. Only the last one is fixed with adhesive tape from the very edge.
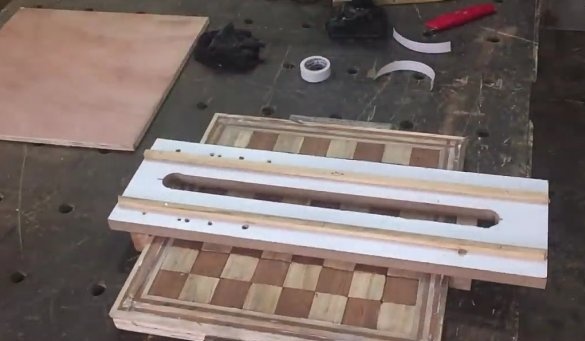
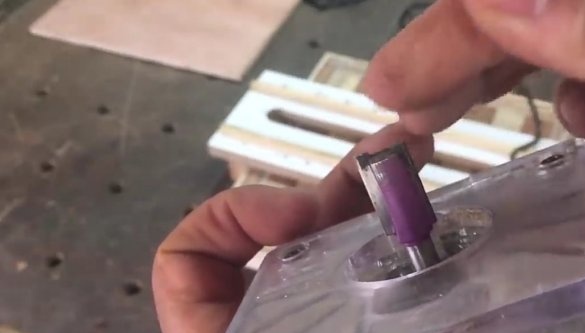
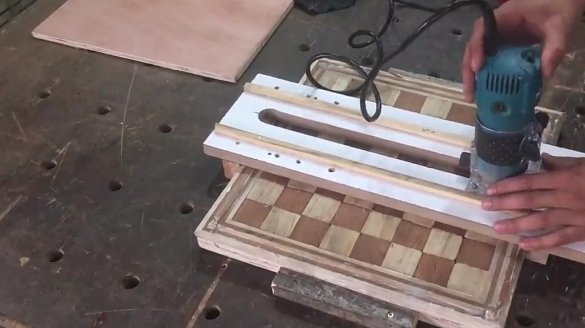
The photographs show that the surface of the chess table is not even, the squares differ in height, as well as the side decorative frame. To fix this, a milling machine was needed. Using it surface
aligns.
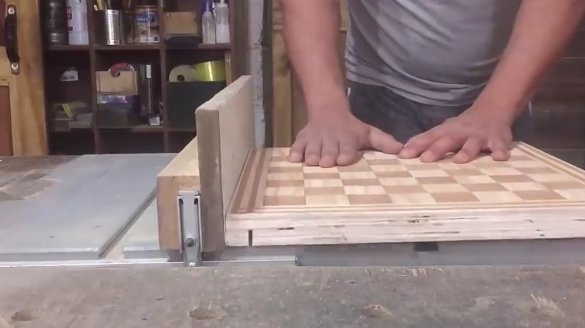
In the longitudinal sides of the table, along its edges grooves are made, the width of which is equal to the side board. In the very boards, it also makes grooves on only one side. Applies glue to the grooves and attaches the sides of the table to the surface of the playing field. It fixes the connection of parts with clamps. Glue is also applied to the grooves of the sidewalls and a bottom is applied. For greater strength, it is fixed with nails. The main part of the table is ready.
Initially, as we see, the table was assembled from plywood, but subsequently the author, for one of his guided reasons. decides to make it more thorough and uses boards already. In my opinion, this solution is even better, since the end result looks more fundamental.
It is the turn of making a box for game pieces.
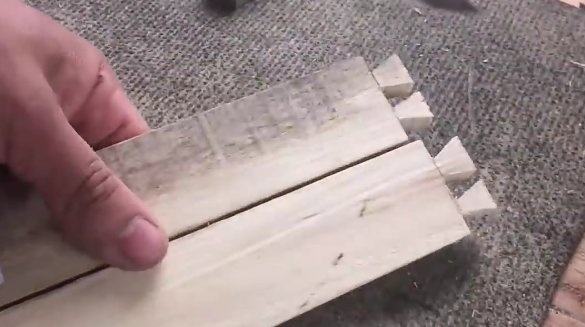
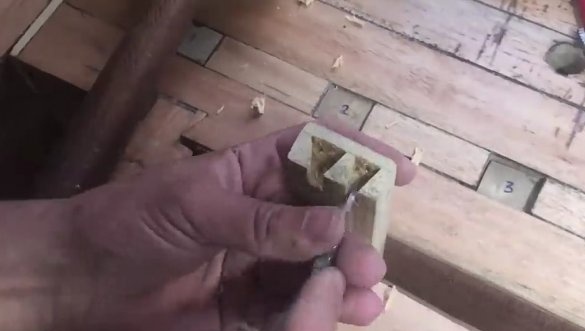
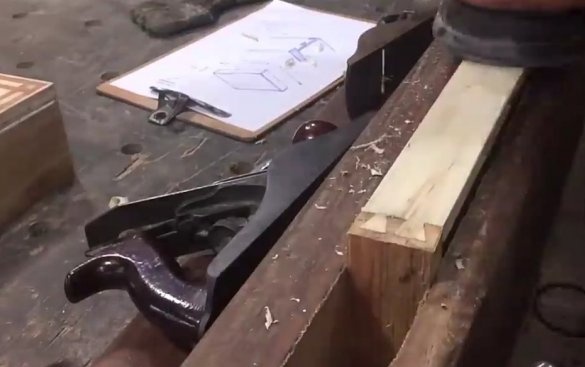
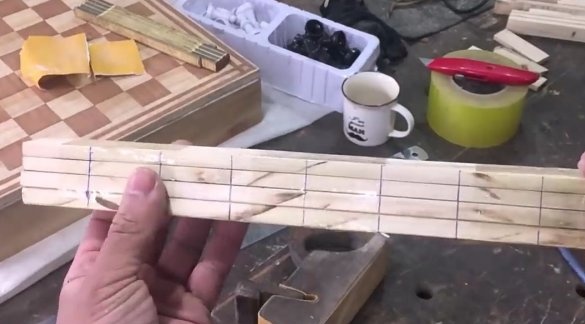
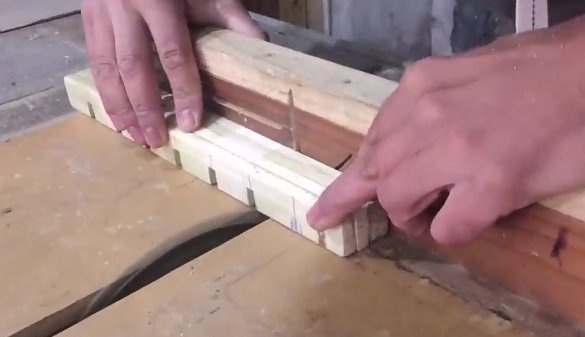
In the planks, which will be the basis of the box, the dovetail joint is made in their end parts. The author makes them using a hand tool, without using any milling cutters. Each such connection is unique and is suitable only for the part for which it was created. That is why the author numbers the blanks. The grooves are chosen with a chisel and clerical knife. Assembles the finished parts together. External surfaces are leveled by a plane. Paste the bottom of the box.
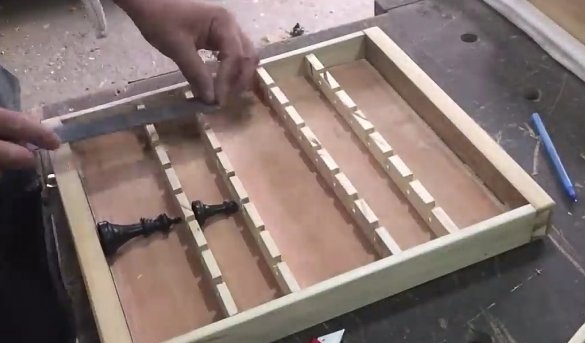
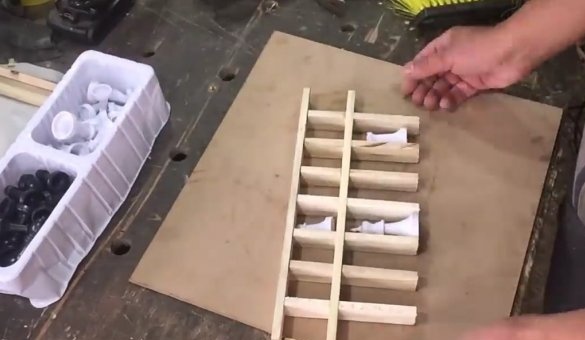
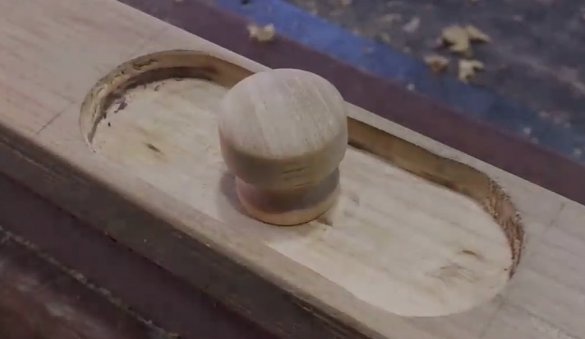
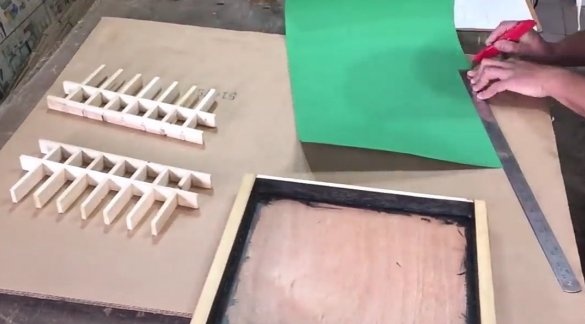
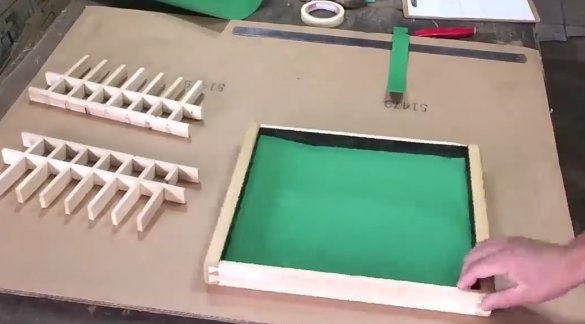
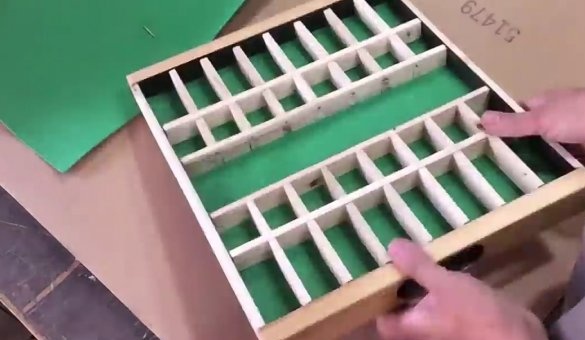
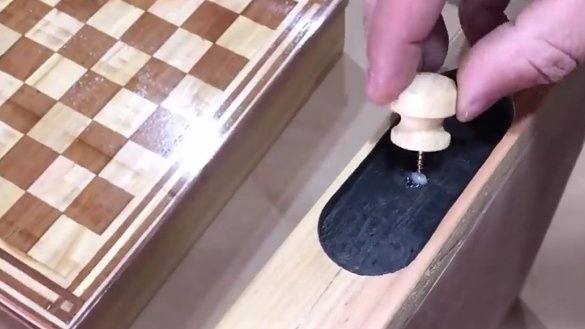
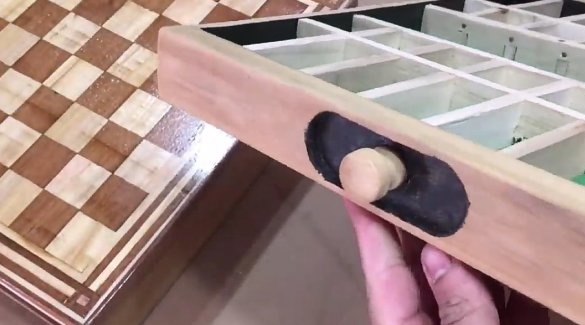
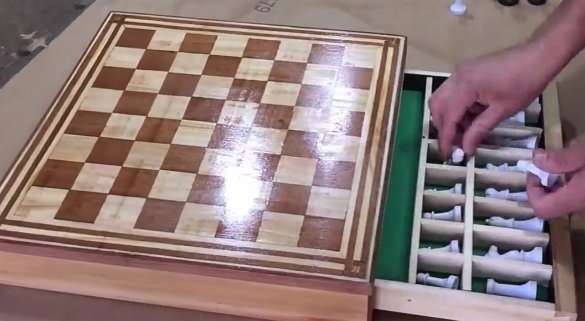
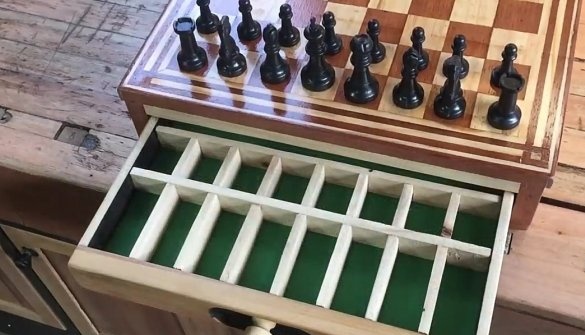
The next step is making places for the figures. Having installed several figures in a box, determines the size of places. From the slats in which the grooves are made into which they are inserted, collects places for storing figures. On the front sides of the box are prepared places for pens. On the ends of the table glues decorative trims. The inner walls of the box and the mounting points of the handles are painted black. A substrate is glued to the bottom of the box. Sets storage locations for shapes and drawer handles. The product is coated with a protective compound.
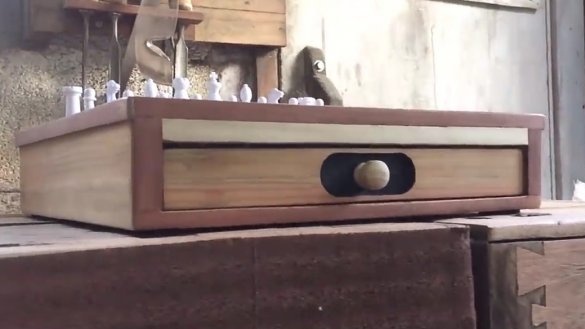
In the end, from the hands of the master there comes such a wonderful chess table that looks almost as good as the purchased one. And if you take into account that the soul of his creator was invested in its manufacture, then it is much better than the purchase! Such a set will be just a great gift for a person who is fond of chess!

