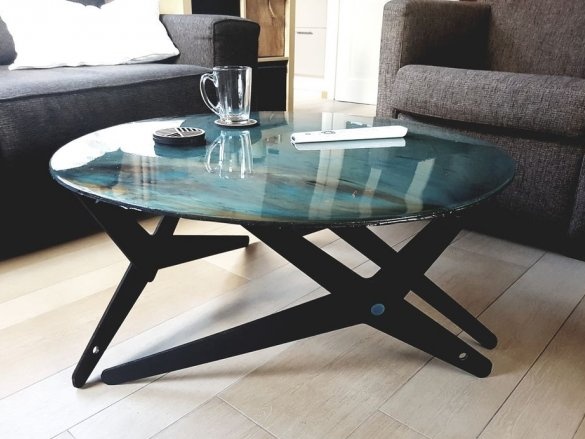
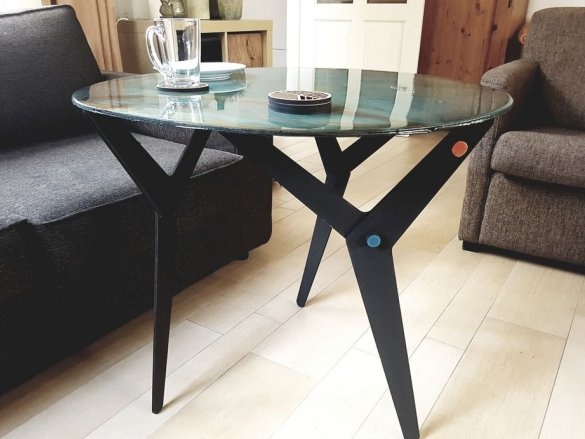
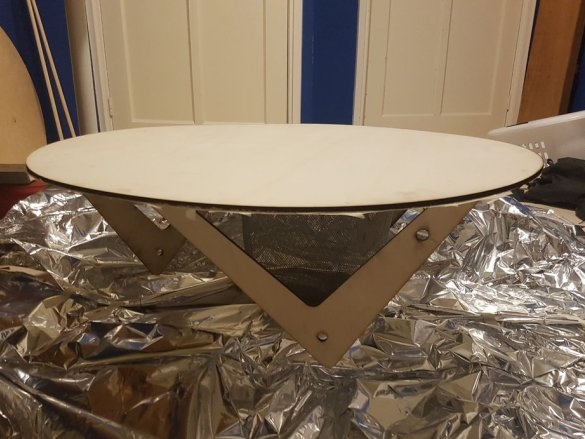
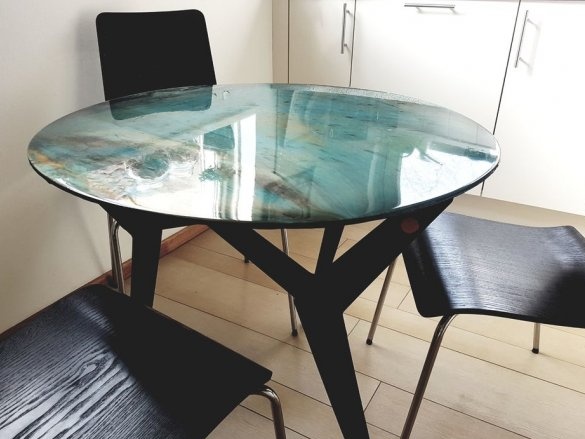
An original table with legs of a variable shape and a countertop filled with epoxy resin was made and presented to the review by the Master.
For its manufacture, he used the following
Tools and materials:
- Epoxy resin - 1 kg;
-Various pigments;
-Black paint;
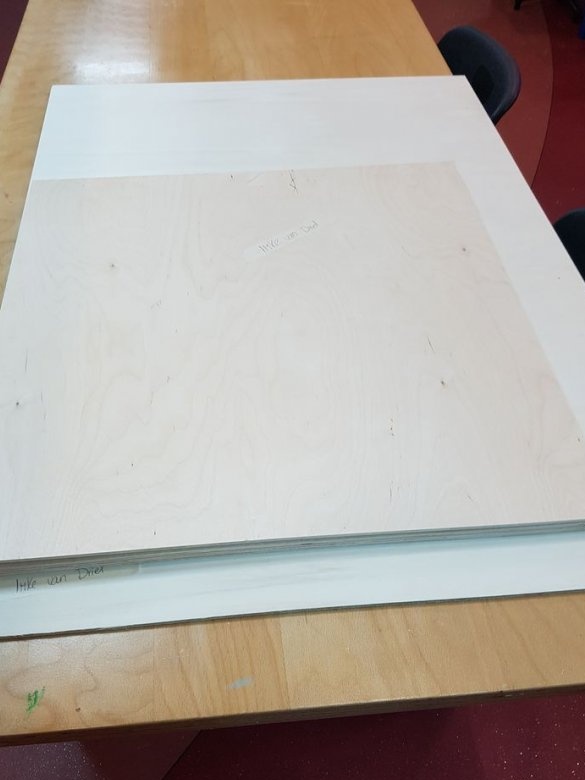
-Wood material;
- dowels;
- The machine for laser cutting;
- Joiner's glue;
-Gloves;
-Hair dryer;
-Brush;
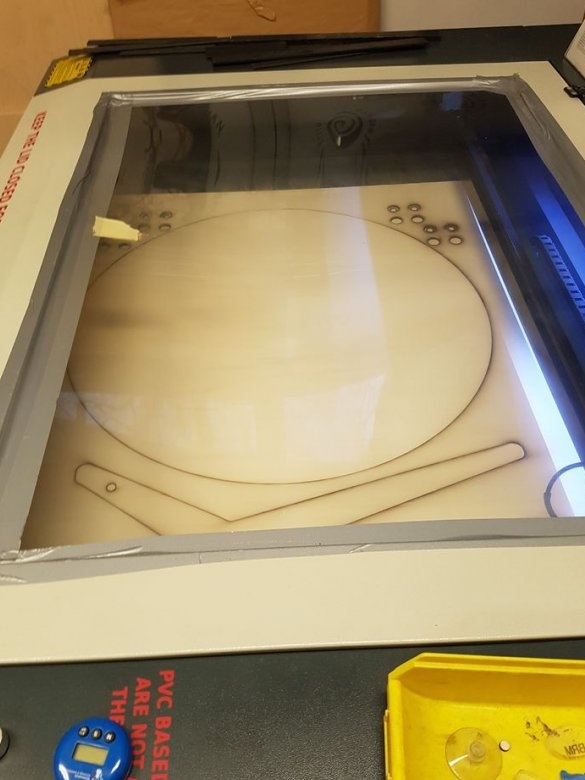
Step One: Laser Cutting
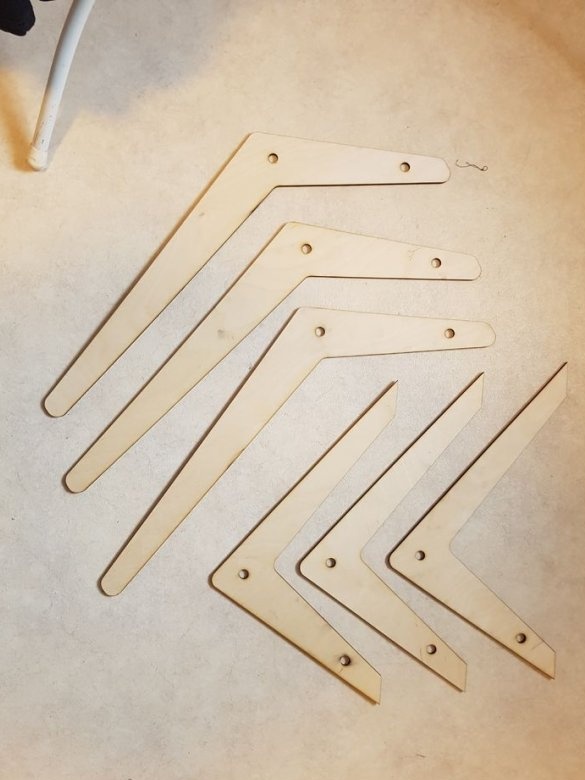
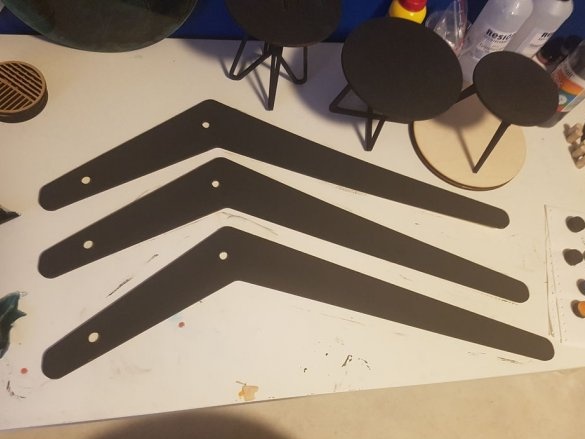
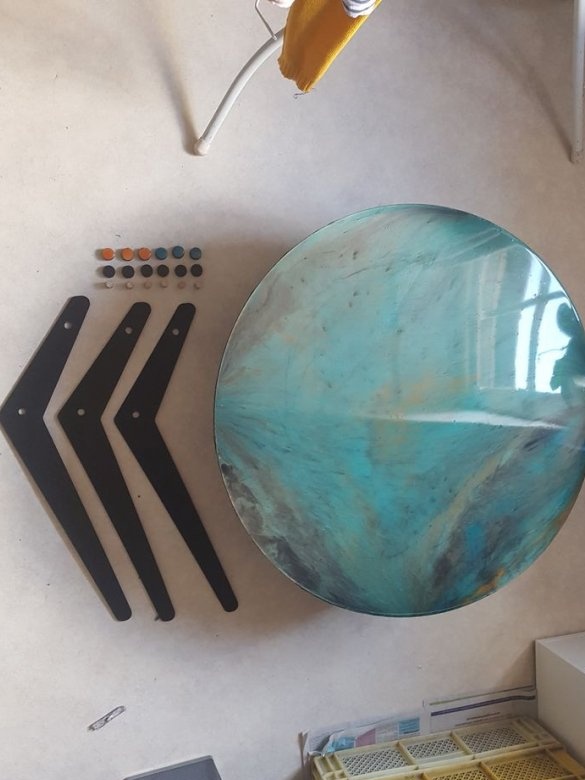
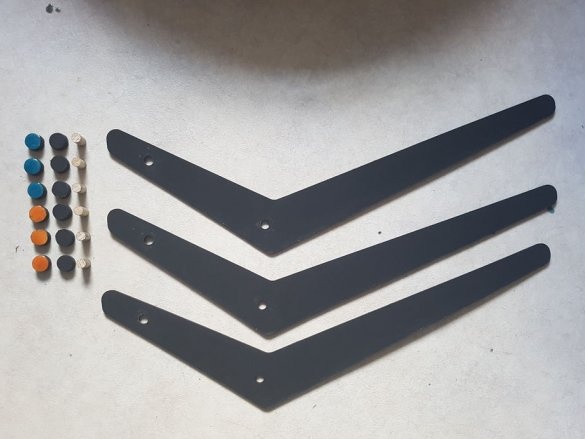
First, the master sends the material for laser cutting and cuts the parts. The following details are needed.
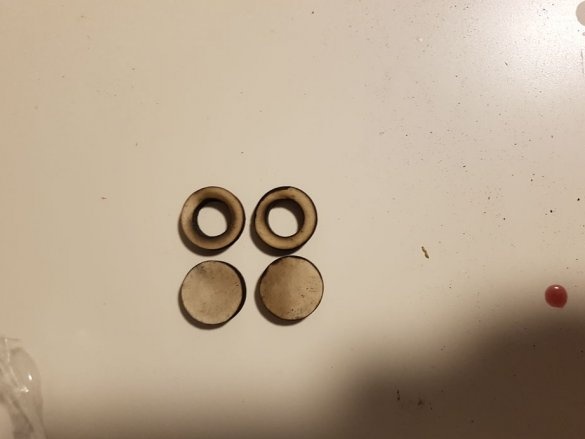
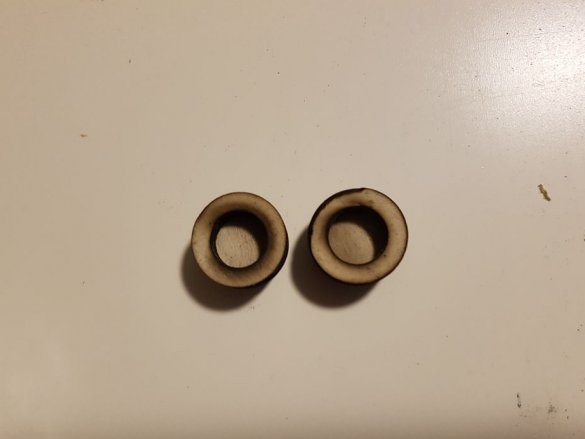
-12 stubs:
-3 long legs:
-3 short legs:
-1 countertop with a diameter of 80 mm:
The plugs and holes must match the diameter of the dowels.
Files for cutting can be downloaded below.
Bottom leg.DXF
caps.DXF
table top.DXF
Top leg.DXF
Step Two: Build
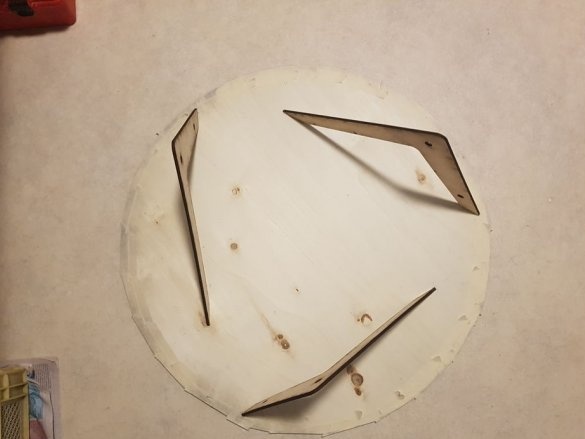
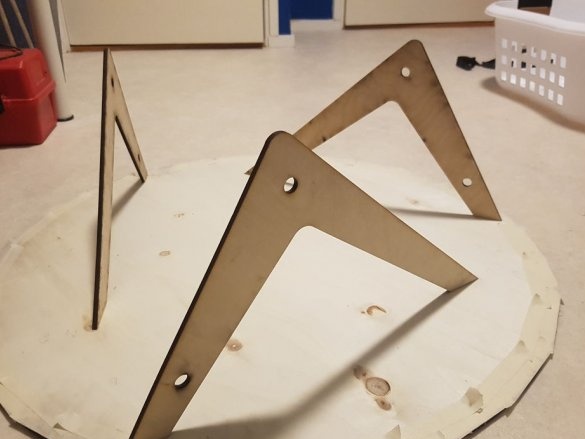
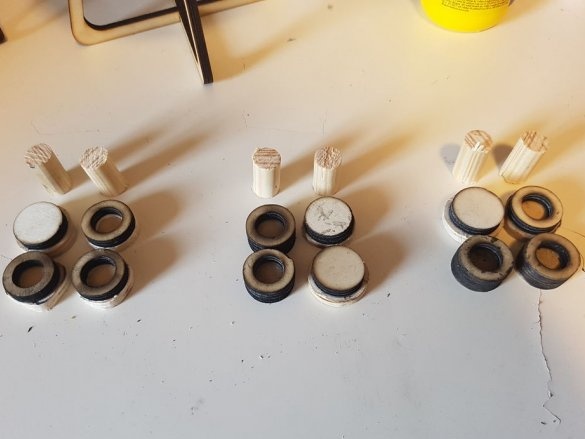
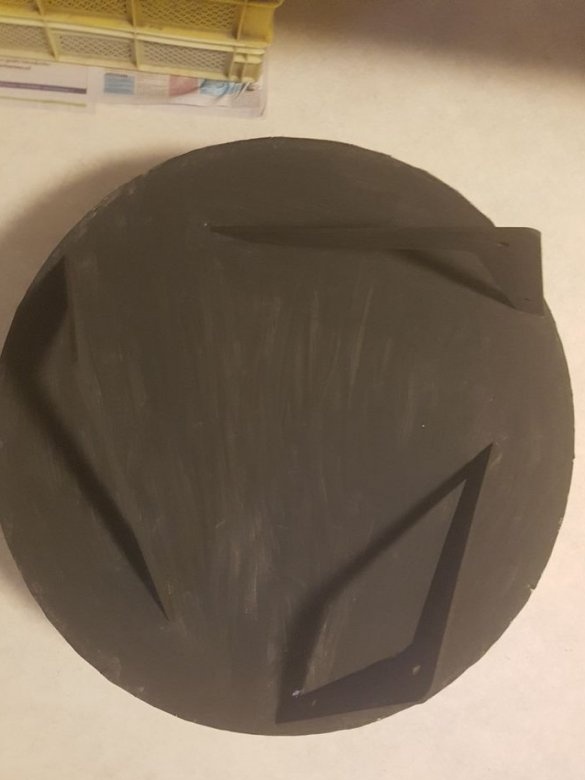
Then the master collects the table. The details of the legs are glued to the groove in the countertop (the master warns that this is not the best way of fastening and can be improved if desired). Further assembly is done with dowels.
Step Three: Fill
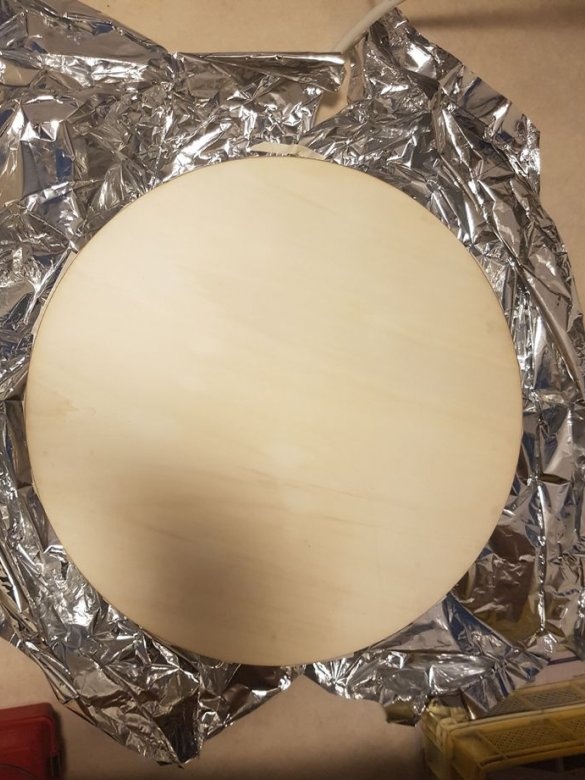
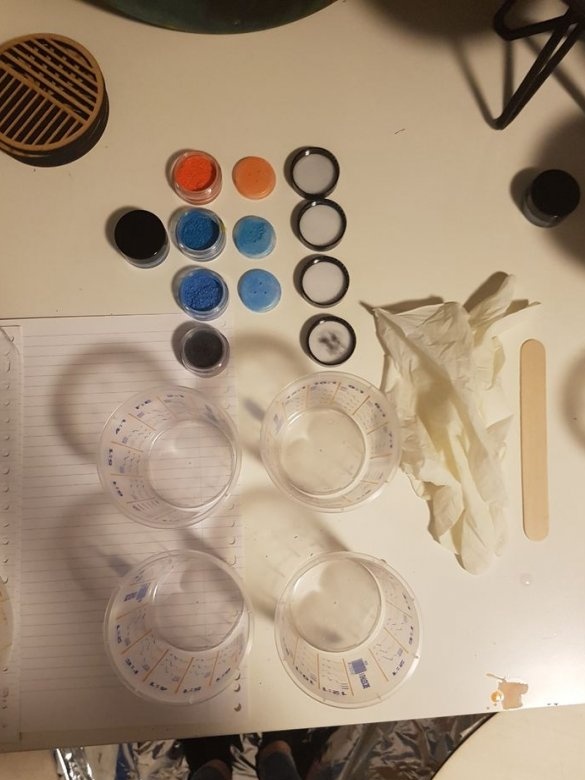
For filling, the master closes the bottom of the table with foil. Knead epoxy. Divides it into two parts. In one piece adds black pigment. Fills the countertop with epoxy. Divides the second part of the epoxy into three equal parts. Adds different dyes to each part. On top of the black, an epoxy is poured from other containers.
Step Four: Painting
After the epoxy has dried, the master polishes and polishes the countertop. Grinds wooden parts. Stains black.
Step Five: Build
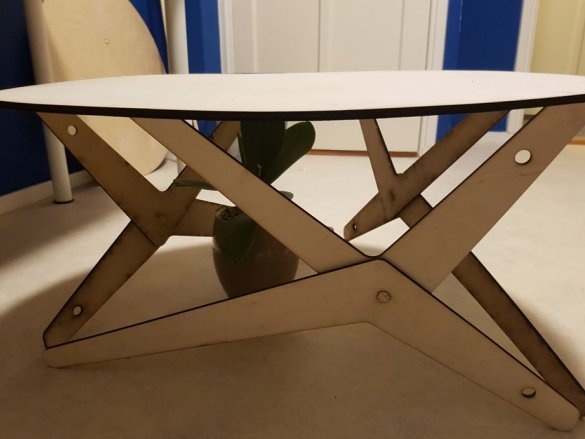
Then the master collects the table.
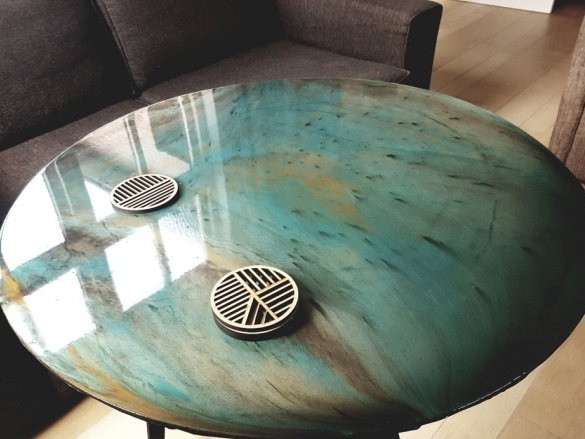
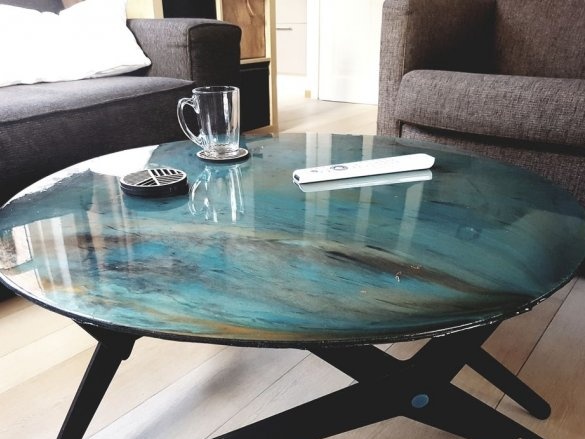
All is ready. As you can see in the photo, the table turned out beautiful, and the legs are also original, with a variable height.

