

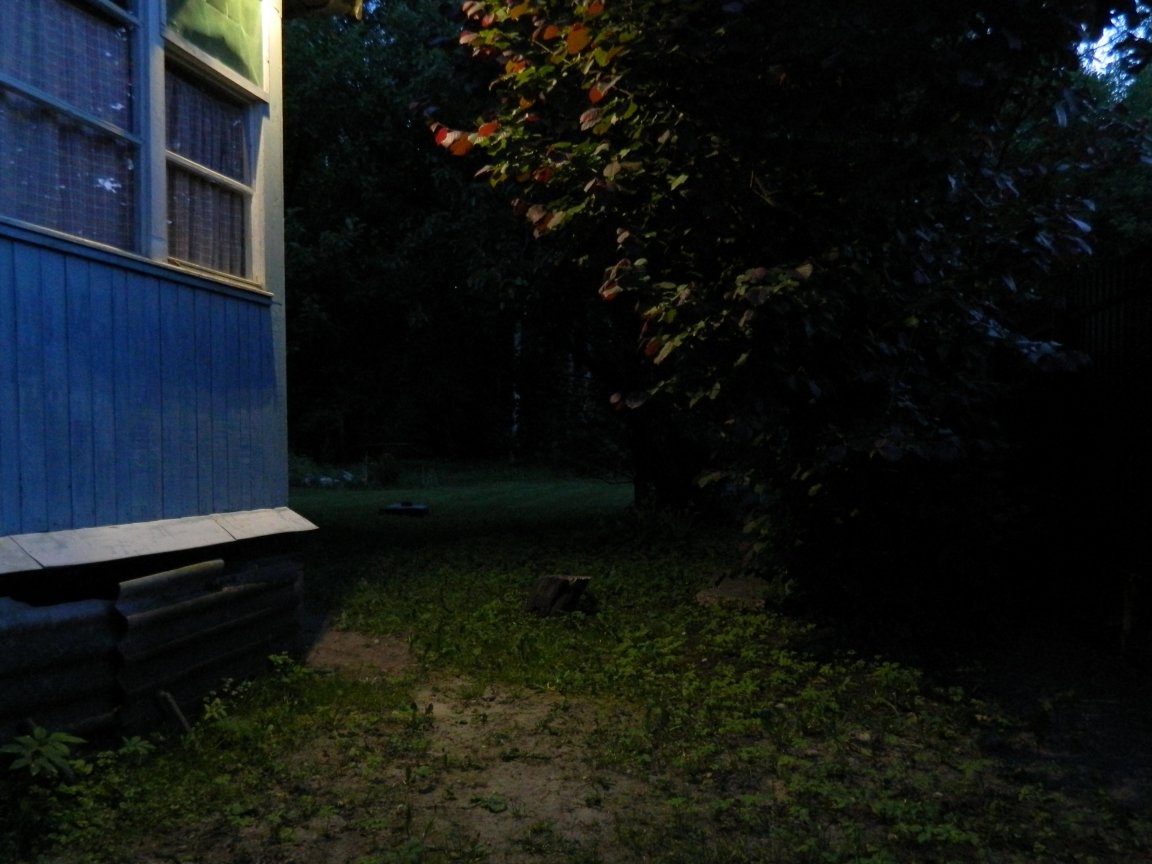
Lighting at the cottage, I have long wanted to do. To do something stationary is too early: more needs to be done (as I planned) garage, tidy up the plot, etc. And without light, when it gets dark, it’s bad even to go to the toilet (there is a stump sticking around it, which you constantly stumble on). An outdoor lamp, which was once suspended by his father, illuminated the area near the porch (but not the porch itself).
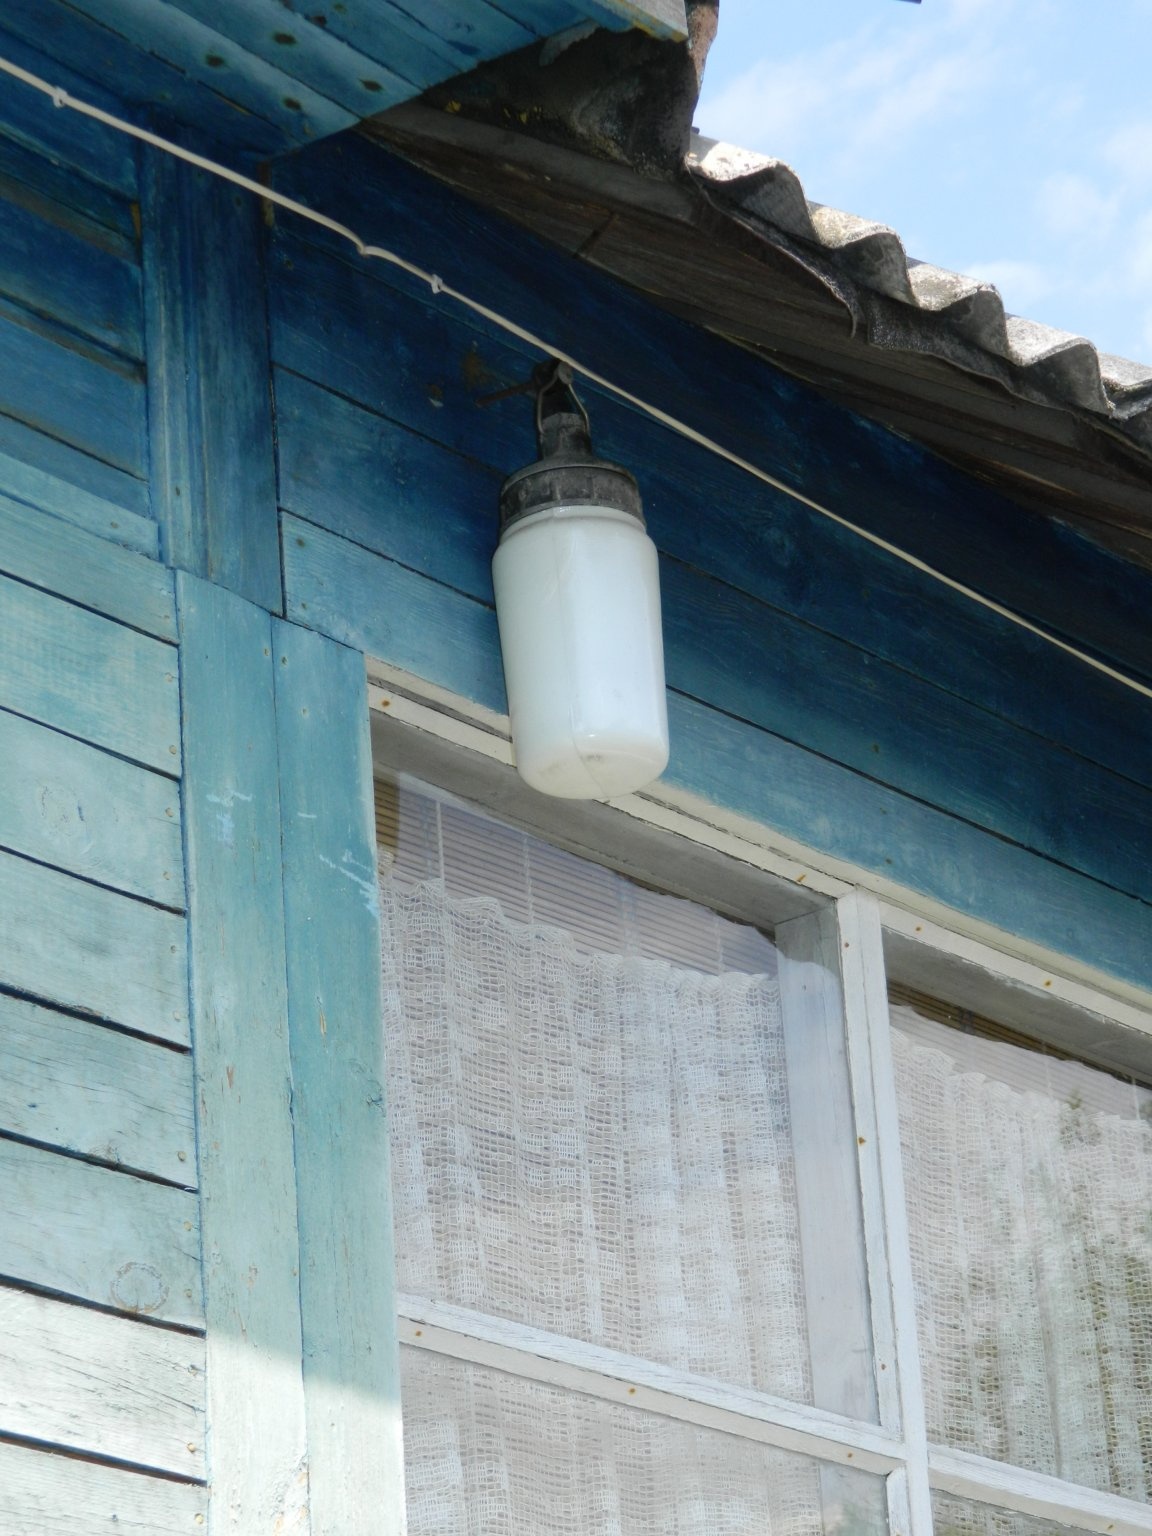
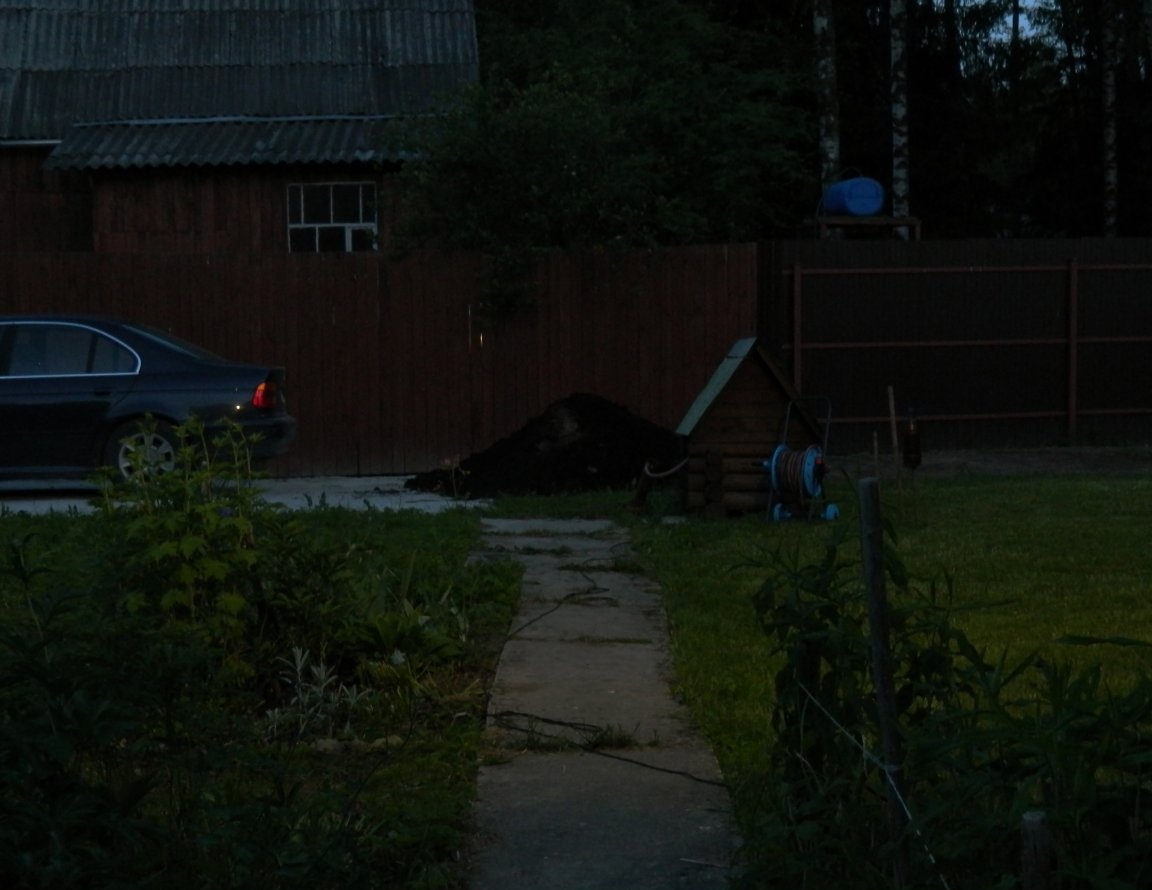
There was little sense from him, especially since there was an ordinary 40 W lamp there (I do not like incandescent lamps!) - you won’t leave it to shine at night, and they often burn out. In general, I set myself the task. Firstly, to illuminate several areas: the path to the parking lot and the parking lot itself, the area near the porch and the path that leads to the toilet. Secondly, the lamps will be LED, i.e. economical, and can burn constantly at night. And thirdly, they are simply dismantled so that they can be removed for the winter.
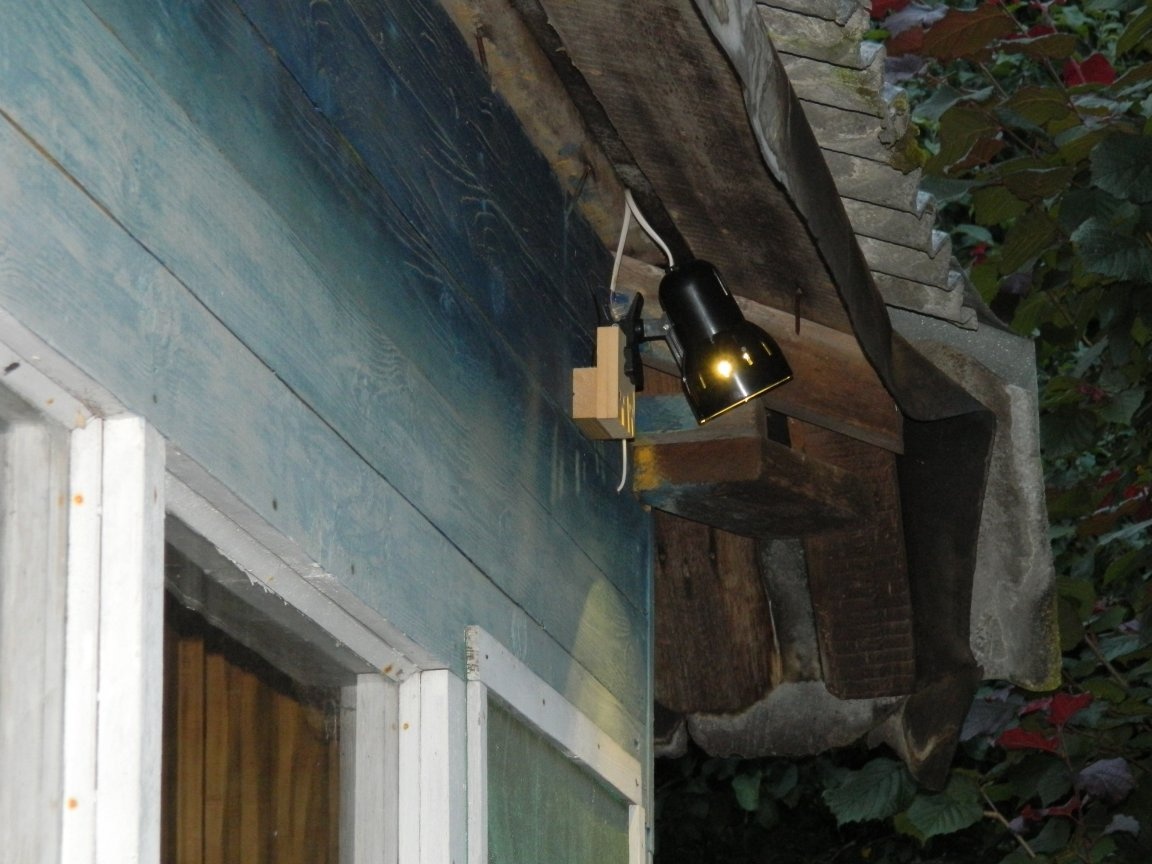
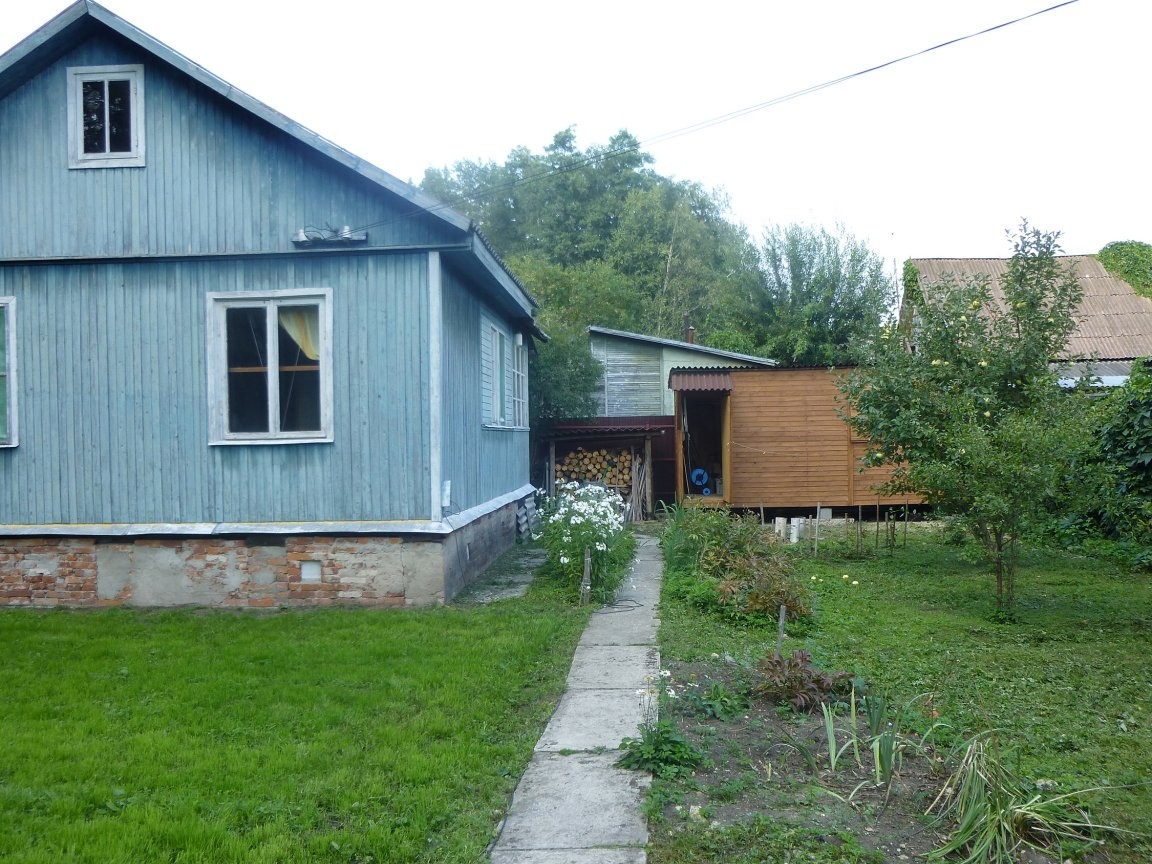
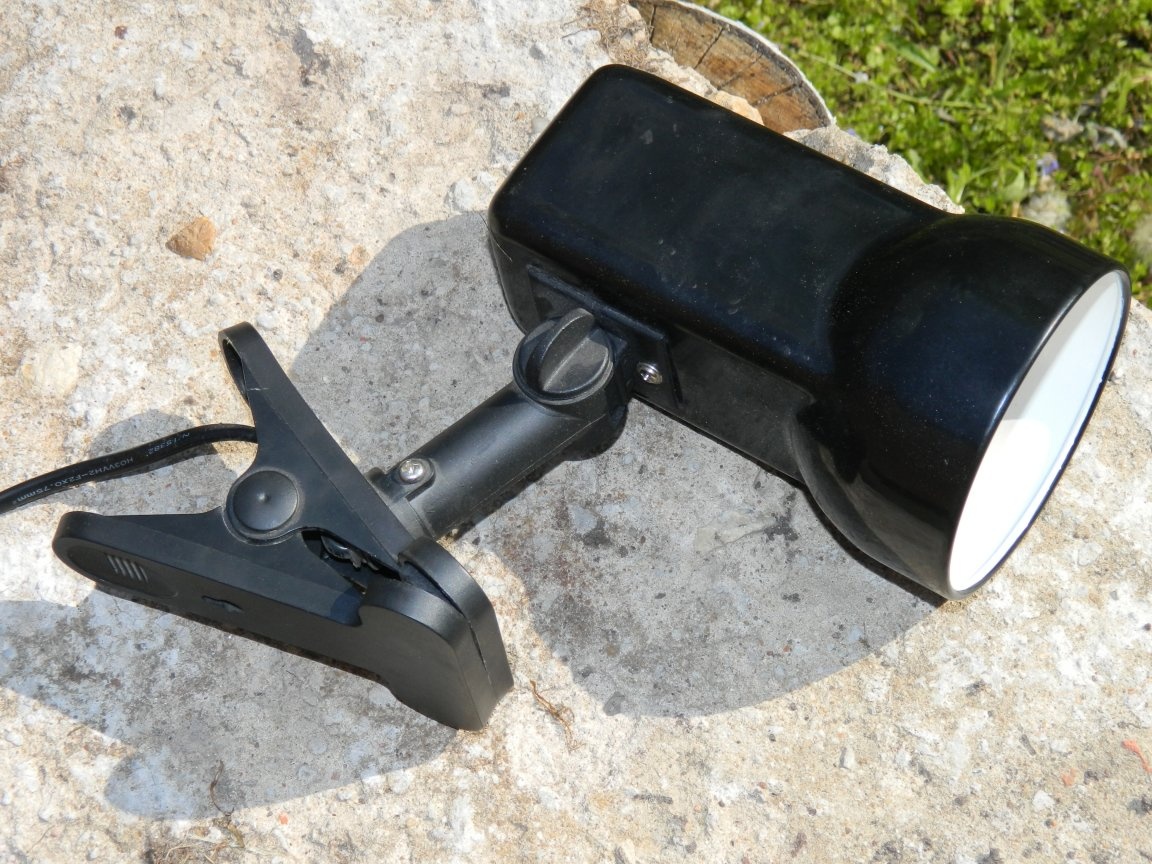
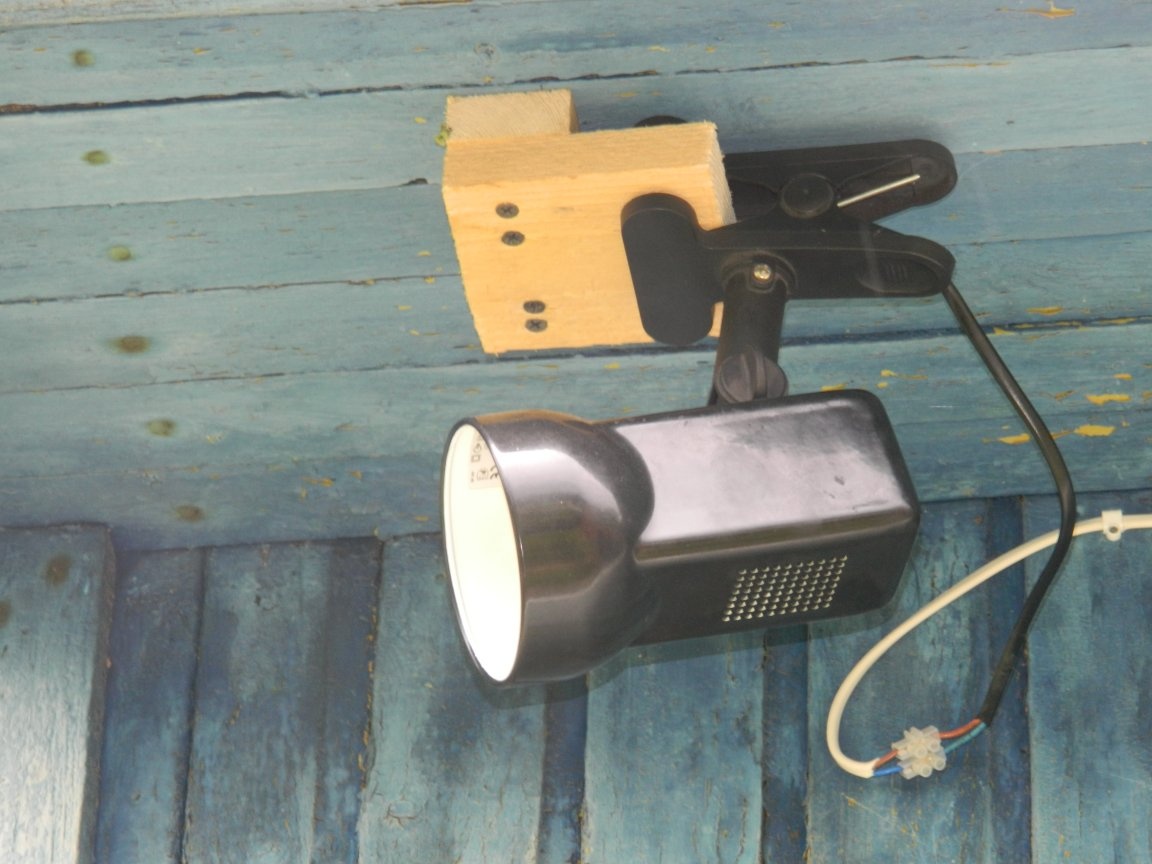
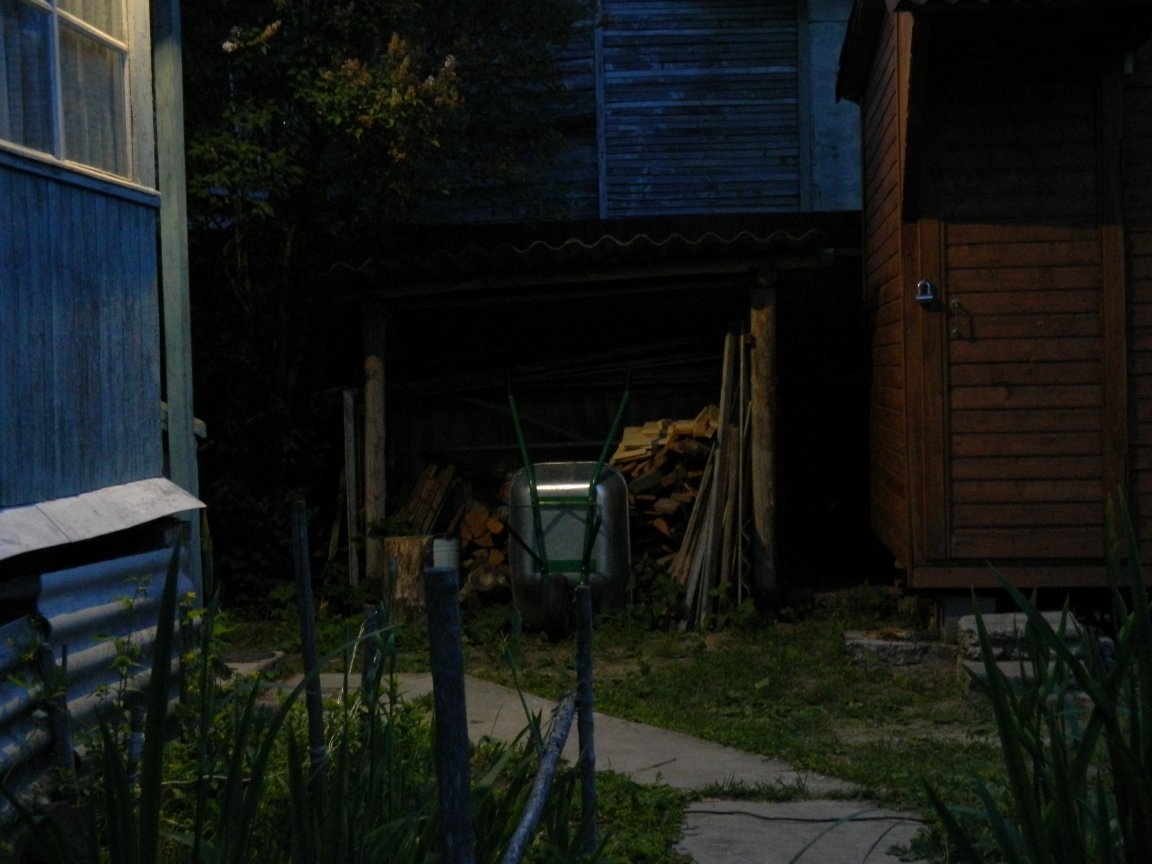
If you look from the parking lot to the house, you need to hang the lamps in three angles: under the near slope of the roof - a spotlight (photo taken last fall), at the far right and opposite corners - along the lamp so that it is light on the porch and around and illuminate the path leading to the toilet (the toilet is located behind the house, and then it would be nice to make a lamp in it too).
For the spotlight in the attic, a (unique for the present time) metal lamp with an E27 lampholder (still Soviet-made) was discovered.
For her, a lamp with LEDs was already made - a power of 6 W (then I will tell you how I did it).
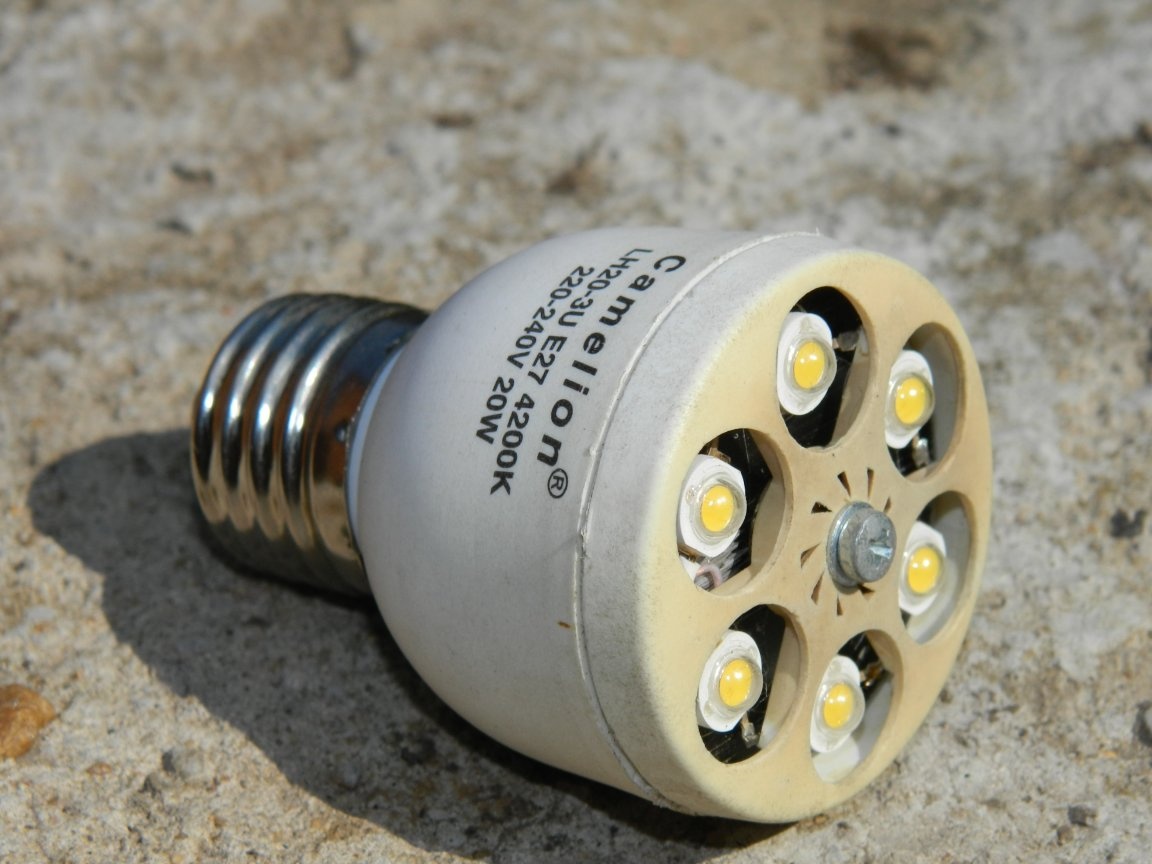
The only difference is that LEDs with a thermal temperature of 4500 K were installed (they shine brighter). The power and brightness of the lamps are enough to use them in fixtures.
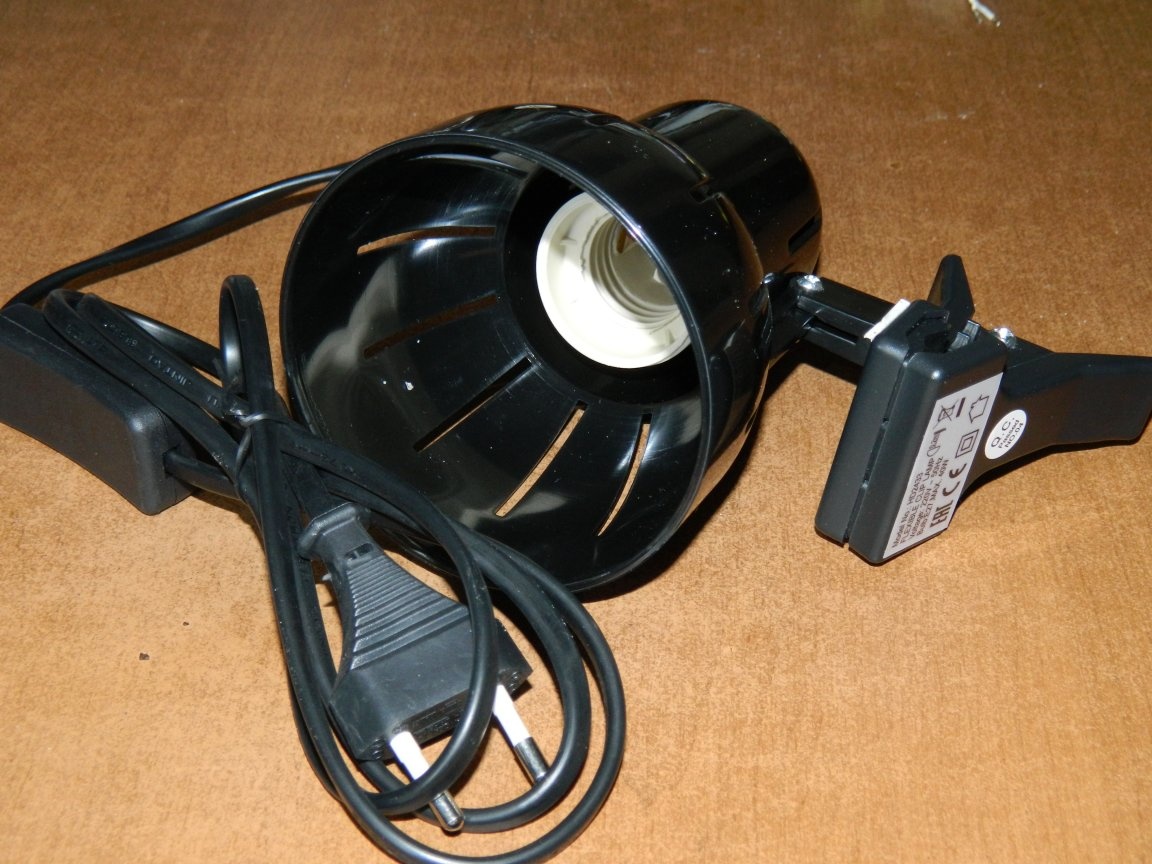
In Castorama, two Chinese plastic lamps were purchased for 155 rubles each. These lamps will shine "under your breath", so a power of 3 watts is enough for each.
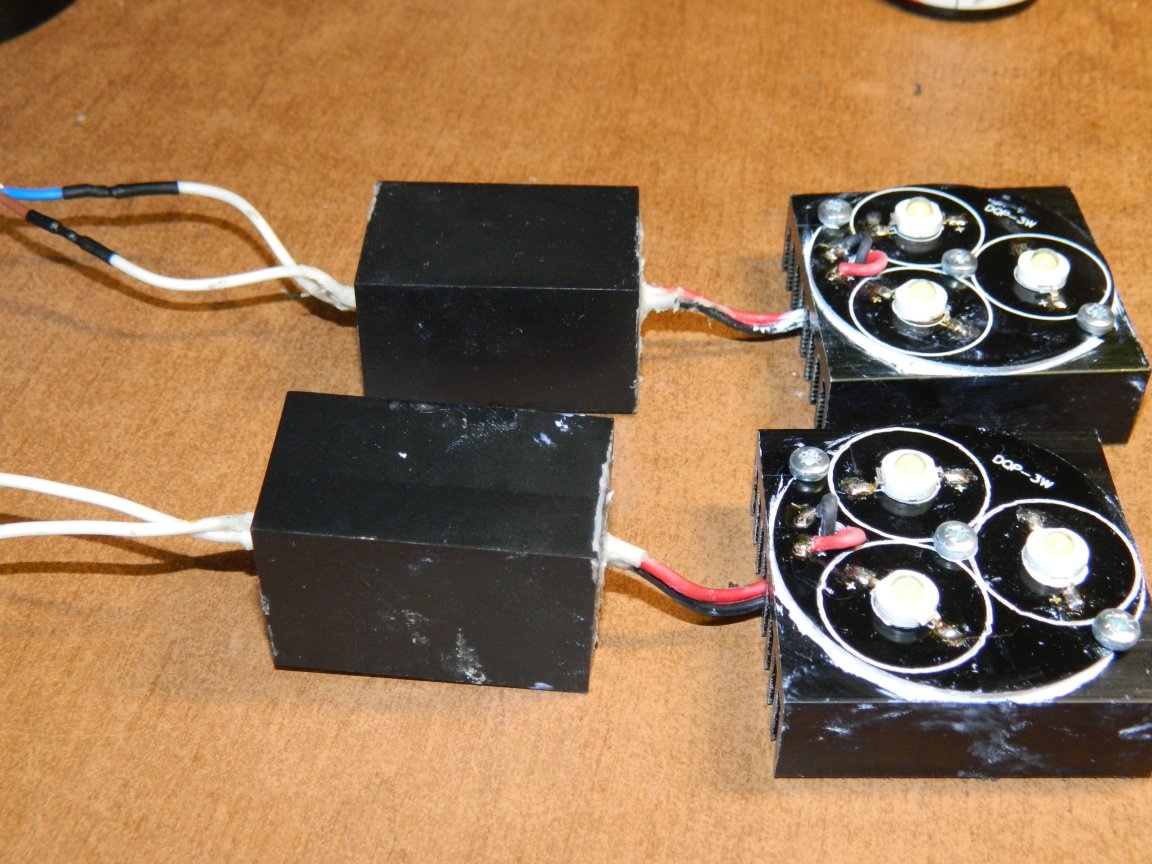
For the manufacture of lamps were used:
• Ribbed radiators - 50x50x17 mm.
• Radiator boards DQP-3W: diameter - 49 mm, thickness - 1.8 mm.
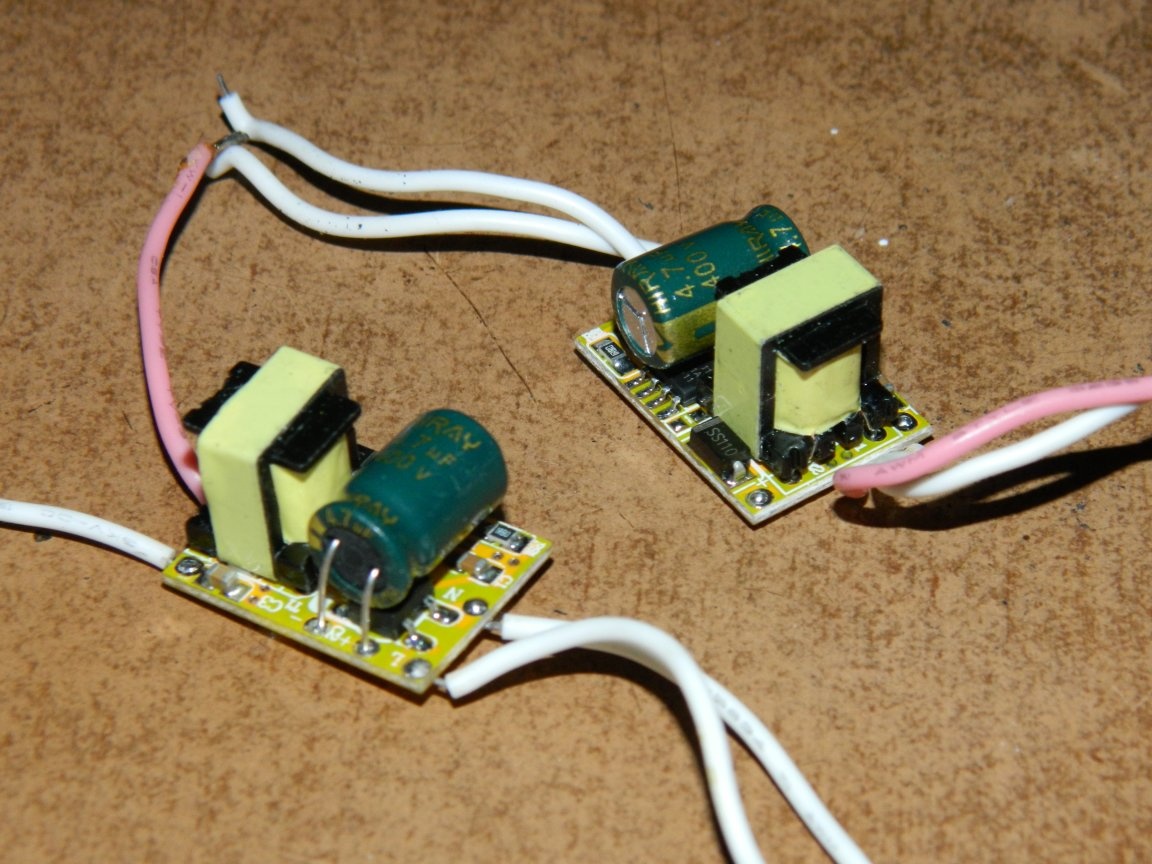
• PWM drivers PSM-330mA-3WS: Uin. = 90-260 VAC; Uout. = 8-10 VDC; Iout. = 330-350 mA; dimensions - 22.5x16x14 mm.
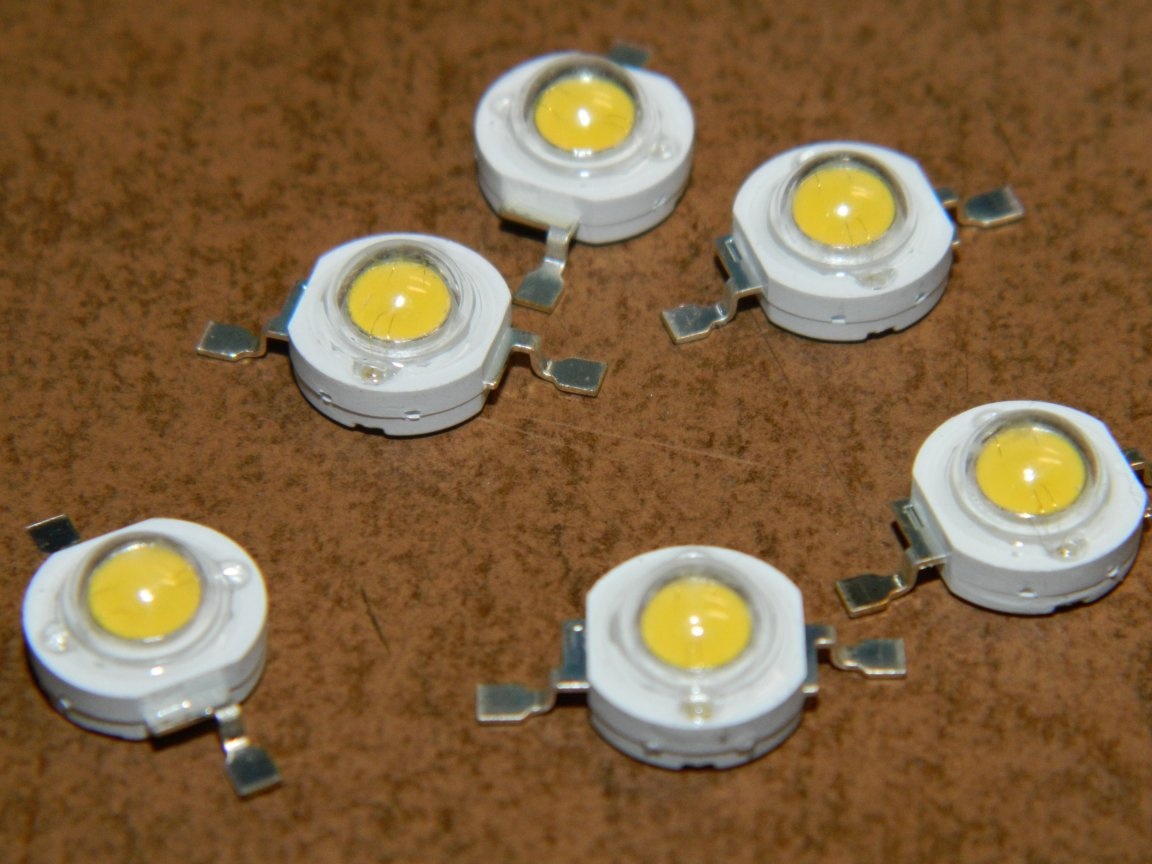
• 3HPD-3 LEDs: Inom. = 350-700 mA; Upr. = 3.2–3.4 V; T = 4500 K; 45x45 mil chip, Taiwan.
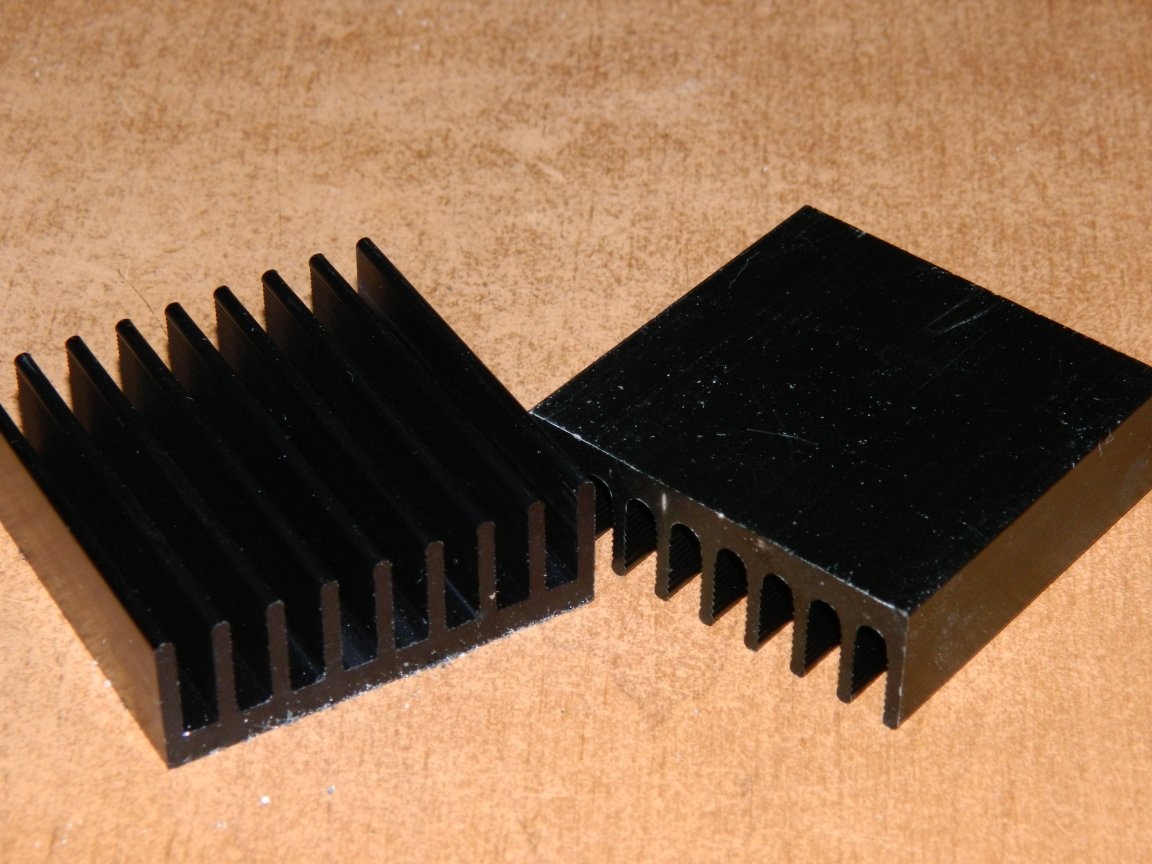
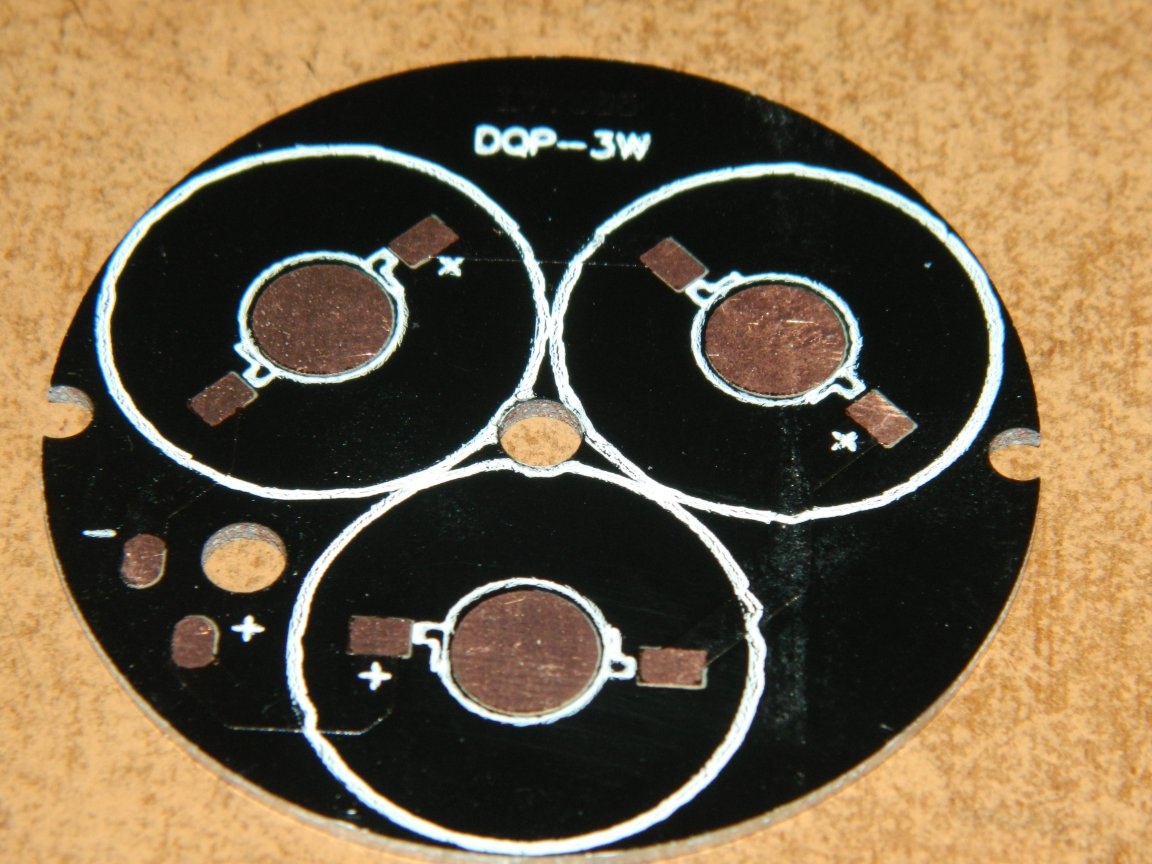
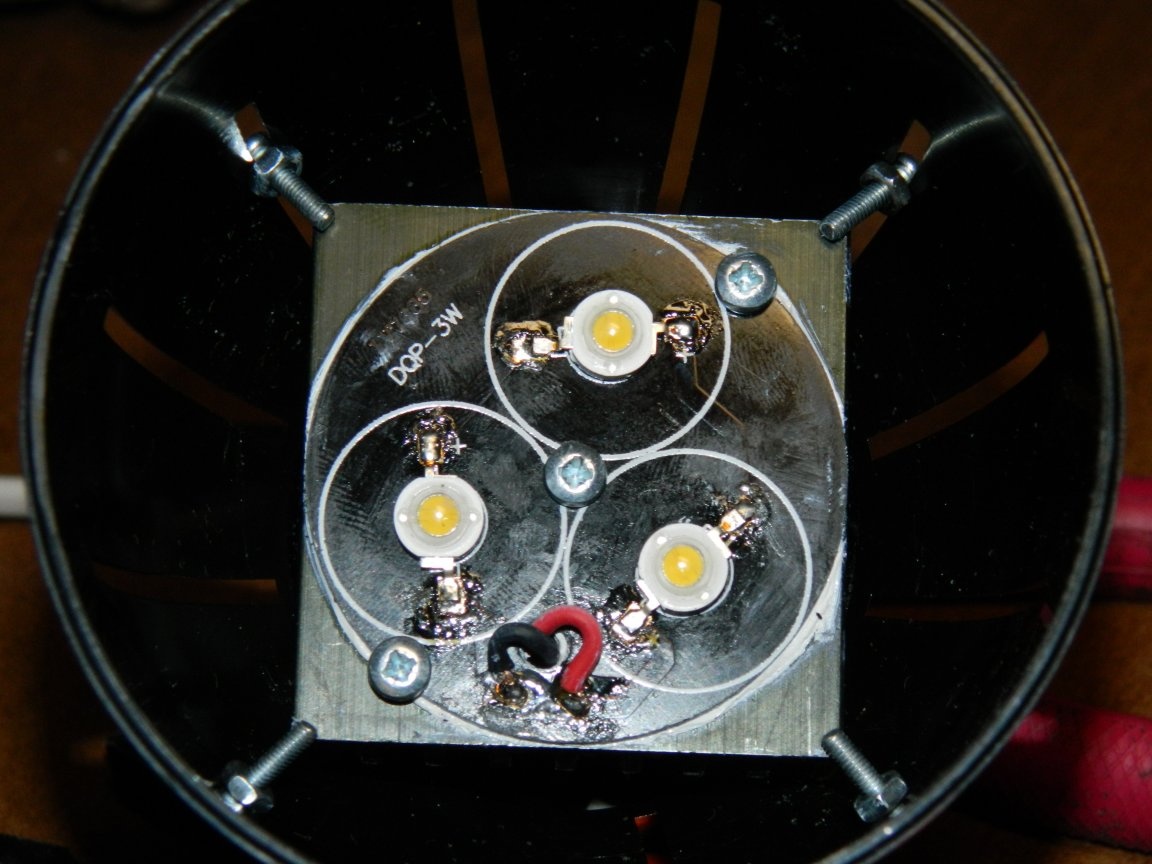
I marked and drilled 3 holes on each of the radiators under the M3 thread to fix the boards, one ø4 mm hole for releasing the driver output wires through the radiator, pre-attached the boards to the radiators, to be more precise.

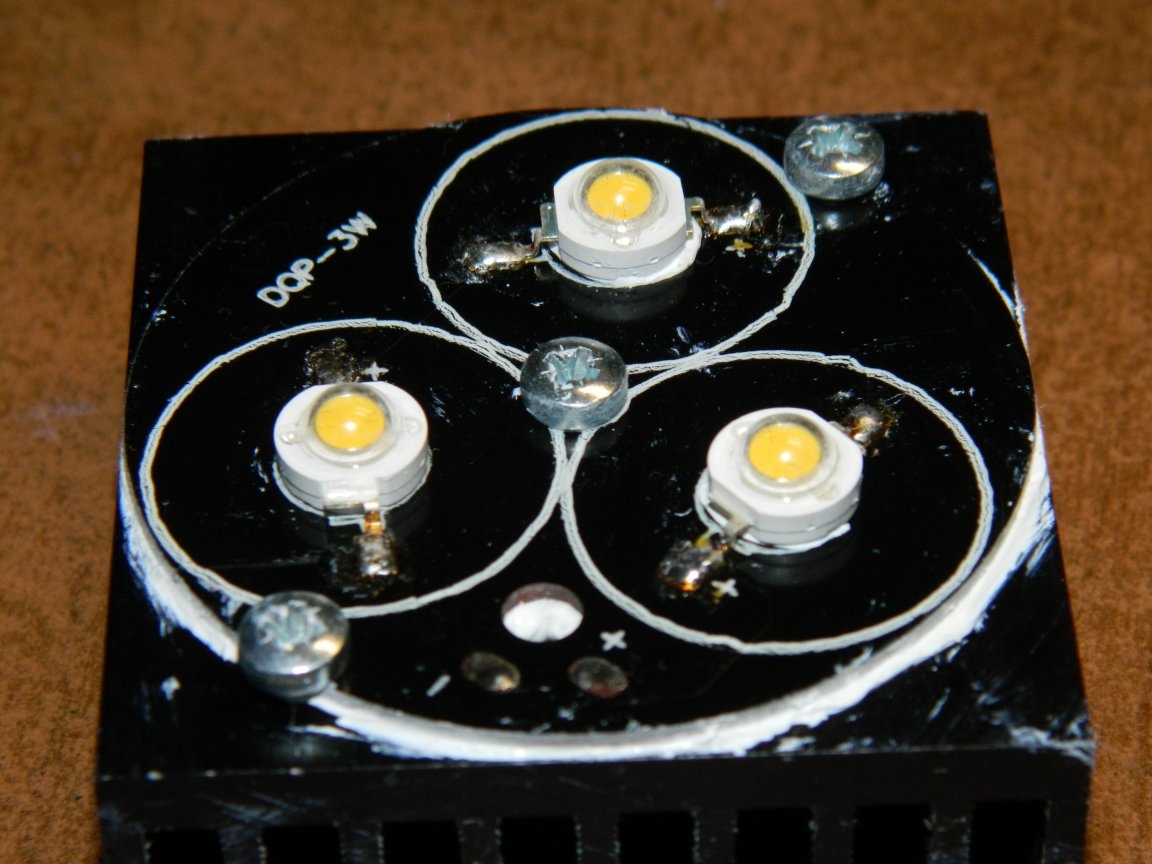
Then the LEDs were glued to the boards, and after the glue had dried (12-24 hours), they were soldered. Then he fixed the boards on the radiators with M3x5 mm screws through thermal grease. Modules made.
The drivers are housed in plastic cases with covers for the REA - dimensions 45x30x25 mm. I glued hermetically sealed the covers with superglue, having previously placed them inside the drvers and letting the wires out. The holes where the wires came out were sealed with a sealant. Although it was supposed to be placed under the roof slope, the drivers did not need extra moisture.

Then the output wires to the modules were soldered from the drivers, and the input wires to the ШВВП 2x0.5 mm² wires and, having removed the cartridges from the fixtures, put the assemblies there. I fixed the modules simply by tightening the M2.5x15 mm screws with nuts (just the corners of the radiators fit perfectly into the slots on the fixtures. The fixtures are ready.
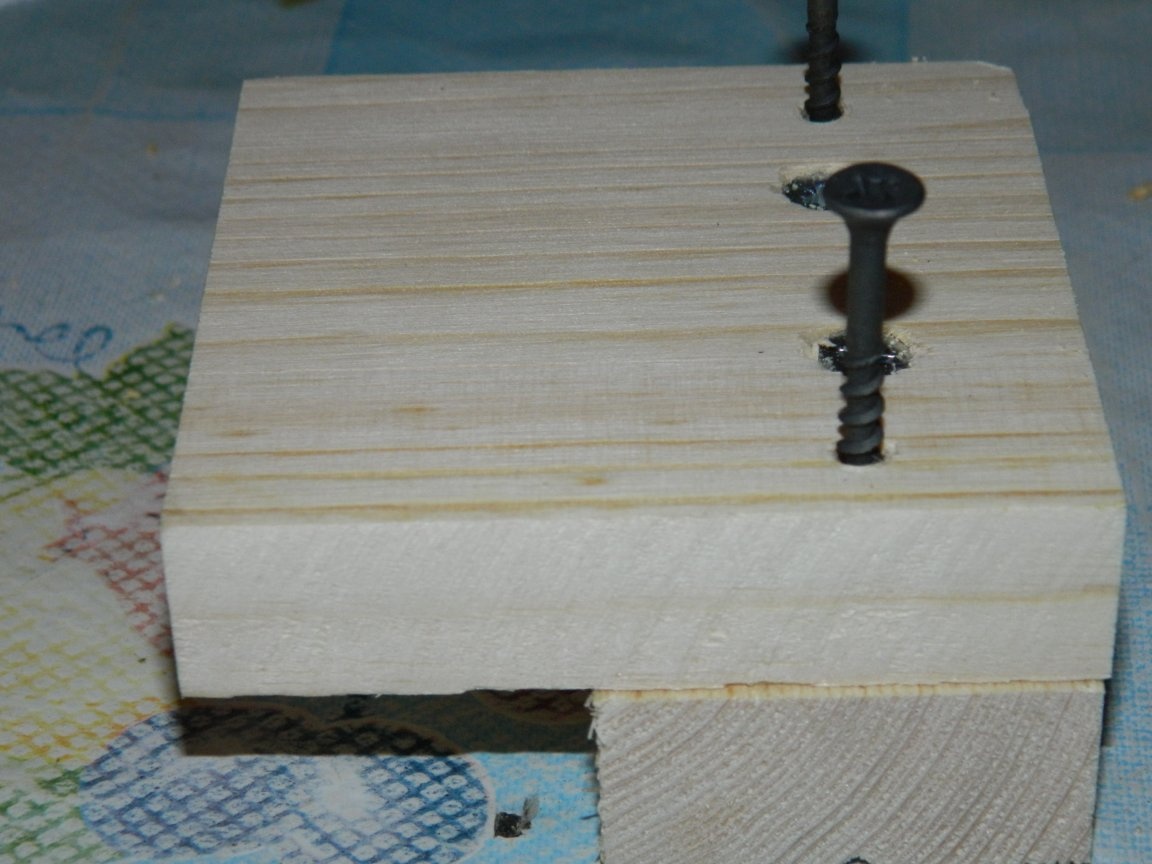
Three brackets were made from trimming a jointed board with a cross section of 20x80 mm and a bar with a cross section of 20x40 mm in order to fix the lamps to the house.
In the house, I made all the wiring with a ШВВП cable 2x0.5 mm², and made holes in the walls and let the cable out into the street where I wanted to put the lamps. The ШВВП cable has double insulation and can be conducted both inside and outside the room.
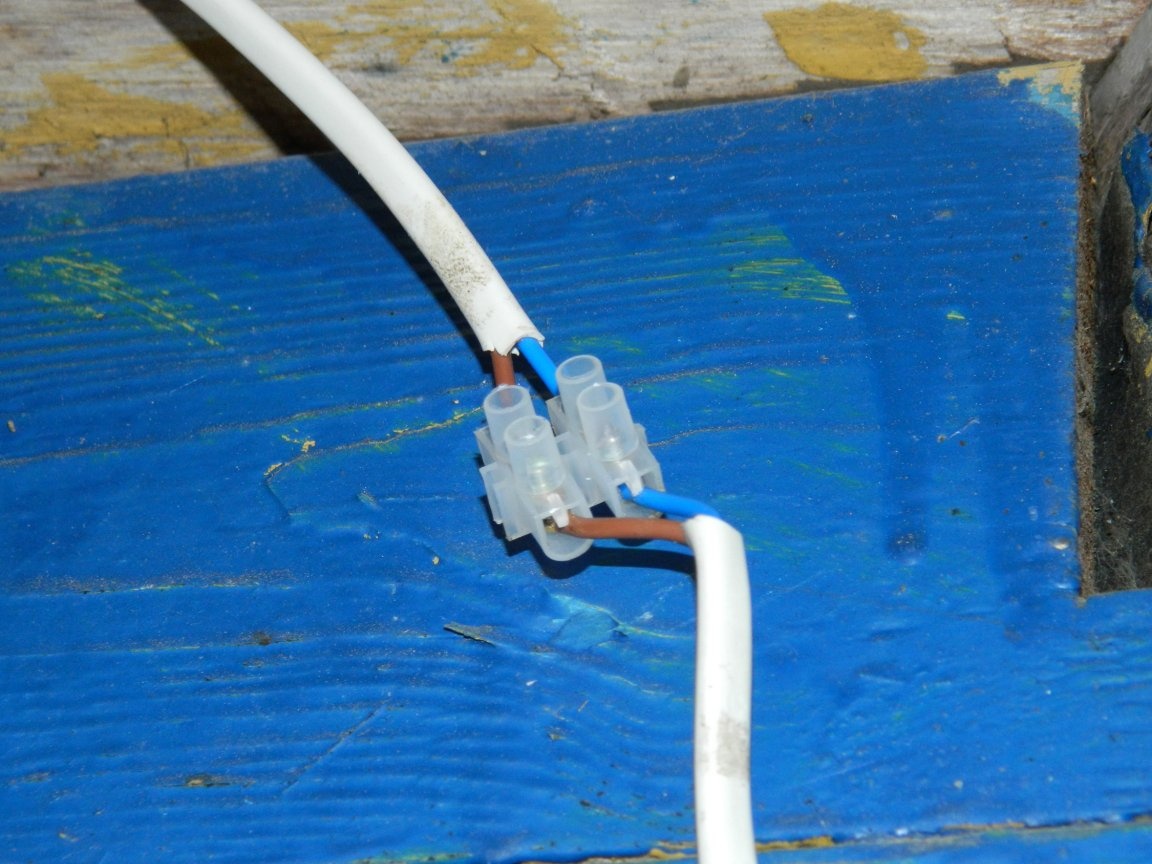
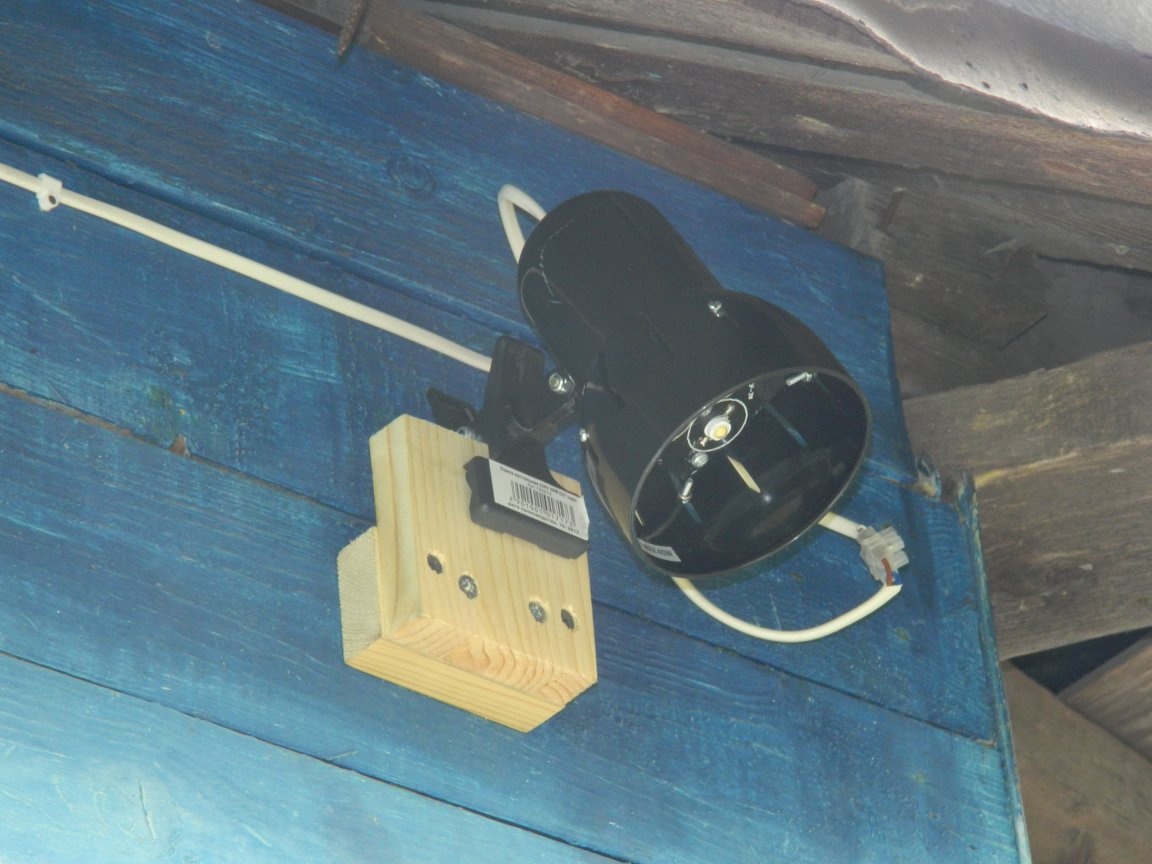
First, I began to install a lamp that illuminated the path leading to the toilet (tired of tripping over a stump). Having fixed the bracket under the roof slope, in order to avoid direct rainfall, he hung the lamp. He connected the supply wires through the block so that the lamp was simply dismantled.
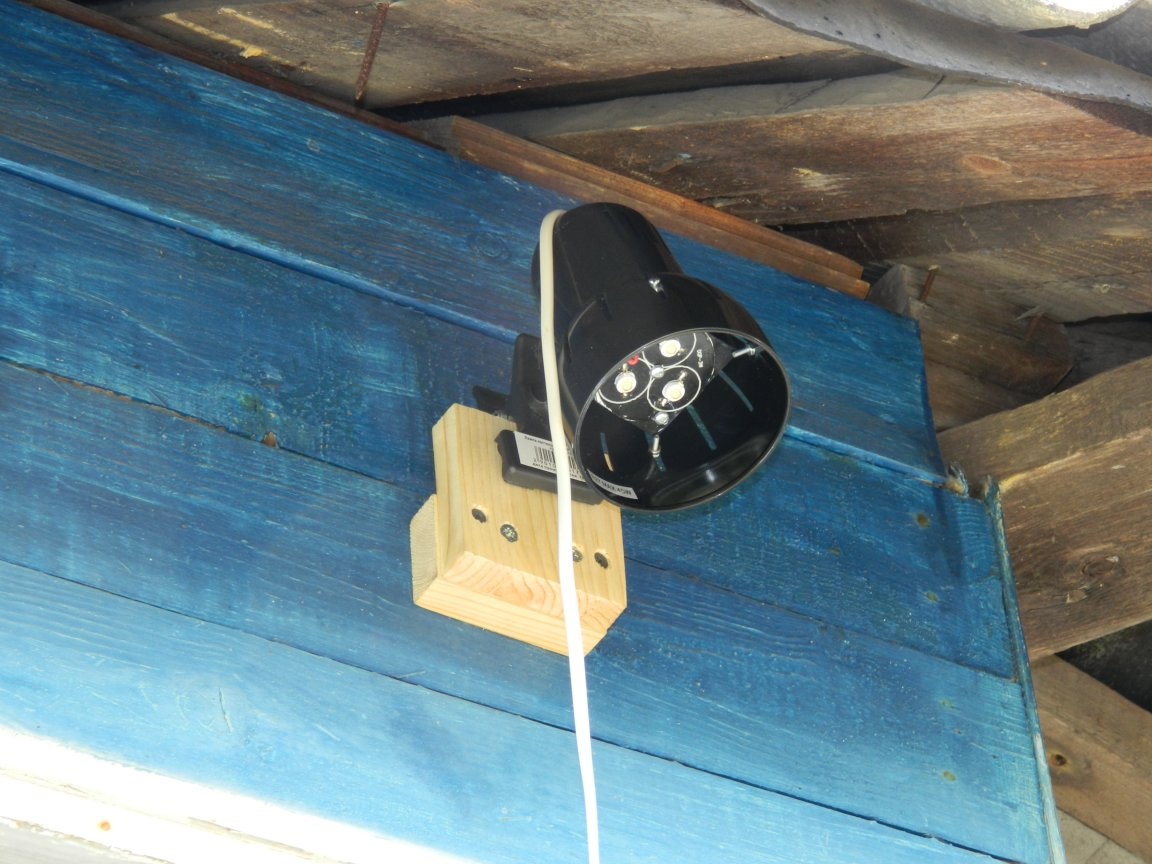
Similarly, he attached a lamp on the corner of the porch and, stretching the wire along the house, hung a spotlight.
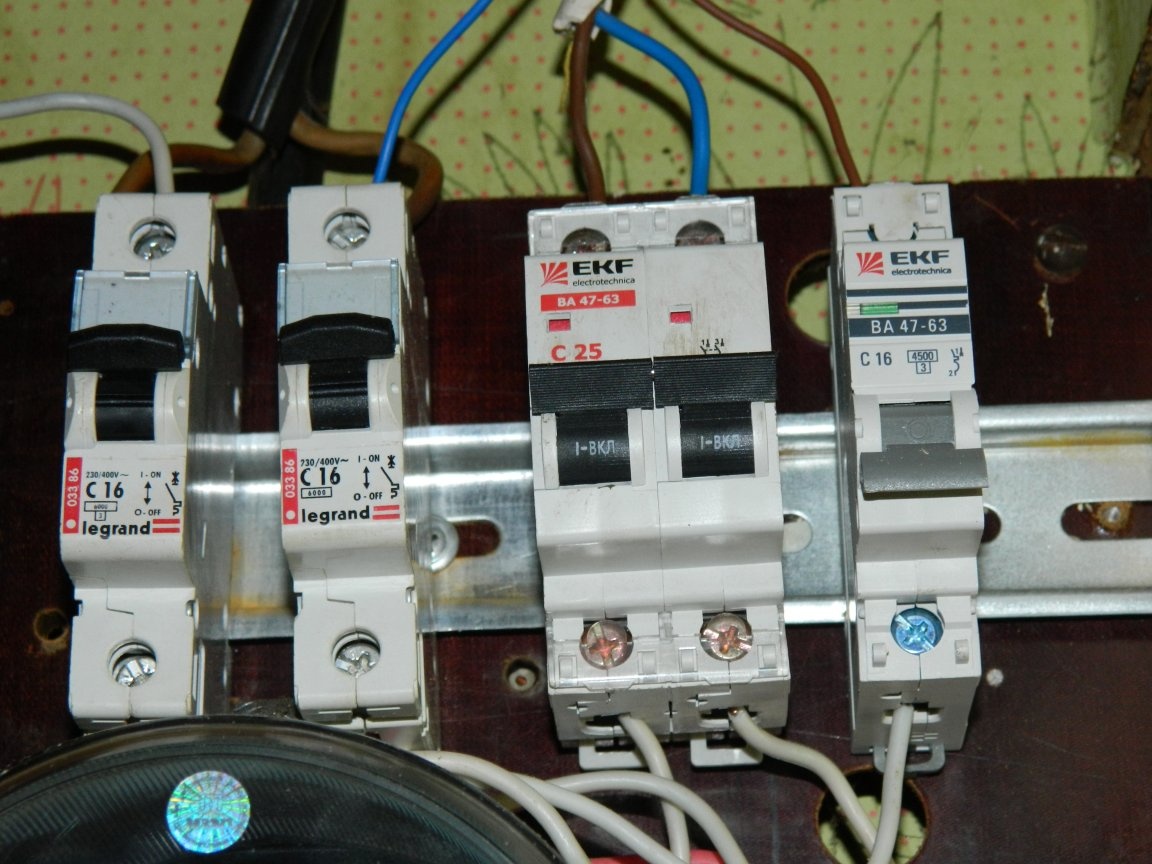
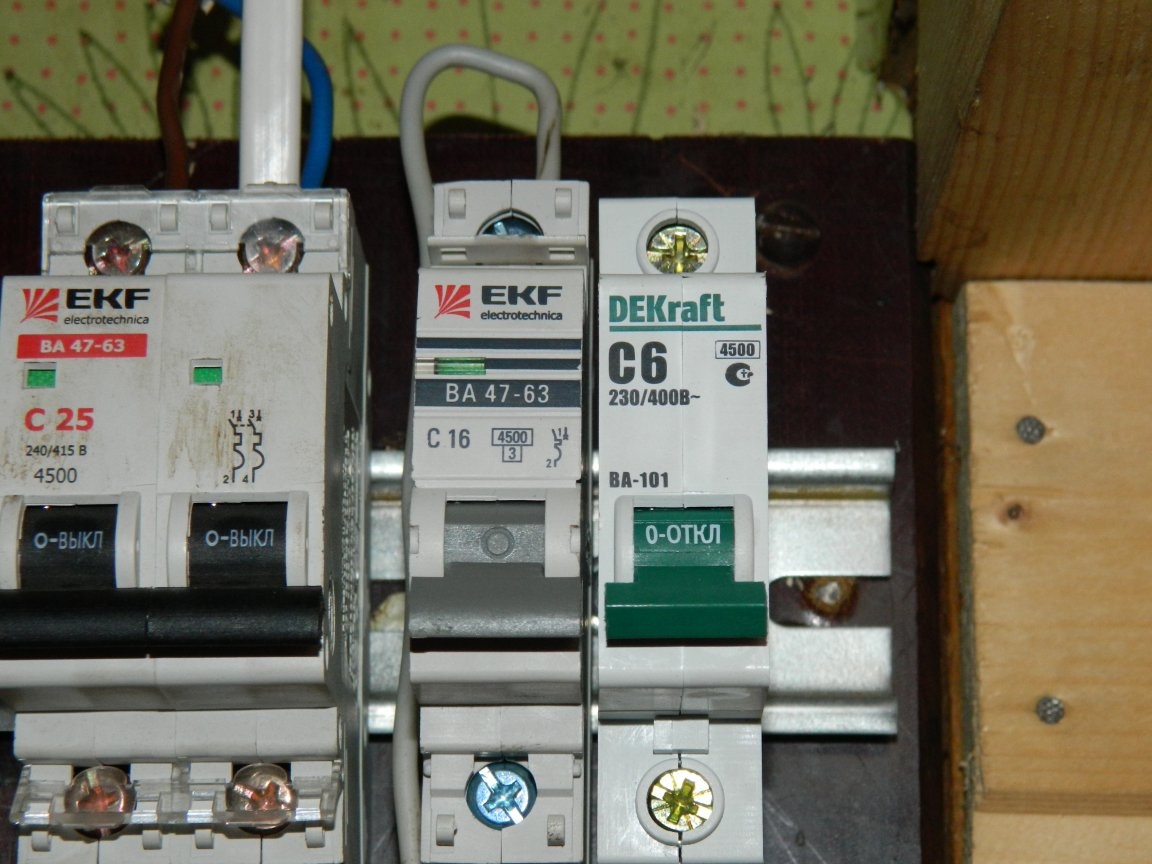
On the shield, which is located directly in the closet, put another machine for 16 A (which was).
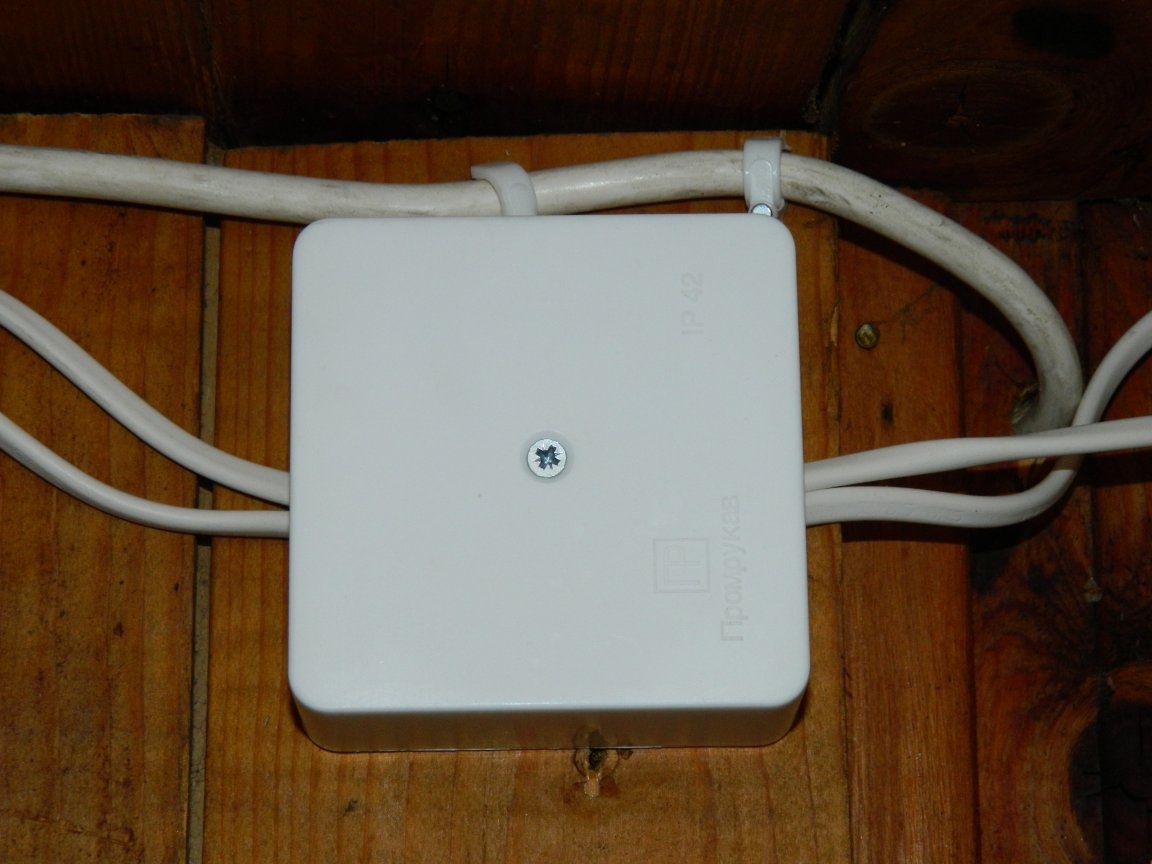
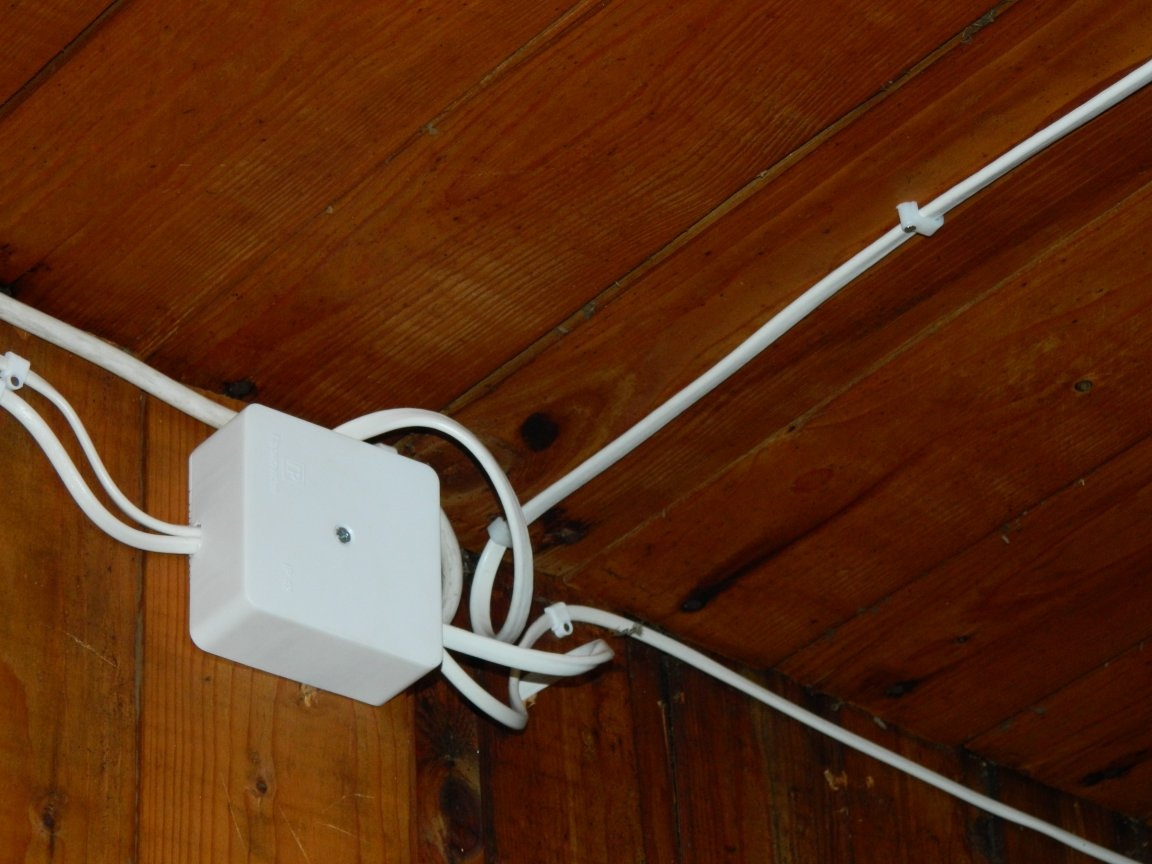
I determined the phase with an indicator screwdriver. I drilled a hole in the wall (fortunately, it’s wooden) with a Ø10 mm drill and dragged a wire through it to the terrace to the mounting box, in which I connected them to the terminal blocks of the corresponding blocks.
The job is done, the installation is completed. It remains to wait for twilight to set the direction of the luminous flux of the fixtures (especially for the spotlight).
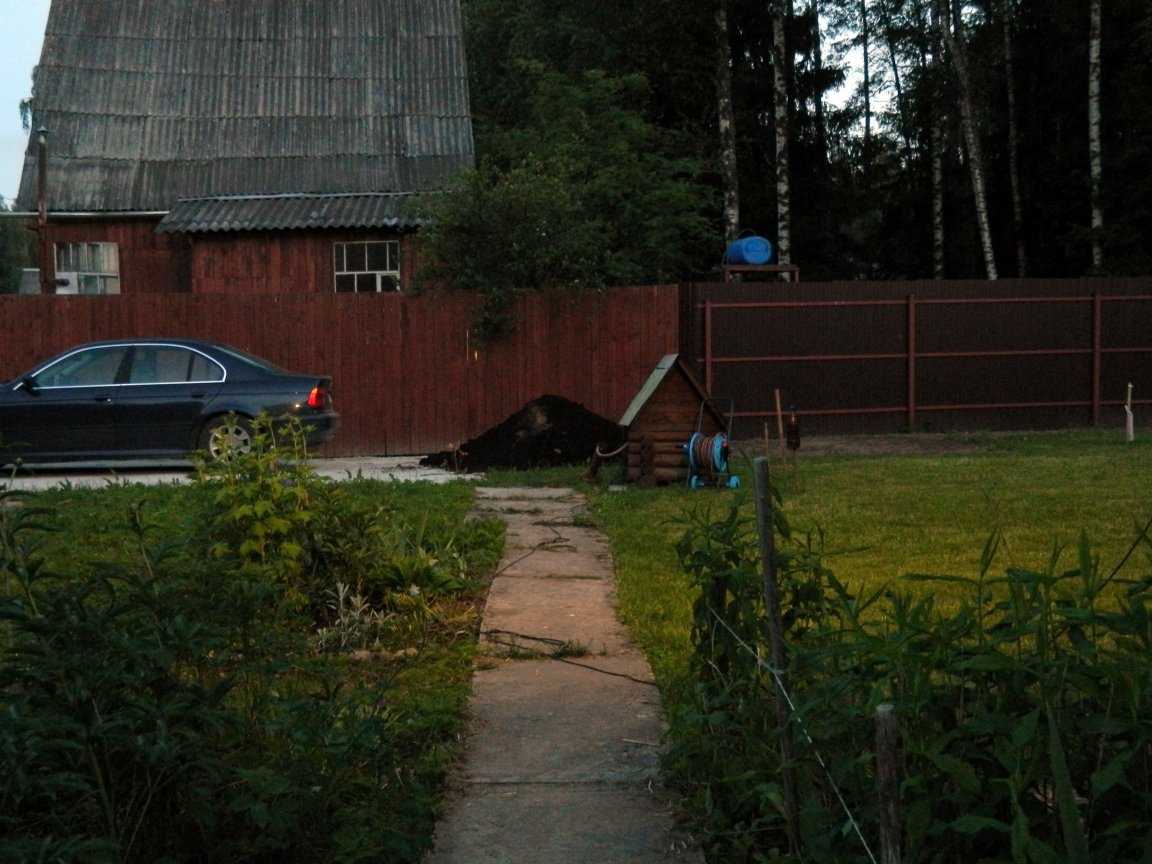
I did not expect such efficiency from a searchlight (the luminous flux of his lamp is about 680 lm)! At dusk he also illuminated the parking lot with a car from a distance of about 12 m!
By the way, in similar Chinese 10-W devices, the luminous flux (as they say) is 800 lm. And the cost of these devices is about 800 rubles. (1 rub = 1 lm)! Three-lamp fixtures also pleased - they illuminated a fairly large area. The main thing is that the steps on the porch and the path to the toilet are clearly visible.
My all three lamps, taking into account the drivers, consume less than 15 watts (they can shine all night). Lamps are easily dismantled and they (if necessary) can be removed (although who will climb the sections with the stairs?). And I actually paid a penny! I am satisfied!
Light on a summer cottage is, of course, good. But, as practice has shown, using the manual inclusion mode is not entirely convenient.
For example, when I go to bed, it’s still light, and I forget to turn on the lights for the night. But, most importantly, if I leave for Moscow for a few days, how to control the lighting of the site at night to create the effect that you are present at the site? Therefore, it is necessary to control the turning on and off the light in the area in automatic and manual modes.
For automatic control of light, there are light sensors (sometimes called light relays), which turn on lighting at night and turn off in the daytime. All sensors briefly work on the same principle: a certain amount of light enters the photoresistor (called the response threshold), it changes its resistance, a current flows in the circuit, which controls the relay winding. It, in turn, includes the load.10 lux is a normal threshold of operation of such sensors. But there are sensors with an adjustable threshold - 5-15 lux. Such sensors are preferable, although much more expensive (they are usually put together with motion sensors and infrared light).
The switching diagram in the dashboard for controlling automatic and manual modes for lighting the section is presented on figure.
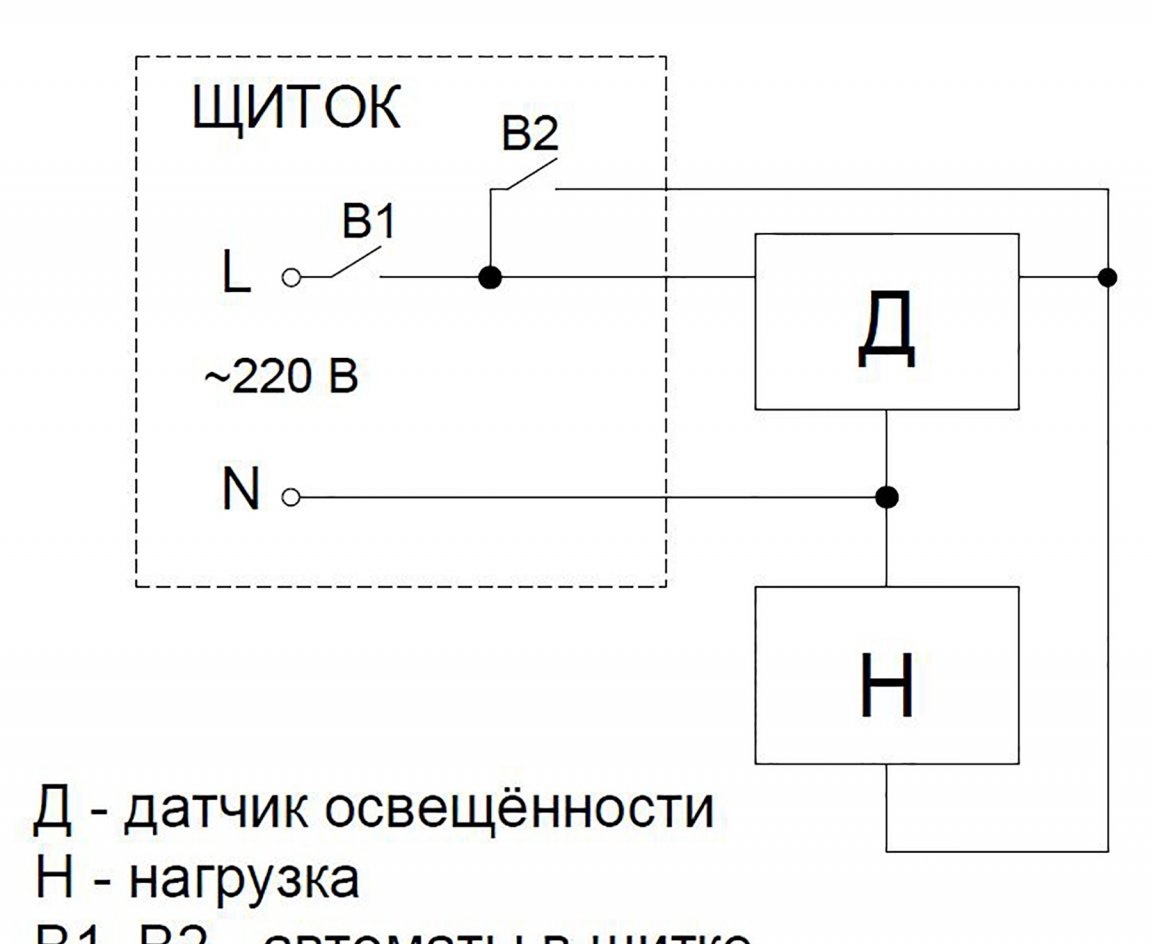
B1 includes the entire line. B2 controls the operation modes of the circuit: in closed state - manual mode, in open state - automatic. Thus, in the shield you need to install another machine that will perform the functions of B2, and replace the wiring with a three-wire one.
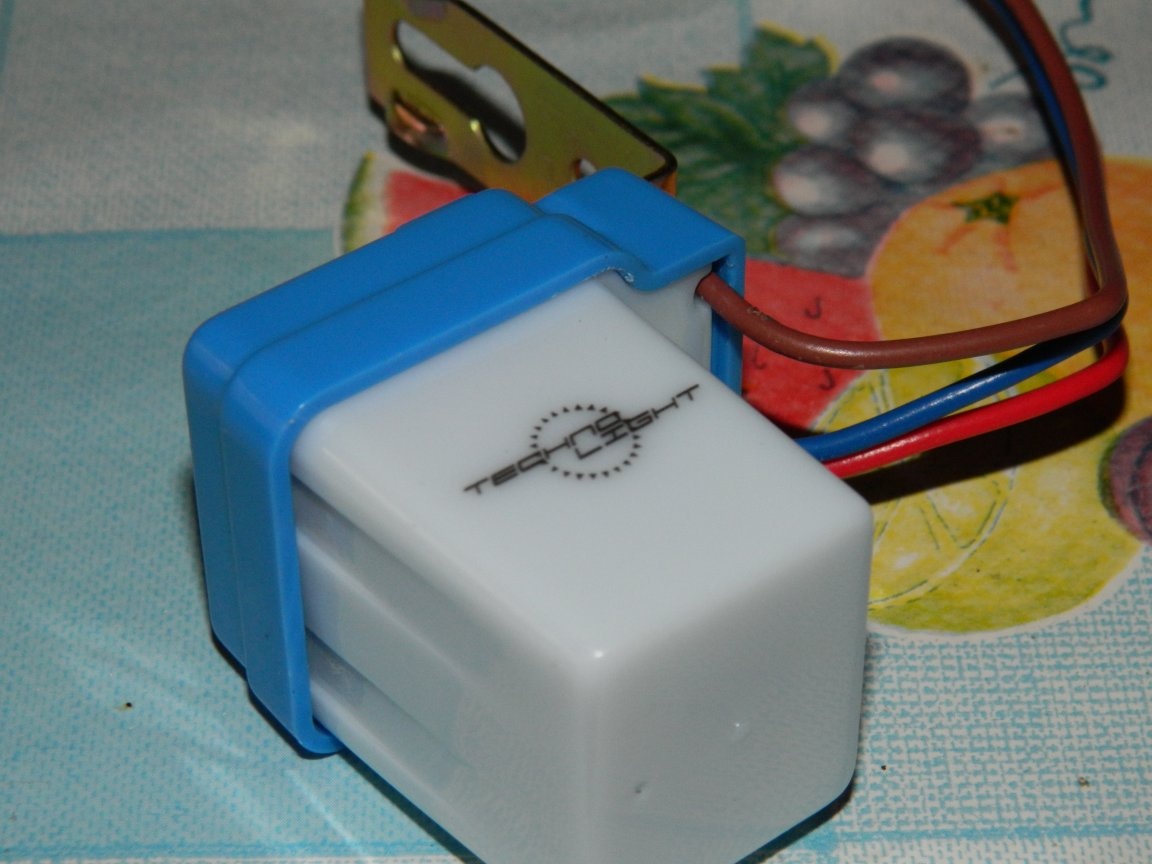
So, the simplest unregulated light sensor was purchased (in my opinion, it cost about 160 rubles) LXP-01: 10 lux - response threshold, switched current - 6 A, dimensions - 30x30x45 mm, i.e. this baby is capable of switching loads up to 1300 watts. You can connect a large spotlight to it, and not my 15 W LEDs!
Rummaging around in the attic, I found a 6 A submachine gun that stood in the shield next to the main one.
He placed the sensor on the wall next to the porch, just like the lamps, under the roof slope (the porch faces southeast, and the sun rises almost opposite). Drilled a hole for the cable.
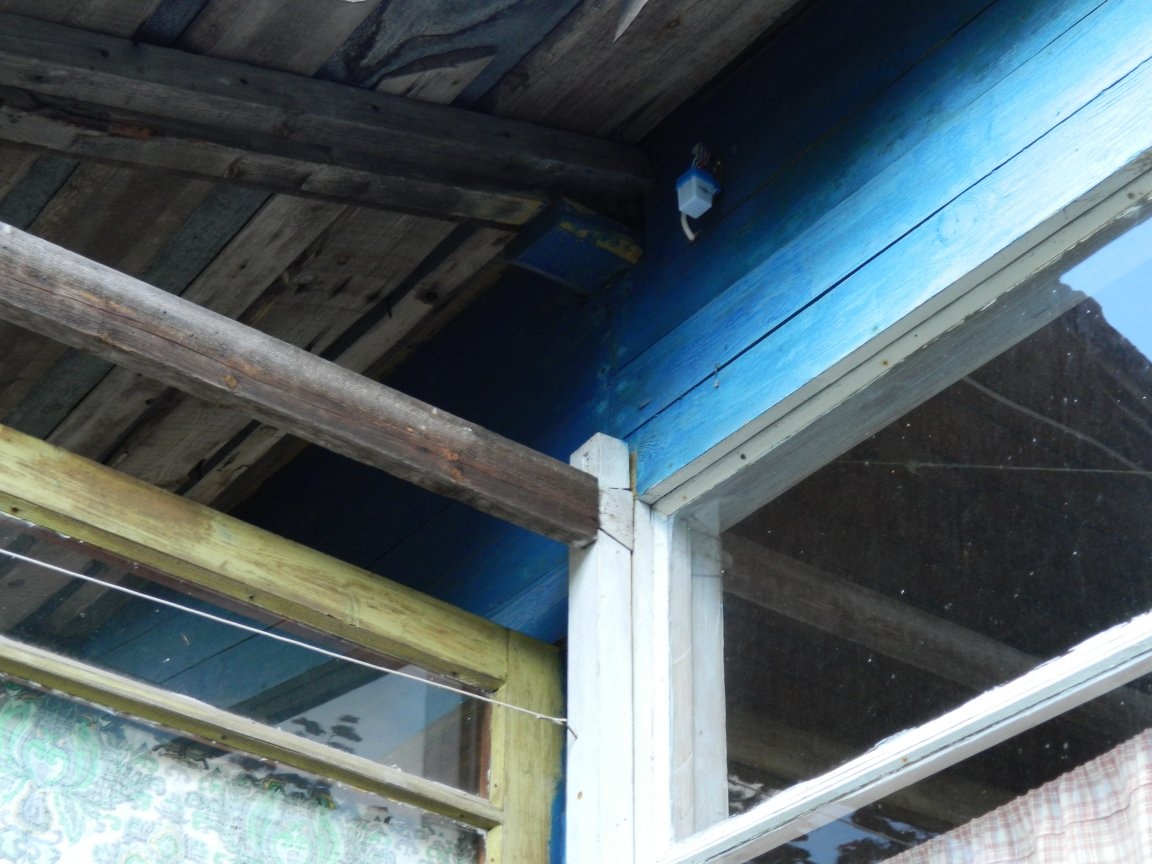
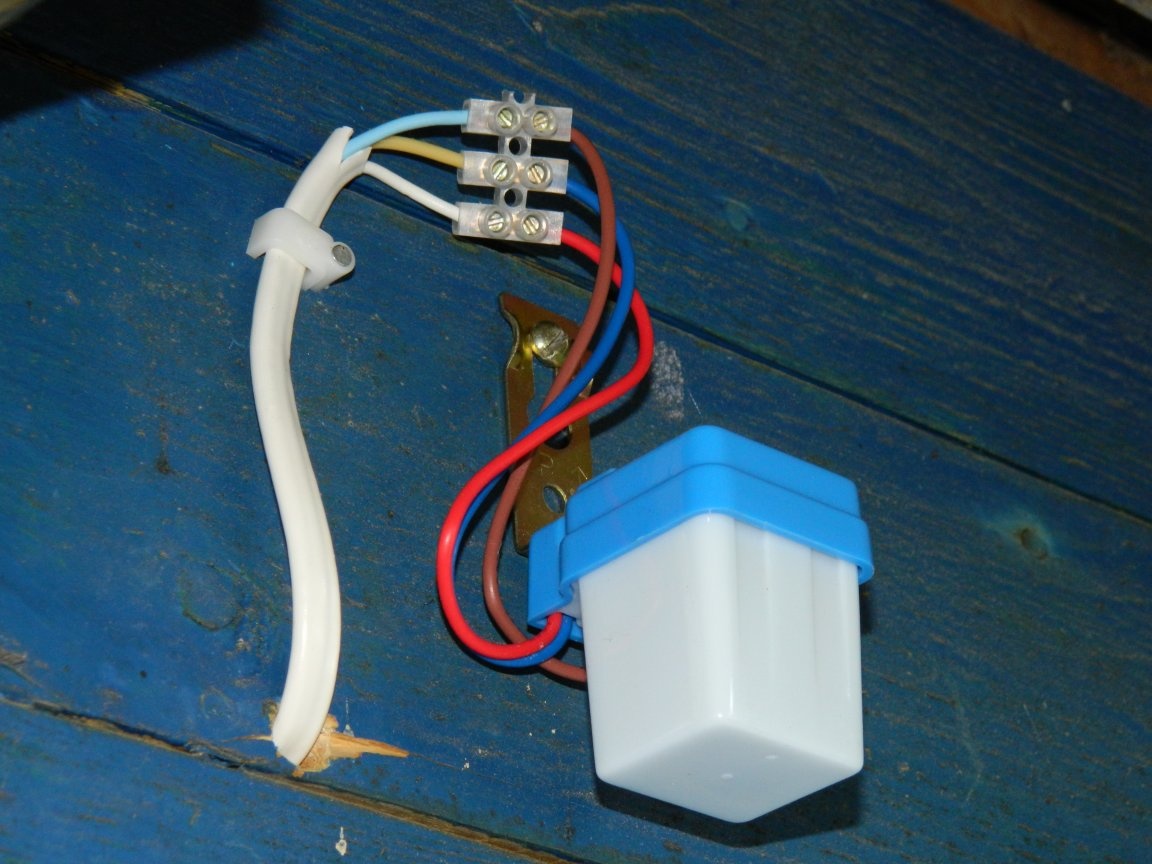
The wiring from the sensor was pulled by a 3x0.5 mm PBPPG wire (it also has double insulation), connected the wires to the sensor wires through a block so that the sensor could be easily removed. In the mounting box made the necessary connections. Connected to the shield with the same wire.
The lamps turn on (in July) around 21:00, and turn off at about 4:00. Everything is very easy to dismantle for the winter. The problem of my absences in the summer has been resolved, but it’s only a matter of one and a half to two hours.