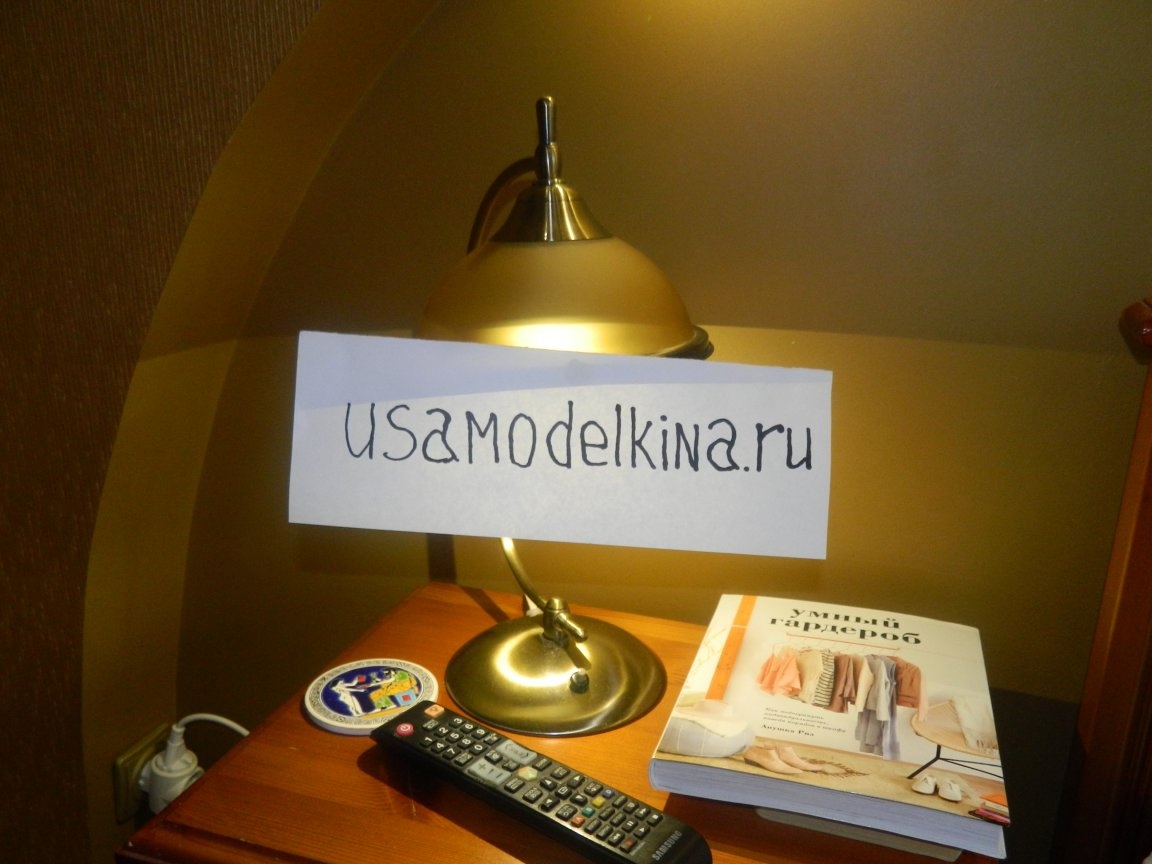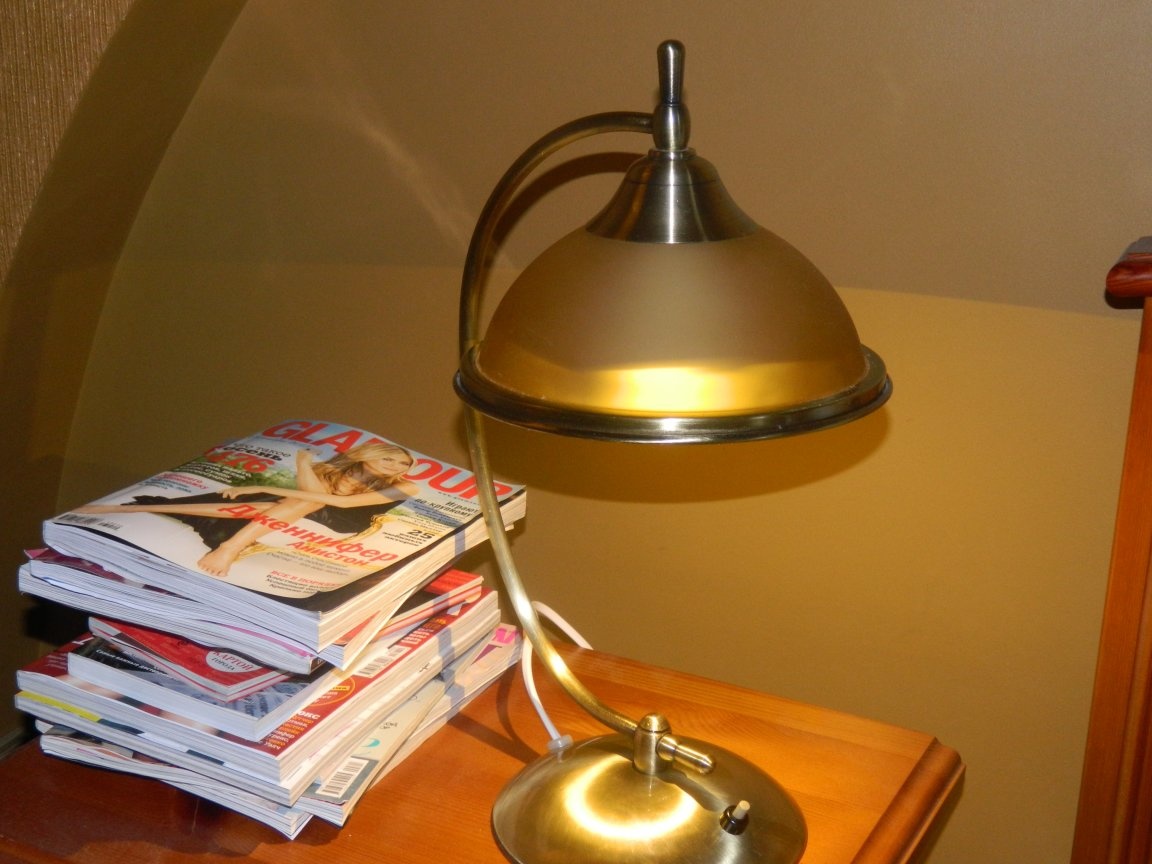
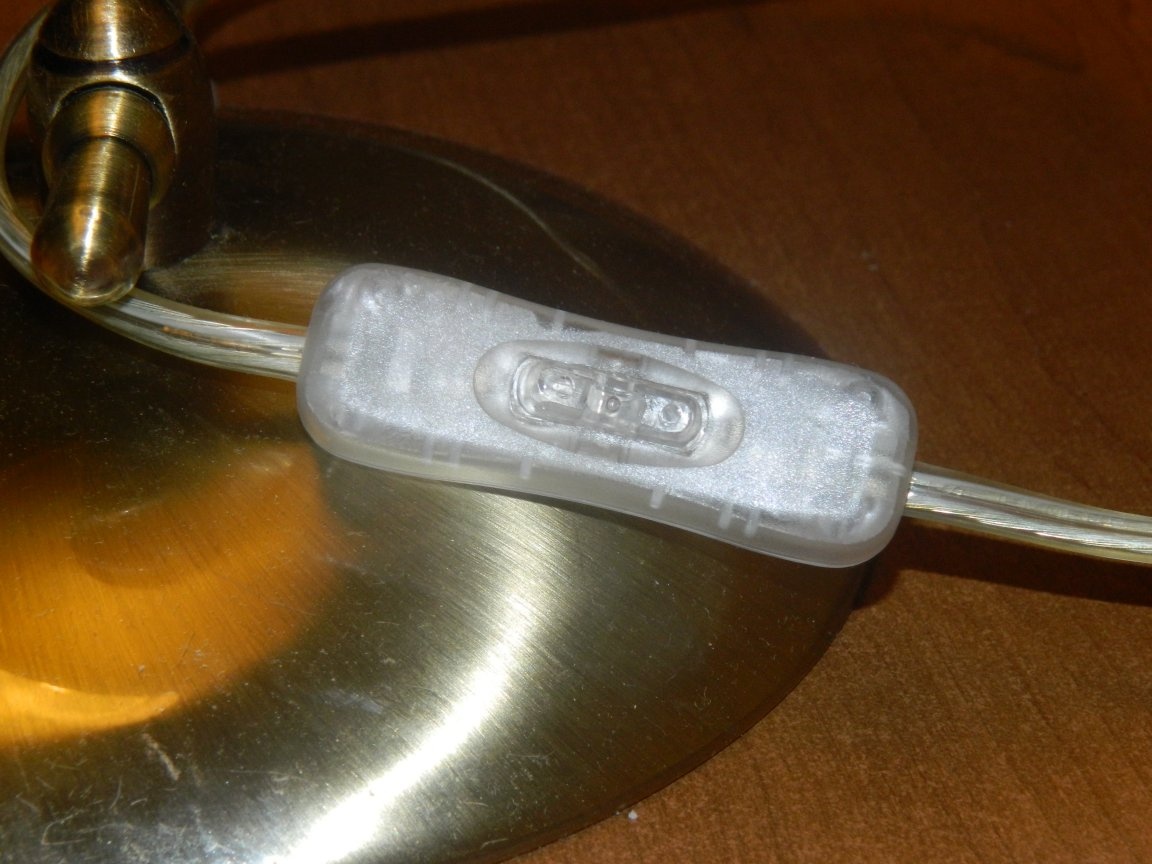
My wife has a habit of reading her favorite magazines before going to bed. I was annoyed by her desk lamp, standing on the bedside table. Indeed, the lamp gave an undirected light due to the transparent lampshade and a bulb protruding from under it for a couple of turns of the light-emitting tube, as a result of which the entire bedroom was illuminated. In addition, the lamp has a switch located on the wire, which created certain inconveniences in its use. And I decided to give my wife a gift - to remake the lamp for LED lighting.
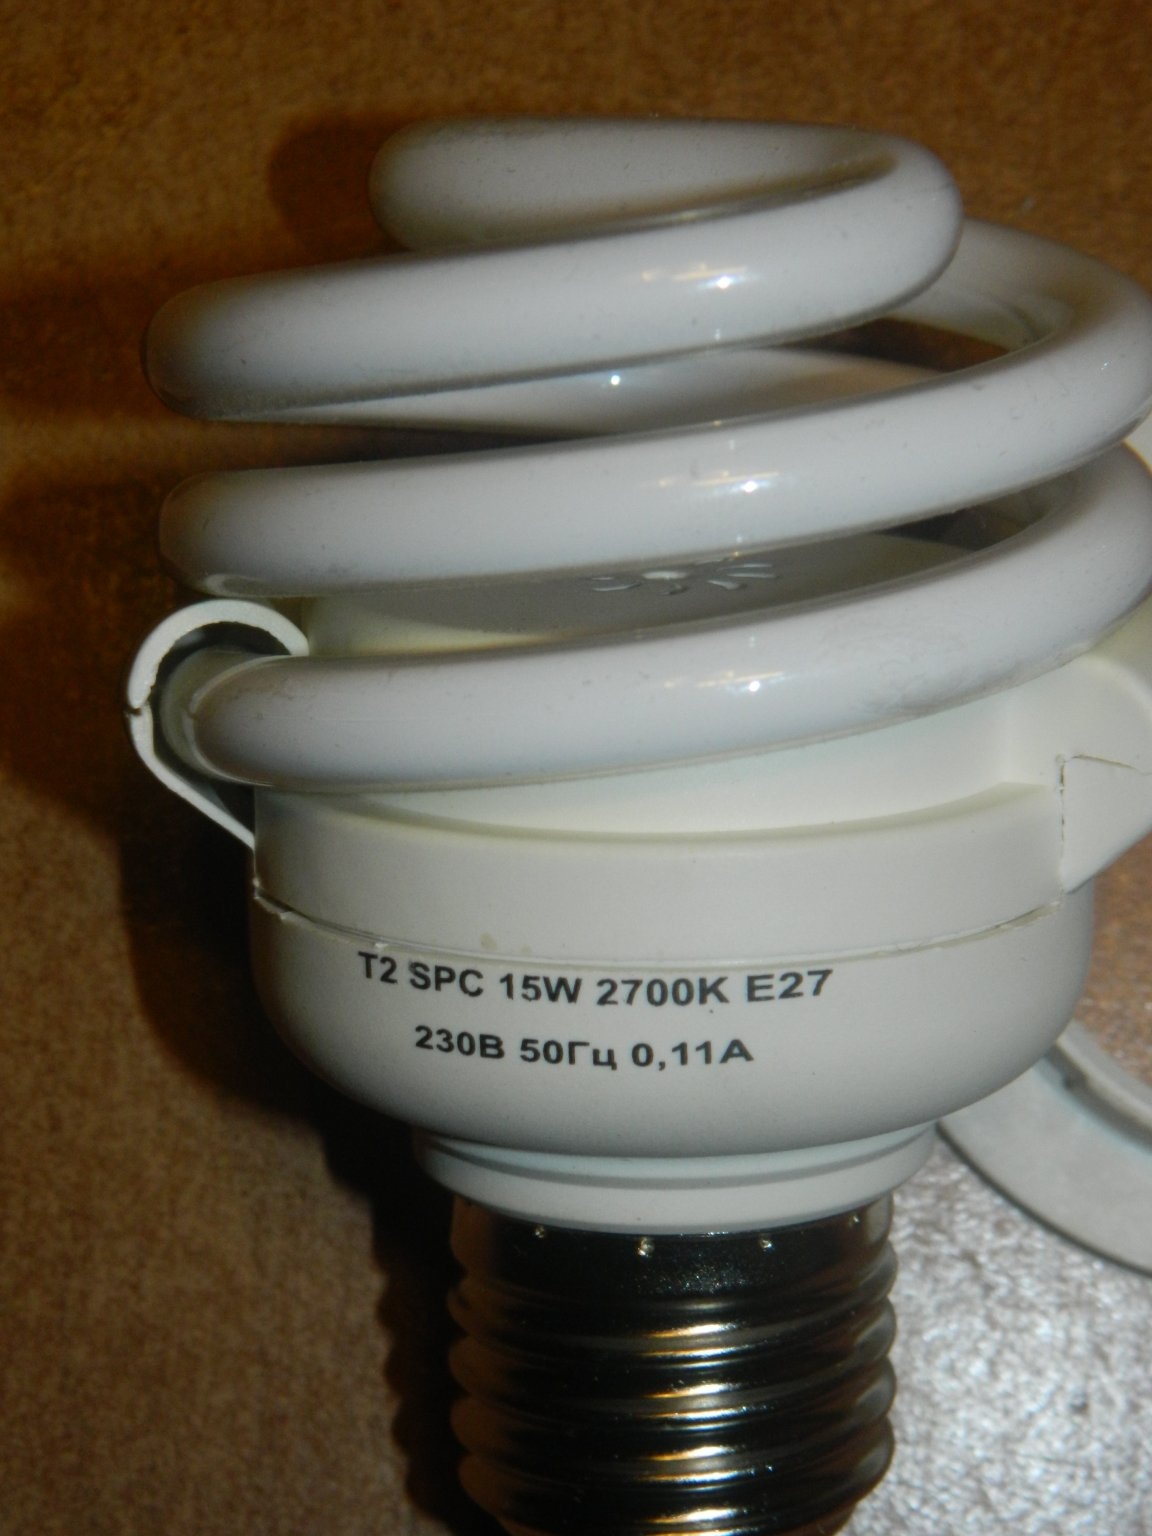
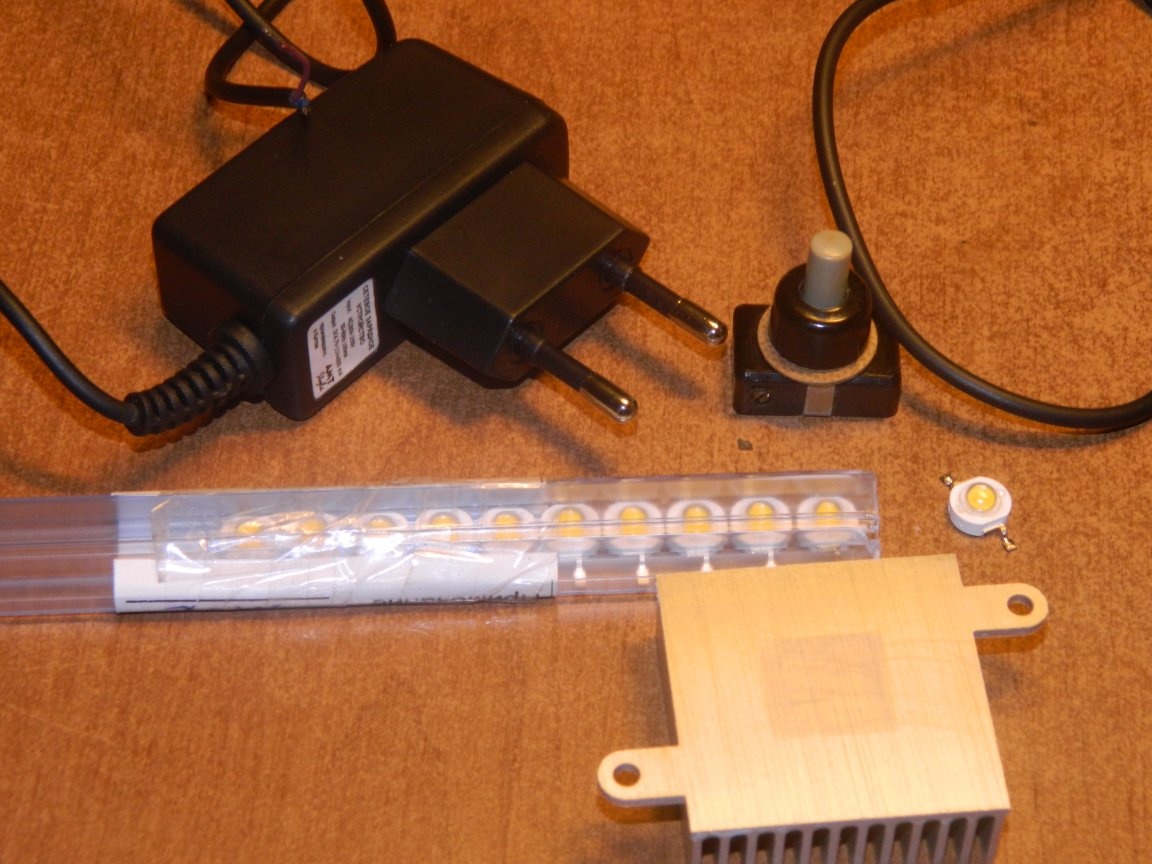
In the lamp there was an energy-saving lamp with a power of 15 W with a base E27. I decided not to redo the cartridge and use the lamp as the basis of the LED module. For the alteration, I needed the following: a powerful three-watt 3HPD-3 LED with a thermal temperature of 3140 K (similar ones already worked in my kitchen and living room and worked well), a radiator for cooling the LED (I found a suitable one from an old computer), a switch and a case for caseless driver (for him he took the old charger for a cell).
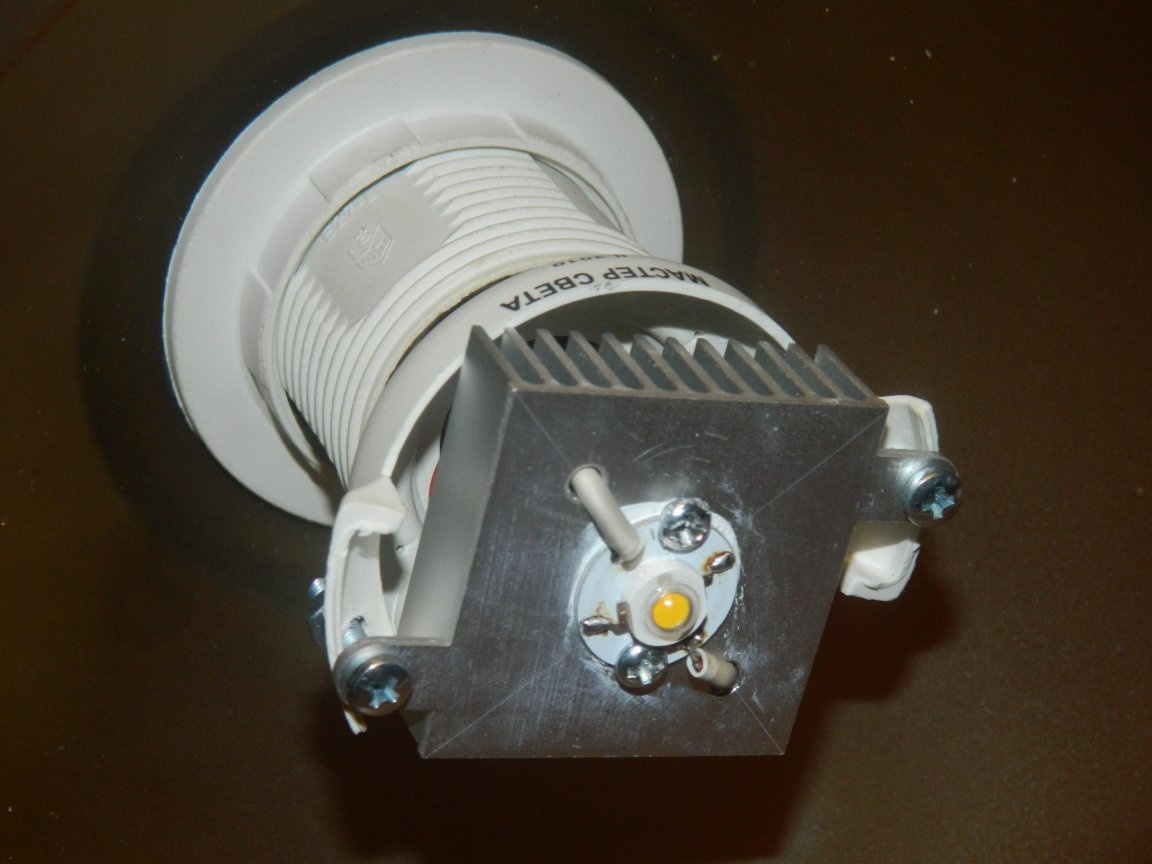
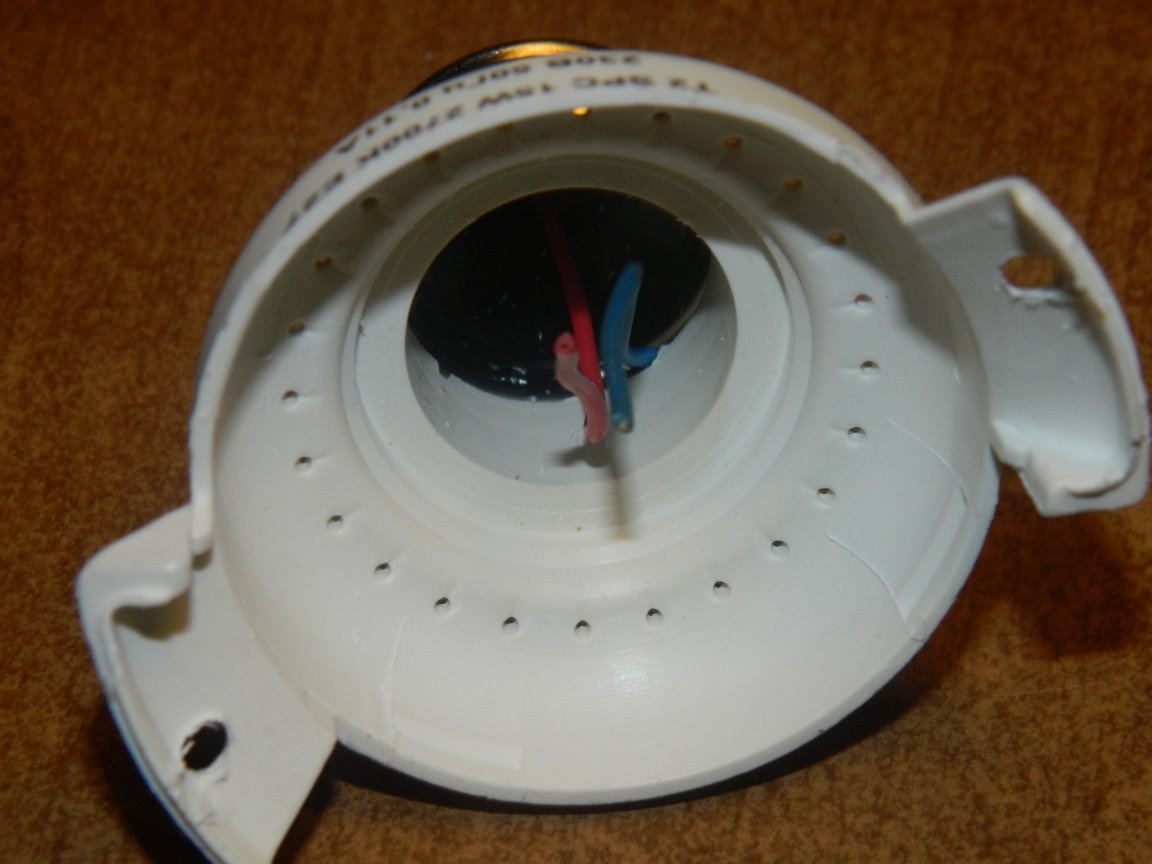
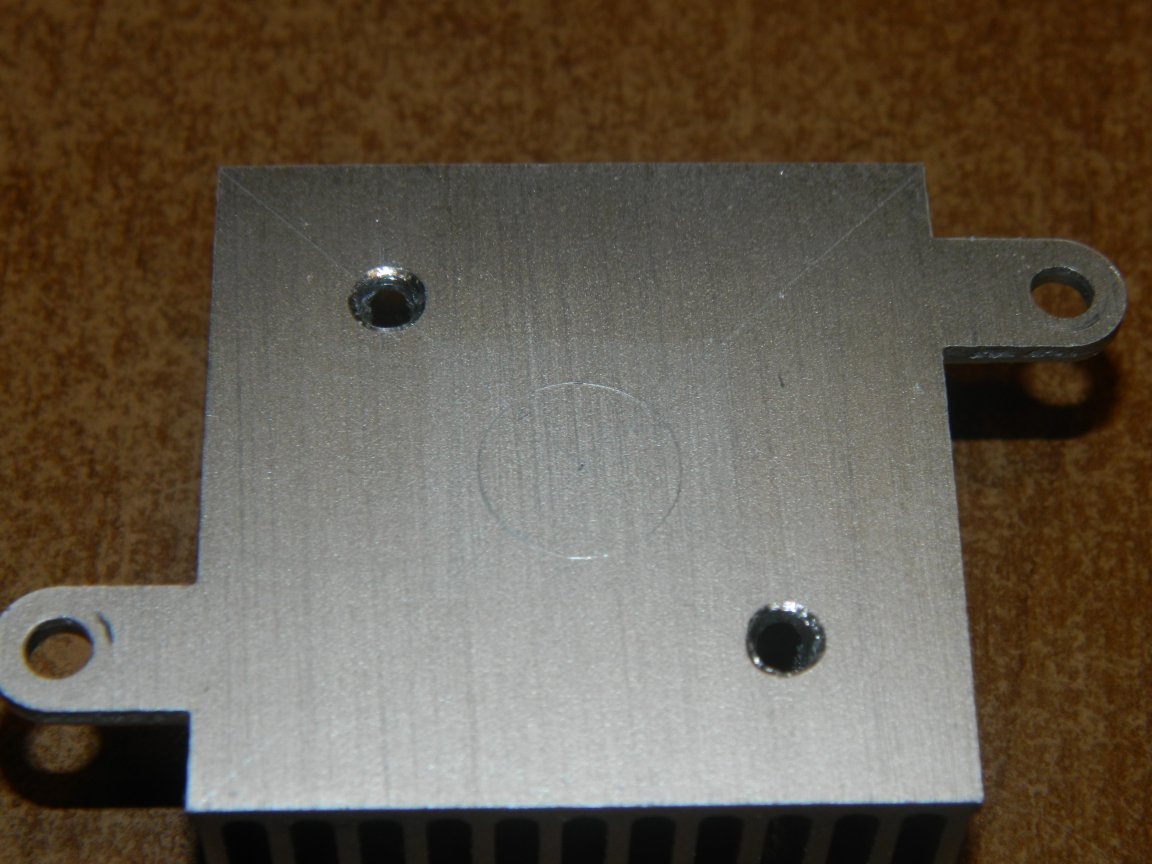
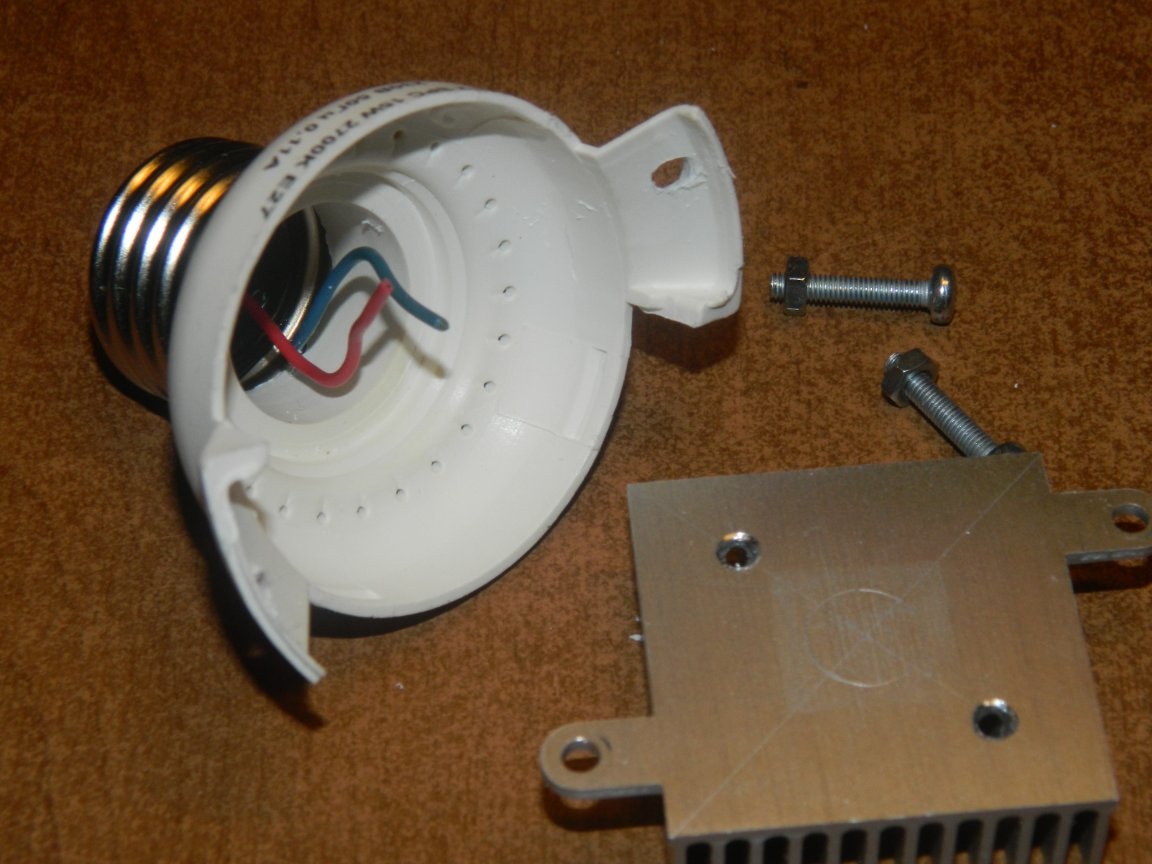
Alteration began with the manufacture of an LED module. To do this, he released the latches on the energy-saving light bulb, bit off the power wires and pulled out the entire filling. In the “wings” of the basement part, I drilled two Ø3 mm holes for mounting a radiator. I marked the center on the radiator, drew a circle with the ballerina where the board with the LED will be located, and drilled holes for the power wires. The result was a kit for assembling the LED module.
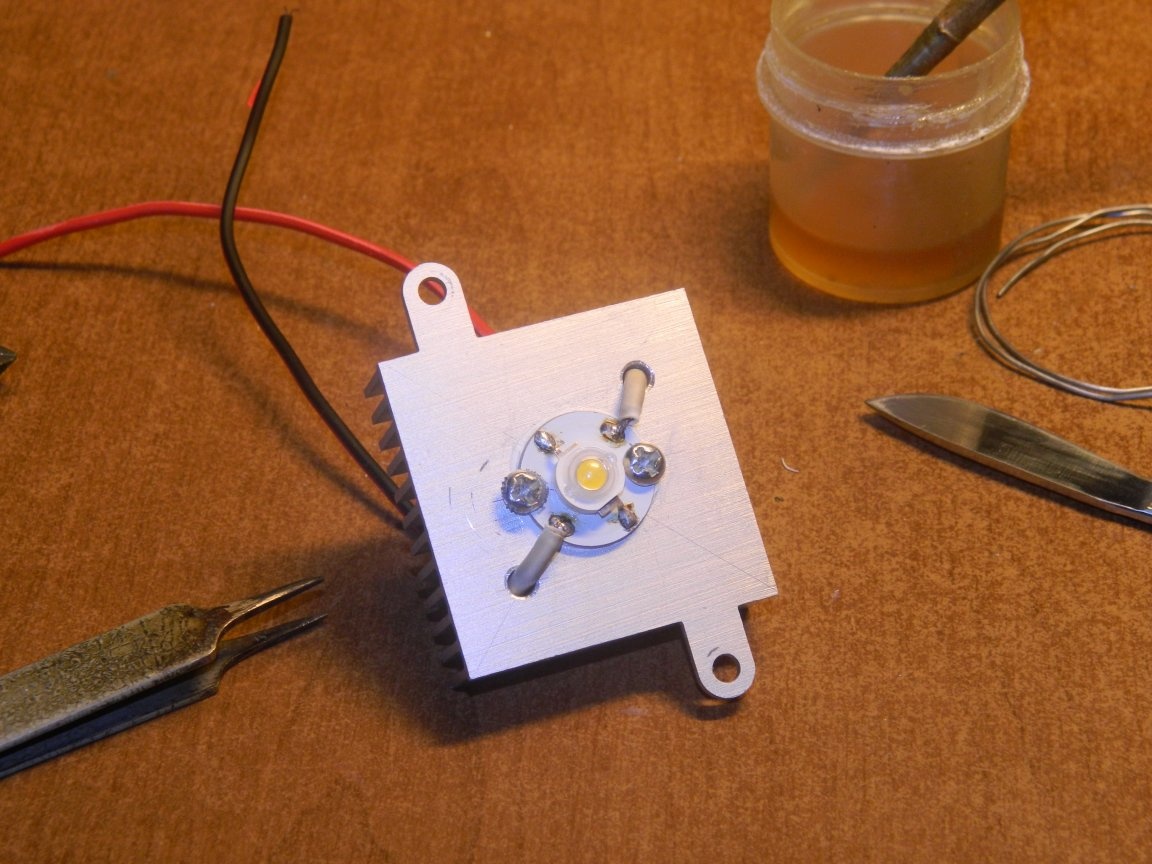
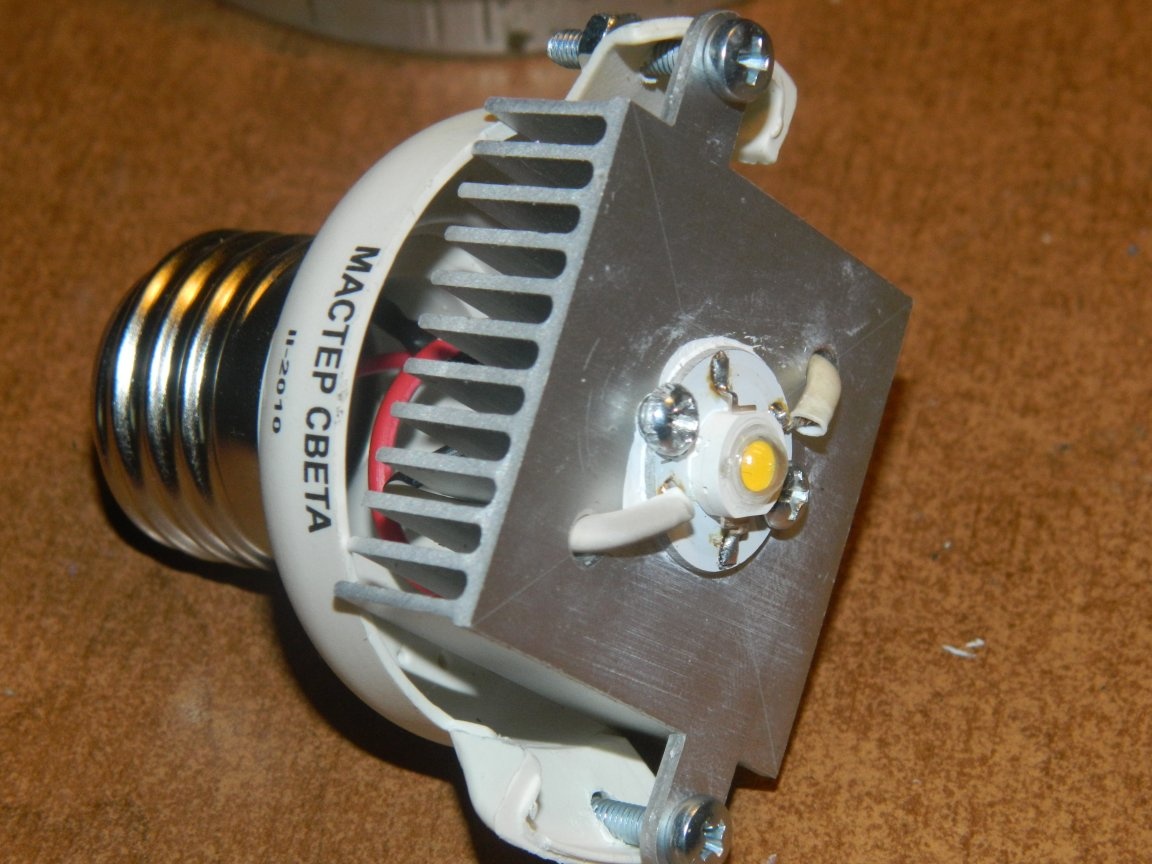
Then I acted on the already run-in technology: I glued the LED on the board with hot-melt adhesive, after the glue dries (remember that hot-melt glue dries for at least 12-15 hours!), I soldered it and secured the board to the radiator with self-tapping screws KPT-8. Then he soldered the supply wires and brought them out through the heat shrink tube. I soldered the wires to the wires in the base of the lamp (the central wire was soldered to the “+” LED) and fixed the radiator with M3 screws and nuts. The result was an LED module, which was screwed into the E27 cartridge and was 25 mm shorter, which guaranteed its "non-peeking" from the ceiling.
Now I took up the lamp itself. Inside the stand was a load of incomprehensible material similar to fiber. When I began to cut a groove in it for installing the driver, something similar to sand fell from it.
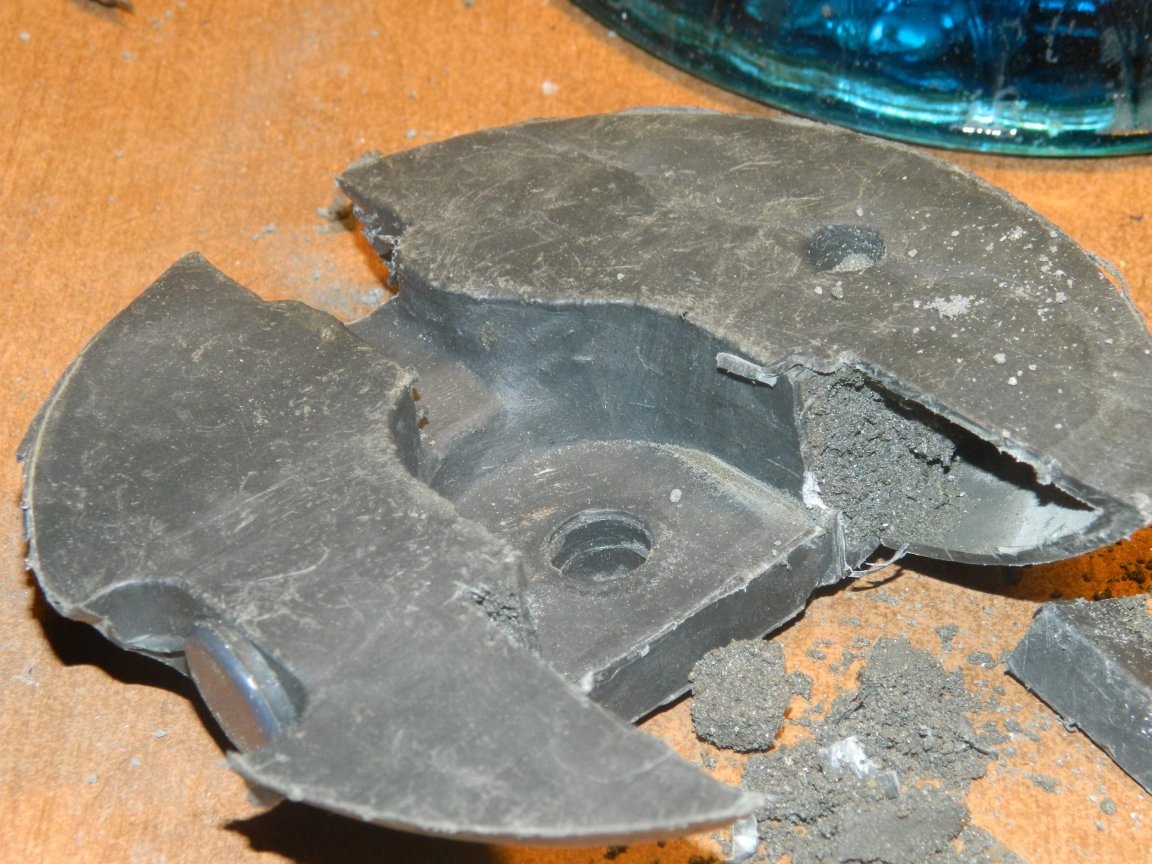
This puzzled me - the sand will constantly spill out, dirty everything in the bedroom (my wife will not say thank you!), The lamp will lose stability.
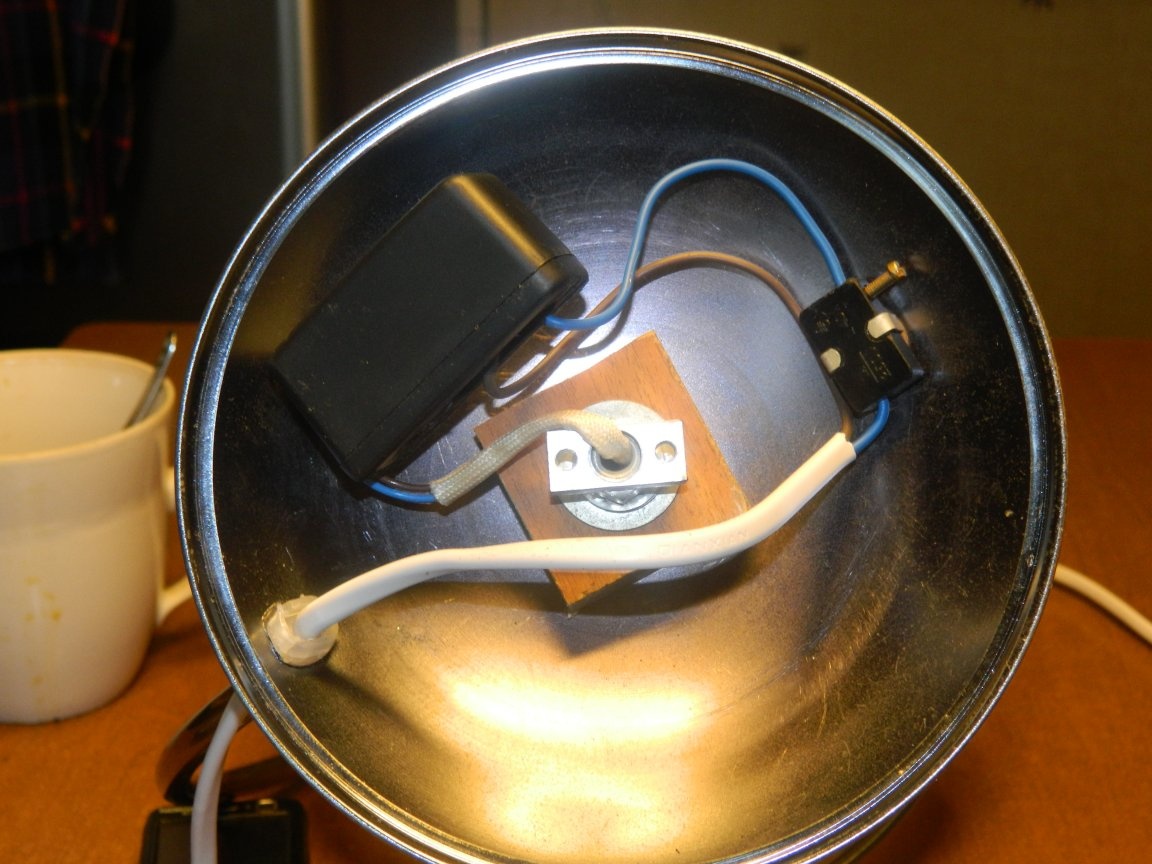
Contrary to my fears, the lamp stood stably without this load (apparently, the weight of the upper part became much less). This greatly simplified the matter. I found a piece of MDF 12 mm thick, drilled a Ø10 mm hole in the center and secured the top of the lamp.
The driver used RLD2-2 with the following characteristics: Uinput = 90-260 VAC, Uoutput = 3-5 VDC, Ioutput = 650-730 mA. He remarkably got into the case from charging, from which I sawed off the plug. In conclusion, I drilled a Ø10 mm hole in the stand and installed a switch. Disconnecting wires is a matter of technology.
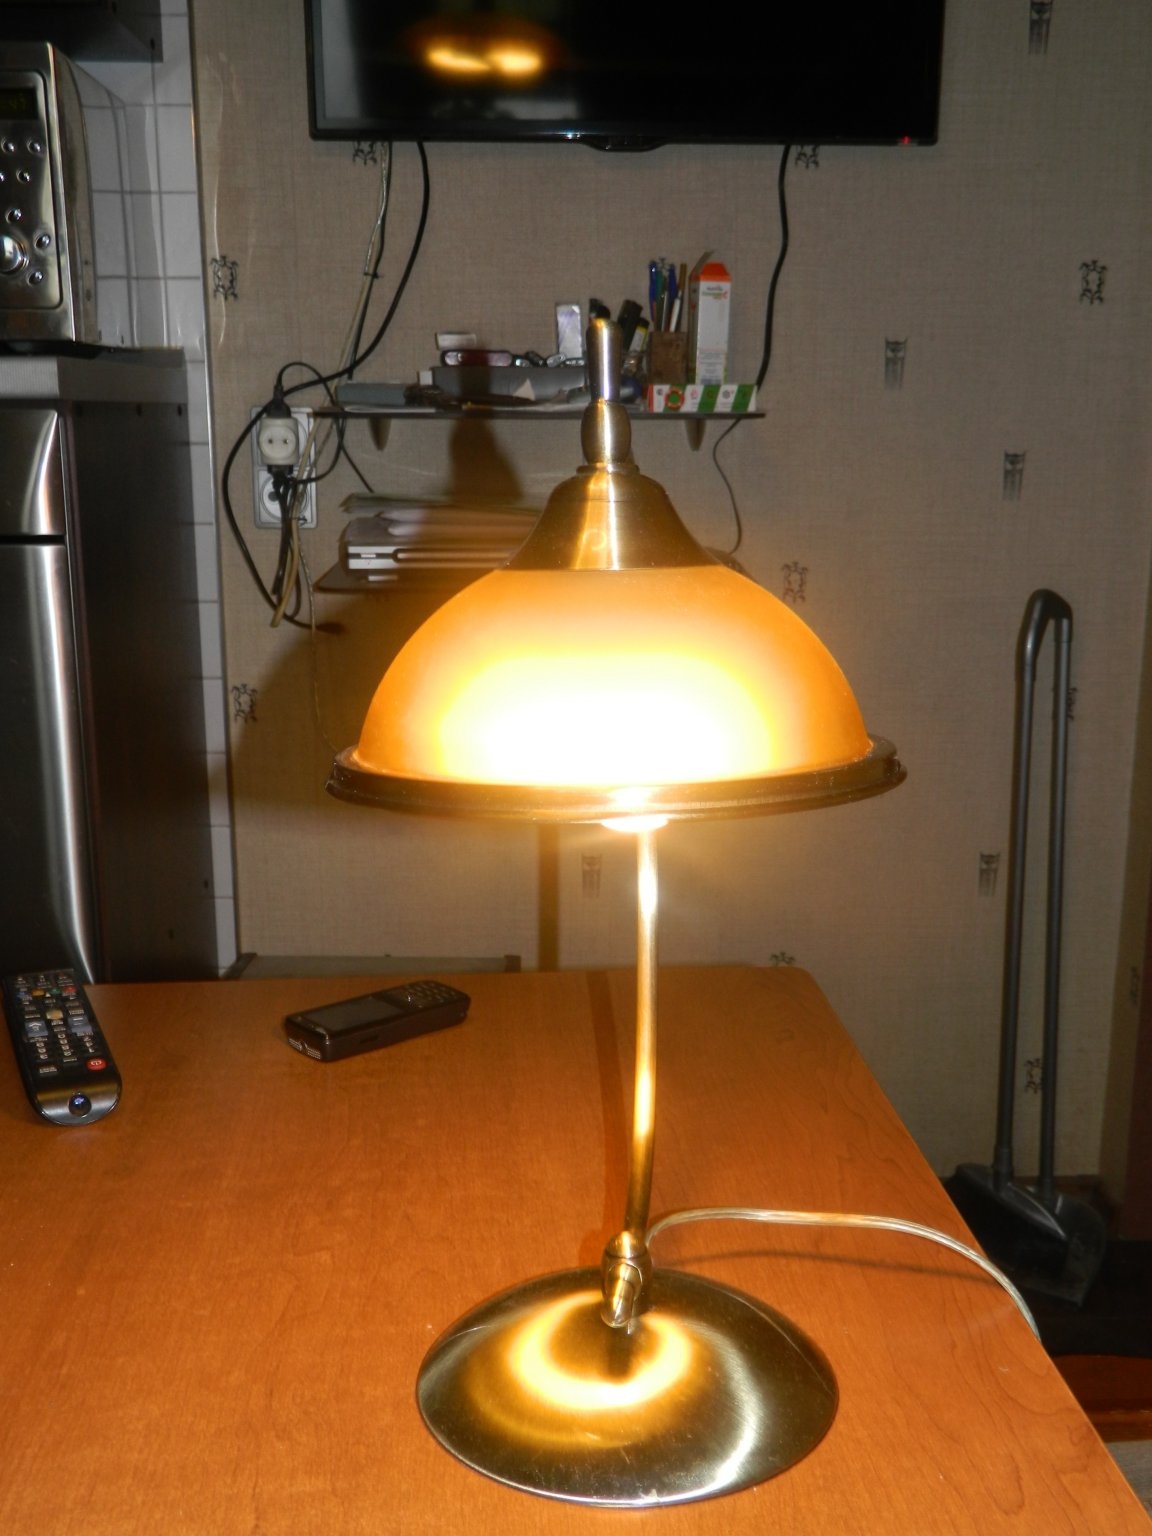
It remains to screw the LED module into place (f12) and turn on the lamp!