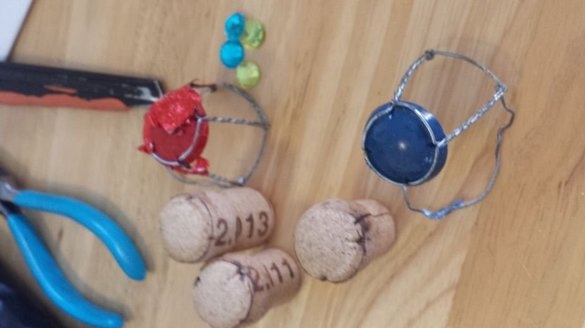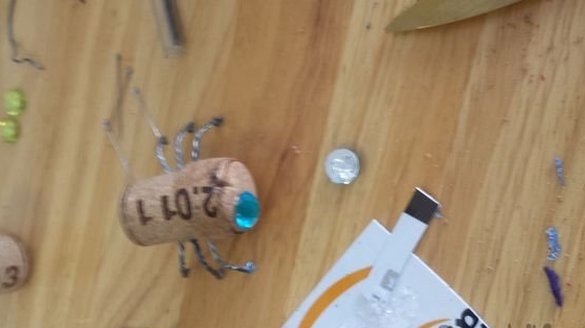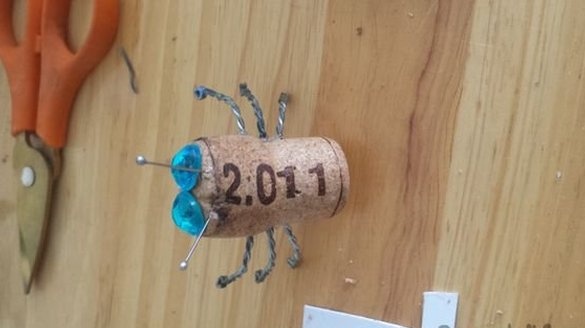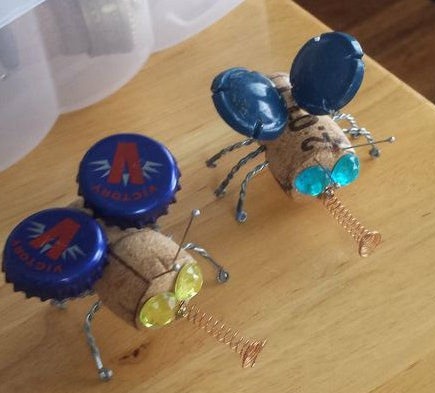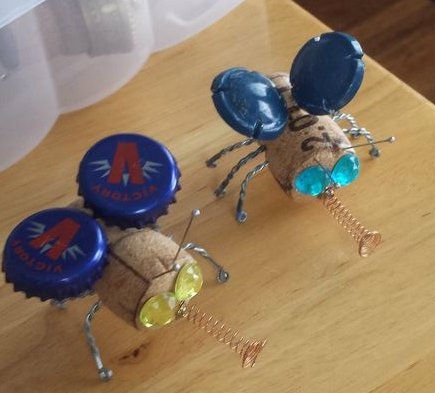
I did these gizmos for one of the contests. Like many of us, I like to drink beer. At one time, I got hooked on Belgian beer in large bottles, corked up. I’m a decent plushkin, I don’t throw anything away, so in the end I have to look for an application for my “treasures”. At first I wanted to make a chess set of these beer caps. But it took a lot of time to assemble parts for the whole set (I'm still not an alcoholic), and to do all these pawns is a pretty monotonous job. Therefore, I came up with the idea to make such figures of flying insects. And so, what happened.
I apologize for the not very good quality of the pictures, my smartphone does not always focus, as I would like.
Step 1: Materials and Tools
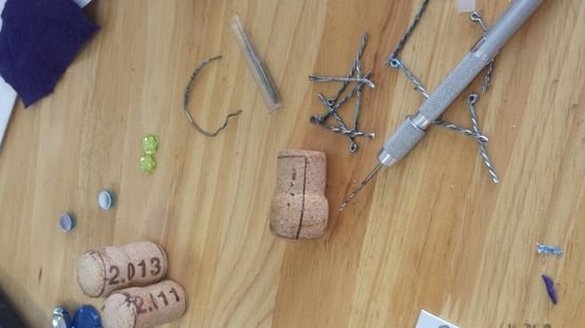
I gave a list of materials for one such flying insect. I made a couple, because drinking alone is a sign of ill health.
- 1 cork
- 2 wire cage frames
- 2 metal caps from under traffic jams
- 2 artificial beads (large rhinestones)
- 2 pins
- 1 small flange screw
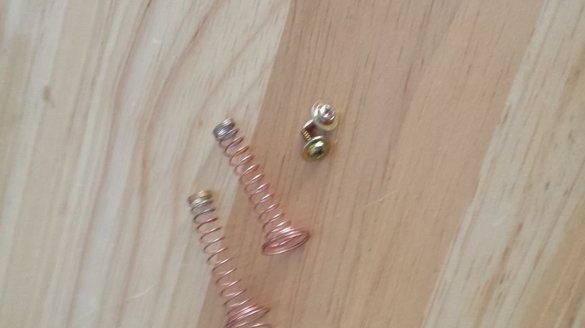
- 1 spring with extended end.
Instruments:
- Nippers with nippers
- Manual microdrills and drills
- A small screwdriver (I have size 0)
- 2 small clips
- construction knife
- Glue (I had shoe glue)
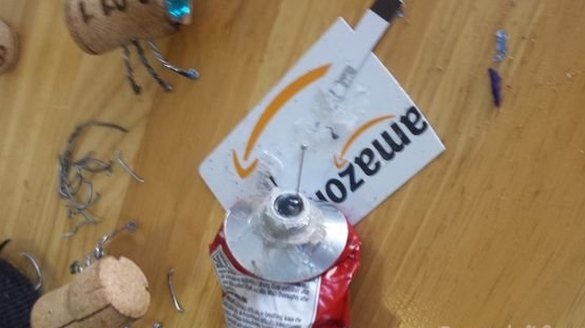
- Old postcards or other adhesive dilution material
- scissors
Step 2: Feet
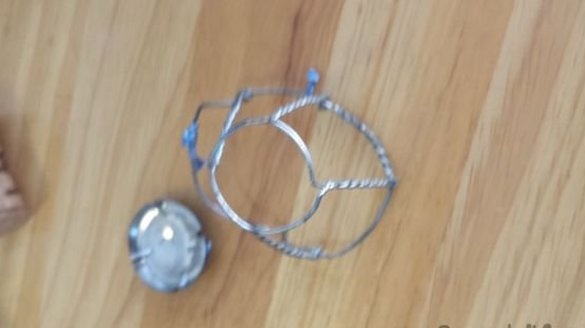
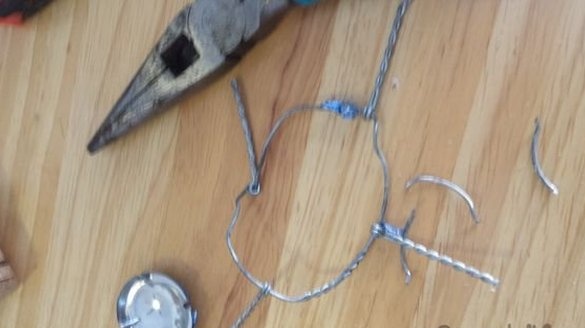
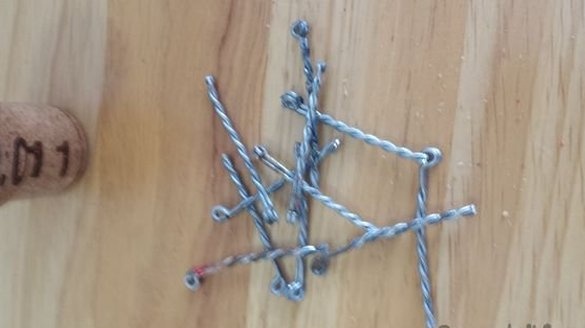
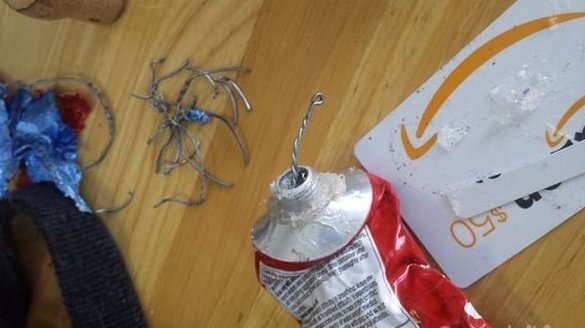
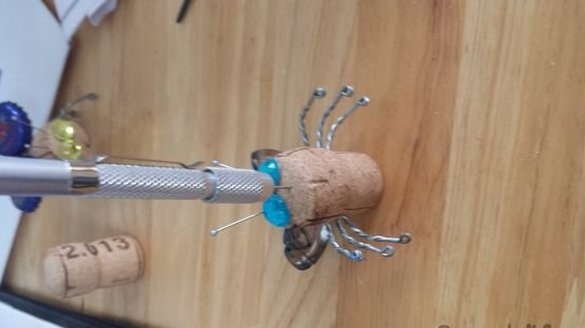
I decided to make the legs of my insects from the wire frame, which fix the cork in the bottle. I took out the metal cap from the wire ring. I cut the braided wire on the upper ring with wire-cutters and pliers, spread it to release the legs. Then I also dealt with the bottom ring, freeing the loop of the legs from the wire. I did not untwist the loops themselves, these will be the feet of my insects.
Step 3: Attaching the legs to the body
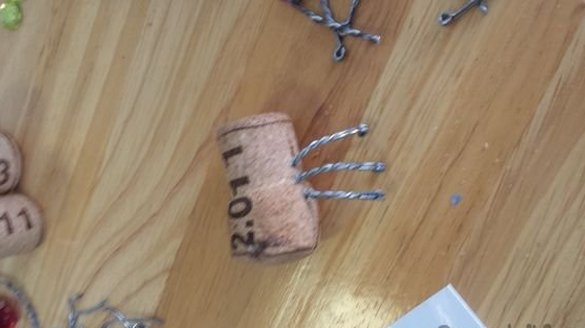
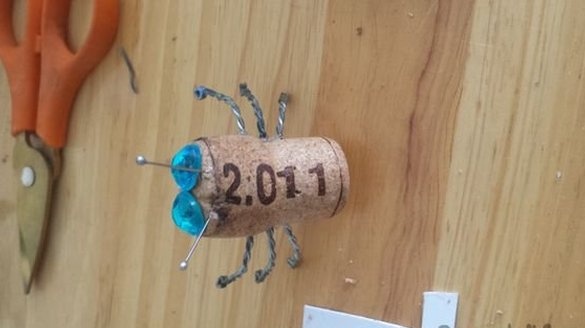
To fix the legs, use a small drill bit slightly thinner than the wire leg. Drill holes on each side of the plug. The middle hole should be drilled directly perpendicular to the cork, and the side holes should be drilled at an angle. This arrangement of the legs is more natural. He dipped the tips of the legs into the glue and screwed it into the holes in the cork.I bent the paws into their natural position before fixing in the cork, and then, when the glue dried, I straightened them in the right direction. Once the glue has dried, remove excess from the cork with a knife or scissors.
Step 4: The senses
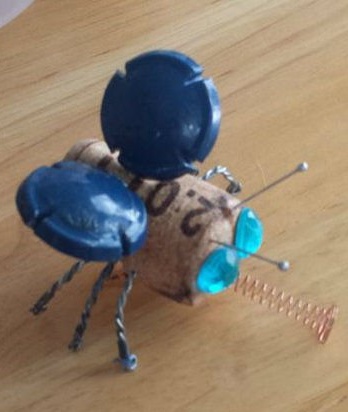
In this step we will make the eyes and horns to the flies so that this bar insect can find its beer in the bar. Take two beads and stick them on the front side of the cork. I applied glue to the beads with a strip from an old postcard. Press the beads onto the upper half of the “head”. Then take two straight pins, take glue on their tips and stick them in the cork above the eyes. These will be antennas. When the glue dries, remove excess glue that has come out with a knife or scissors.
Step 5: Wings
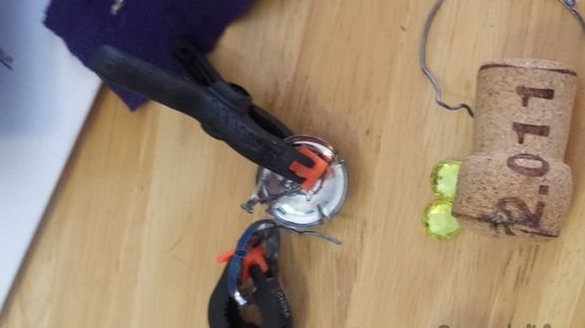
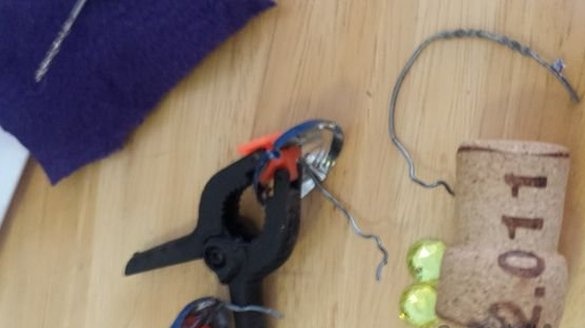
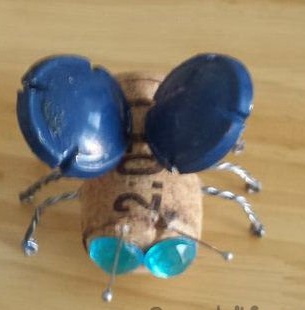
For wings, bend the remaining wire from step 2 into loops with a straight tail. Lubricate each metal cap from the cork with glue and put the wire loops into the glue. Squeeze with a clamp until the glue dries.
With a small drill (slightly smaller than the diameter of the wire), drill holes in the cork for the wings on the top of the cork at the back.
When the wings are dry, cut off the excess wire tail, cover it with glue and insert it into the drilled holes.
Step 6: Where is the fly without a long trunk
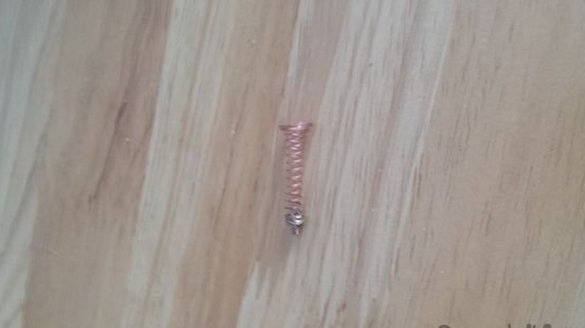
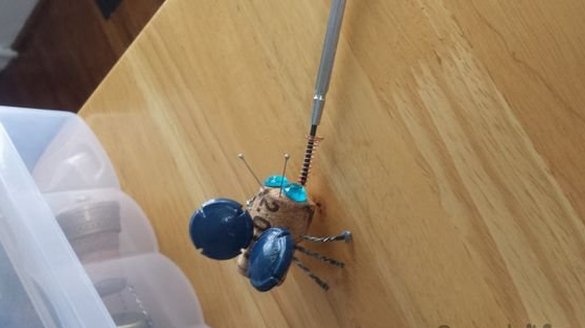
It remains to make these drunken flies long trunks so that they can drink. Take the spring with the wide end and insert the screw into the narrow end. With a small drill bit (slightly narrower than the diameter of the screw thread), drill a hole between the eyes. Then install the spring by simply screwing the screw into the cork. The bar fly is ready to fly.
Follow the same steps for your own flock of little "drinking buddies."

