
In the past, my propeller aircraft models always ended their flight with an abrupt steep peak. The design described here solves this problem with a lightweight skid gear that acts like a landing gear. This protection is only suitable if you launch the aircraft outdoors or in a large, spacious room.
Lesson plan:
Difficulty: 3.5 / 5
Preparation: 2/5
Build: 1/5
Cleaning: 1/5
Preparatory work:
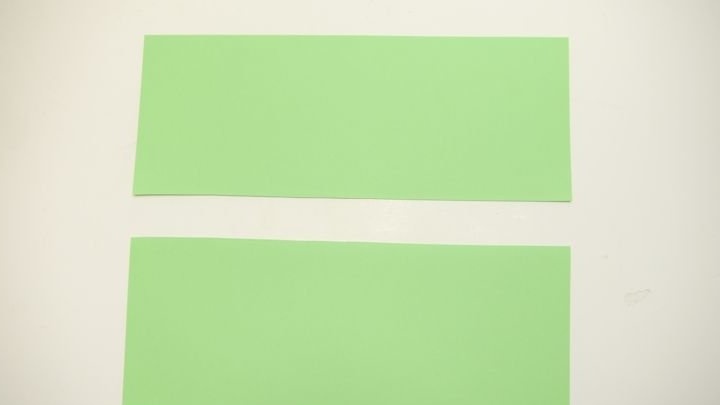
Fold and cut the cardboard sheets in half along.
Tell your students that they will craft a plane that can take off from the ground or off the table, fly at least 5 meters and land smoothly. Since this is a fairly simple project, I advise at least partially to do model together with students, demonstrating to them the main points of the assembly in the process. There are many steps in this master class, so try to deviate less from the plan. The main work is described in steps 2-6.
The purpose of the study:
During the oral lecture, students will learn four basic concepts in aviation: lift, axial pressure, stability and weight.
During the testing of their own aircraft and analysis of the results, students will be able to discuss possible shortcomings and ways to address them with the teacher. Students will be able to change their models and repeat the process again.
As soon as the students succeed in making beautifully soaring models of a propeller-driven aircraft, they will be able to complicate the flight patterns by performing turns or loops.
Step 1: Materials
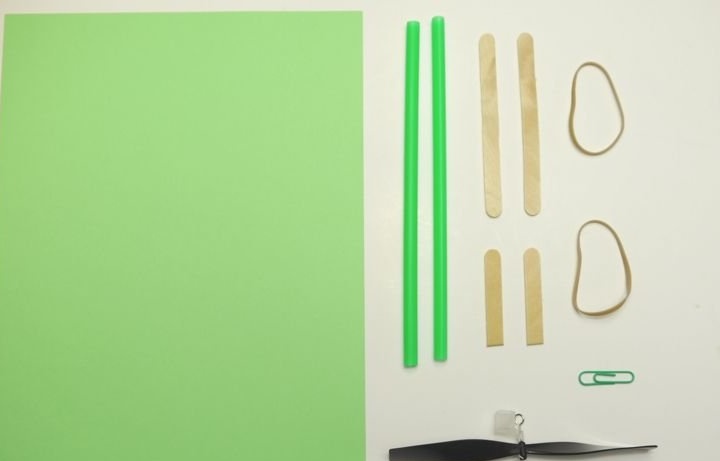
- 2 sticks
- 2 half sticks
- 2 tubules for drinks
- 2 thin elastic bands
- 1 sheet of cardboard
- 1 paper clip
- 1 propeller
- duct tape
- Pencils or felt-tip pens for coloring
Propellers can be bought on the Internet.
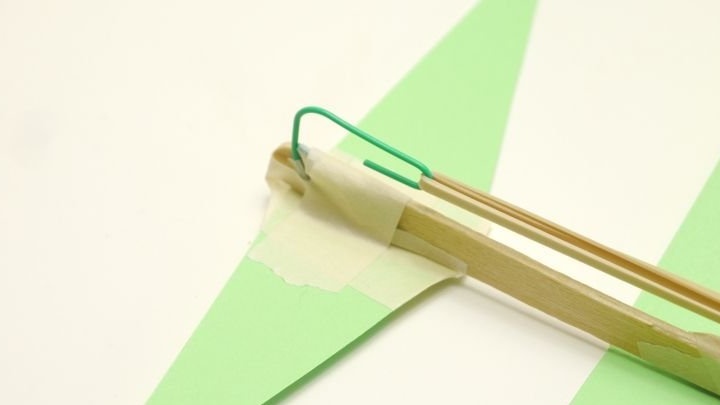
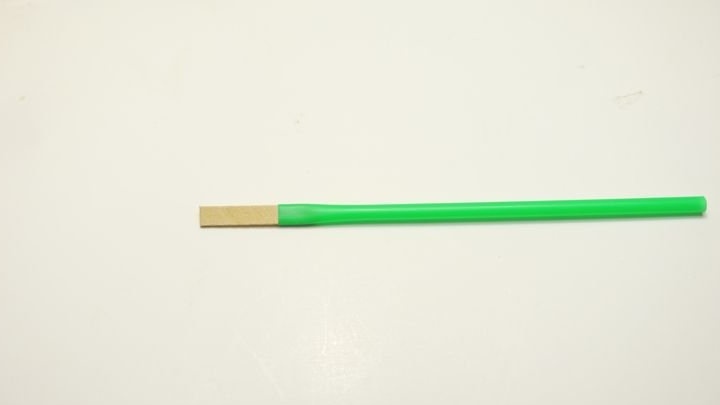
Step 2: screw shaft

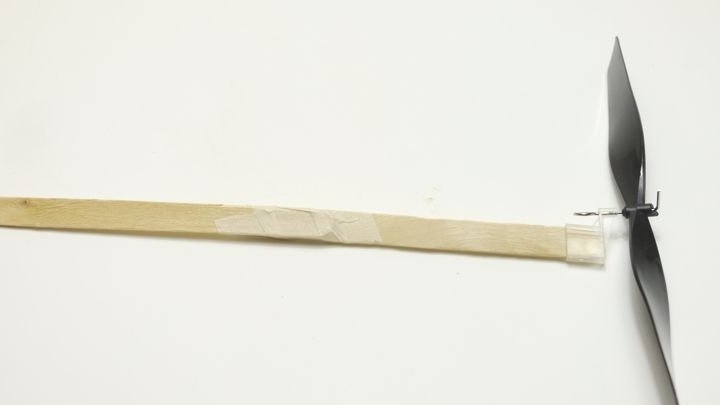
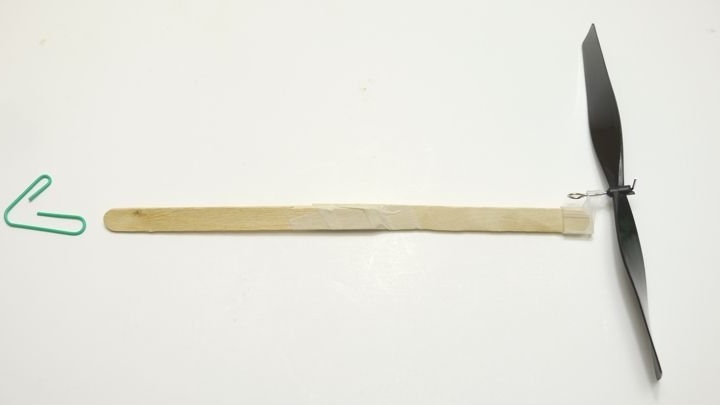
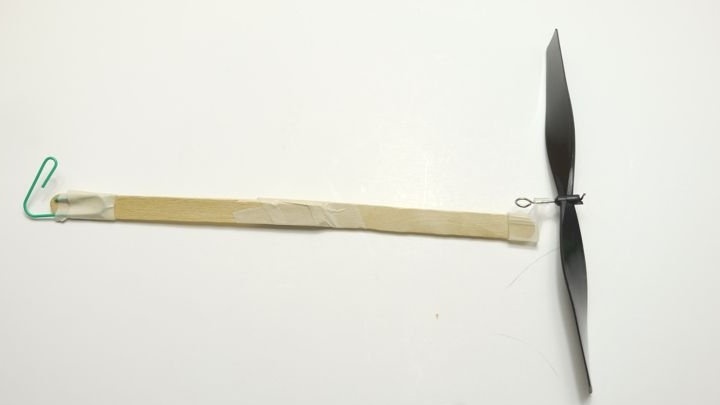
Explain to students the important aspects of construction along the way, giving them a direct example of their own work. The shaft of the screw simply supports and stretches the elastic bands, which will be used as an energy source. Fasten the paper clip tightly with duct tape!
Once fasten the rubber bands, the propeller shaft will be the axial force of the aircraft. In essence, this is what drives the plane forward. Imagine you are sitting in a chair with wheels. If you push your feet off the wall, you will ride in a chair in the opposite direction. The same thing happens here. By rotating, the propeller drives air toward the aircraft and pushes the air toward the rear end of the aircraft.Pushing the air backward, the propeller creates a backlash, as a result of which the aircraft moves forward.
Step 3: wings, tail and stabilizer
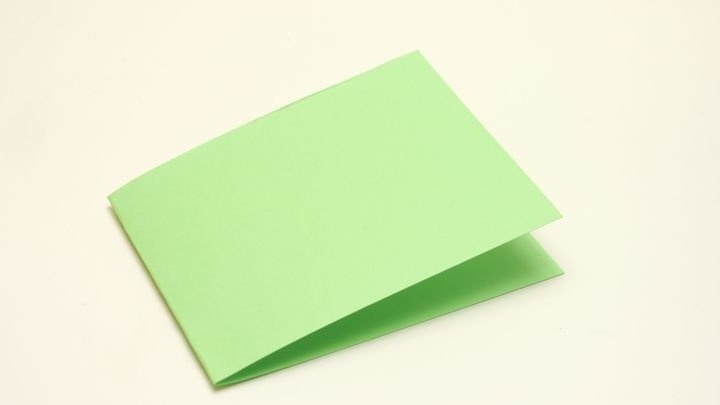
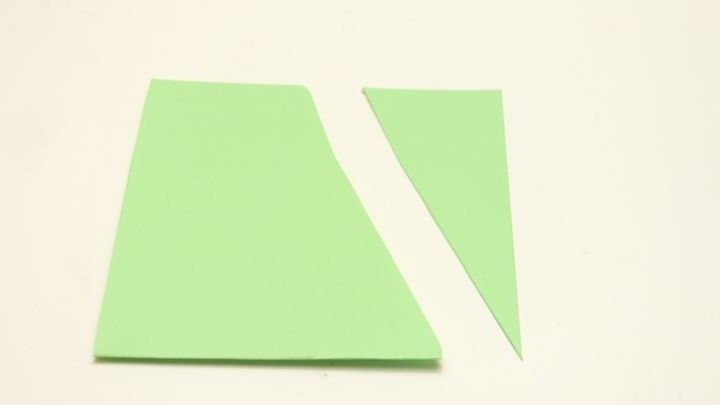
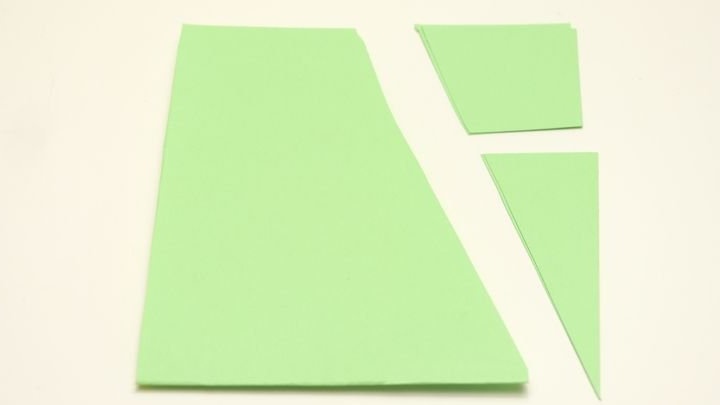
The most important thing an airplane needs to fly is to climb. Ascent occurs when air presses on the underside of the wings. The larger the wings, the greater the rise will occur. The paper is folded in half and cut at an angle, because we want the wings to be larger in the middle of the plane, where it is the heaviest. If you make the wings rectangular, the plane can rise too high on one side of the wing, which ultimately leads to an accident.
Fold the remaining piece of paper in half and cut it. These pieces can be used for tail and stabilizer.
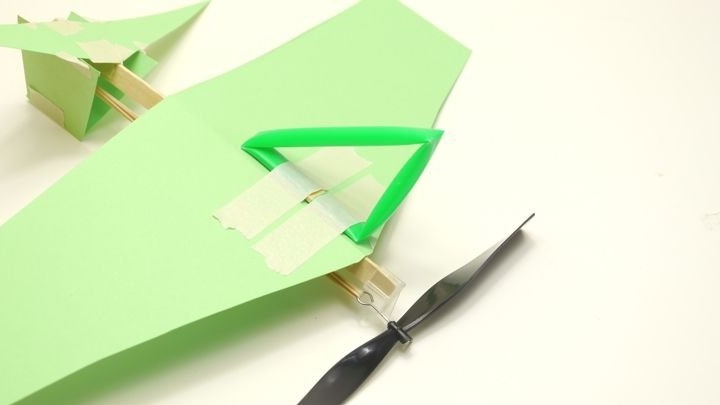
Step 4: Attaching the Wings, Tail and Stabilizer
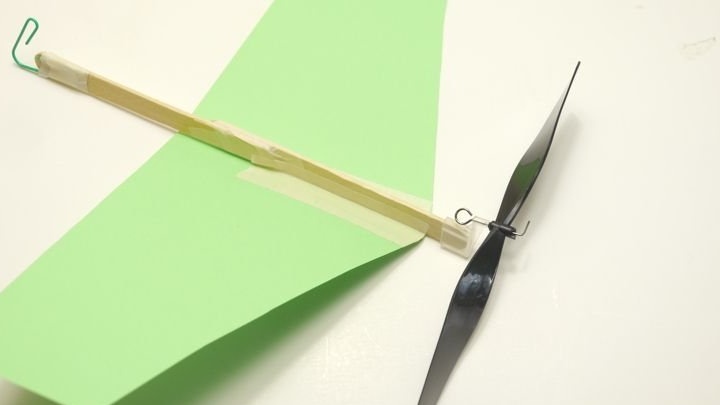
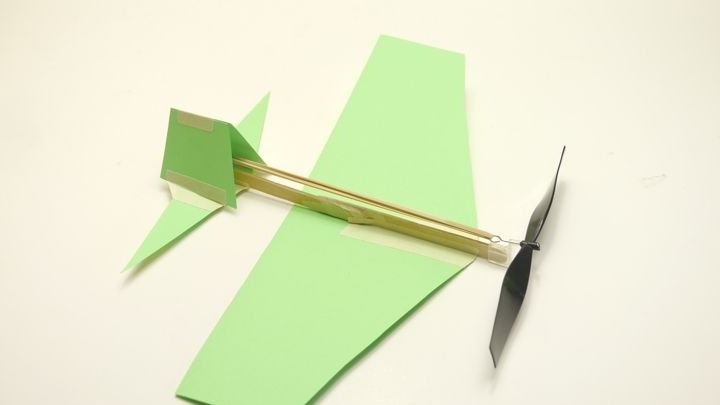
Use long pieces of duct tape along the entire shaft to firmly adhere the wings.
Glue the two triangular pieces together as a tail. The tail glues to the shaft in the same way as the wings.
The stabilizer halves are glued to the tail, then the two halves are glued together in the middle.
The tail keeps the rear of the aircraft afloat while climbing. The stabilizer is also important, because it helps the plane to maintain a steady course, without deviating anywhere and not turning over.
I like to explain the importance of the stabilizer like this: keep a sheet of paper in front of you (for example, half a cardboard sheet). Blow air on it across the edge of the sheet. You will see that the paper almost did not move. This is because air passes easily around the paper sheet because it is even and thin. Now hold the sheet of paper at one tip and blow it on it. The paper will begin to develop in different directions, bend under the pressure of air, since air cannot easily pass through the sheet. It is much easier for air to brush away a leaf from its path until it is in the same direction as the air stream.
The stabilizer works on the same principle. When the plane moves straight, air easily passes around the stabilizer. But if the airplane begins to turn, the sides of the stabilizer will withstand airflow. Air will press on the stabilizer until the plane levels out. This allows the aircraft to maintain a stable course.
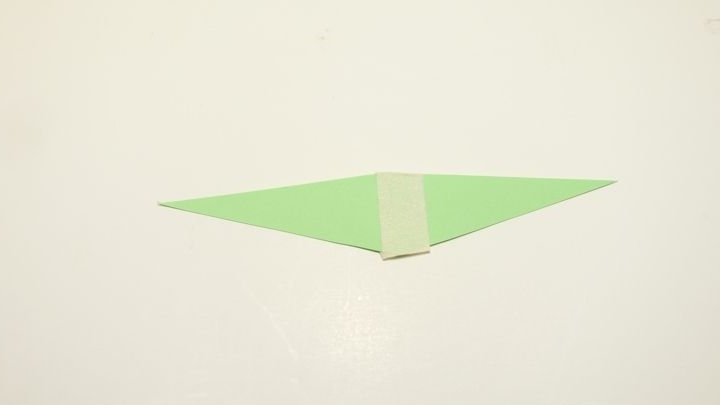
In this design, the stabilizer has a triangular shape. One flat piece of paper is too unstable as a stabilizer, the air flow will simply bend it. Before attaching the stabilizer, fix the gum on the plane.
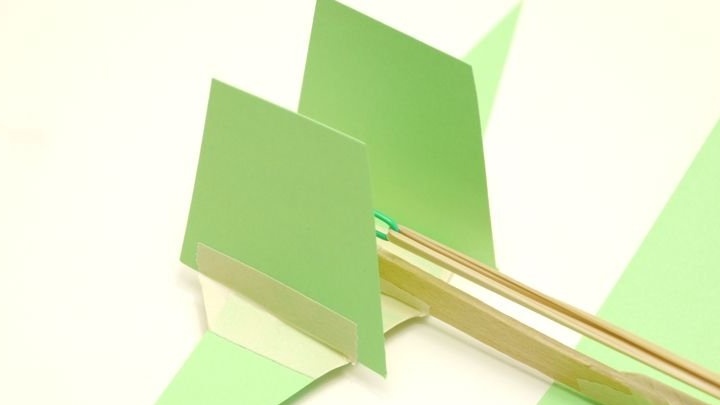
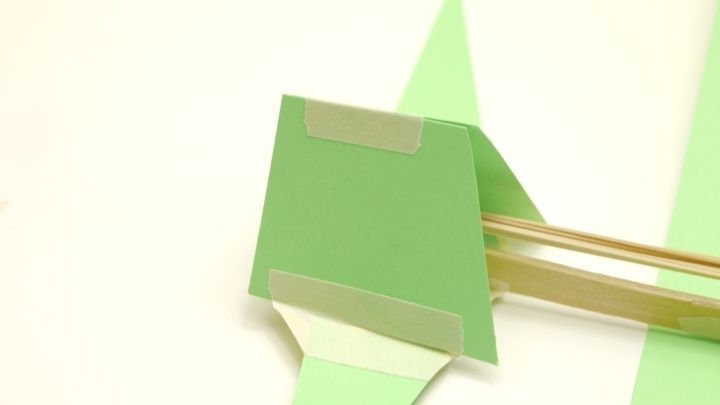
Step 5: Skid Chassis
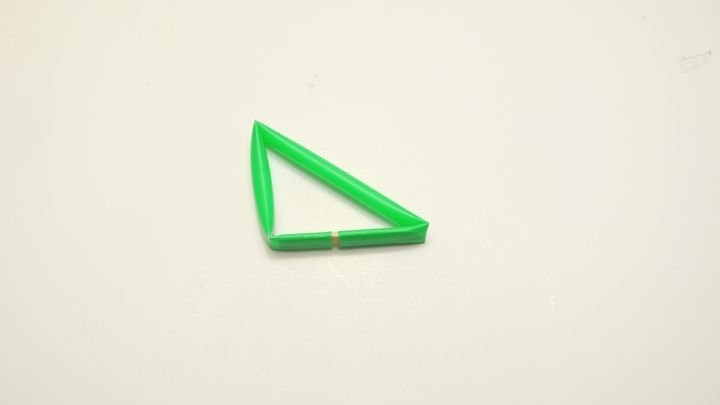

The skid gear allows you to launch the plane from a flat surface, as it raises the propeller high enough so that it does not touch the ground. In addition, such a chassis performs another important function: it adds weight to the bottom of the aircraft.
Why is it important? The answer is not immediately obvious. If you tighten the elastic bands and release to start the plane, they unwind on both sides. One edge of the gum rotates the propeller, and the other tries to deploy the rest of the plane! Of course, the plane is much harder to rotate, because it is larger and heavier, but you still feel a certain force developed by the rubber. And if there is too much such force, the plane can lean in one direction, lose stability and crash.
Weight from the landing gear, on the contrary, will add weight to the aircraft, and therefore stability. With it, the bottom of the plane is much heavier than the top, and the plane will be much better at tilting or tipping over.
Step 6: Flying!
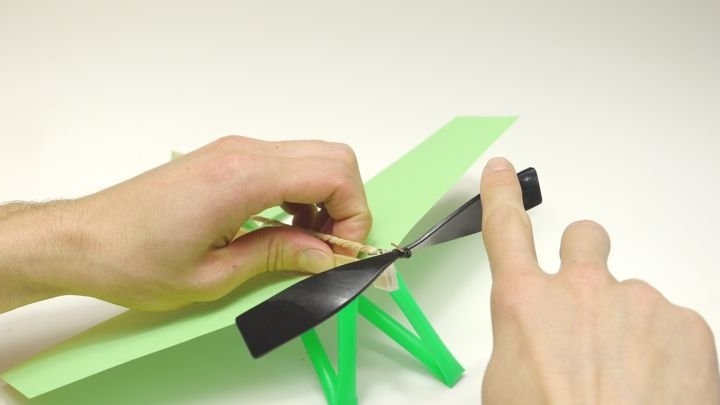
To take off, hold the shaft with your hand near the propeller. Start spinning the propeller clockwise. Make sure that the students turn the propeller away from themselves, so that the plane flies in the opposite direction from themselves. Otherwise, if you accidentally release the propeller, you can injure yourself.
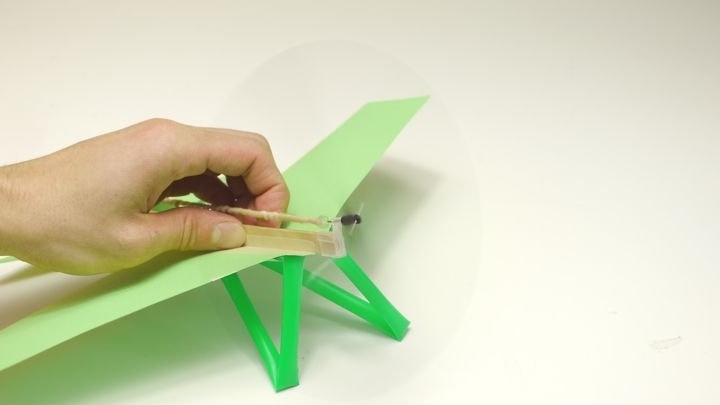
Experiment with different amounts of energy and find the ideal number of revolutions of the propeller to achieve the desired distance and flight quality.
To launch the aircraft, place it on a flat surface so that the propeller is facing away from you. Gently but firmly hold the shaft with one hand and the propeller with the other. First release the propeller, then after a split second the shaft. Time plays a role, and it will take a little practice. The time between releasing the propeller and the propeller is approximately equal to the duration, if we say “Tick-tock”. In this way, it is convenient for students to explain this point. While saying “tick”, you need to release the propeller, and when you say “so” - you need to release the shaft.
Having mastered the basic technique of flight, students can begin to experiment with various effects, such as loops, turns or barrels!
Step 7: Security, Tips, and Troubleshooting
This project can be dangerous for two reasons! 1. The propeller can rotate very quickly and leave cuts on the skin. 2. The propeller may become tangled in long hair. Make sure that students carefully and carefully handle the propellers. For flights, choose only a large, open area so that the plane does not encounter obstacles in front of itself and around.