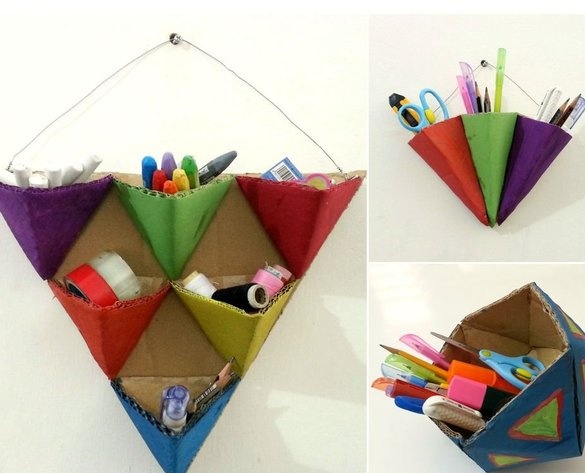
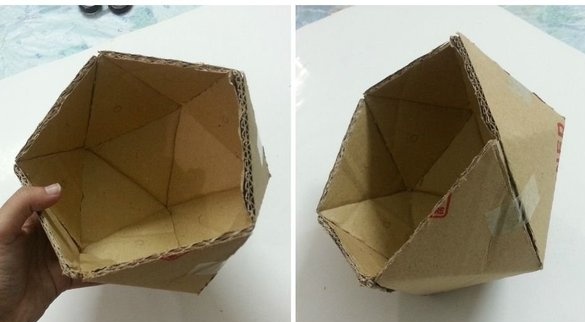
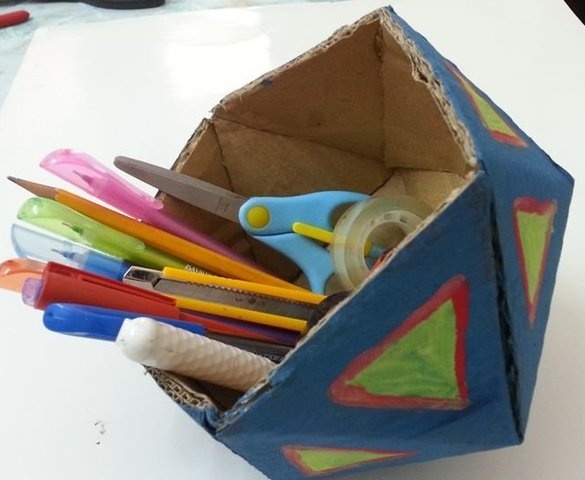
Cardboard pencils are not a new idea, but I have collected a lot of cardboard boxes that needed to be used. I really like triangular shapes in design, and my pencil boxes also consist of triangular modules that combine in different ways.
And although in practice they are not as convenient as it seemed to me, anyway this is a very useful thing in the household for storing trifles (finally, I have one!).
This is how I made this cardboard pencil box.
Step 1: Materials
For such cardboard pencil boxes you will need:
1) Cardboard (well, that’s understandable!)
2) Scissors and a knife with a retractable blade
3) Glue (hot glue or superglue),
4) Ruler and pencil,
5) Paint and brush.
Step 2: Templates
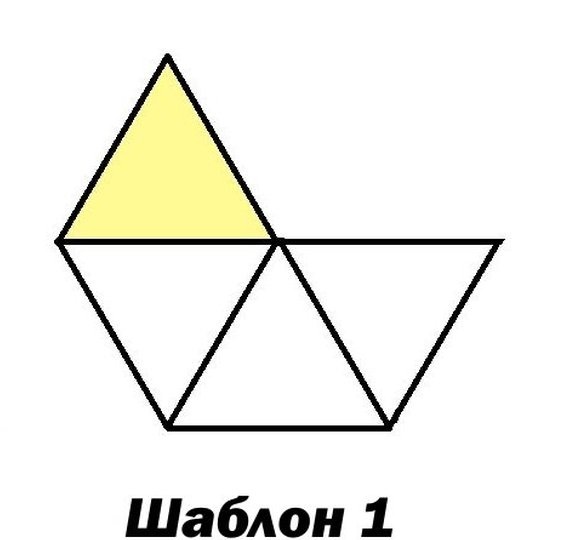
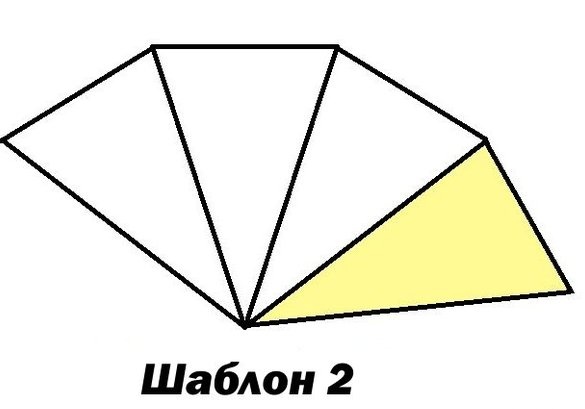
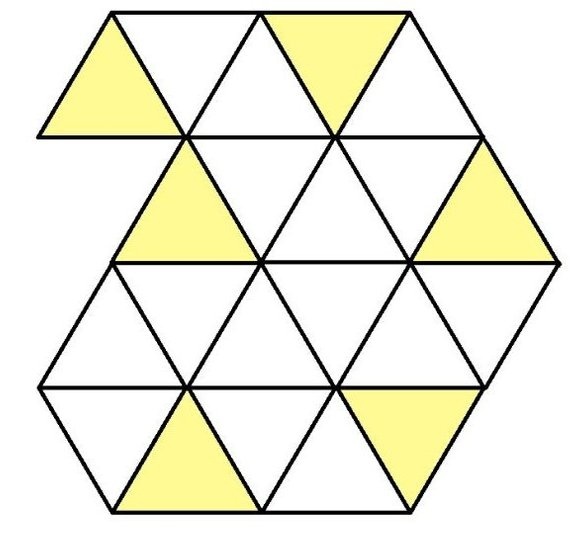
As you can see, I made 3 different pencil boxes of their cardboard. All three patterns consist of triangles (I love them!).
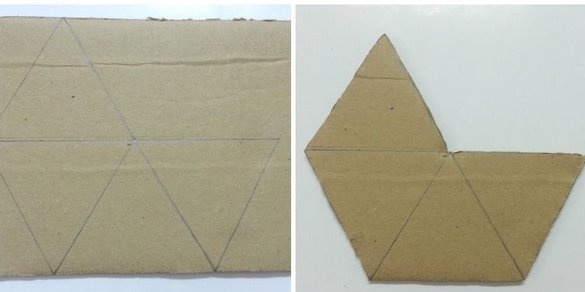
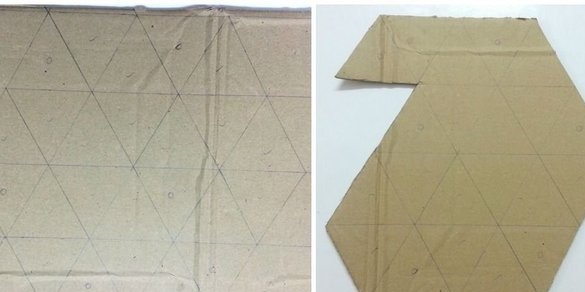
You can easily draw similar patterns with a pencil and ruler. Put a marking on a sheet of cardboard, and cut along the edges.
1 and 3 patterns consist of isosceles triangles.
Yellow triangles (in each pattern) are additional triangles. They will be bent and glued to other triangles - this must be remembered.
Step 3: Pencil Case 1
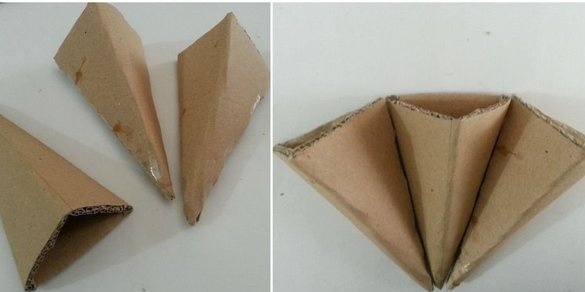
Draw template 1 on the cardboard and cut it out. Then bend the cardboard along the sides of the triangles.
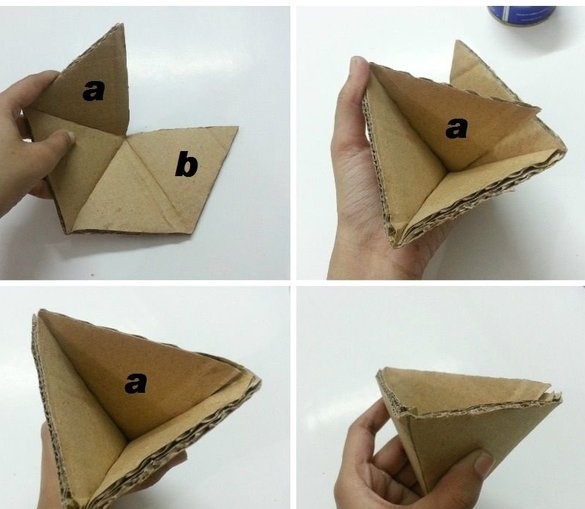
I marked 2 triangles with the letters 'a' and 'b' to make it clearer. I just pasted the triangle 'a' onto the triangle 'b'.
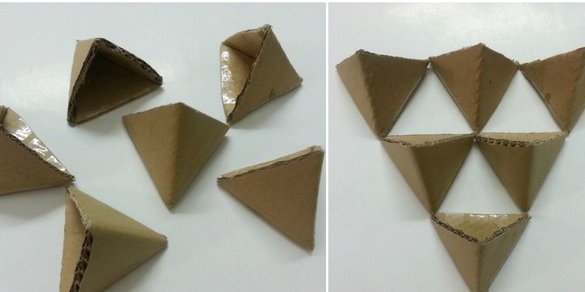
Let the glue dry, and in the meantime make 5 of the same triangular baskets of cardboard.
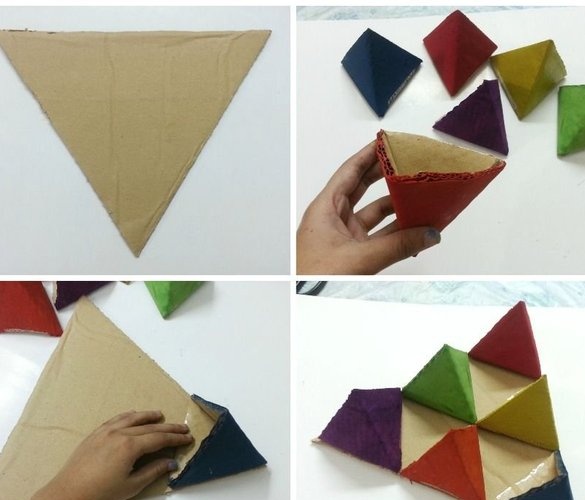
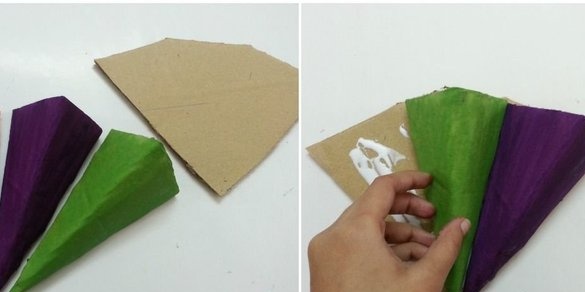
Color these baskets in different colors, otherwise the pencil box will have a dull appearance.
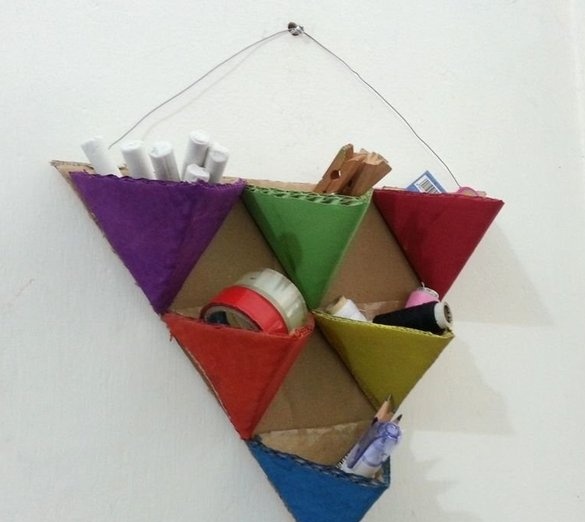
You can arrange them as you like, but I wanted to make a pencil box with sections in three rows (it turned out like an inverted pyramid), 3 baskets in the first row, 2 in the second and 1 in the third.
To do this, cut a large triangle from cardboard, and stick sections on it. Make sure that the pyramids are glued with the bottom down, otherwise nothing can be put in them.
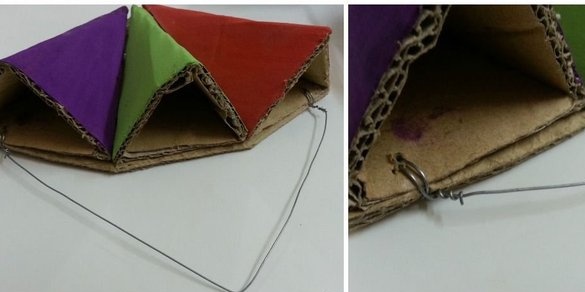
It is necessary to allow the glue to cool, and then add the fastener so that the pencil box can be hung on the wall.
Step 4: Pencil Case 2
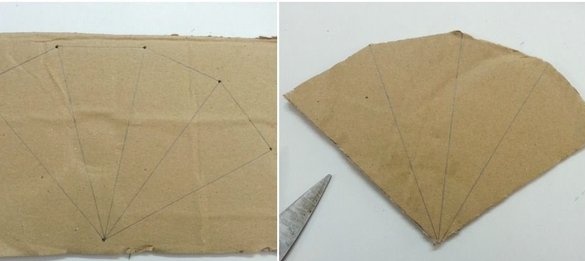
Draw template-2 on cardboard and cut the blank.
Fold the cut out pattern on the sides of the triangles. I again noted the triangles that need to be glued together with the letters 'a' and 'b', part 'a' just needs to be glued to part 'b'.
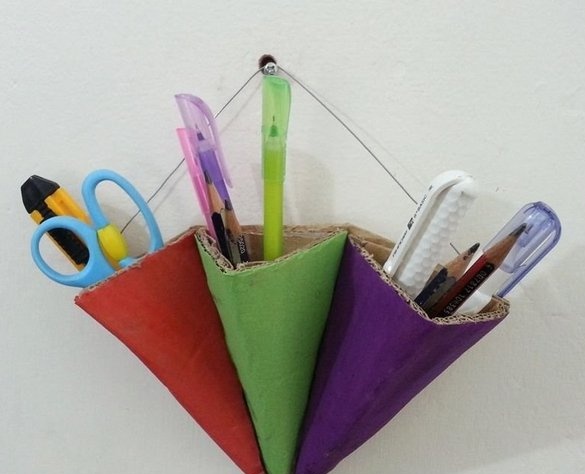
Make 2 more such blanks, or more, depending on how spacious the pencil box is. And do not forget to decorate them! Now place the triangular baskets on a piece of cardboard as you like, circle around the edges and cut out the cardboard. Then stick pencil boxes on it.
It remains to add a loop to hang on the wall.
Step 5: Pencil Case 3
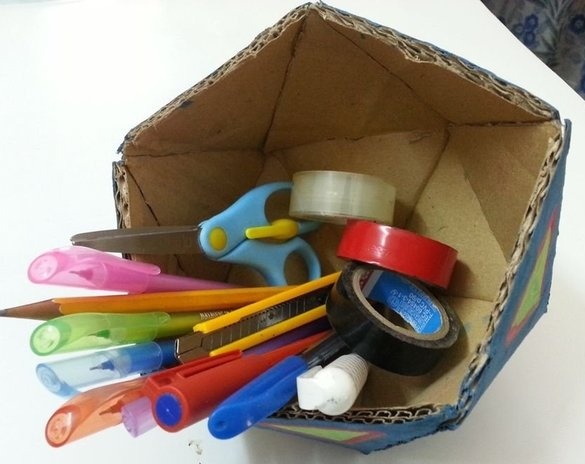
This thing is more fun than the first two! Carefully draw template-3 on a piece of cardboard and cut the workpiece. It consists of 21 equilateral triangles, 6 extra triangles that will be glued to the main ones.
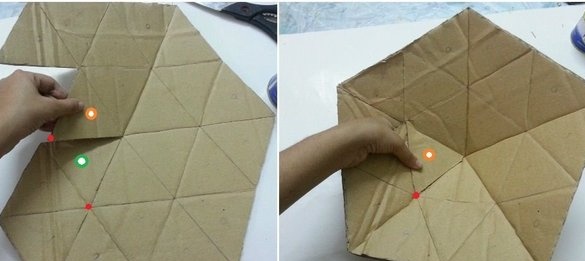
Follow the second photo in this step. I marked 2 triangles - one orange circle and the other green. Place the triangle with the orange mark on the triangle with the green so that the two red dots coincide (the corners on the two triangles).
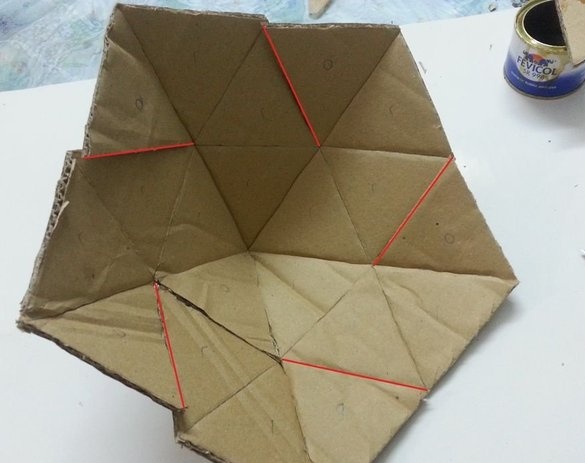
Now follow the third phot, after gluing the first two triangles you will need to cut 5 triangles on one side, I marked the cut lines in red.
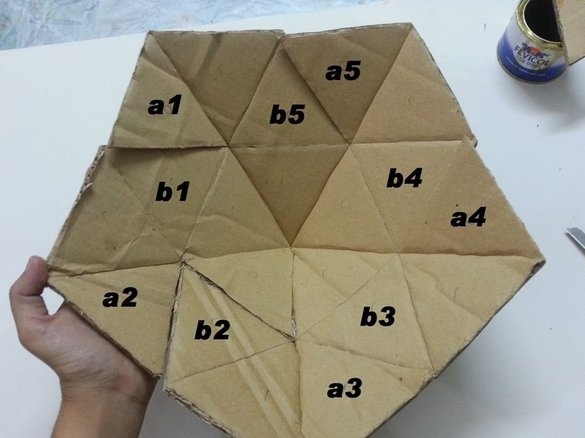
In 4 photos, I marked 10 triangles - 5 letters a1, a2, a3, a4, a5 and 5 letters b1, b2, b3, b4, b5. Each ‘a’ triangle needs to be glued over the ‘b’ triangle.
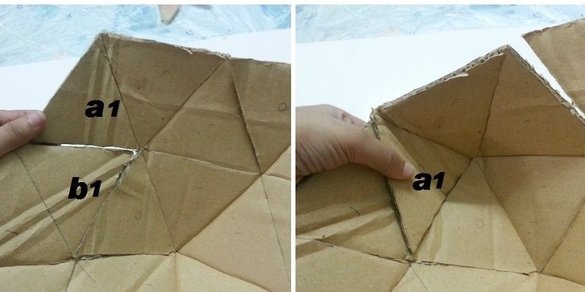
Look at the fifth photo, where I glued triangle a1 to triangle b1. Similarly, you need to do with other numbered pairs (stick a2 to b2, a3 to b3, a4 to b4 and a5 to b5).
The glue should dry, and then you can paint the baskets in other colors.
That's all! These pencil boxes are very simple. craftsThey are easy and fun to make. In addition, an artistically designed repository for small things will appear in the house!

