
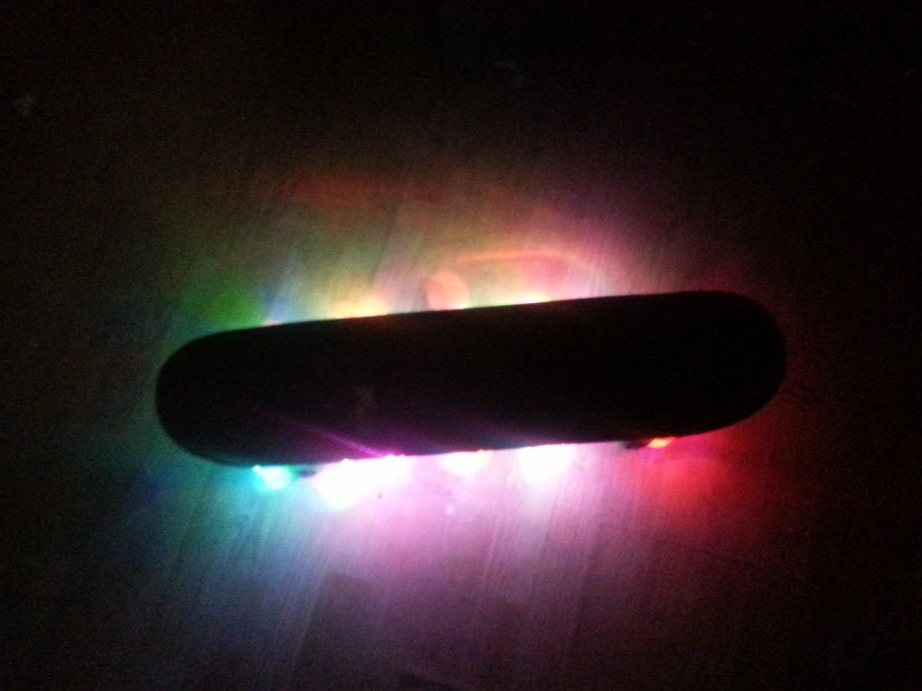
Thanks to everyone for stopping by my master class. This is my third version of the skateboard with diode illumination, and the first, for which I wrote the instructions.
With my first diode board, everything was fine. Besides the fact that a couple of cracks formed on it, and the backlight needed to be turned on, it had no drawbacks. It was cool to ride it through the streets, but its shortcomings made me think about how to improve my creation. All my attempts ended in a new LED longboard! I did not find any flaws in him, I do not know what bad can be said about him. It was a much better version than the first board. I used RGB diodes and a bit more complicated circuit. It was more complicated than the first, but in itself was not difficult.
I made the third board out of boredom. After the longboard, I thought I had quenched my hunger for glowing skateboards, but it wasn’t there! I know that boredom inspires very few people, but it seems that it still makes me stir! Out of boredom, a work of art is born! The third diode board is the most attractive in appearance, and out of all three it turned out to be the simplest and cheapest!
Step 1: Prerequisites
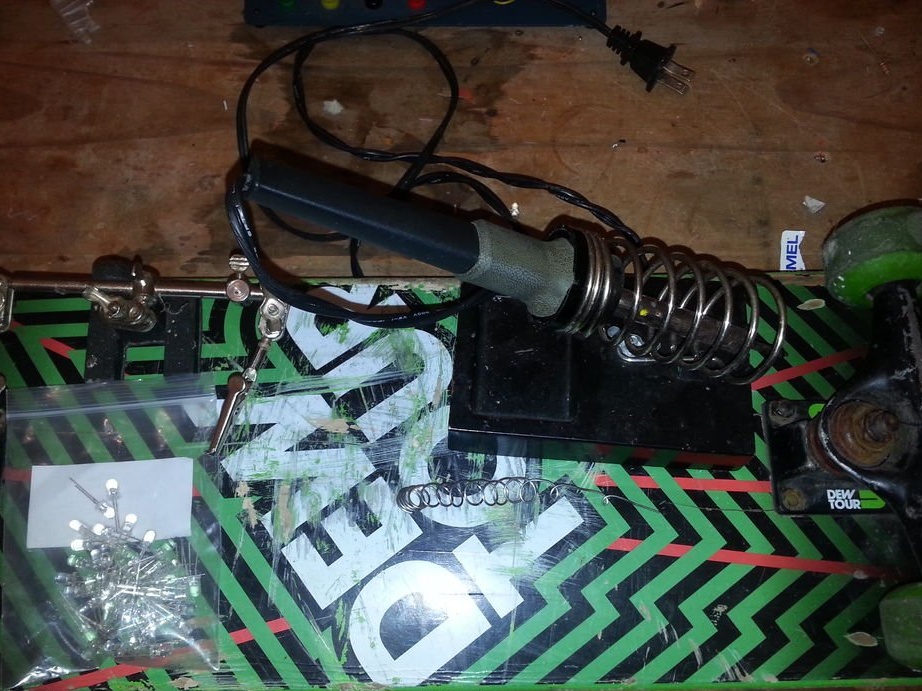
The list of spare parts needed is quite short, so you won’t have to spend a lot of money:
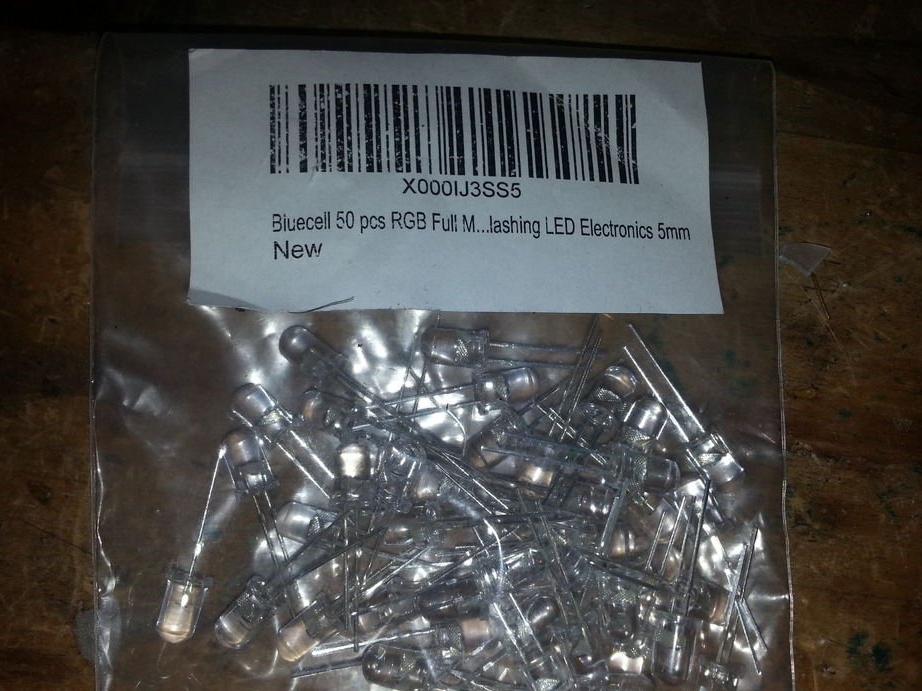
- 36 RGB diodes
- soldering iron and solder
- hot glue gun
- skateboard
- a pair of hands to help
Diodes are inexpensive. I bought 50 bulbs in a pack. You can do anything with them!
Step 2: Diodes
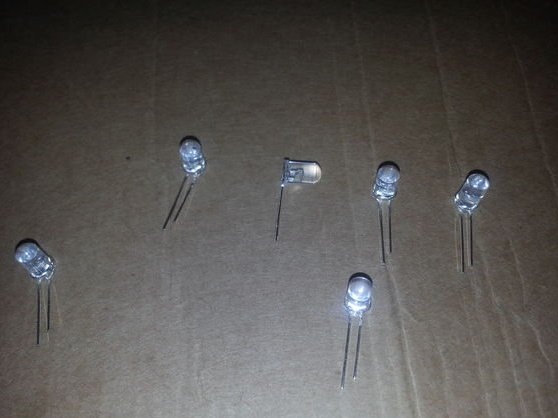
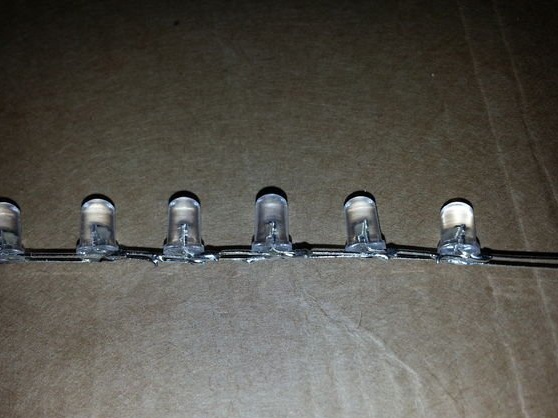
Diodes are the main characters of today's history. All diodes need to be soldered into a circuit, which seems like a very long, routine work. If you already had to solder diodes without a board, you probably had to connect them with a bunch of wires. I also had to suffer like that! : / Until I found a much more convenient way to connect any number of diodes in parallel without any wires! You just need to bend the contacts of the diodes and solder them in parallel with each other. When I first saw this method, I thought, “Wow, how have I never thought of this before?” On one side of the board, 18 diodes fit, and 18 on the second.We will solder two sets of 6 bulbs and three of 2. We can solder all together, but then the light effect will not be very good, because the bulbs will be focused in one place. If you divide them into groups, the result will be more successful!
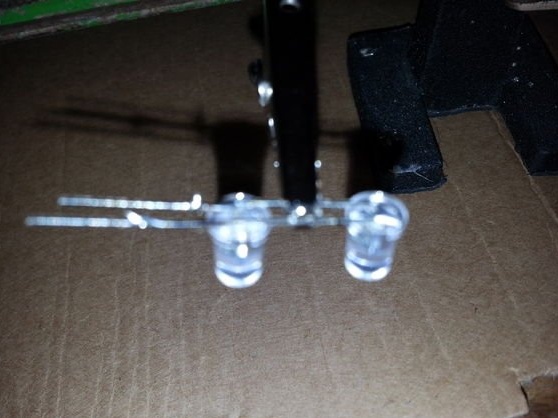
1. Take 18 bulbs and bend the contacts in one direction. See how this is done in the photo.
2. Solder two sets of 6 bulbs using the “bent contacts” method. In the photo it’s clear what’s what.
3. Solder 3 sets of 2 bulbs, also bending the contacts in one direction.
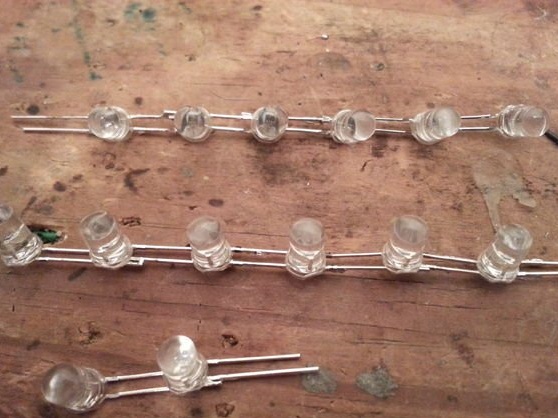
The same thing needs to be done for a set of diodes for the second side of the board.
Once done. You will have 2 soldered sets of 6 bulbs and 3 sets of 2 bulbs for each side. In total, 36 light bulbs left.
Step 3: Attaching Light Bulbs to the Board
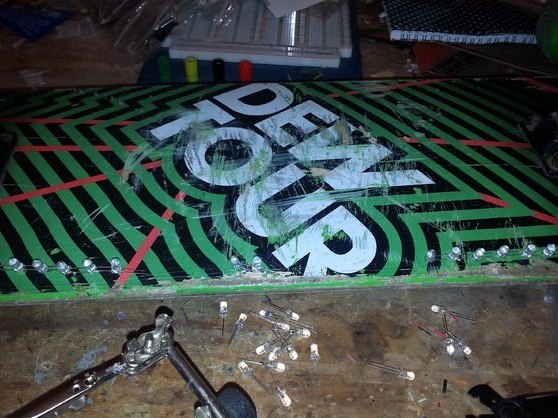
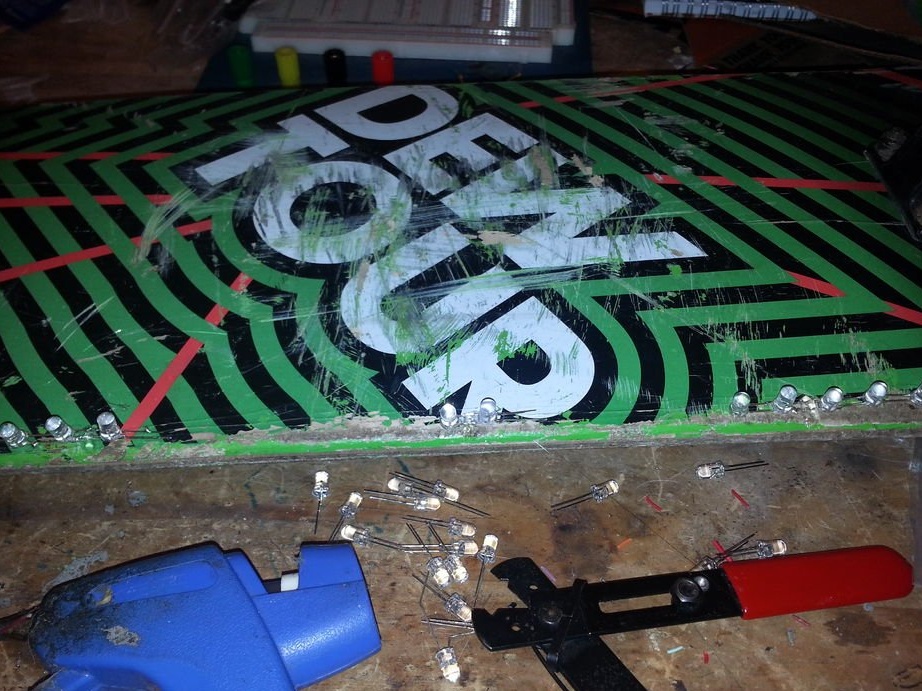

This step is very simple. It is necessary to fix the diodes on a skateboard. I decided to alternate sections of 2 and 6 diodes. Closer to the edge, I fixed the 2-diode section, then the 6-diode section, in the middle of the side side again 2-diode, then 6-diode and again 2-diode at the end. Decide on the place to stick all the sections and put them on hot glue. There is very little glue needed, because we have yet to solder the sections together.
Note *: the photo does not show 2-diode sections at the edges, but they are :)
Step 4: A little more soldering
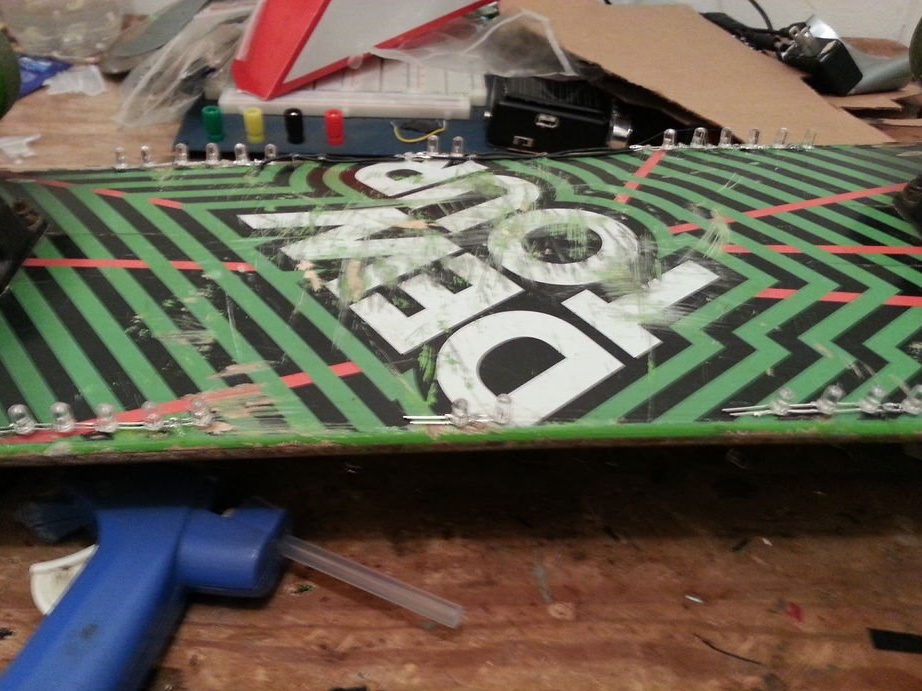
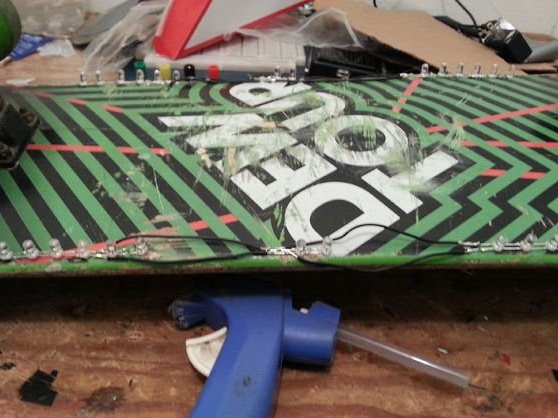

After fixing all the sections, it is time to solder them together. No wires can not do here. It is necessary to solder all sections with wires. I did not take colored wires, I used inconspicuous dark ones.
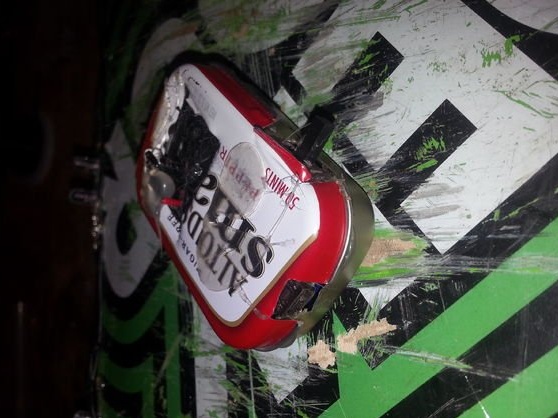
Step 5: Connecting the battery and a little more soldering
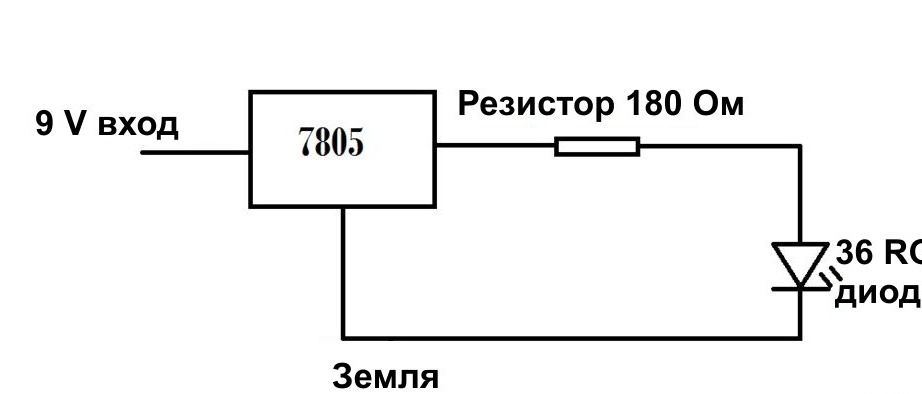

This is the last step. You need to connect a power source for the bulbs. I'm lucky here. How? At first I thought of using a 9-volt battery and some other components to connect all the bulbs. But then I found a battery that I did for the xbox controller. This is a 3.6 volt lithium polymer battery with a controller. I think at 700 mAh. You probably don't care, it's more convenient to use a regular 9-volt battery. For her, I brought the diagram in the photo. I checked it, everything works fine. A 9-volt battery requires a 5-volt regulator and a 180 ohm resistor.
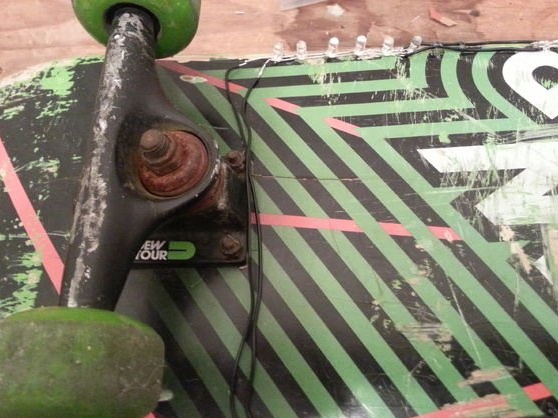
The power source must be soldered to the diodes. Do not forget about the switch. My switch was built into the battery, so it did not require additional soldering.
Step 6: Done!
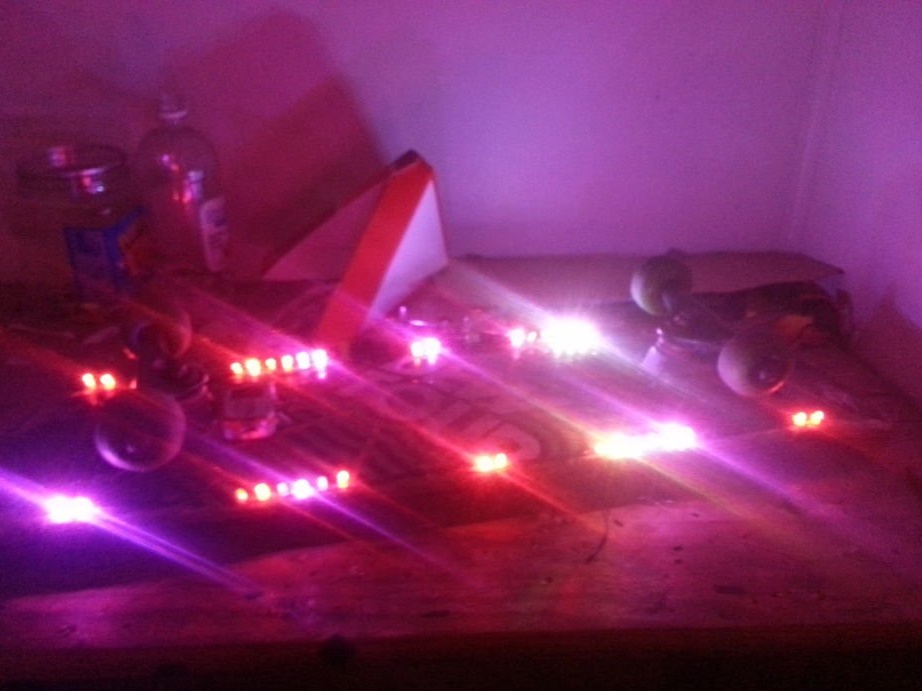
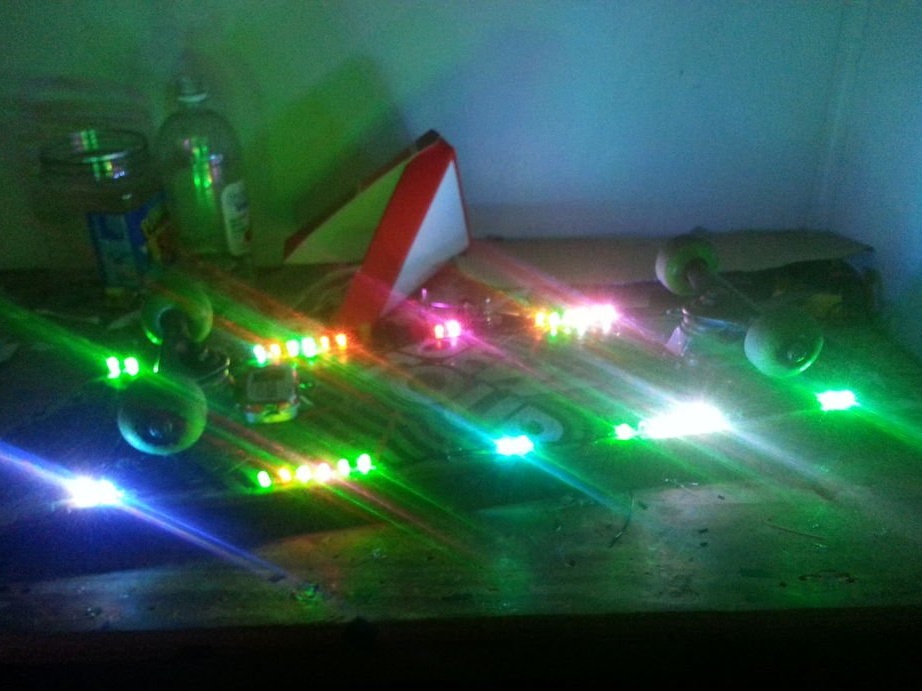
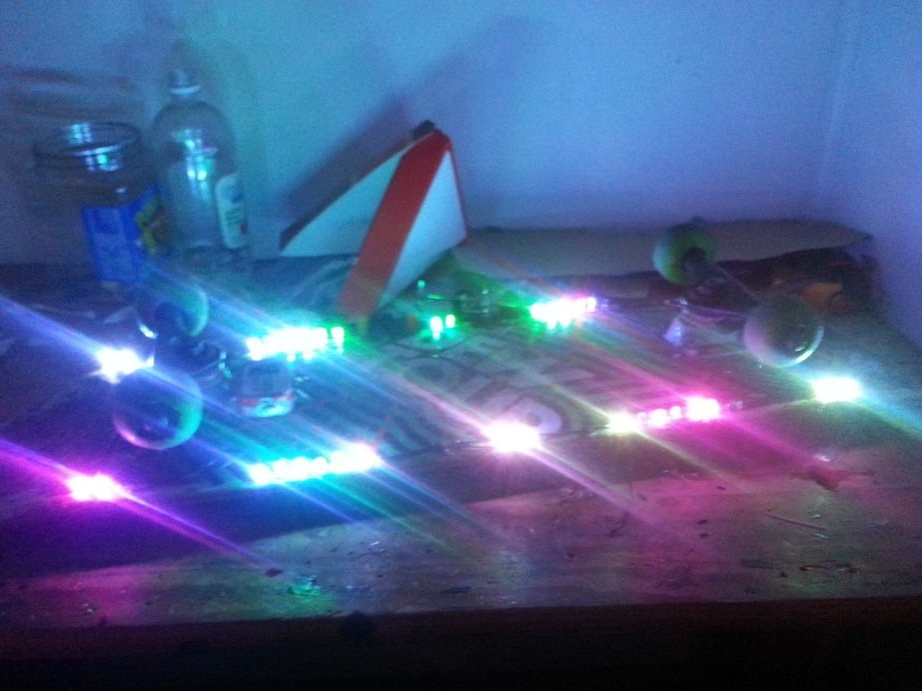
Everything, the glowing skateboard is ready. You made him do it yourself and I hope you enjoyed the result! Share your impressions, ask questions in the comments.