

Hello, dear visitors of the site!
All masters strive to quickly and efficiently perform the necessary work and they are greatly assisted in the difficult task by tools and fixtures. Auxiliary tools can greatly facilitate the work of the master and save time. This is true for all types of work including welding.
When performing welding work, it is often necessary to fix the parts before welding at the required angles. To hold the elements in this case, the welder needs an assistant, and if there is no help, then it remains to use additional tools and devices. Of course, usually in such cases, various clamps and clamps are traditionally used, which allow you to cope in some tasks, but not always. After all, the big drawback of these tools is that it is often impossible to fix the parts at certain angles and it is still necessary to freely crawl the electrode to the welding site. In addition, all clamps and clamps require time to adjust the angles and fixation, which ultimately significantly increases the cost of labor and time to complete the work.
To prevent the parts from moving, it is better to use a magnetic holder for welding, but of course in cases where the parts do not need to be attracted with great effort. A magnetic holder, or else they are called magnetic squares, can be purchased or made independently. They will be very useful in the manufacture of doors, gates, gates, barbecues and tanks, various farms, awnings, etc. where standard fixed angles are often set.
Here are the main advantages and advantages of a magnetic square for welding:
• Lets do without an assistant.
• High accuracy will allow to assemble structures without distortions of the correct geometry.
• Significant savings in time and labor, especially with large volumes.
• Welding in both horizontal and vertical planes.
• Provides free access to the electrode to the place of welding parts.
• Fixing parts in the most commonly used degrees of angles.
• Prostate to use.
Magnetic squares are not very expensive and can be found in network and online stores. But if there is no suitable option or there is no time to wait for the order, then the necessary magnetic angle for welding can be made independently.In addition, this is a very simple device and basically consists of two parallel metal plates with a round magnet located between them with the most commonly used angles of 45, 90, 135.
So to make it is not difficult.
Necessary materials for manufacturing:
- Sheet steel or plates 1.5 - 2 mm.
- magnet
- Aluminum or other non-magnetic rivets, bolts
- universal glue
- Aerosol spray can for metal
Tools and consumables used in the manufacture of:
- Bulgarian with cutting and cleaning discs
- Drill, metal drill
- Vise
- clamp
- Ruler, square
- Marker, punch
- File
So let's get started.
The process of manufacturing a magnetic square
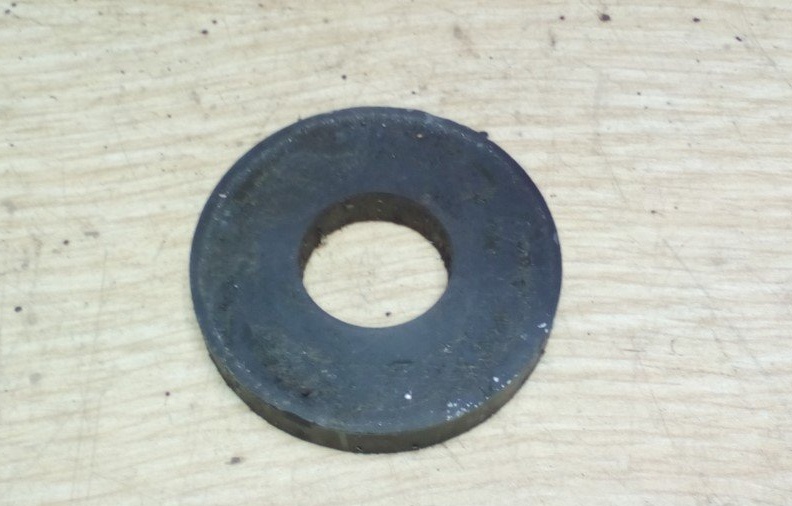
The main part is the magnet. We choose the most powerful from suitable ones. Round magnets from powerful speakers are best suited for this purpose. It must be carefully removed, separated from the speaker housing so as not to split. According to the size of the magnet used, the dimensions of the future magnetic holder will depend. Accordingly, the more you need a holder, the larger you need to pick up a magnet.
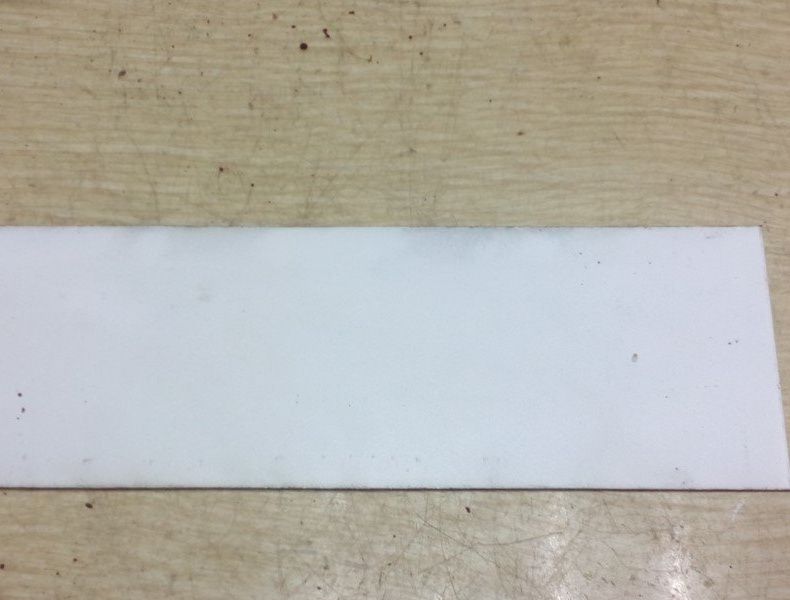
For the manufacture of a magnetic holder body, we select a strip of sheet steel 1.5 - 2 mm.
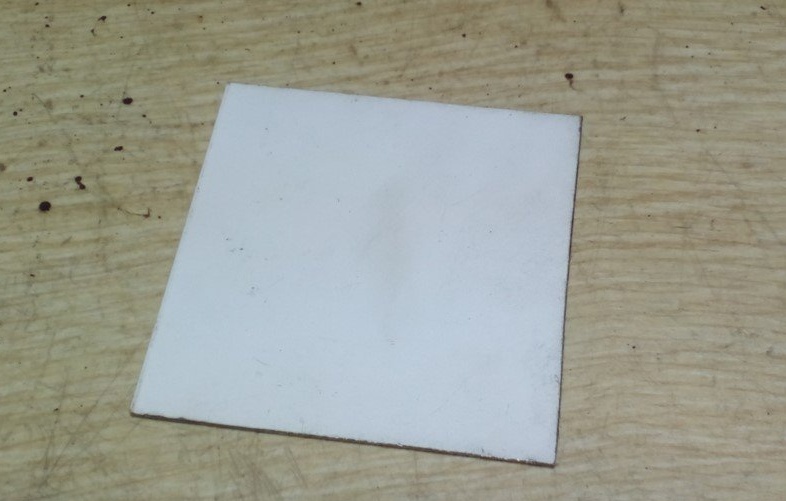
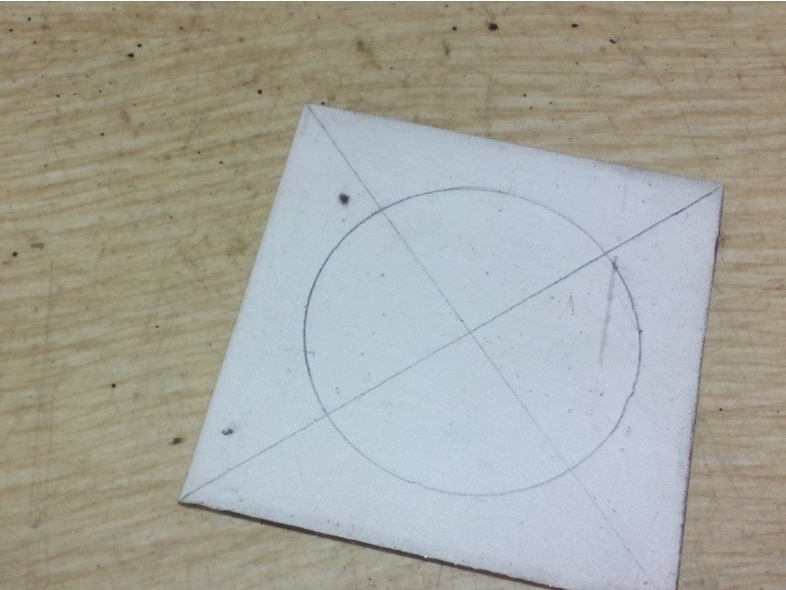
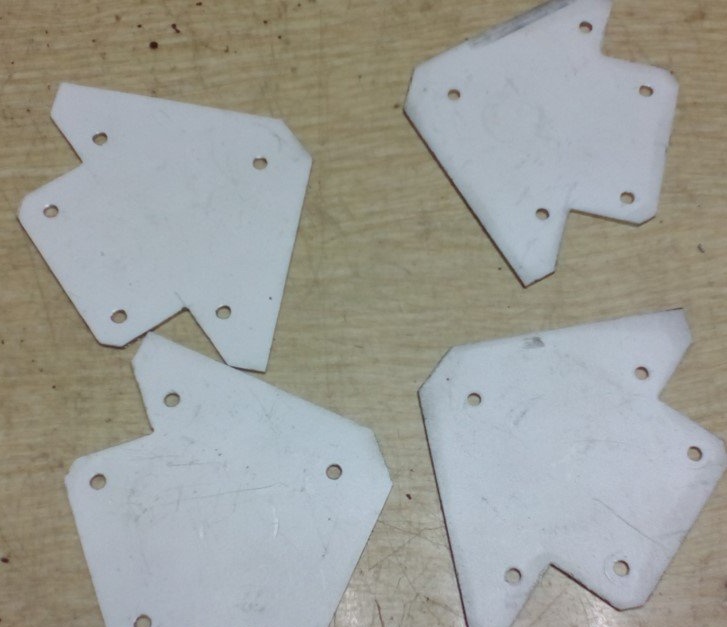
Using a square, mark an even square. After fixing the part on the workbench with a clamp, we carefully cut the workpiece using a grinder with a cutting disc. This must be done carefully and accurately, so that in the future you do not waste time adjusting with a file.
Having drawn the diagonals, we determine the center of the workpiece and fix the magnet on the part. We circle its contour and draw a contour of the holder precisely aligning all the corners. The magnet should not protrude or be flush with the boundaries of the part. It is better to indent 5-10 mm since in the future the voids will need to be closed so that they are not filled with metal chips.
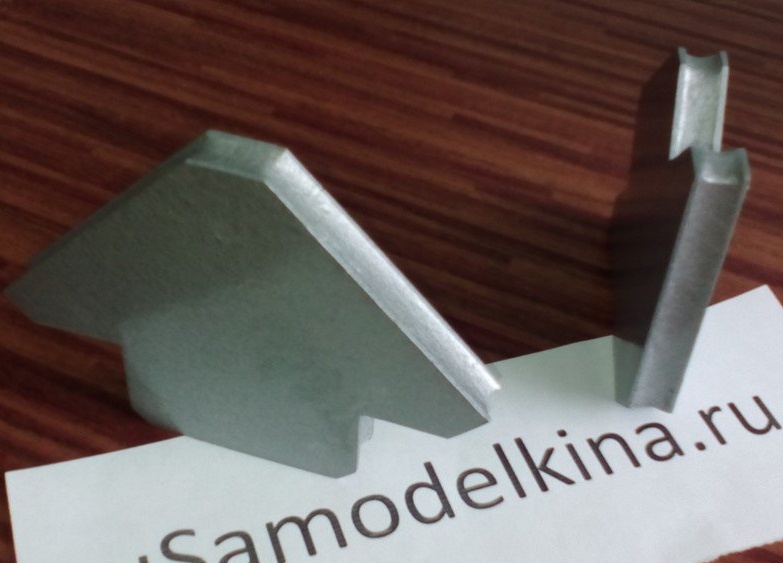
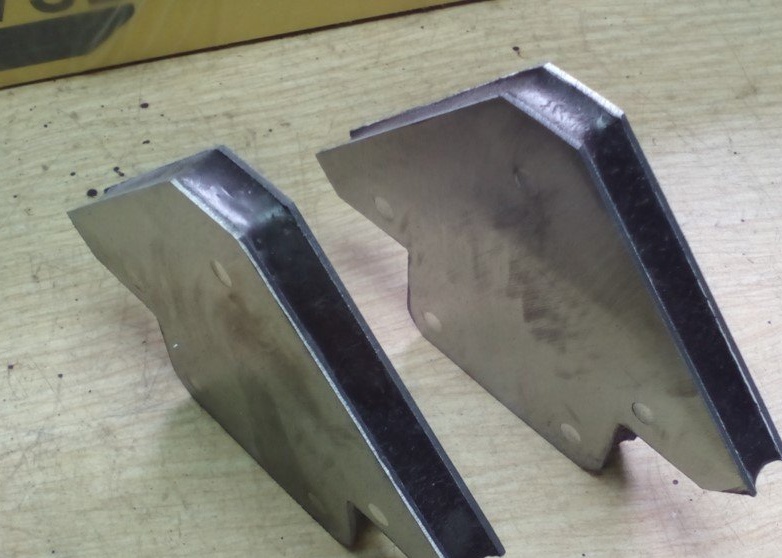
We cut out the sidewall of the magnetic square with a grinder with a cutting disc.
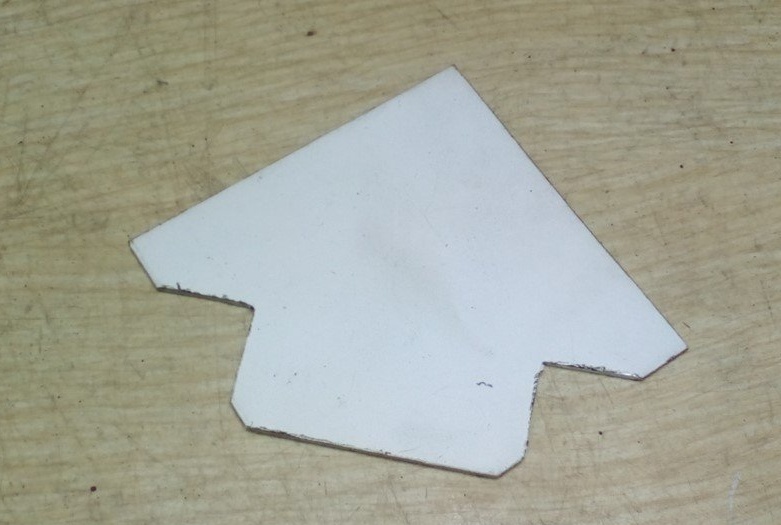
We check the dimensions and lines on the square, if there are inaccuracies, we adjust the grinder with an abrasive disk and a file.
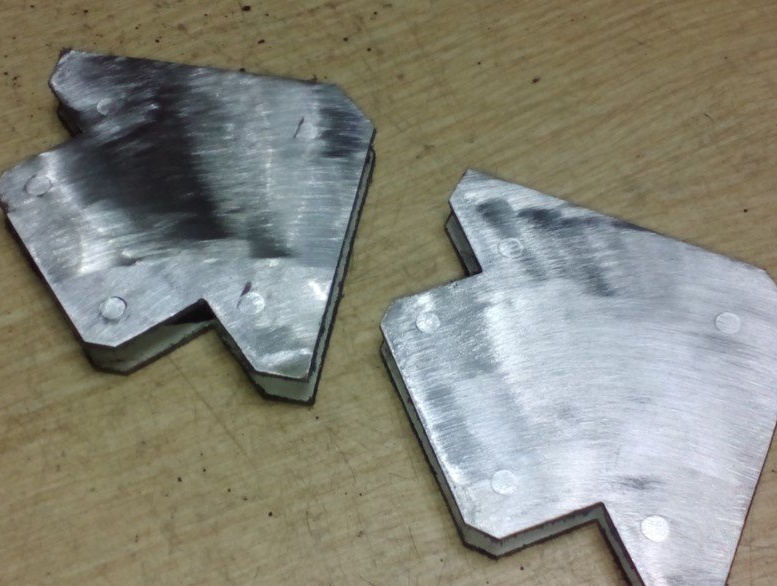
This part can now be used as a template to make the following sidewalls of the holder body.
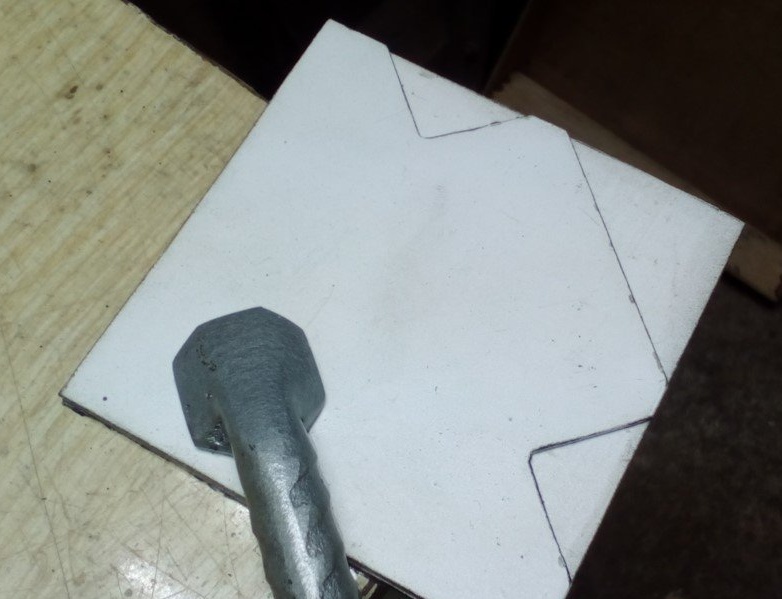
Clamping the clamp template and the workpiece outline the contours. Thus, we cut out the required number of parts.
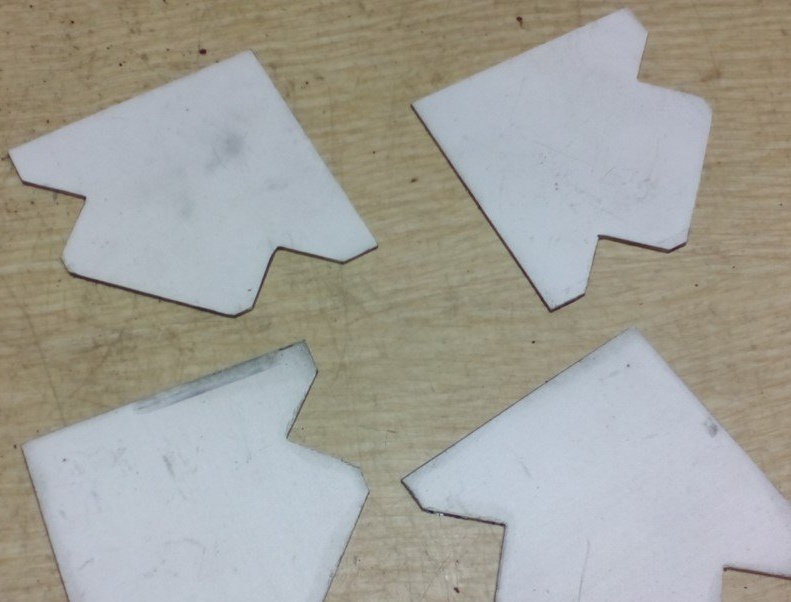
When all the sides are cut out, you can proceed to the next step.
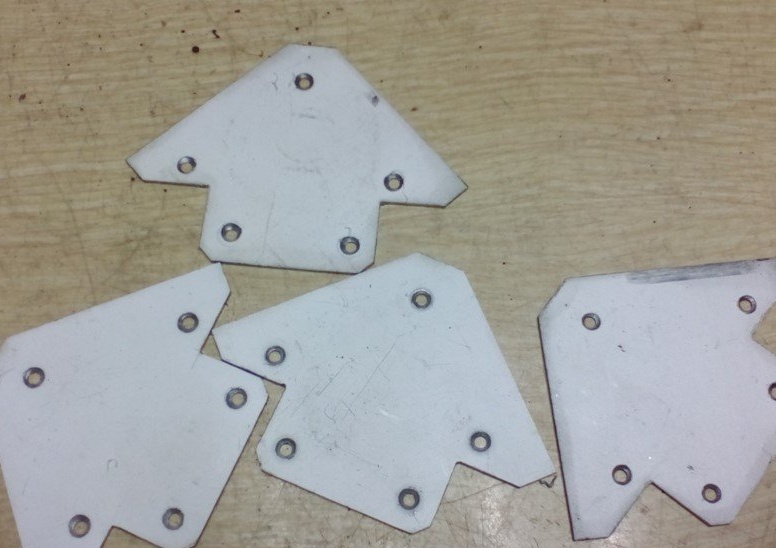
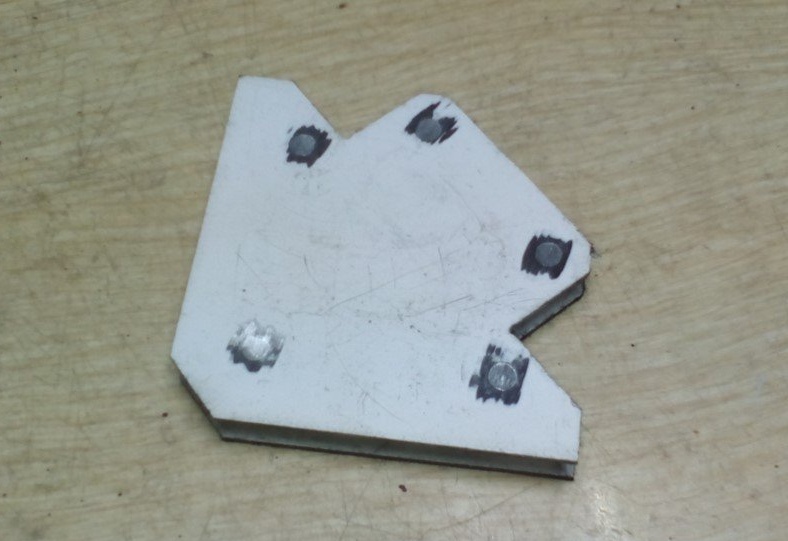
It is necessary to make holes for fastening parts to each other. Although in the future, half are glued to the magnet, but for reliability they need to be fastened with rivets or bolts. Otherwise, in the event of a fall or a sharp blow, the sidewalls may fly off. Rivets or bolts should not be magnetized, otherwise this will weaken the magnetic holder. It is better to use aluminum or brass.
As rivets, you can use aluminum wire by cutting them 4-5 mm longer than the thickness of the holder body. So that they protrude a couple of millimeters on each side for riveting.
In this case, the holes are best drilled.
Now all the details are ready. We proceed to the assembly of the magnetic holder.
Using universal glue, glue the parts to the magnet.
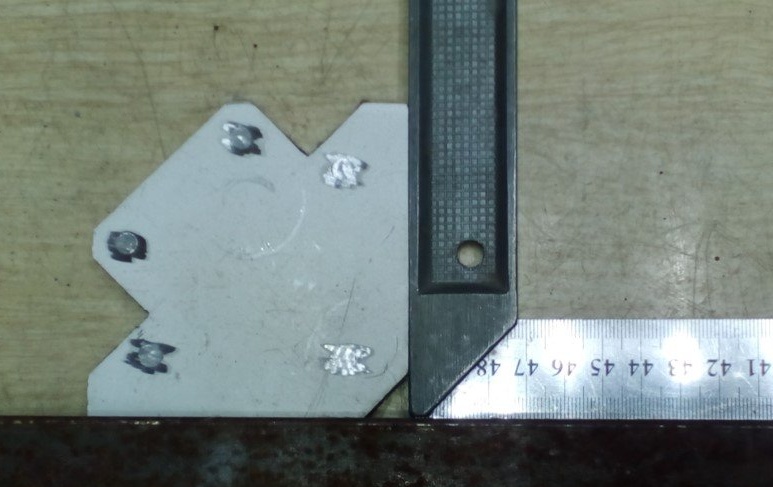
Having slightly fastened them with a clamp, we align the parallelism of parts on a flat surface using angles. We finally tighten and let the glue harden.
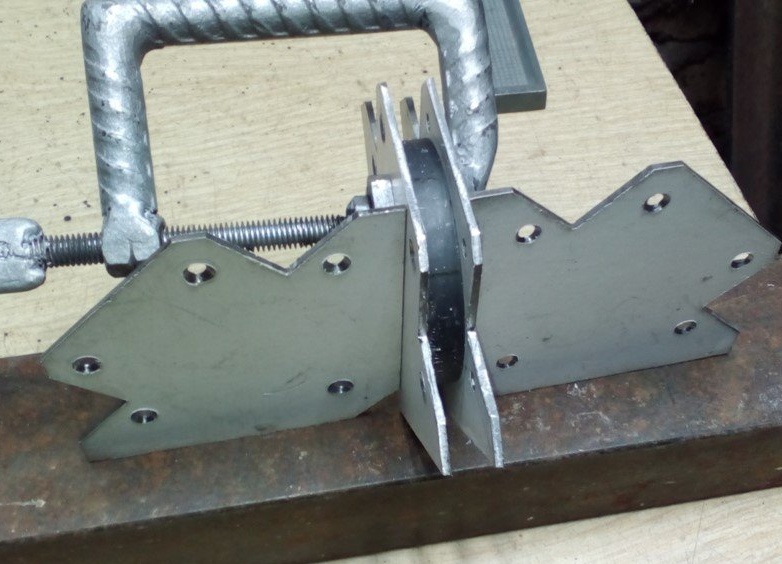
When the glue has hardened, we fasten the parts with rivets.
In order not to bend the edges of the parts, it is necessary to insert a piece of the plate with a width equal to the thickness of the magnet between the plates during riveting by bending it with the shape of the letter P. Of course, it is better to use bushings, but you can do it this way.
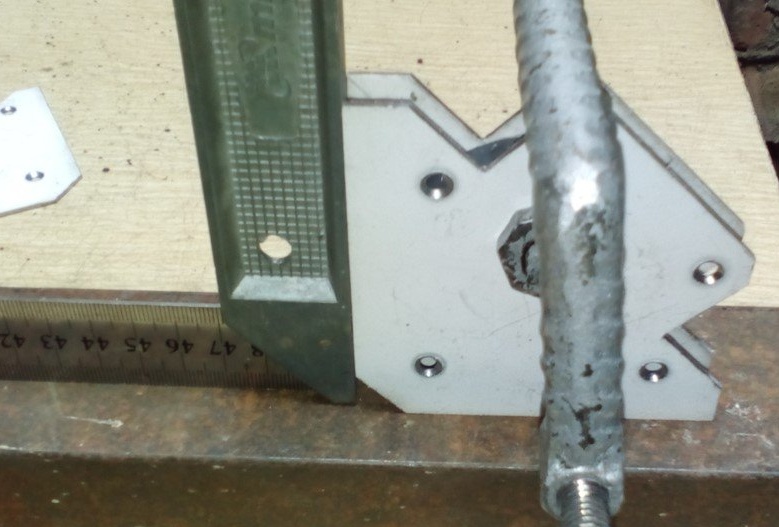
The tool, in general, is ready to work and it can already be used, but it is better to close the void in the housing between the plates, otherwise they will fill up, stick to the chip magnet and it will be difficult to remove them.
The void can be filled by cold welding, making the ends of the holder concave.
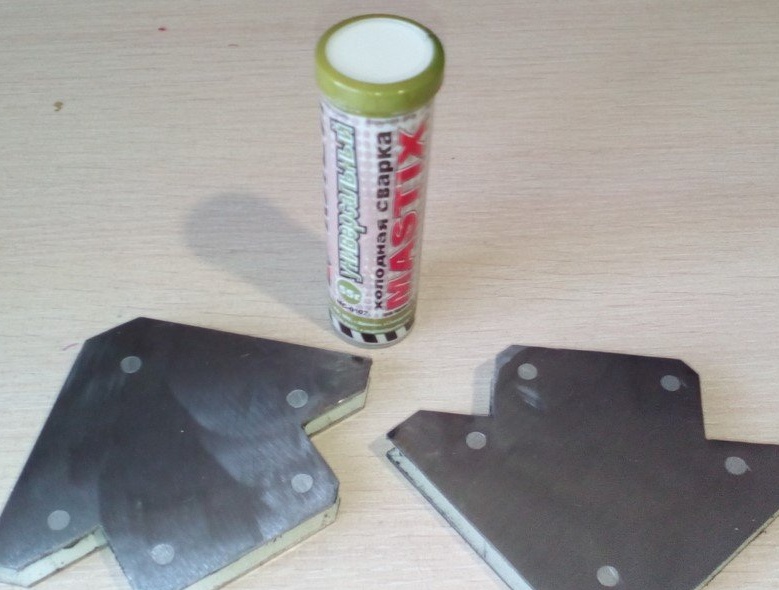
Now the magnetizing metal shavings will be easy to clean, collecting them by drawing them on the ends of the square gaiters.
And so that the tool does not rust, it remains to paint it with metal paint from an aerosol spray can with a bullet machine.
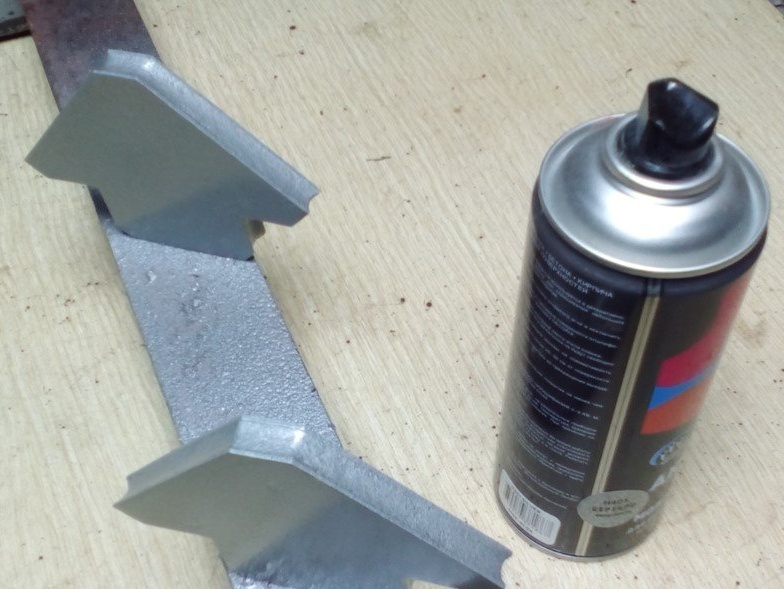
Now the tool is completely ready.
A pair of magnetic squares will not be superfluous for sure they can be successfully used in work.
I hope that this information has been useful to you.
Good luck and creative inspiration!