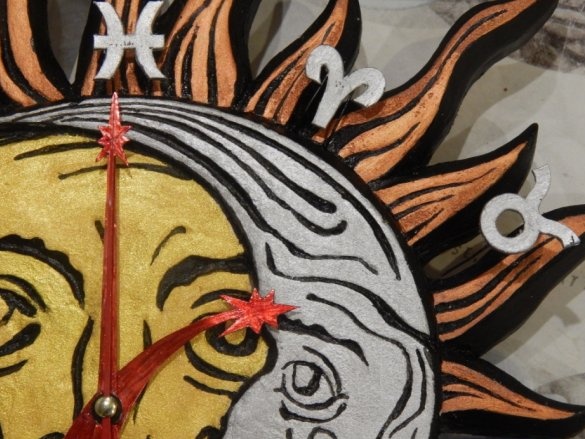
Good health and time of day to all. I propose to consider my new product, made with an application for pagan style. And let the definition of “pagan” not bother you, in Christianity and other religions images of heavenly bodies are also present, only they appeared much earlier than the current religions.
To begin with, a friend of mine hinted that she would like to receive a wall clock as a gift for the upcoming housewarming, and preferably some original ones. Almost immediately, the idea was born to design a clockwork in the form of a combined sun and moon. Such images are found in almost all peoples of the world and have a sacred meaning. In the beliefs of the ancient Slavs, the Sun personified male energy, and its night companion, the Moon, female. At once two luminaries, enclosed in a circle, symbolized the infinity of the world, renewal and harmony. In addition, such an image is a charm of the hearth and a talisman for the inhabitants. But let's not go into philosophy, but we will consider the product simply as a beautiful thing that you can do with your own hands.
For the manufacture of watches we need:
Materials:
1. Penoplex 20 and 30 mm.
2. Cardboard
3. Clockwork
4. Wire (probe from corrugated PVC pipe)
5. Thin sheet aluminum
6. Acrylic paints
7. Acrylic putty
8. Adhesives - PVA, for ceiling tiles, cyanoacrylate
Instruments:
1. Thermosak for foam
2. A sharp knife (you can even clerical)
3. Tassels
4. Sandpaper
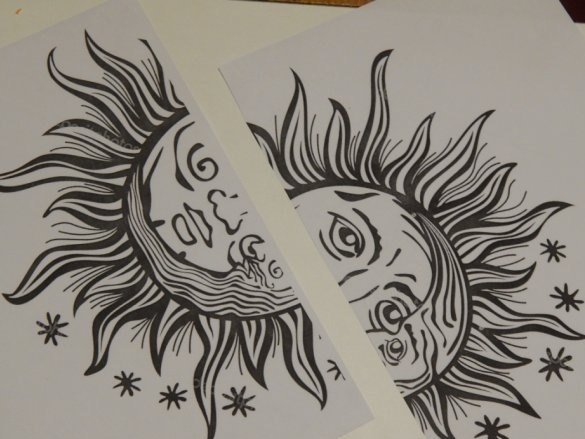
So, first we select the picture we like (preferably in a vector format so that the picture does not break up into pixels when enlarged), and print it on the printer in the size we need, possibly even on several sheets in the form of a poster.
Body. As a material for the case, penoplex 20 and 30 mm was chosen. thickness (trimming) due to the ease of processing and sufficient strength.
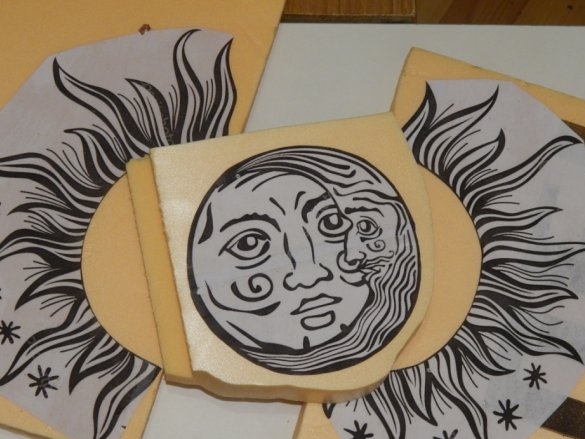
We cut the selected, printed and glued pattern, divide it into a limb with the sun and the moon, and a “crown”, which, to save material (and more precisely, to select the appropriate trim), we divide by rays into approximately equal parts.
We glue the sun’s limb onto a penplex of 30 mm thickness, the “crown” rays - by 20 mm.
We cut along the contour with the help of a thermal cutter, an example of a description of how to make it “hand in hand” is given in my article “Shoe Shop Clock».
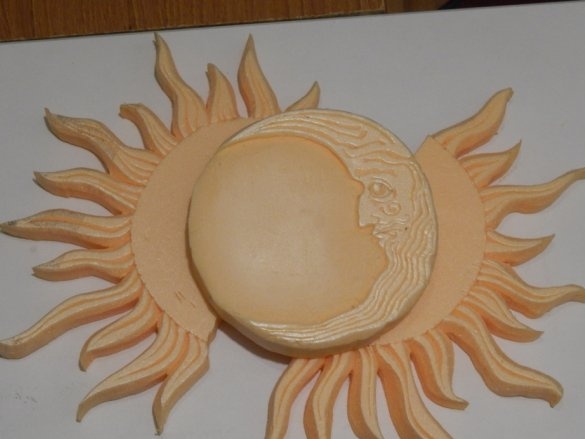
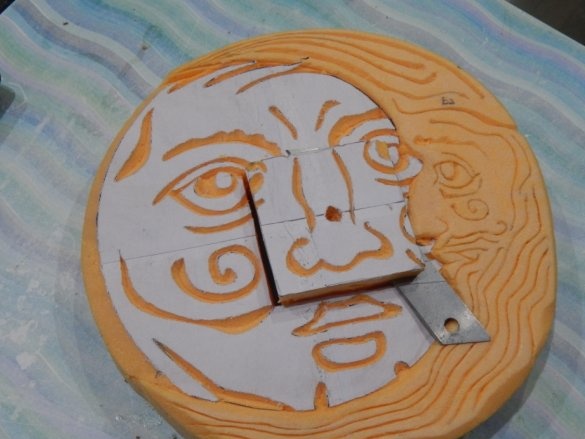
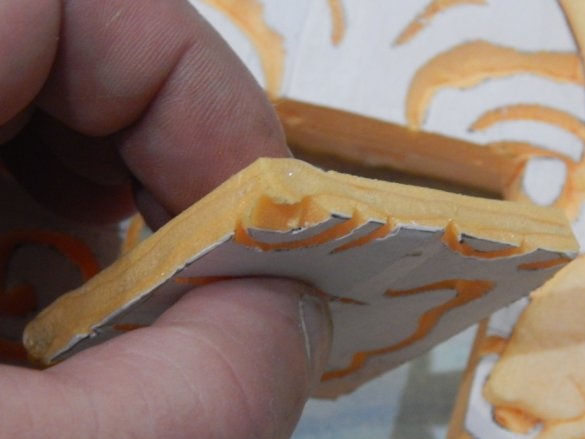
With a sharp knife, cut out all the black elements of the picture. It is necessary to cut at a certain angle to the horizontal (approximately 45 °) to get "grooves".
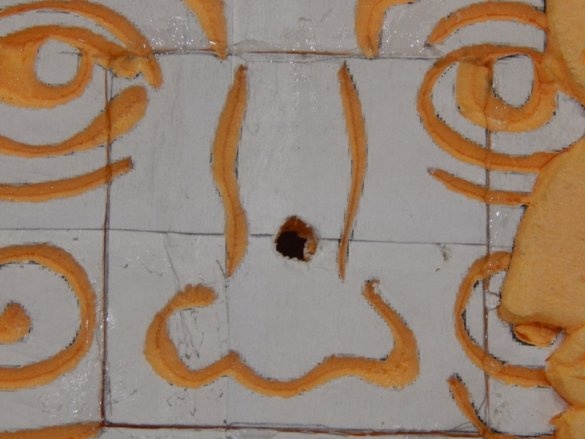
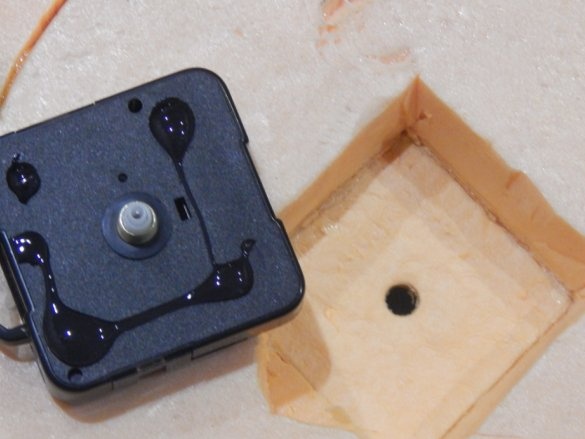
To insert the clock mechanism into the case, we simply cut out a whole square from an almost finished product with a clerical knife.
Last time, in the manufacture of similar watches, I was tormented with the selection of this niche, so I decided to simplify the process somewhat. From the cut out fragment we cut off the front part of the required thickness (4-5 mm, depending on the size of the fixing sleeve of the clock mechanism).
The necessary thickness, if necessary, can be adjusted on sandpaper.
We glue the fragment in its place with glue for the ceiling tiles (it is absolutely impossible to use glue containing acetone, etc. even pairs will dissolve the foam and ruin the product). It is better to apply glue on the inner surface of the recess, so that the excess does not come out on the front side and does not cause problems with their removal (tested by experience).
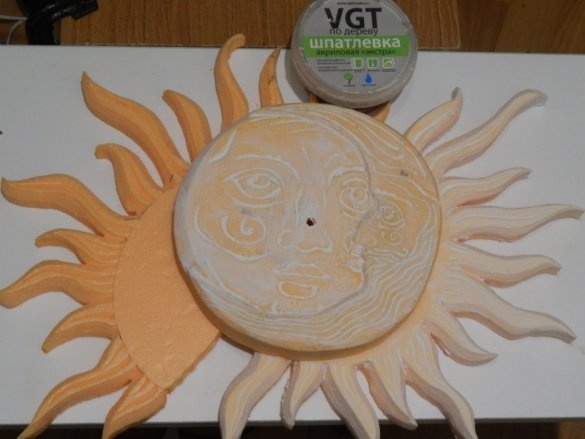
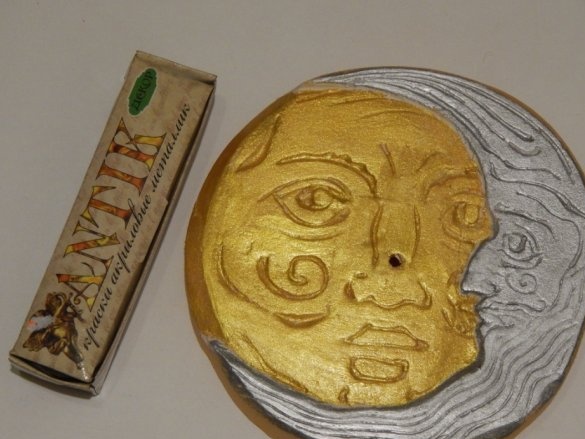
To create an imitation of embossing, it is necessary to slightly reduce the cut-out recesses, which we fill with acrylic putty. In order not to completely level them with the surface, remove excess putty with a damp sponge (at worst with your fingers). The drawing should turn out as if squeezed out. In addition, putty will fill the pores of the foam.
After the putty has dried, we process the surface of the product with sandpaper. The ends of the rays of the “crown”, where it is problematic to crawl, I worked with a strip of emery, installed instead of a file in a hand jigsaw.
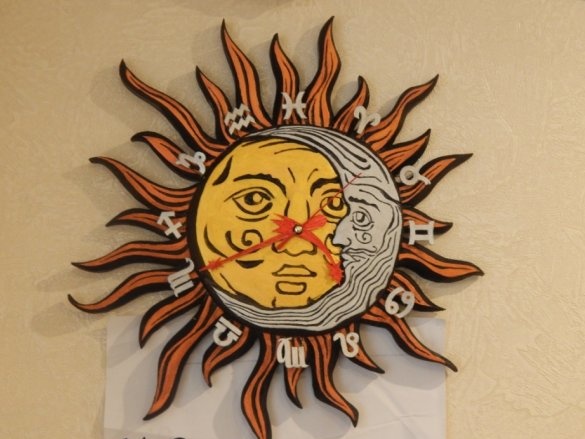
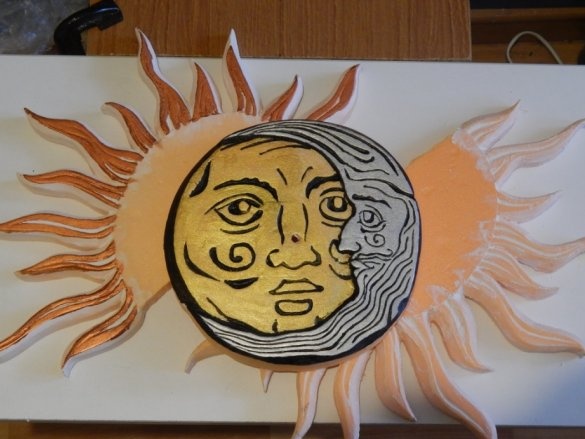
Color the limb with acrylic paints. The sun, of course, is painted “in gold”, the crescent moon is “in silver”.
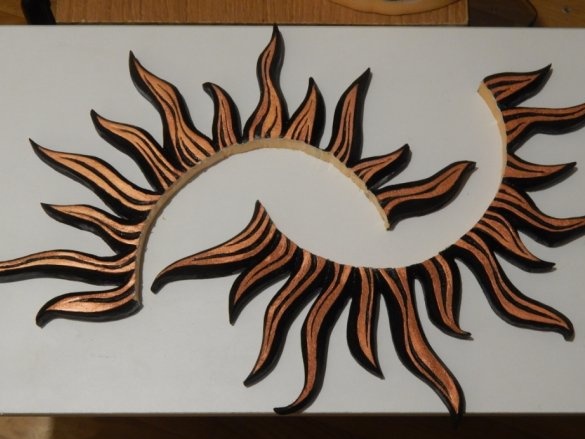
The rays of the "crown" get a copper color. Deepen the picture, as well as the bevels and ends of the body for contrast, we carry out in black.
The “crown” is finally cut out (the inside) after full painting, just before gluing, so as not to break the thin jumpers between the beams.
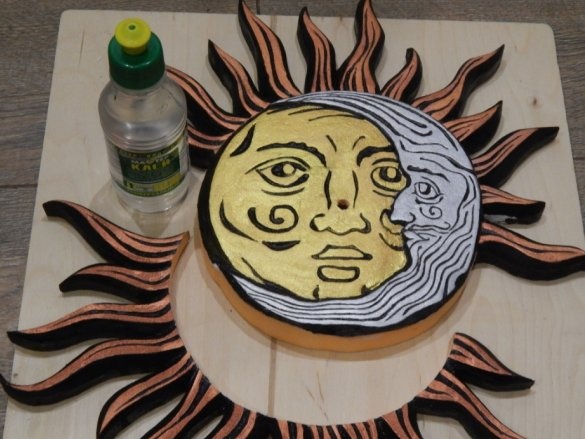
We glue the “crown” with the same adhesive for ceiling tiles.
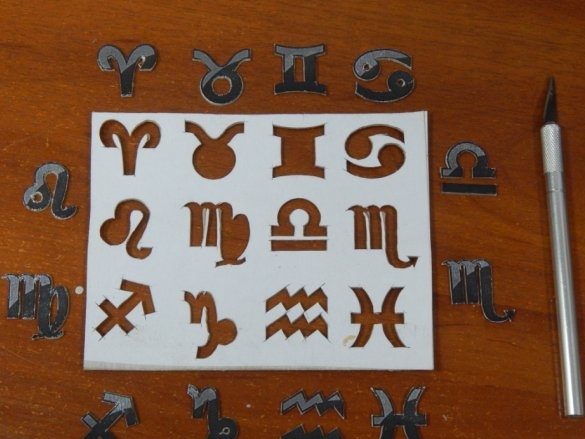
It was decided to make the dial in the form of a zodiac circle, since the clock itself is made in an astrological-mystical theme, then simple numbers are somehow inappropriate. After searching the Internet, a couple of acceptable options for zodiac signs were selected, which were brought to the right size and printed on the printer.
The procedure for sticking paper on cardboard and subsequent cutting out the symbols does not make sense, I think, I only note that you need to cut it with a knife, not scissors, so as not to distort the signs and not split the cardboard. As a result, we get 12 of these characters:
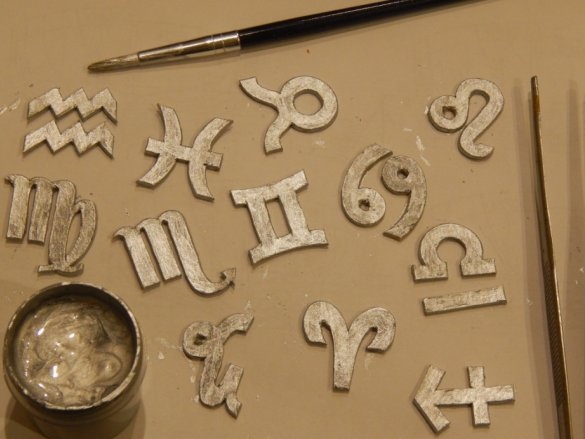
We color the signs with "silver" (this is possible, and must be done later, after gluing the bearing studs).
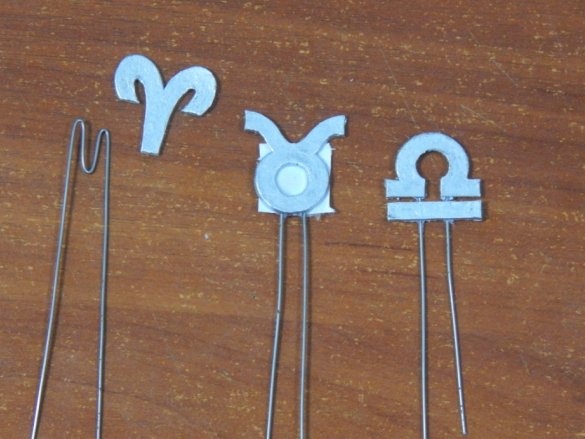
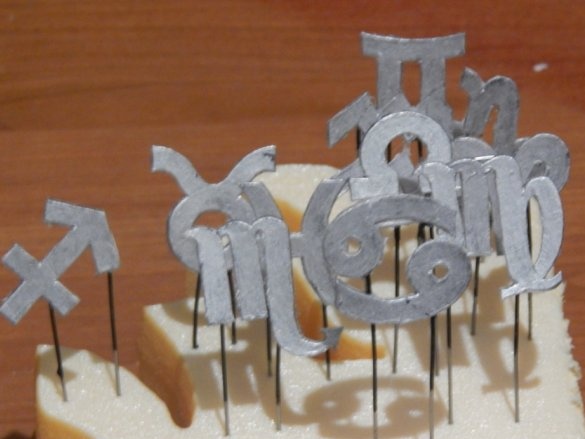
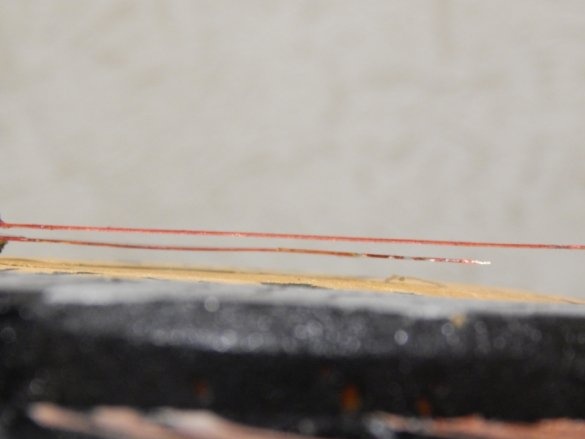
It was decided to raise the zodiacal symbols above the rays of the “crown”, and not just stick them on them. Firstly, this creates the effect of "airiness", the signs seem to hang in the air, and secondly, the number of rays does not coincide with the number of signs, which in this case could simply be in the gap between the rays. To accomplish this task, the badges are glued to studs made of steel millimeter wire used as a probe in a corrugated PVC pipe.
The glued signs, or rather the studs glued to them, are bent at a small angle (about 30 °) for installation on the limb. For "masking" the visible parts of the studs are painted in black.
At the same time, we tint the signs with silver, which is why I made a note about the color of the signs.
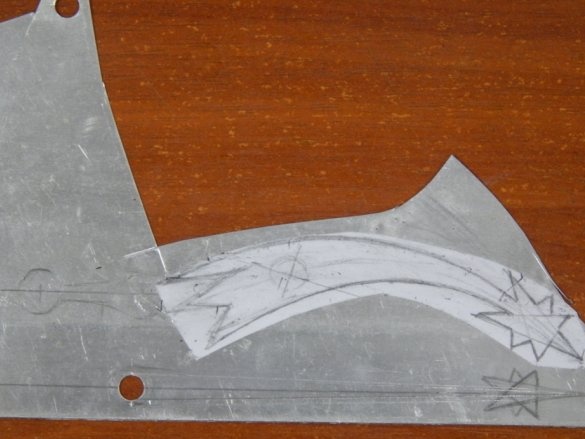
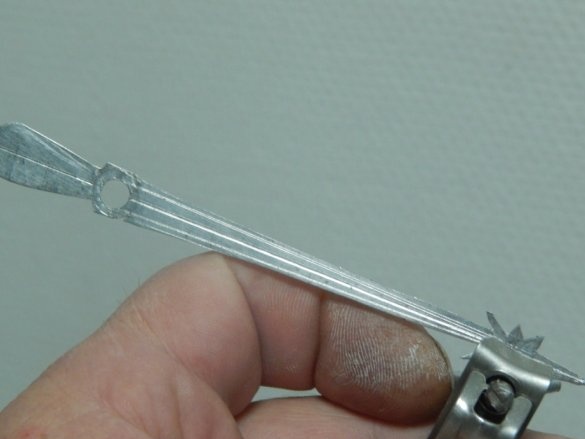
The hands of the clock also had to make their own, moreover, they also had to select the color. The standard “feldipers” arrows did not fit for several reasons: in the first, the black ones were lost in the pattern, and the golden ones in the background of the sun, and in the second, they were too small. Even the openwork arrows painted in red were difficult to discern, so it was decided to make “shitty, but in their own way,” the arrows again on a cosmic astrological topic. Namely: the sentinel in the form of a comet (there were doubts about how the curvature of the arrow will affect the reading of the value), but the minute just with an asterisk at the end.
The arrows are made of sheet aluminum, taken from the reflector of a dead LED spotlight.The drawing is glued, or drawn directly on the workpiece. Arrows with a small allowance are cut out with ordinary manicure scissors, straightened out simply enough to put on a flat surface and roll over them with pressure with a round pencil (or other straight round object). Finishing is done with needle files in manual vise.
Now it remains to assemble our blanks into a single whole. We paste the clockwork into the carved niche of the case.
We set the arrows and the gap between them, if necessary, bend a little so as not to cling to each other.
We arrange the signs of the zodiac according to our places allotted in the circle of the same name. I did not divide and draw the limb into even twelve parts, I just set the arrows and set the signs according to their indications.
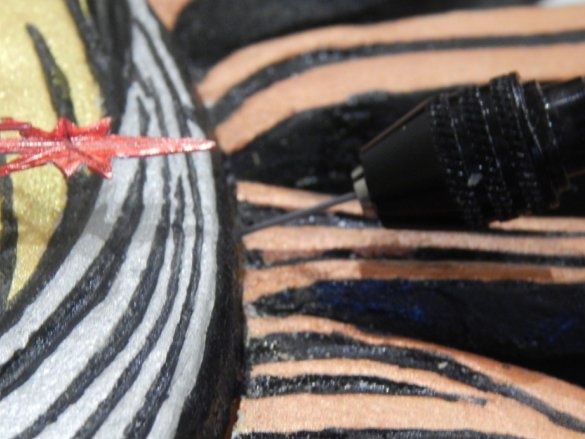
To make it easier to insert the studs into place, after preliminary marking of the installation points, we pierce the foam with the sharpened wire from which the studs were made.
Punctures are made, as already mentioned, from a certain angle.
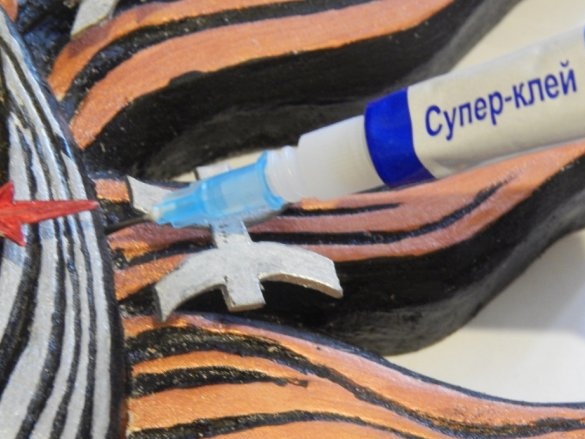
For the final fixing of the icons (yes, in the process of adjusting the installation level, bending the antennae of the studs and repeatedly inserting and removing the holes, to put it mildly, they expanded), we inject with cyanoacrylate glue. It was not for nothing that I used the word “injection”, the glue is literally injected into the installation site of the hairpin with the help of a medical needle mounted on the nose of the tube (it fits almost perfectly, though the nose needs to be shortened a little).
After this procedure, the studs are firmly fixed in the foam, and they can only be torn out from there “with meat”.
This completes the assembly. These are the pretty watches I’ve got.
The wife no longer wants to give them away (reassured that I’ll do more). I hope you enjoyed my product too.


